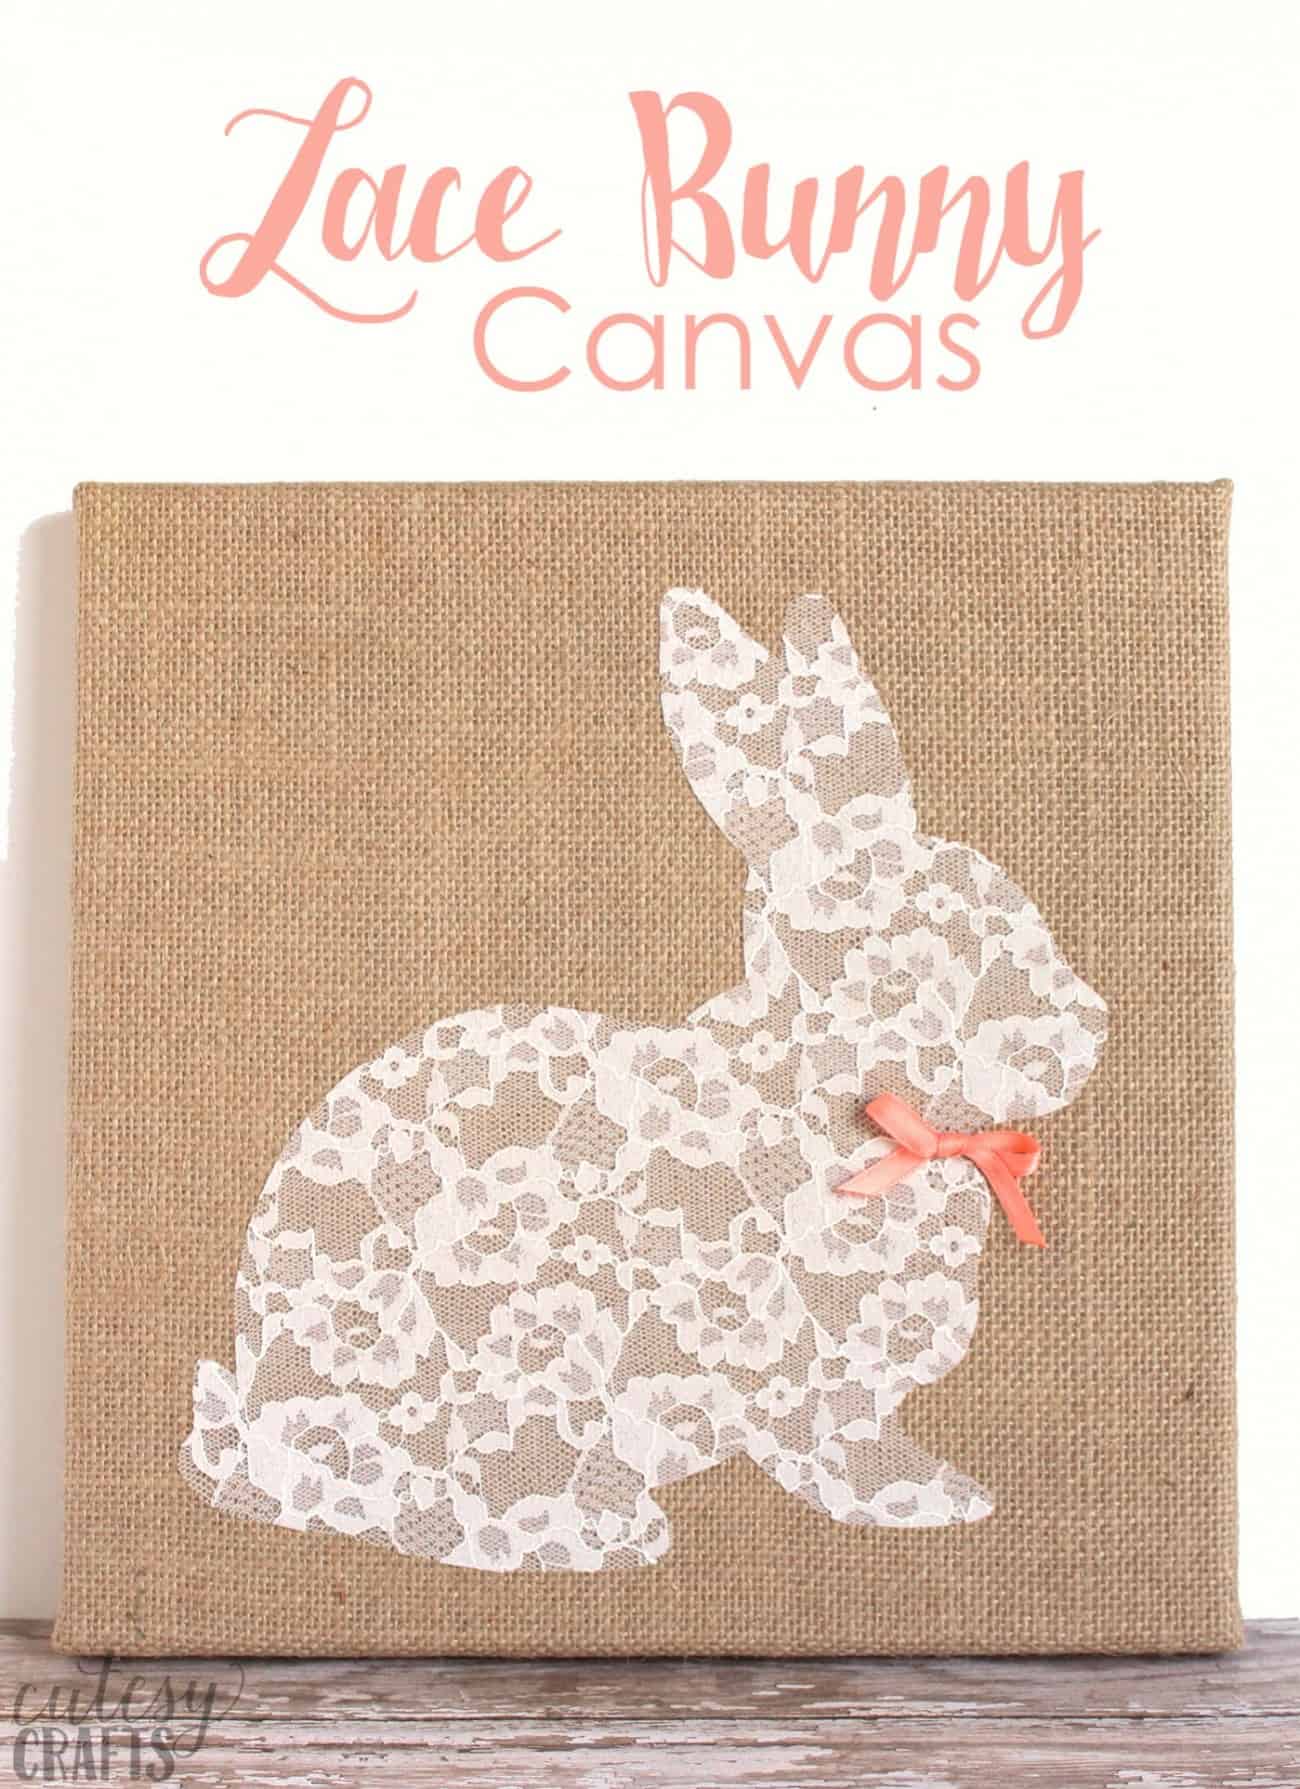
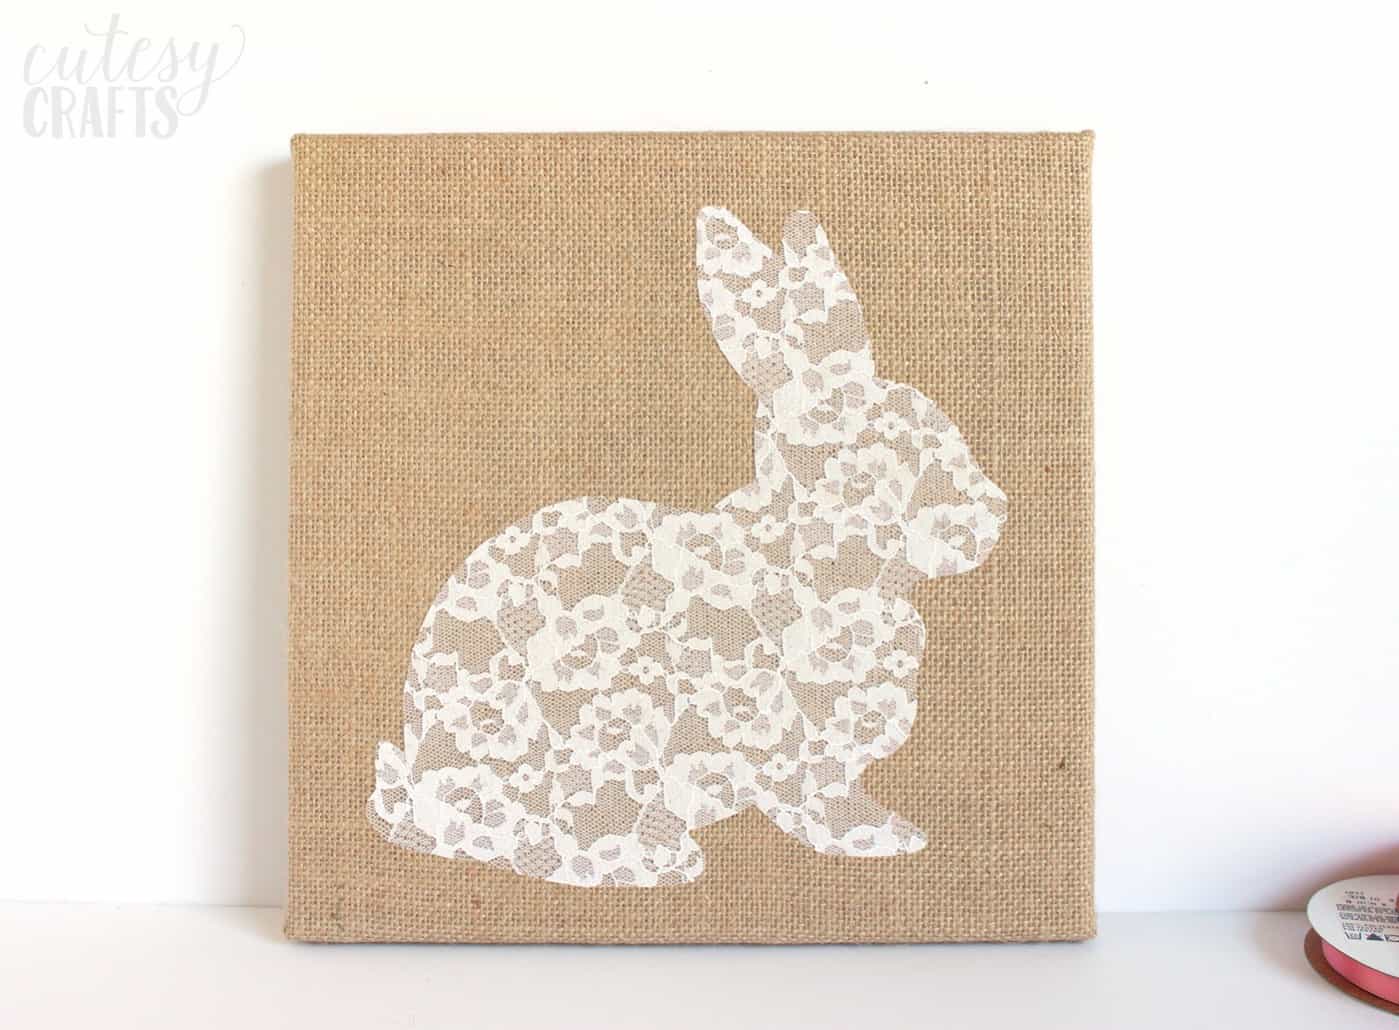
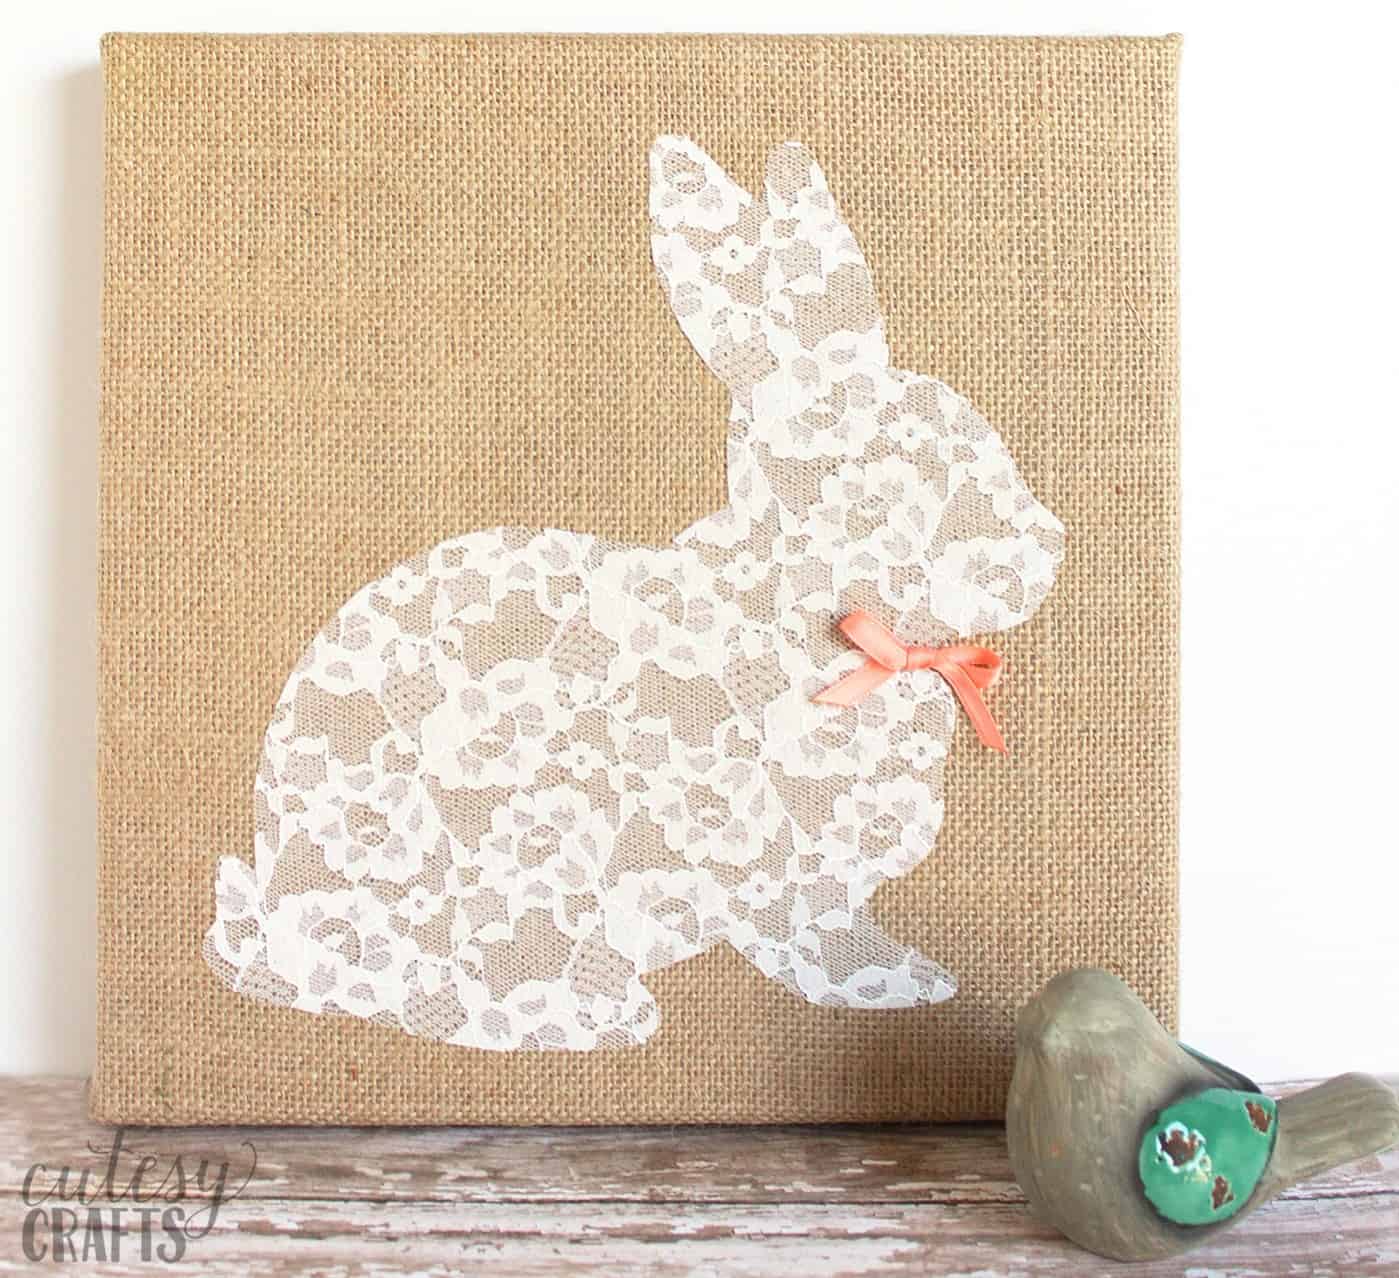
Lace Bunny Canvas Easter Craft
Combine brown burlap with delicate lace to make this pretty bunny canvas – it’s an easy Easter craft you’ll want to keep up for the entire year!
Skills Required: Beginner. You’re going to make a lace applique using Heat n’ Bond (with an iron). Then you will attach it to the canvas. It’s pretty simple and fine if you don’t have a ton of crafting experience.
I was wandering around the craft store the other day when I saw a pretty lace and burlap fabric bunting. I thought the combination looked so perfect for spring, and I started thinking about what else I could make using lace and burlap.
Bunnies always make the cutest Easter decorations, so I came up with this adorable lace bunny canvas Easter craft. The canvas itself is burlap, and I added the bunny just like you would any other fabric appliqué. So easy!
You’re going to make this project in three simple steps. You’re going to create an applique, attach it to the canvas, and then add embellishments. It’s very easy.
DIY Rabbit Canvas
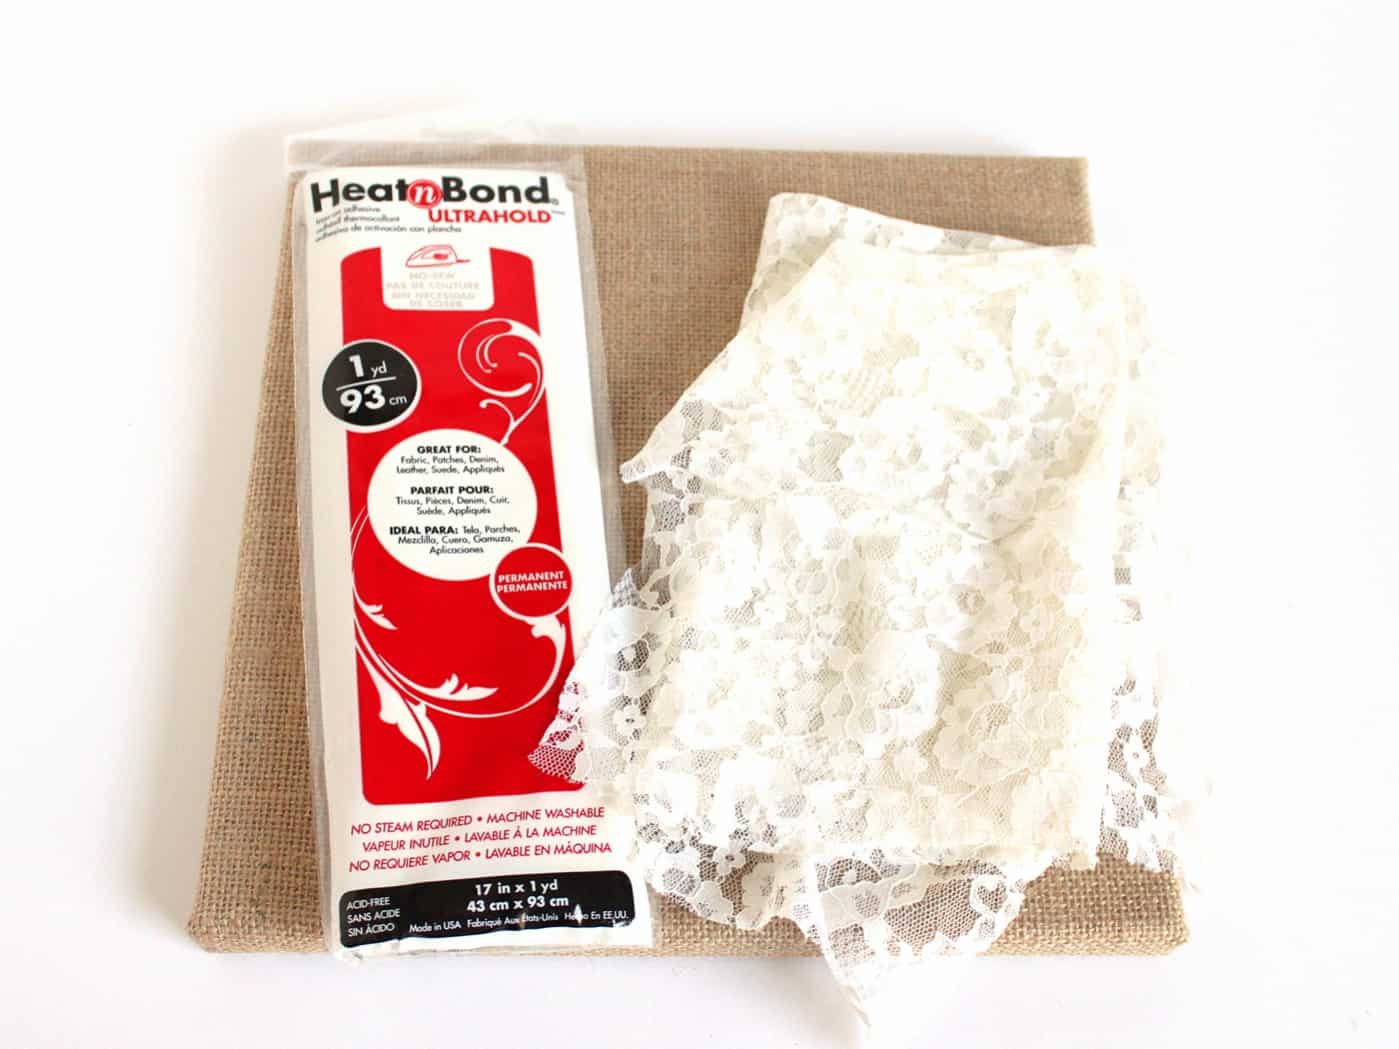
To make this Easter craft, you’ll need:
- Bunny pattern
- 10 x 10 inch burlap canvas
- Lace
- Heat ‘n Bond Ultrahold
- Parchment paper
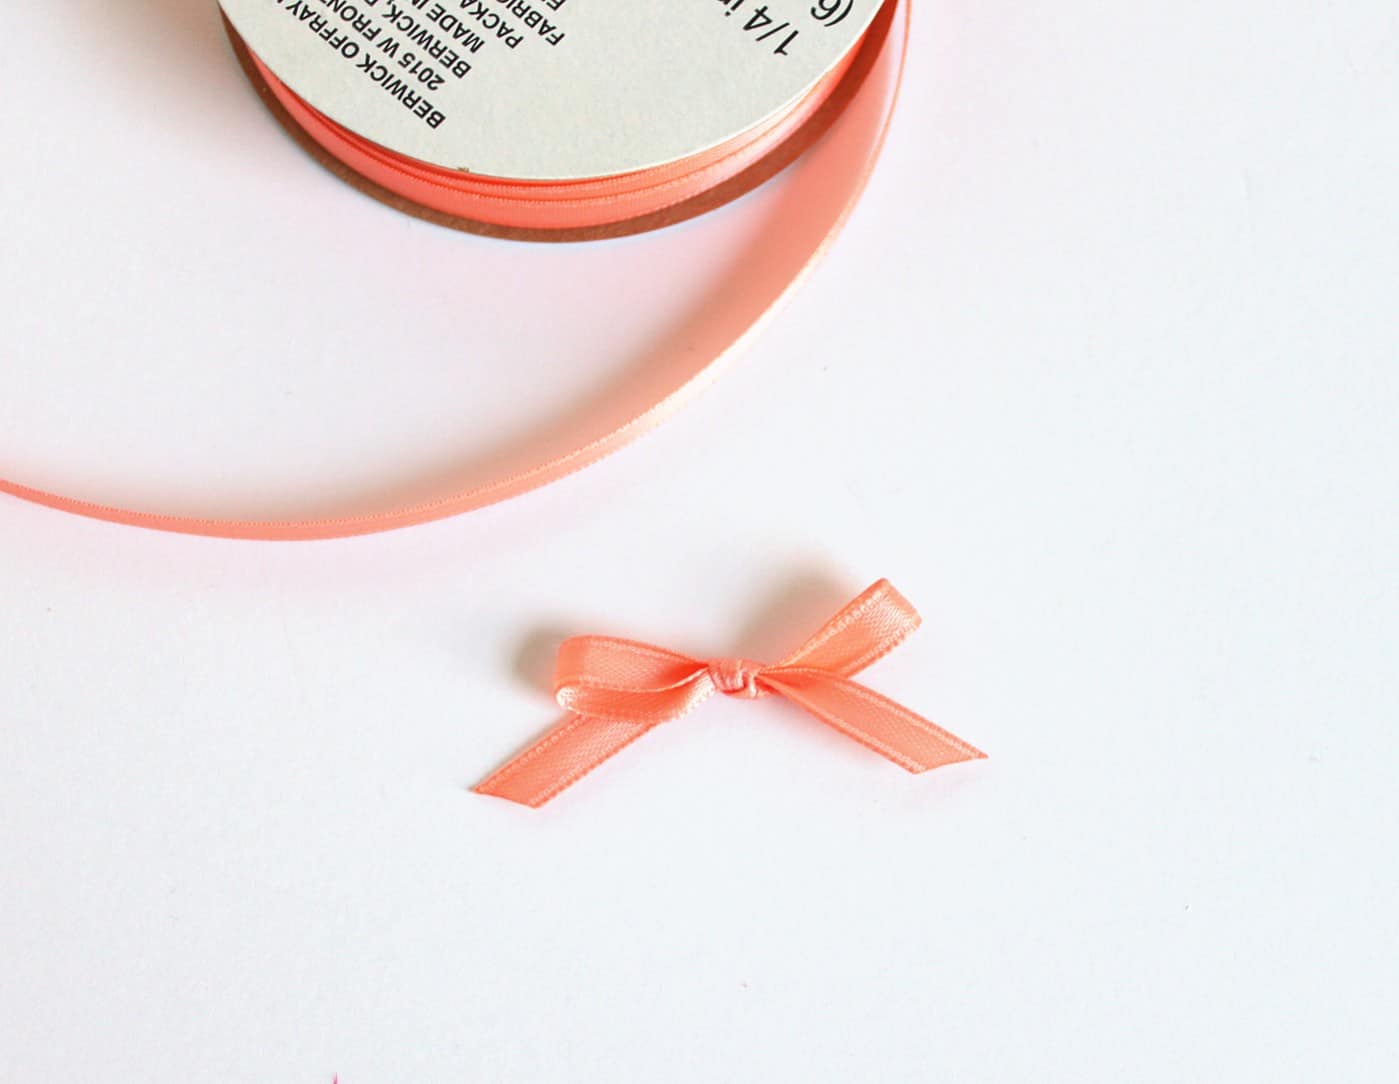
- 1/4 inch wide ribbon
- Hot glue gun and glue sticks
- Scissors
- Iron
- Pen
Note: you can staple burlap fabric around a regular canvas if you want to. Your background also doesn’t have to be burlap! You can select any fabric if there’s something you like better.
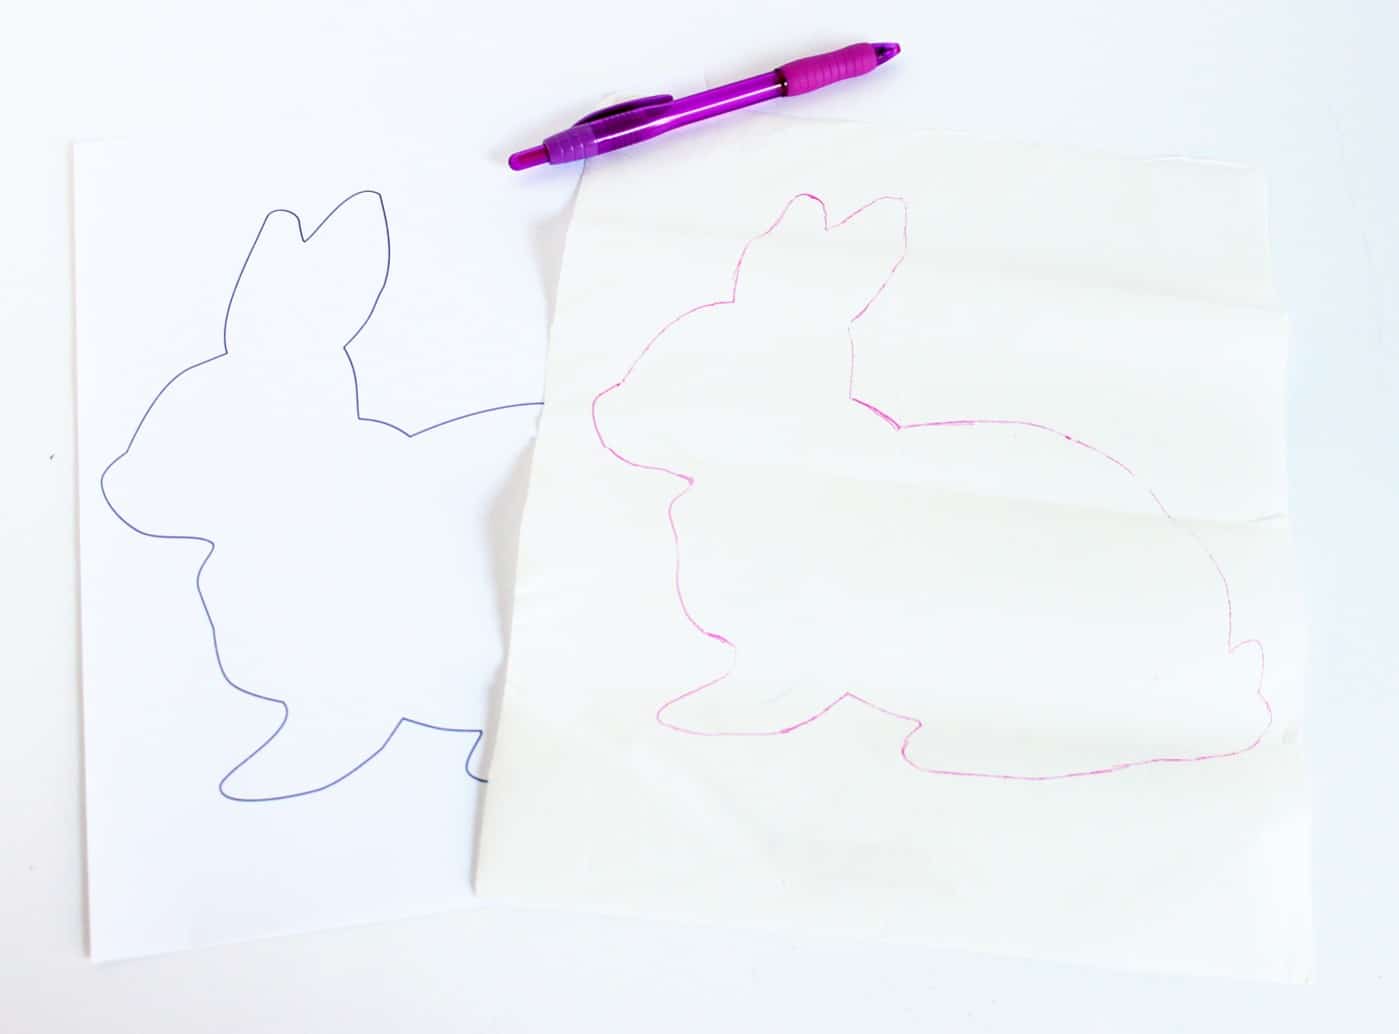
Create the Bunny Applique
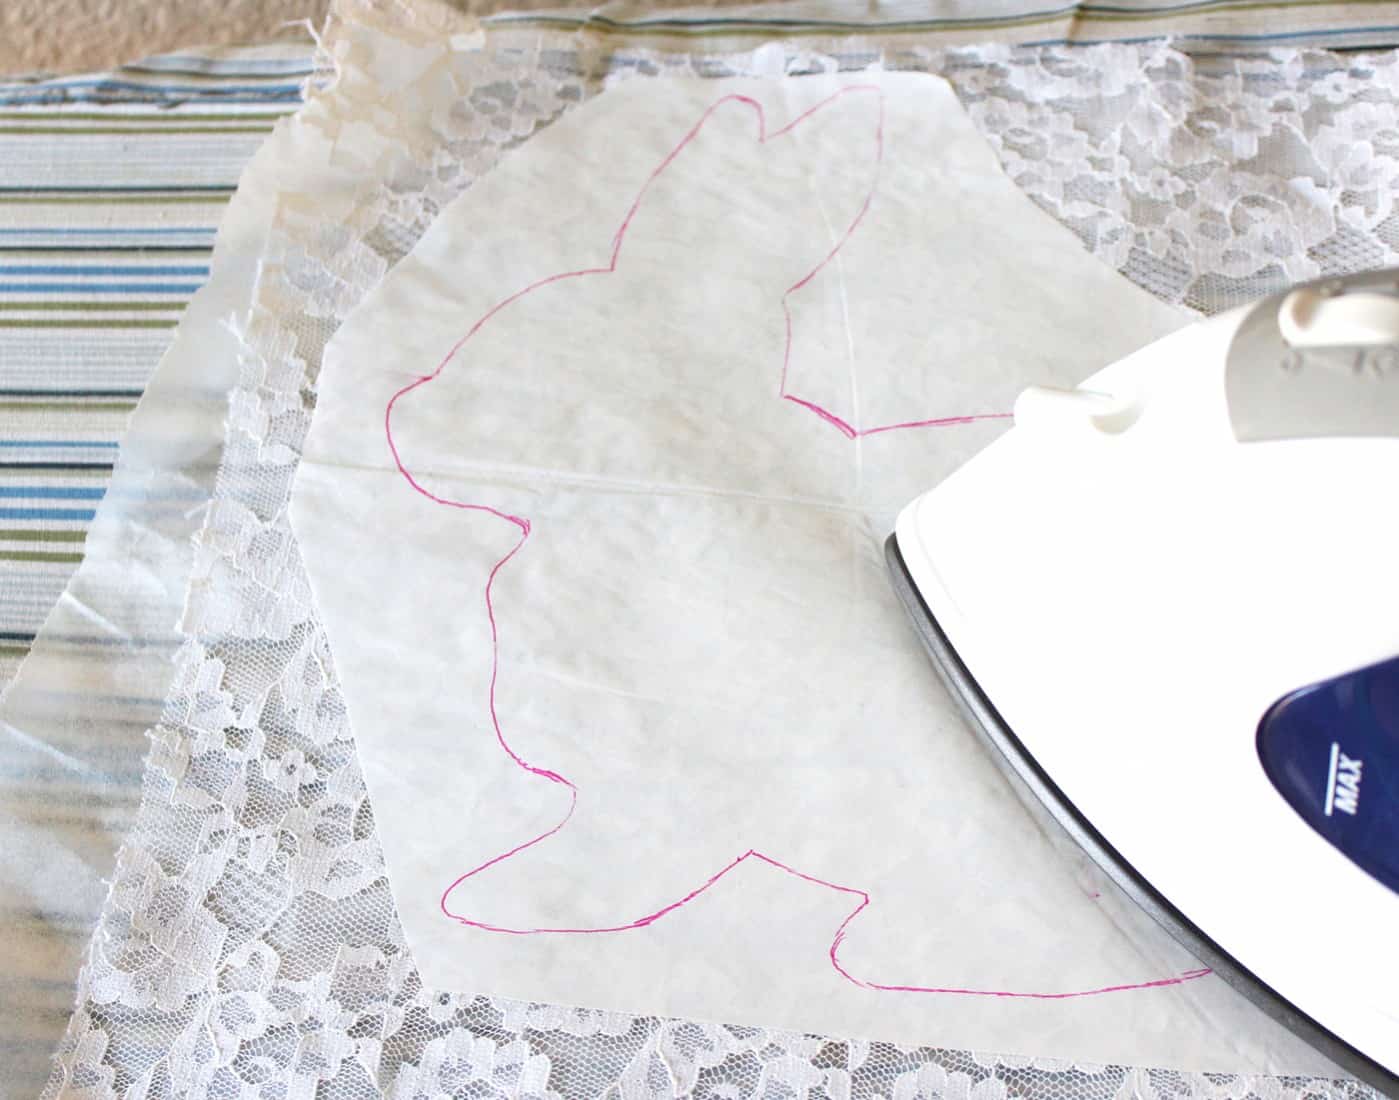
Trace the bunny pattern onto the paper side of a piece of Heat ‘n Bond. You can probably use other types of fusible interfacing for this as well, but I haven’t tested them.
Place a piece of parchment paper on top of your ironing board and put the lace on top of that. It’s VERY important that you use the parchment paper so you don’t ruin your ironing board and/or iron!
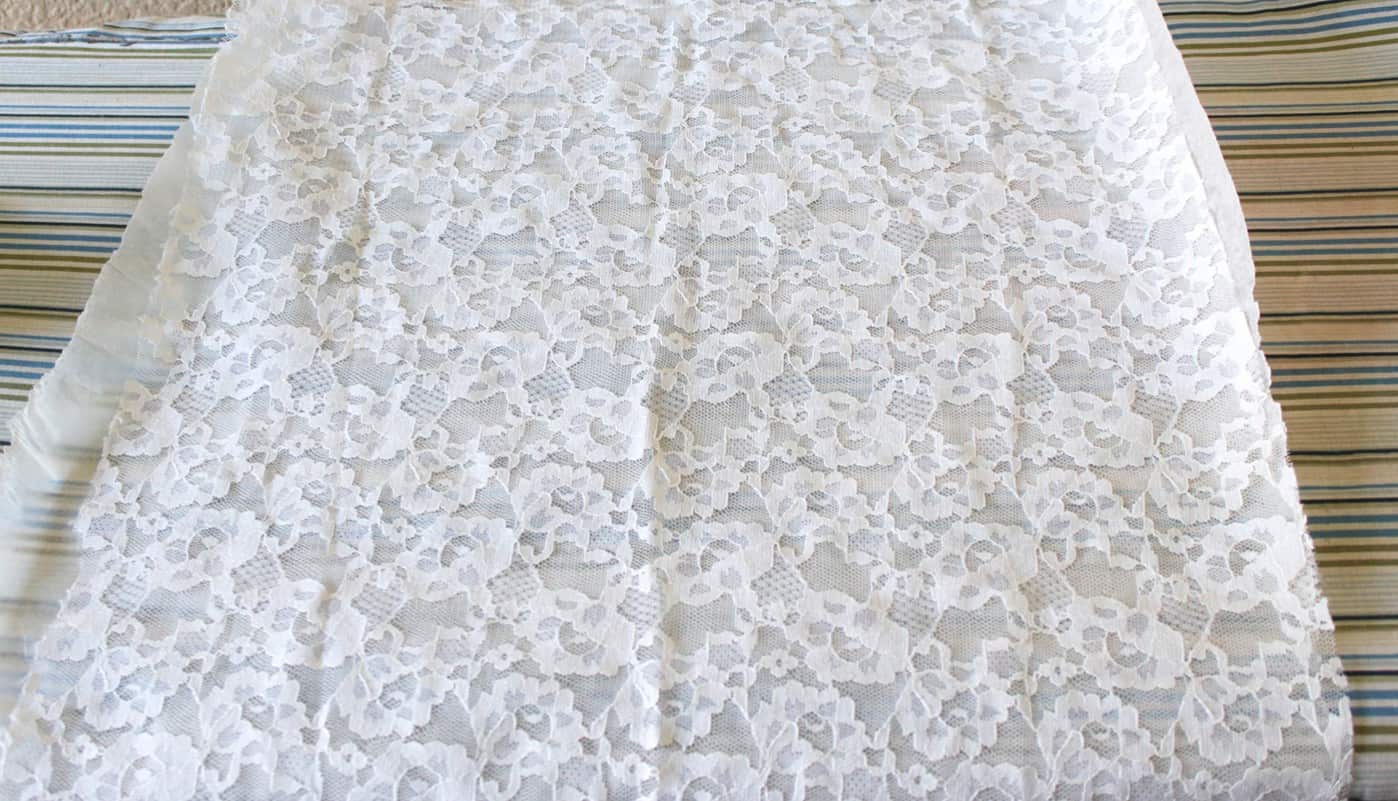
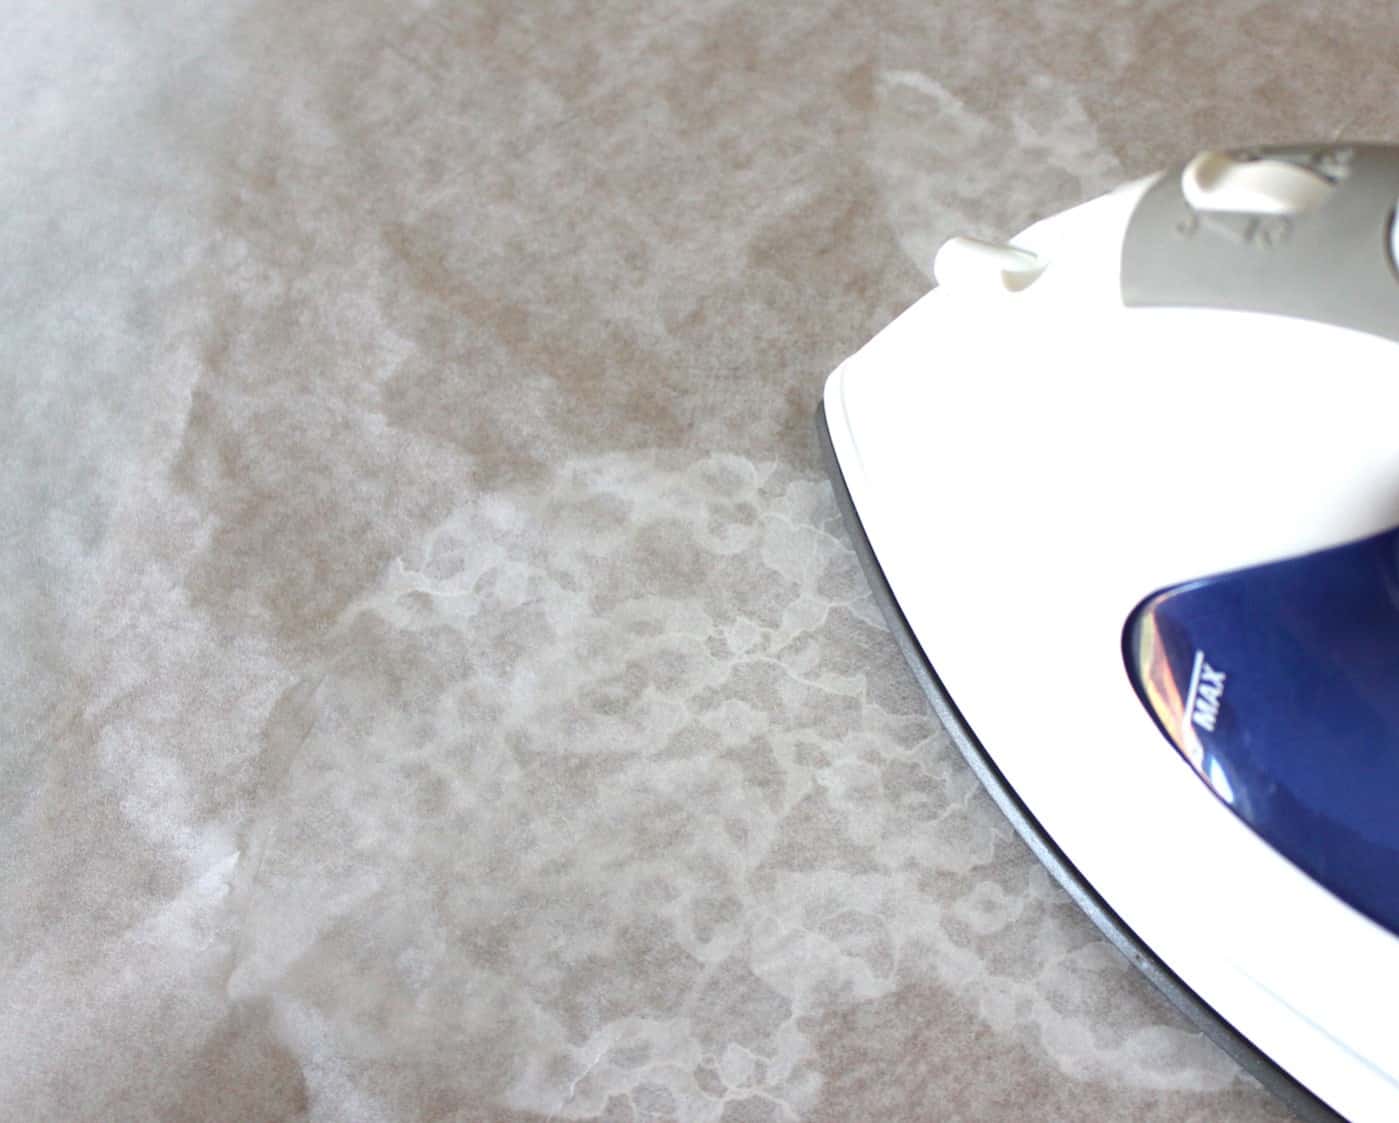
Put the piece of Heat ‘n Bond, paper side up, on top of the lace. Iron with a hot, dry iron. Leave it on long enough to create a bond with the adhesive, but don’t go overboard. You don’t want the lace to melt!
The interfacing is important because it helps keep the lace from fraying and will stick the bunny to the canvas. If you want less lace to go to waste, cut off some (not all) of the excess interfacing around the bunny before ironing it down.
Attach the Rabbit to the Canvas
Cut out your bunny shape.
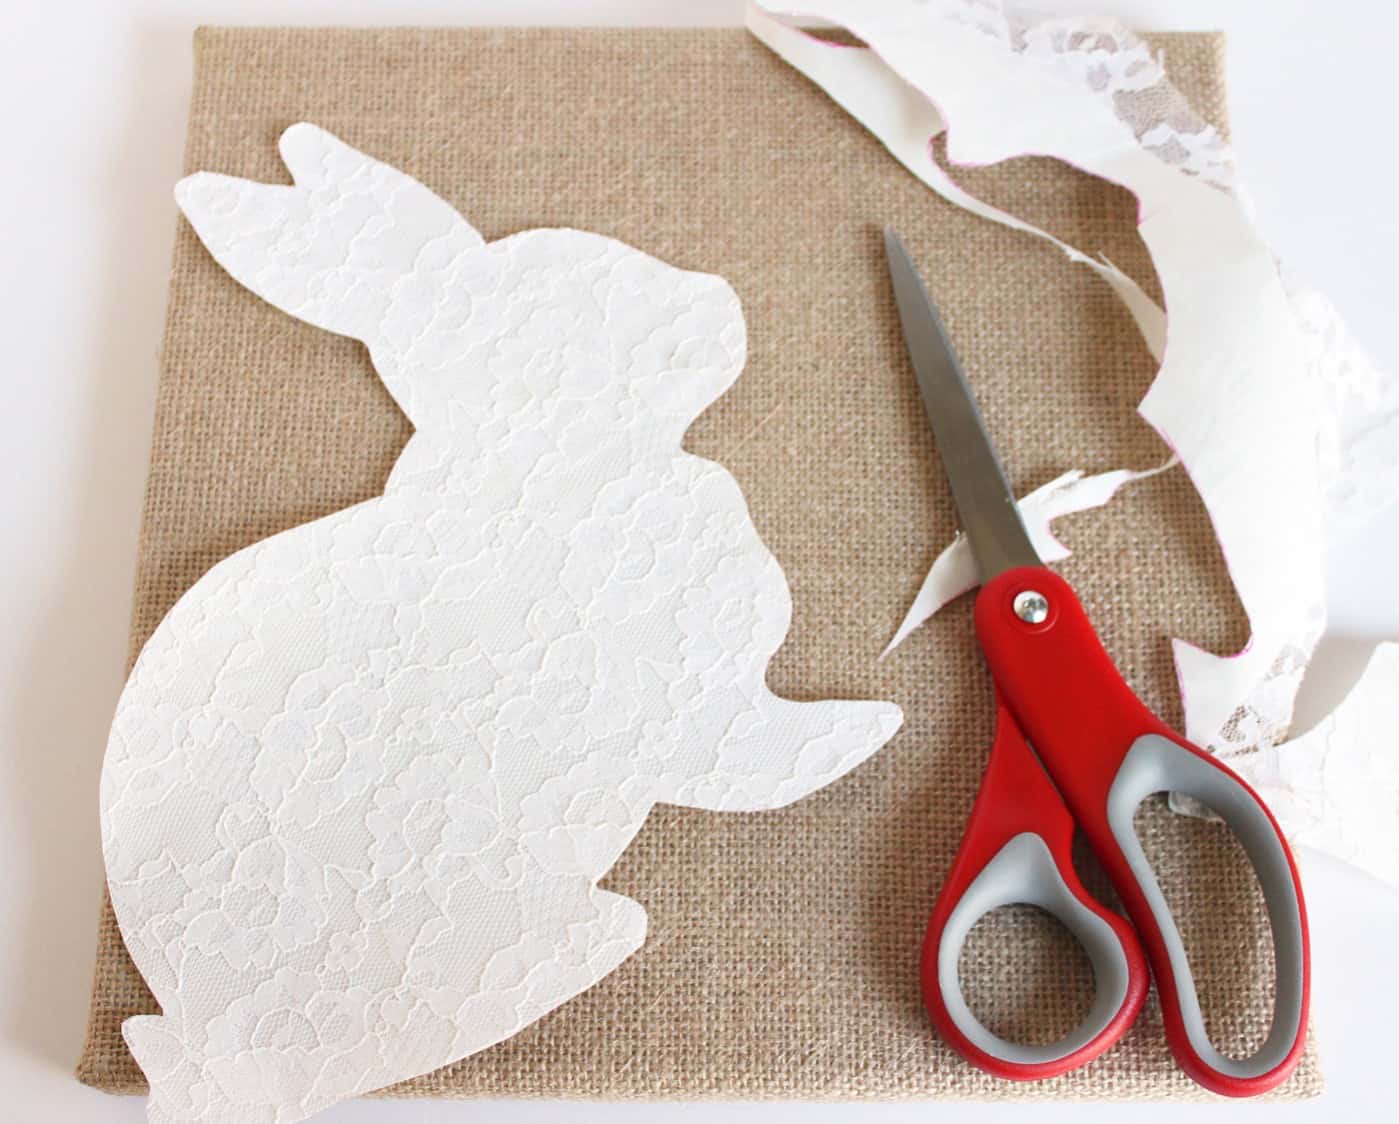
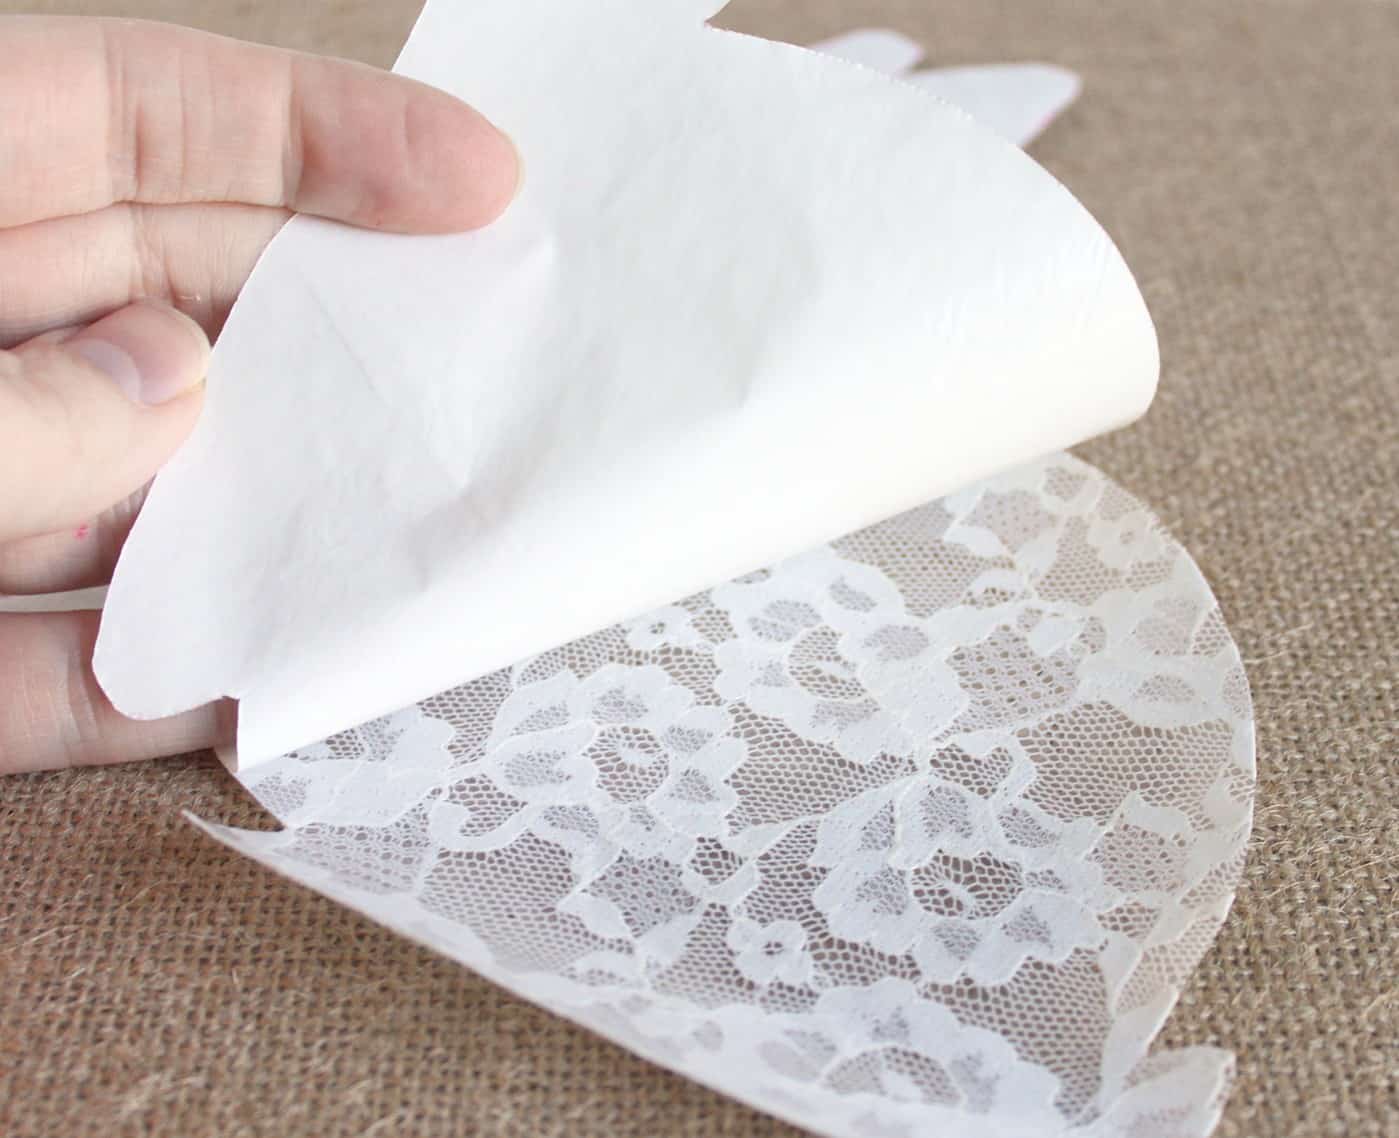
Peel off the paper backing to expose the adhesive.
Center the bunny, adhesive side down, on top of the canvas. Put your piece of parchment paper on top of the bunny and iron over it.
The bunny should be good and stuck to the canvas now. You can stop now if you want, but I decided that it needed something extra.
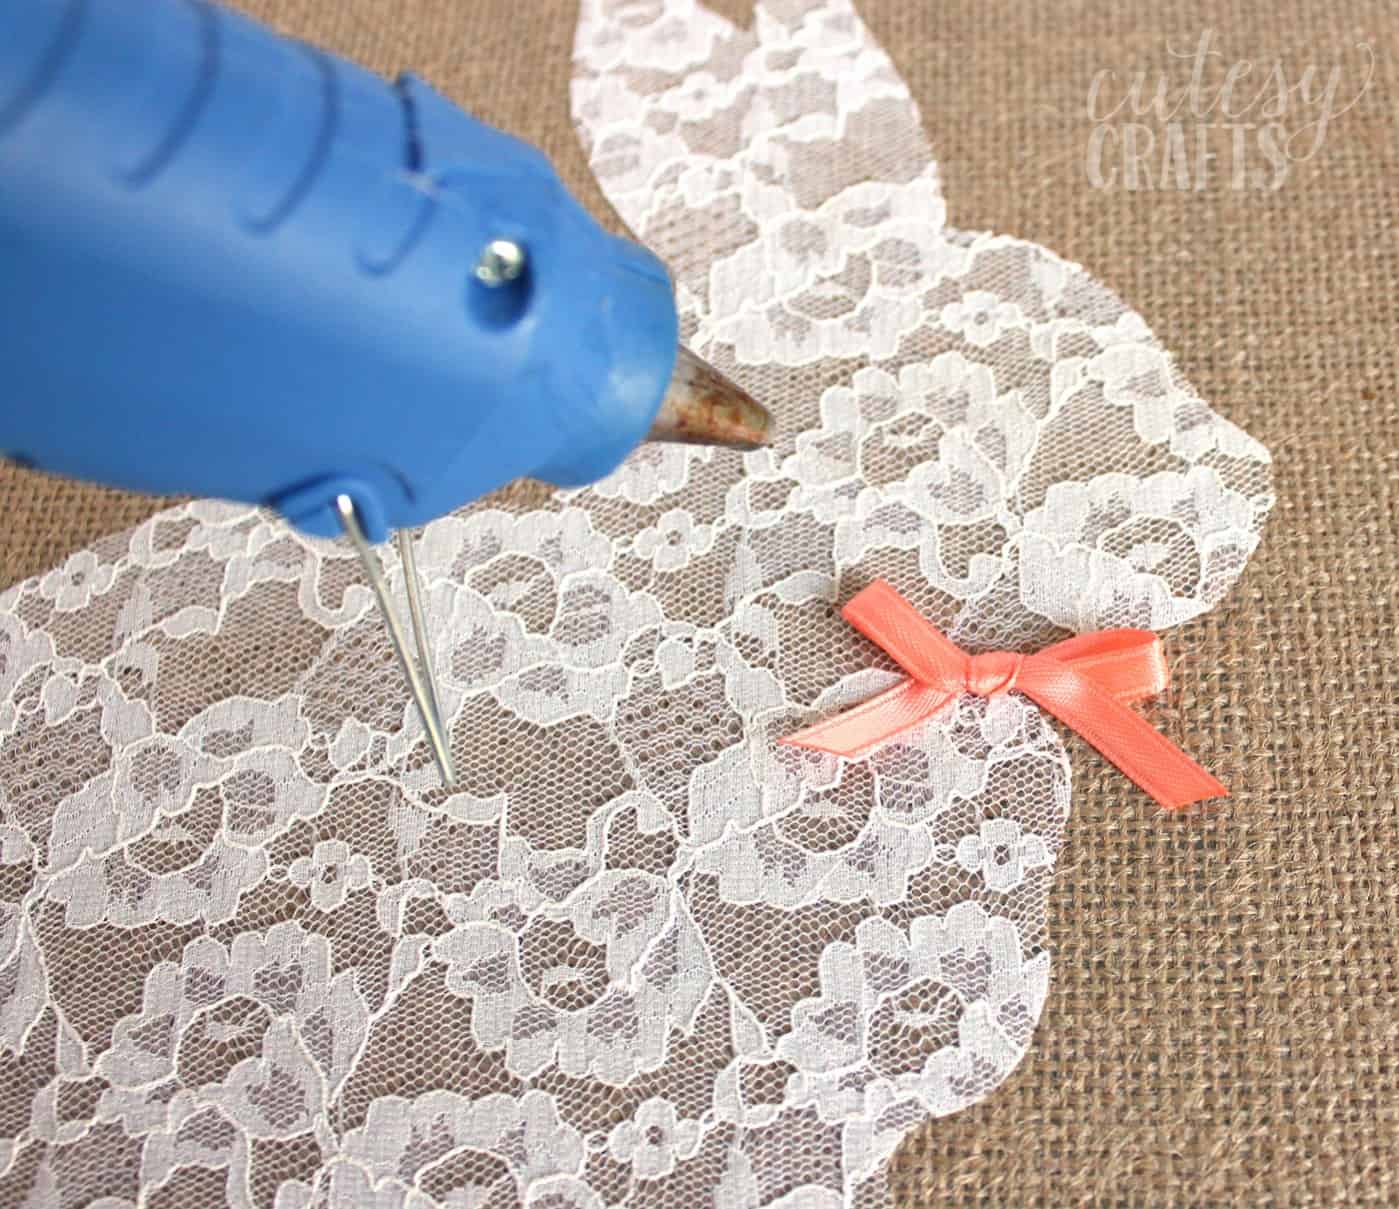
Add Embellishments
I tied a little bow out of some 1/4 inch wide ribbon to attach to the bunny.
Just use a little hot glue to stick it on the bunny’s neck.
And that’s it!
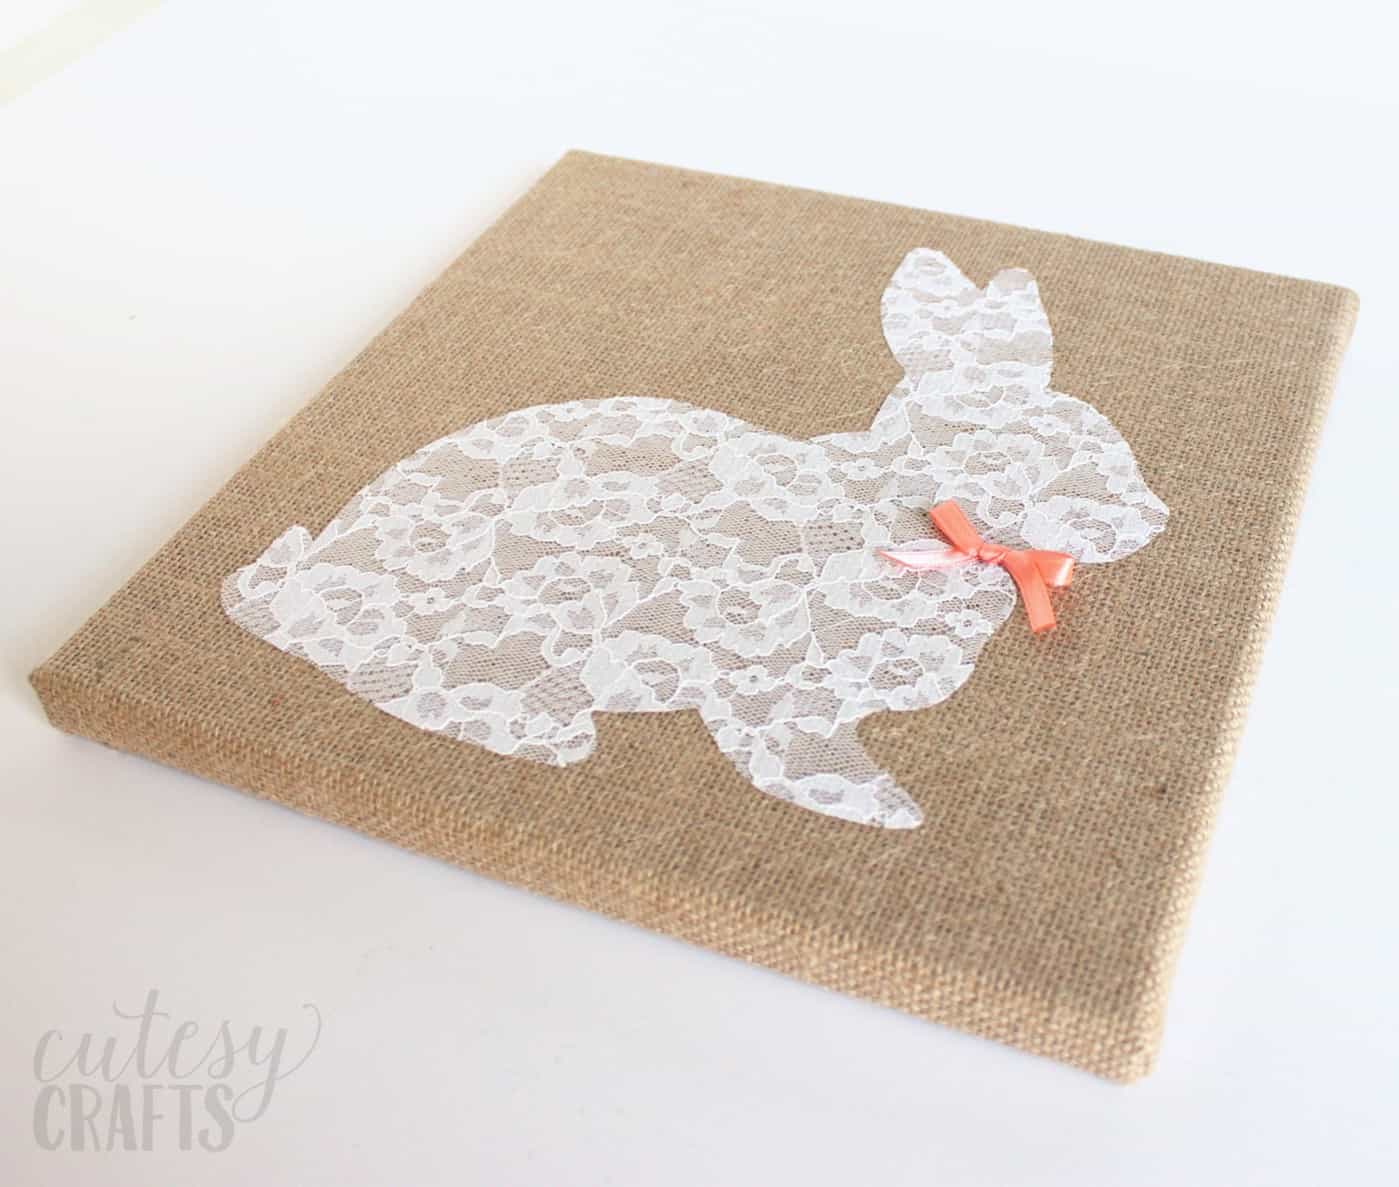
What do you think? I love the way the burlap and lace give my spring mantle a shabby chic look.
For more crafts like this, visit my blog, Cutesy Crafts. I’d also love for you to check out these other ideas:
I think this is so cute and seems fairly easy. Kudos to you.