Discover spooky fun with this easy mummy cookies recipe! Learn how to create adorable and delicious treats perfect for Halloween.


Once the end of August rolls around each year, I start thinking about something that is very dear to my heart. I start planning, thinking, and gathering inspiration.
Because I want to do something I’ve never done before.
I’m probably making it sound *way* more fantastic than it is, because what I’m talking about is pretty simple and straightforward: Halloween treats.
Yes, each year I plan to make something special for Halloween that has a fun theme – a recipe I haven’t tried before. The recipe can be colorful, it can be character related . . . but it definitely has to be highly Halloween-y!
Some recipes I’ve tried in the past are bat cookies, mummy truffles, a spiderweb cookie pizza, candy corn cupcakes, and Halloween monkey bread.
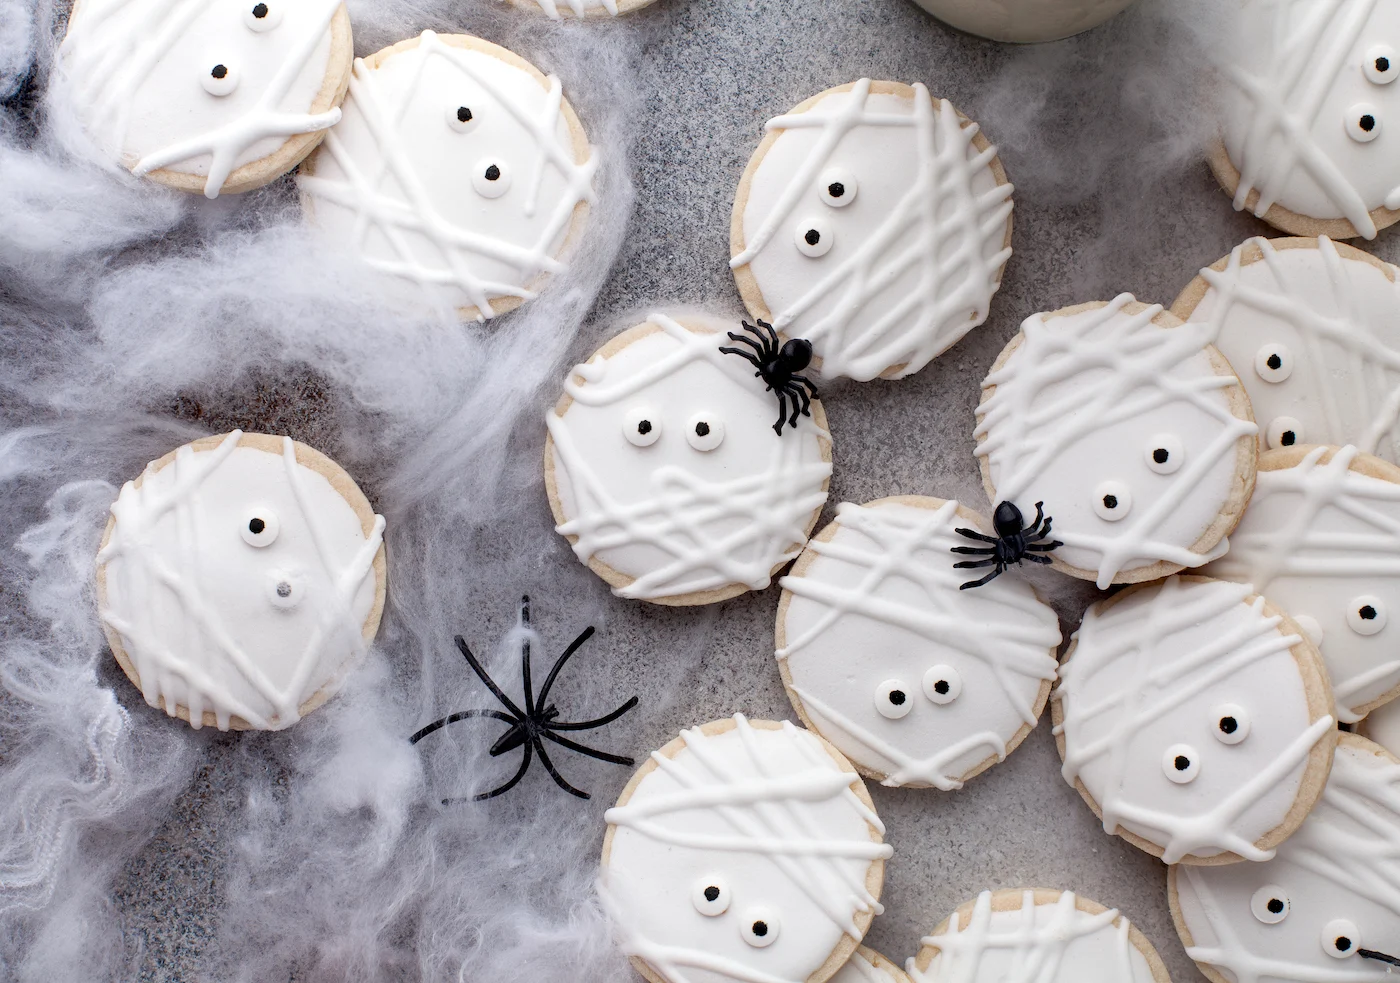
This year I decided more candy eyeballs were in order, so I chose to make something mummy related again. Something cute, tasty, and easy. And that’s how these mummy cookies were born!
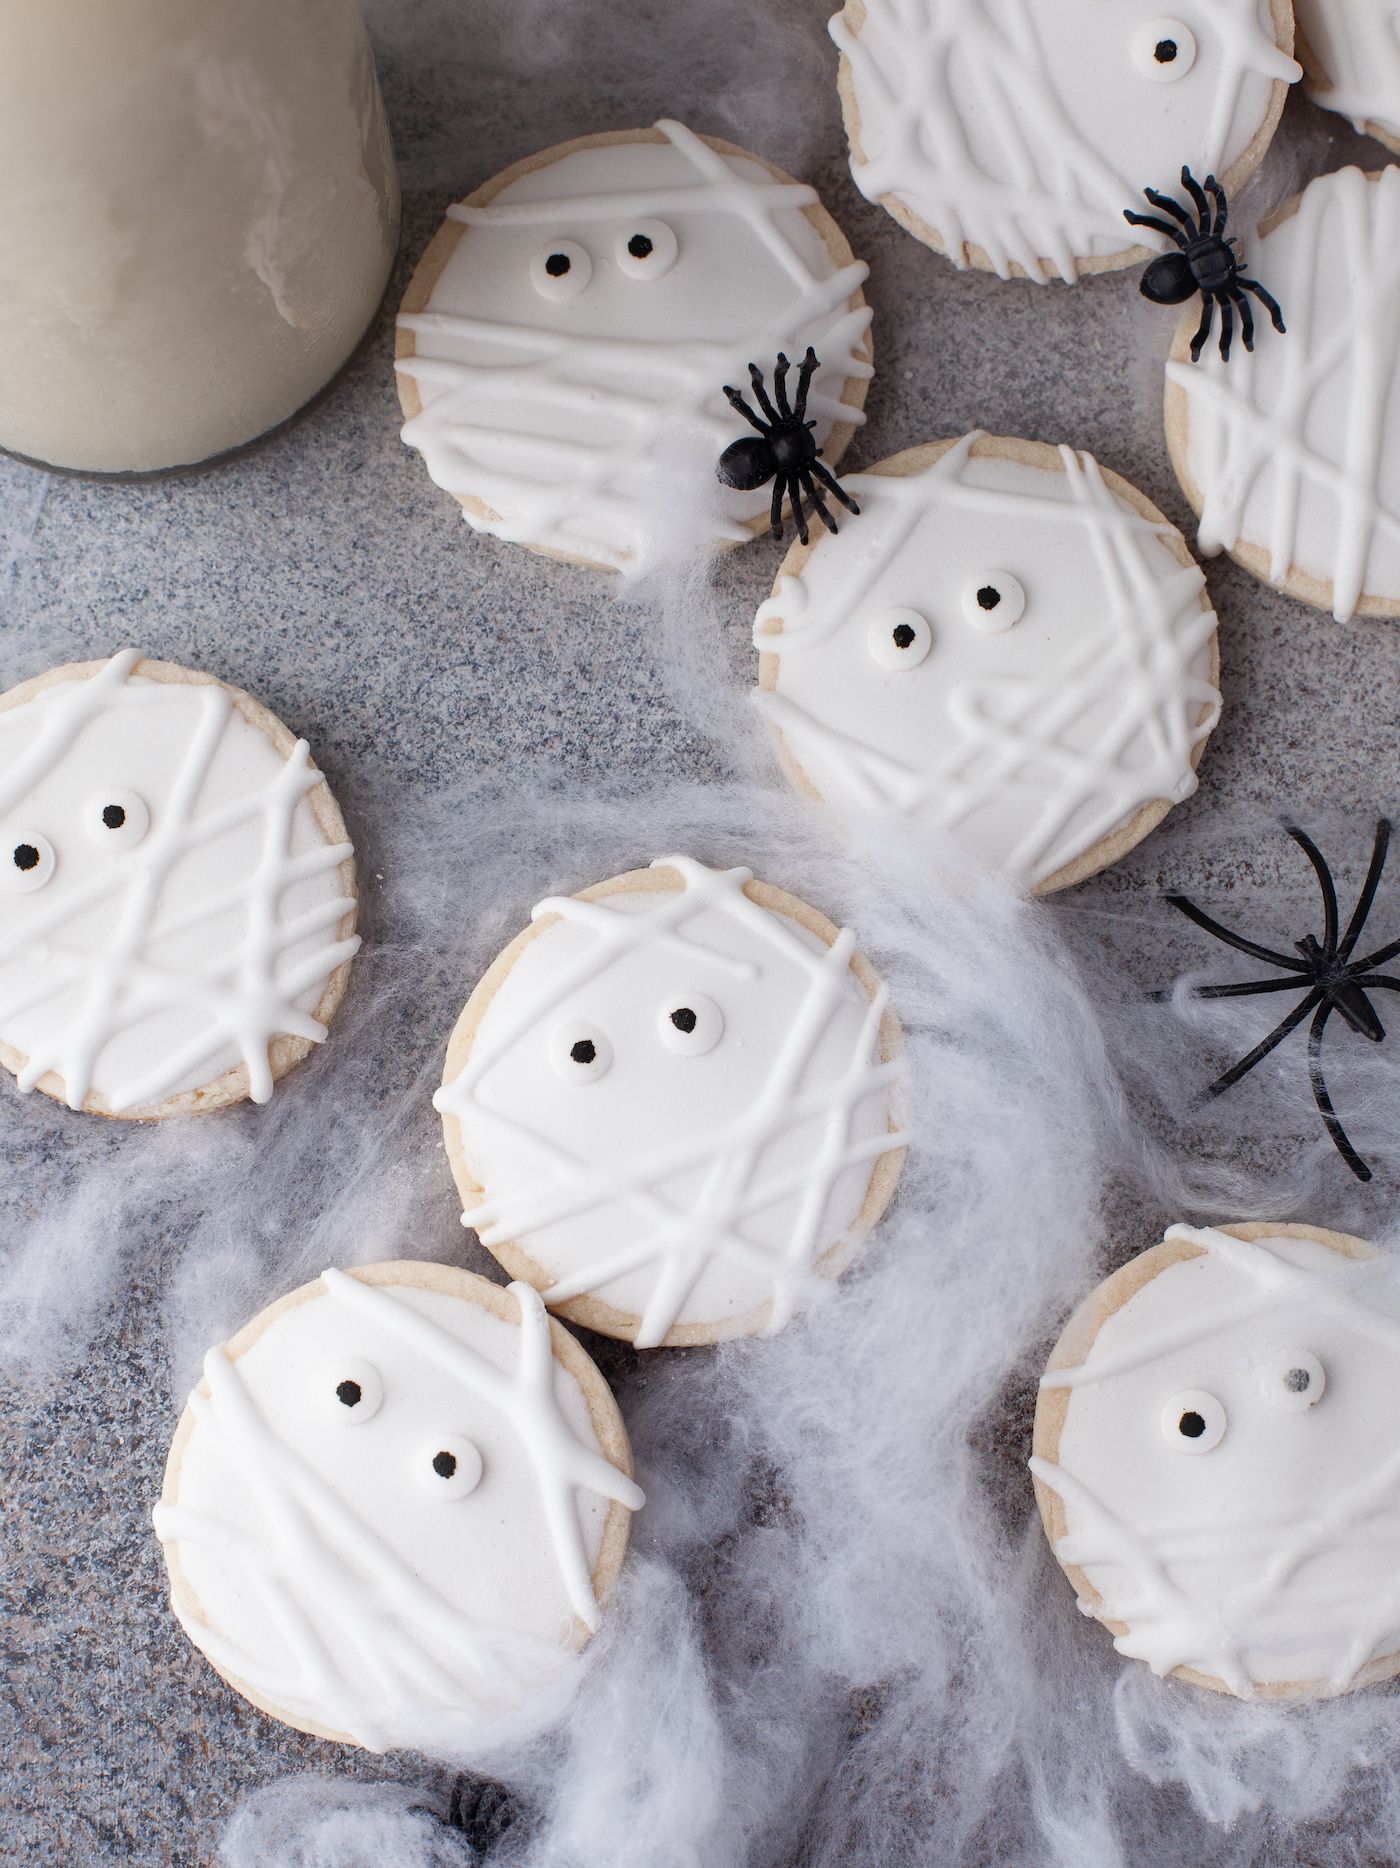
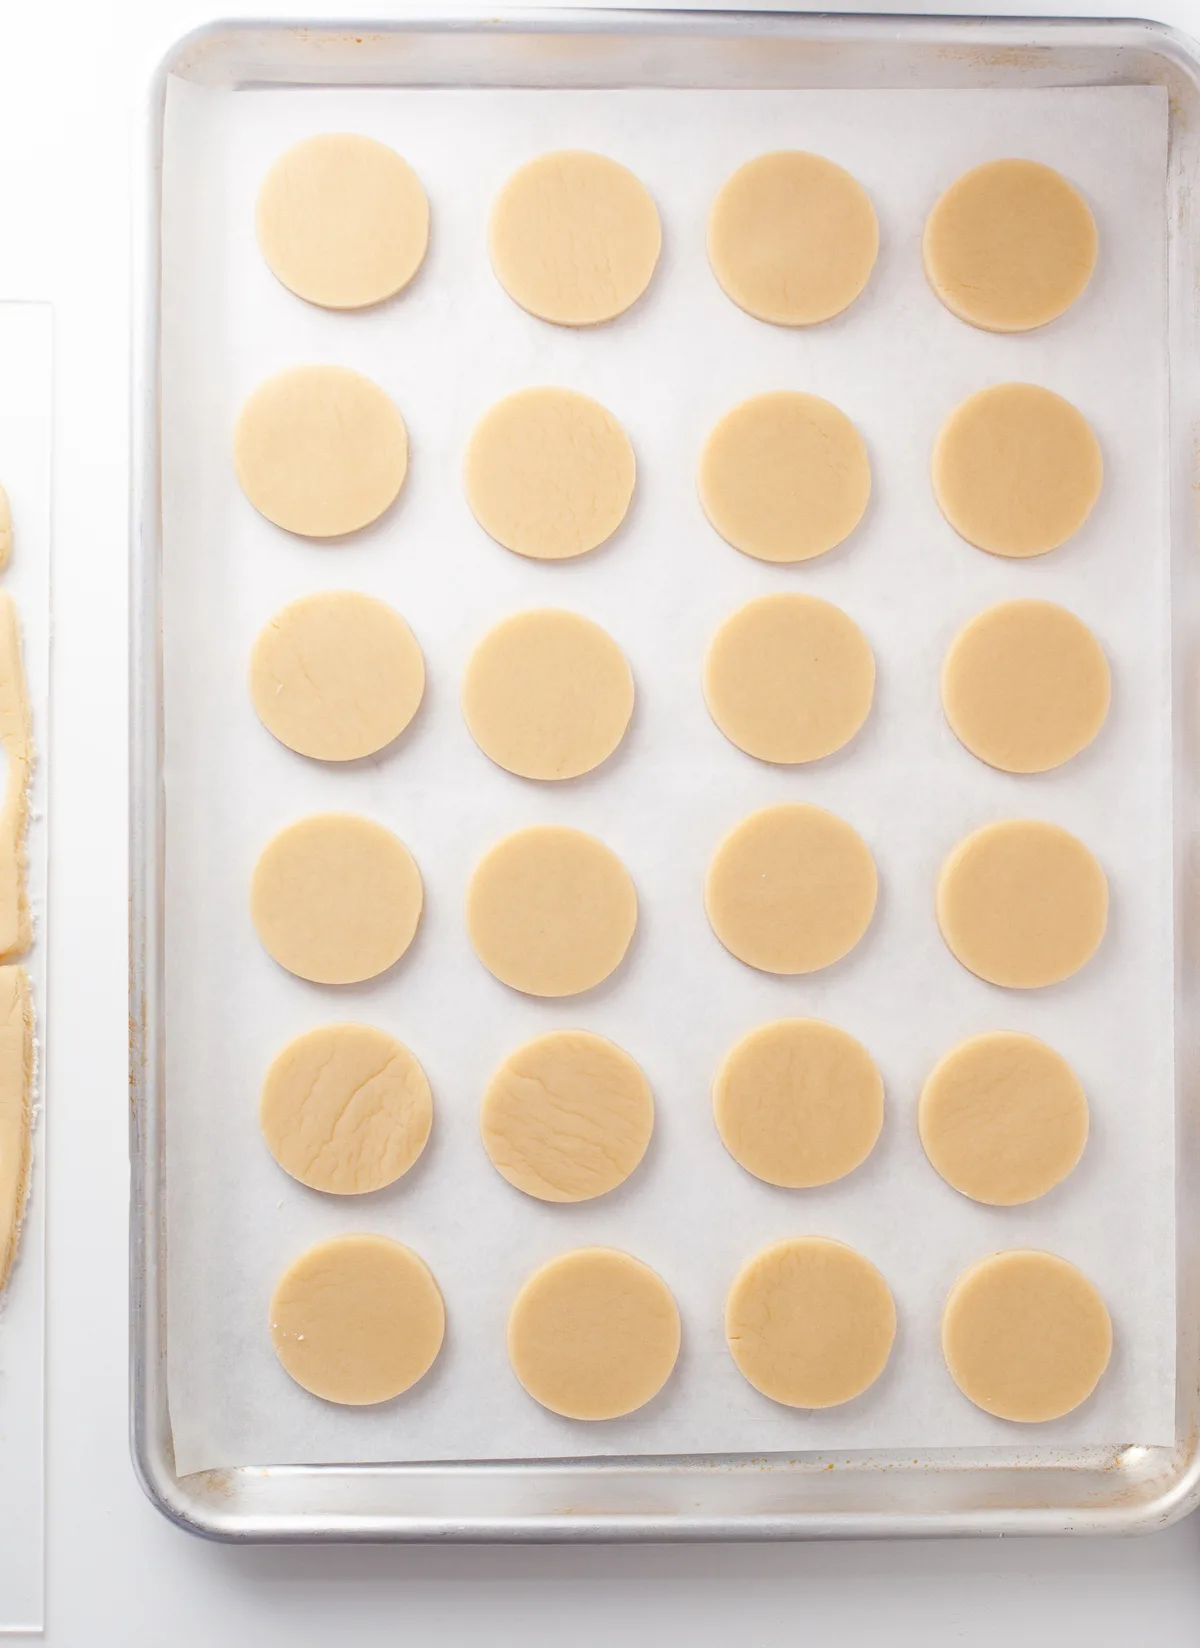
What I love about these Halloween cookies is that even if you aren’t a baker, you’ll be able to make these quite easily. I recommend a circle cookie cutter to get those perfect circles, and the rest is easy.
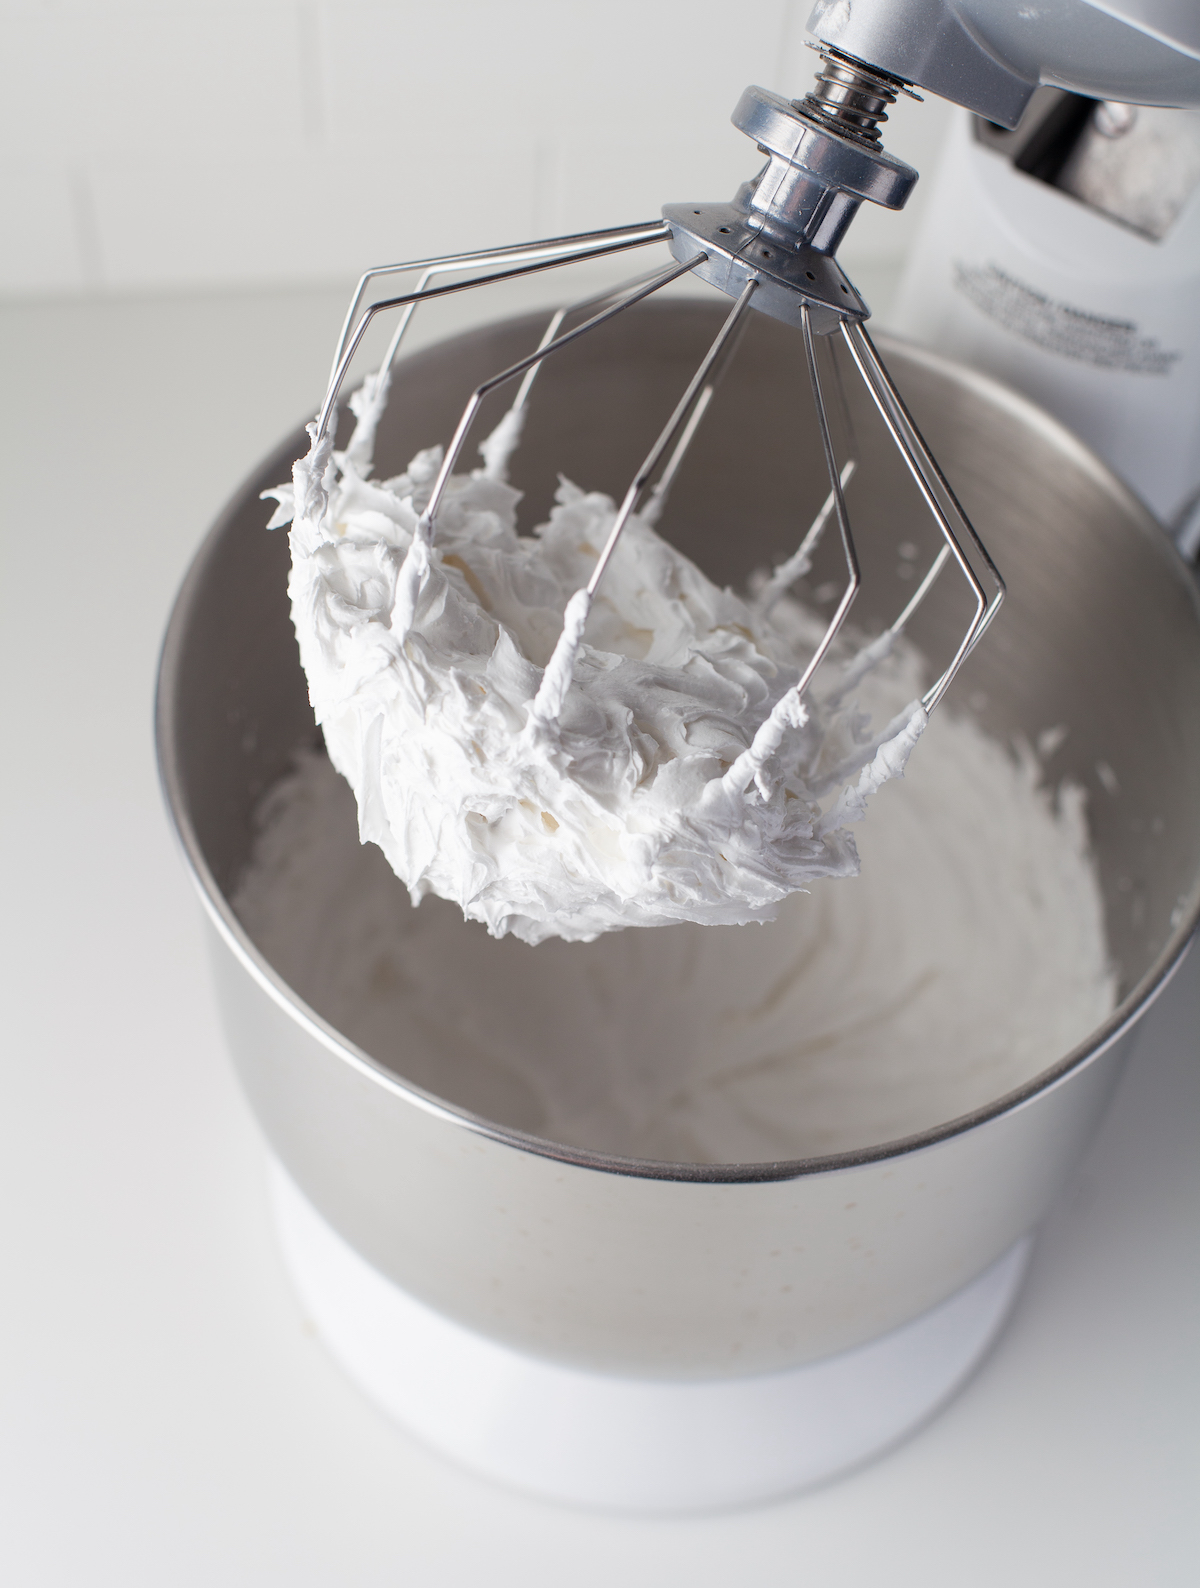
You’ll be making a sugar cookie base, then making the icing (which is very simple especially because you aren’t adding any color). Then you’re going to top the cookies with the icing and add eyeballs.
There’s a lot of room for error. But you don’t have to worry about that because your mummy cookies are going to look amazing!
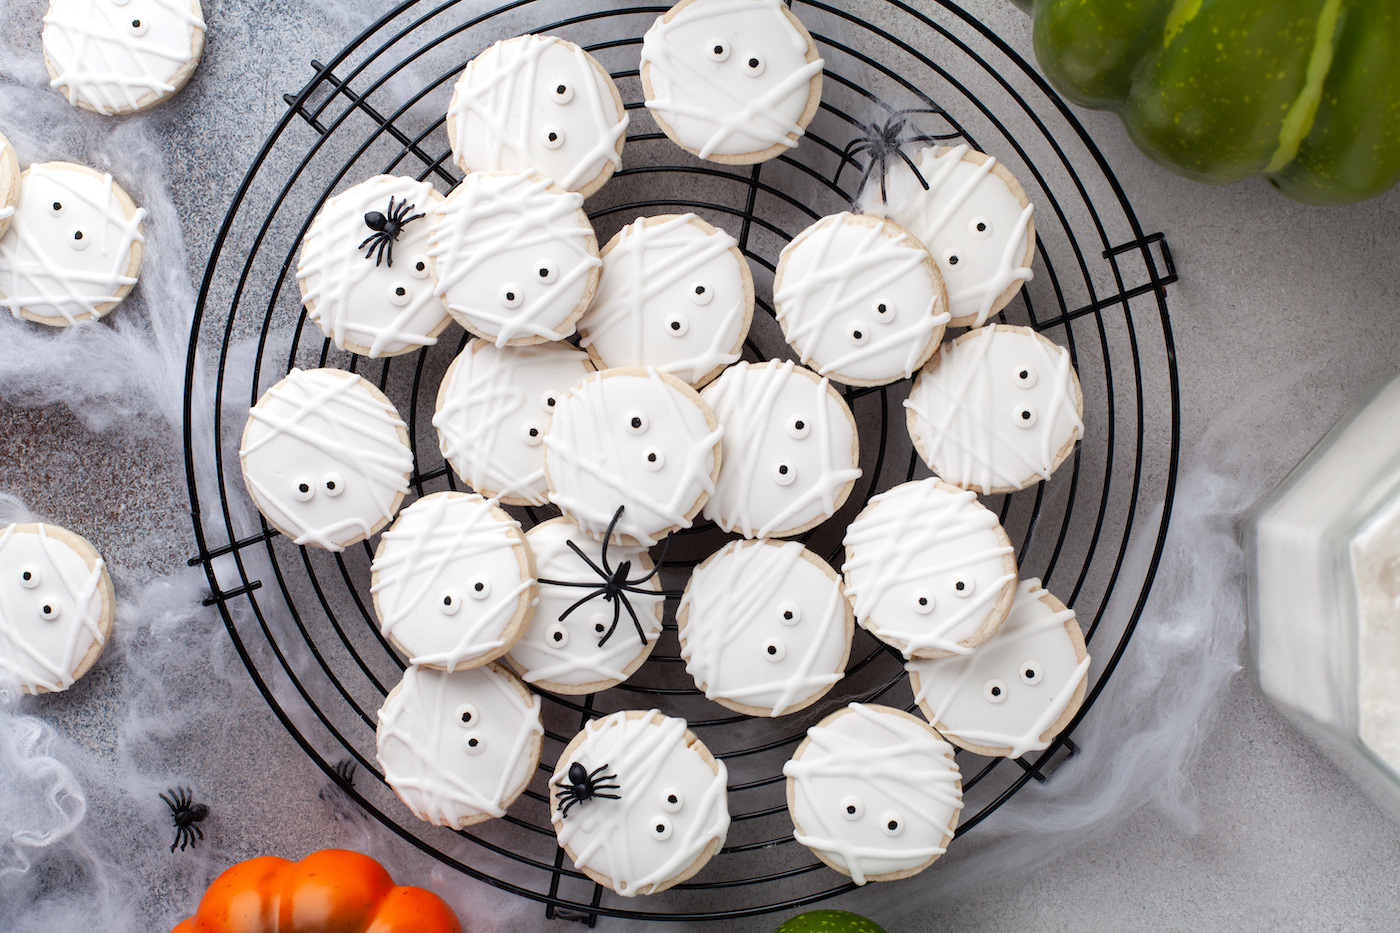
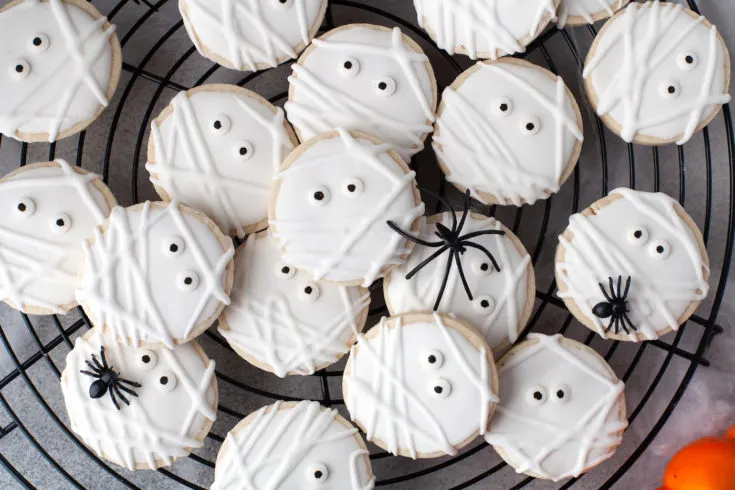
You’ll be proud bringing them to any Halloween parties or classroom events. But it’s also fun just surprising kids with a cute cookie tree for the holiday!

For this recipe you’re going to need the following ingredients:
Cookies
- 1 cup unsalted butter, softened
- 1 cup of powdered sugar
- 2 small eggs (important that they are small)
- 1 1/2 teaspoons of vanilla extract
- 1/2 teaspoon of salt
- 1/3 cup of cornstarch
- 3 1/2 cups of flour
Royal Icing
- 1 1/2 cups of powdered sugar
- 2 1/4 Tablespoons of warm water
- 1 Tablespoon of Meringue Powder
- 1/4 teaspoon clear flavor extract (allows you to add vanilla without darkening)
- Candy eyes – two per cookie
Additional Notes for This Recipe
- Cold ingredients should be at room temperature (eggs, butter) but don’t leave them out too long.
- Mix ingredients until just mixed. This means right when wet and dry are combined, stop. If you overmix the dough, you’ll end up with flatter, crispier cookies than you’d probably like.
- Don’t skip chilling the dough. Sometimes it’s a drag to wait, but it keeps the cookies from spreading and enhances the flavor. You need to chill the dough for at least 30 minutes and longer is preferable.
- I swear by USA Pans. They are my absolutely favorite and cook baked items so evenly.
- Let your pan cool between batches of cookies (it helps to have two pans in rotation). This keeps the cookies from spreading a lot.
- It is important to let the cookies cool a little bit before you frost them, otherwise the frosting will run off the cookies.

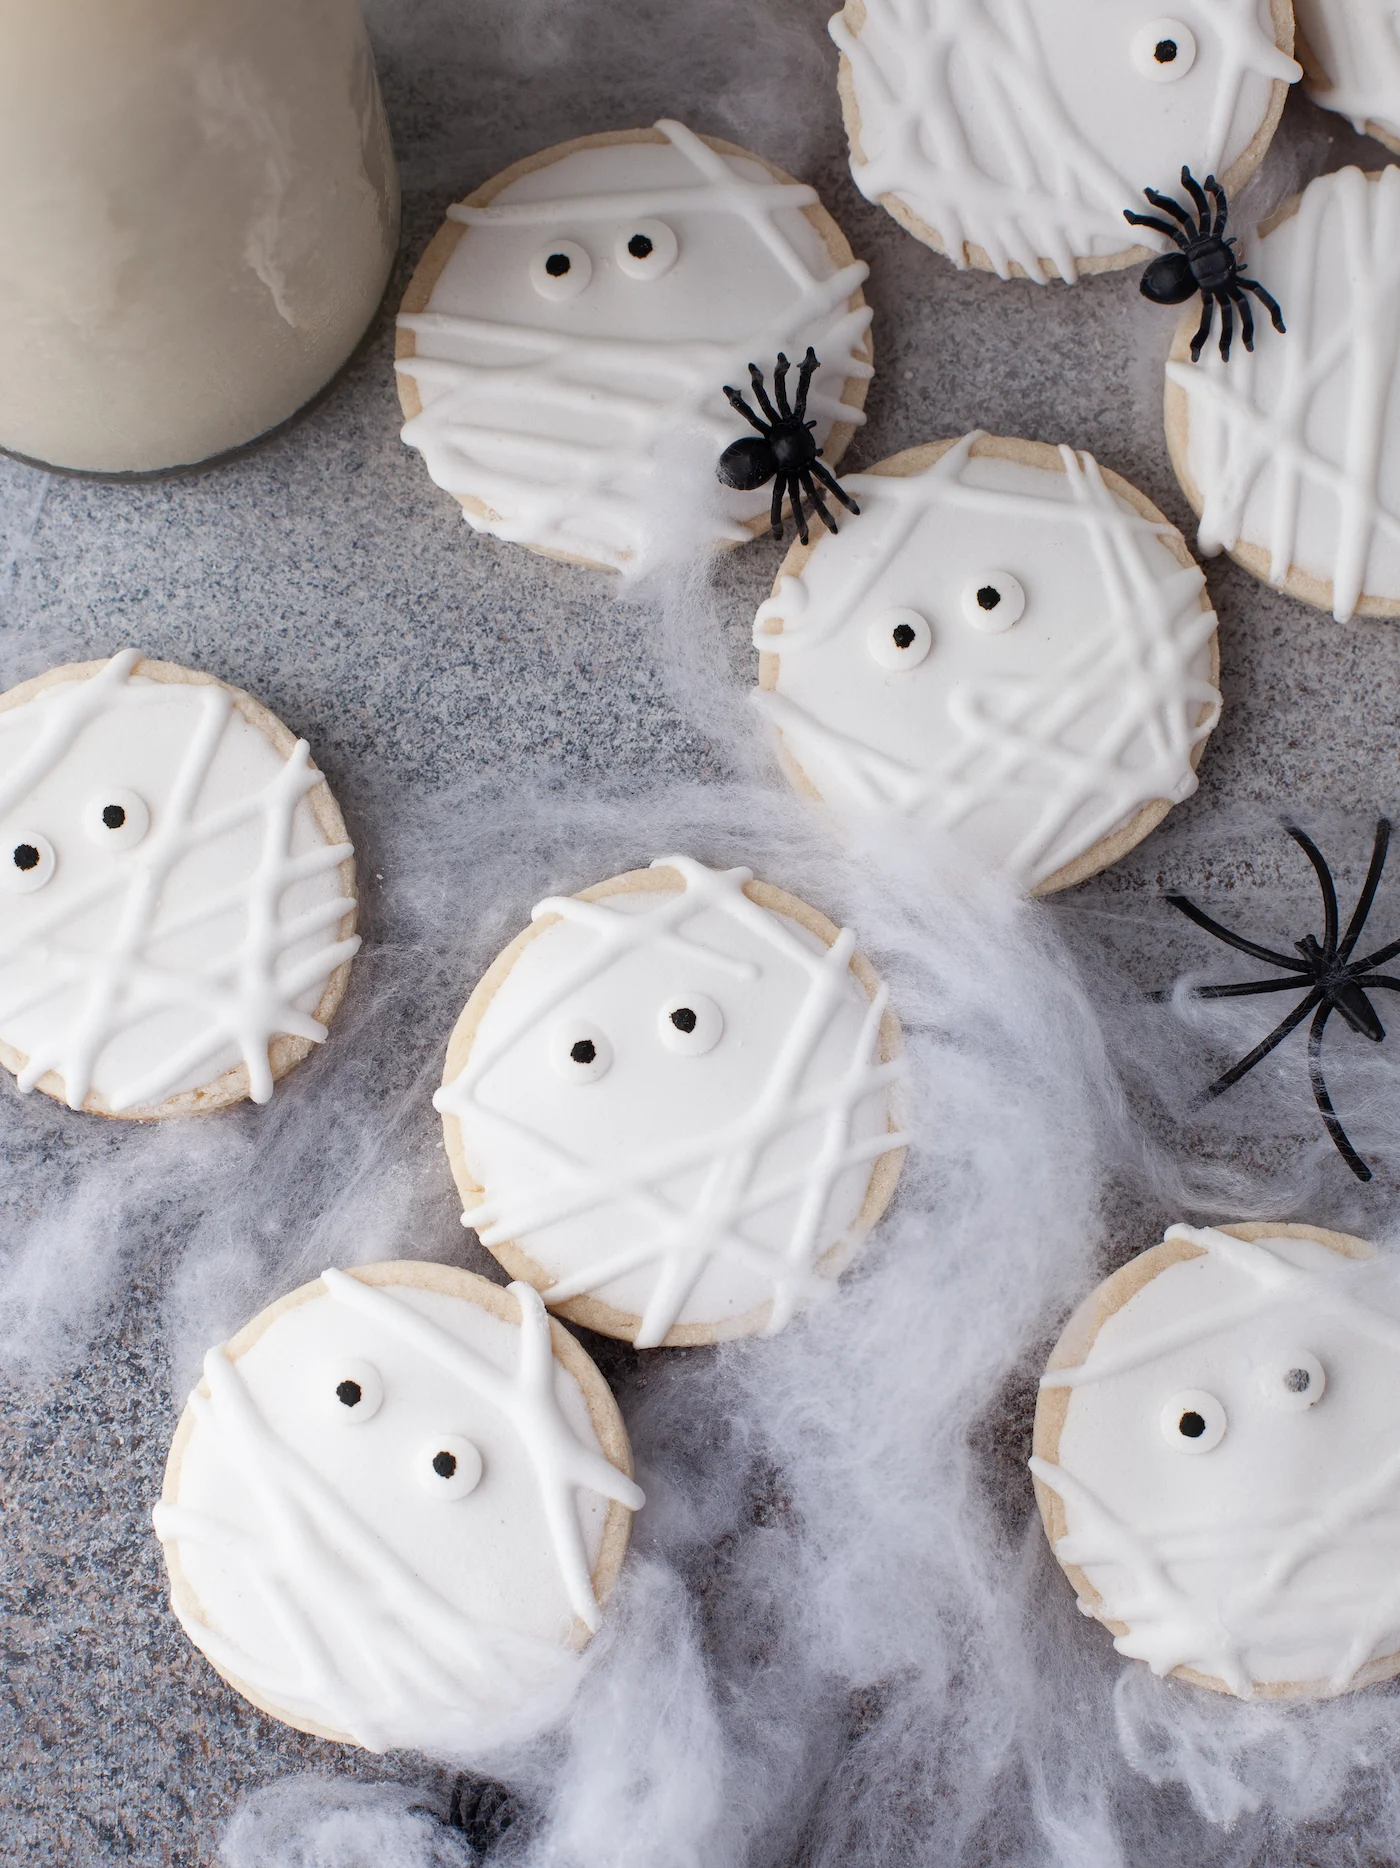
These cookies are so cute, don’t you think? Much cuter than real mummies.

Get the printable recipe for this fun Halloween cookie below!
Mummy Cookies

Make these mummy sugar cookies, perfect for a Halloween celebration!
Ingredients
Cookies
- 1 cup unsalted butter, softened
- 1 cup powdered sugar
- 2 small eggs
- 1 1/2 teaspoons of vanilla extract
- 1/2 teaspoon of salt
- 1/3 cup cornstarch
- 3 1/2 cups flour
Royal Icing
- 1 1/2 cups powdered sugar
- 2 1/4 Tablespoons warm water
- 1 Tablespoon Meringue Powder
- 1/4 teaspoon clear flavor extract
Instructions
Cookies
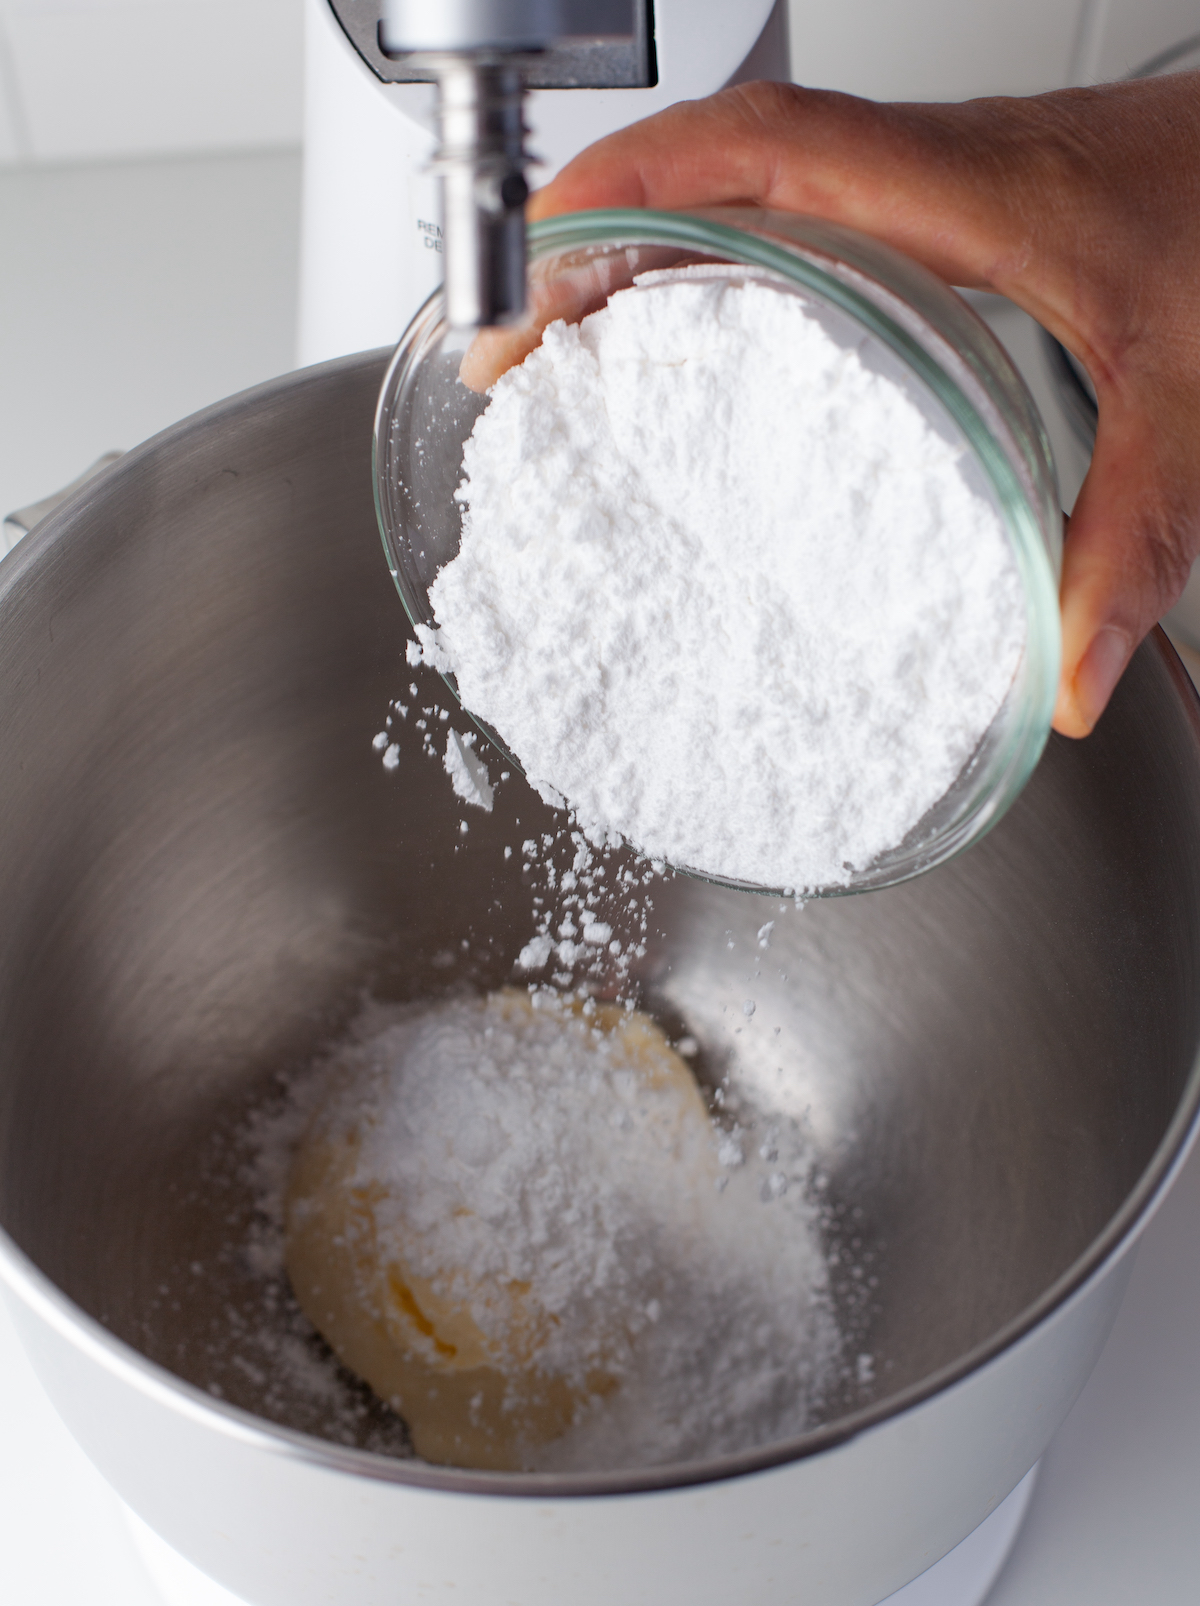
- Mix butter and sugar in a stand mixer fitted with a paddle attachment at medium speed until well combined and creamy.

- Add the eggs and vanilla and combine.


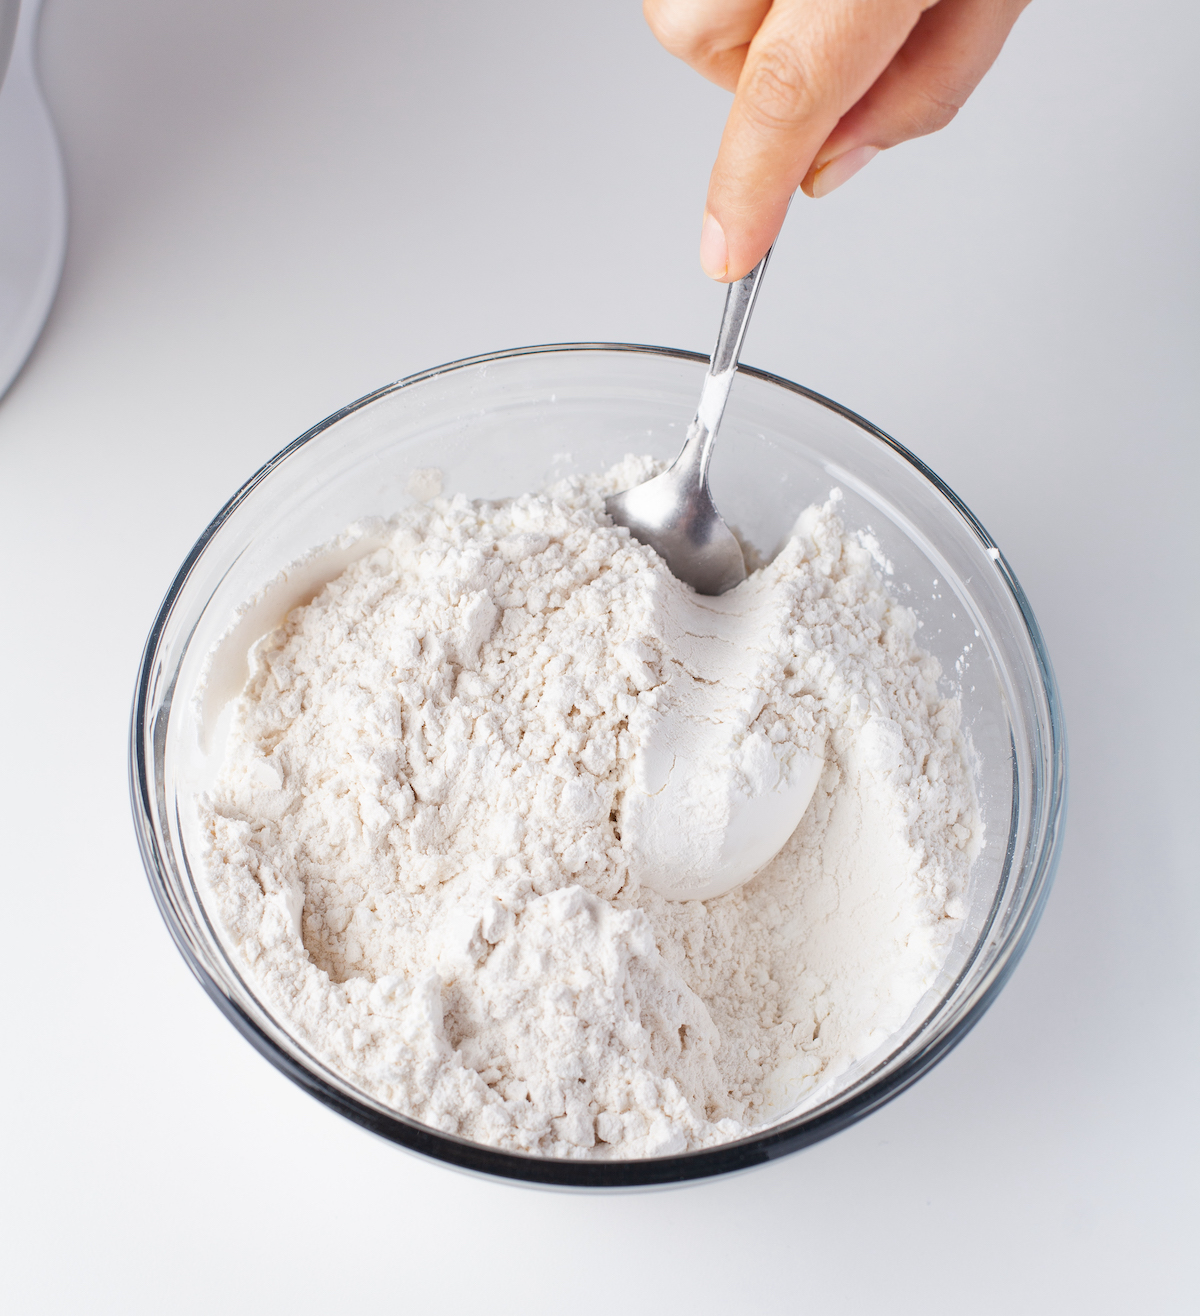
- Whisk flour, salt, and cornstarch together in a separate bowl.
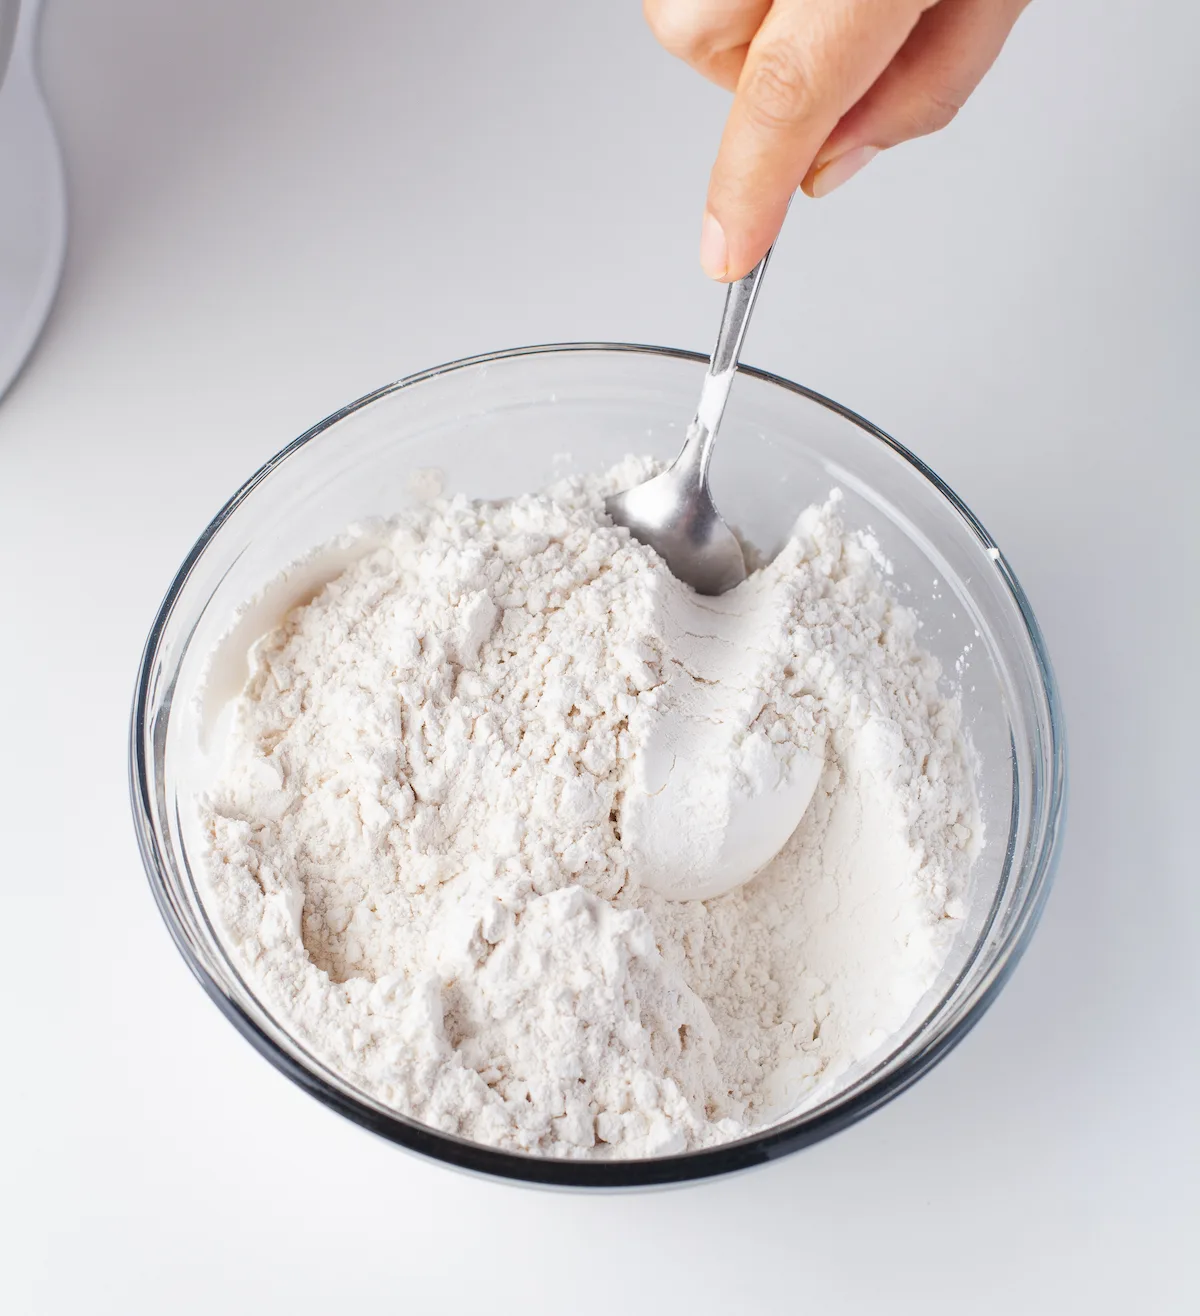
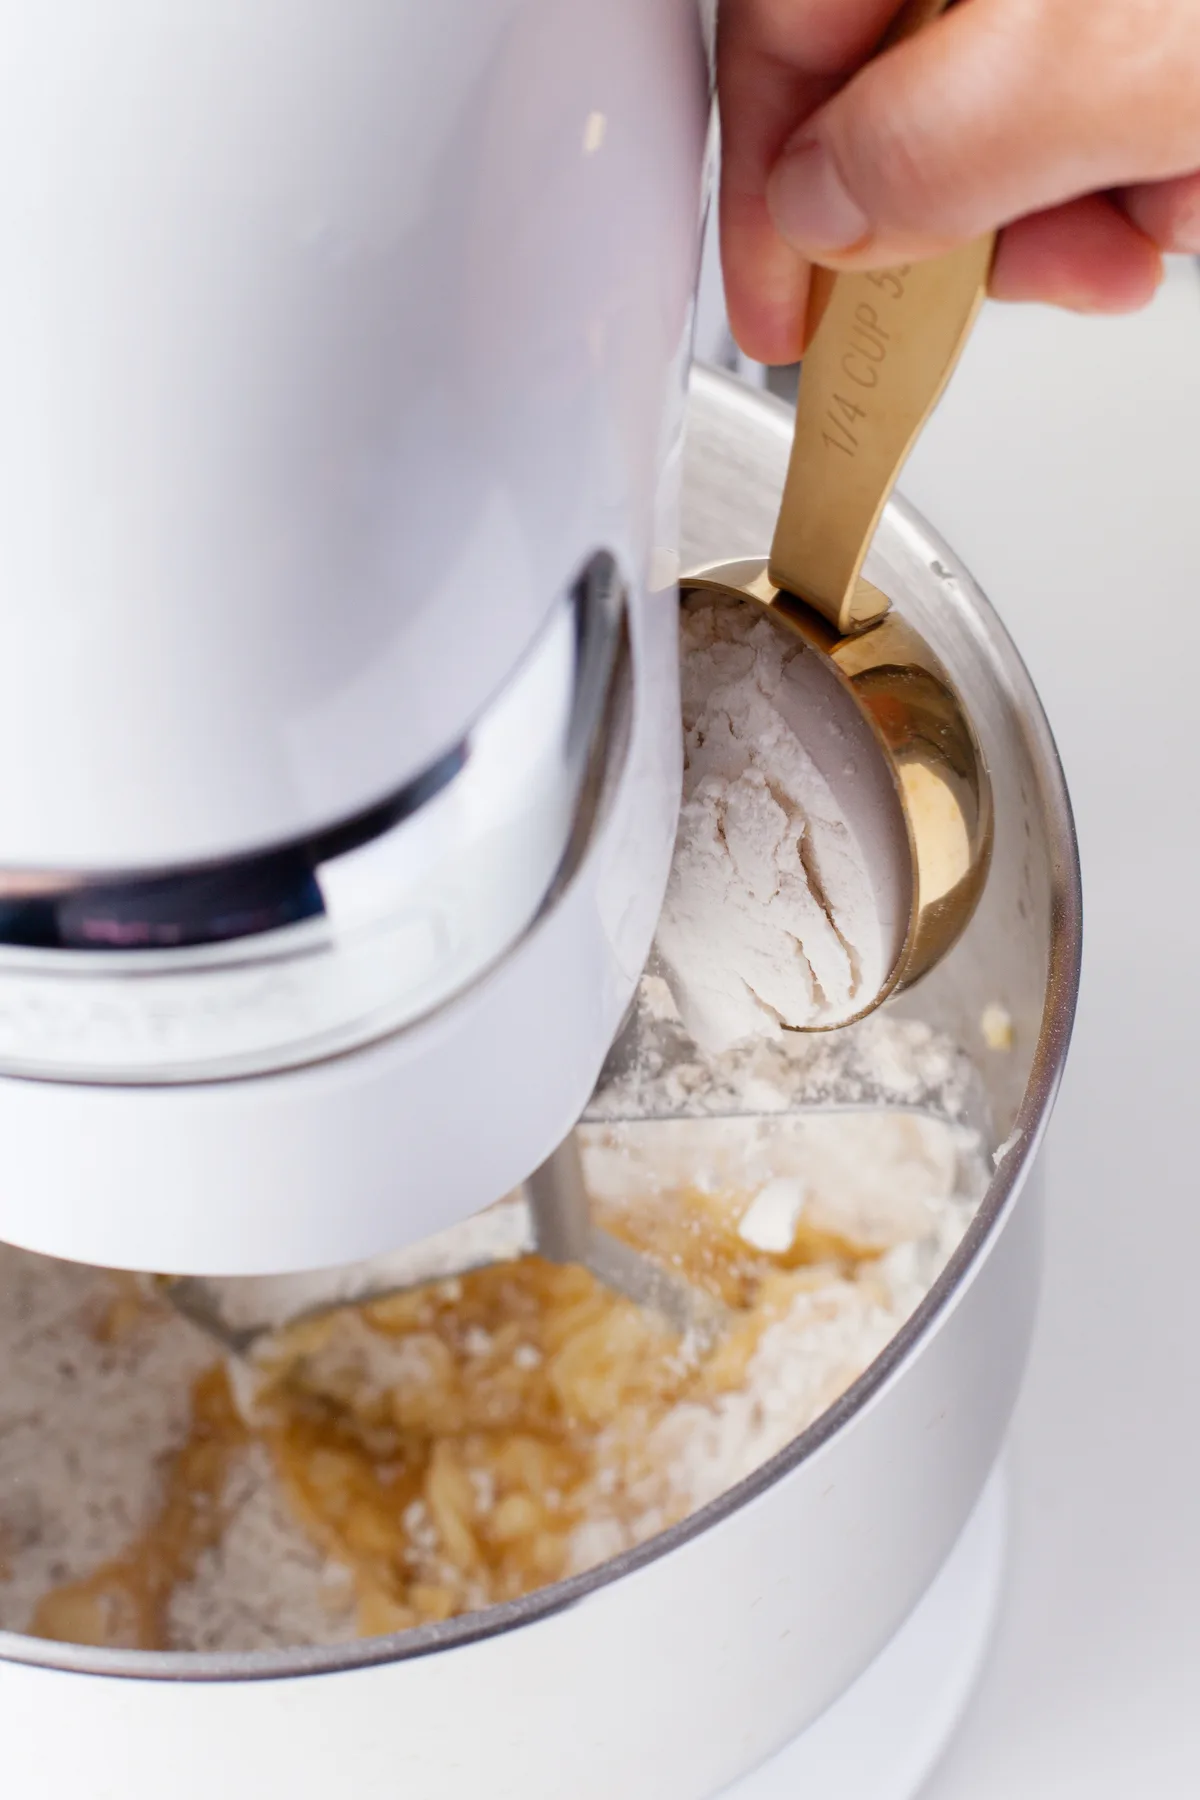
- Add the flour mixture to the wet ingredients little by little. Mix at low speed until ingredients are just combined. Make sure you clean the sides of the bowl with a spatula so it is all mixed.

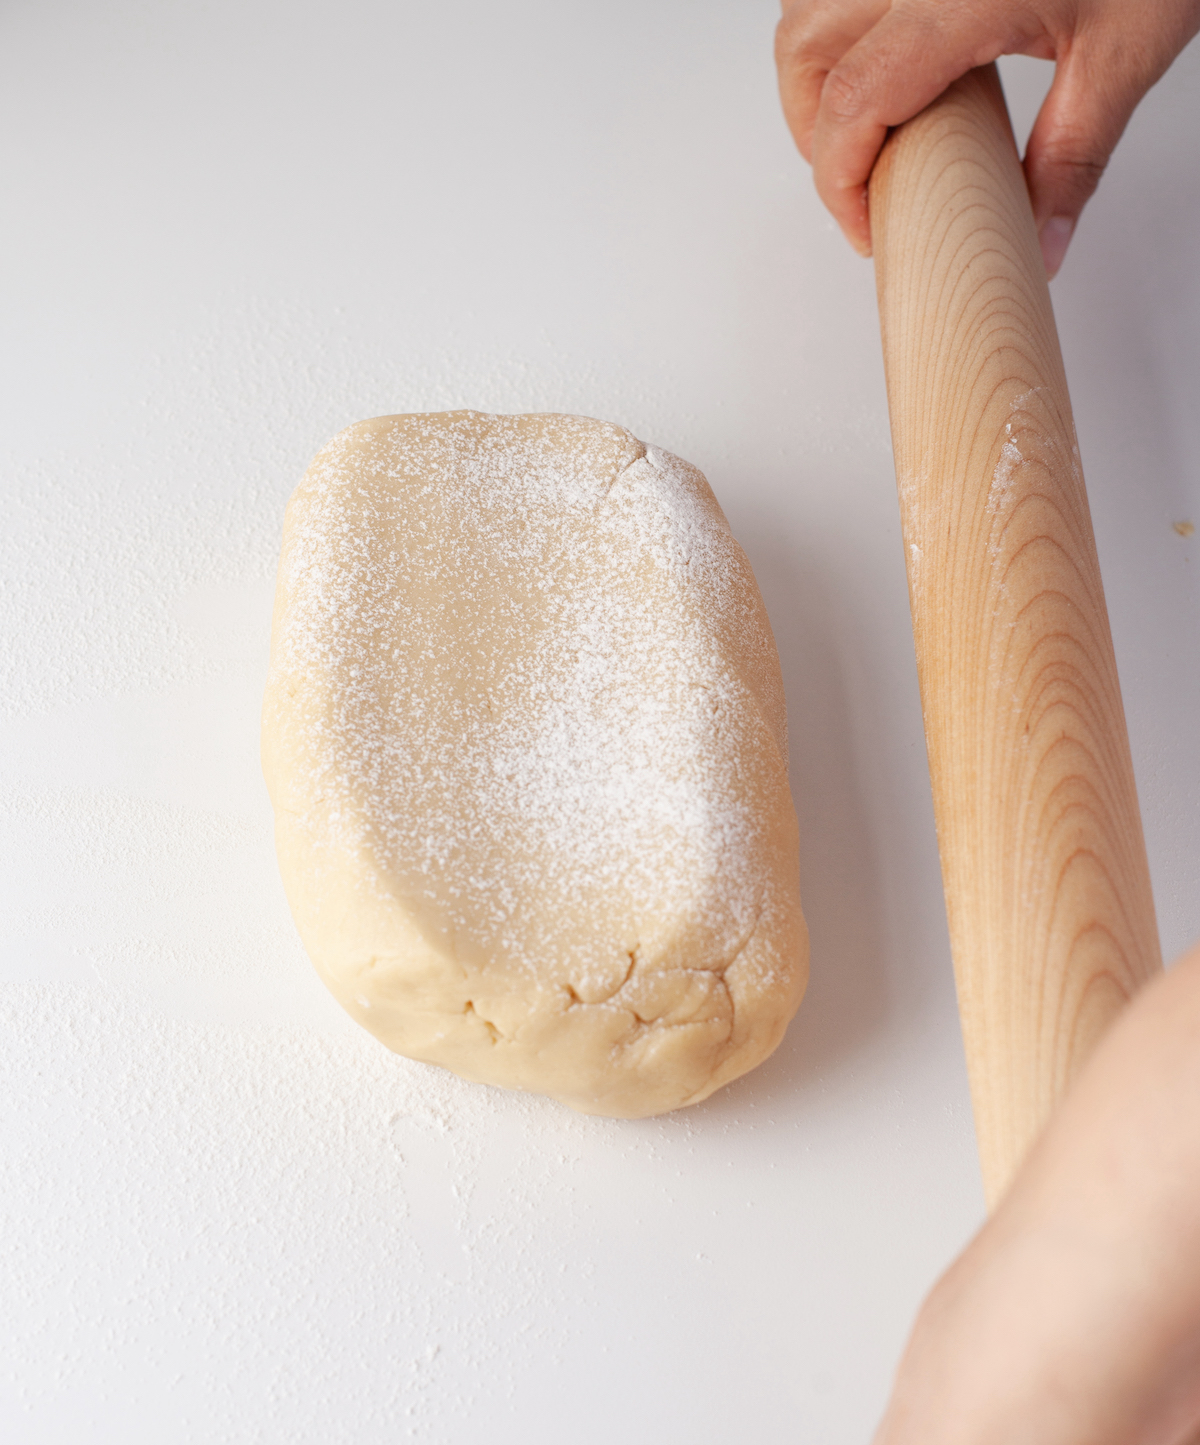
- Press dough to 1/4-inch thick on parchment paper and place in refrigerator or freezer until firm enough to be rolled, about 20-45 minutes.

- Preheat the oven to 350 degrees. Spray some non-stick spray on a baking sheet and set it aside.


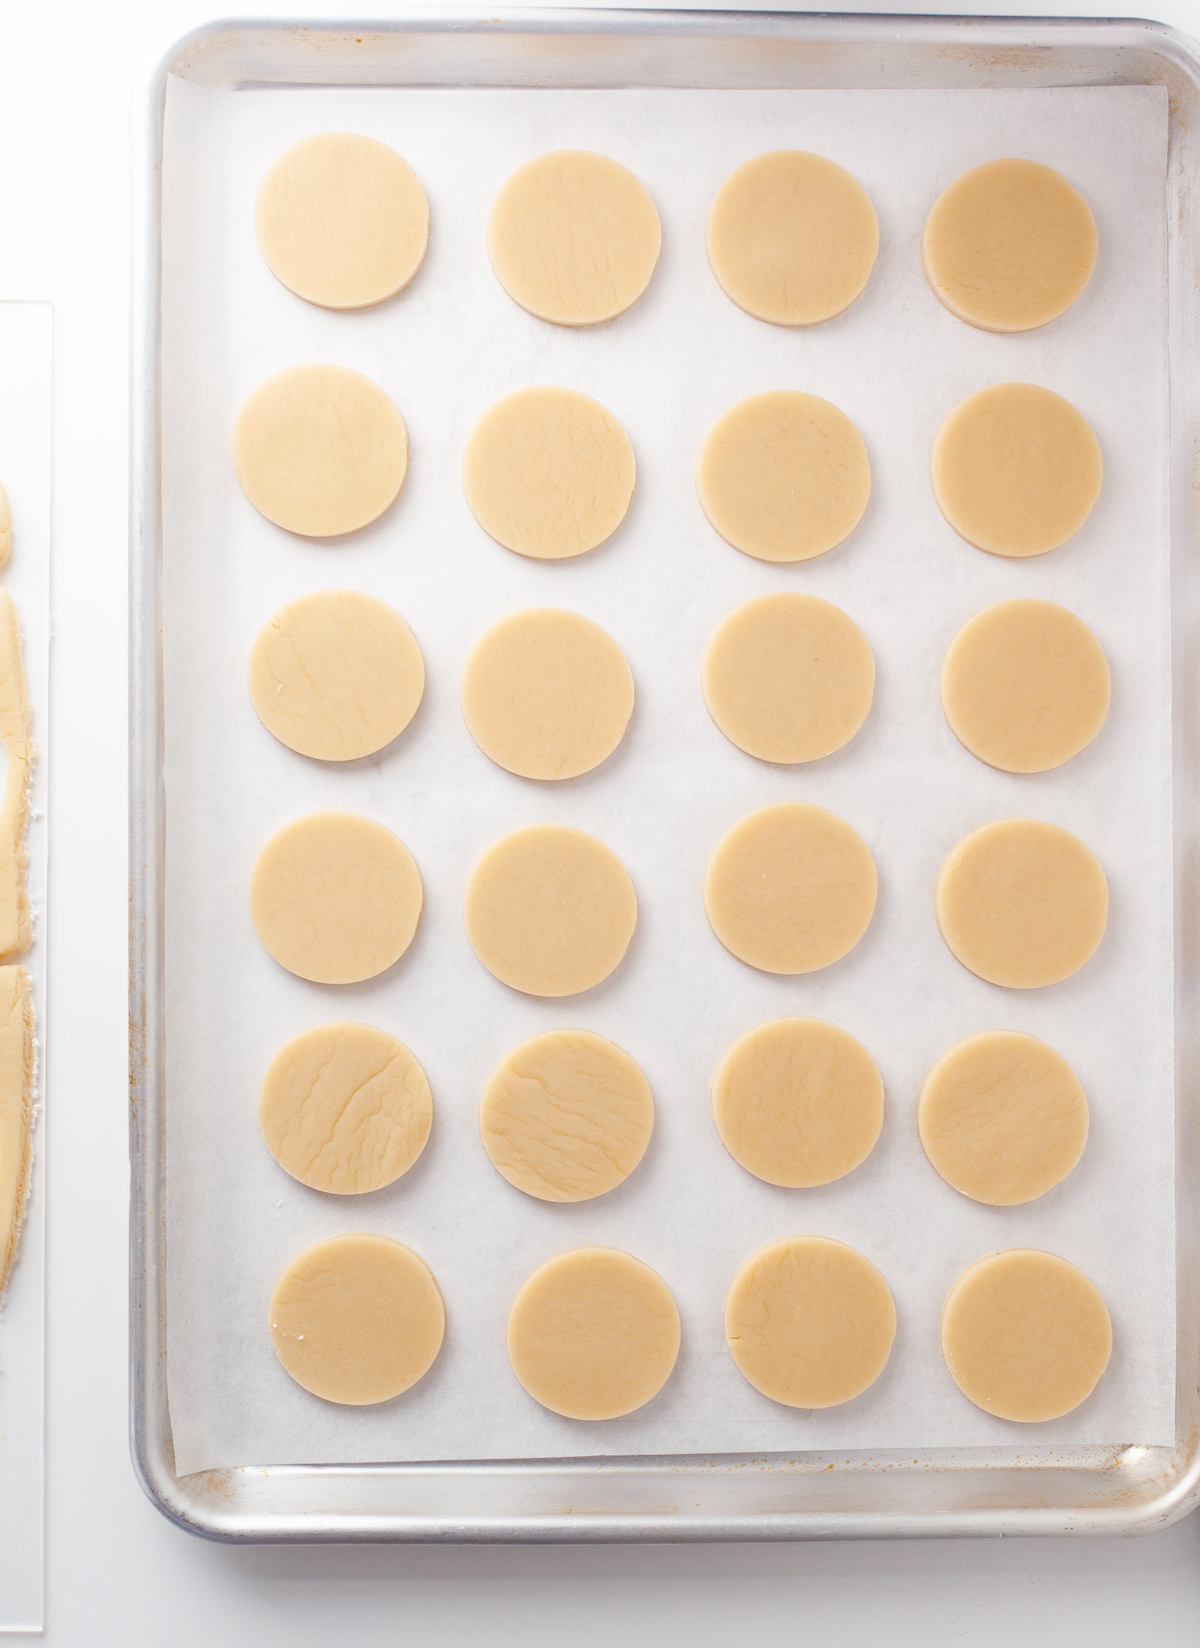
- Cut the shapes and place them on a baking sheet. Bake for 12 to 15 minutes, or until the edges are golden.


- Remove from the oven and let cool for at least an hour. They must be completely cool before you add the icing.
Royal Icing
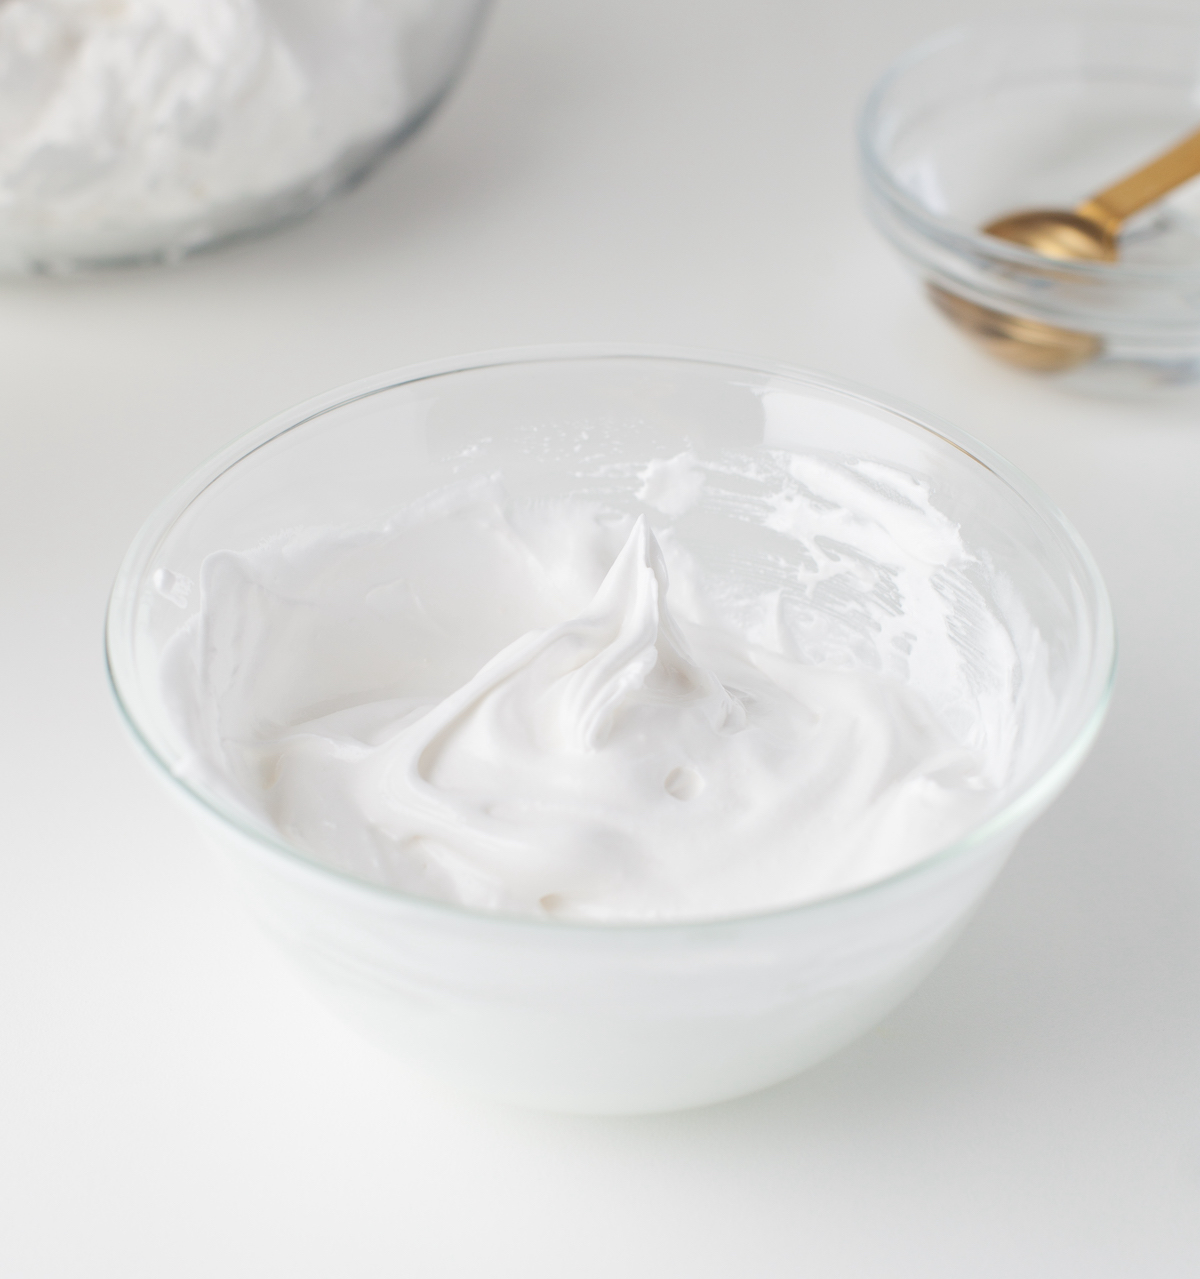
- In a stand mixer, whisk powdered sugar, flavor extract, water, and meringue powder until it’s fluffy and has peaks in it on medium to high speed. This could take anywhere from 4 to 5 minutes.
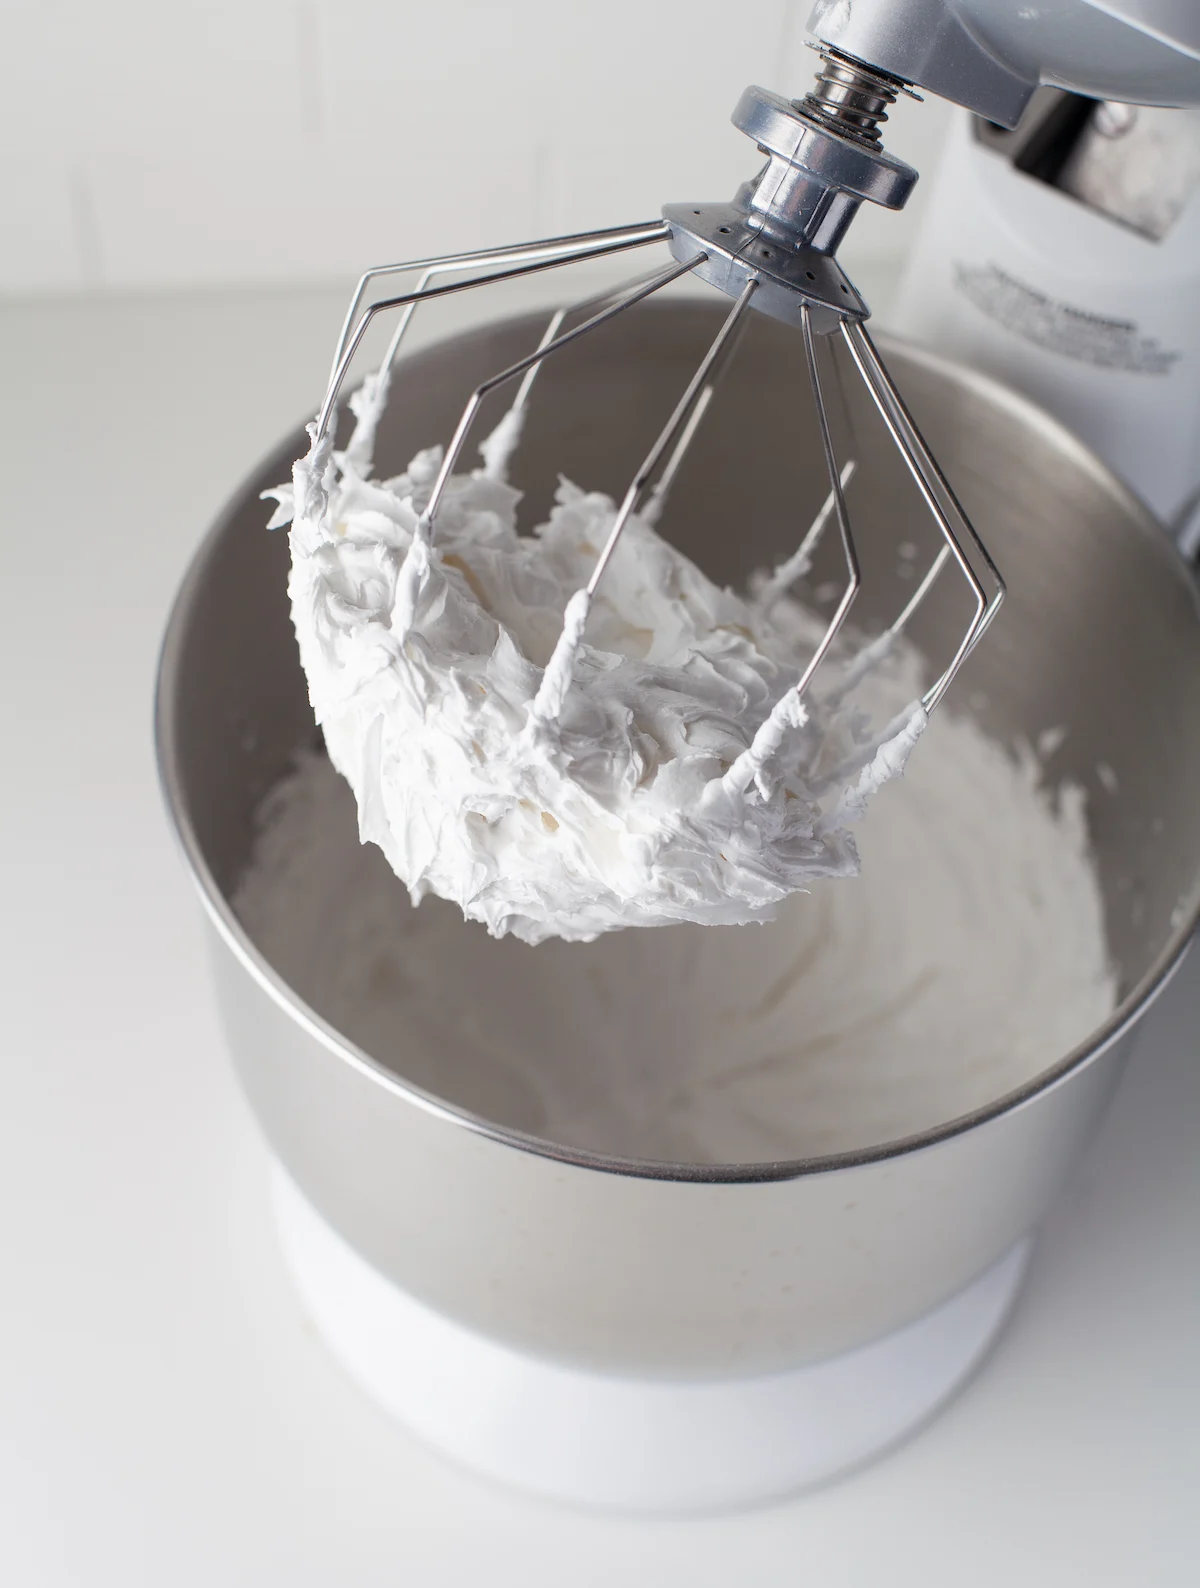
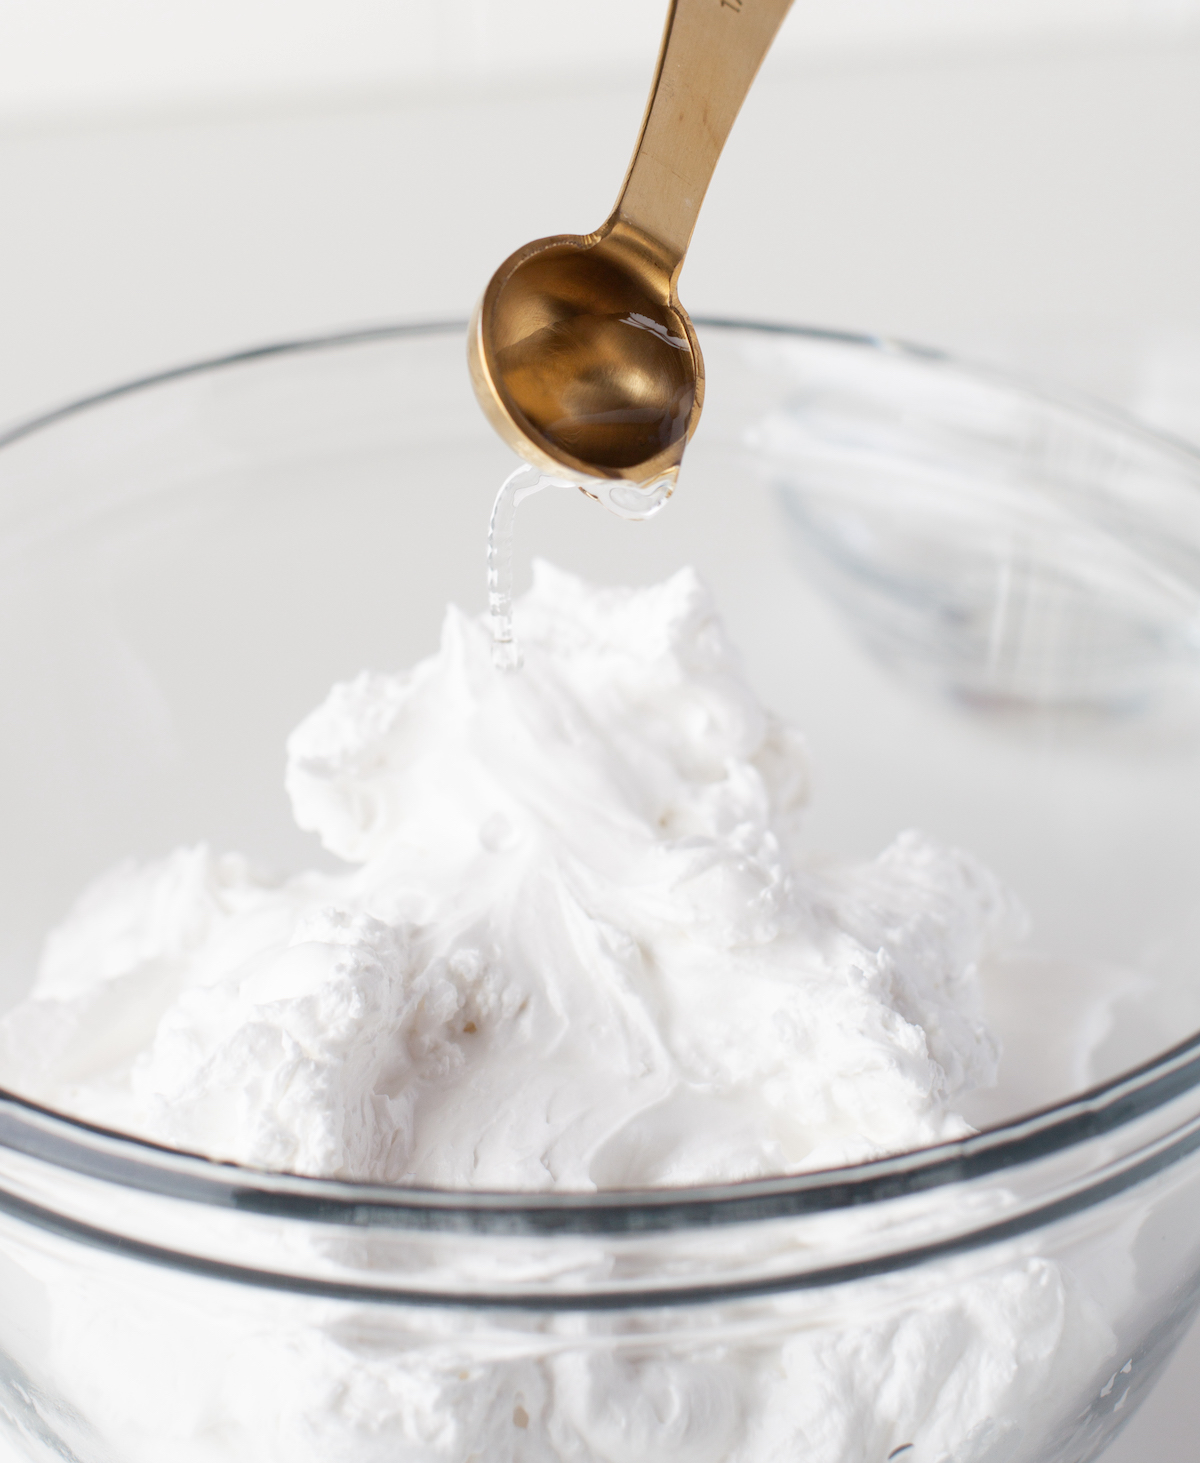
- If the icing is too thick, add more water, 1 teaspoon at a time, until icing has the consistency of glue and you can see the swirl marks from the mixer remain for a few seconds.

- Once you have the consistency you want, place it into a piping bag or ziploc bag with the corner cut.

Decorating the Cookies
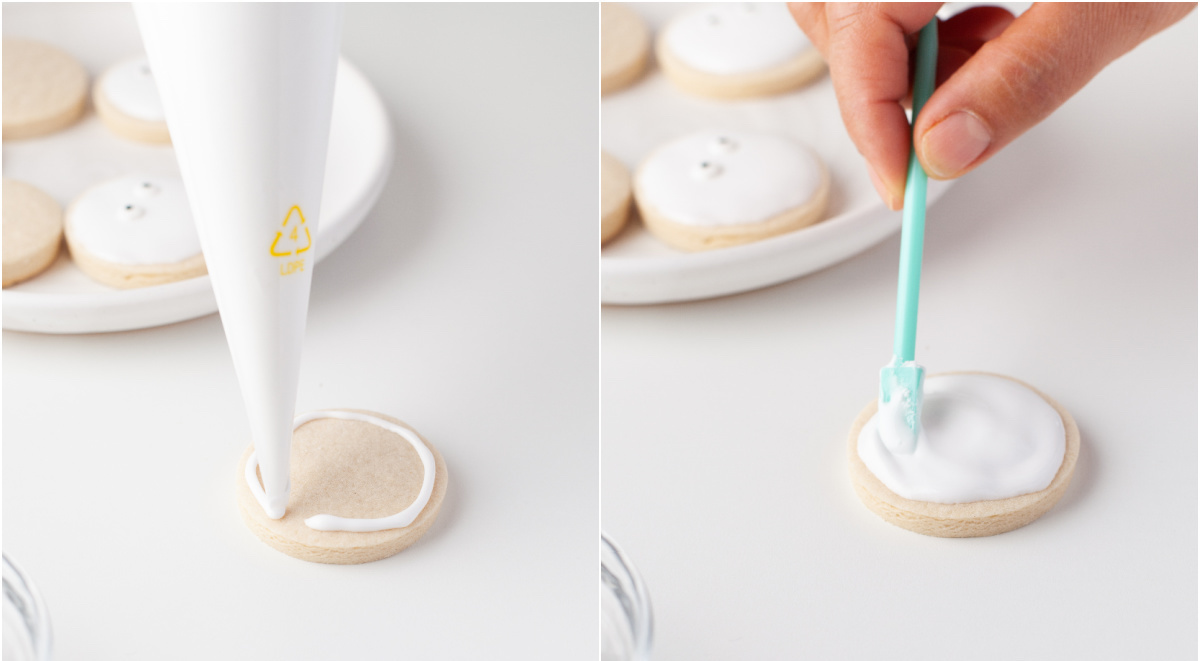
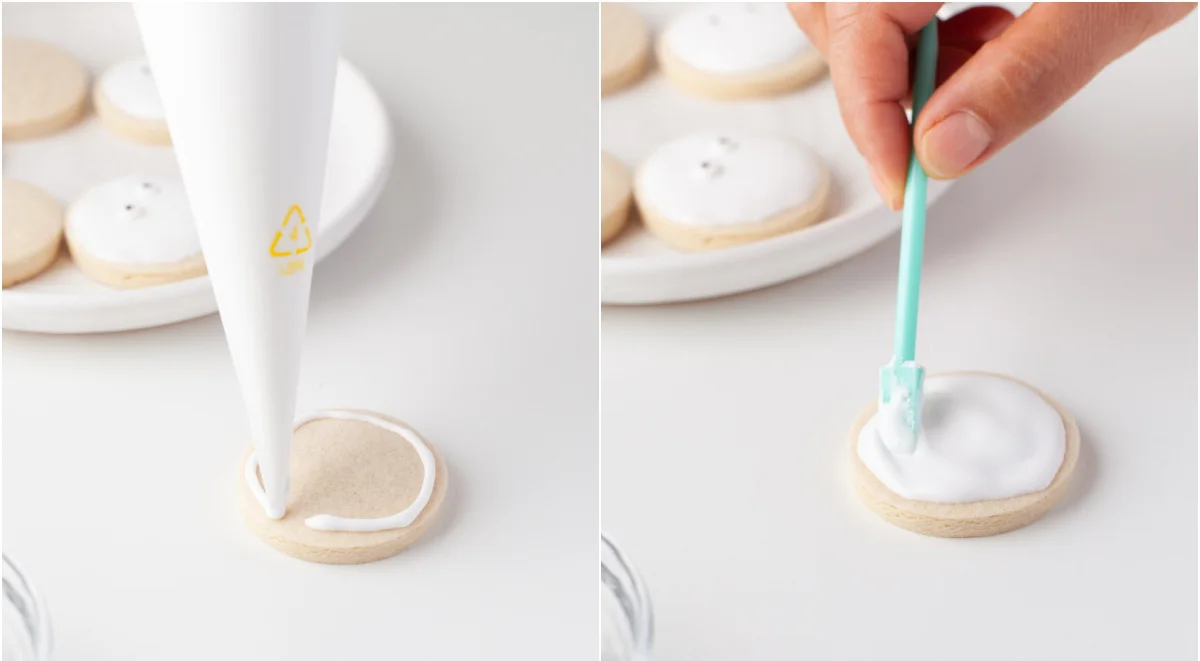
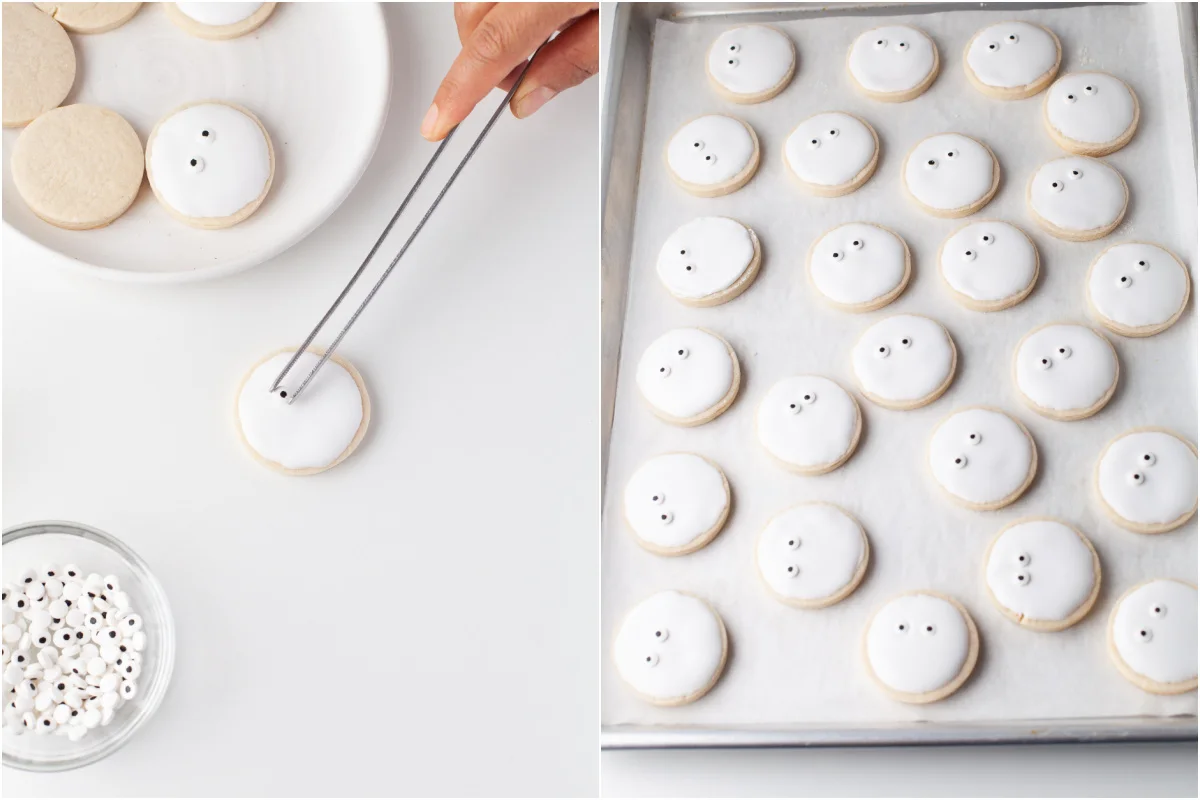
- Outline each cookie with your icing, then continue making a spiral inwards. Immediately (with a toothpick or a tool) spread the icing evenly to smooth it and fill the area. The icing consistency should allow you to fill in large areas of a cookie surface quickly.
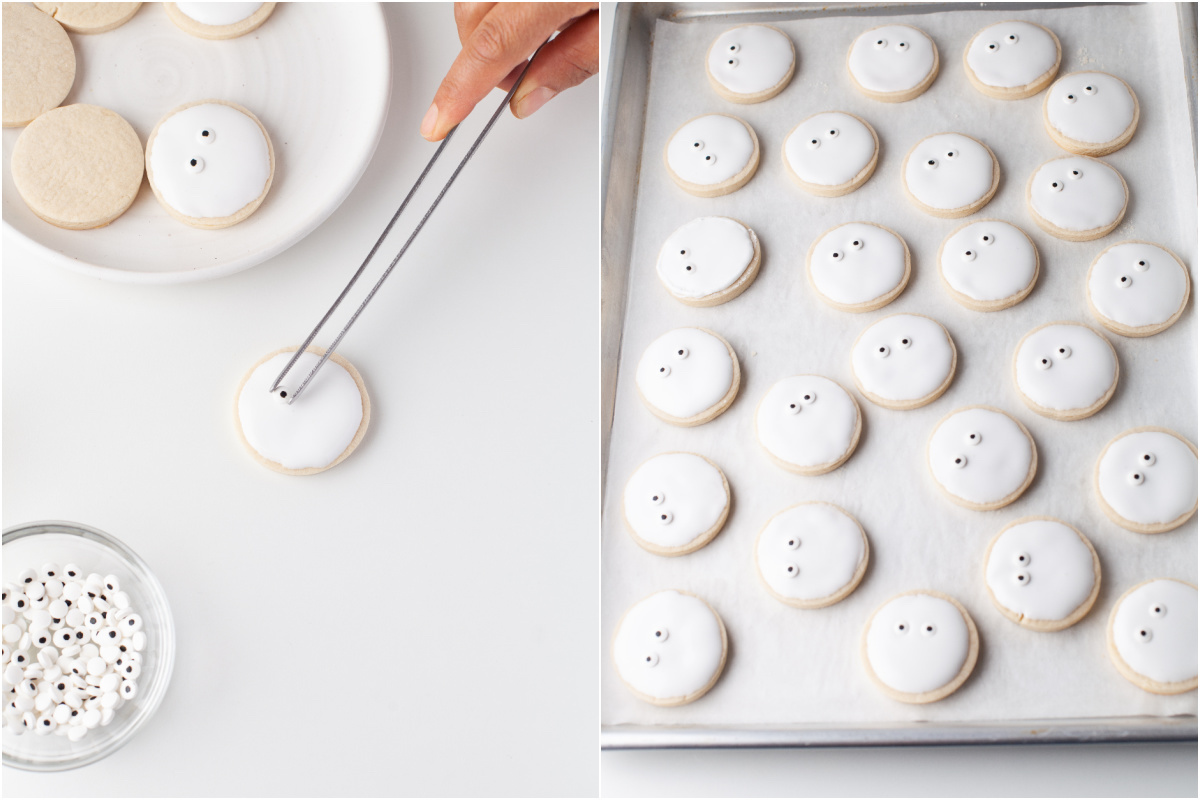
- Place the eyes on the cookie. Repeat with the additional cookies, filling in the circle and then adding the eyes. Allow them to set before adding the bandages.
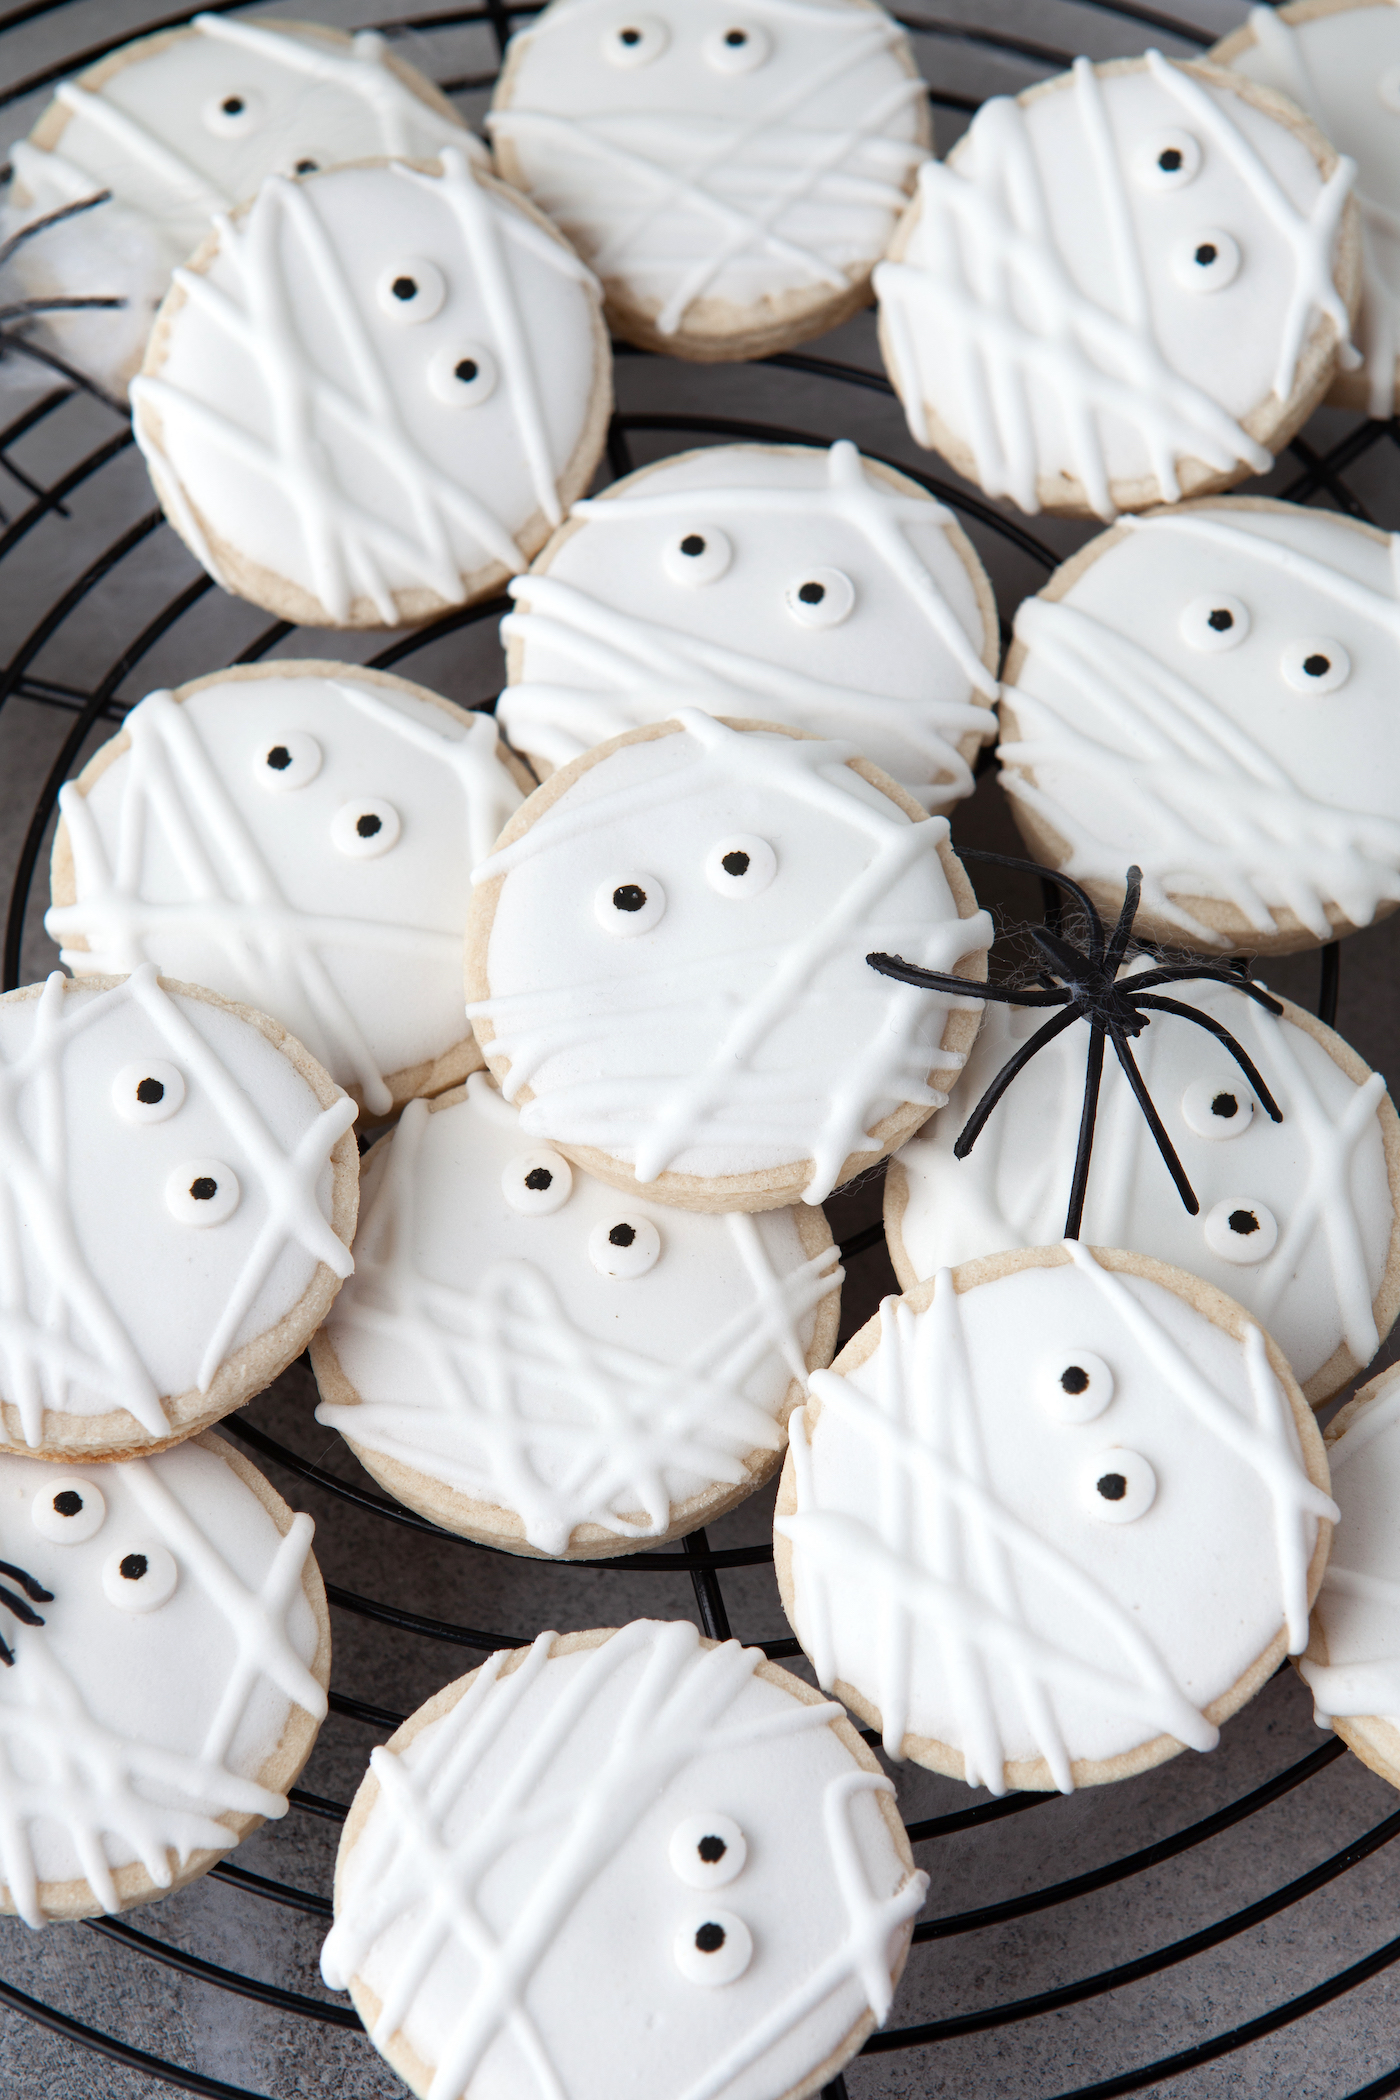
- Continue with the icing and drizzle each cookie with a bit of icing to make it look like the mummy wrapping. Be careful not to cover the eyes.

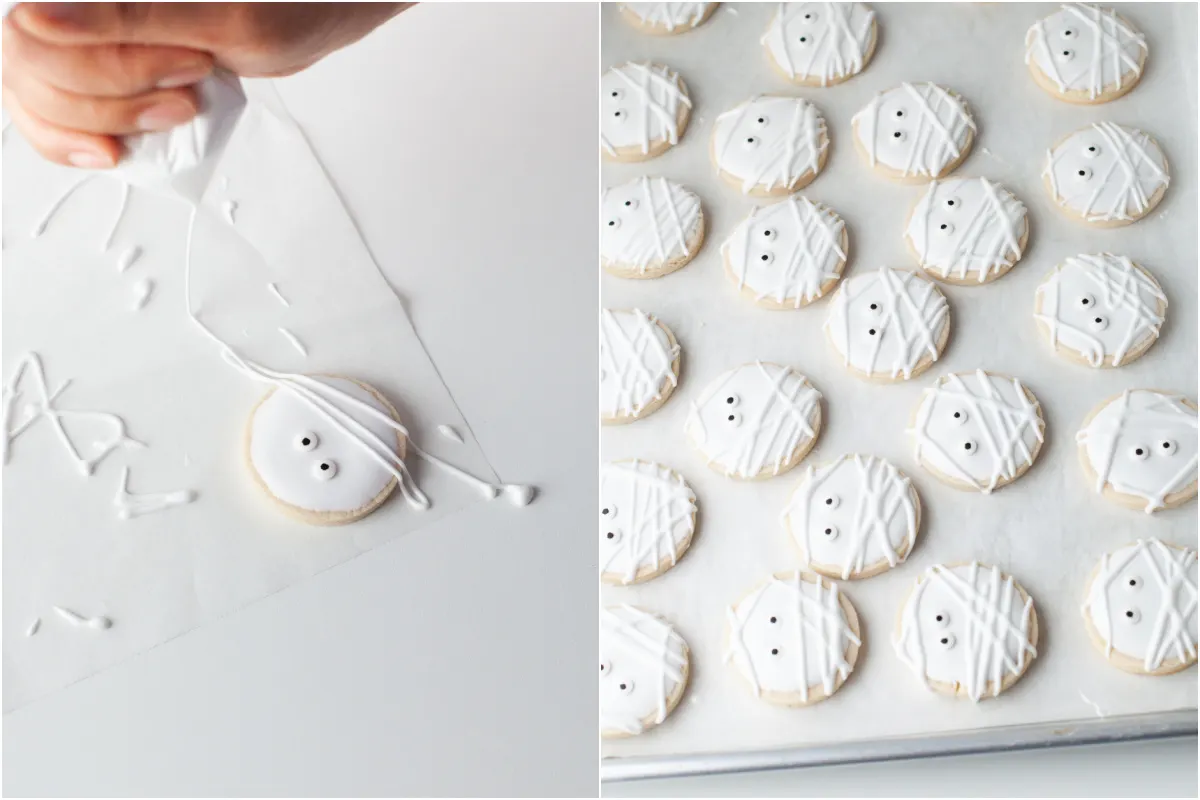
- Let the icing harden to the touch. Royal icing takes about 6-8 hours to fully set, though the cookies can be consumed before that time.
Notes
Glue consistency icing should work for flooding and details. It should not be runny, to make sure it does not fall through the sides (medium royal icing is slightly thinner than piping icing.)
Nutrition Information:
Yield:
36Serving Size:
1 cookieAmount Per Serving: Calories: 128Total Fat: 5gSaturated Fat: 3gTrans Fat: 0gUnsaturated Fat: 2gCholesterol: 21mgSodium: 34mgCarbohydrates: 18gFiber: 0gSugar: 8gProtein: 2g
If you enjoyed these mummy sugar cookies, let me know in the comments! I’d also love for you to check out these tasty holiday posts:
Candy Corn Cake Bars • Halloween Bark • Halloween M&M Cookies • Halloween Cupcakes • Halloween Pancakes • Halloween Whoopie Pies • Owl Cupcakes • Popcorn Balls
Indya | The Small Adventurer
Tuesday 29th of August 2023
These are super cute! I love the versatility of eye candies 😋 and am so looking forward to seeing more of everyone's Halloween content over the next couple of months!
Amy
Saturday 2nd of September 2023
Thank you!