Kid-Friendly Paper Bag Turkey for Thanksgiving Fun
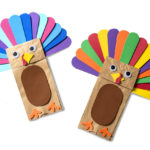
Learn how to make a paper bag turkey, a fun and easy kids Thanksgiving craft for preschool age and up! You’ll just need simple supplies. This is a great at-home or classroom activity.
Skills Required: None. Kids will be using scissors and glue. I’ve provided a template so the parts can easily be cut out!
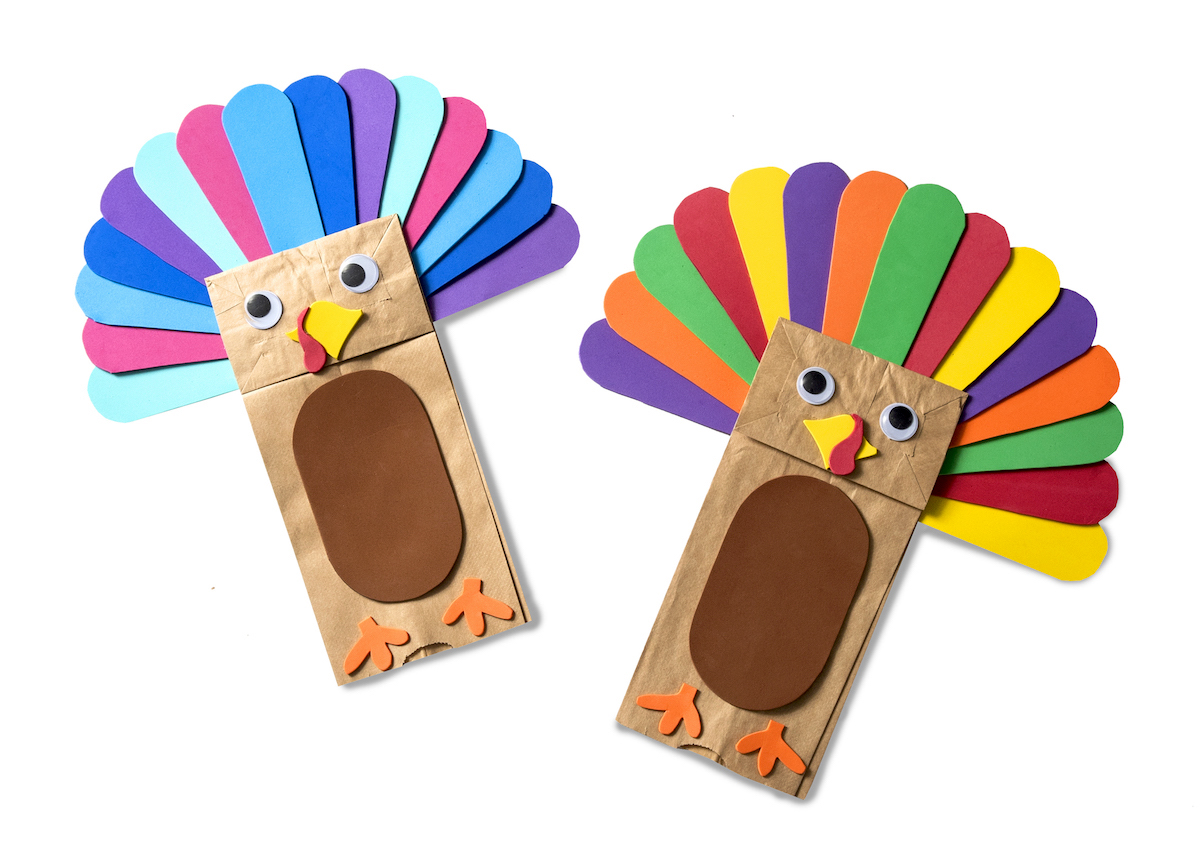
Thanksgiving is just around the corner, and it’s time to talk turkey – paper bag turkey, that is! Now, before you start rummaging through your fridge, let me clarify: we’re not about to cook up a feast.
Instead, we’re diving into a fun and easy Thanksgiving kids’ craft that’s so enjoyable, they might just forget about the pumpkin pie (for a moment, at least).
This turkey craft doesn’t involve hours of prep or a post-craft cleanup that resembles a scene from a disaster movie.
That’s right, we’re keeping things simple, mess-free, and hilariously entertaining with our paper bag turkey project.
It’s perfect for preschoolers, but let’s be honest, even the ‘big kids’ (yes, I’m looking at you, adults) will find themselves charmed by this feathery creation.
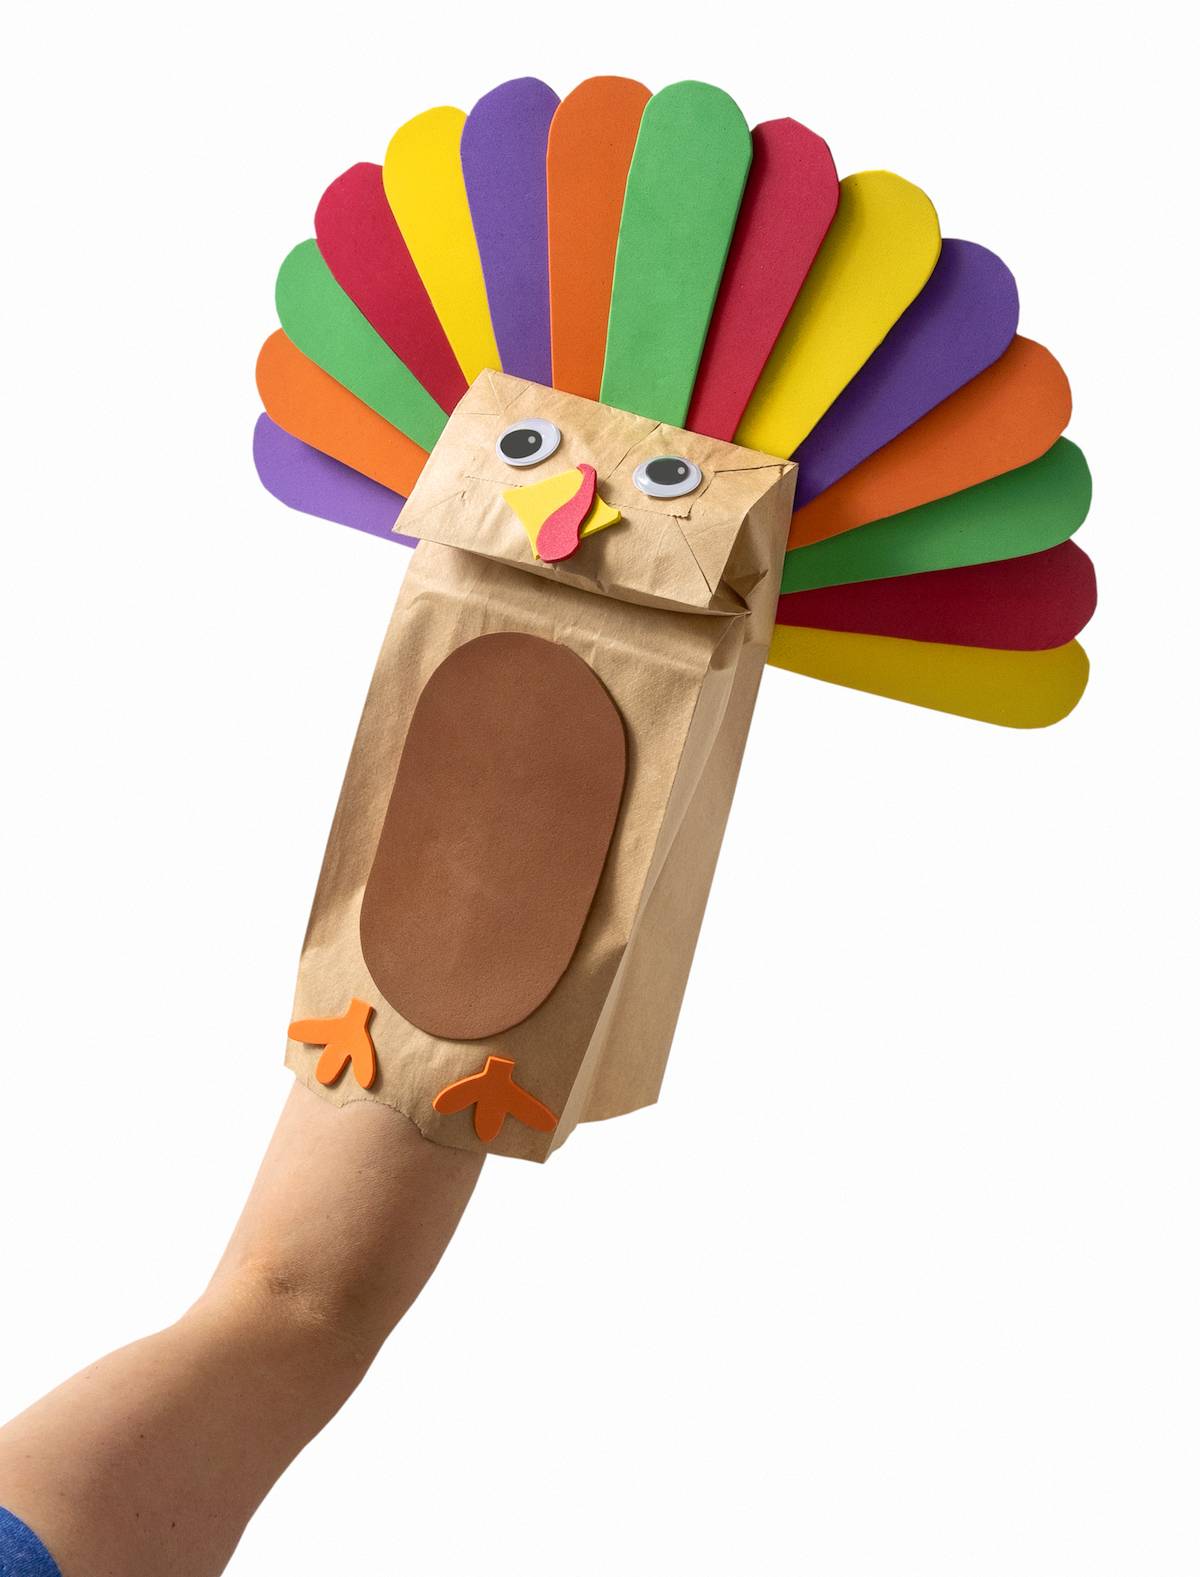
All you need is a regular paper lunch bag and a few sheets of craft foam in an array of Thanksgiving-worthy colors, some scissors, and glue.
And don’t worry, there’s a nifty printable template to guide you, so your turkey doesn’t end up looking like a peacock or, heaven forbid, a flamingo.
This craft is more than just a creative distraction; it’s bonding time with your kids and a way to get into the Thanksgiving spirit without the pressure of perfect pie crusts or spotless table settings.
Imagine your little ones’ faces light up as they bring their paper bag turkeys to life, complete with vibrant feathers and adorable expressions. It’s the kind of memory that makes the holiday season so special.
So, grab your supplies, gather the kiddos, and let’s get crafting! This turkey is a great way to keep the little ones entertained and proud of their holiday artistic achievements.
Get ready to gobble up some crafty fun! This is one turkey that promises not to gobble back. 😀
Gather These Supplies
- Paper bag
- Craft foam – brown, orange, red, yellow and various colors for the feathers
- Paper bag turkey template
- Scissors
- Craft glue or hot glue gun
Tips and Thoughts for This Project
I buy most of the supplies for this craft at the dollar store. Especially the paper bags! You can get a huge pack of them and make paper bag crafts.
If you’ve never used craft foam, the reason I chose it is to keep the feathers rigid. Construction paper or cardstock would also work, but it’s not stiff like craft foam.
Kids love using these as puppets! You can also attach them to string and hang them up.
If you are ready to try this idea, here is the printable how to below:
Paper Bag Turkey
Equipment
- Hot glue gun and glue sticks optional
Materials
- 1 Paper bag per turkey
- Craft foam sheets brown, orange, yellow, red and then other various colors
- Turkey part template
- Googly eyes 1/2"
- Craft glue
Video
Instructions
- Print out the template of the parts to use to assemble the turkey and grab the scissors.
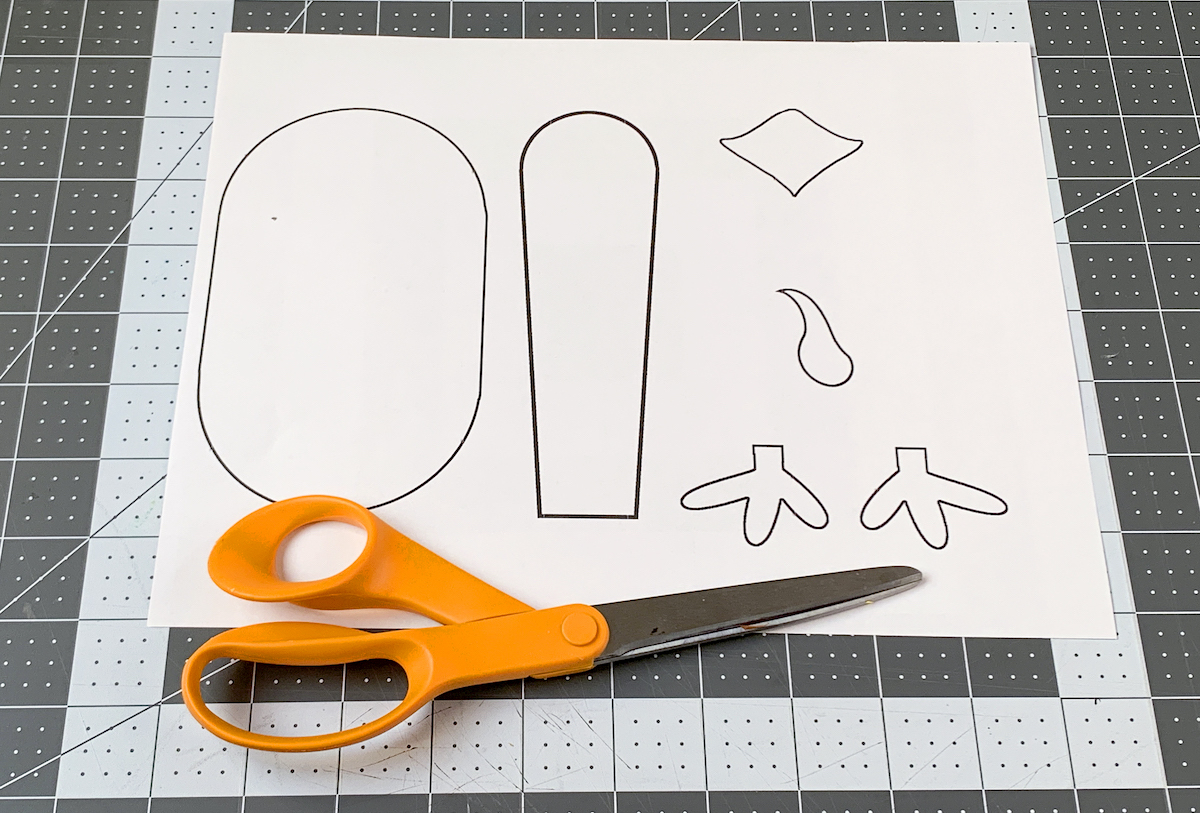
- Cut out the individual parts and place them on top of craft foam in the colors you would like to use.
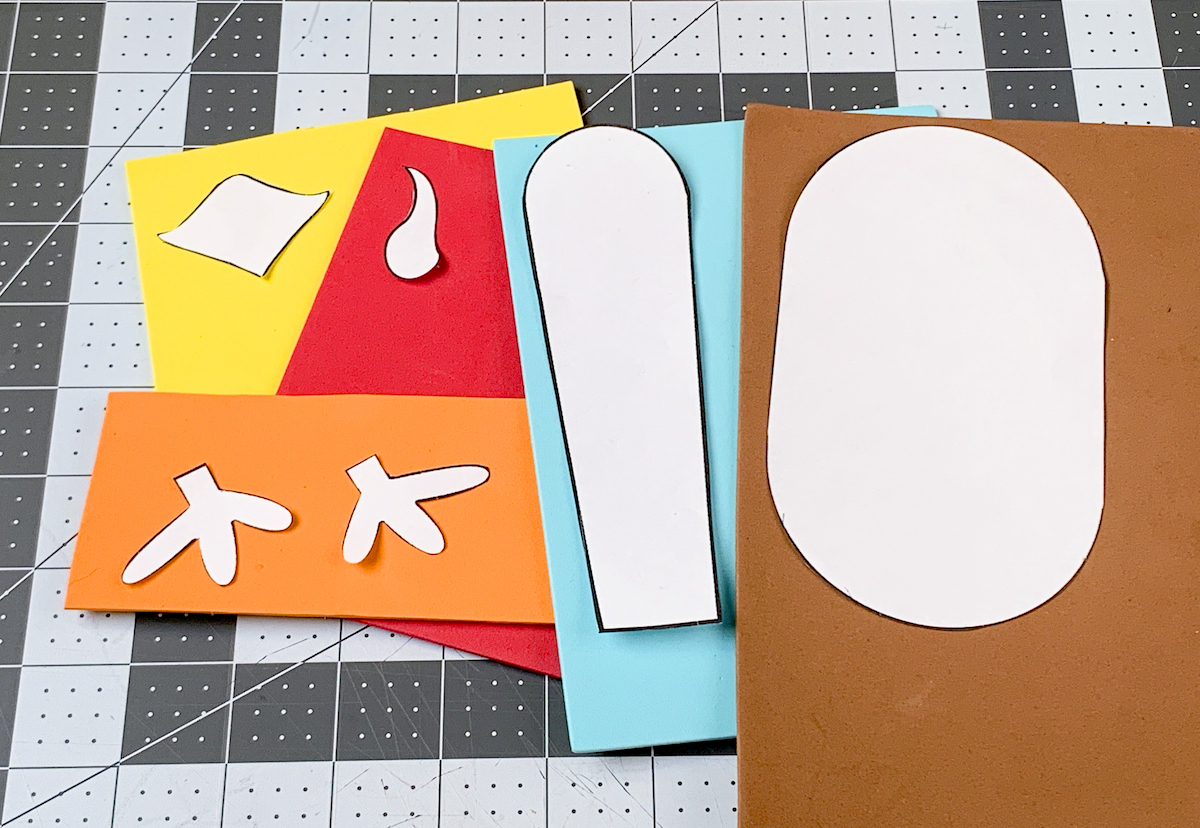
- Cut out all the body parts from craft foam including fifteen feathers (I used three of each color craft foam), chest, feet, beak, and waddle.
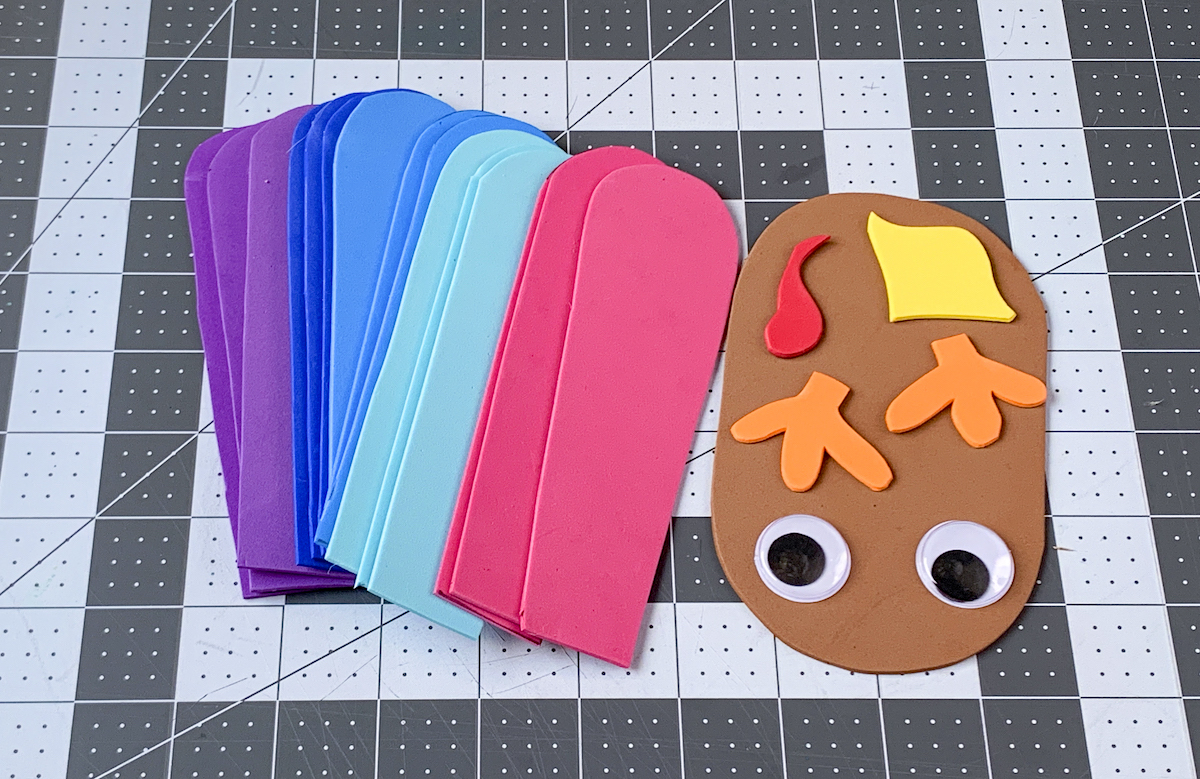
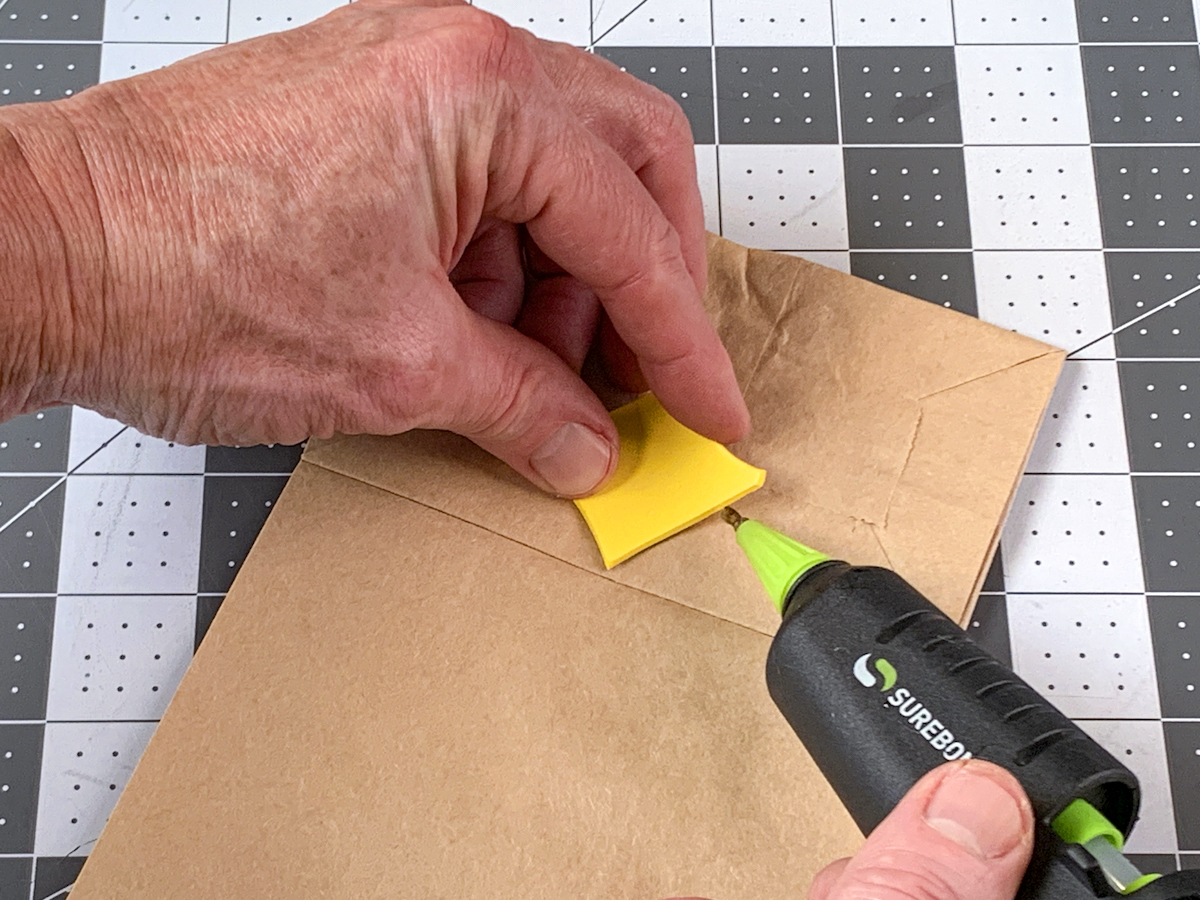
- Glue the beak piece and waddle piece onto the bottom of the bag where it makes a flap when folded.
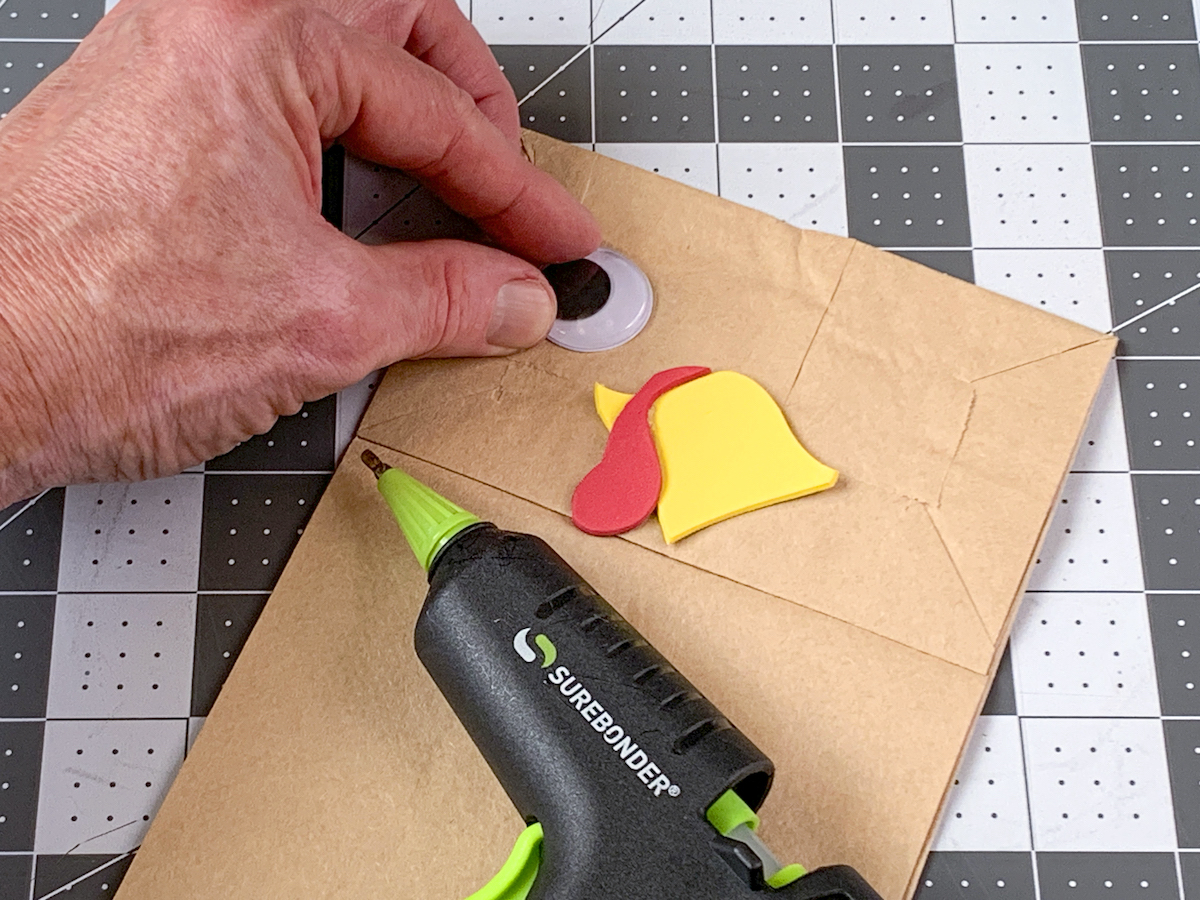
- Use glue to adhere the eyes, one on either side of the beak and waddle.
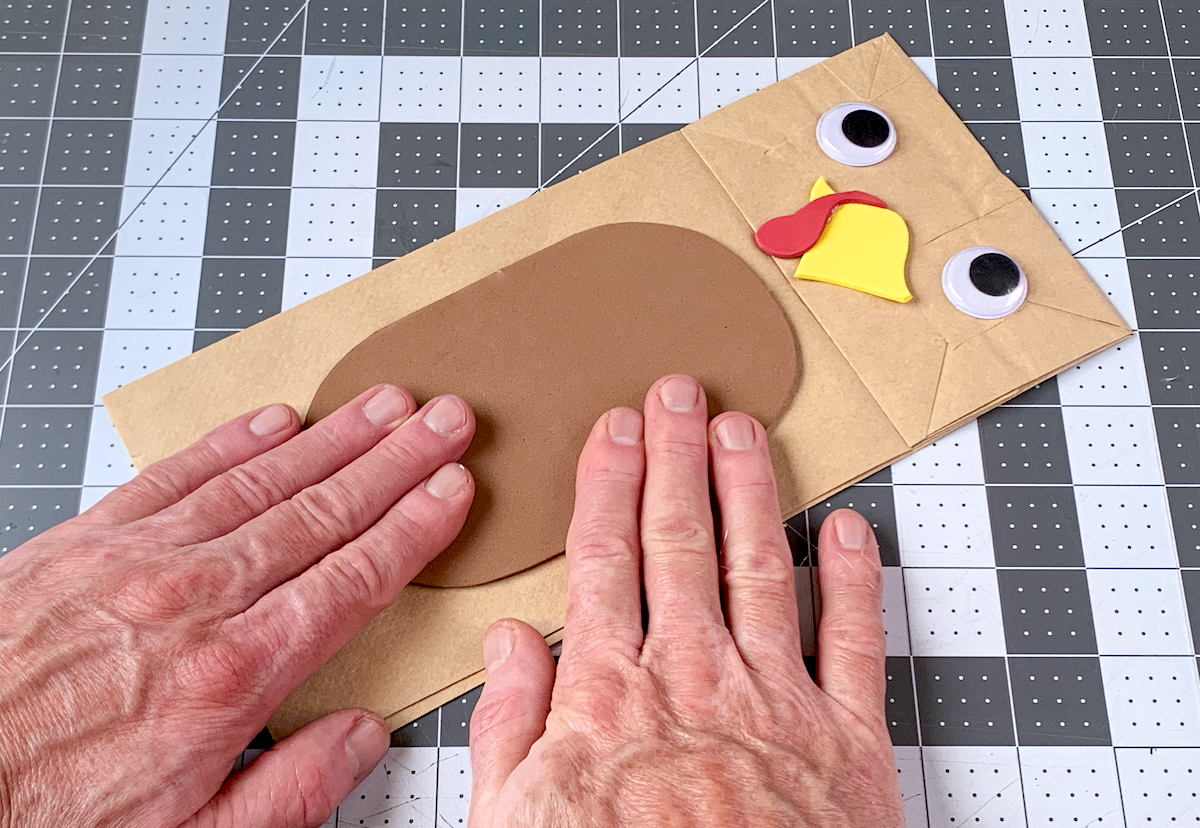
- Attach the brown chest piece to the paper bag, below the flap with the face.
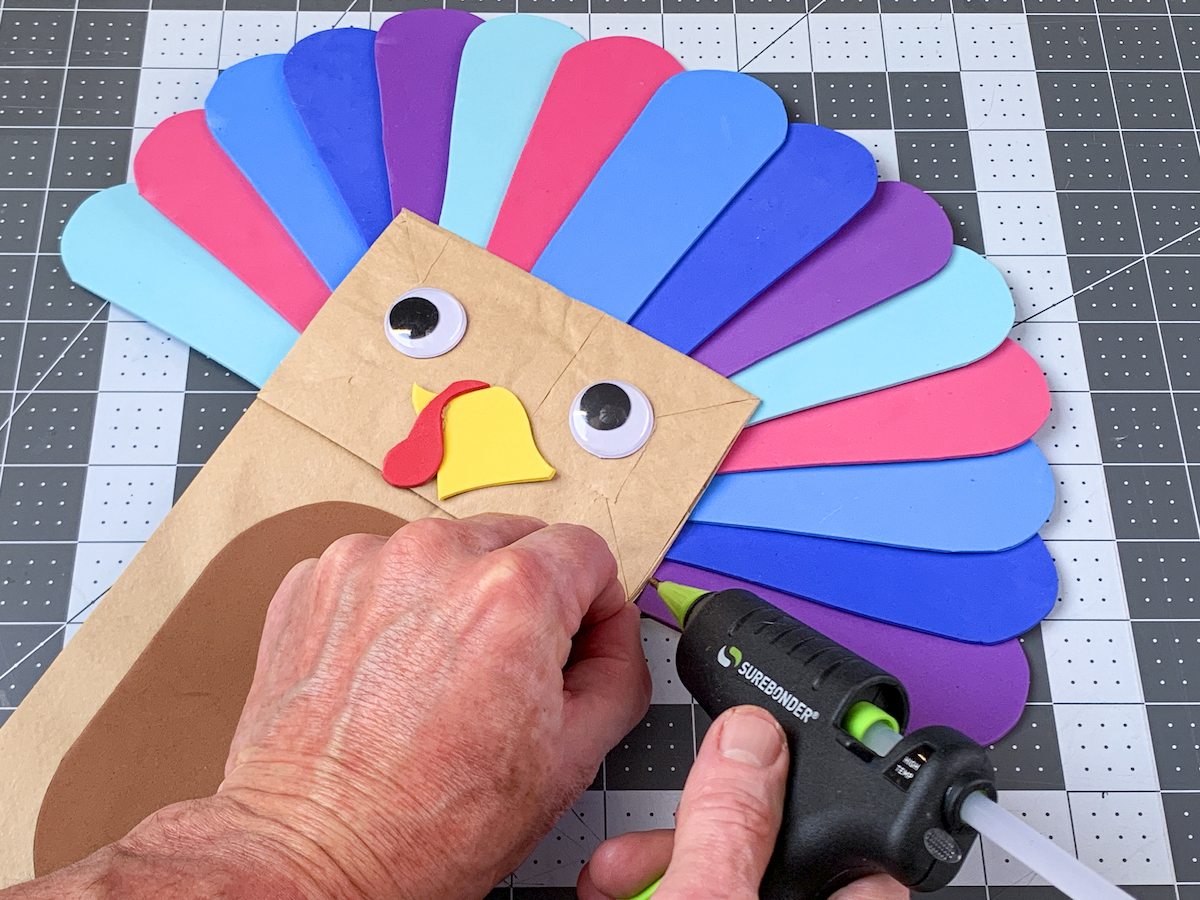
- To finish, you're going to adhere the feathers to the back of the bag behind the head. Spread the feathers out, put glue on the feathers, and then press down the bag. Let dry before using.
Notes
If you enjoyed this cute Thanksgiving craft, I’d love for you to let me know in the comments. Please also check out these other posts:

