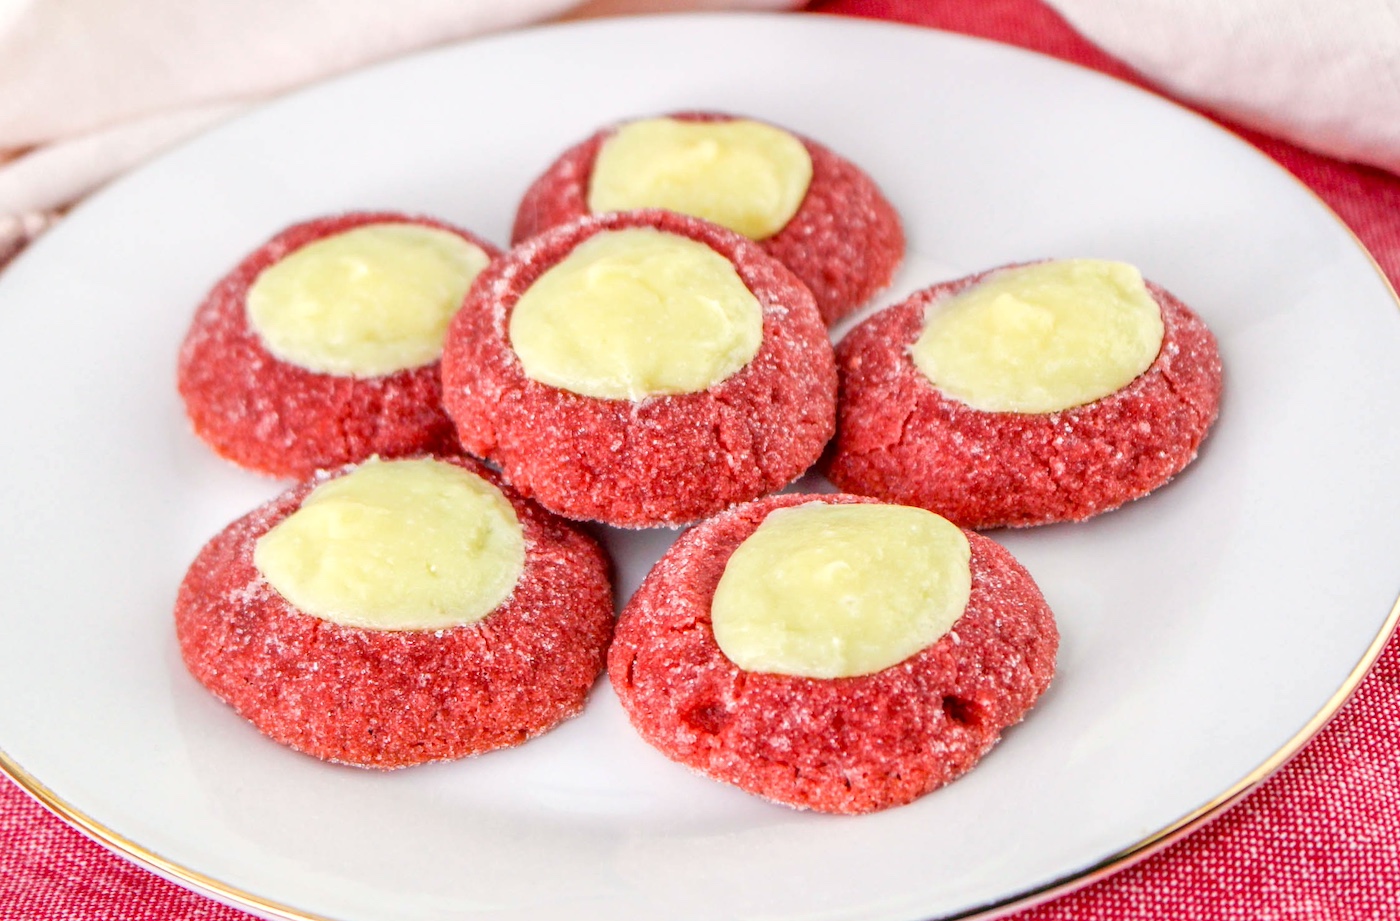
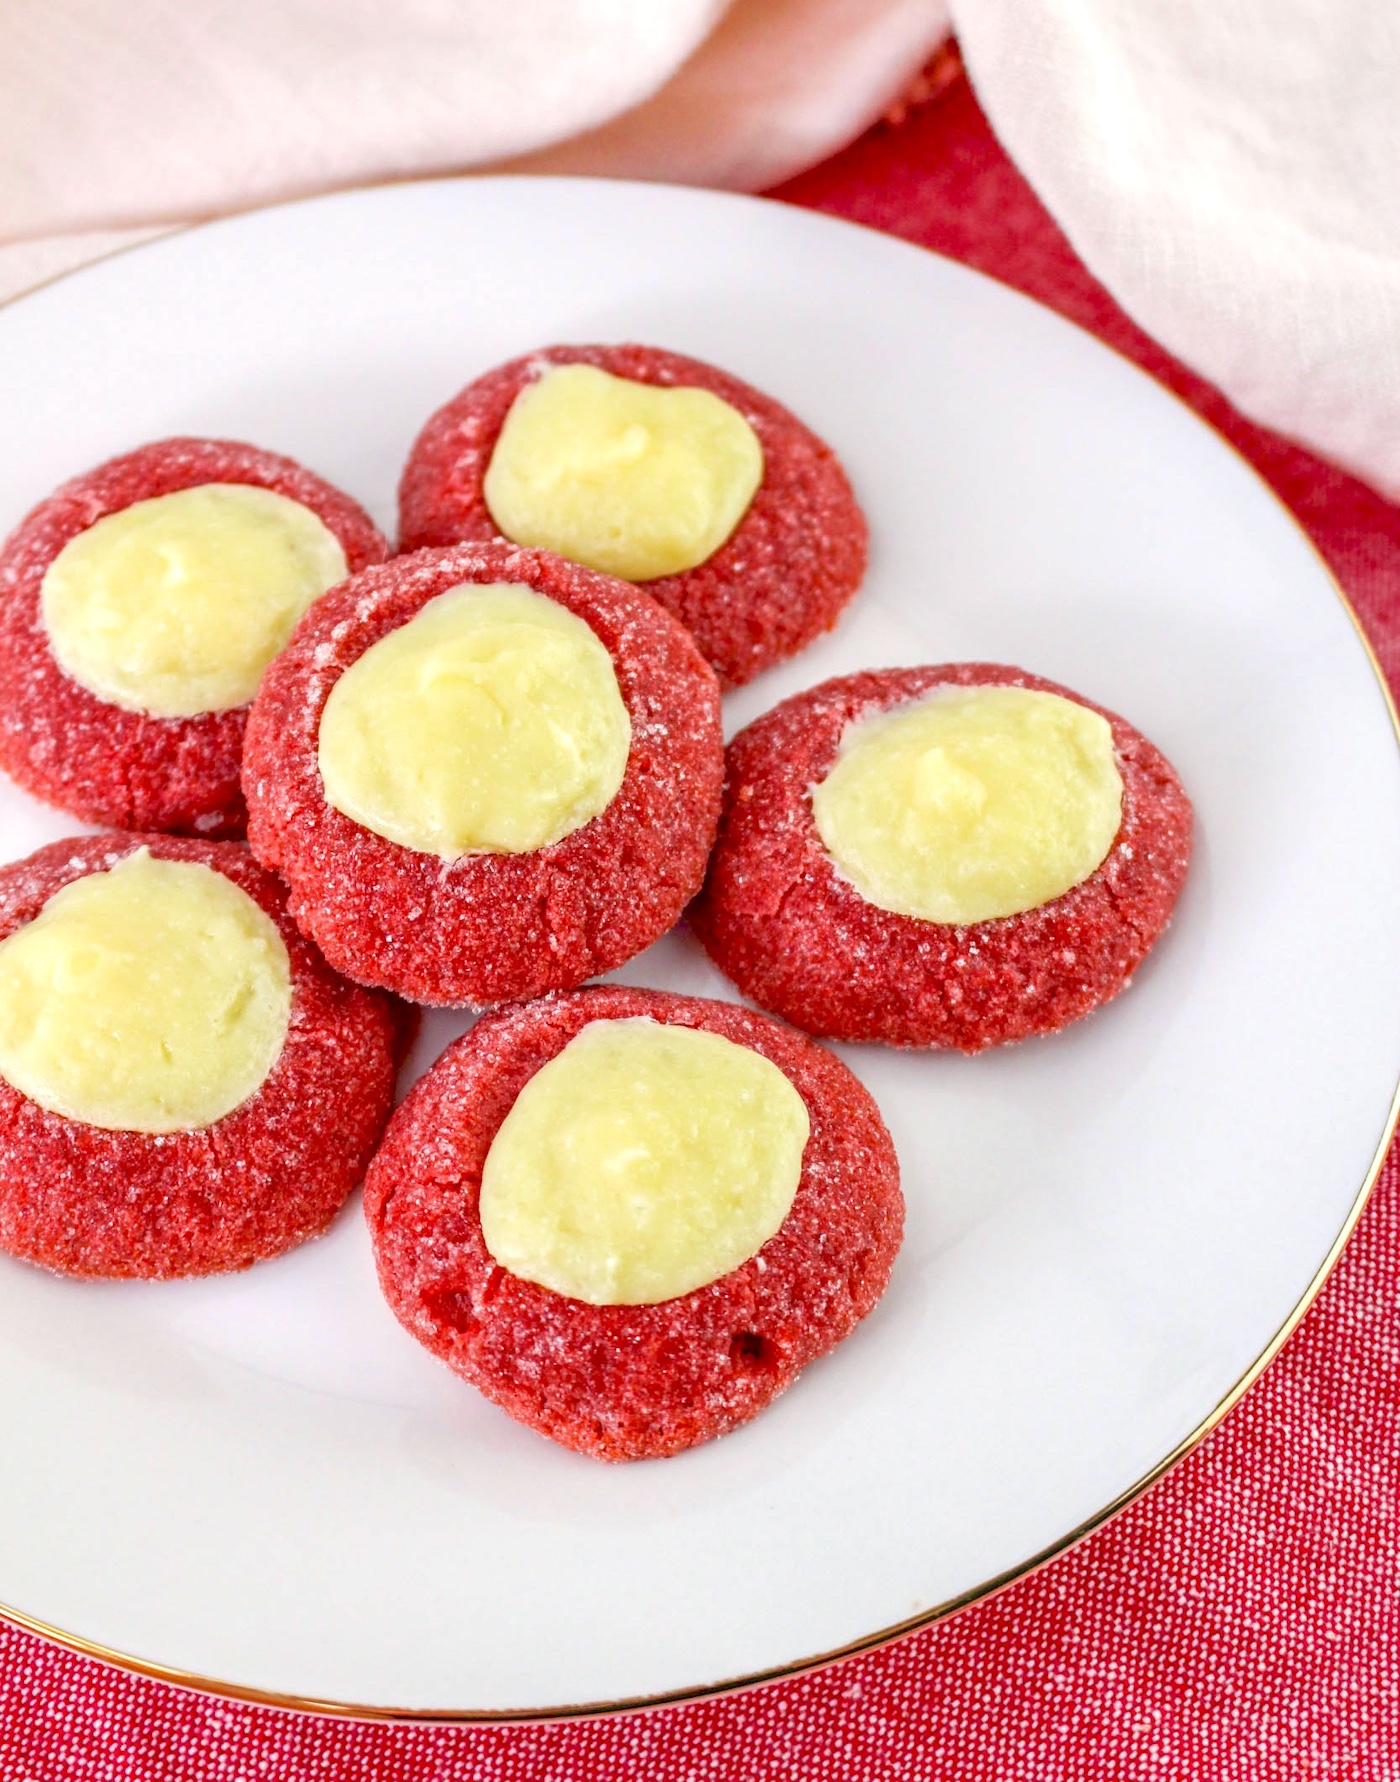
Red Velvet Thumbprint Cookies with Cream Cheese
These red velvet thumbprint cookies are so rich and fluffy with the perfect amount of cream cheese filling. They are perfectly festive and delicious for a Christmas cookie exchange.
Today the winter wonderland outside my window in Washington transformed into a scene straight out of a holiday movie, complete with an unexpected deluge of snow. Even the thought of venturing out seemed like a quest for the bravest of souls, so I found myself embracing the coziness of being snowed in.
With roads more suited for sledding than driving, it led me to the only logical conclusion: it was time to crank up the holiday cheer with Elf, and embark on a baking adventure that promised to sprinkle a bit of magic into our snow-filled day.
And the star of my baking adventures today is a unique cookie: red velvet thumbprint cookies, but with a twist. These aren’t just any cookies; they’re a delectable fusion of rich, velvety textures and the tantalizing tang of cream cheese, reminiscent of the most indulgent cheesecake nestled within a cookie.
Let’s have a frank discussion about red velvet for a moment. A lot of people think it tastes like chocolate, but it doesn’t.
Red velvet cake is typically made with cocoa powder, vinegar, and buttermilk – the reaction of which gives the red (enhanced by food coloring).
We’re not making cake, so we just have cocoa powder in these cookies. But the flavor of these bad boys are not anything about the cookie, to be honest . . . it’s all about being a vehicle for the filling. I feel like anyone who doesn’t admit that about red velvet is a big ol’ liar!
So, if you’re ready to add a touch of elegance and a dash of holiday spirit to your Christmas cookie repertoire, join me as I share the recipe for these exquisite red velvet thumbprint cookies with cream cheese filling.
Let’s embark on this culinary adventure together, transforming simple ingredients into something truly magical. After all, what’s a snow day without a little indulgence, right? Here’s what you need for these thumbprint cookies.
Red Velvet Cookies
- 1 cup butter (room temperature)
- 1/2 cup brown sugar
- 1/8 tsp salt
- 1 egg yolk
- 1 tsp vanilla extract
- 2 cups all-purpose flour
- 4 tsp red food coloring
- 2 tsp cocoa powder
- 1/2 cup granulated sugar or sugar sprinkles (optional)
Cream Cheese Filling
- 4 ounces cream cheese, softened
- 1 egg yolk
- 1/4 cup sugar
- 1/8 tsp salt
- 1/4 tsp vanilla
Tips and Thoughts for this Recipe
Let your pan cool between batches of cookies (it helps to have two pans in rotation). This keeps the cookies from spreading a lot.
I swear by USA Pans. They are my absolutely favorite and cook baked items so evenly.
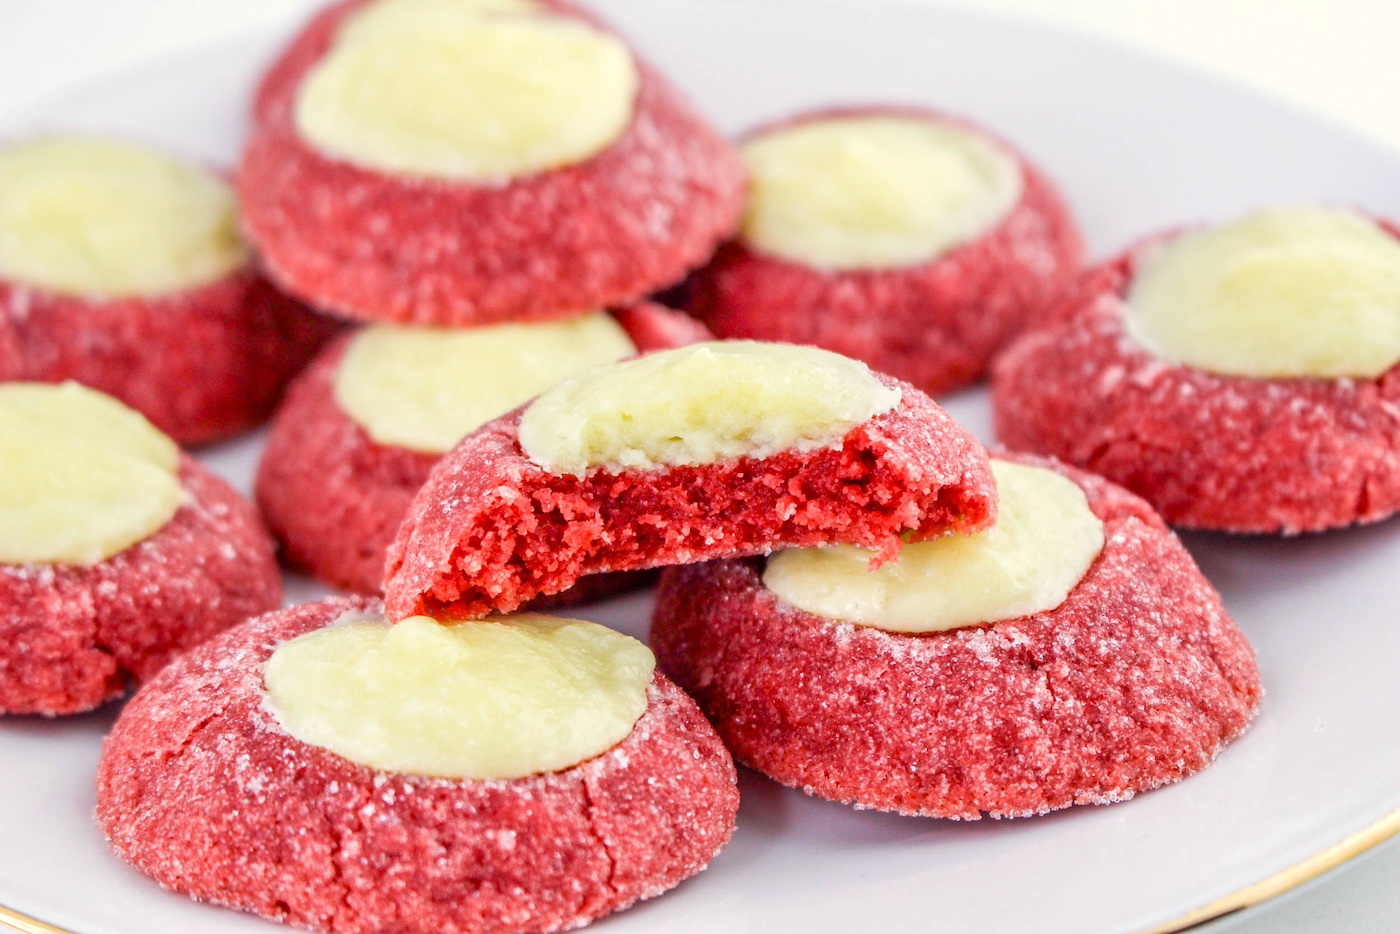
Check the cookies regularly through the baking process and go by how they look versus the time on the recipe. You want edges that are set. And when the cream cheese goes in, you want that to look set on the top. Slightly wiggle the pan too. If the cream cheese moves too much, put them back in.
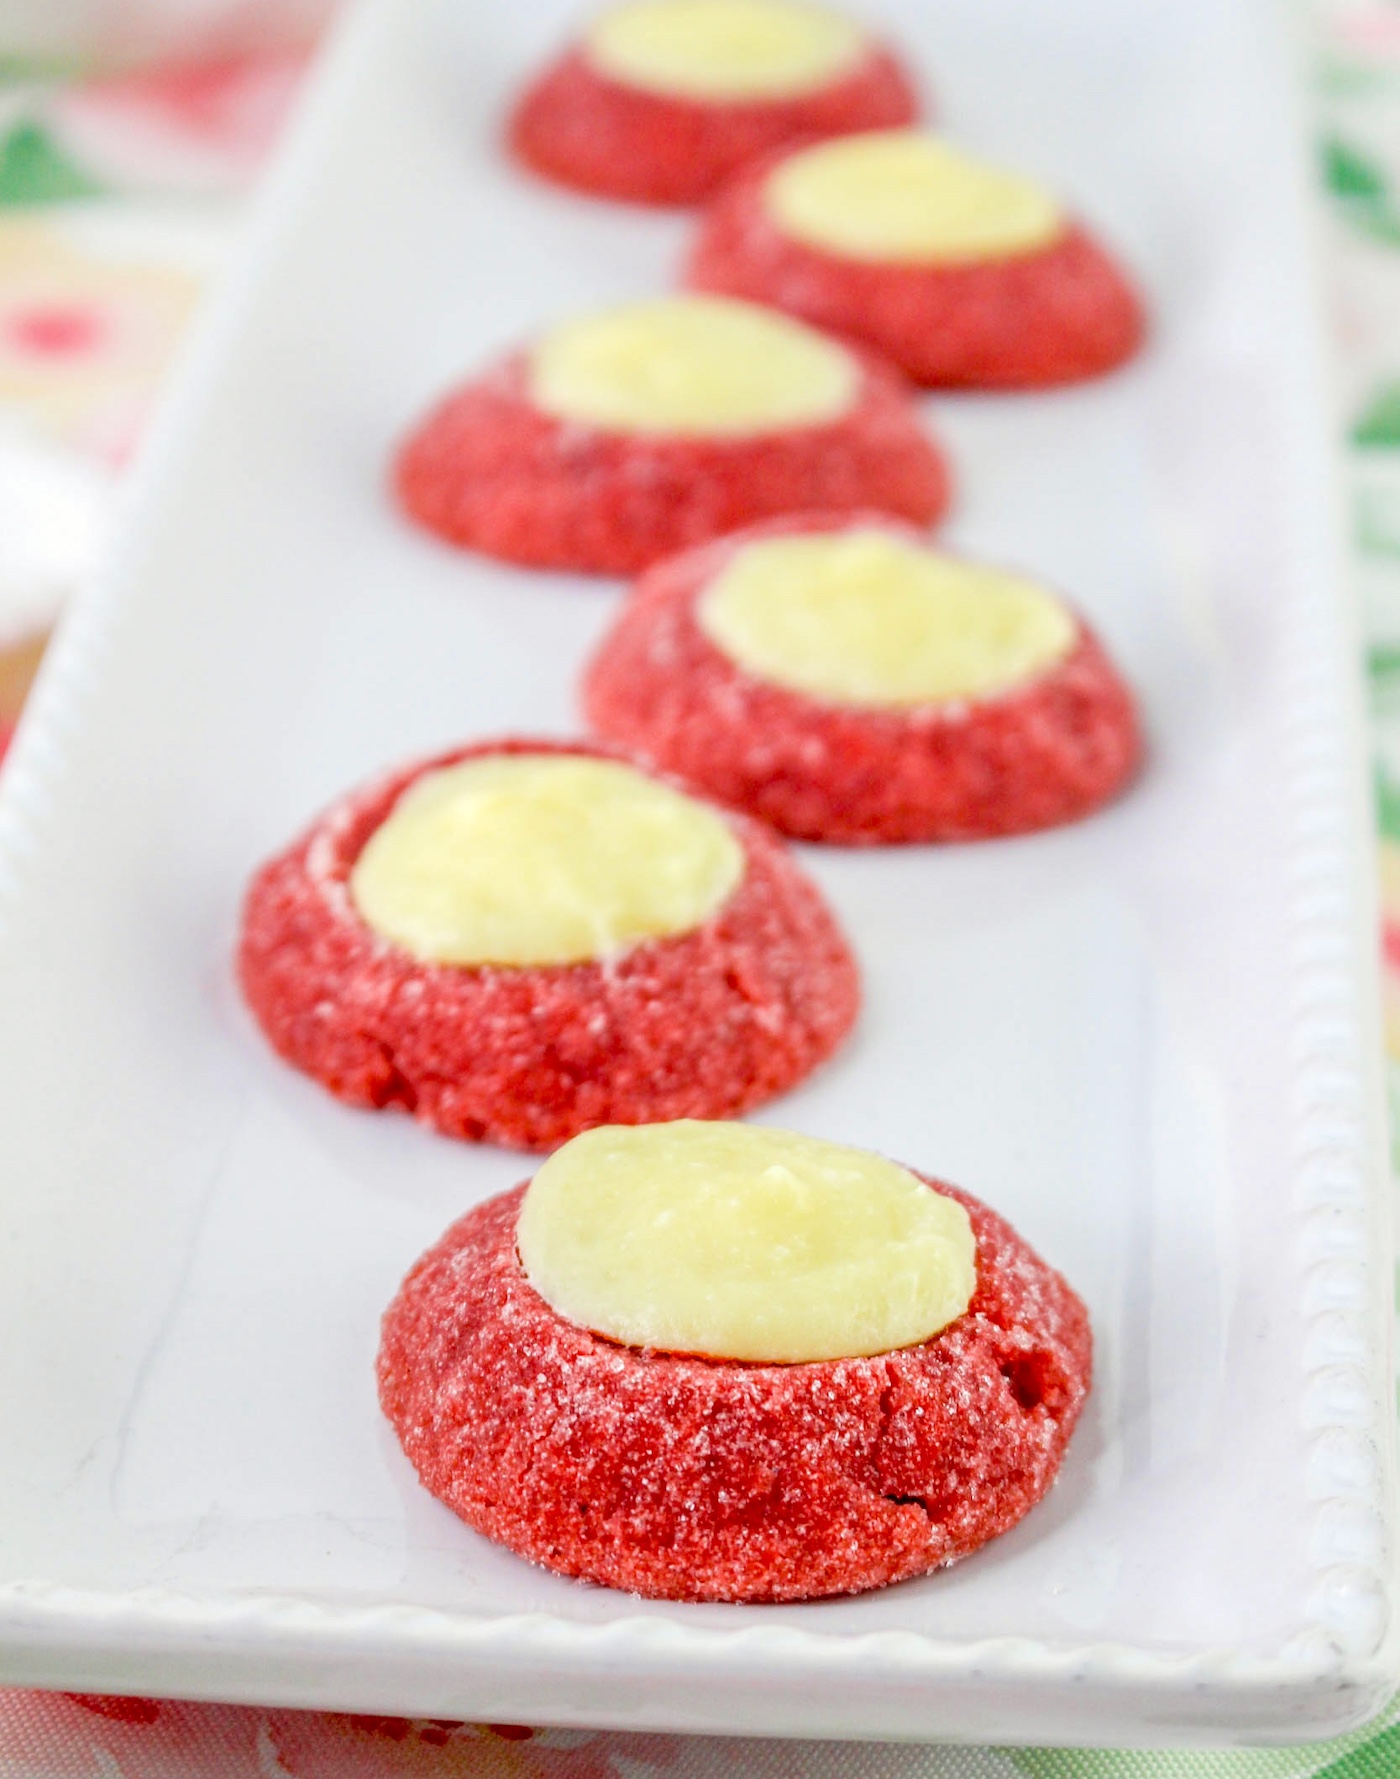
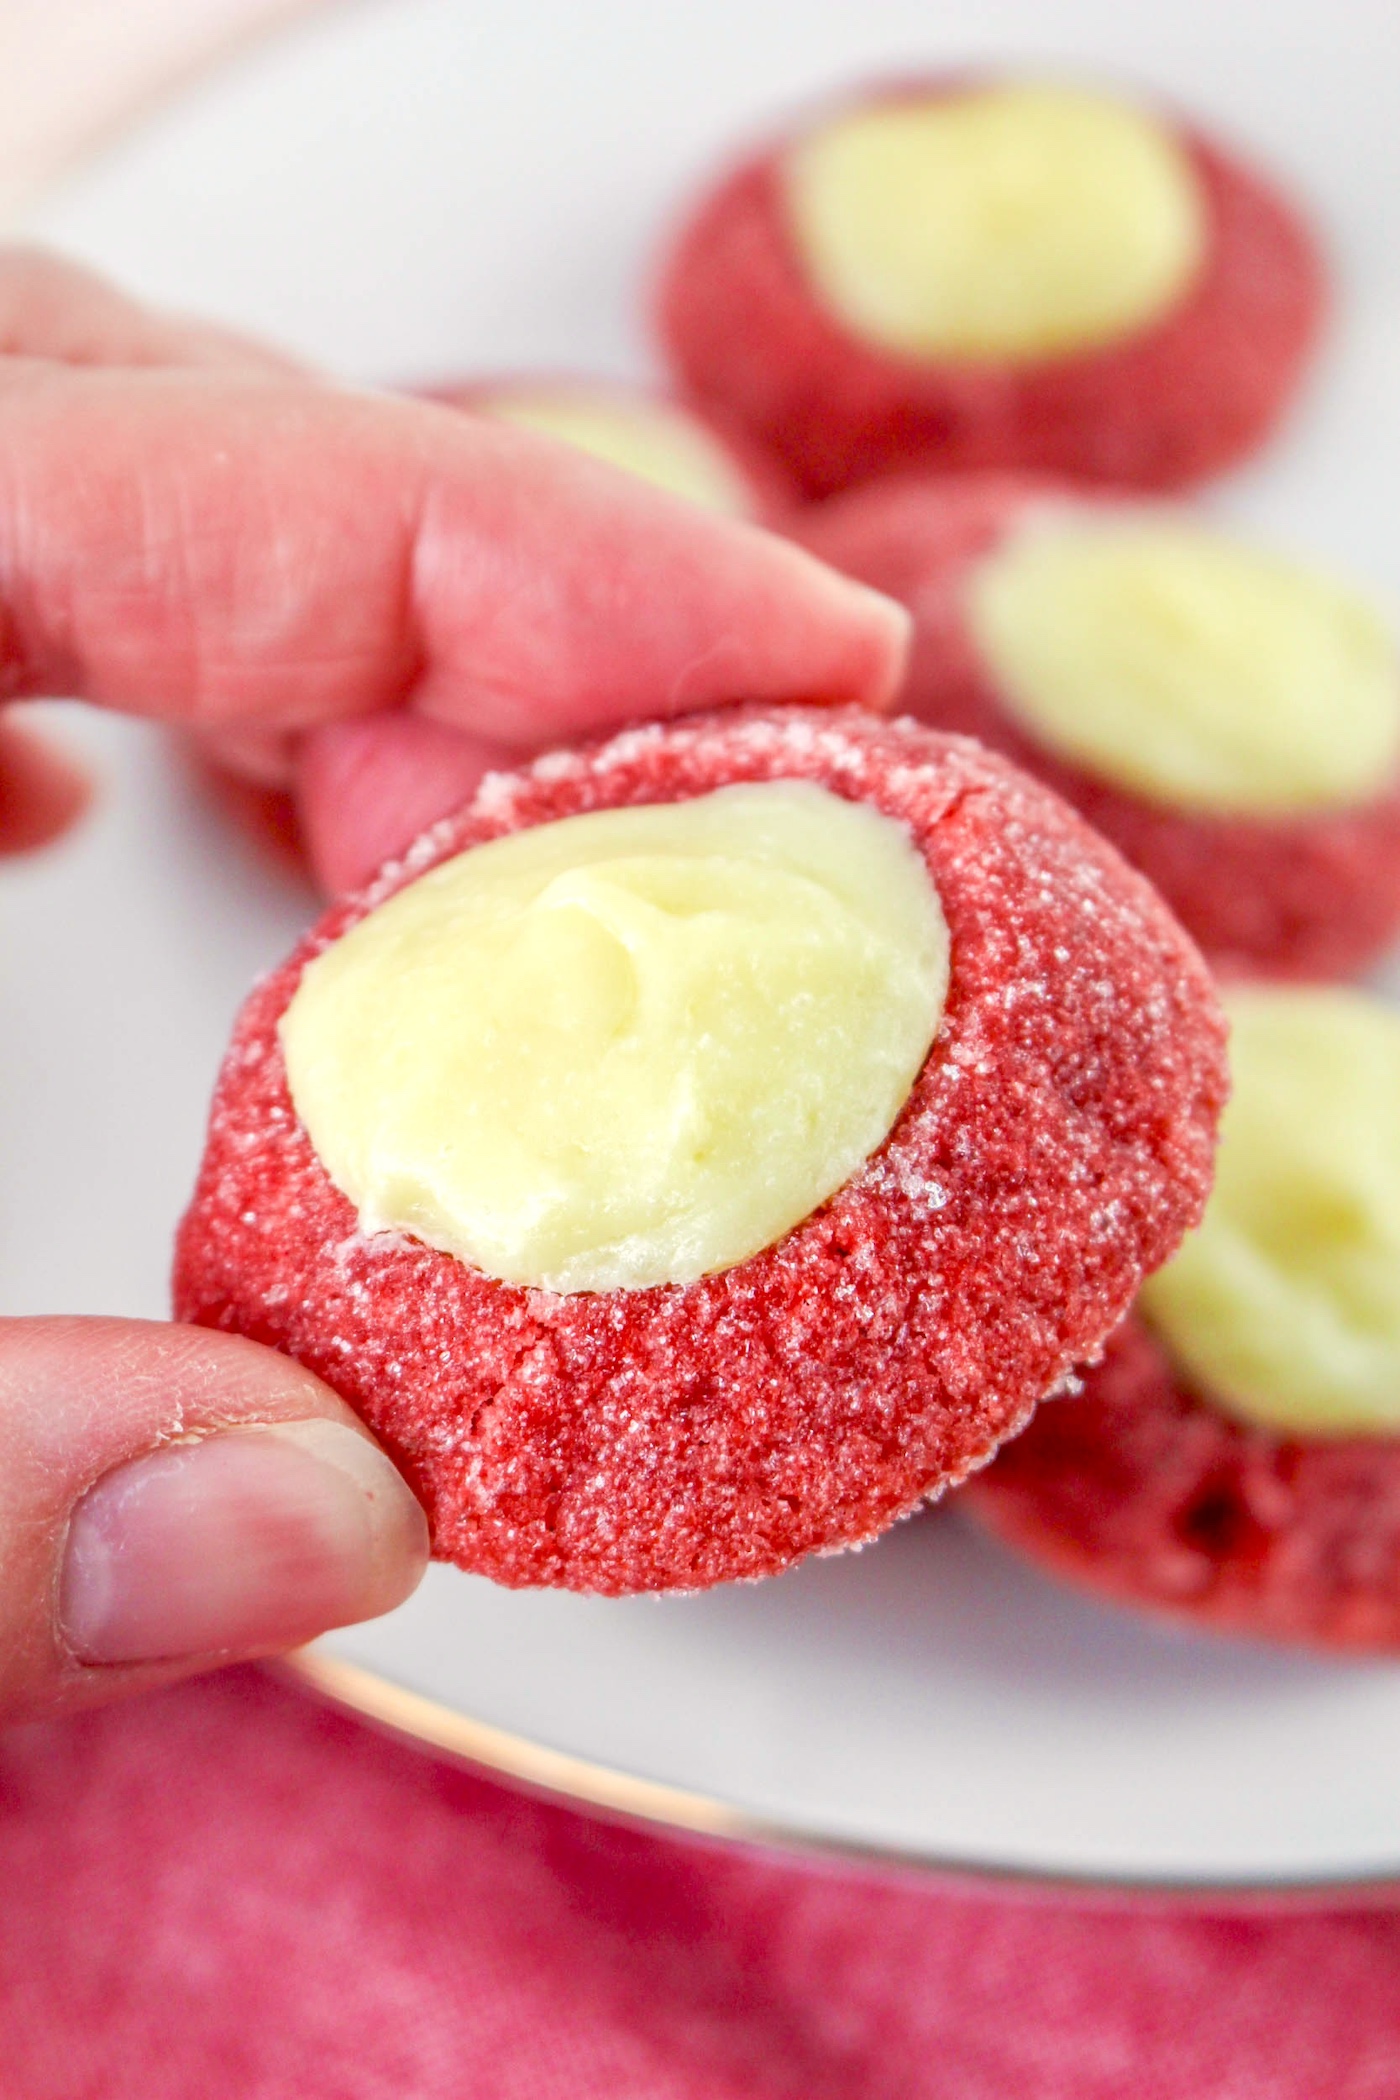
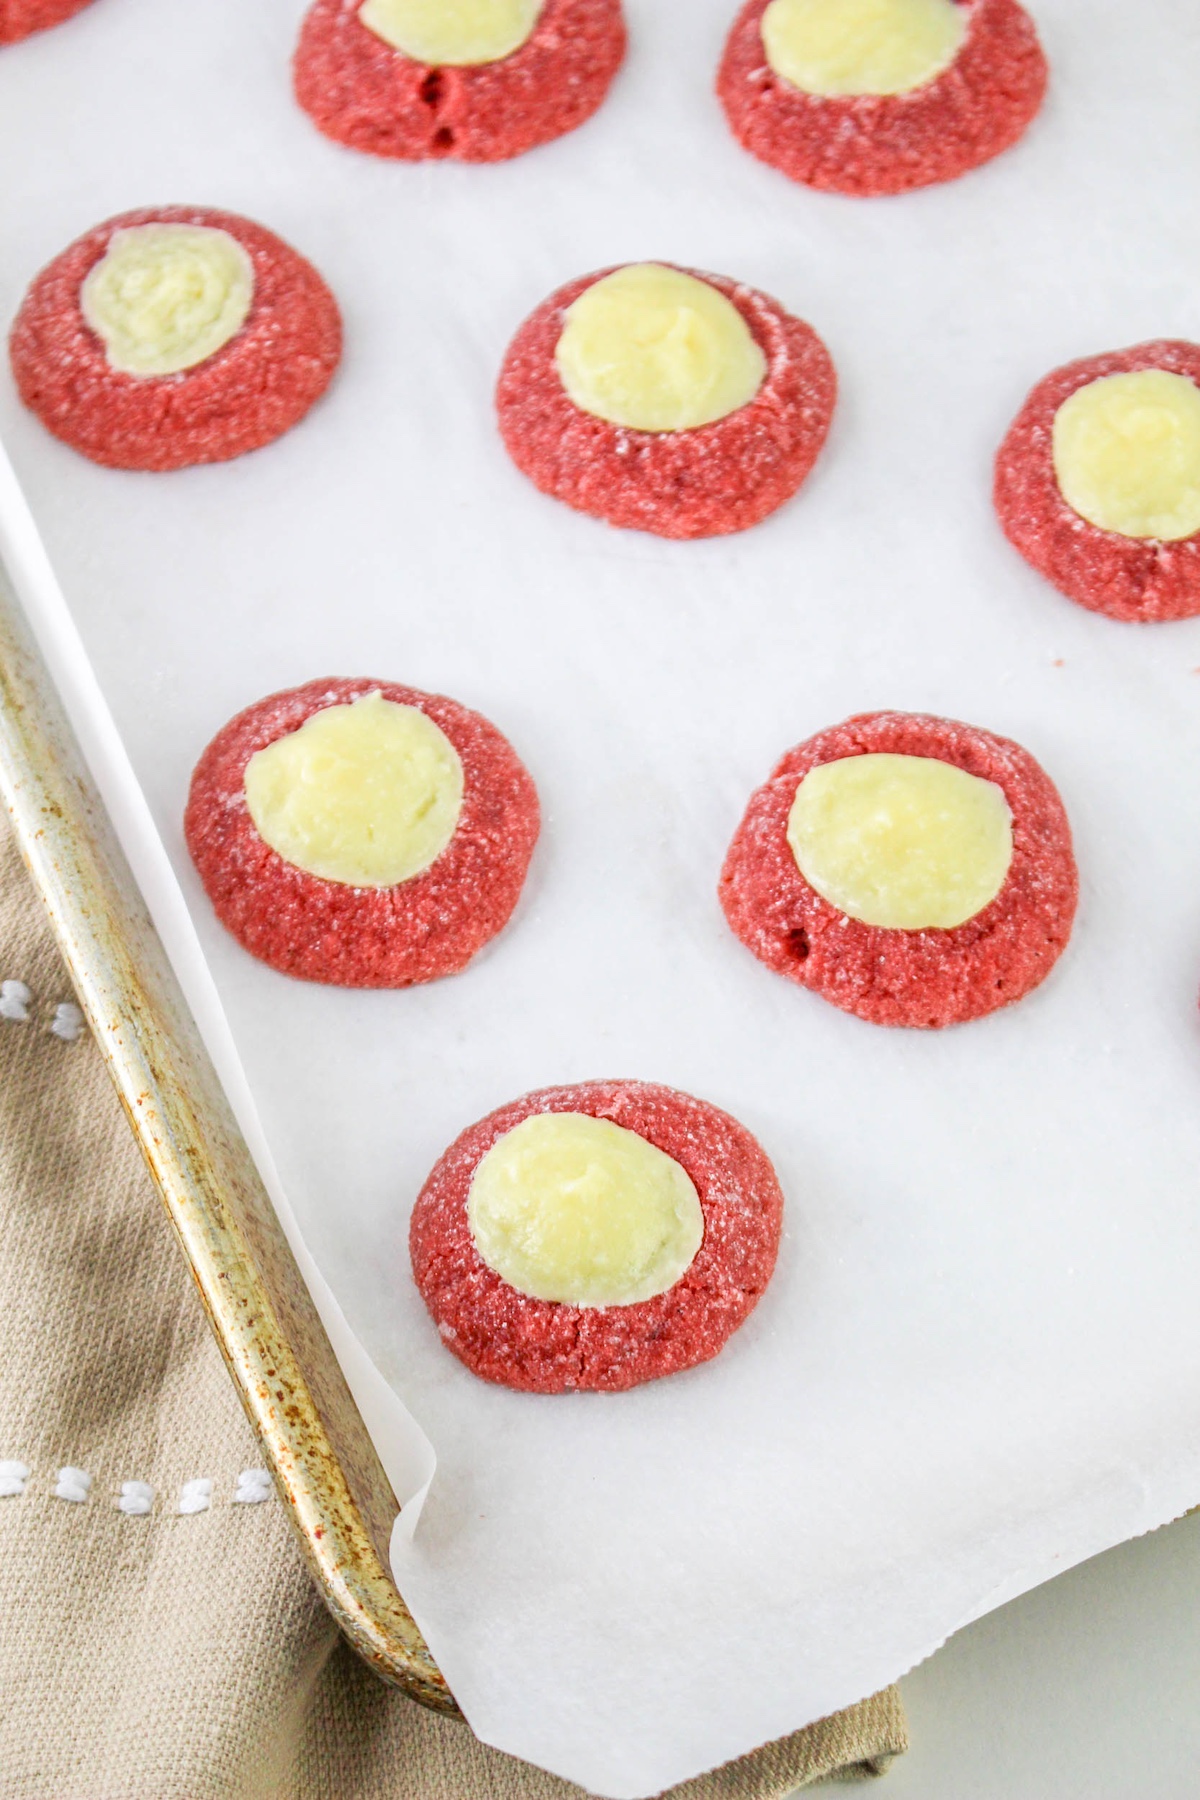
See? I told you they were gorgeous and believe me, they are even more delicious than they are pretty. The perfect Christmas cookie.
This is one you have to try. I promise, you’re going to want to make these every single year! Get the printable recipe below.
Red Velvet Thumbprint Cookies
Ingredients
For the Cookies
- 1 cup butter room temperature
- 1/2 cup brown sugar
- 1/8 teaspoon salt
- 1 egg yolk(s) room temperature
- 1 teaspoon pure vanilla extract
- 2 cups all-purpose flour
- 4 teaspoons food coloring red
- 2 teaspoons unsweetened cocoa powder
- 1/2 cup granulated sugar or sugar sprinkles
For the Filling
- 4 oz cream cheese softened, room temperature
- 1 egg yolk(s)
- 1/4 cup granulated sugar
- 1/8 teaspoon salt
- 1/4 teaspoon pure vanilla extract
Video
Instructions
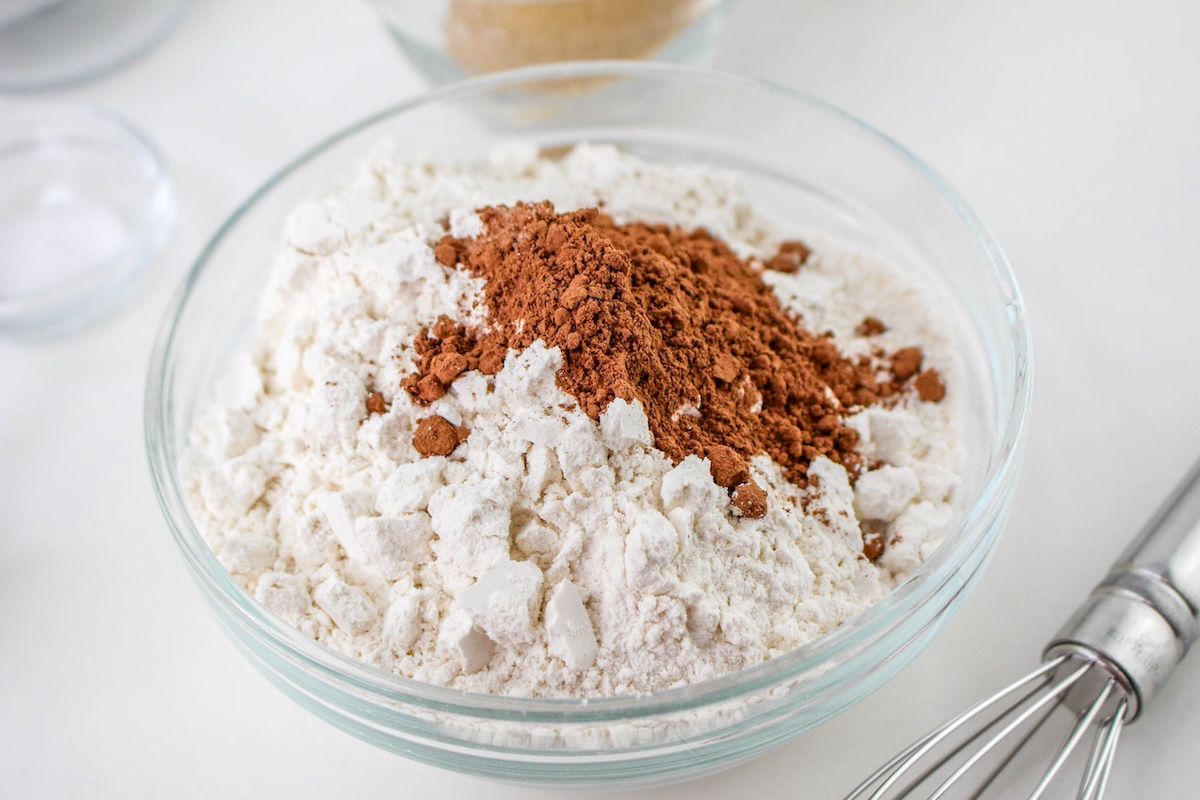
- Combine the salt, flour, and cocoa powder in a bowl united evenly mixed.
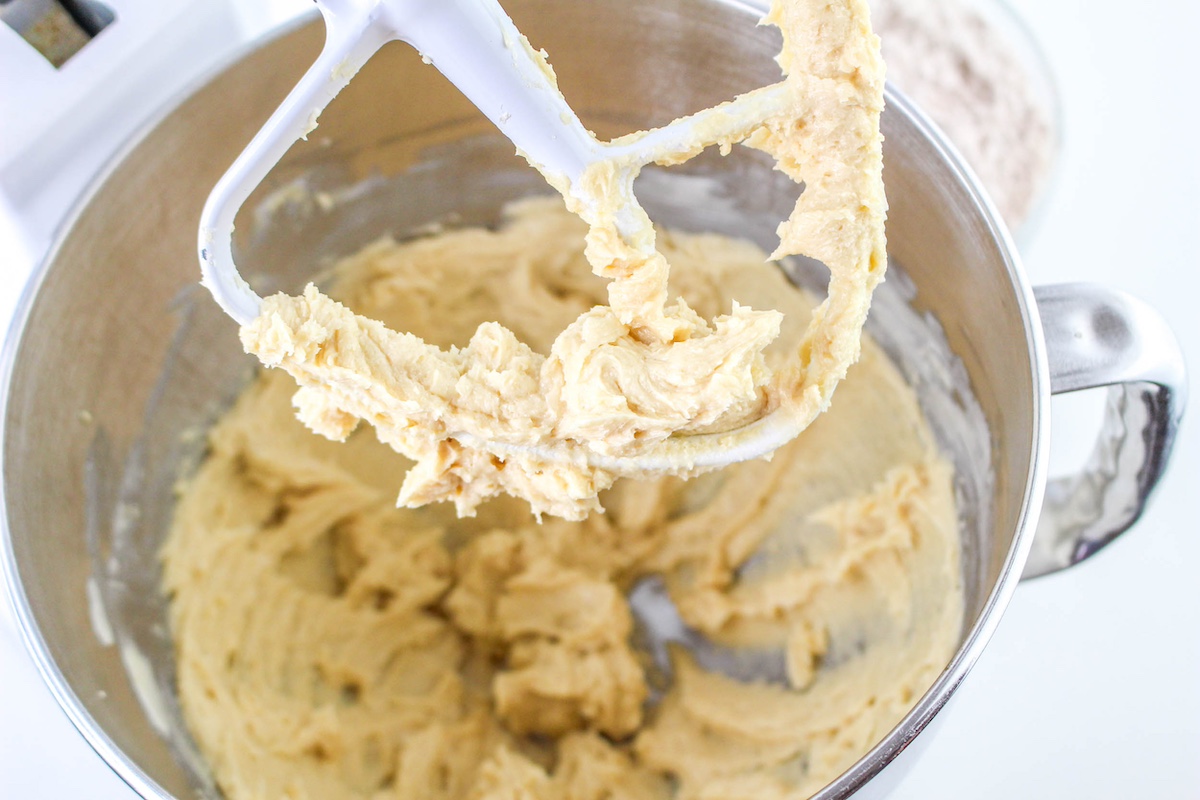
- Beat together the butter, brown sugar, egg yolk, and vanilla until light and fluffy.
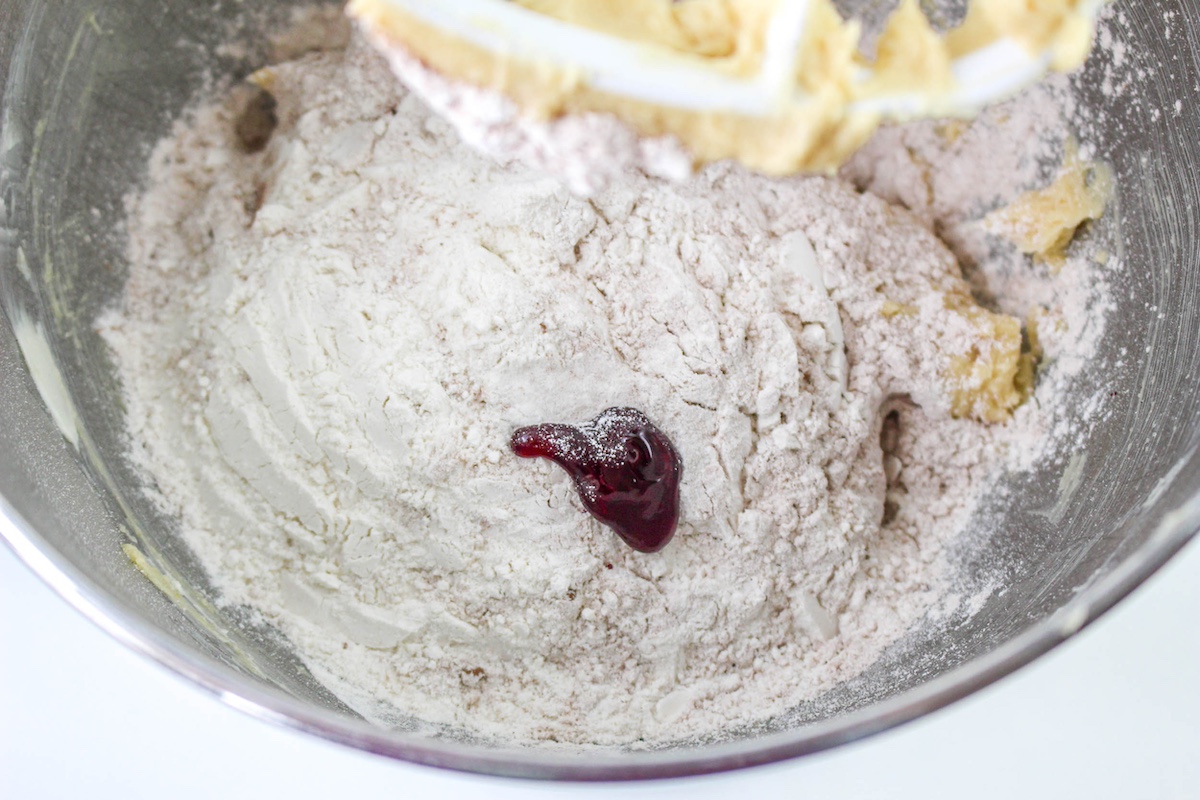
- Mix in the (dry ingredients) flour, food coloring, and cocoa powder until soft dough forms and ingredients are just combined.
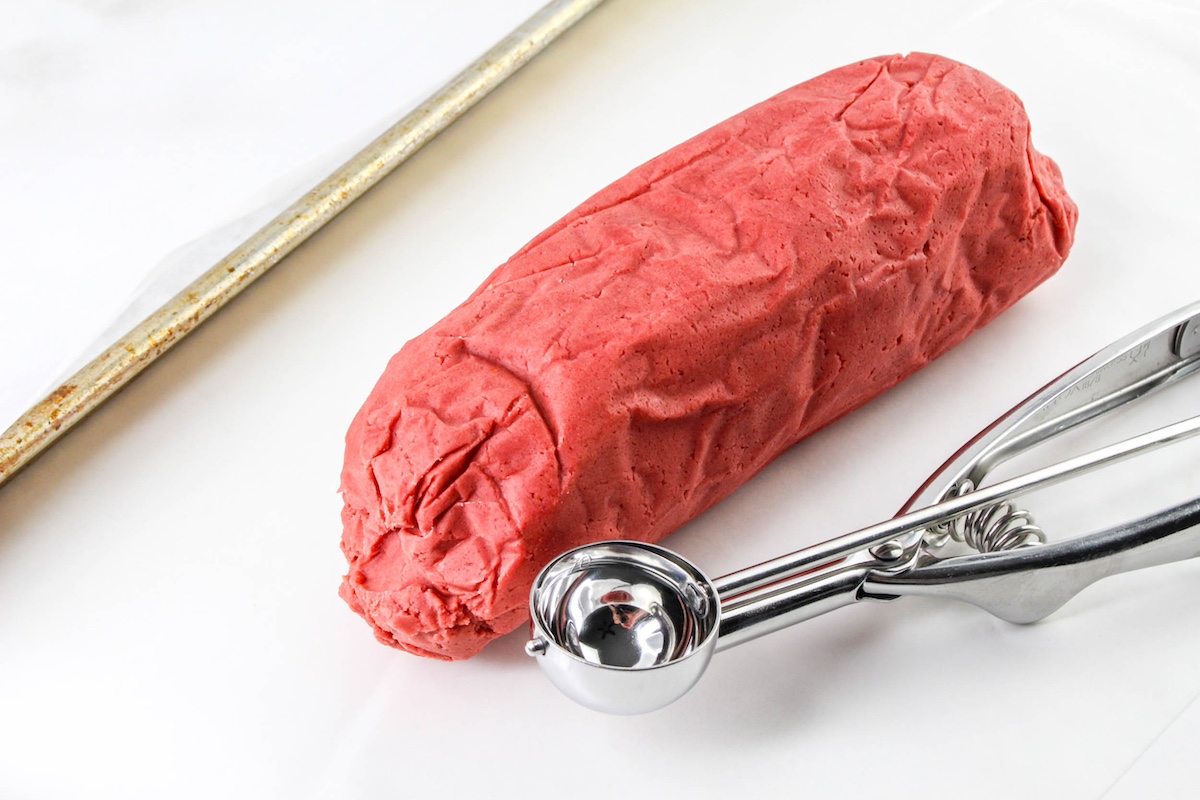
- Form the dough into a roll, place in plastic wrap, and set in the fridge for 30 minutes (or up to 24 hours) to chill.
- Preheat oven to 300ºF. Prepare a baking sheet by lining it with parchment paper or a silicone baking mat.

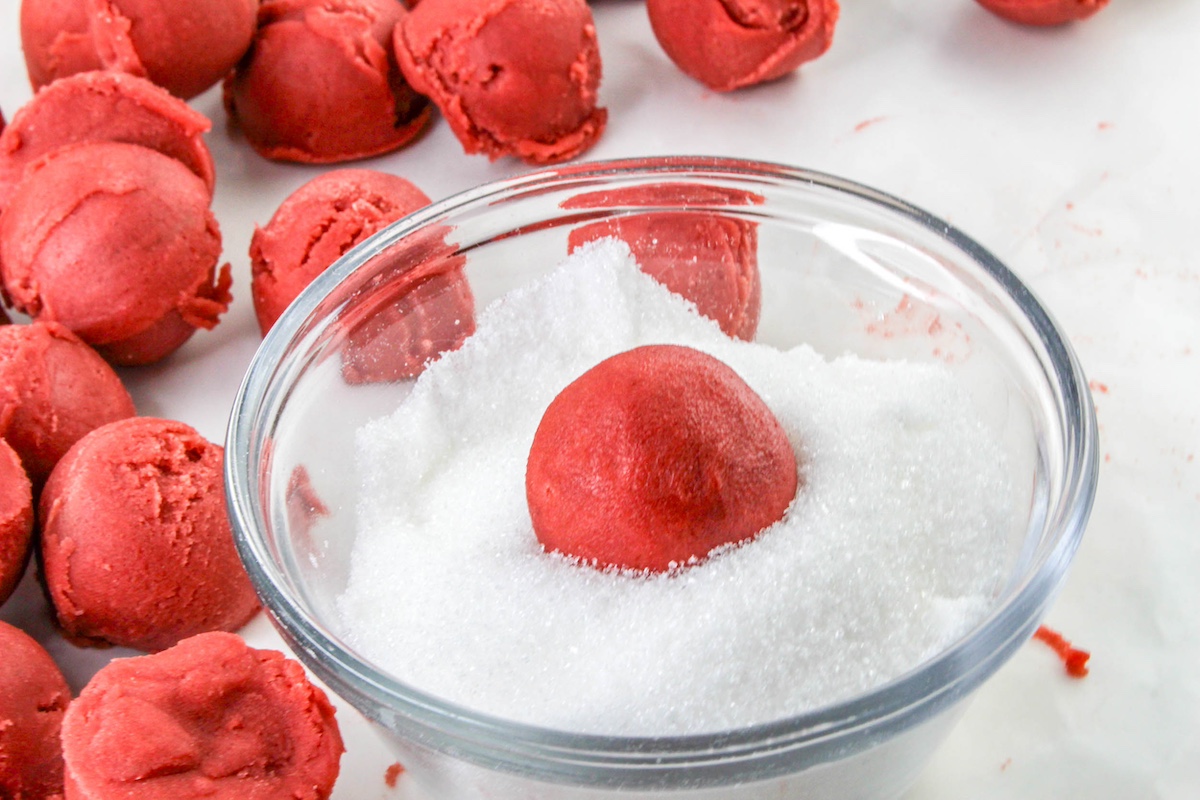
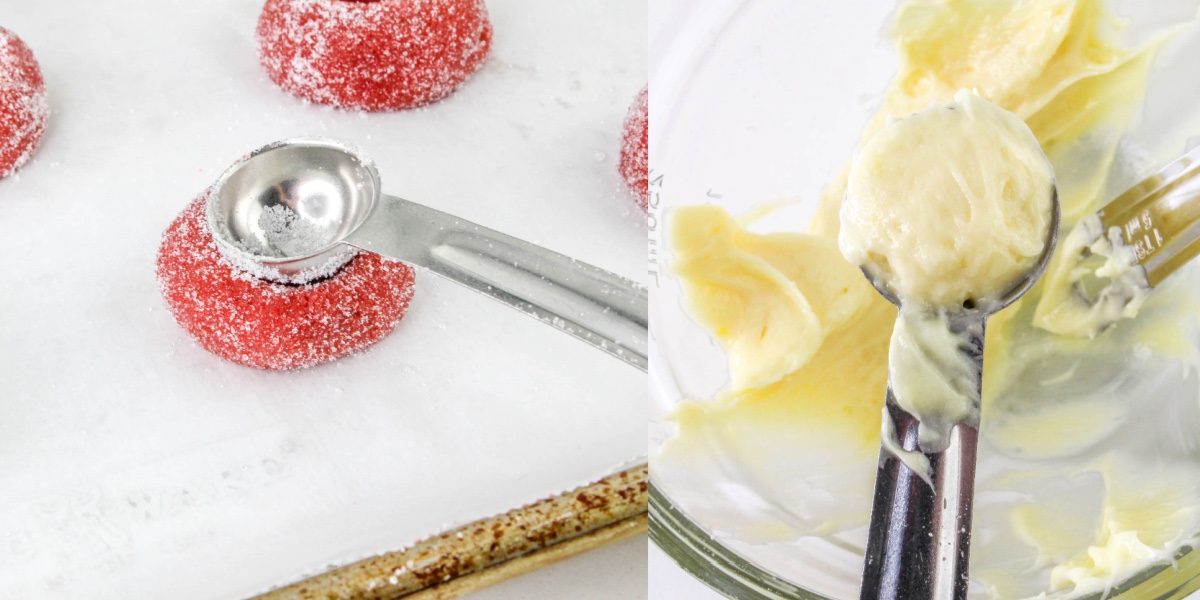
- Scoop out the dough by heaping tablespoons and rolling them in the sugar before placing on the prepared baking sheet (about 2 inches apart).
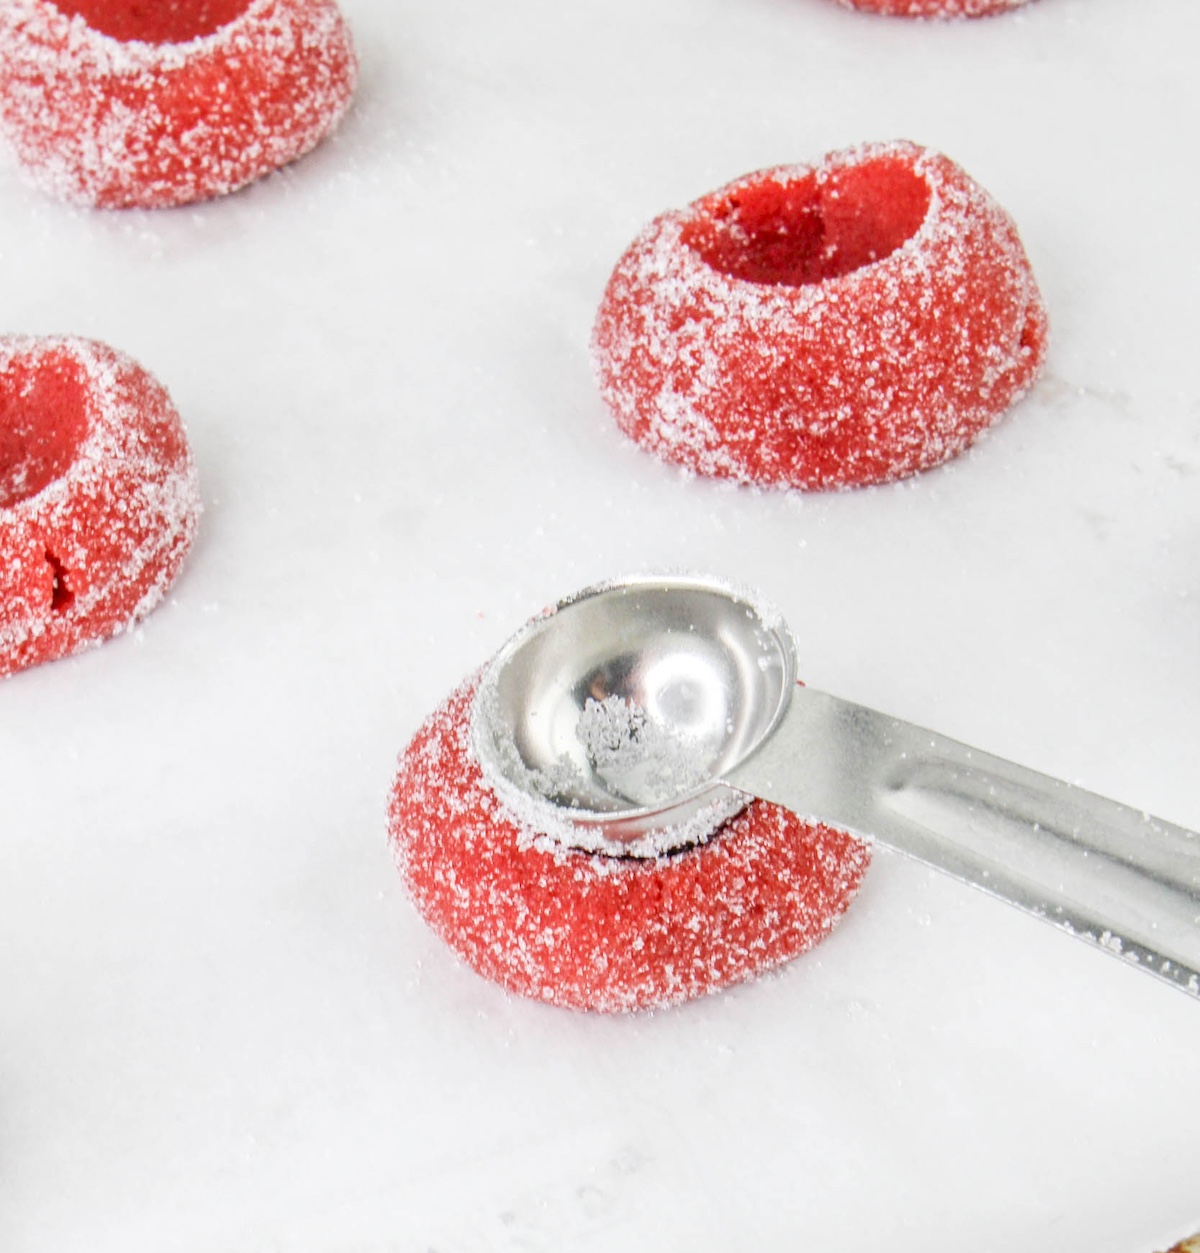
- Use the back of a round teaspoon to make a small indentation in the cookie dough. Bake for 10 minutes, or until the edges are set.
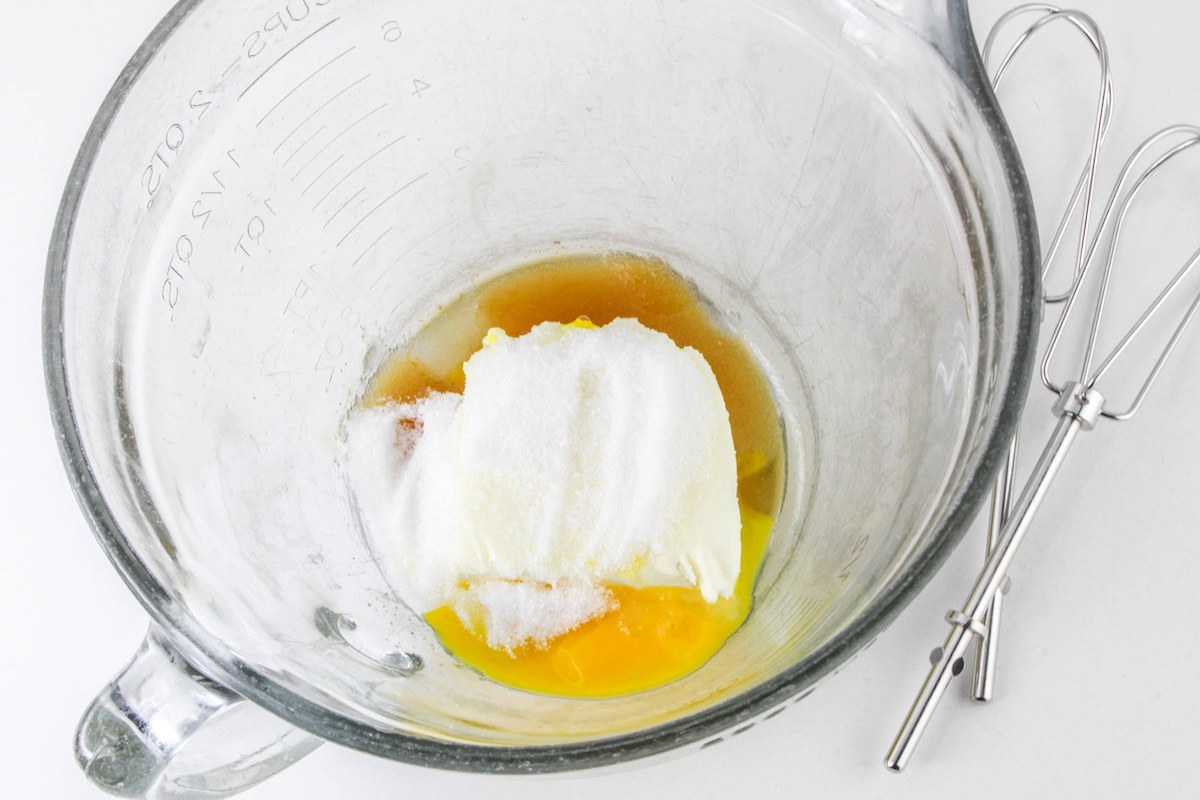
- Meanwhile, make the filling: using an electric mixer or small food processor, beat together the cream cheese, egg yolk, sugar, salt, and vanilla until smooth.
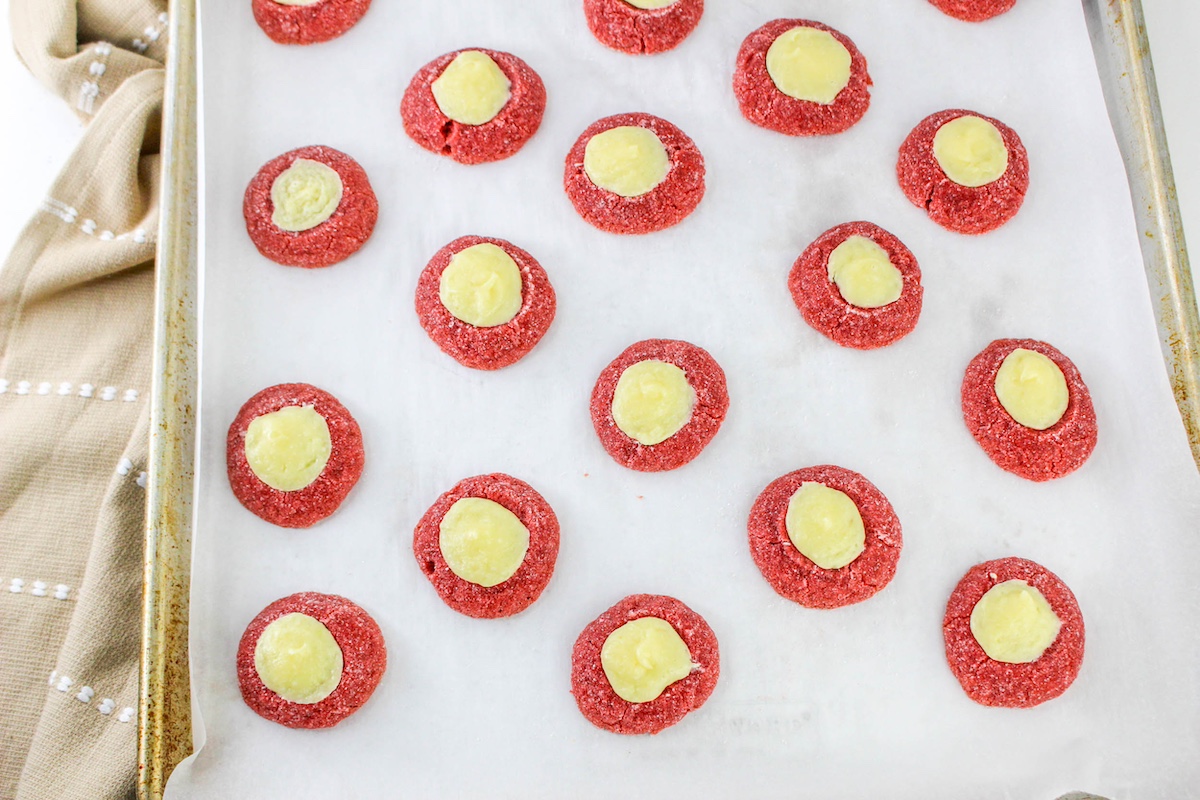
- After the first 10 minutes of baking, bring the cookies out of the oven. Use the back of a round teaspoon to deepen the indentation in the cookies (if necessary – based on how deep they were previously).
- Spoon a teaspoon of the filling into each indentation. Bake for an additional 12 minutes, or until filling is set.
- Pull cookies out of the oven and let cool for a few minutes. Remove from the baking sheet and let cool completely on a wire rack.
Notes
Nutrition
What is your favorite holiday cookie recipe? Share away! Let me know in the comments.


These are melt in your mouth amazing! Will be a regular in our holiday baking from now on. Thank you!!
I tried these today. Theyre pretty but not much taste to them, and I had twice as much filling as what I needed. Made 2-1/2 dozen when forming them into 1″ balls.
Tried this recipe but it did not work. Read it multiple times over. It seemed like way too much food coloring. Seems to be missing something??? They looked good, but taste was not good unfortunately.
Yours look so beautiful. I just made them and they didn’t turn out so great. The cookie “cracked” around the edges and the sugar I used just looked dark against the red dough. I’ll give it another go though. I may have used too much red food coloring and should probably use lighter sugars. I made the dough in advance and had it in the fridge for a few days before making. I don’t know if that helped or hurt. Happy Holidays!
Want to make
for Christmas ahead of time . Can I freeze them since they have cream cheese in them?
Yes, they can be frozen for up to three months! They should be thawed at room temp 🙂
Tasty, but mine spread big time. Did you chill before baking?
Tasty, but mine spread big time. Did you chill before baking?