How to Craft a Custom iPad Case on a Budget
Learn how to make a stylish and easy DIY iPad case with this simple tutorial—great for protecting your tablet on a budget! It’s no sew, lined, and assembles in about 15 minutes. Perfect for school or office!
Skills Required: Beginner. You can make this with very little craft experience.
Okay, so this is one of our favorite projects we’ve ever done here on DIY Candy; probably because it’s such an easy craft and very useful.
You see, I gifted my iPad to Steve recently, and he didn’t quite like the case that I had on it. He had the gall to call it “girly.” What?!
After receiving a large shipment of some new fall patterns of Duck Tape, we decided that we’d challenge ourselves to make an iPad case.
One that was lined, and no-sew, and could be put together easily and quickly. We were successful, and I’m so excited to show you how to do it!
Adults can easily do make this, and this case is a perfect back to school craft for kids of almost any age. That’s how simple it is.
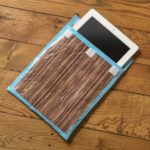
Here’s a little illustration of the finished project, and how it works. We even incorporated a flap! Here’s how we did it.
Gather These Supplies
- Fabric large enough to cover your iPad – cotton works best, at least next to the screen (won’t scratch)
- Duck Tape – we used Wood Grain and Electric Blue
- Pen (we used a dissolving fabric pen)
- Scissors
- Ruler
- Craft knife and cutting mat
- Adhesive Velcro squares
I think it goes without saying, but this is meant to be more like a sleeve than a case. It provides scratch protection and you can slide it easily into a larger briefcase or laptop bag. This sleeve doesn’t provide drop protection.
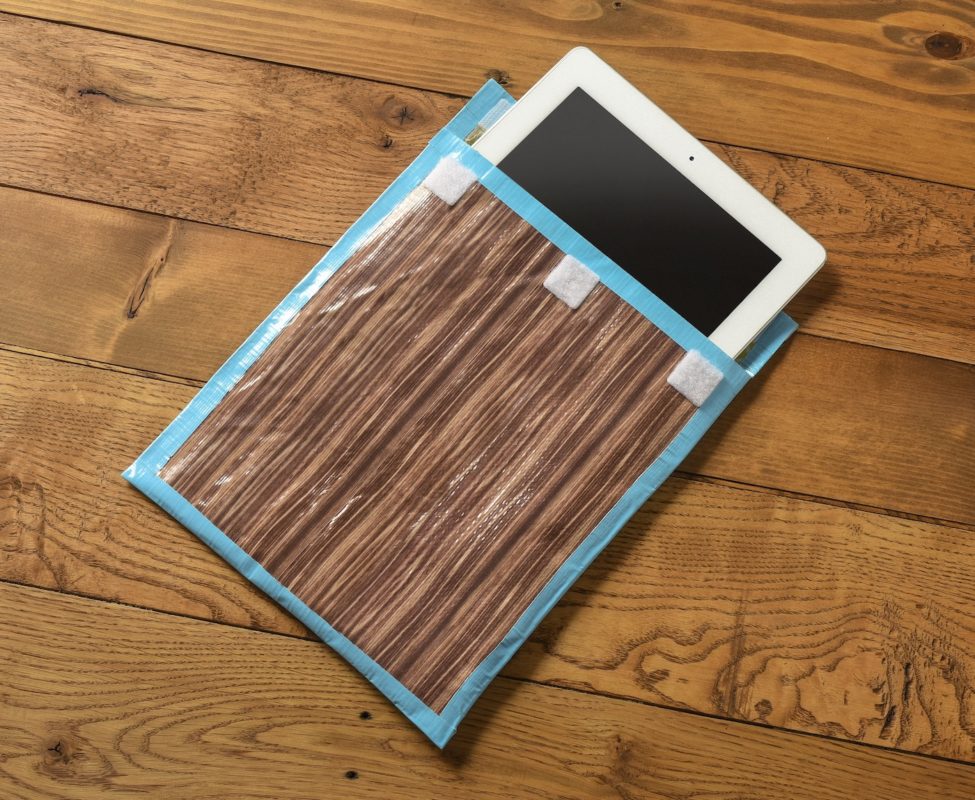
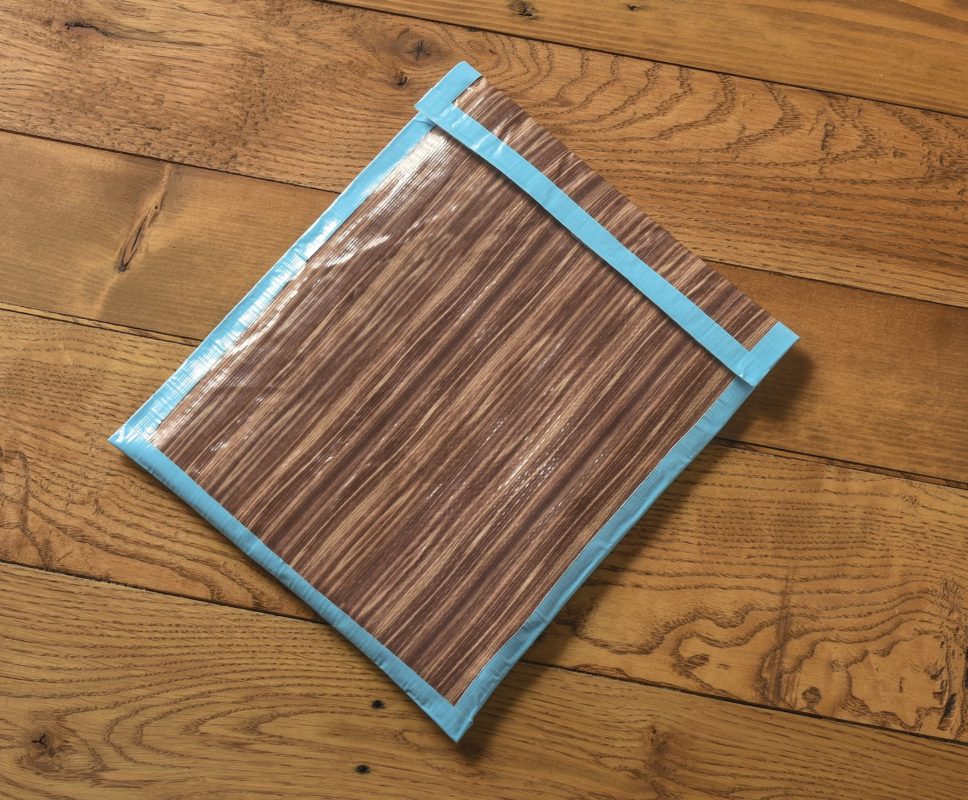
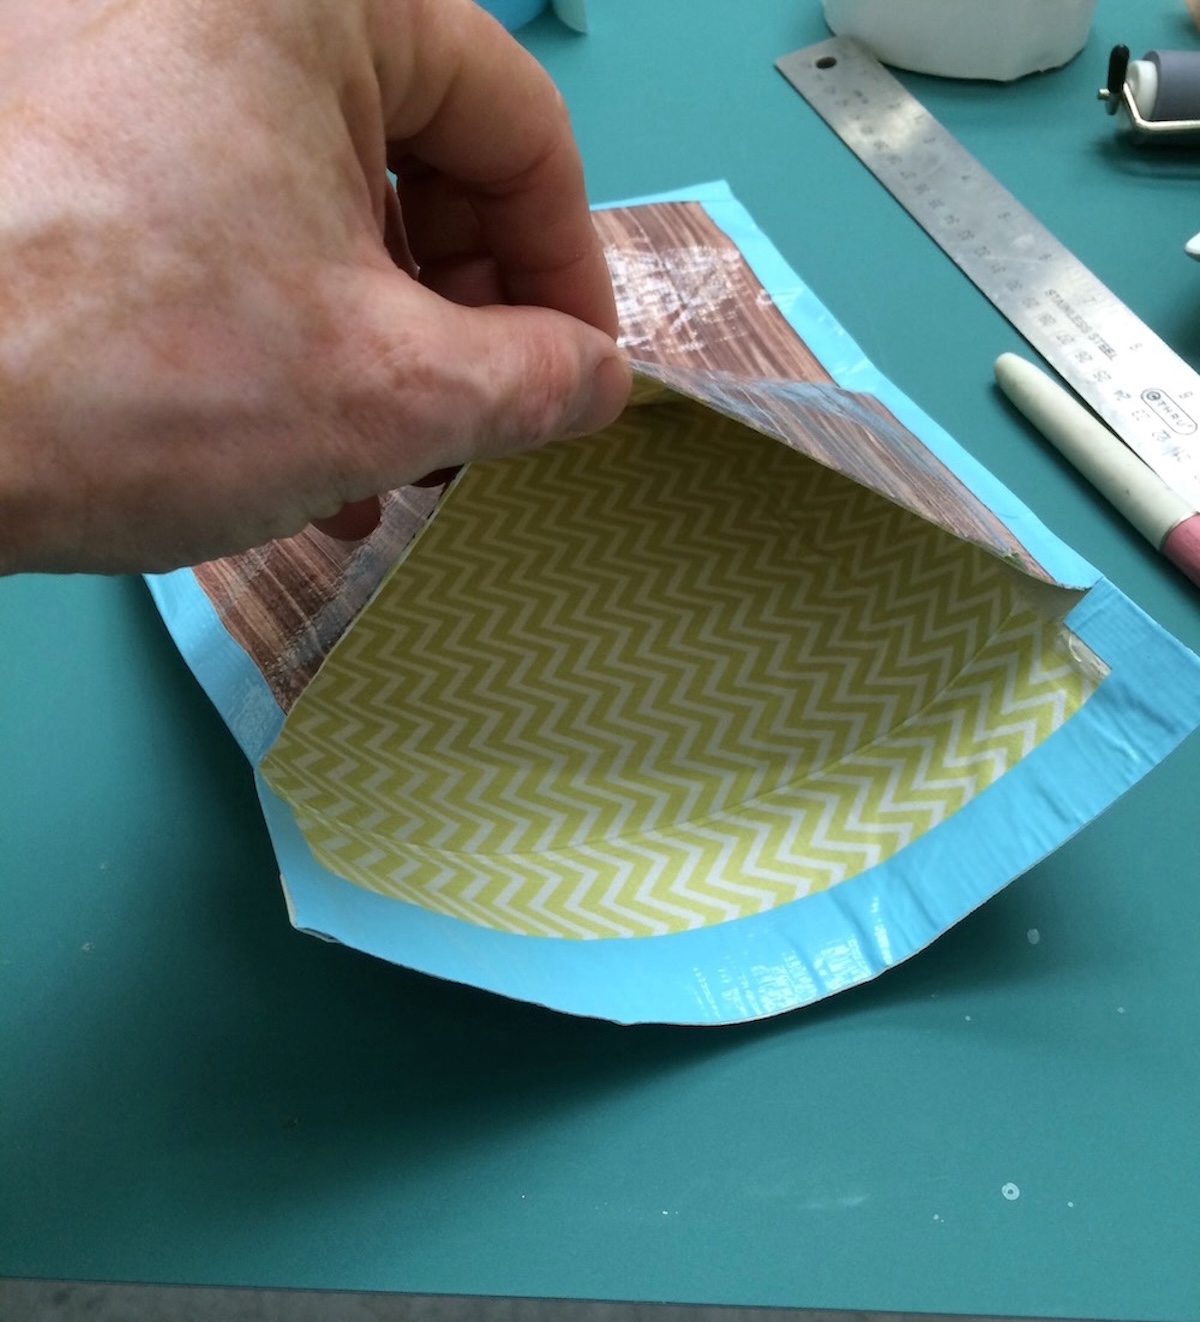
Here it is open . . .
And then with your electronic baby all secured inside. The fabric interior of your DIY iPad case will keep the screen from getting scratched.
DIY iPad Case
Equipment
- Dissolving fabric pen or you can use a pencil – just be mindful of where you put lines so they don't show
Materials
- Fabric large enough to cover your iPad – cotton works best
- 2 rolls Duck Tape two patterns
- Adhesive Velcro squares
Instructions
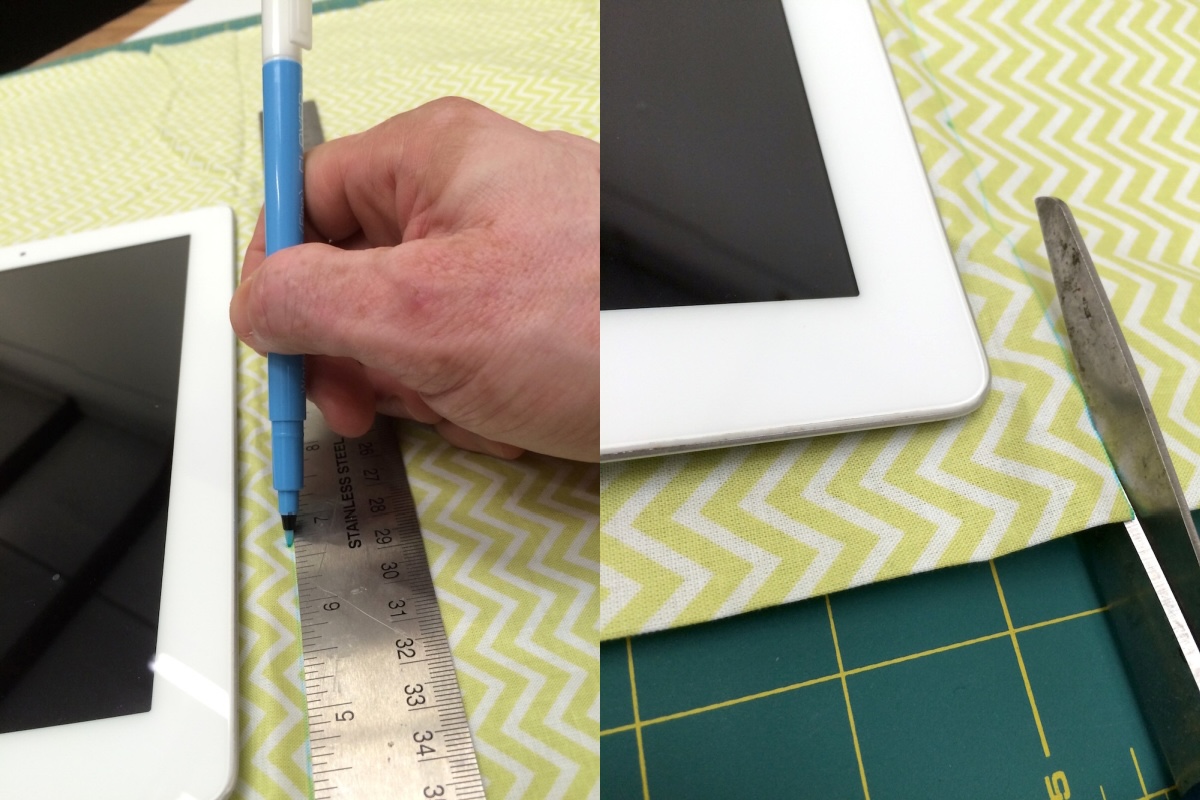
- Lay out the fabric with the iPad on top. Draw around your iPad with the ruler, leaving about 1/4" on all sides, except for the top flap. The top flap should be long enough to fold over (I left 1").
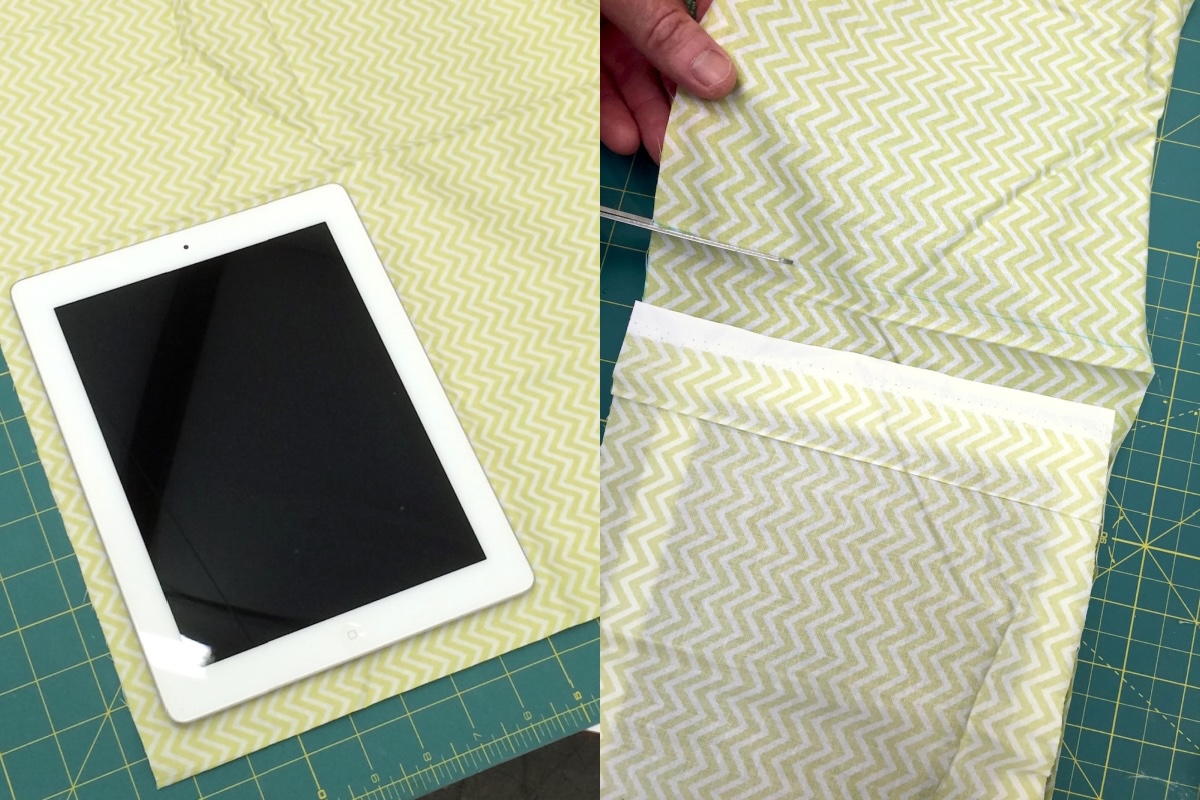
- You should also create a piece for the front of your iPad. Draw another piece using the ruler. Cut all pieces out with scissors.
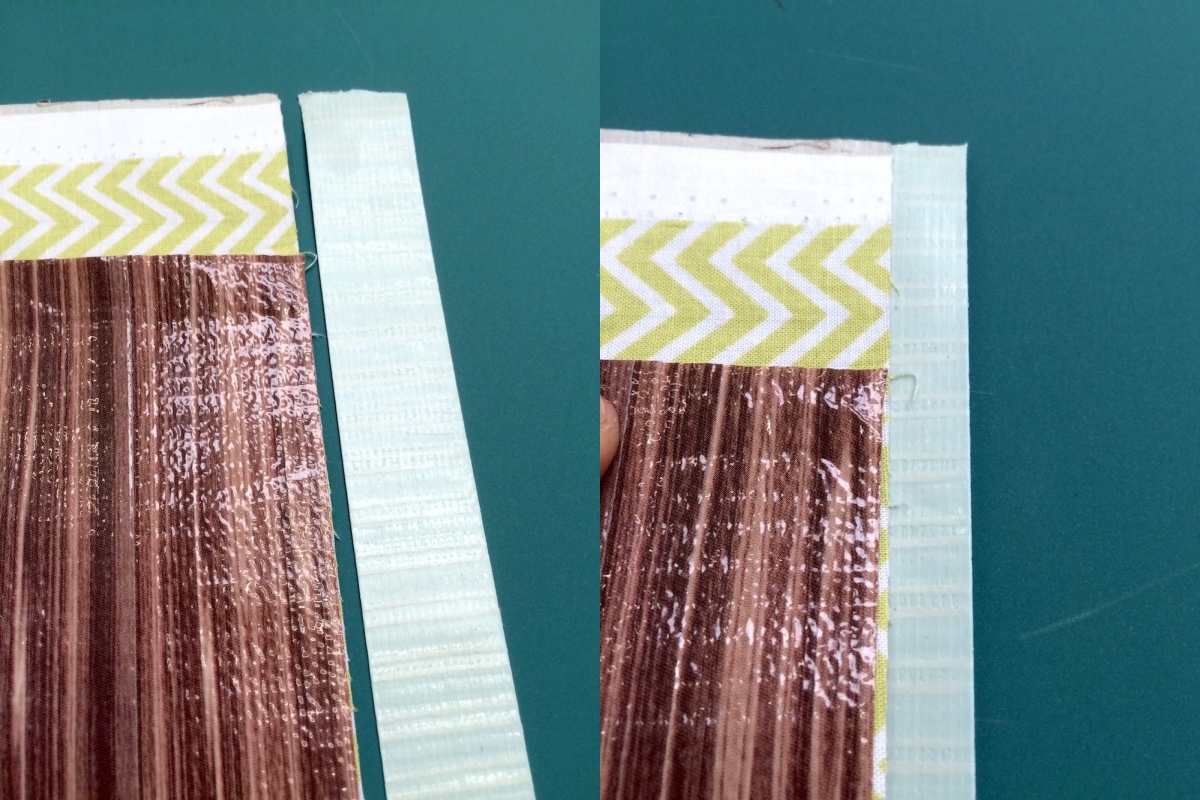
- Cover the back side of the fabric pieces with your main pattern of Duck Tape, overlapping slightly.
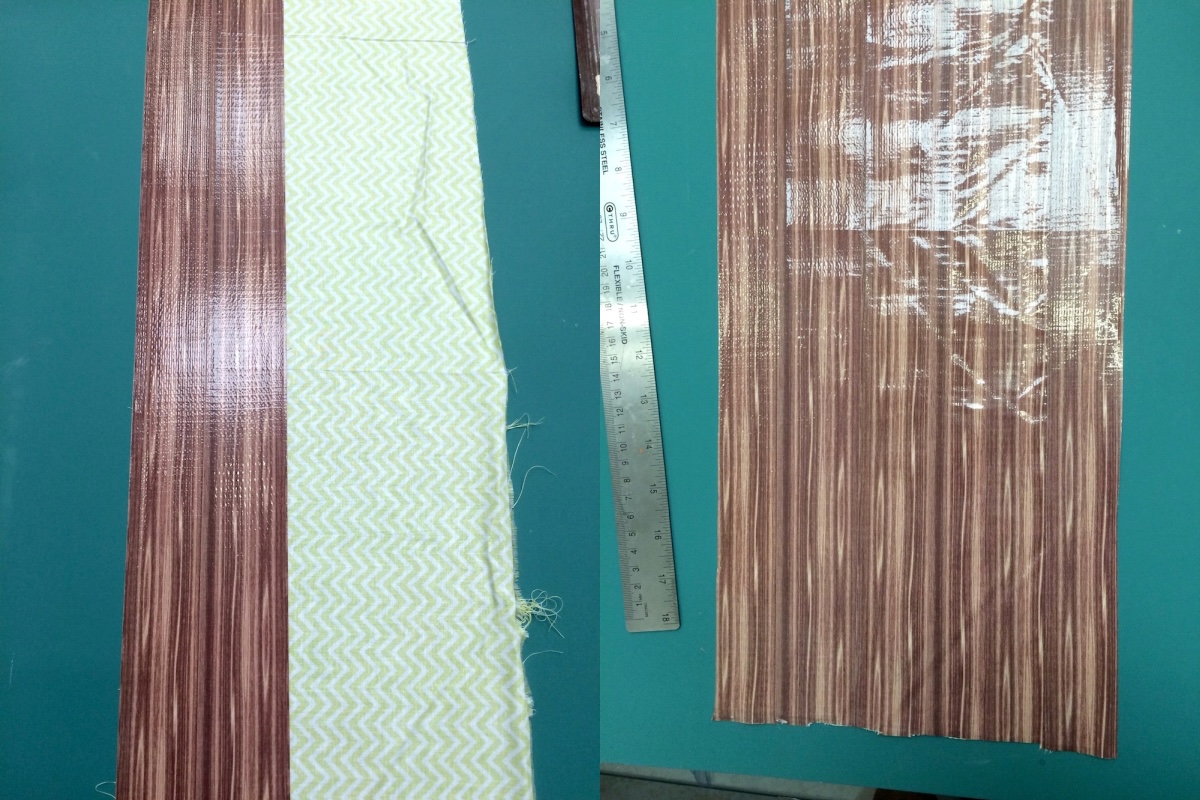
- If the Duck Tape overlaps the edge of the fabric, trim with a craft knife. It also gets rid of any cruddy edges on the fabric edge.
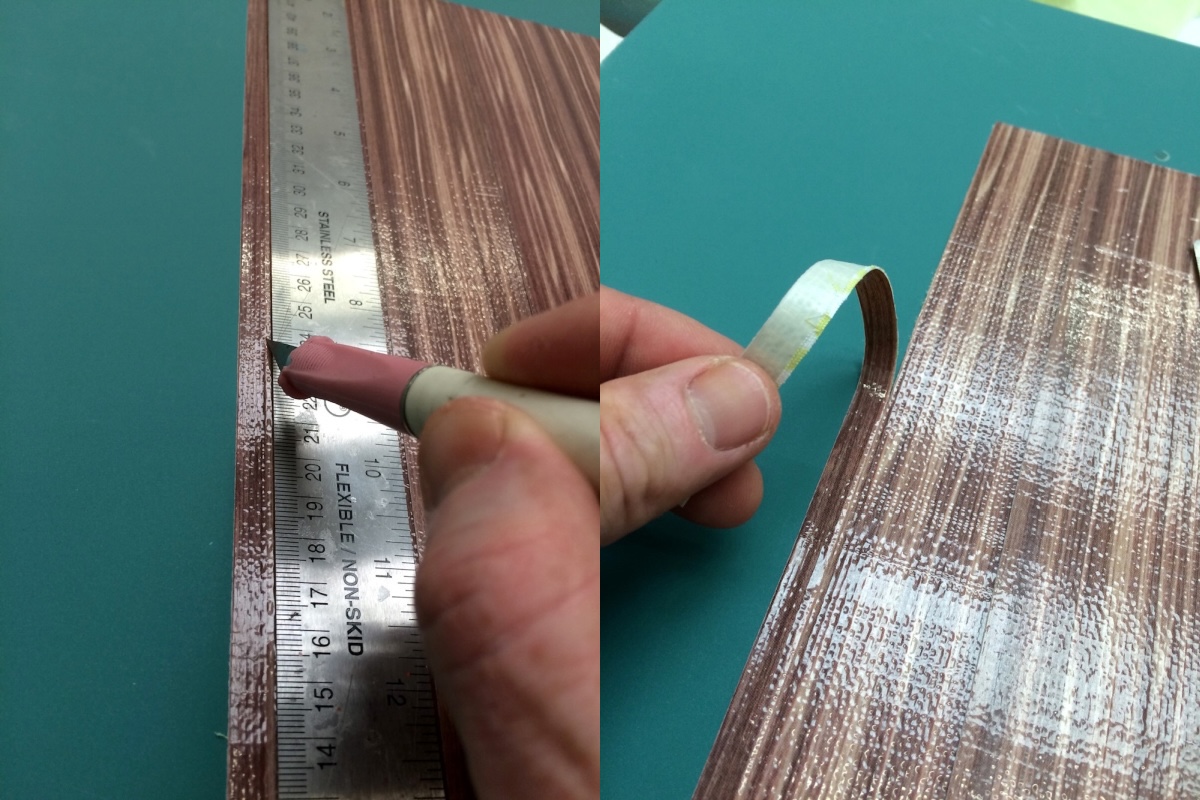
- Cut five lengths of a second pattern or color of tape to fit all around the edges of the iPad sleeve. Cut each piece in half using a craft knife. You'll use these strips to go around the edges. You'll need: two long enough to go down each side, one to go across the bottom, one to go across the very top flap, one to go across the top of the case at the front.
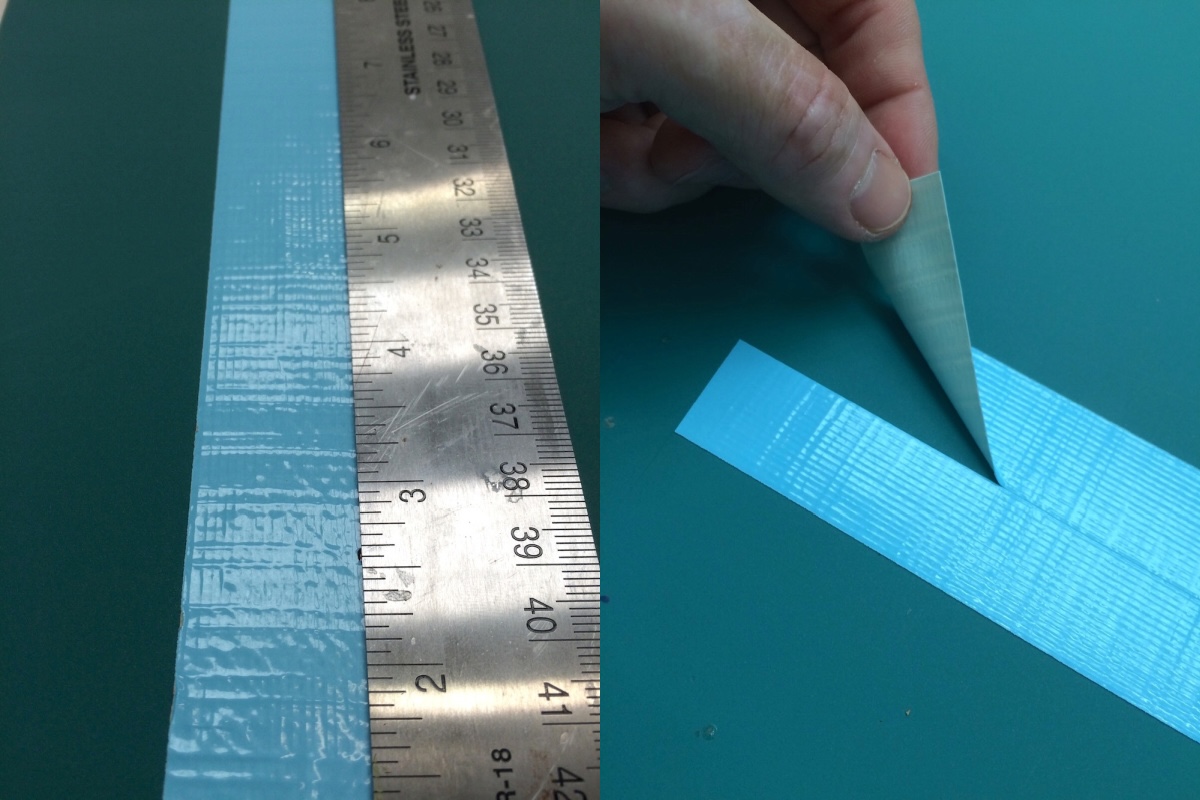
- Place the Duck Tape on all the edges of the case, fold over to start securing the case. You'll work all the way around, securing the front to the back.
- At the very top where the flap is, make a notch with the craft knife before folding the tape over.
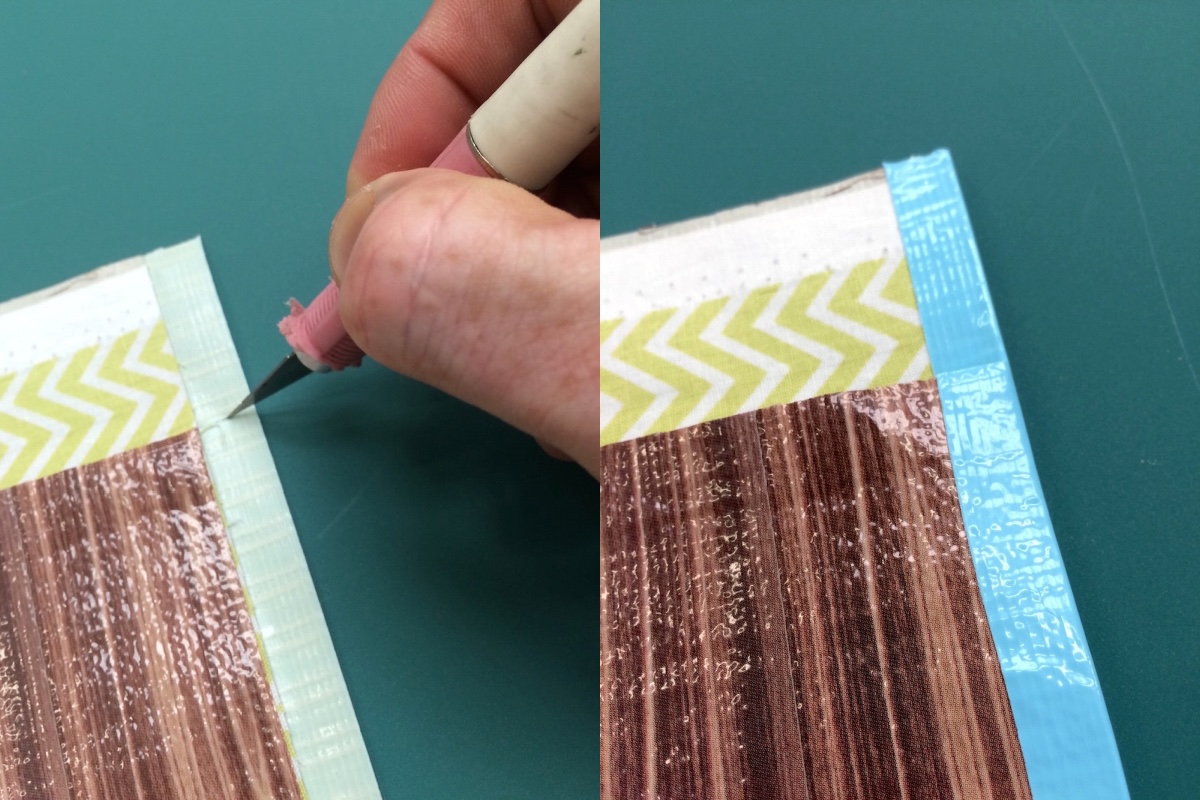
- Adhere the Velcro pieces at the top of the flap and on the front of the case to finish.
Notes
If you enjoyed this easy no-sew craft, you’re going to love these other projects as well:
Clay Photo Holders • Clay Trinket Dish • Decorate Canvas Shoes • Doily Bowls • Embroidered Notebook • Paper Mache Bowls • Shrinky Dink Keychains


This case is so cute! I love that wood!
Paige
https://www.thehappyflammily.com/