Tattoo Easter Eggs Are a Fun Holiday Craft
If you are looking for unique Easter egg ideas, check out these eggs done with gold foil tattoos. Easy to make and there is no mess!
Skills Required: None. You can make these even if you’ve never crafted before. This is a perfect beginner idea and great for kids too.
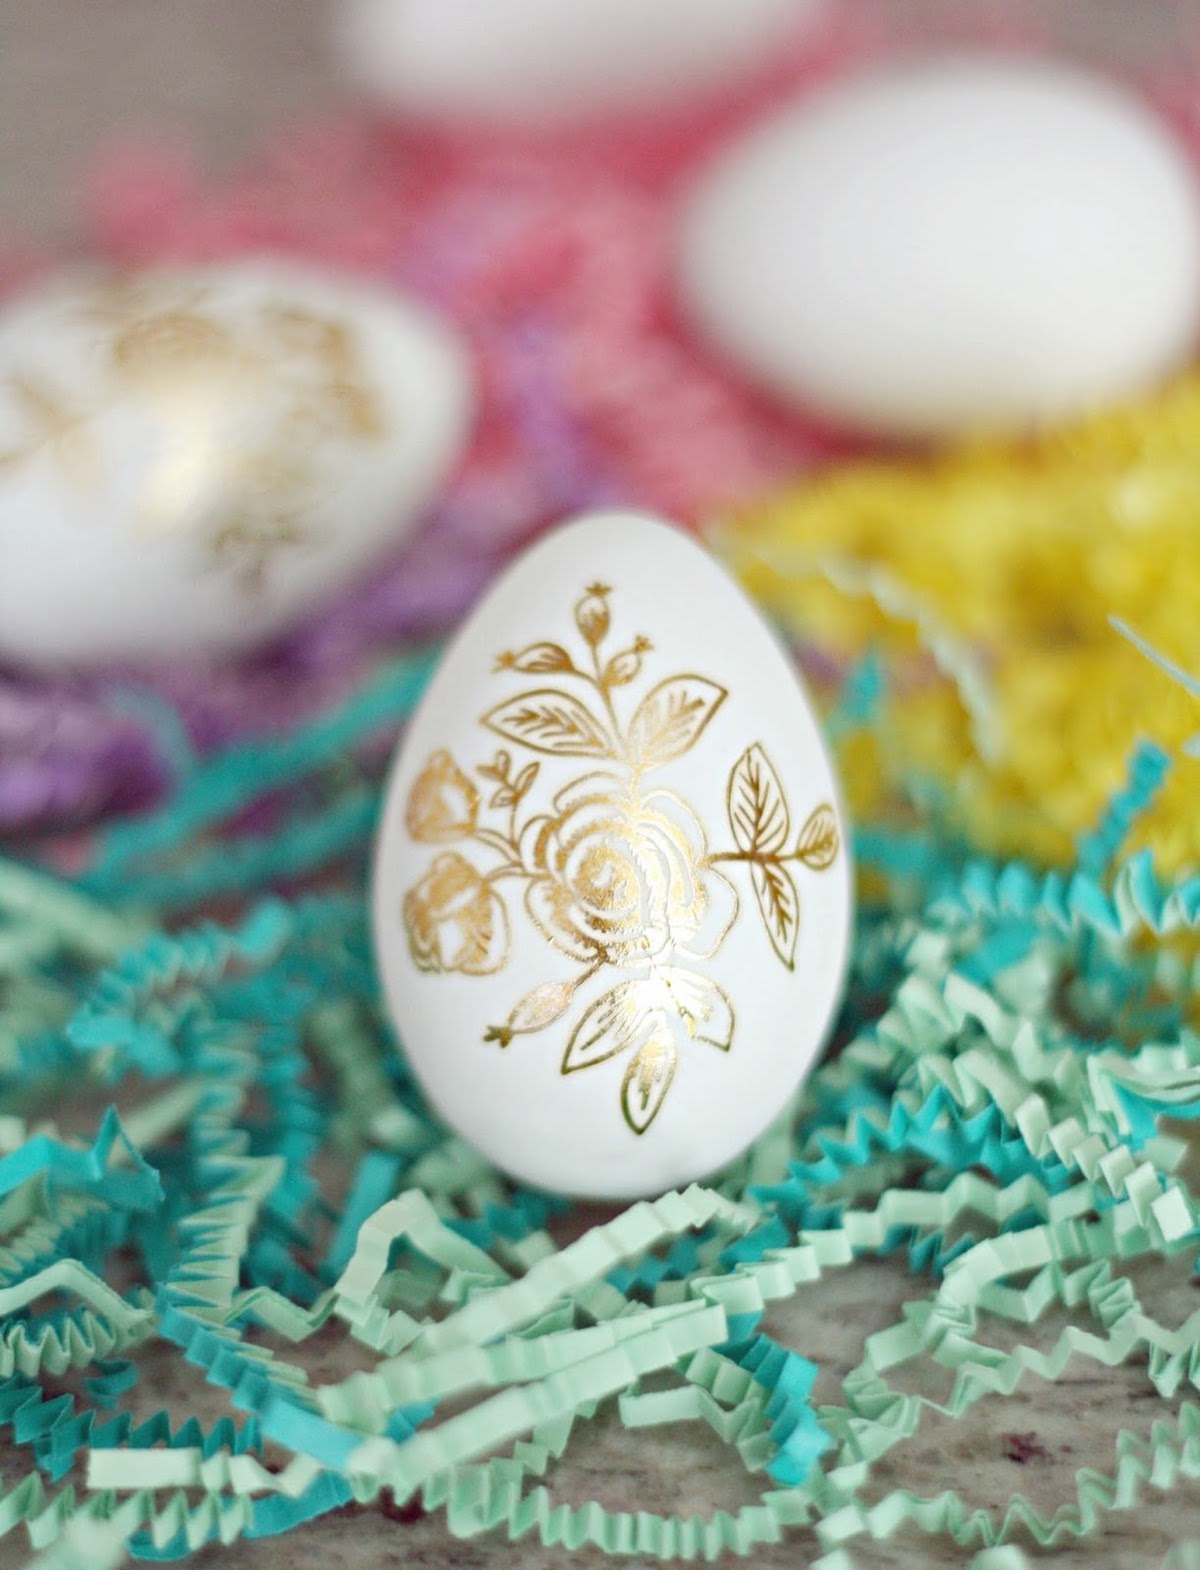
It’s almost March, which is Easter month this year, so of course we have started brainstorming ALL the Easter egg ideas for decorating.
These gold foil tattoo Easter eggs are at the top of my list because they are easy and gorgeous and take less than two minutes to make, and that fits all the major requirements in my book.
This project is super simple, and if you can apply a temporary tattoo, you can do this project. It’s much easier and less messy than a lot of other options. Remember those dye kits from your childhood? The dye got everywhere!
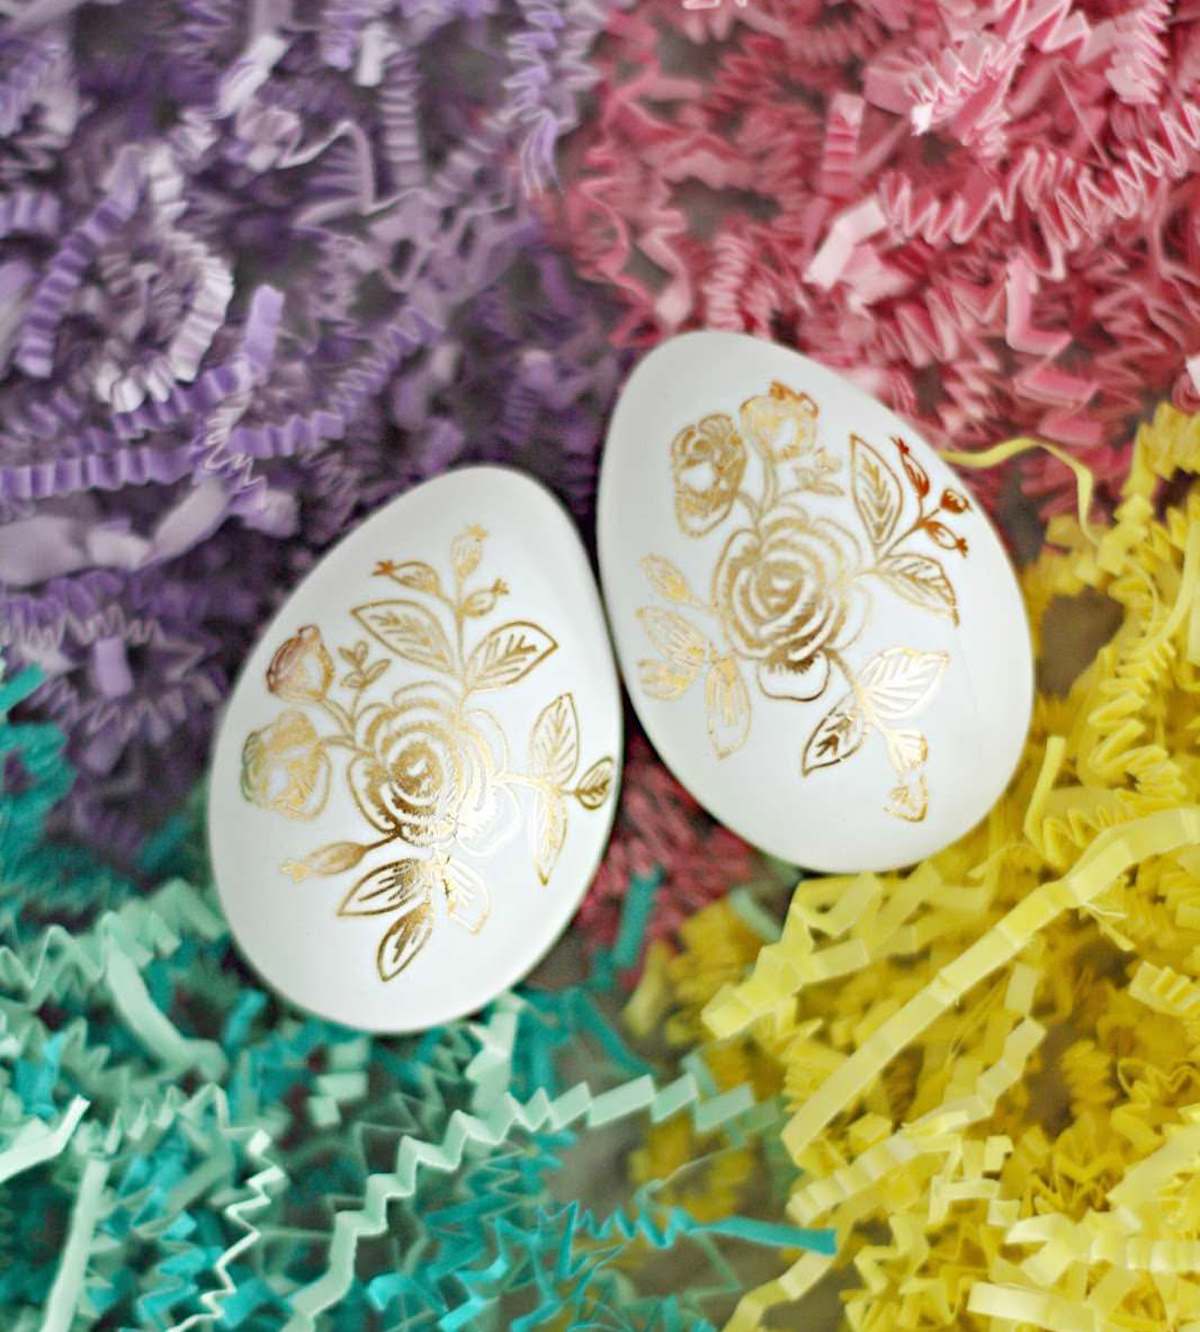
This Easter idea is for you moms out there who don’t want to clean up a mess, or if you want something a bit more trendy and sophisticated than the standard egg decorating fare.
You can use any temporary tattoos, including characters if you’re doing this with the littles. These gold foil ones are perfect for Easter decorating that is a bit more upscale.
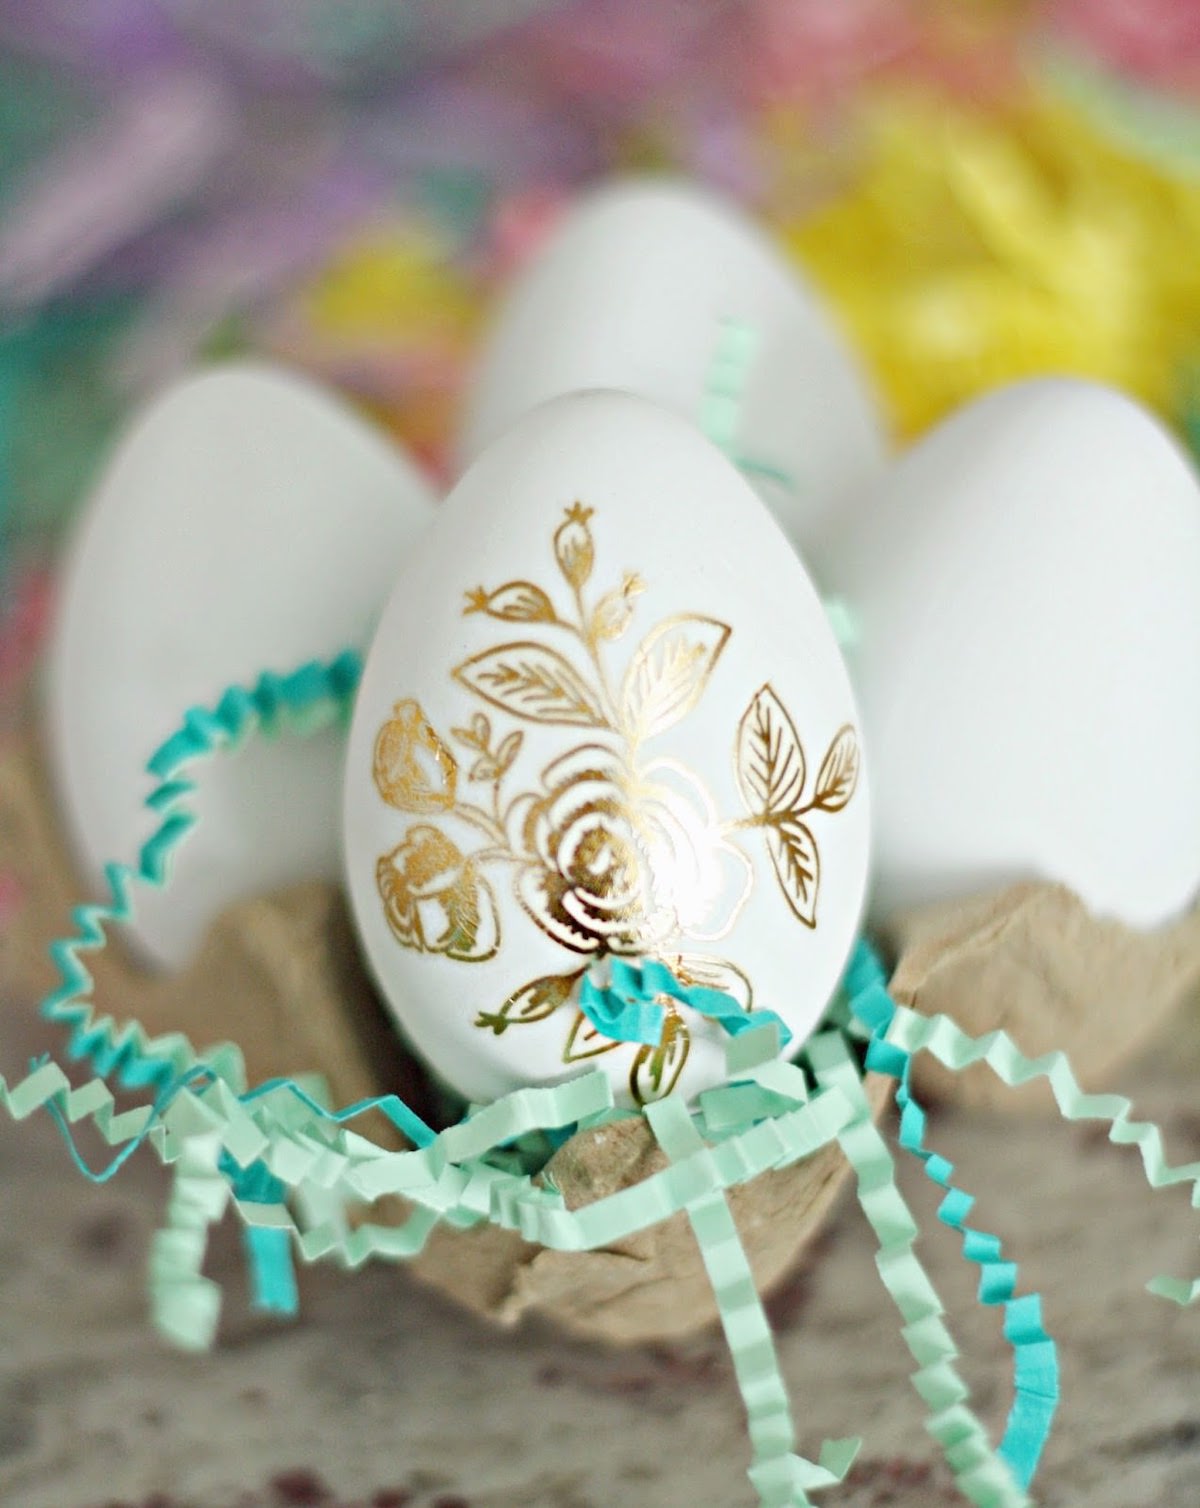
As far as the egg options for this project, you can use real eggs. But if you want them to last for years, I’d use either wood eggs painted with white, or the paintable plastic eggs.
Regular colorful plastic eggs won’t typically take temporary tattoos very well (they’ll just slide off). The paintable ones have a bit of a textured surface that makes them adhere better.
These eggs would make awesome vase filler! They would also look nice in the ceramic egg holders. Get the printable how-to card below!
Easter Egg Tattoos
Equipment
- Rag(s)
Materials
- Eggs
- Temporary tattoos
- Water
Instructions
- Make sure the surface of the egg is clean. Remove the backer from the temporary tattoo and place on the egg where you want it.
- Soak the back using the water and the rag according to the tattoo instructions.
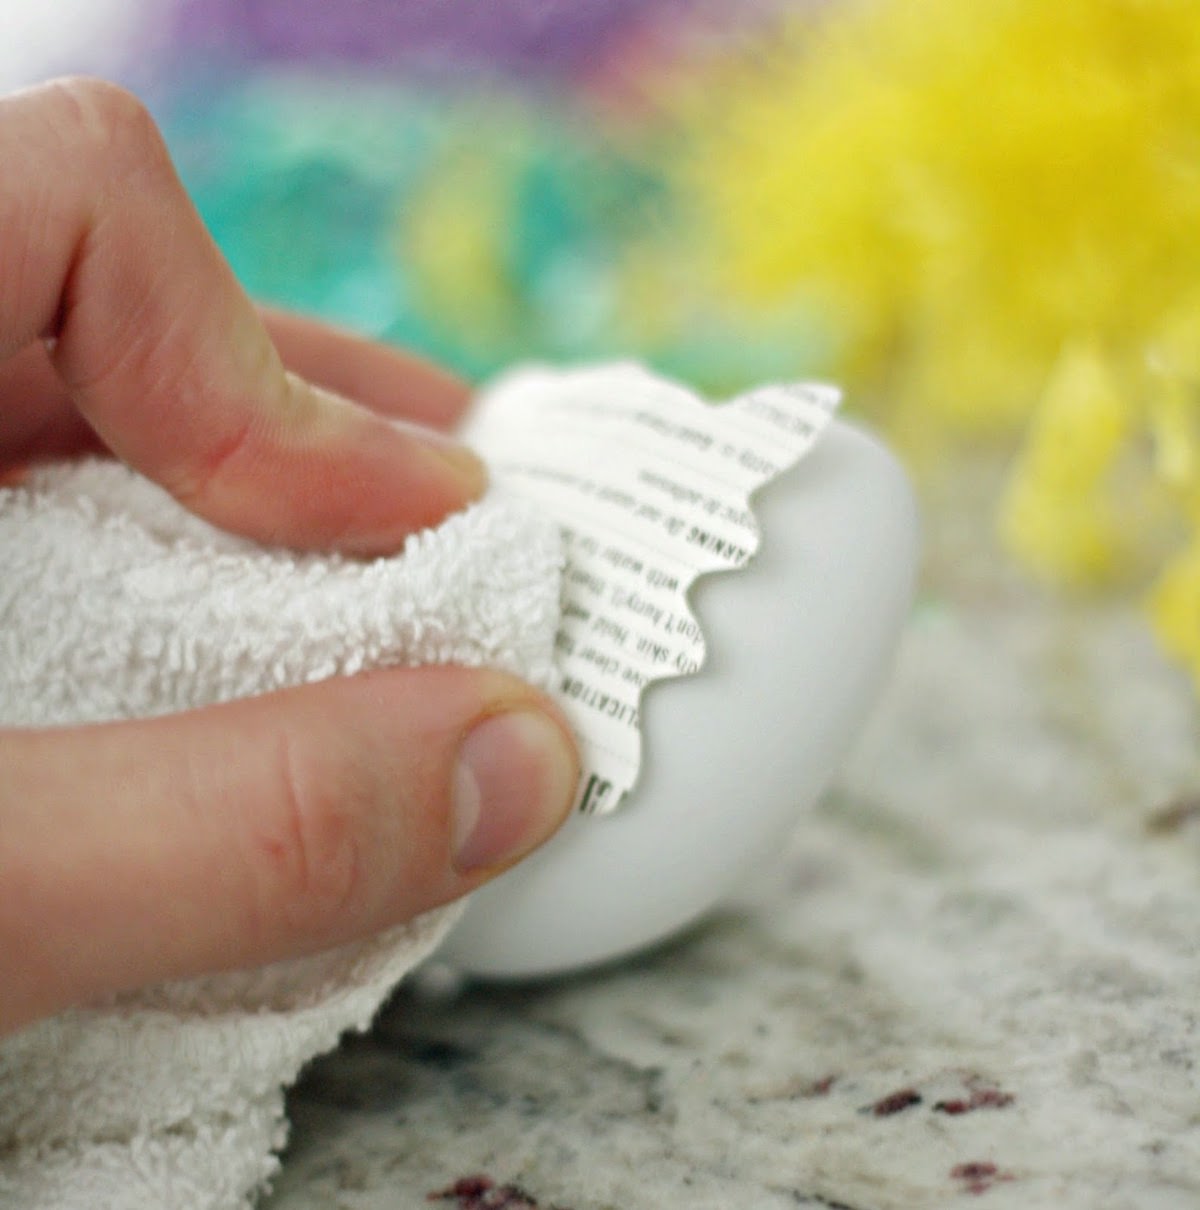
- Once the tattoo is released onto the egg, remove the backer paper and let dry.
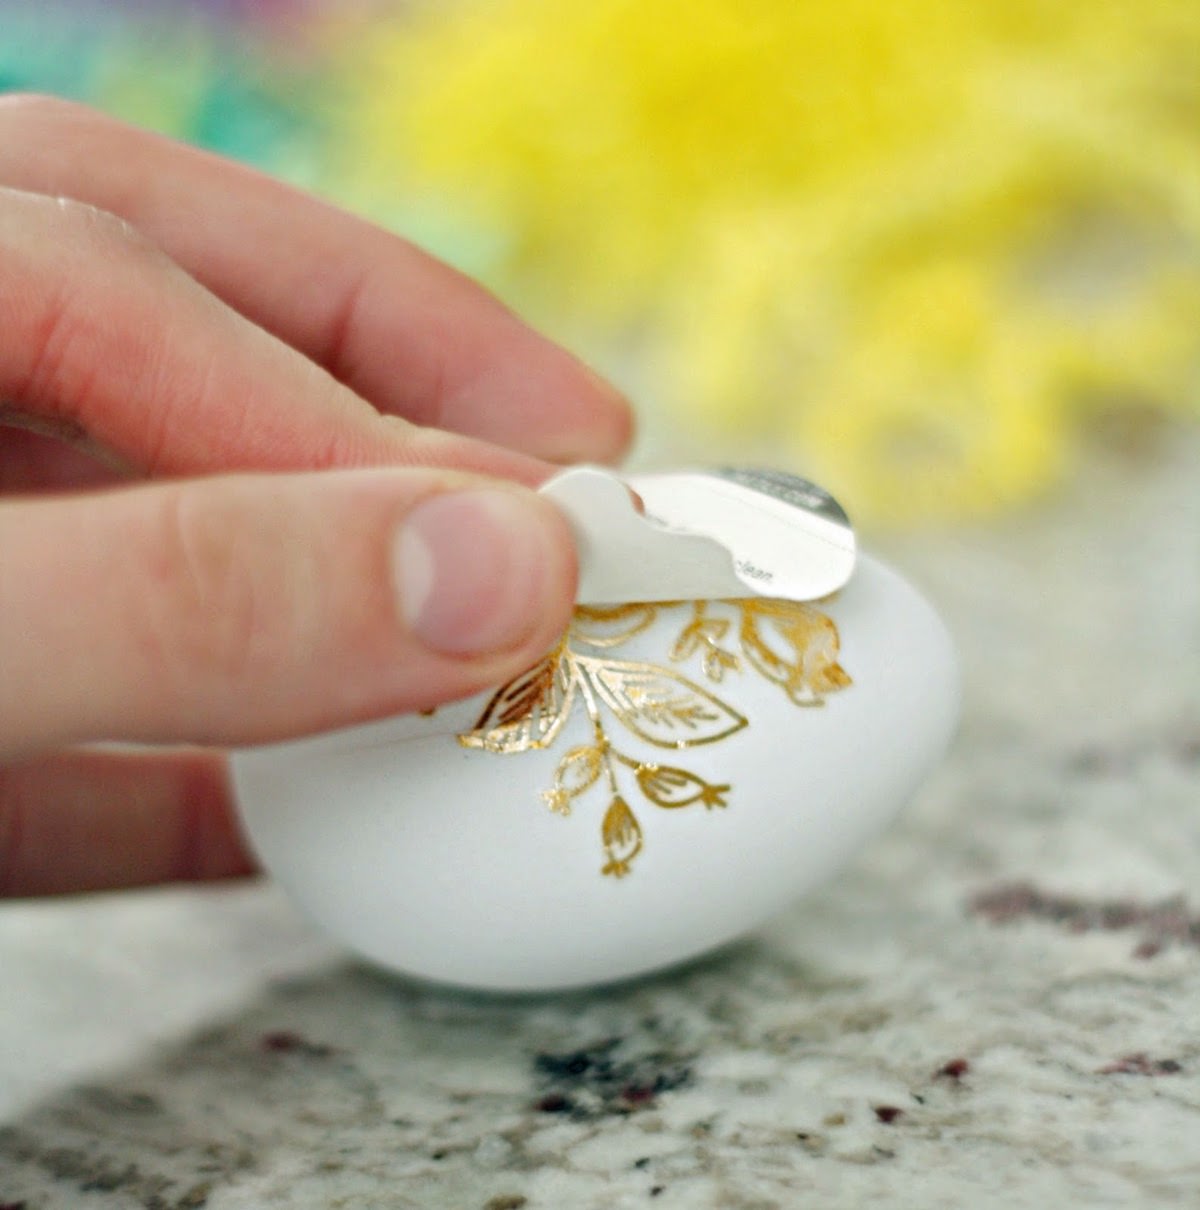
- If you'd like to make sure the temporary tattoos stay down, you'll need to spray something over the top. I recommend a clear spray sealer. You could also brush on some Mod Podge.
Be sure to visit us as we blog about style, food, and the things we love over at the Pretty Life Girls. I’d also love for you to check out these other Easter posts:
Bunny Canvas • Bunny Garland • Egg Banner • Gold Foil Eggs • Mesh Wreath • Peep Canvases • Peep Magnets • Perler Beads • Rainbow Eggs


These eggs are gorgeous! I’m going to have to try making them!
Paige
https://www.thehappyflammily.com/
SO PRETTY!! LOVE THE GOLD, TOO.