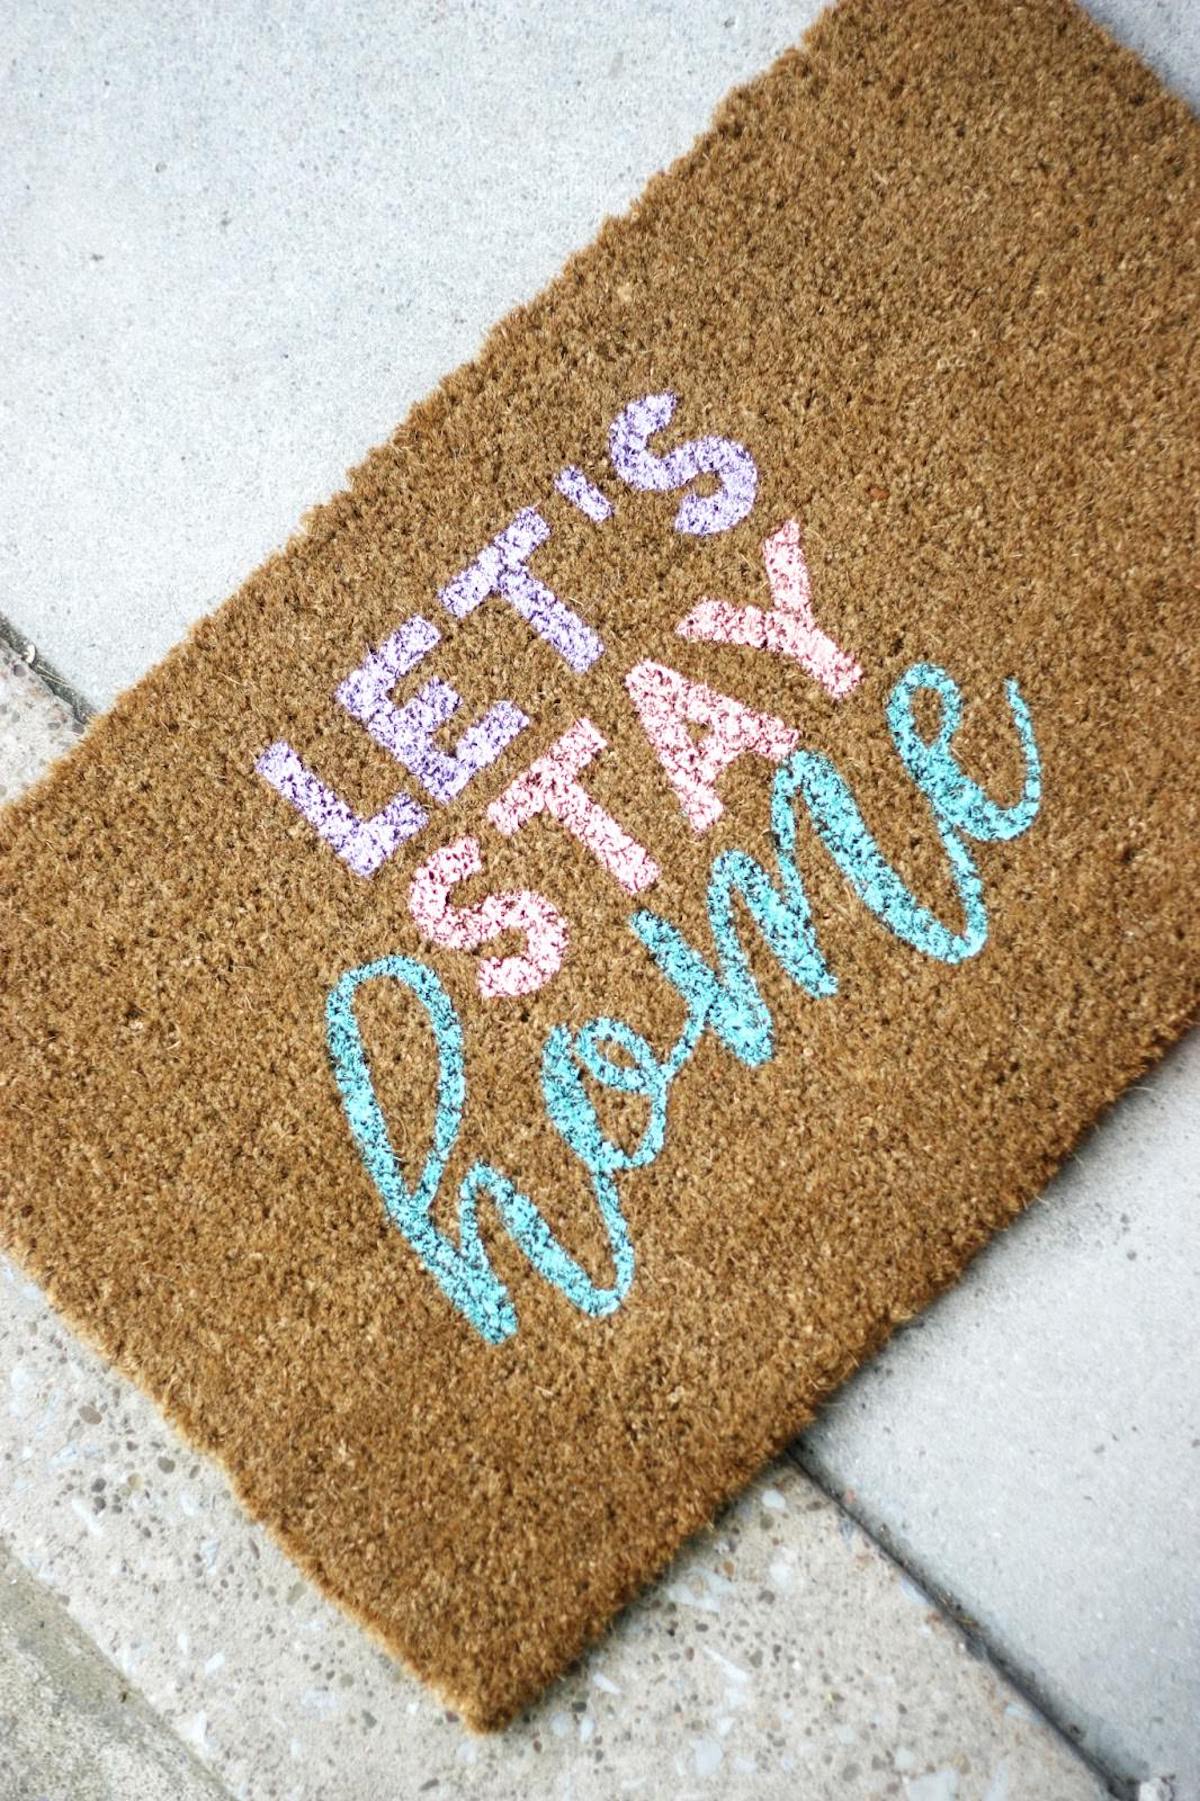
Make a Cute DIY Doormat in Three Easy Steps!
Make a DIY doormat using a simple adhesive stencil and some craft paint. You can use any saying you like. This is an easy home decor DIY!
Skills Required: Beginner. This DIY isn’t difficult, but you should have some experience with acrylic paint. It’s not as easy to paint on a door mat as a flat surface.
As the sun starts shining brighter and our days are spent more in the open air, the urge to refresh and beautify our living spaces naturally arises.
This feeling struck me too, particularly with the desire to rejuvenate my patio. After some gardening over the weekend, the realization hit: my doormat had seen better days, and it was time for a change.
Discovering a plain doormat at the local garden store felt like serendipity. It seemed like a blank canvas just waiting for a touch of creativity to transform it into something special.
This DIY doormat project appeared not just as a necessity but as a perfect opportunity to add a unique, welcoming touch to my entrance, signaling the arrival of spring.
With just a stencil and some paint, you can easily customize your doormat to match the vibe of your patio or your personality. Whether you’re a seasoned DIY enthusiast or a novice looking for a fun weekend activity, this project promises not just a beautiful outcome but an enjoyable process.
The aim here is not just to create something that looks good but to infuse your outdoor space with a bit of your essence. It’s a gentle nudge to anyone who’s been eyeing their front door thinking, “It’s time for a little update.”
So, why not take this as your sign to dive into a simple, yet impactful, home decor project? Let’s bring some cheer to our thresholds and make them a reflection of the beauty awaiting inside and out.
Gather These Supplies
- Plain door mat
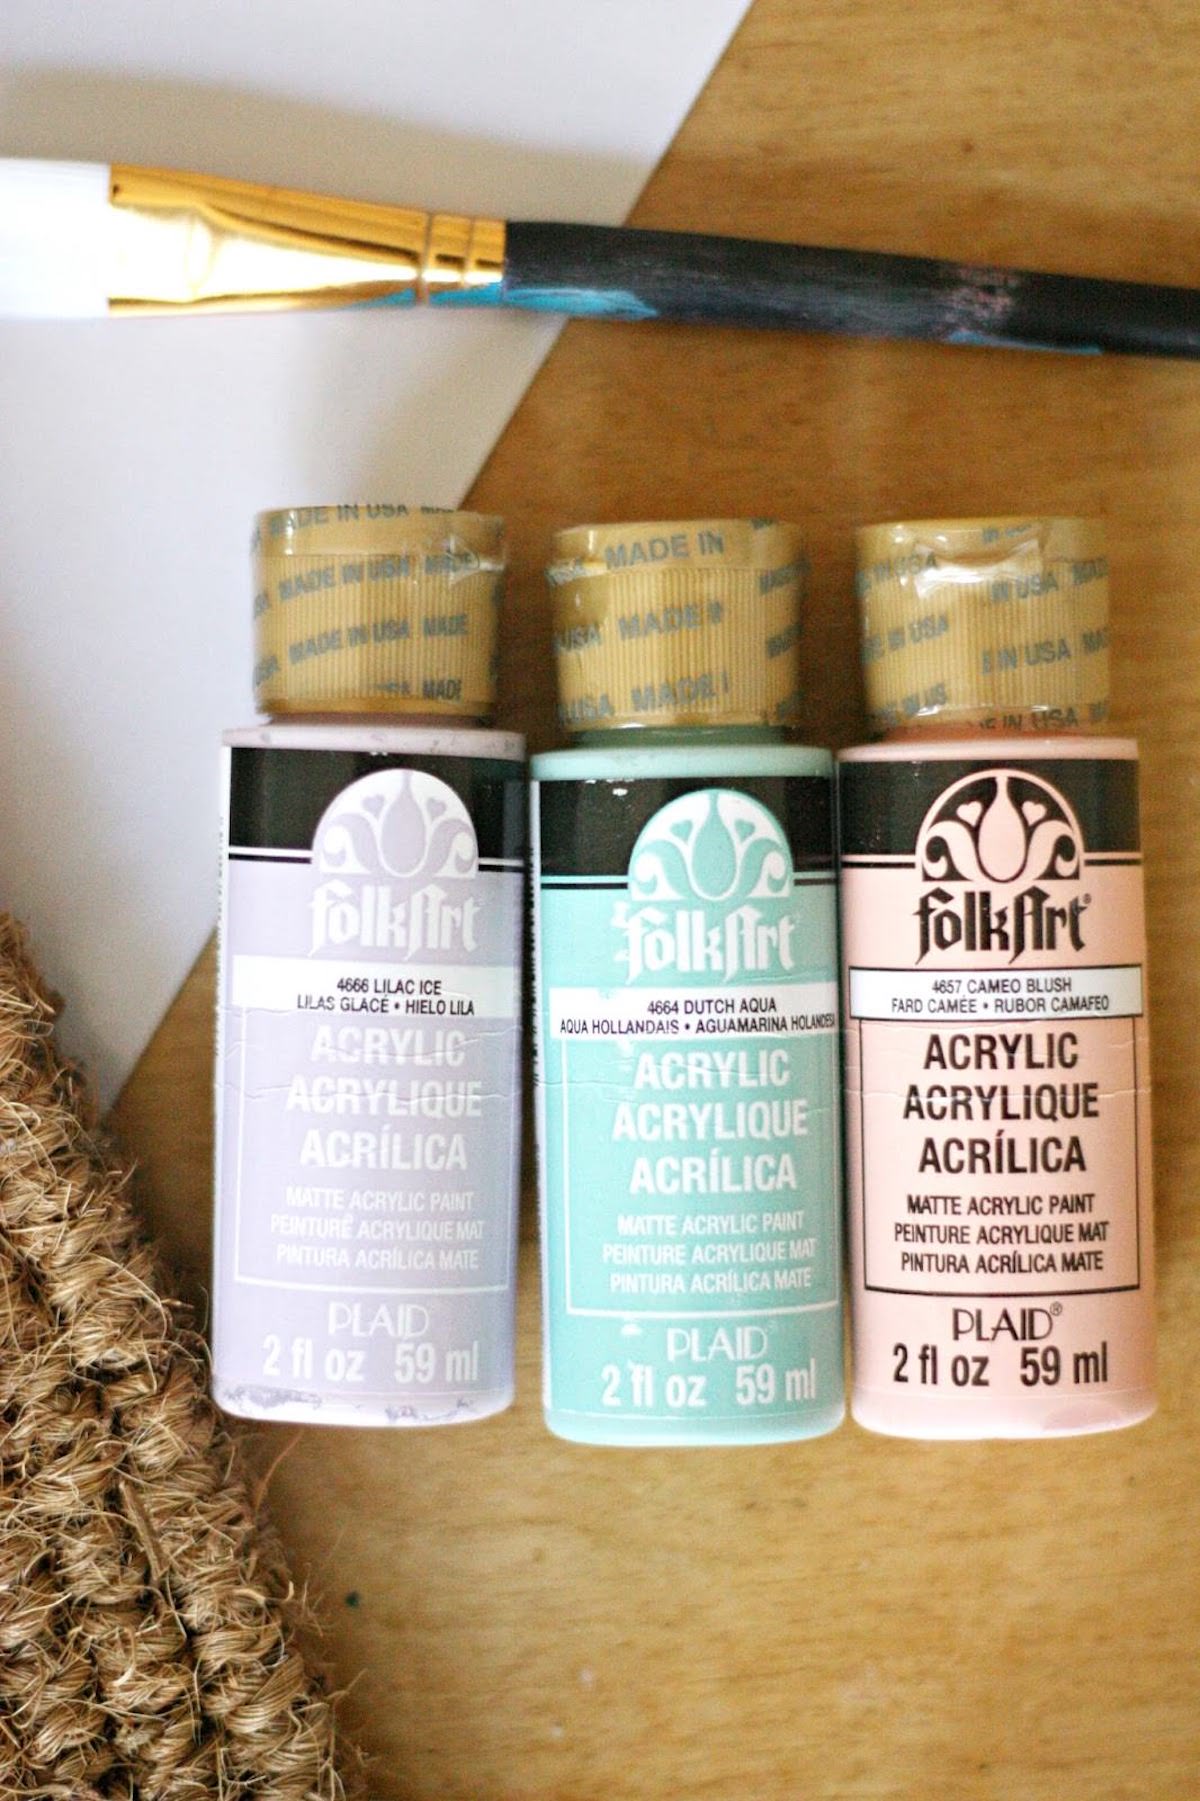
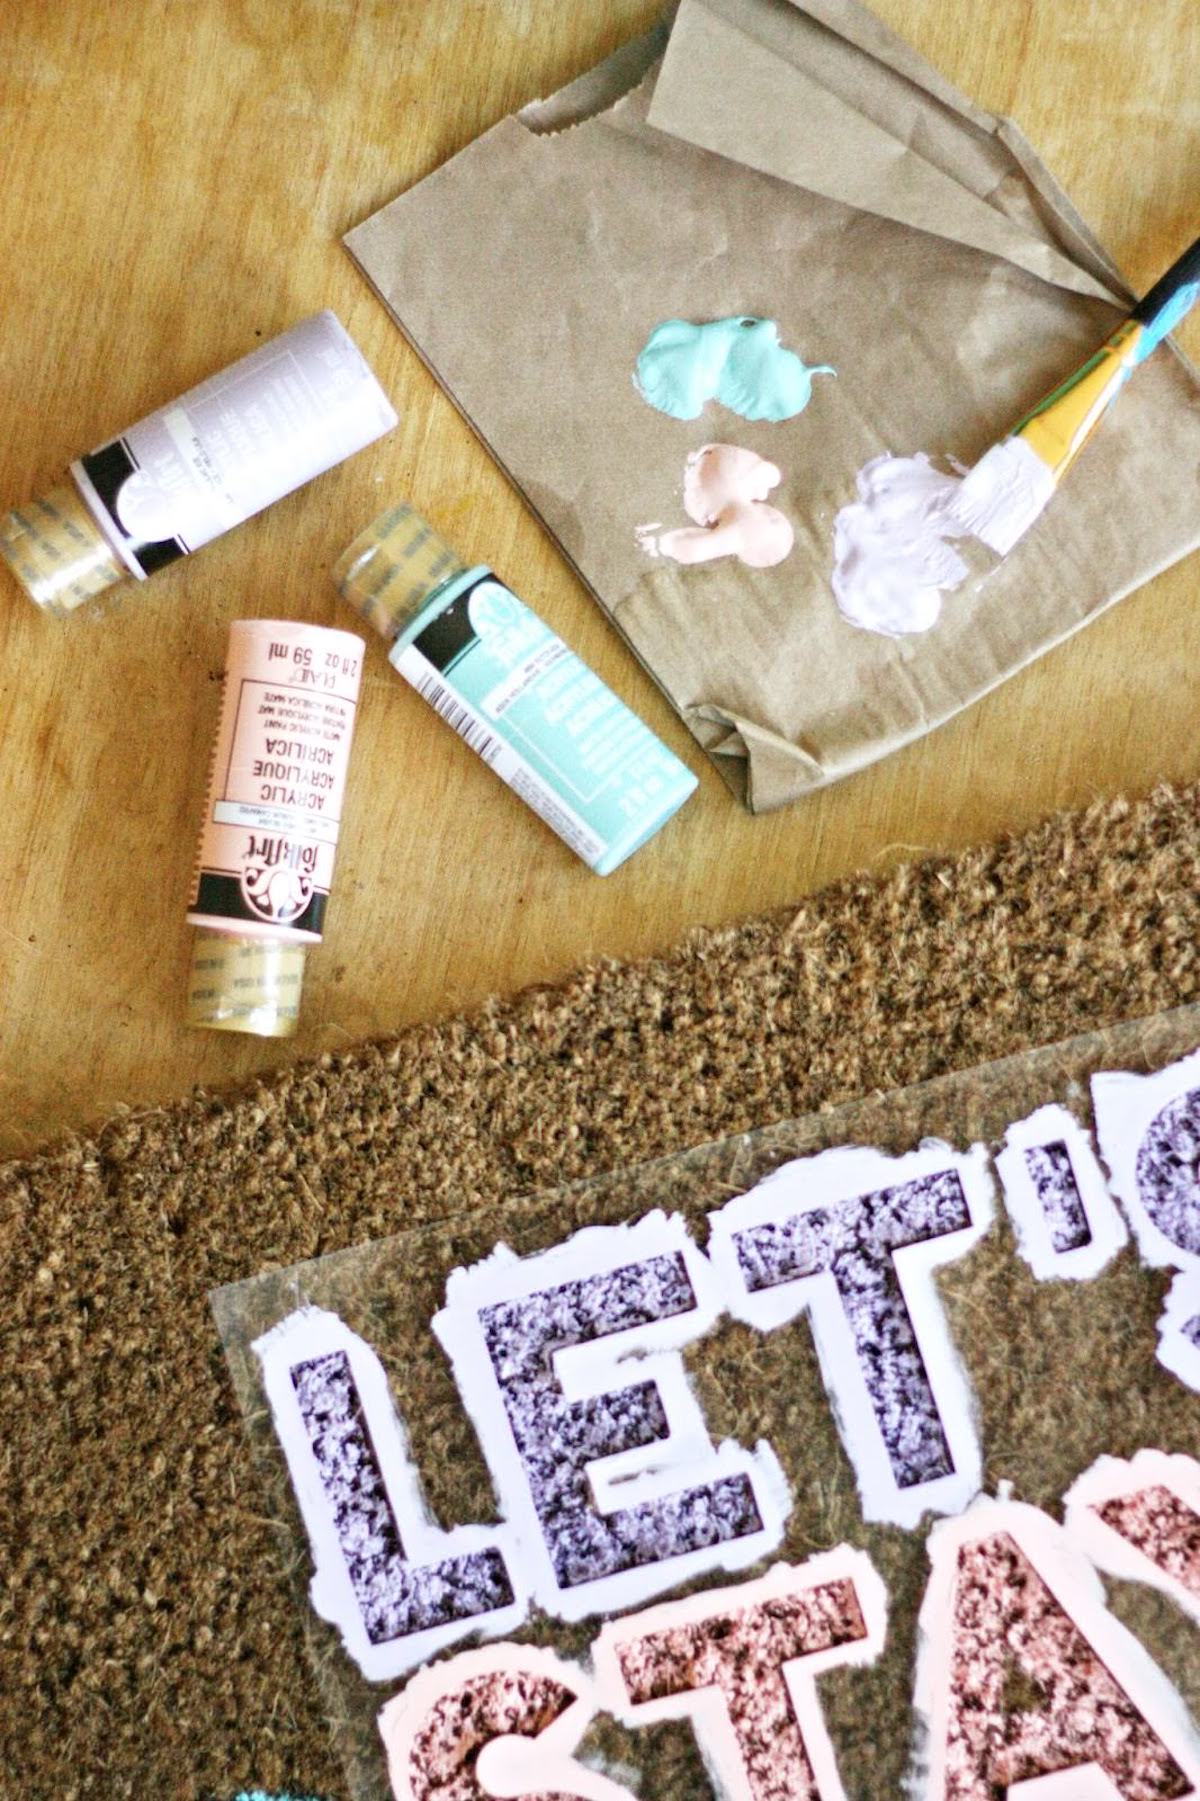
- Acrylic paint – colors of your choice
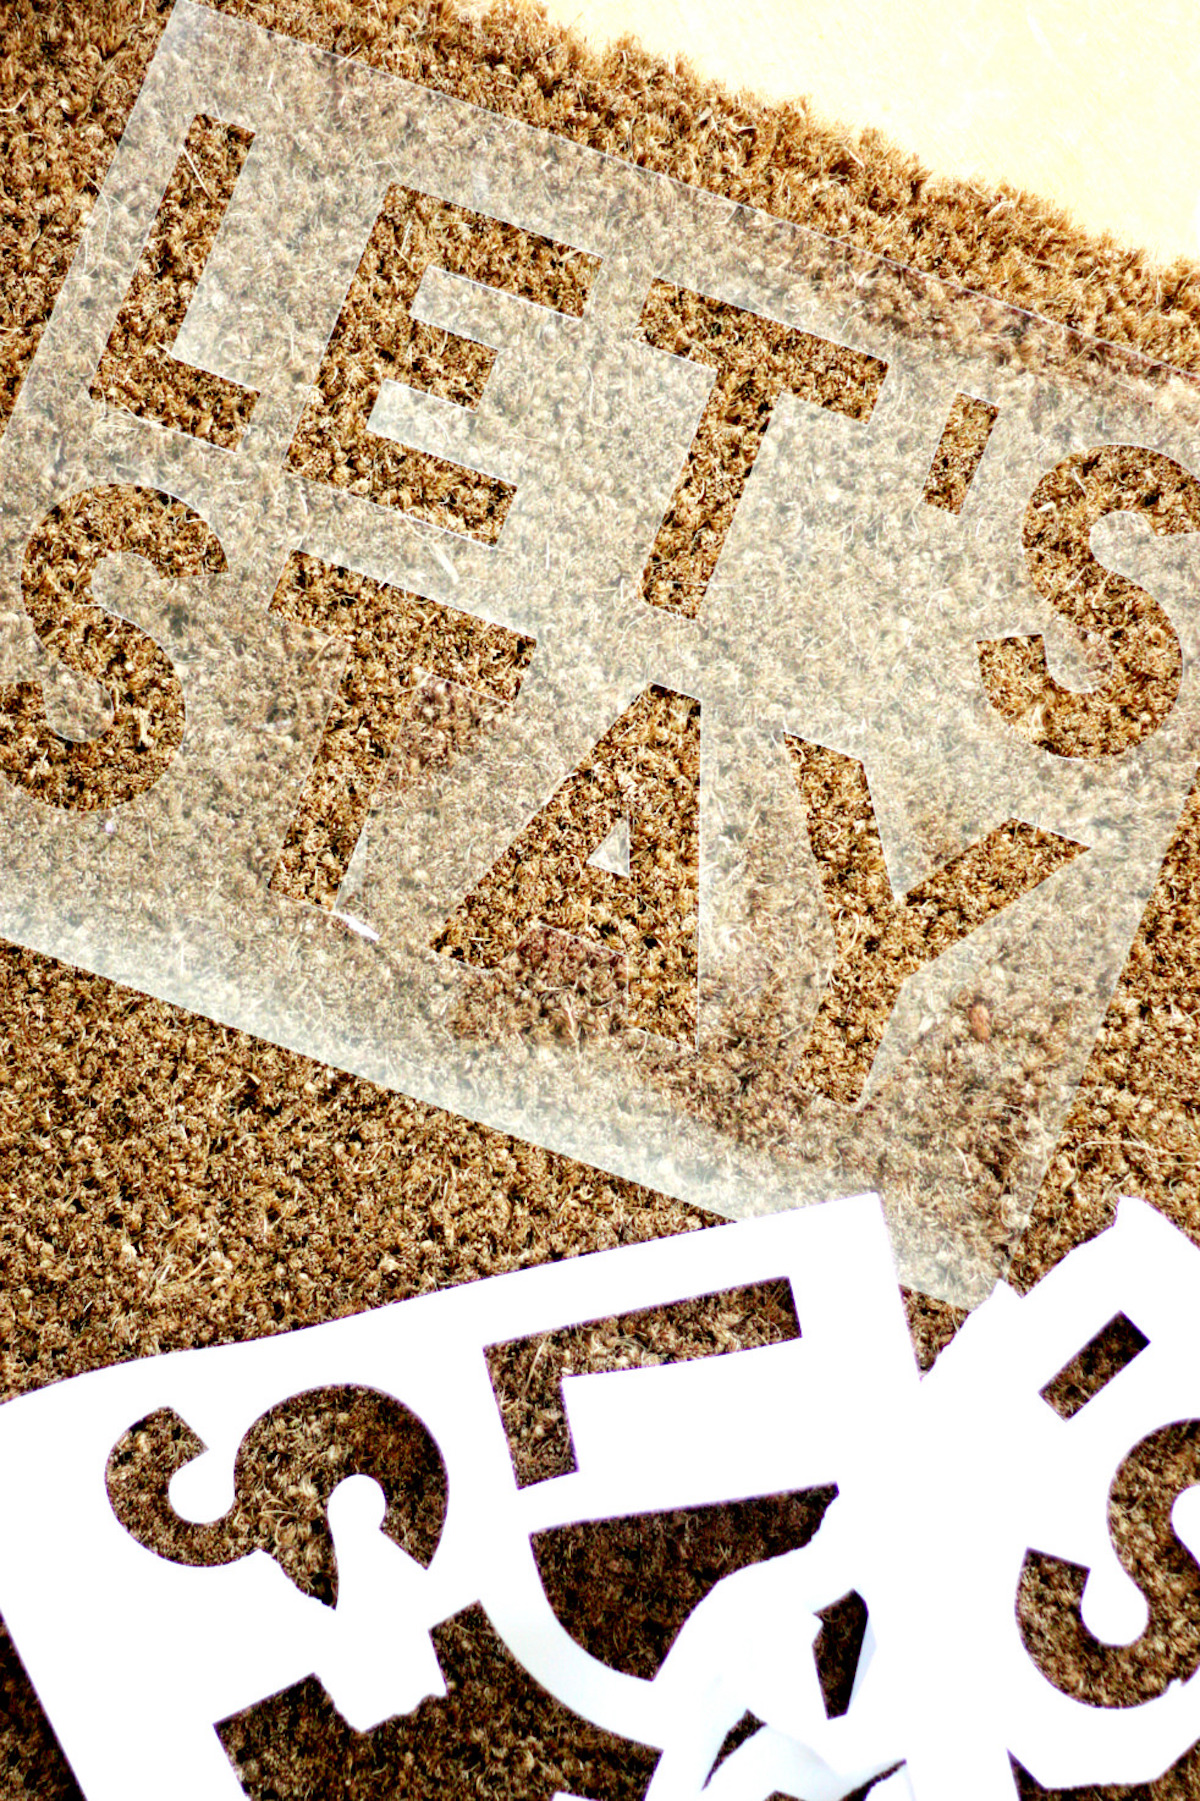
- Stencil (I made mine using my craft cutter and some sticker paper, but you could hand cut one or buy one pre-made)
- Stencil tape (if your stencil paper isn’t adhesive)
- Paint brushes or stencil brushes
- Clear sealer (optional)
Thoughts On This Project
Since I used sticker paper, my stencil stayed in place really well. However, if you use a normal stencil, you will want to secure with tape so it doesn’t move around while you paint.
I recommend using outdoor or multi-surface paint as it will be the most durable. This is especially true if the mat is going to see lots of sun.
If you want to preserve the design for as long as possible, you can spray over the top of the design with a clear acrylic sealer. Look for something with UV protection if there will be lots of sun exposure.
If you see that the sprayed area remains darker (wait until it dries), then just give the entire mat a light spray. It won’t hurt the unpainted area and it will make your project look uniform.
The design doesn’t have to be complicated. And if you see the message is getting worn off? Just touch it up with paint.
If you’re ready to begin, the tutorial is below. Now go get yourself the cutest stoop in the neighborhood!

DIY Doormat
Equipment
- Stencil brushes
Materials
- Plain door mat
- Acrylic paint
- Stencil I made mine using my craft cutter and some sticker paper, but you could hand cut one or buy one pre-made
- Stencil tape if your stencil paper isn’t adhesive
Instructions
- Choose the stencil you're going to use for your project. You can cut with an adhesive cutter or buy one pre-made. Also choose your paint colors.
- Position the stencil on the door mat and secure. If the stencil isn't adhesive, use stencil tape or adhesive stencil spray.
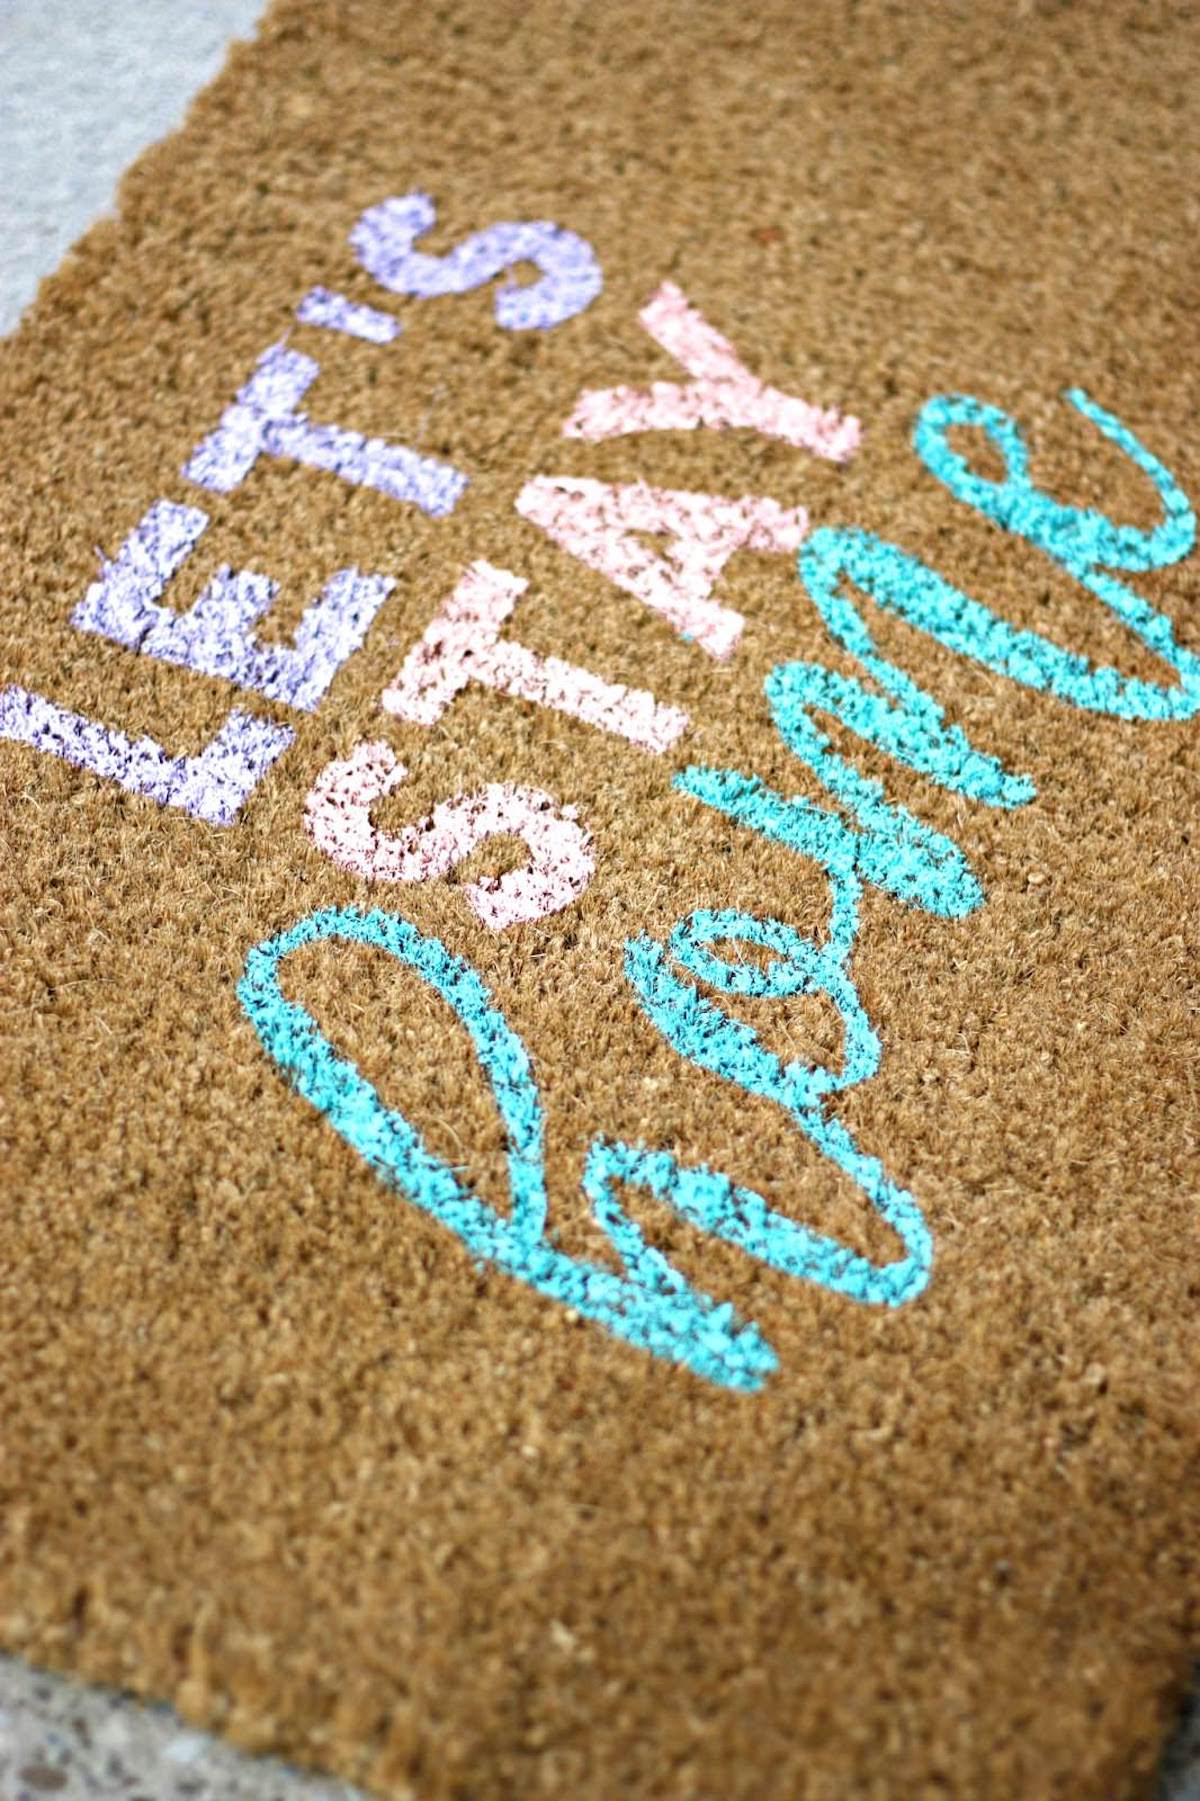
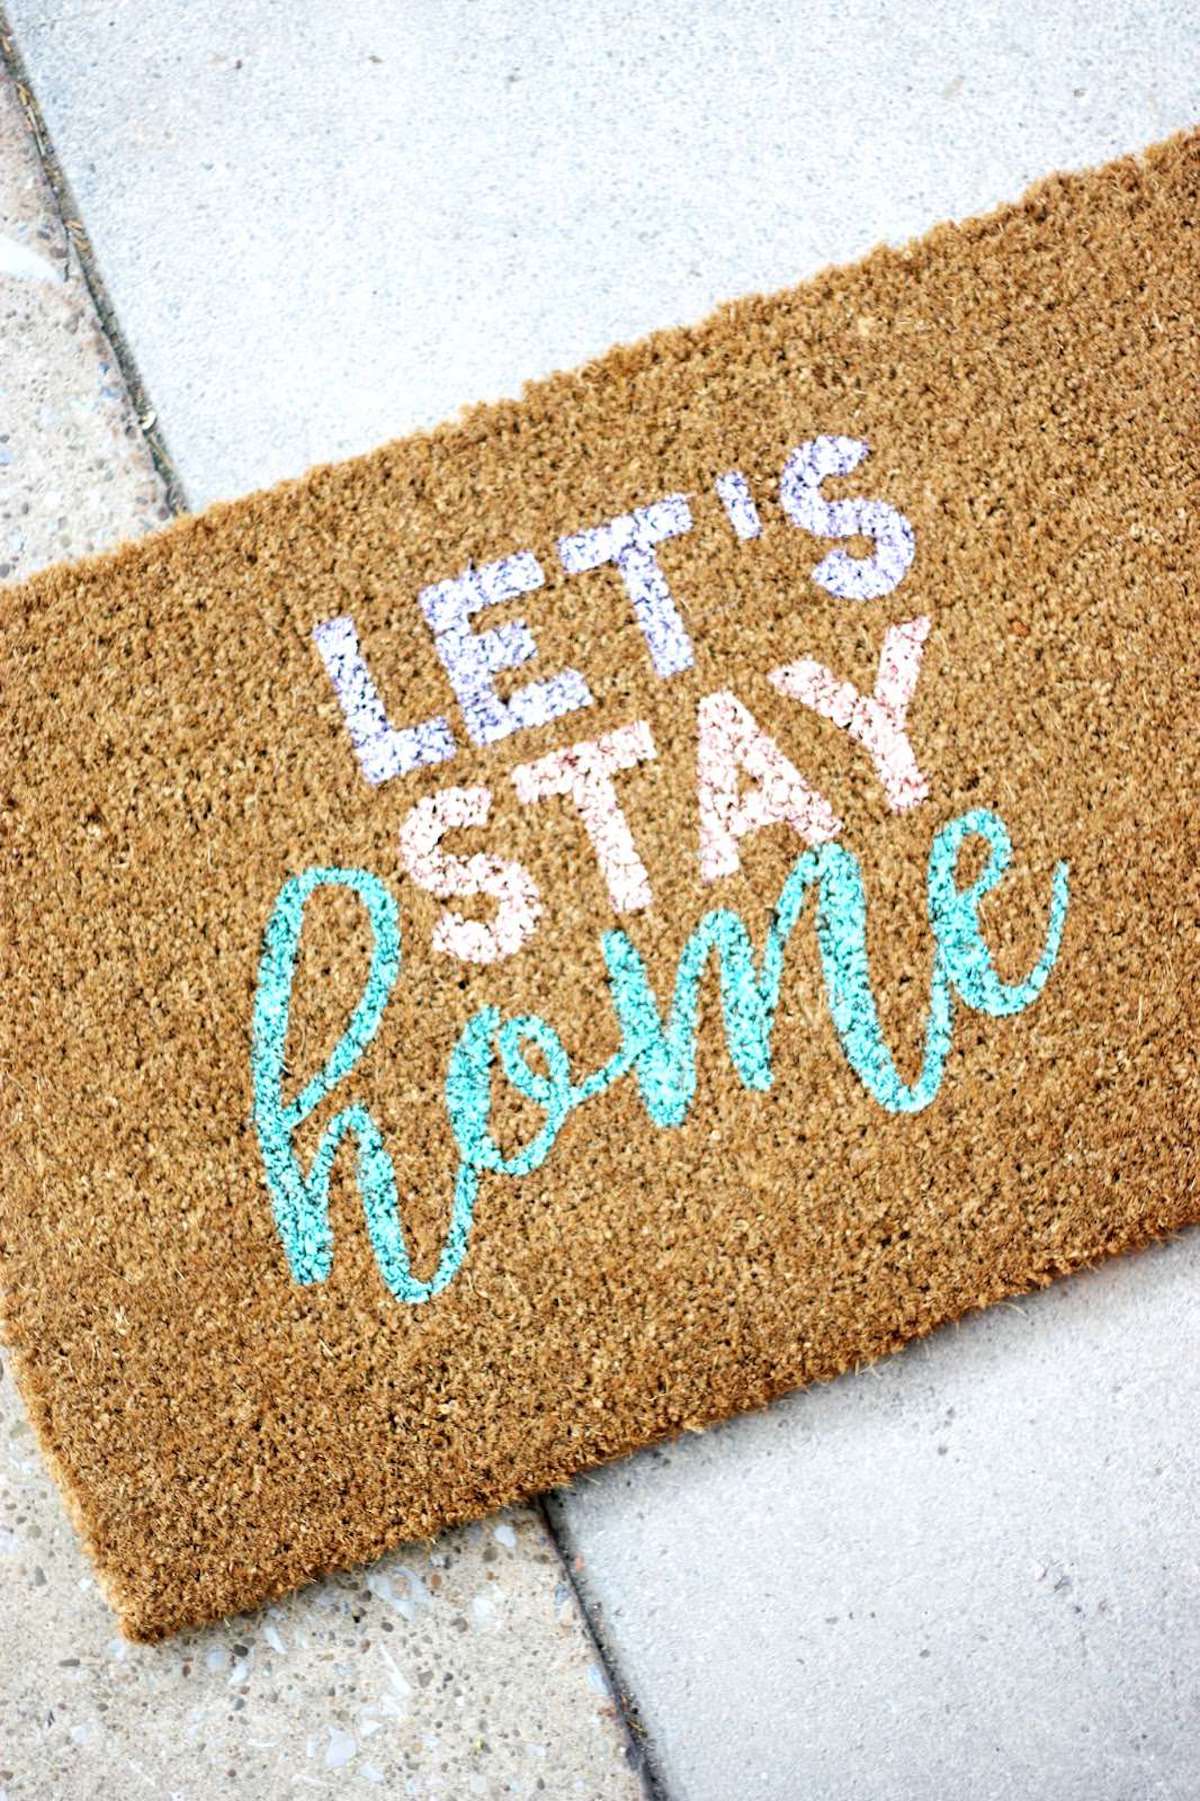
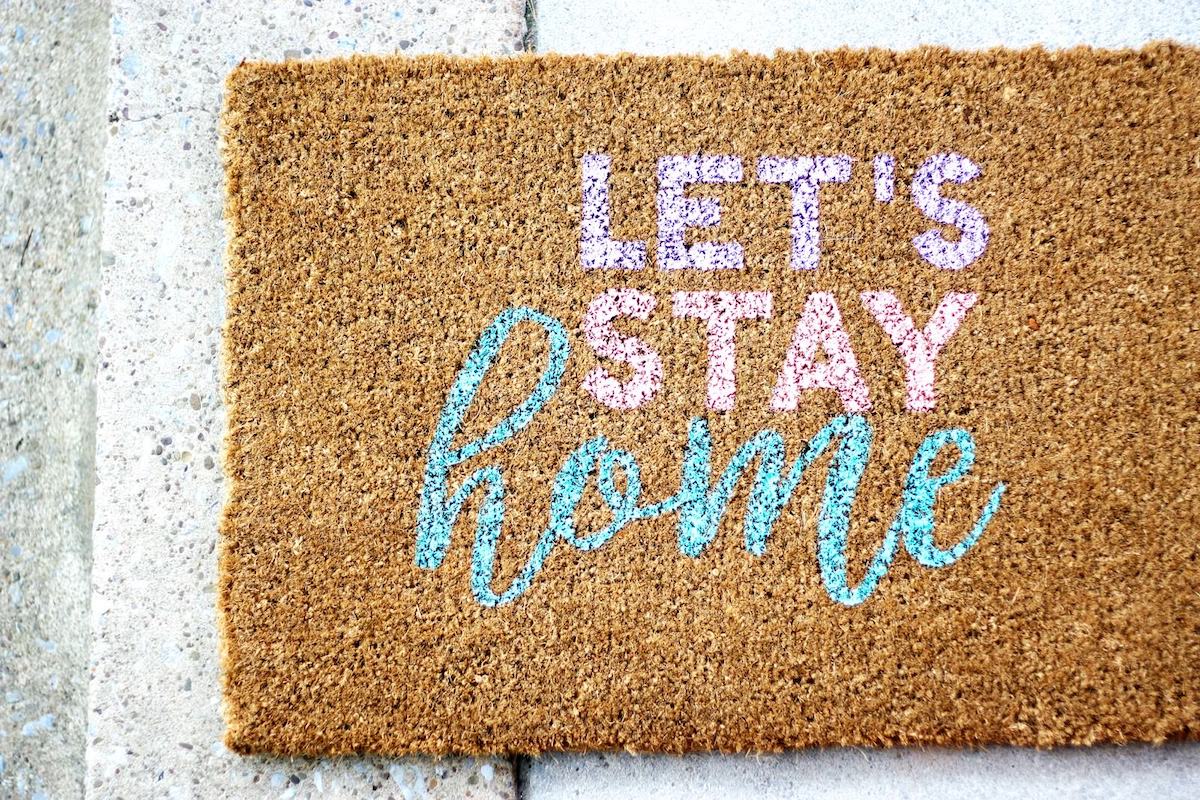
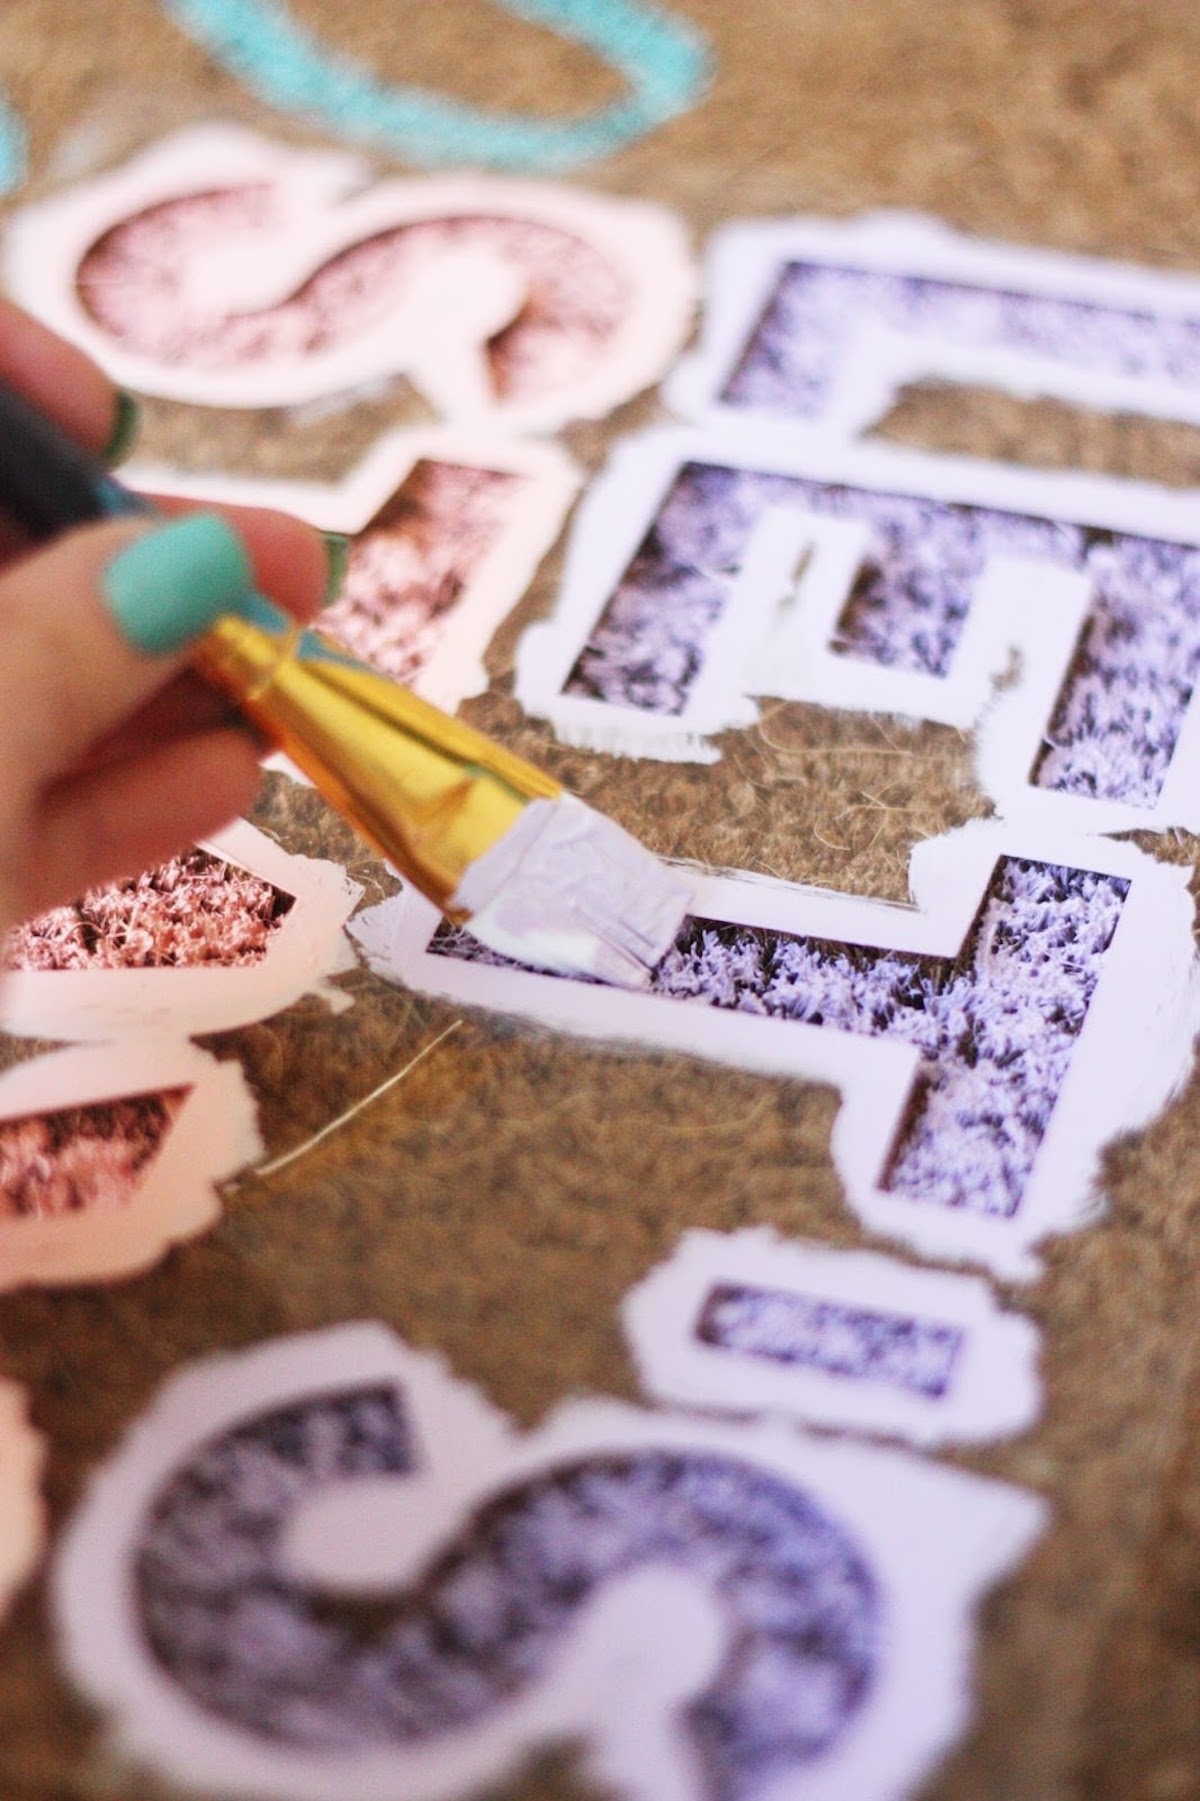
- Begin painting. Use 3 – 4 coats so that the words stand out from the background.
- Remove the stencil and let dry.
- Use a smaller brush and the paint colors to touch up any areas. Let dry completely before using.
I absolutely love my new painted door mat. What projects are you doing this spring to make your outdoor spaces more fun? I’d love to hear your tips! And be sure to visit us as we blog about style, food, and the things we love over at the Pretty Life Girls.
If you enjoyed this painted, personalized door mat project, you might also enjoy these simple related crafts we’ve done:


Love these! Question: is the acrylic weatherproof? It rains a LOT here in the UK!! Do you think spray-paint might be more resilient? Thanks for sharing. Totally pinned! Sue ~ The World of Suzy Homemaker
If it rains a lot where you are, I’d use multi-surface paint (which is good for outdoor too) or spray paint. And thank you!
LOVE this idea, I totally have to make one now! I need to think of a beachy take on it!