Cupcake Ornaments for Christmas Look So Sweet
These handmade cupcake ornaments for Christmas are regular ornaments painted to look just like delicious treats! Have you ever seen anything so sweet?
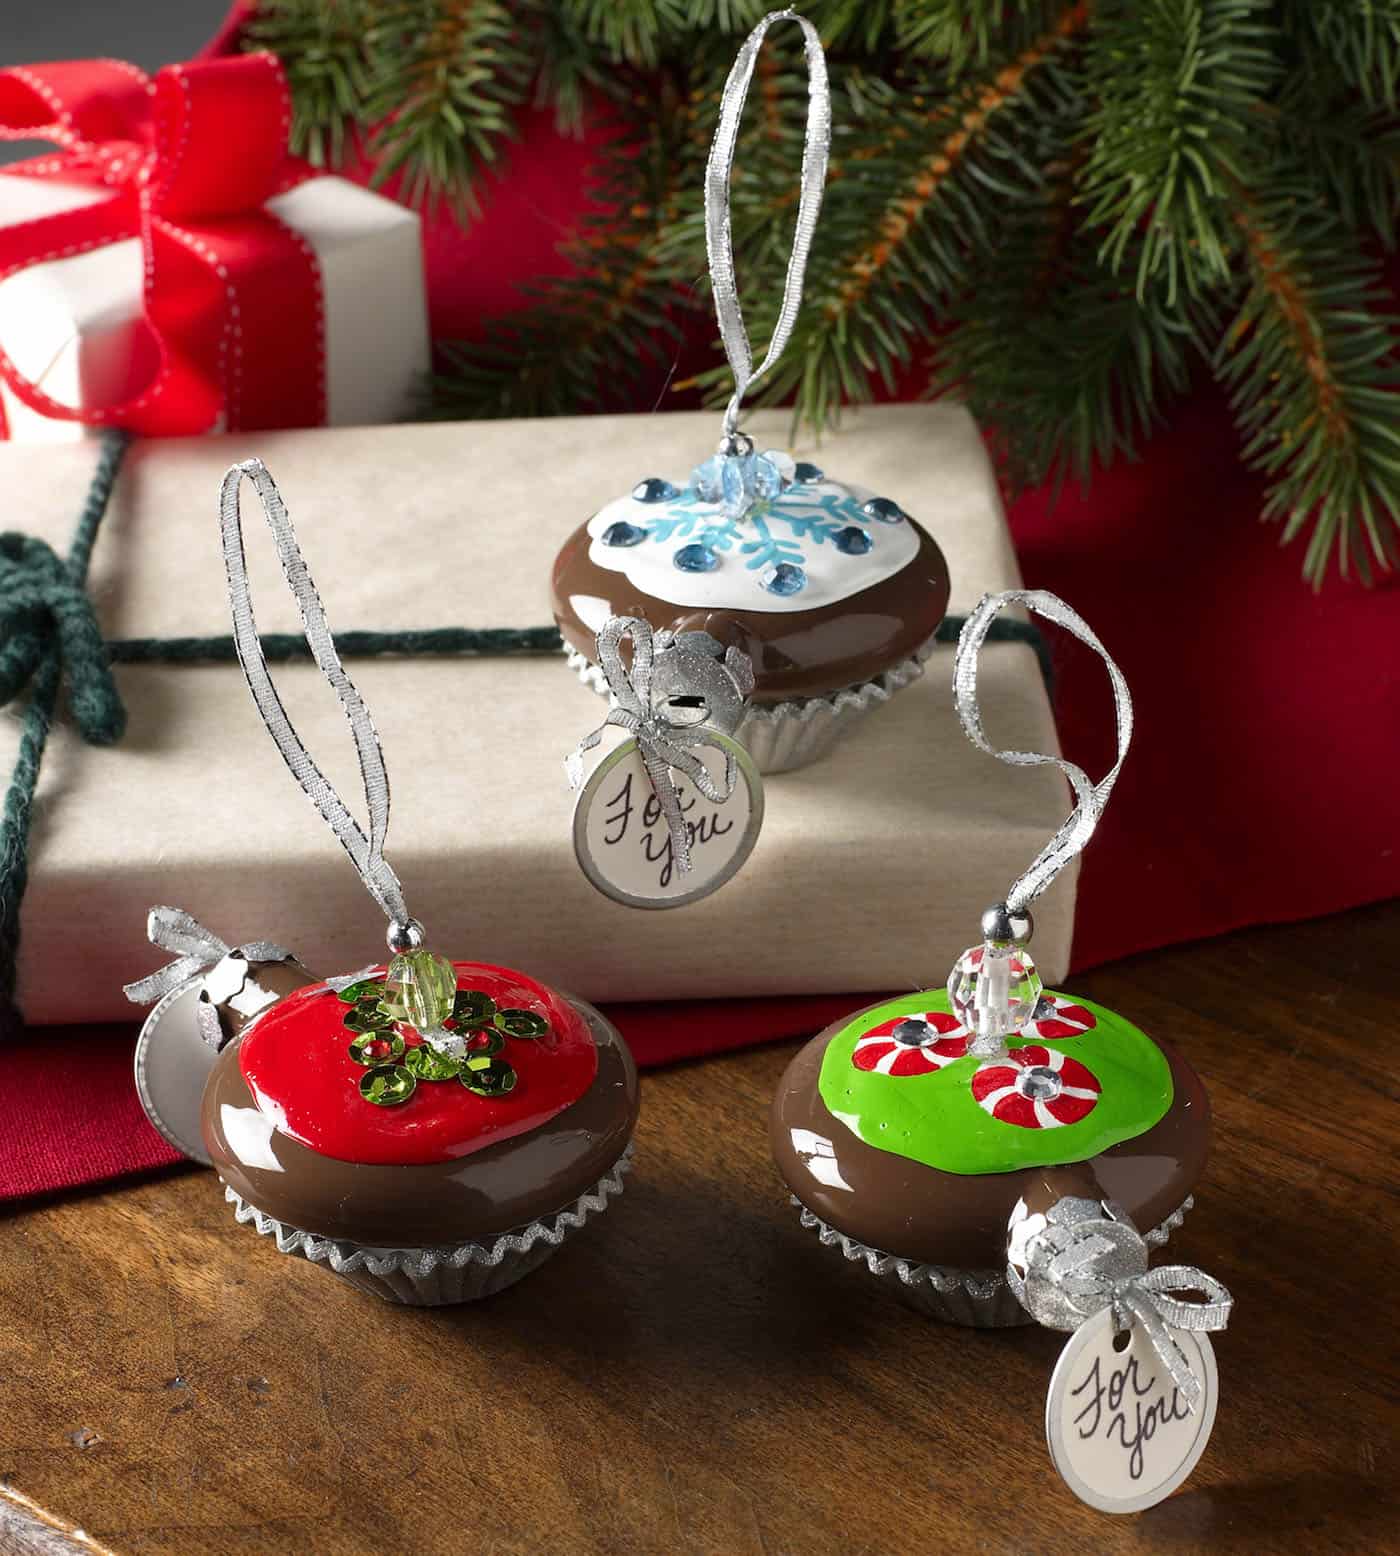
I look forward to a few specific Christmas crafts every single year. I really like making wreaths, but my very favorite? Christmas ornaments, hands down.
I’ve done basic ornies and am always looking for something a bit more fun. You know, like turning ornaments into cupcakes! Have you ever seen an ornament so cute and delicious looking?
I love these, and am sure that you will enjoy them also. See below to find the step by step instructions for these delightful cupcake Christmas ornaments.
(get DIY Christmas ornaments to make right here!)
Cupcake Christmas Ornaments
Gather These Supplies
- FolkArt Acrylic Paint – Coffee Bean, Steel Gray
- FolkArt Enamel Paint – Calypso Sky, Lime Green, Lipstick Red, Wicker White
- Peel n’ Stick stencil – Christmas theme (optional)
- FolkArt Extreme Glitter – Silver
- Clear glass disc Christmas ornaments – 3
- Mini white baking cups
- Small wooden beads – 3
- Other beads – red, green, clear
- Embellishments – green sequins, star sequins, red/blue/clear rhinestones
- Ribbon – 1/8″ silver
- Gift tags
- E-6000
- Craft glue
- Hot glue
- Daubers
- Paintbrush
- Plastic knife
Instructions:
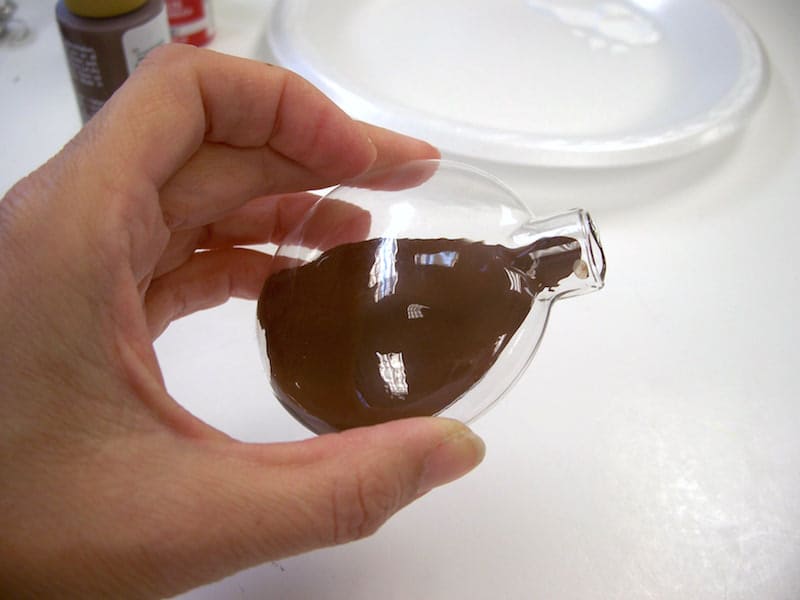
Pour a small amount of coffee bean into all three glass ornaments and then turn them around and around until the they are completely covered on the inside.
Set each ornament with the opening side down into small paper cups – so the excess paint can drain. Let them dry overnight.
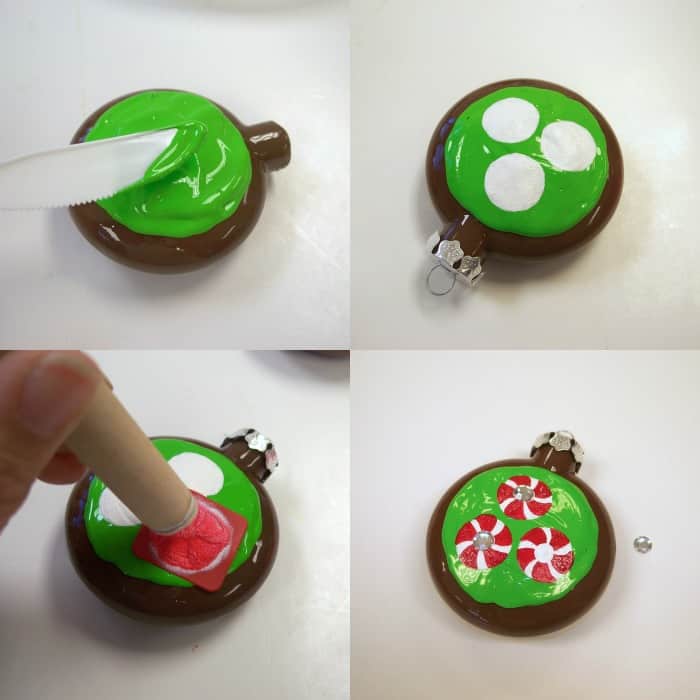
Using the plastic knife, you’re going to frost each ornament with lipstick red, lime green and wicker white. Let all of them dry. For the green cupcake, you’re going to add peppermints on top using the adhesive stencil I’ve listed.
You can probably paint the peppermints by hand (if you don’t have a shaky hand like I do), but the stencil just makes it easier. I’ll leave it up to you.
If you go with the stencil, add white circles the same size as the peppermint stencil.Let them dry and then stencil the peppermints in Lipstick Red over the top with the 5/8″ dauber.
Glue small clear rhinestones into the centers of each peppermint with white craft glue.
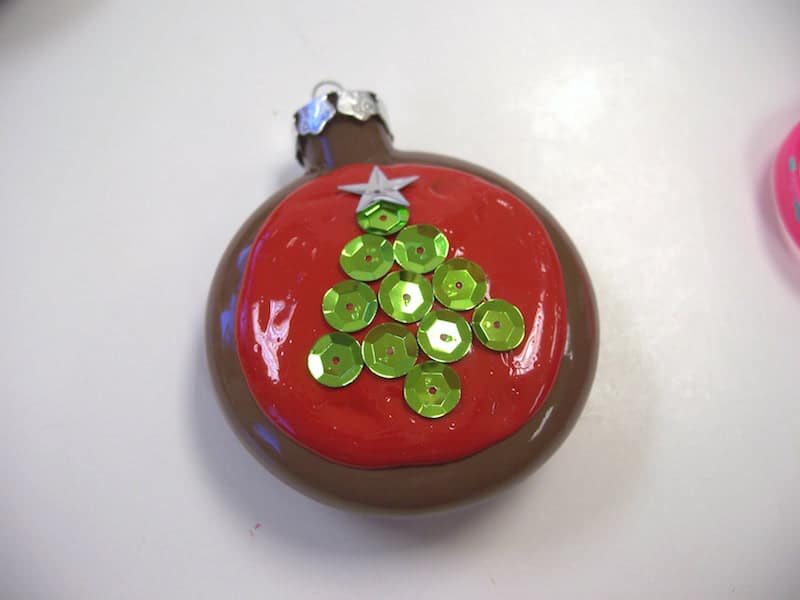
Glue green sequins to red cupcake. Add the silver star sequin to the top of tree. Glue red rhinestones in the middle of some of the green sequins randomly.
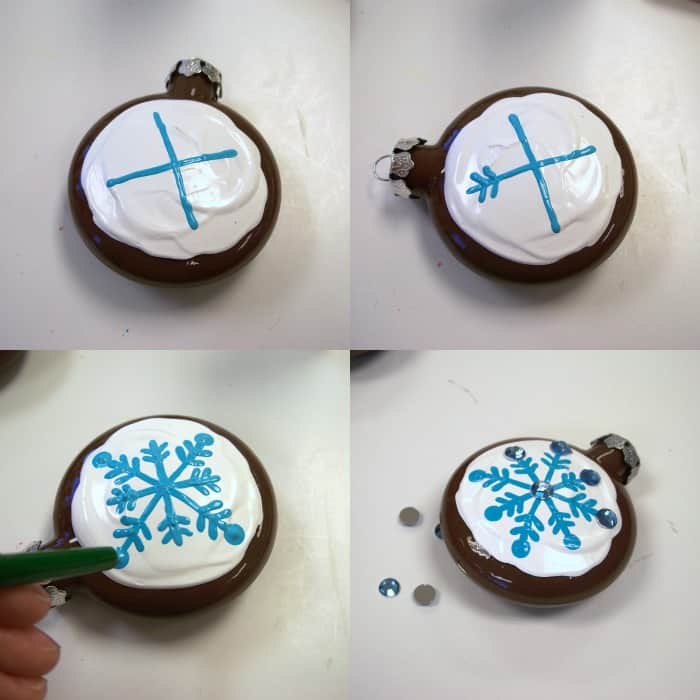
For the white cupcake, start the snowflake by making a plus sign using the liner brush and the Calypso Sky paint. Next, add the details to the ends.
Finish the snowflake by adding dots at the end of each line using the end of a paint brush. Glue the blue rhinestones to the snowflakes.
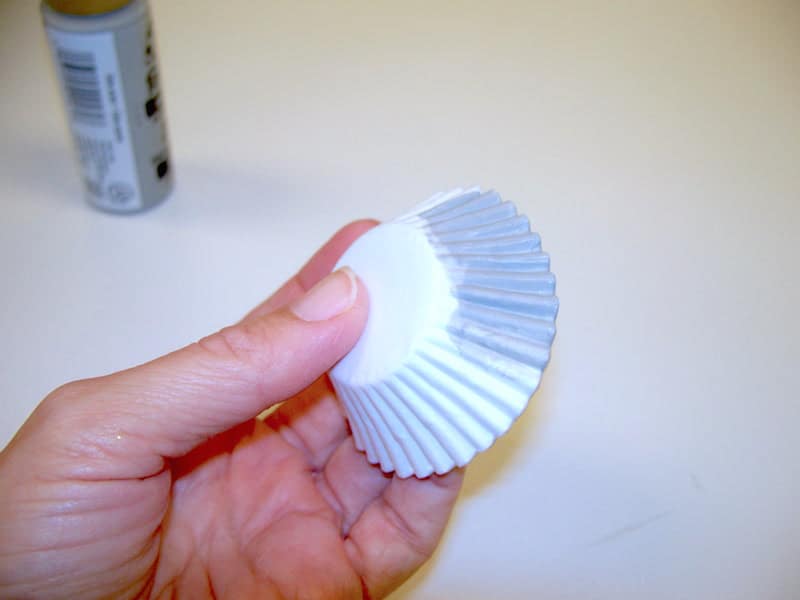
To make the bottoms – use white glue and a dauber and glue a set of baking cups together at the edges. Paint gray and then add Silver Extreme Glitter. You’re going to do this three times.
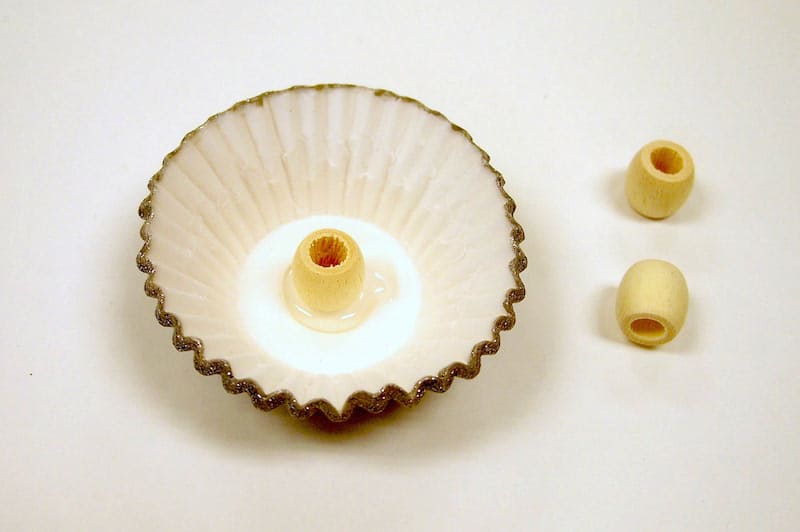
I used a wooden bead to glue the ornament to the cupcake but you can use anything that would fit – as long as the E-6000 works on the surface.
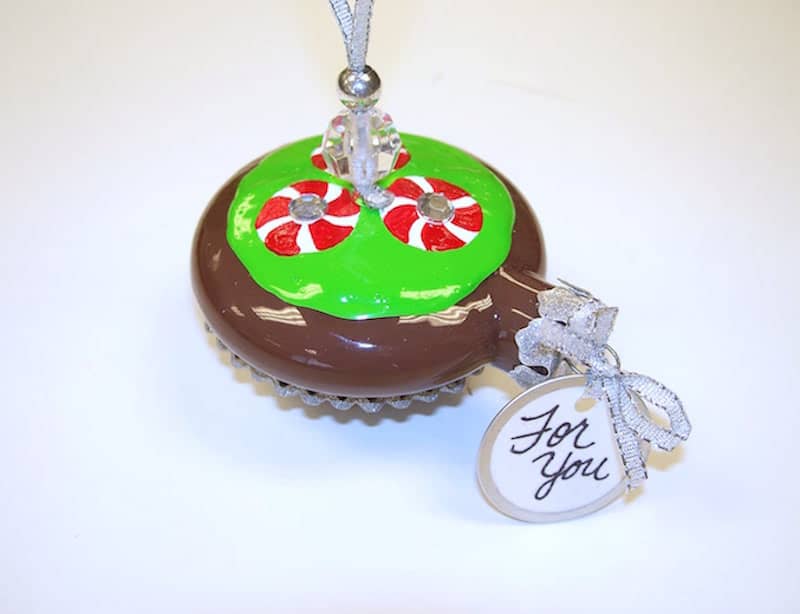
Cut silver ribbon and fold in half glue the ends together. Make a small fold and hot glue to the center of ornament. Add beads. Cut another piece of silver ribbon and add to the tag. Tie the tag around the ornament hanger.
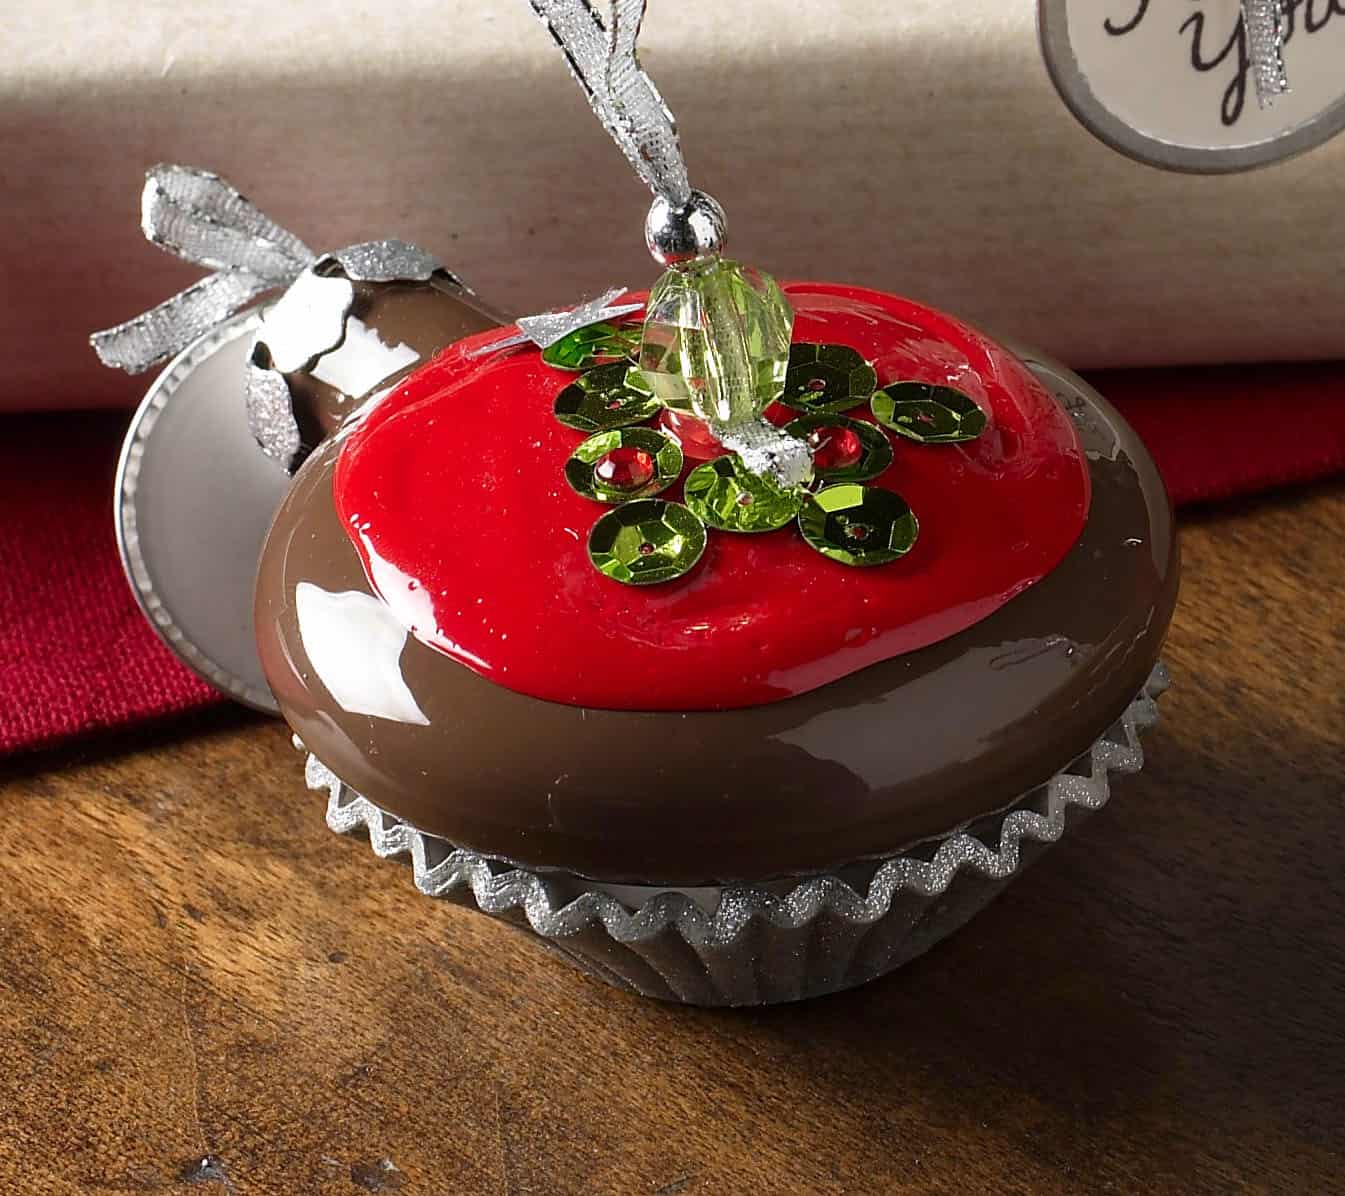
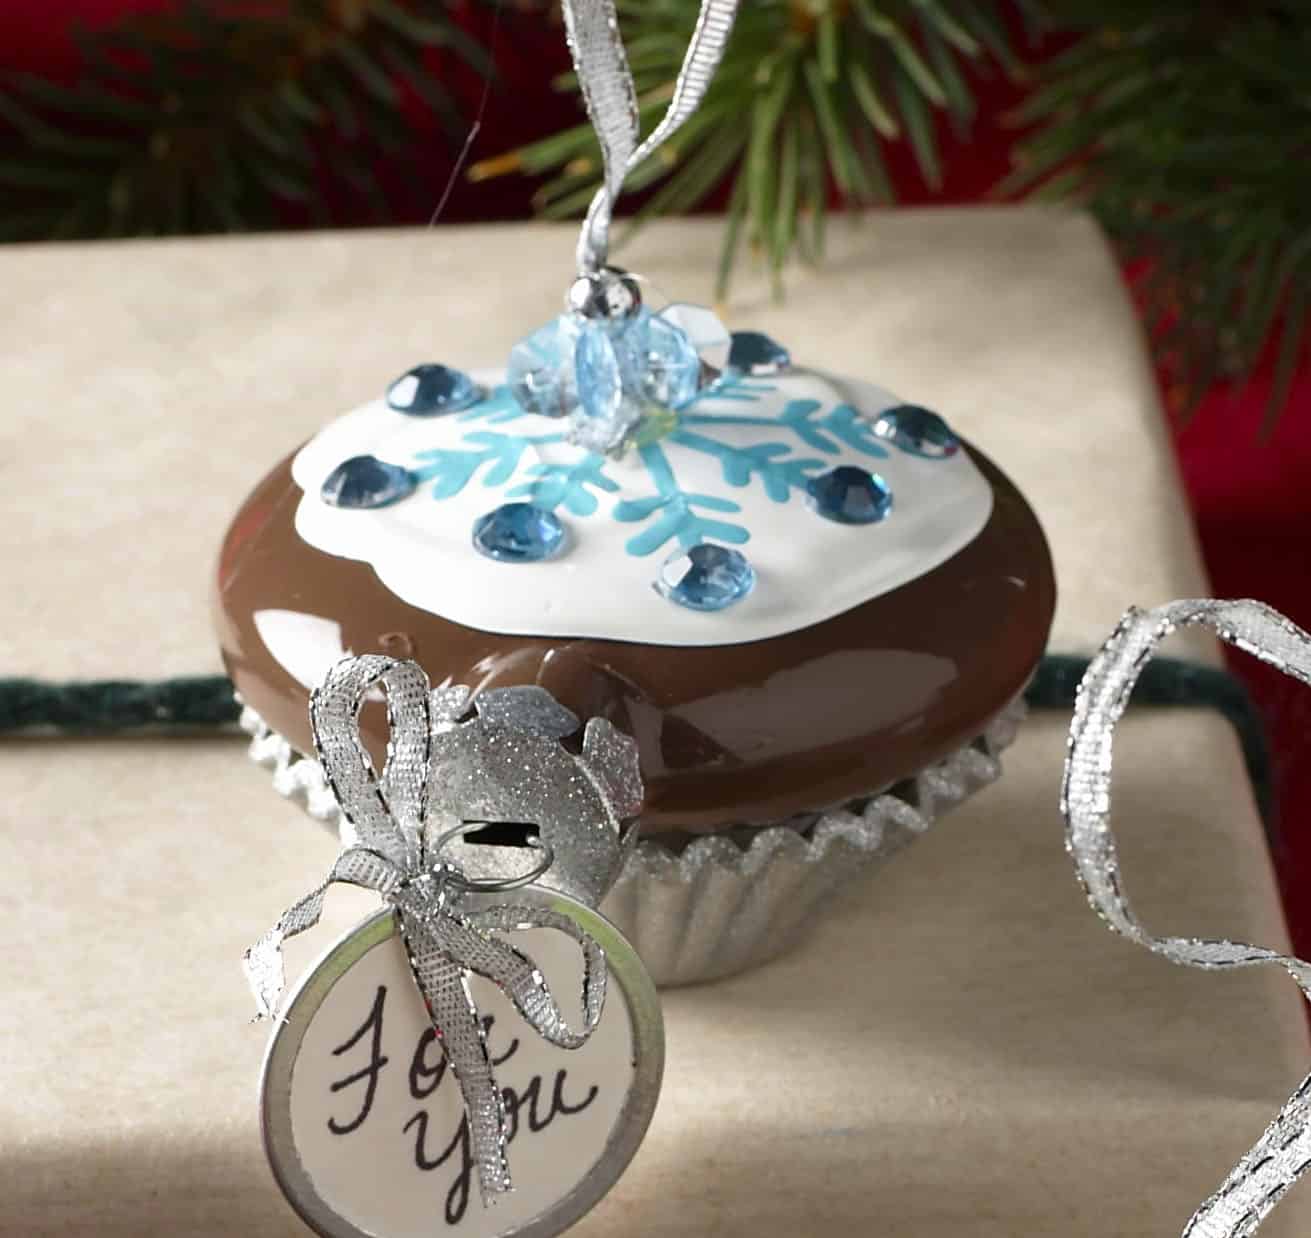
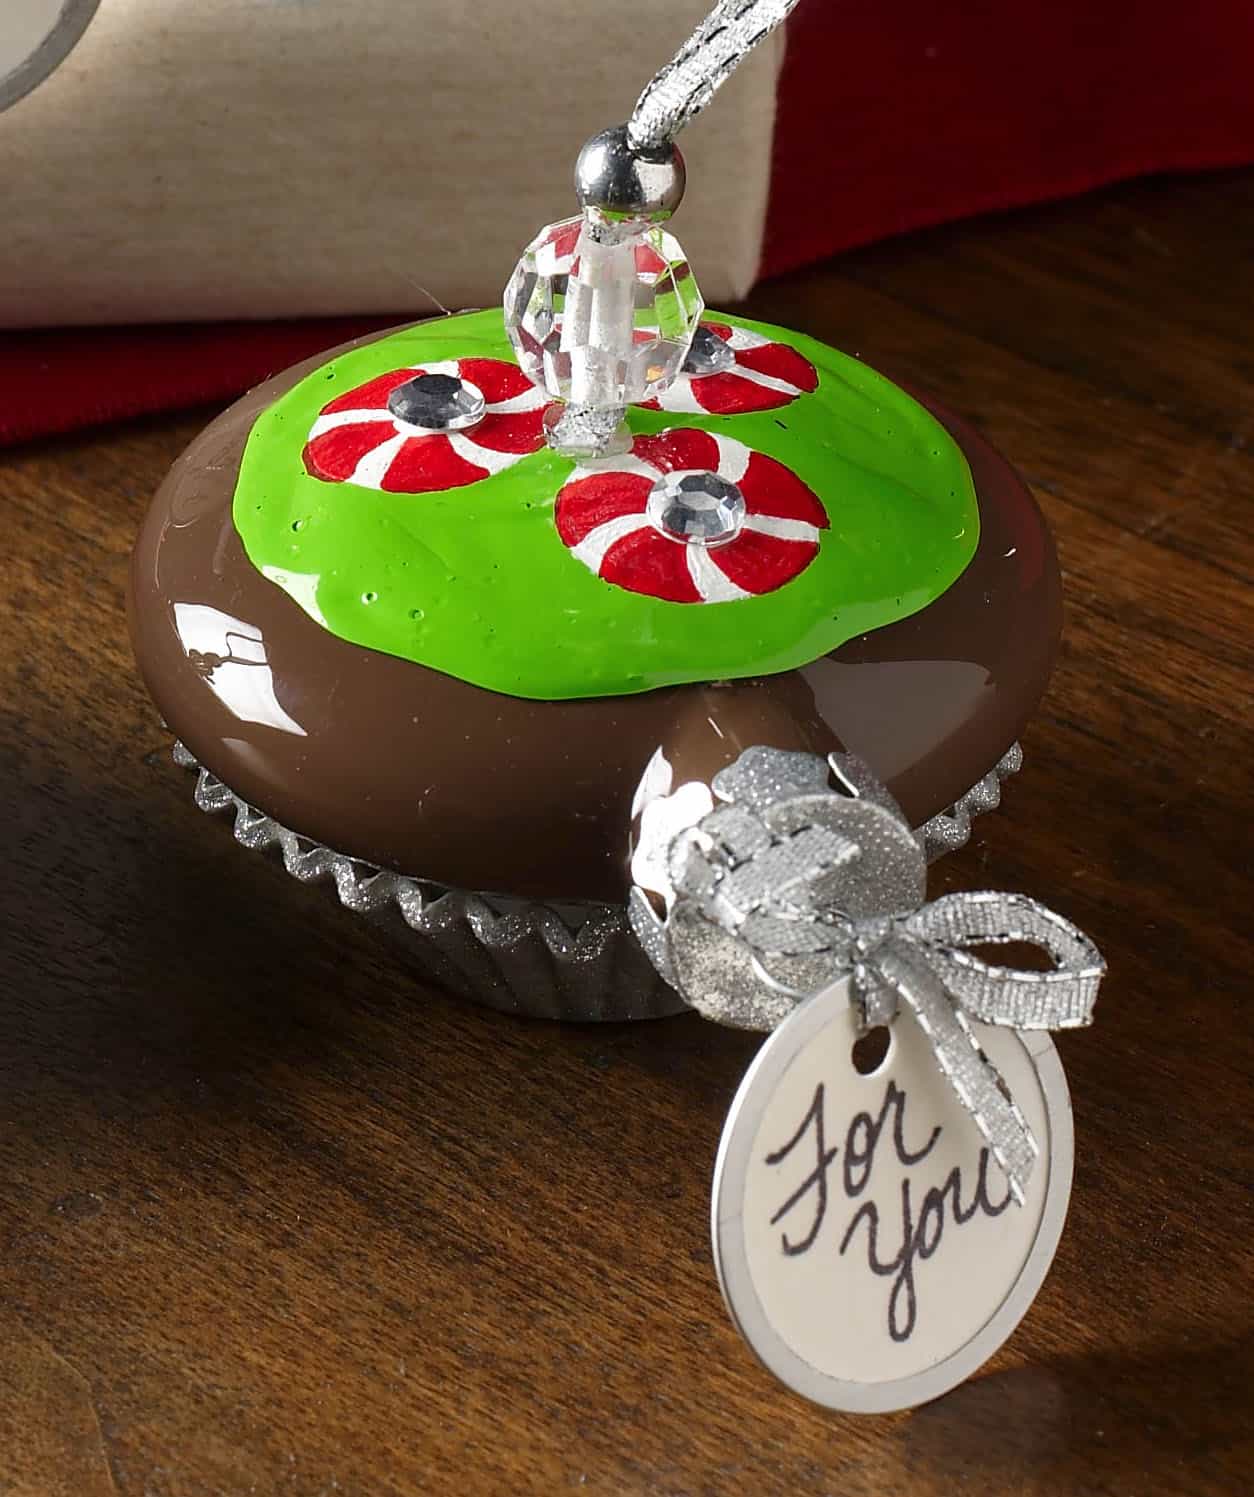

That’s it! Now you can hang these bad boys (girls?) on your tree. These cupcake Christmas ornaments make great gifts for your sweet-loving friends. Enjoy!
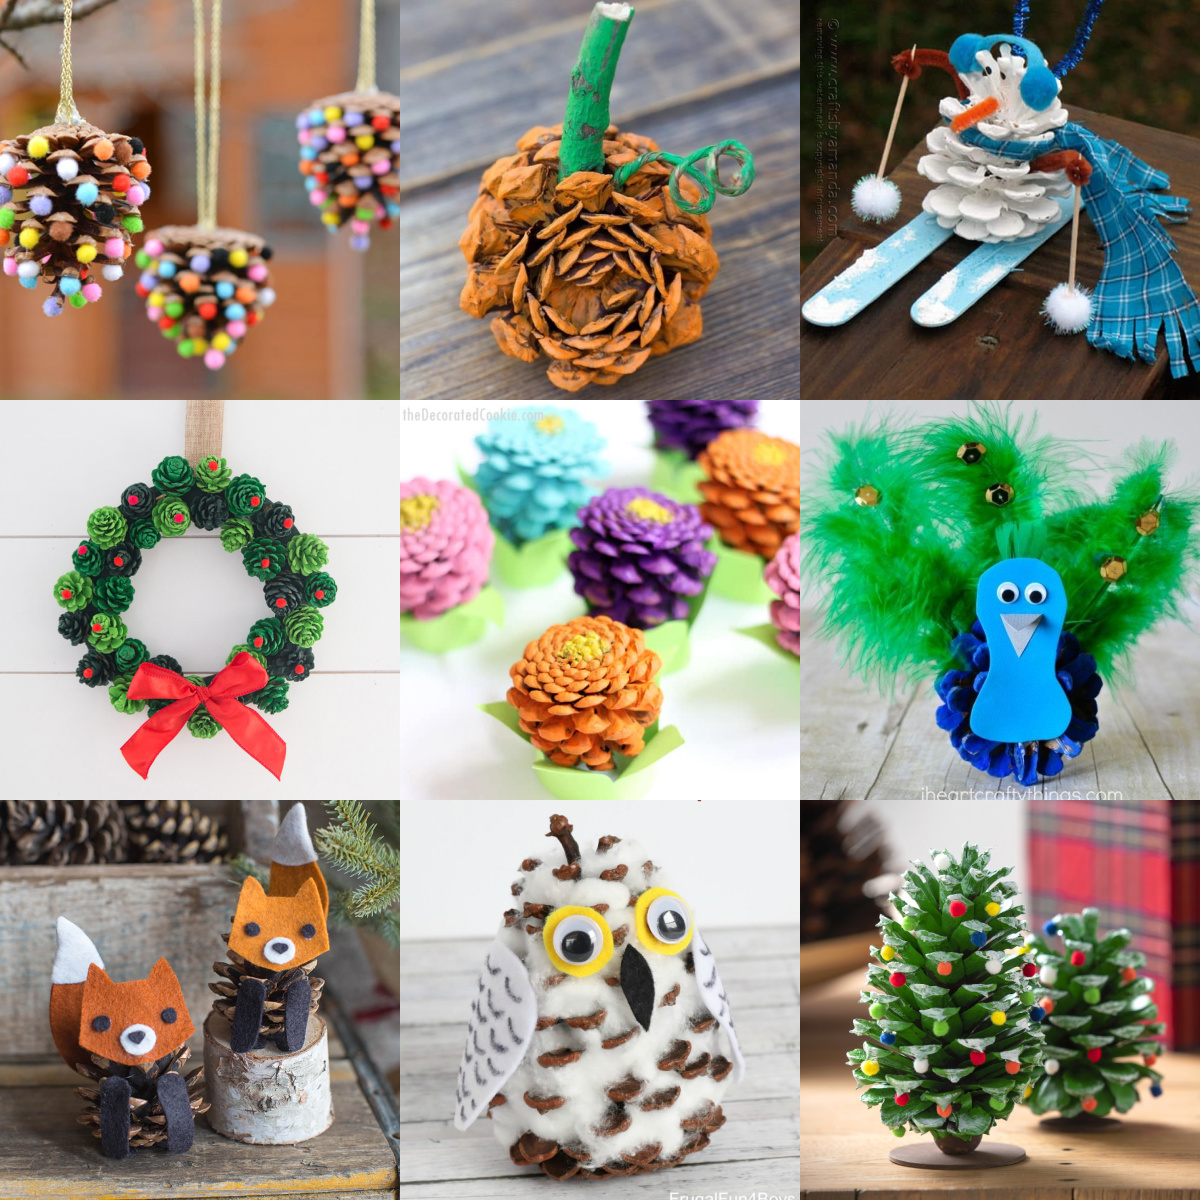
If you liked these cute Christmas ornies, check out these other handmade ideas:

These ornaments are s o cute! What a fun idea!
Paige
http:/thehappyflammily.com