Tie Dye Dress Tutorial for Budget-Friendly Fashion
Learn how to tie dye a dress on a budget with this easy tutorial! Create affordable, stylish fashion pieces that are fun to make at home.
Skills Required: Beginner. Tie dye is really easy, albeit slightly messy. If you’ve never used it before, make sure to cover your work surface and follow the directions exactly. This dress is very forgiving (such is the nature of tie dye).
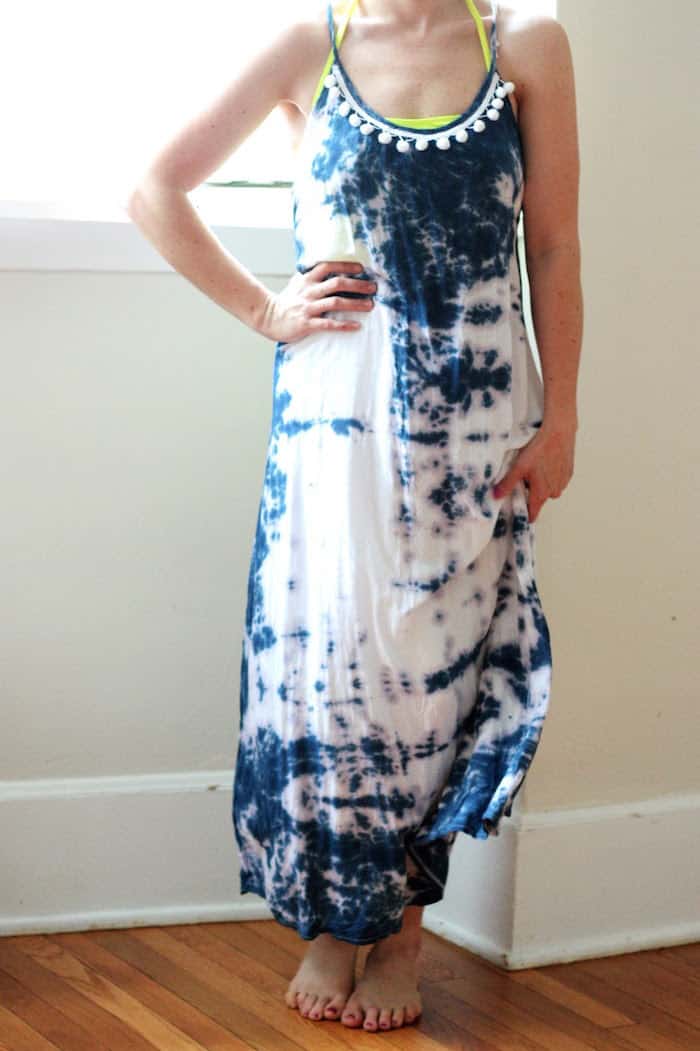
A few weeks ago I was window shopping on Anthro and came across a gorgeous embellished and tie-dyed top. The $228 price tag pretty much blew my mind, but it also got my wheels turning about how I could remake this fashion craft for myself.
That thought evolved into making a dress which evolved into making the swim cover I’m going to show you today! I love everything about this tutorial.
First, it’s all so simple to do. Secondly, by using tie dye you always get a one-of-a-kind fabric. Finally, the price for this sucker blows Anthro’s out of the water.
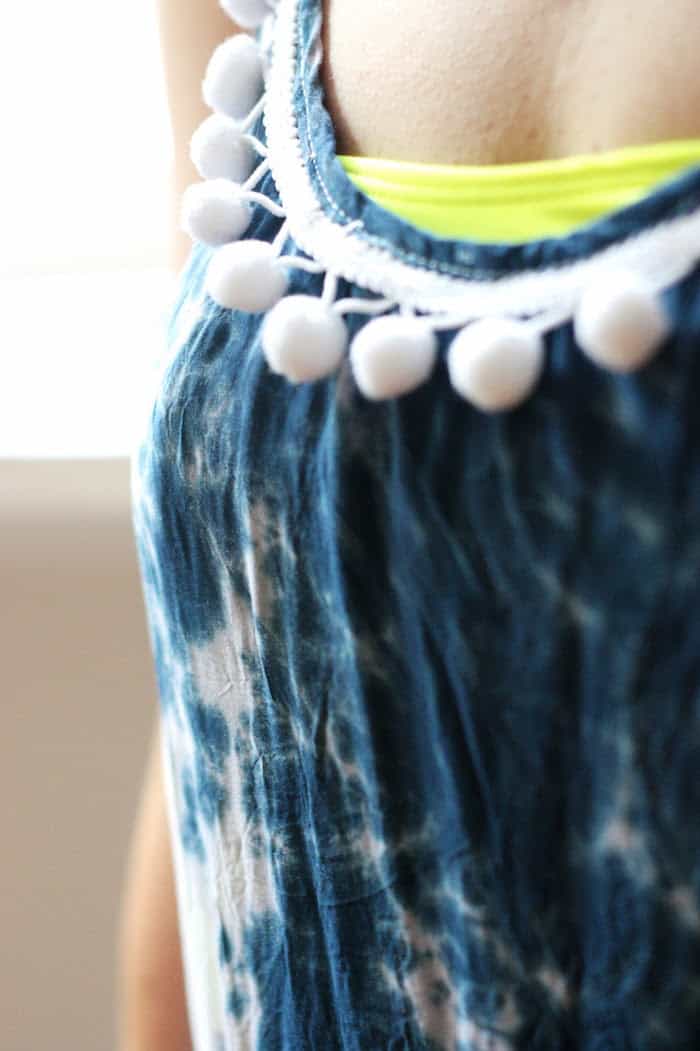
The whole tie-dye dress was well under $20! Adding that little pom-pom detail takes the whole thing to the next level of cuteness. It’s all so good and the result is you looking adorable at the beach. Here is how I did it:
Gather These Supplies
- White dress (I found this simple maxi on eBay for under $7!)
- Tie Dye Kit
- Pom pom trim
- Fabric glue sticks and glue gun or sewing machine
- Scissors
You are going to be so cute and COMFY all summer long. Now get to dyeing!
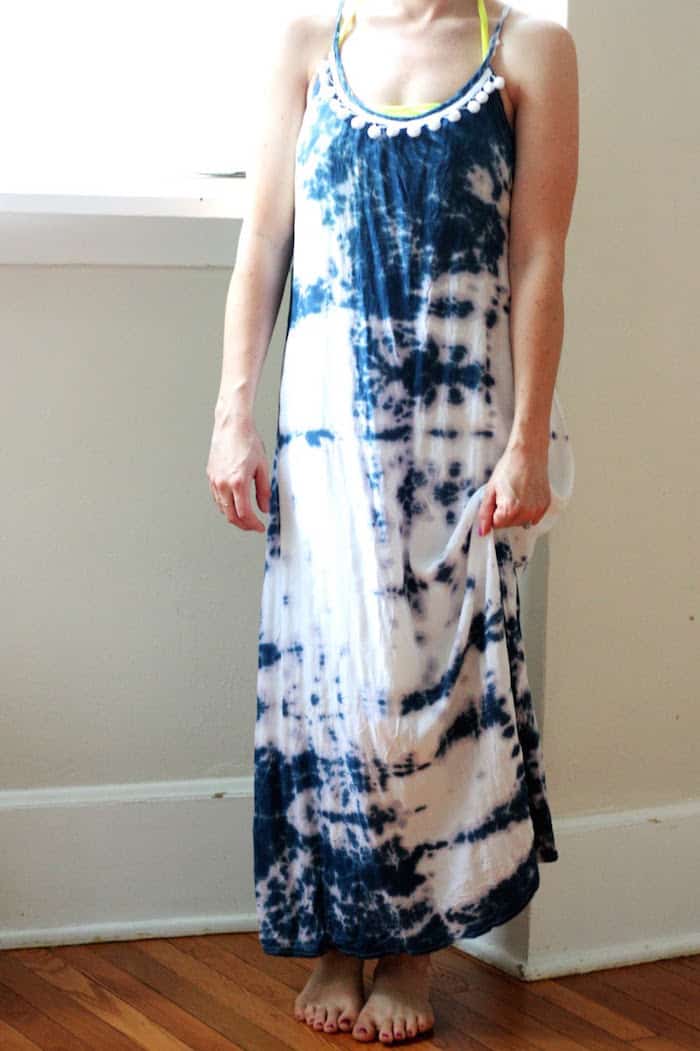
And be sure to come visit my sister and me as we blog about style, food, and the things we love over at The Pretty Life Girls. Get the printable how to below:
Tie Dye a Dress
Equipment
- Sewing machine or fabric glue
Materials
- White dress
- Tie dye kit
- Pom pom trim
Instructions
- Pre-wash the dress to remove sizing. Dry without a dryer sheet or fabric softener.
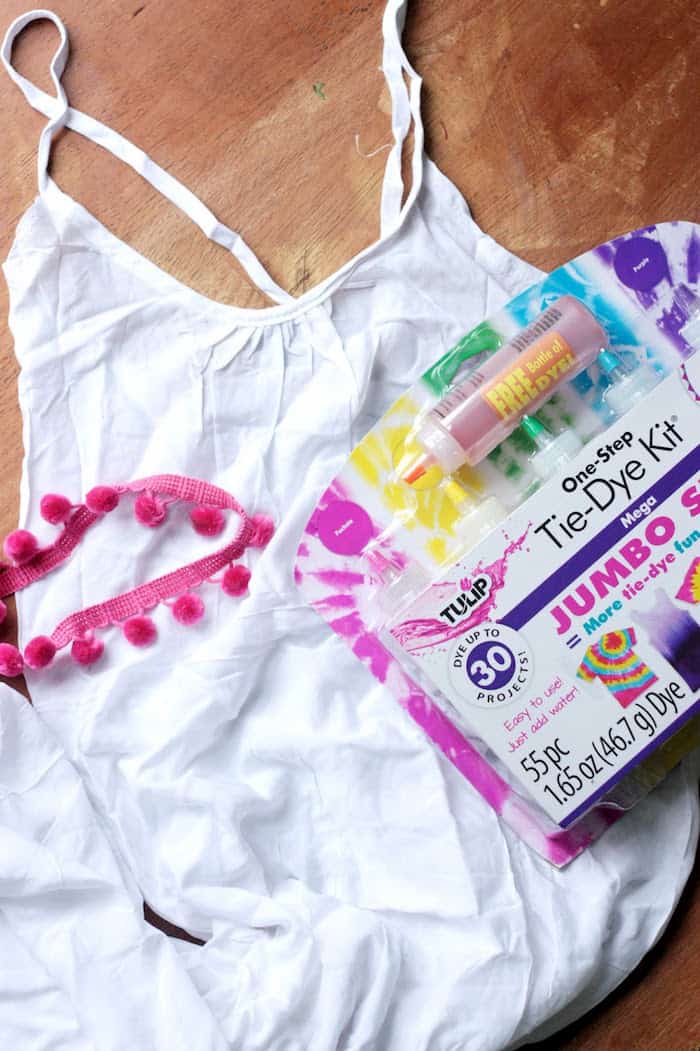
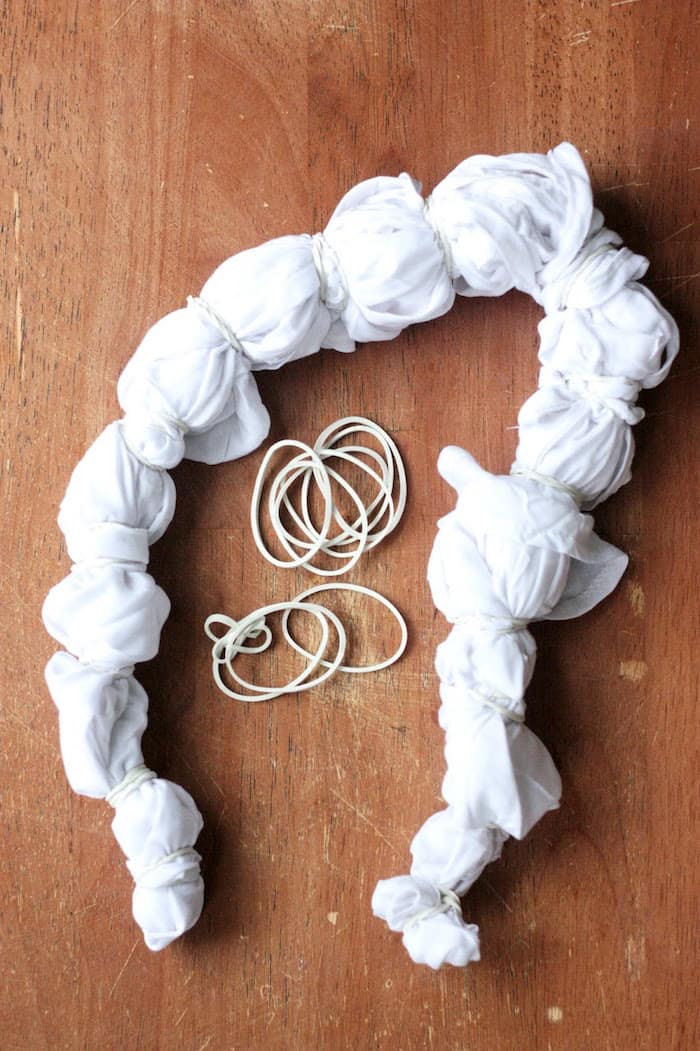
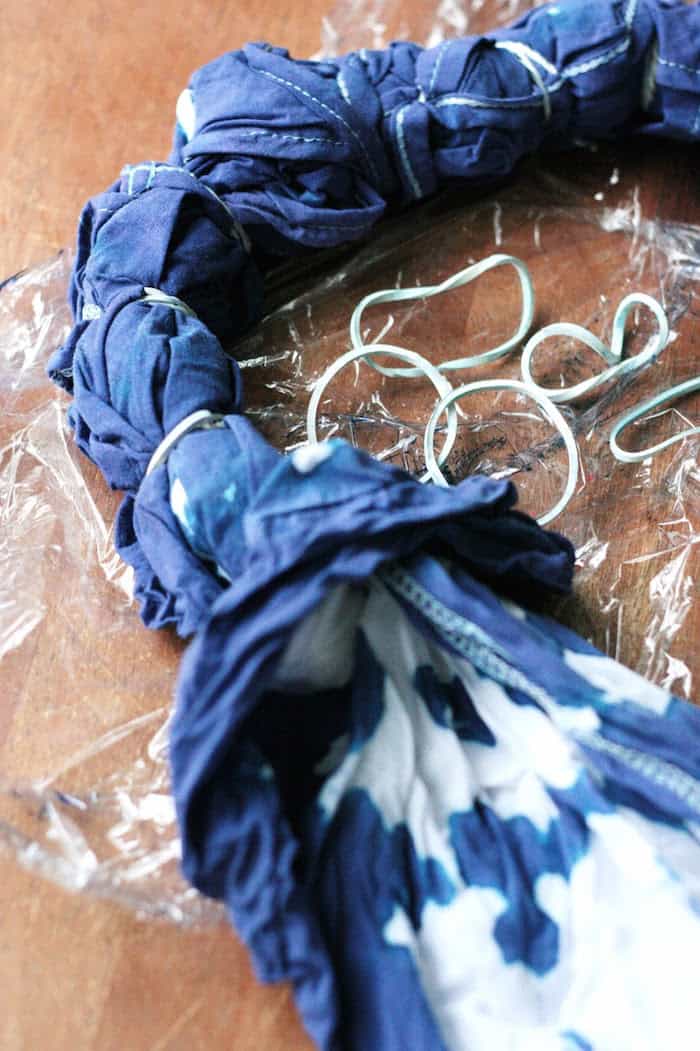
- Fold your dress according to the tie dye pattern you desire. For the effect I got, I folded the dress like an accordion, then twisted it and secured a rubber band every 1-2 inches.
- 2. According to your tie-dye directions, apply the tie-dye to the dress. The tie-dye I used was one step, so you just add water and squirt on the fabric.
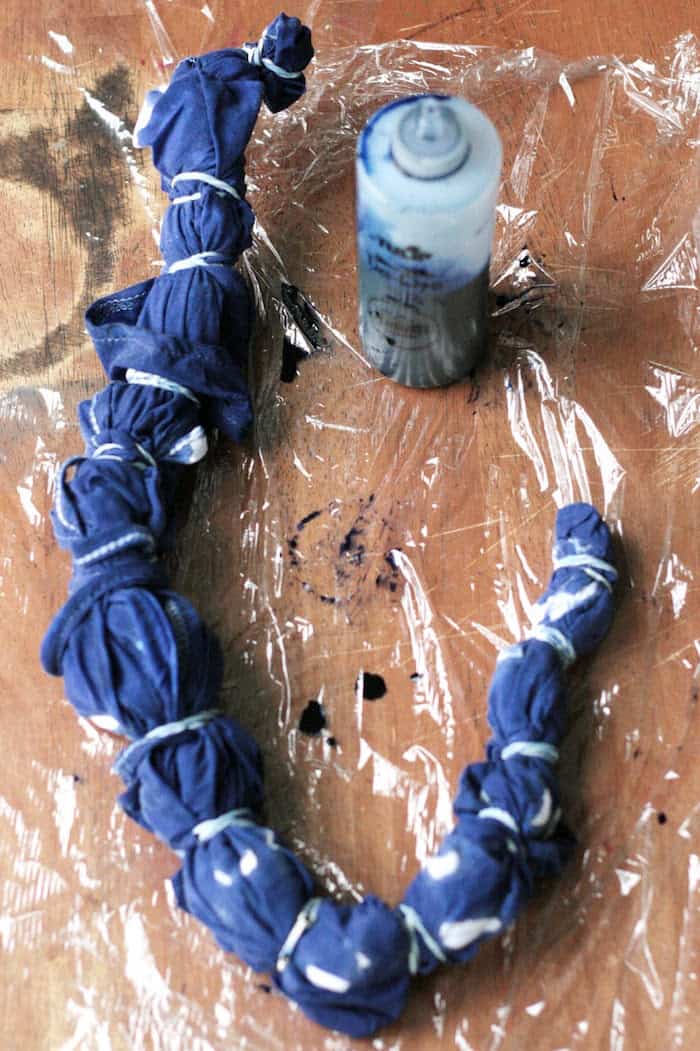
- Wrap the dress in plastic wrap and let set for 6 – 8 hours (or according to your tie dye directions).
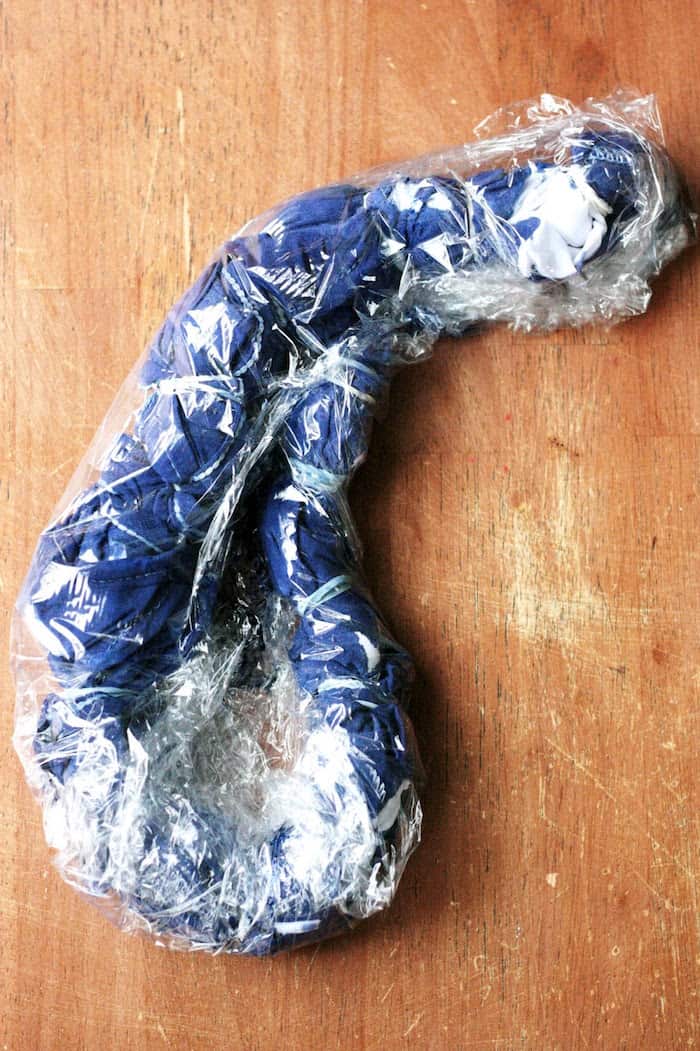
- Remove rubber bands and wash according to your tie dye kit directions. For me this was just tossing the dress into a hot washer separately. Let dry.
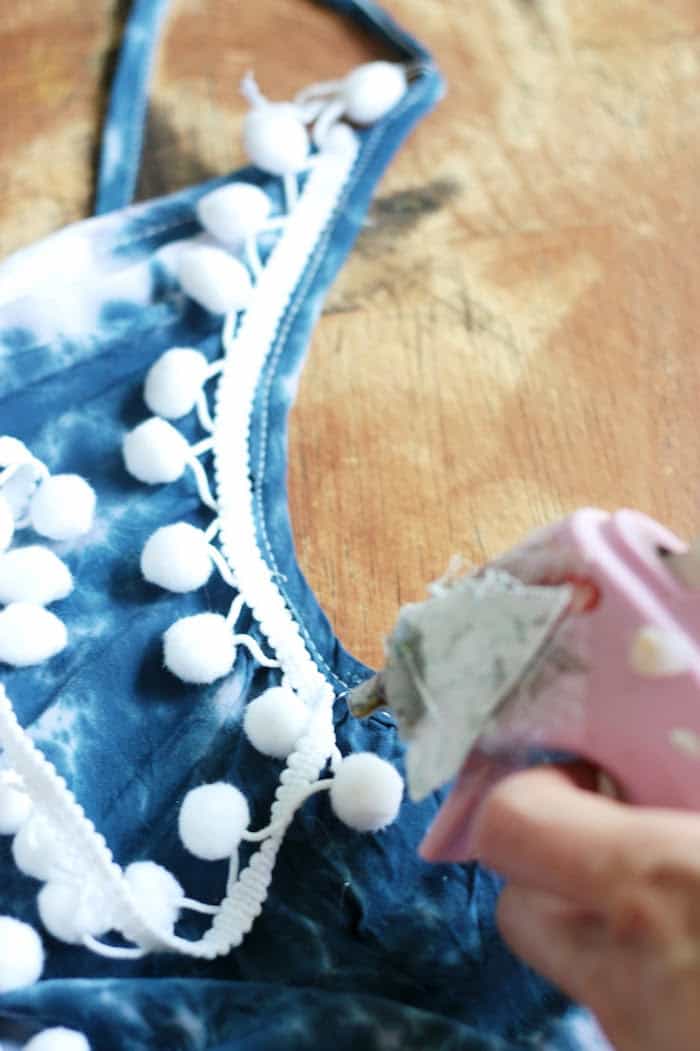
- Once the dress completely dry, attach the pom poms to the neckline with fabric glue or a sewing machine. Trim to finish.
If you enjoyed this DIY tie dye dress, I’d love for you to check out these other posts I think you’ll fancy:


