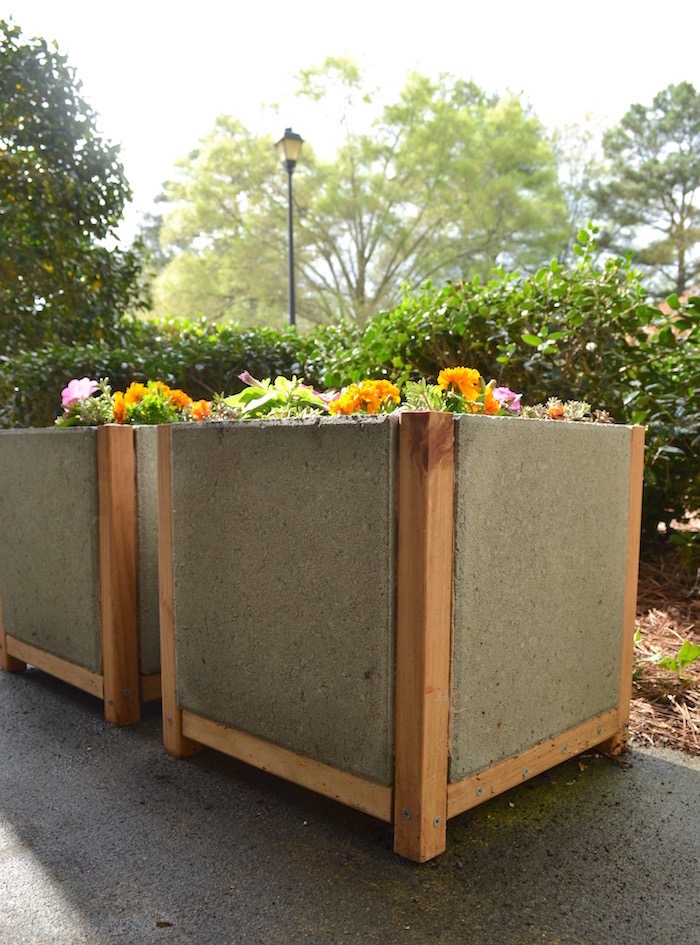
DIY Paver Planters That Add Style to Any Patio
Make stylish DIY paver planters with this easy tutorial. A budget-friendly way to add modern charm to your garden, patio, or outdoor space!
Are you ready to learn how to build a paver planter? I have such a cool (and easy) tutorial for you today!
I am the first person to admit that I am not a do-it-yourselfer by nature. Which in my family feels a little bit weird because my parents can build anything.
Don’t get me wrong – they passed on some good skills to me. I can knit and sew and decoupage . . . but I didn’t learn the DIY part. And the thing is, I want to learn! But I don’t know where to begin. Does anyone else feel that way?
For me the best way to learn is to watch someone do something and then do it myself. I’ve been wanting to spruce up my porch a bit and that is when I heard about an awesome paver planter class that The Home Depot is teaching: how to build a paver planter!
Building a paver planter makes me feel like a DIY whiz! I’m ready to tackle other projects.
So I’m going to tell you what you need to do – grab a girlfriend (or two or more) and head to The Home Depot on the third Thursday of each month for The Home Depot’s DIH Workshop.
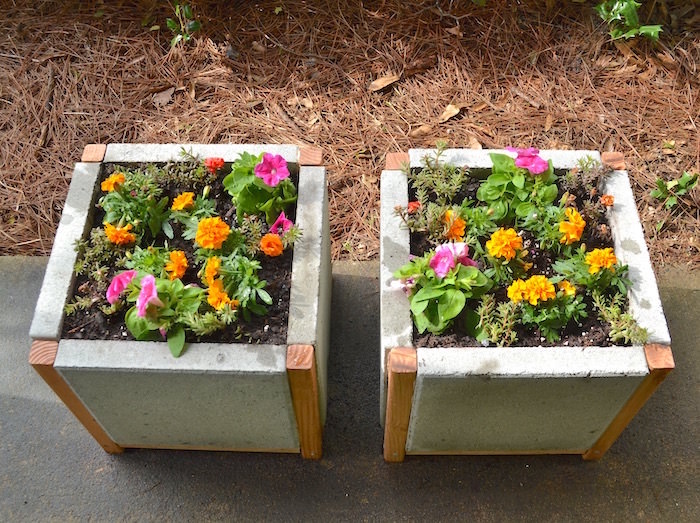
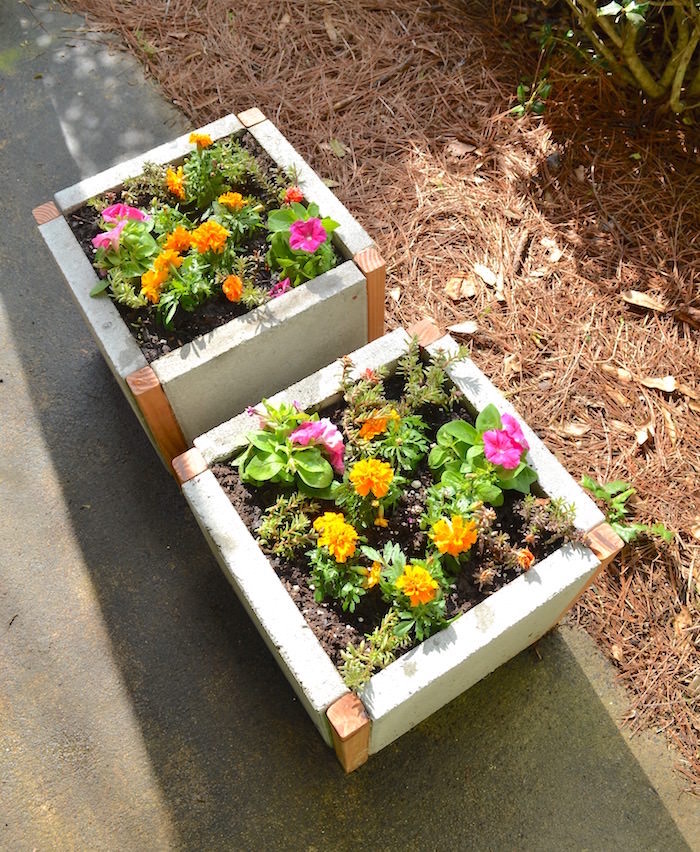
Get the how to for the planters below:
Paver Planter Box
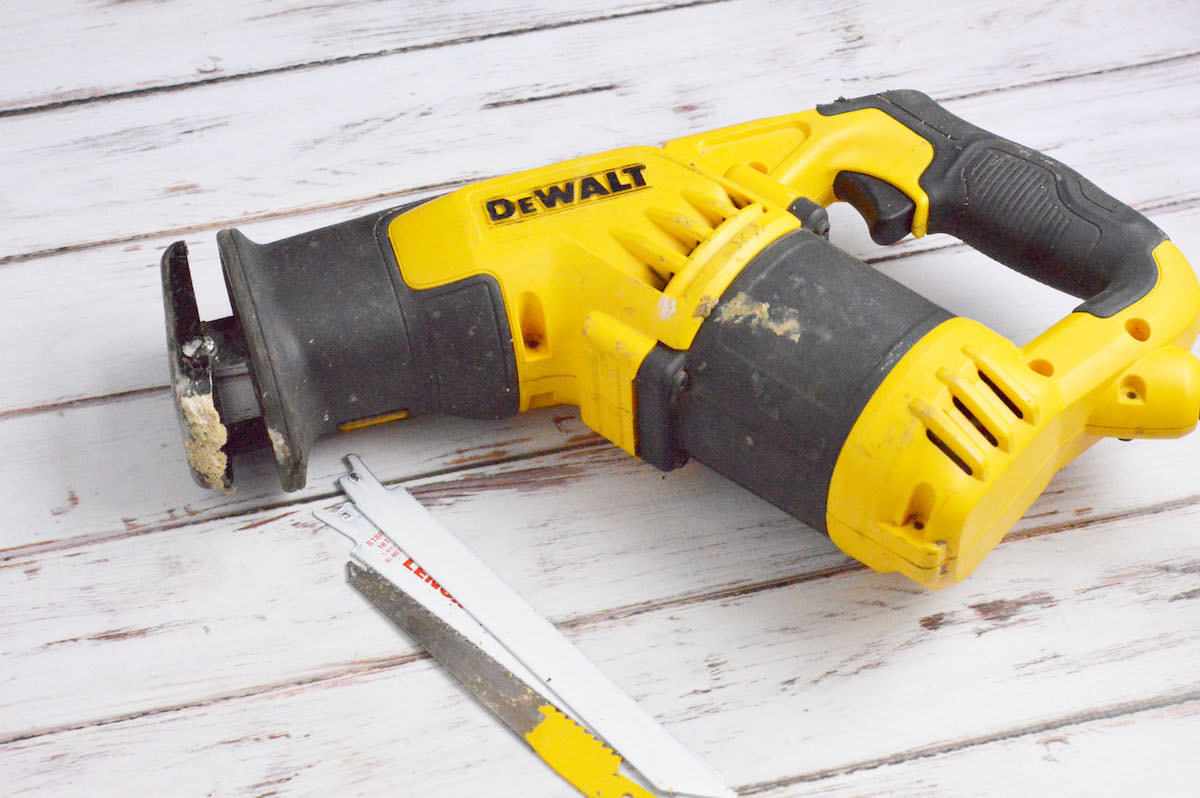
Equipment
- Utility knife
- 2 Bungee cords
- Safety goggles
- Gloves
Materials
- 4 12 x 12 pavers
- 2 8-foot 2 x 2s
- Caulking gun and construction adhesive
- Sanding block
- Stain
- Pencil
- 3" exterior deck screws
- 1 roll landscaping fabric small
Video
Instructions
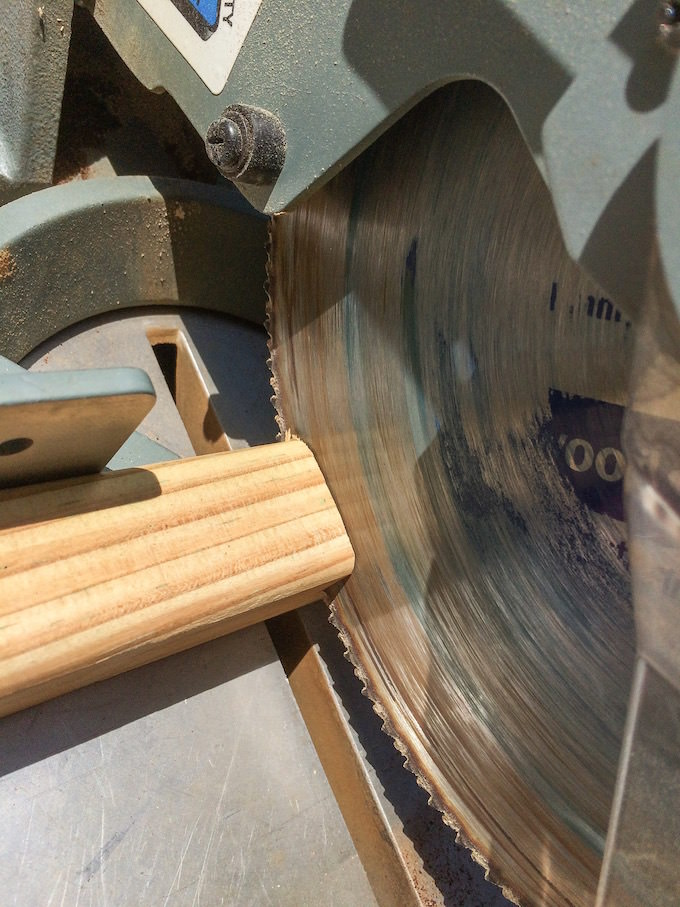
- Cut your 2 x 2s into four pieces of 16" and eight pieces of 12" using the circular saw.
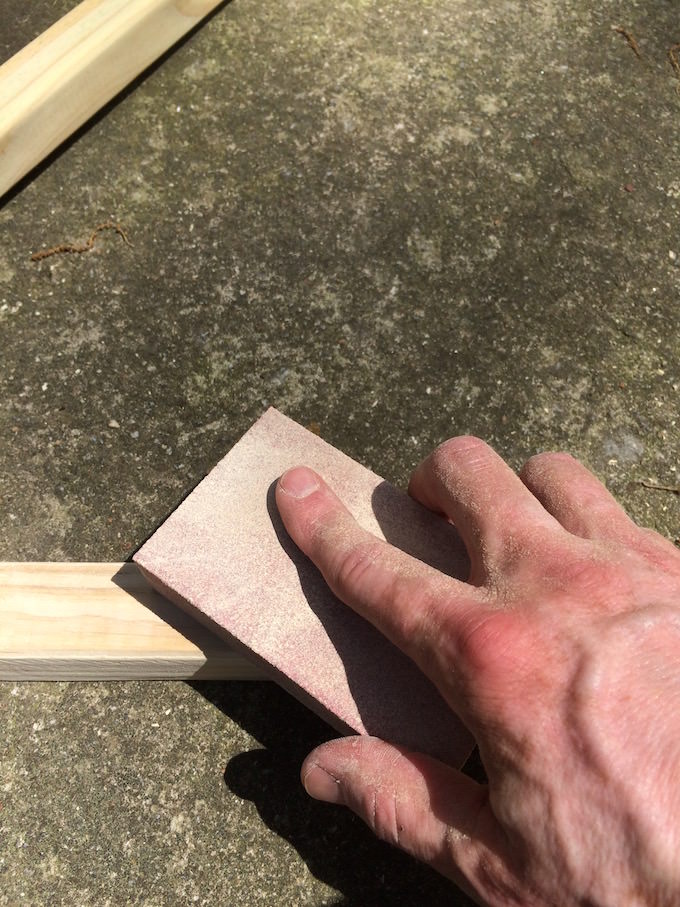
- Sand all the wood and remove any dust with a tack cloth.
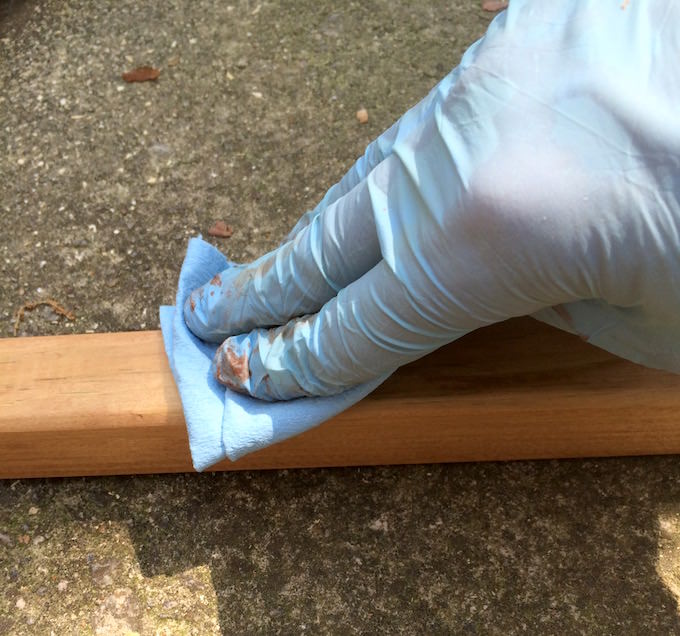
- Stain your wood – brush on the liquid stain and wipe the excess off with a cloth. Let dry.
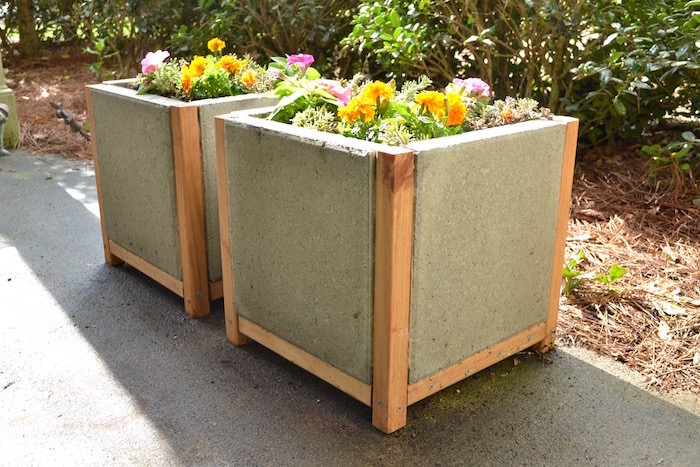
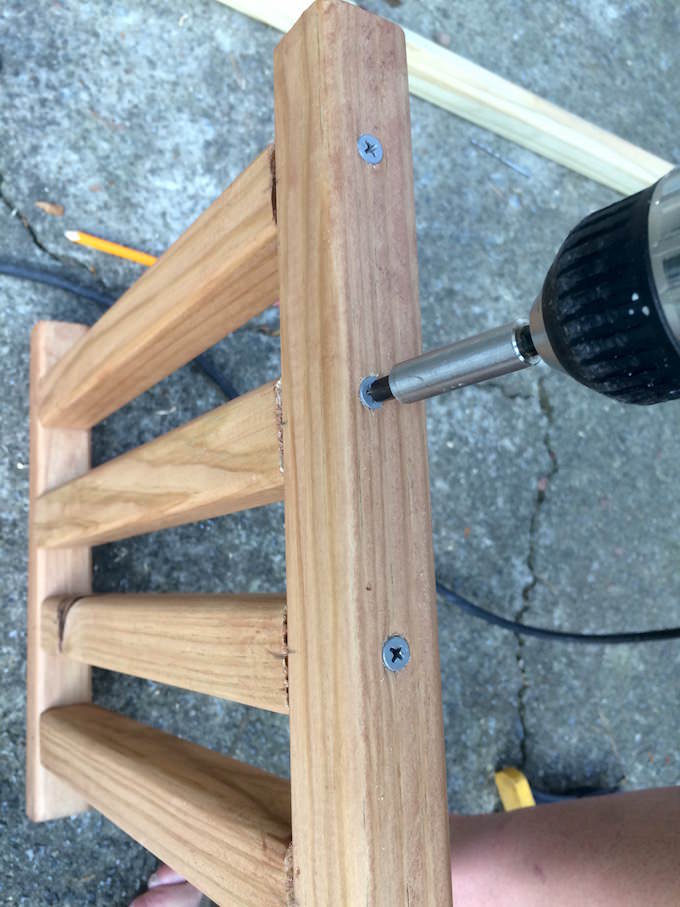
- Pre-drill and countersink the 2 x 2 pieces together, with the 16˝ pieces forming the legs, and the 12˝ pieces forming the support between the legs. Set aside.
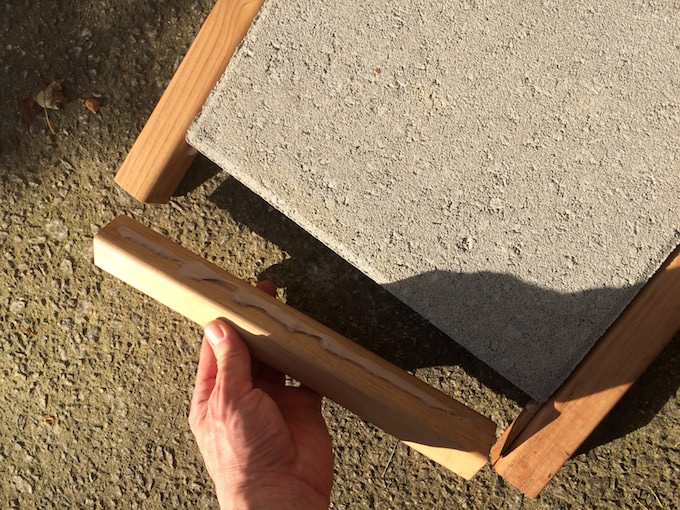
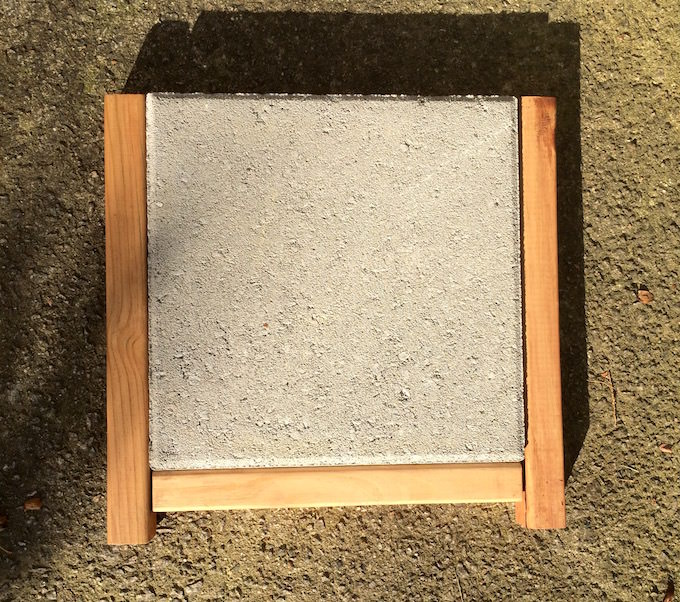
- Place a paver down on the ground. Place two of the 16" pieces on each side, and one 12" piece at the bottom. Place a thick bead of adhesive along the inside edges of the wood frame, glue to the paver, and then screw the wood pieces together.
- Repeat step 5 three more times to make four sides.
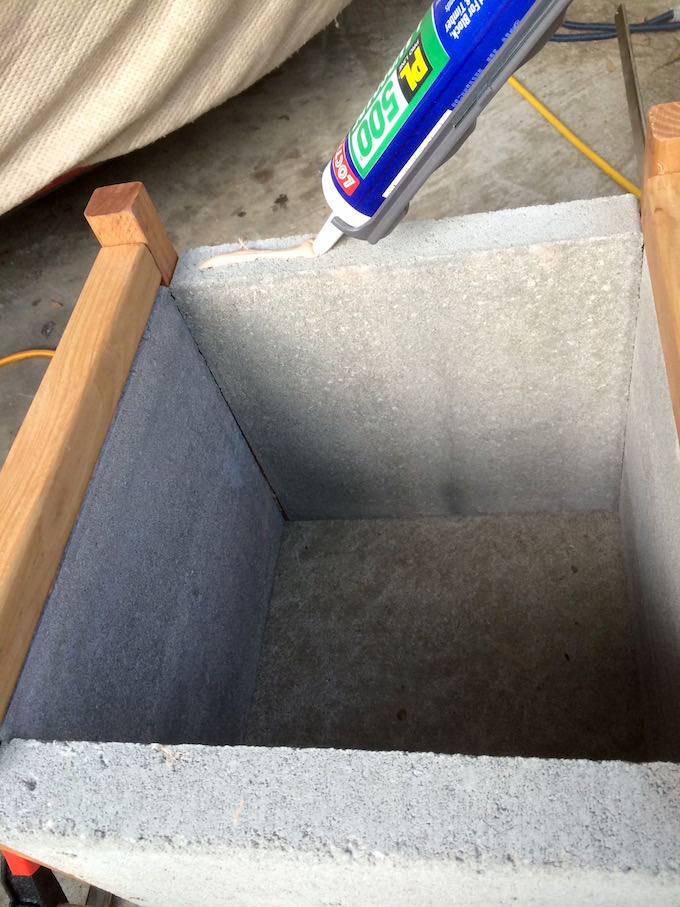
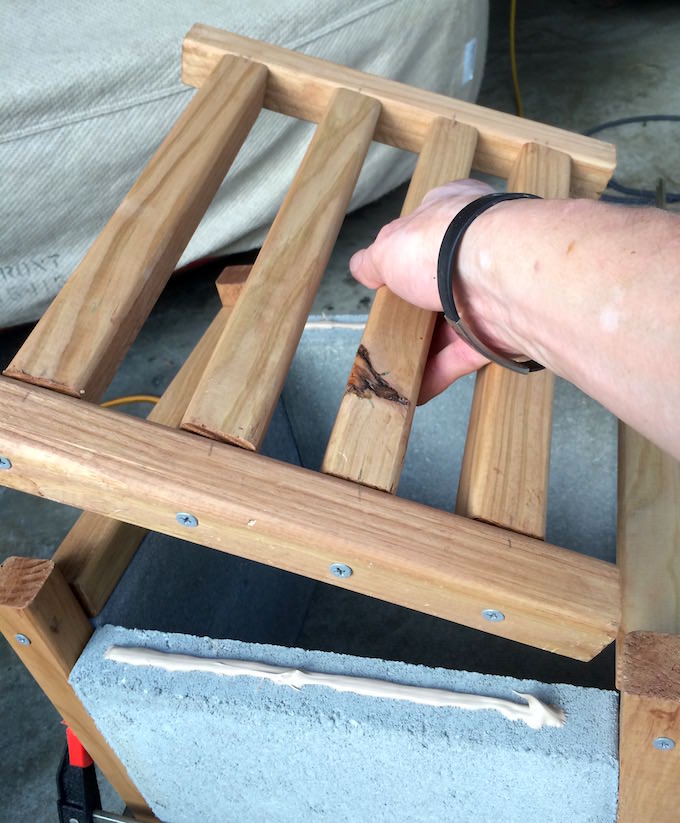
- Set the four paver sides in a square with the bottoms up, and place beads of adhesive along the bottom of the concrete pavers.
- Place the base into the adhesive and set the remaining screws. Place a bungee cord around the planter and let dry overnight.
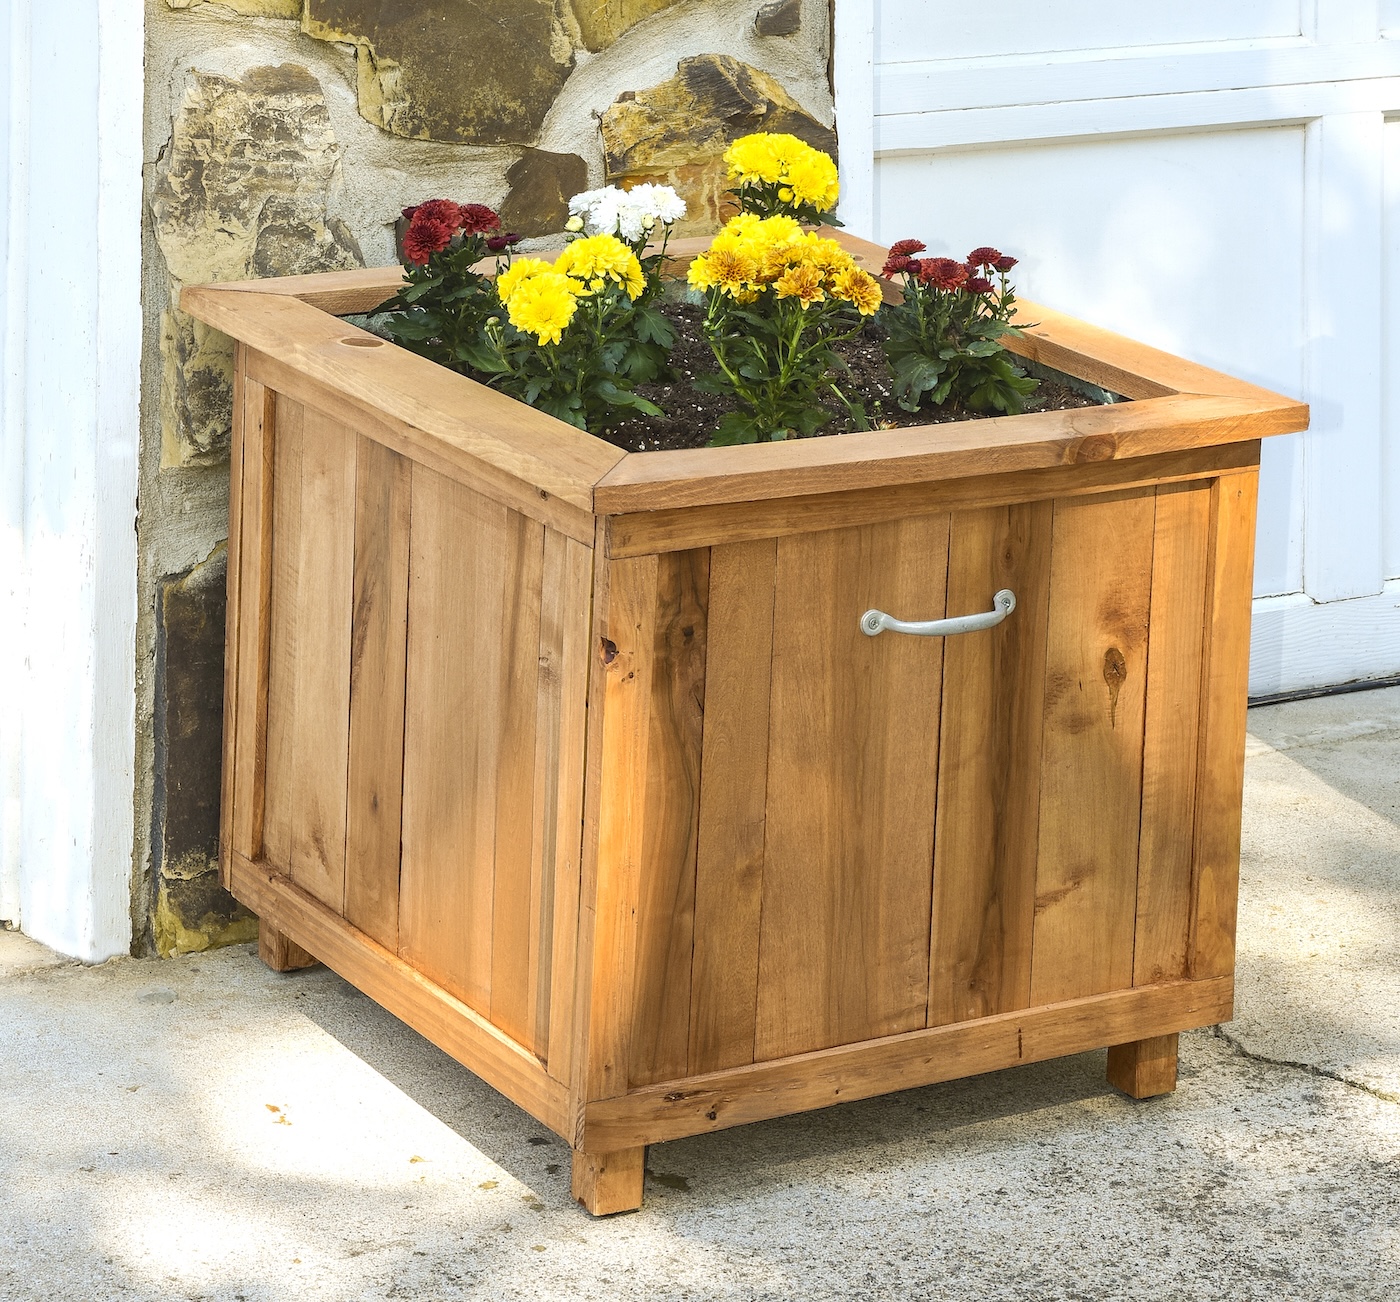
- To finish, line the planters with landscaping fabric and add the plants of your choice. You can also drop pots directly into your planters.
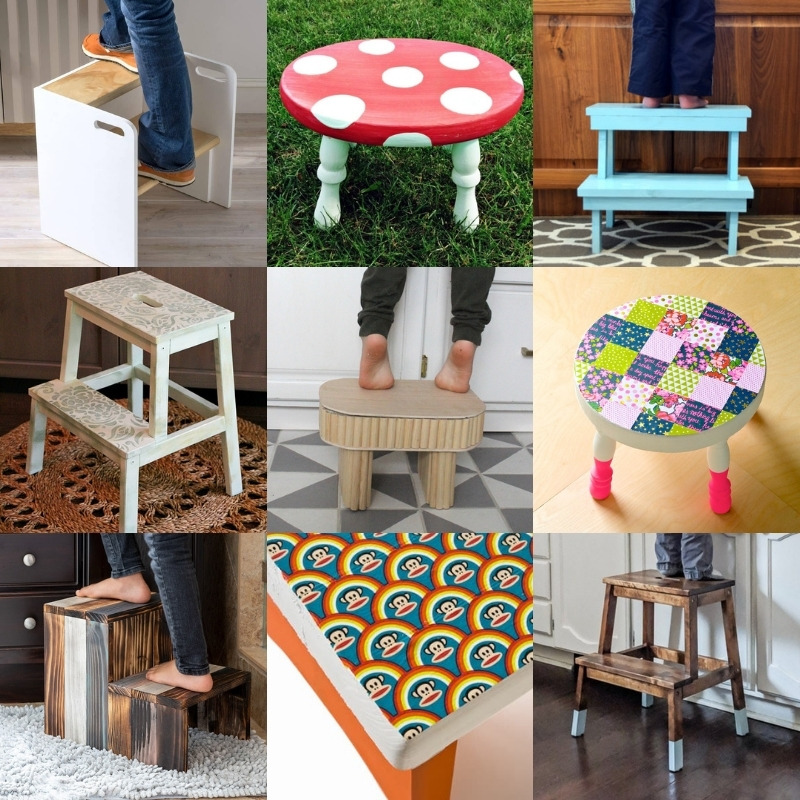
Let me know what you think in the comments! I’d also love for you to visit these other posts:

Very Nice