DIY Skull Earrings That Are Perfectly Creepy-Cute
Create your own DIY skull earrings with this simple and fun tutorial! A spooky-cute craft that’s perfect for Halloween, costume parties, or just adding an edgy touch to your everyday look.
Skills Required: Beginner. You’ll be sanding and painting beads, then assembling into earrings with jewelry tools. If you just have basic jewelry making skills you should be fine.
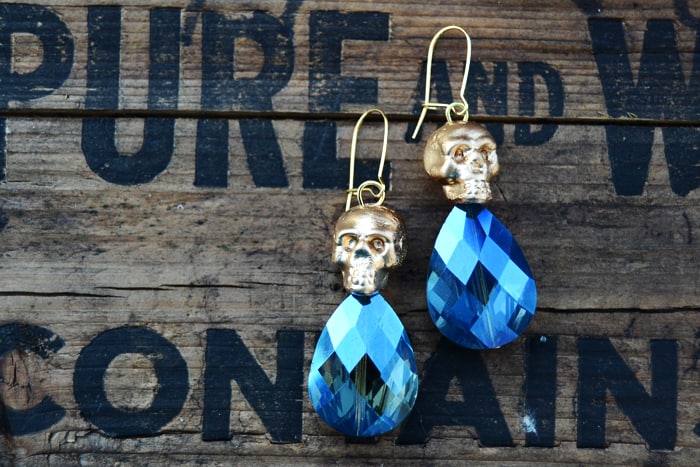
I love adding a little spooky flair to my everyday wardrobe when Halloween season rolls around—especially when I can do it in a subtle, stylish way.
And if you’ve been around here for a while, you know I also love crafting with inexpensive Halloween goodies (plastic rings and dollar-store spiders, anyone?).
Today’s project is right in that sweet spot: we’re turning plastic skull beads into chic DIY earrings that are perfect for everyday wear with a little haunted twist!
These DIY skull earrings are surprisingly easy to make and way cuter than you’d expect from something that started as a cheap bracelet.
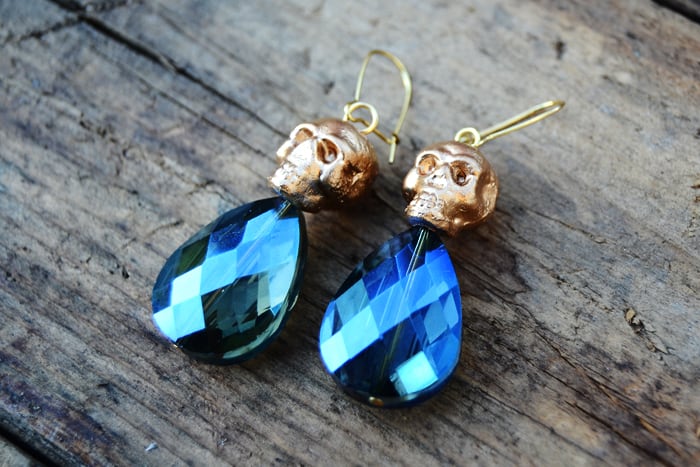
With a little sanding, some shiny gold paint, and basic jewelry tools, you’ll have a pair of earrings that looks boutique-worthy—without the boutique price tag.
This is one of those projects that’s simple but satisfying, and totally customizable depending on the colors or beads you want to pair with your skulls.
So grab your tools and get ready to transform those plastic bones into a pair of statement earrings you’ll want to wear all fall long. (And maybe even after—because skulls are always in style, right?) Let’s get crafting!
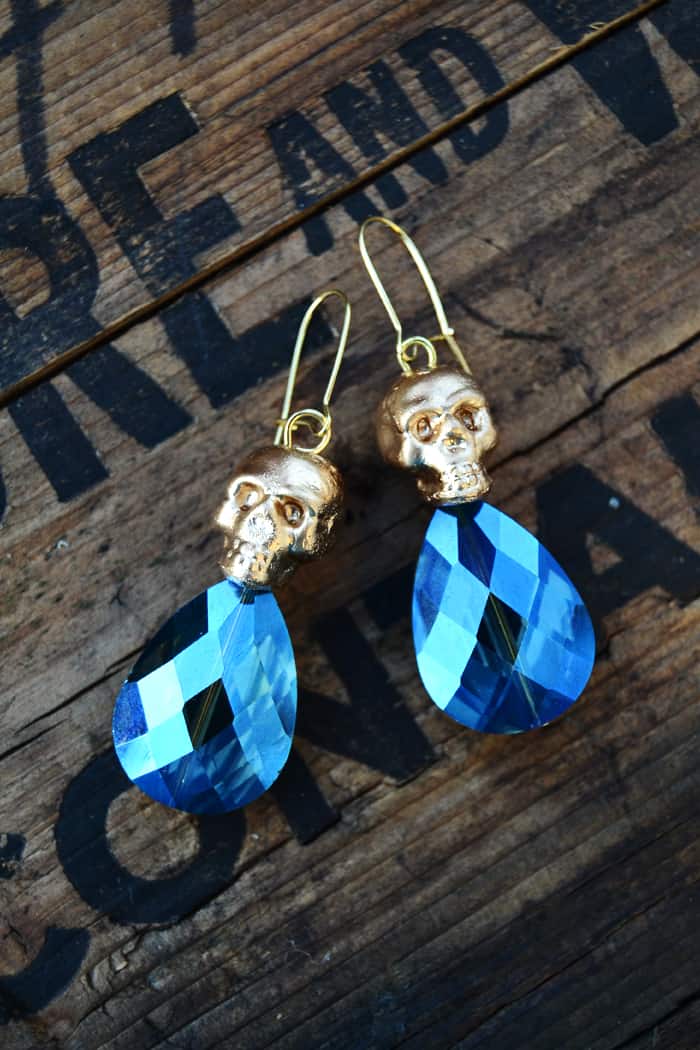
Get the printable how to card below:
Skull Earrings
Equipment
- Round nose pliers
- Wire cutters
- Flat nose pliers
- X-Acto knife optional
- Heat gun optional
Materials
- 2 Skull beads
- Liquid Leaf or gold spray paint
- Skewers
- Foam block
- 2 Large teardrop beads
- 2 Earring hooks
- 2 Head pin
Instructions
- Start by looking for your skull beads – I used the ones I found on an inexpensive bracelet at Michaels.
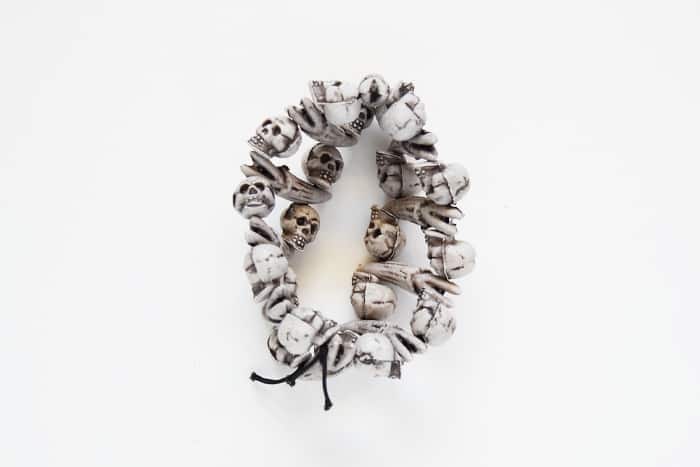
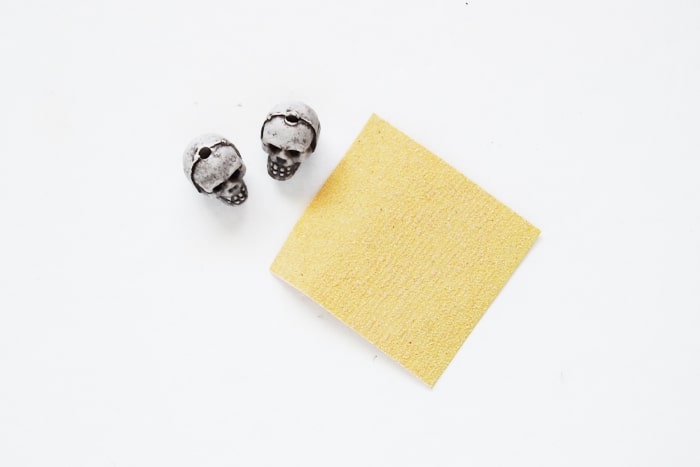
- To give the skull a smoother, more finished look, sand the excess plastic around the skull. It might be easier to shave them off using an X-Acto knife or a rotary tool with a sandpaper attachment.You just want to work the edges until they are flattened, and then sand with a fine-grit sandpaper to smooth.
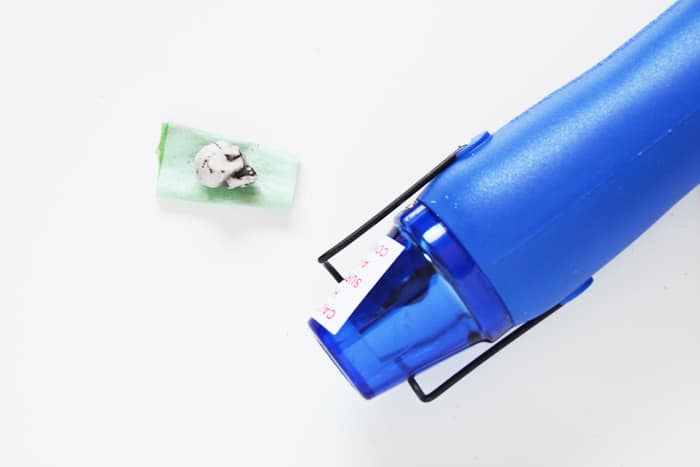
- This step is optional, but you can smooth the beads more by melting the rough surface using a heat gun. Start with about 5-10 seconds of focused heating on all sides you have sanded.
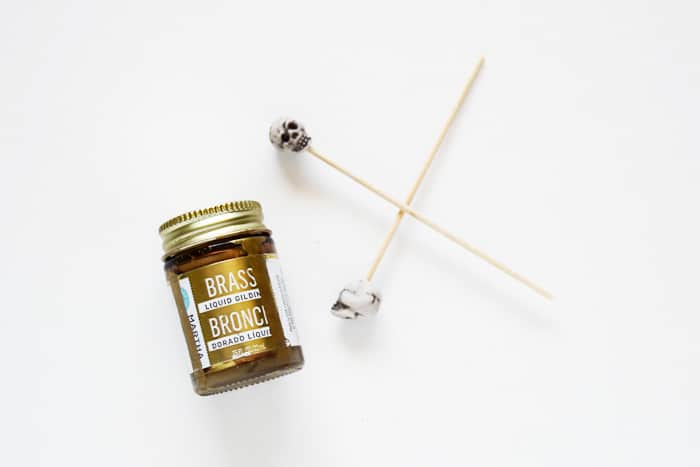
- Now it's time to paint your skulls to make them look fancy! Use gold, brass, copper, or even silver liquid leaf to coat your skull figures. You can also use gold spray paint. Notice that I skewered mine onto thin bamboo sticks – this is to make the painting and drying easier.
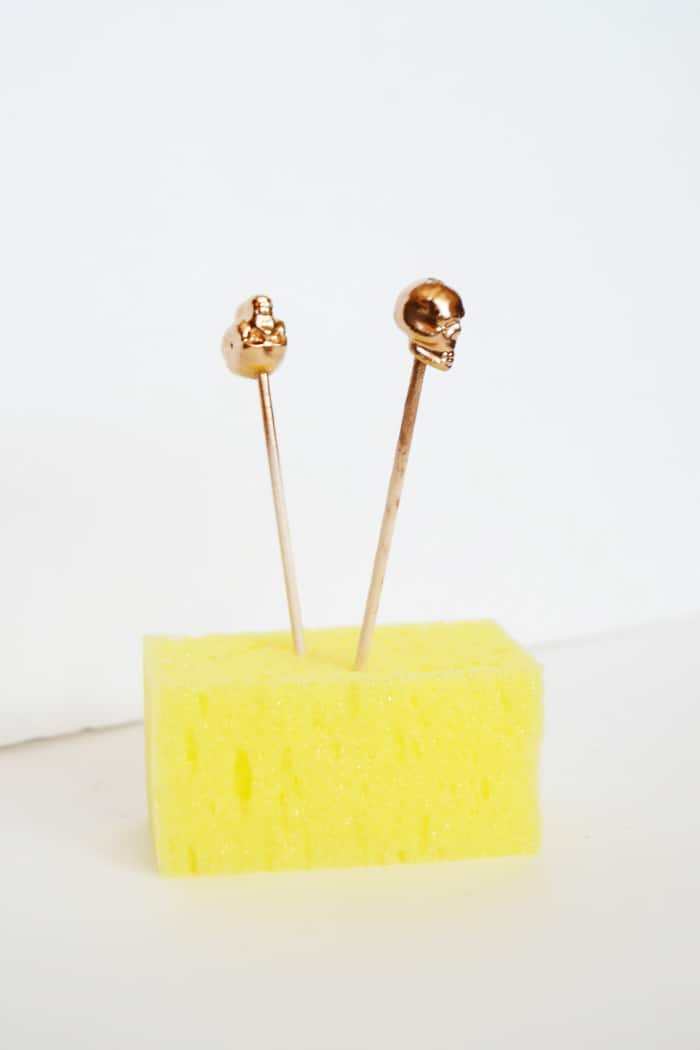
- Wait for your skulls to dry. For convenience, I stuck them onto a block of foam and gave it about an hour to dry fully (make sure it's not tacky to the touch).
- When your skull is fully dry, it's time to assemble your earring! For mine, I used a head pin, a large teardrop bead, and a kidney earring hook in addition to my skull bead. You can use big pearls or other complimentary beads in place of the teardrop bead.
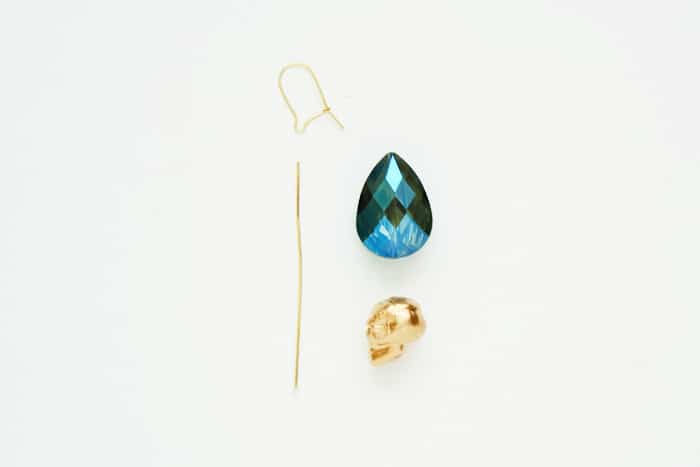
- Thread your teardrop bead and the skull onto the head pin, bend the excess wire like in the photo, cut a small segment and loop the remaining wire to secure your beads.
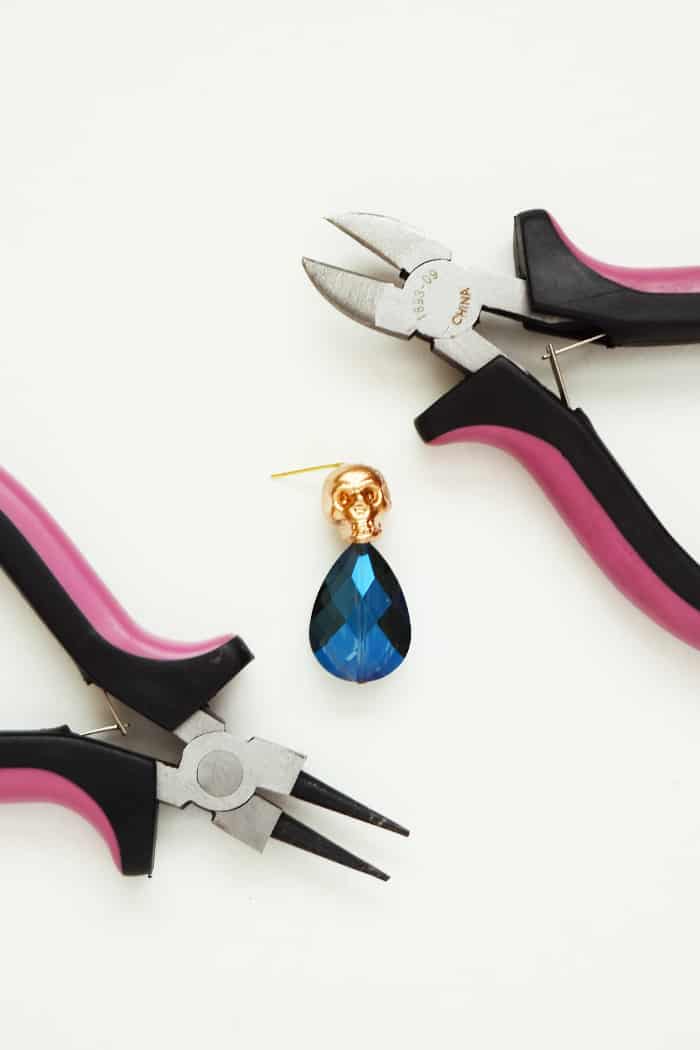
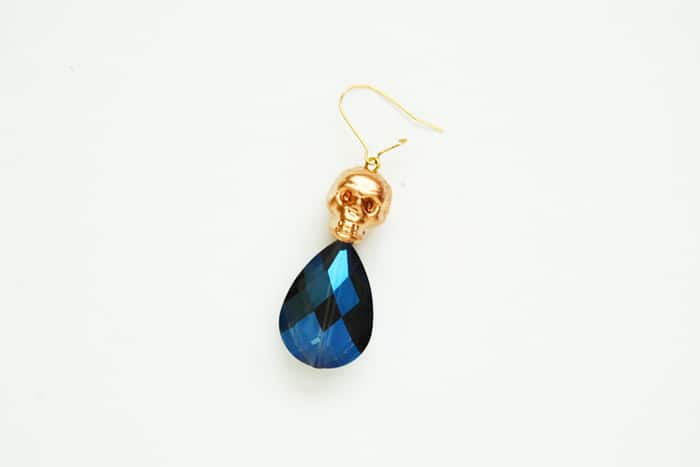
- Finally, thread this onto your earring hook. You are done with one skull earring! Repeat with the other. Unless you are one of those cool people who only likes to wear one earring. Or a pirate.
Notes
I hope you loved this tutorial – for more projects like this, don’t forget to check out the projects below. Happy crafting, friends!
Borax Crystal Skull • DIY Skull Decor • Dollar Tree Skulls Makeover • Skull Bean Art • Skull Perler Beads • Wine Cork Skeleton




These earrings are so cute! I love them!
Paige
https://www.thehappyflammily.com/