DIY Heart Decorations for Fun Holiday Decor
Hang them up in clusters or add a single one to a doorknob, however you use your paper heart decorations, they’re bound to make your heart smile!
Skills Required; None. Even if you’ve never crafted before, you’ll be able to make this project. Paper hearts are easy enough for kids as well as adults.
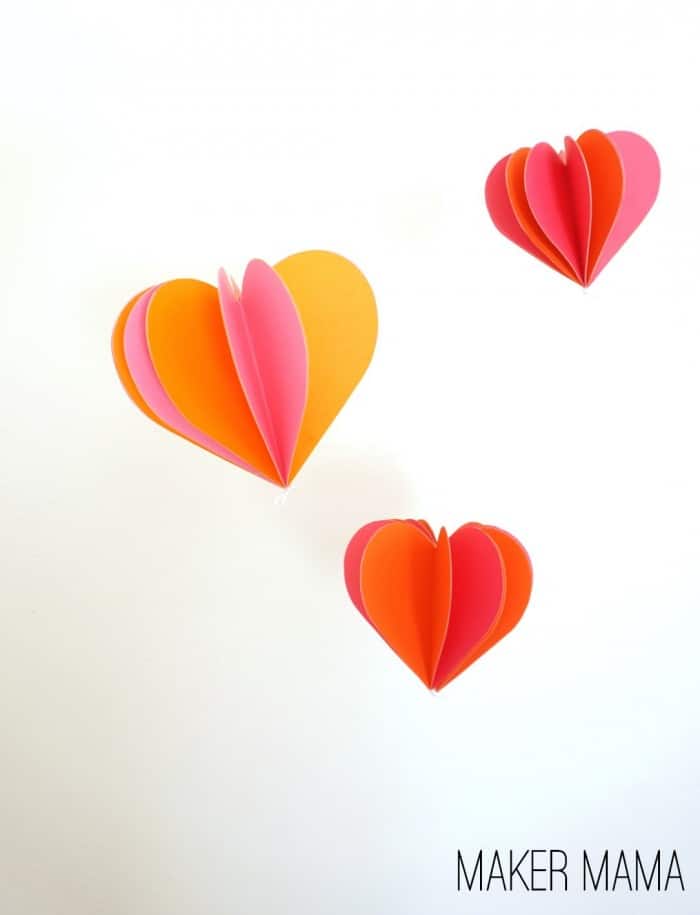
I love simple and bright holiday decorations. And after making my holiday card ornaments, I knew exactly what I wanted to make this Valentine’s Day! It’s a perfect Valentine’s Day craft for kids.
Older kids can tackle this heart craft themselves, while littles might need some additional help. Either way, it’s not hard! These are so fun to make you won’t be able to stop.
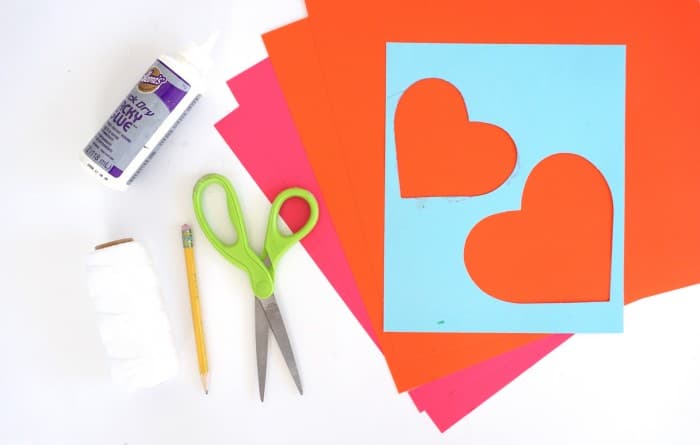
Gather These Supplies
- Pretty cardstock – don’t use printer paper, it needs to be sturdy
- Heart template or stencil
- Pencil
- Scissors
- Glue
- String
Note before beginning: there are a lot of things you can do for a heart template. You can use a stencil. You can print out a silhouette using Google images. You can also draw one with a pencil if you have a steady hand.
You DO want to make a template, because you want the hearts to be even when you cut them out of the cardstock and attach them. A template keeps them even and the final project looking clean.
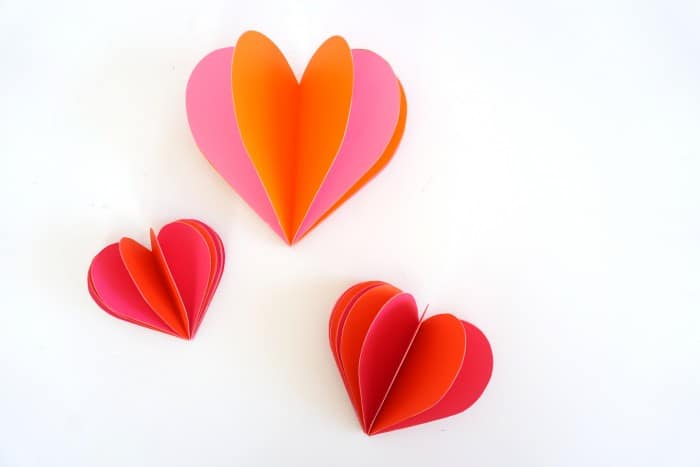
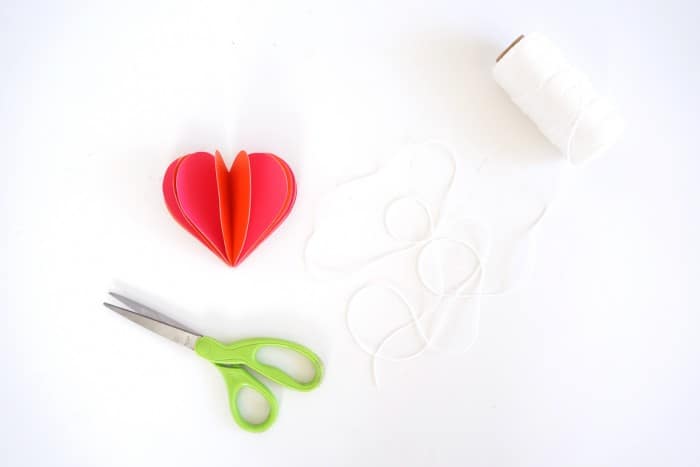
Once dry, these cute dimensional decorations are ready to hang! You can use thumbtacks from the ceiling which are pretty fun.
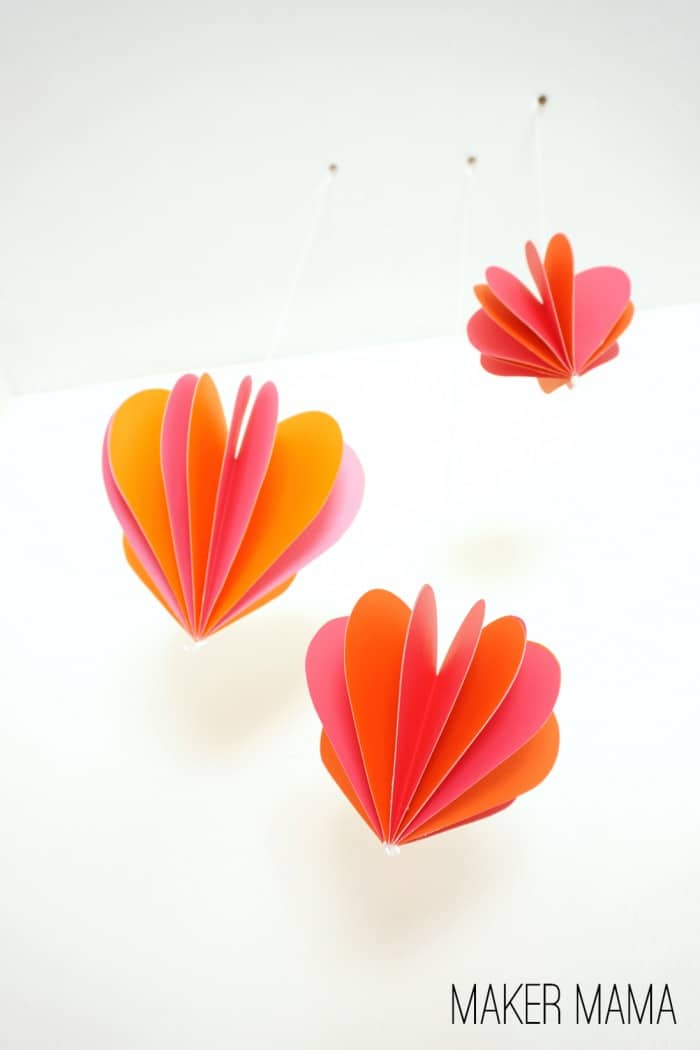
You can make these with solid cardstock – but I think they might also look fun with patterned paper! I’ll have to give that a try next.
Get the printable how to below:
Paper Heart Decorations
Equipment
- Pencil(s)
Materials
- Cardstock several sheets, two colors
- Heart template or stencil
- Craft glue
- String
Instructions
- Fold your cardstock in half and trace half of the heart template as many times as you can. If you're using two colors, you want six of each, or a total of 12.
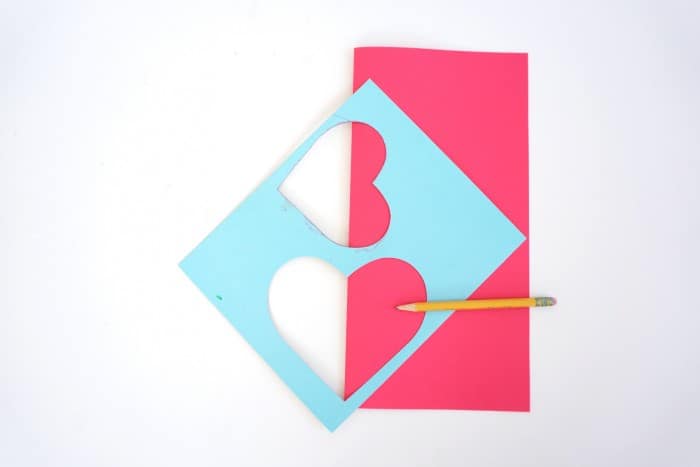
- Cut the hearts out of the paper with the scissors. Fold the hearts in half if they aren't already.
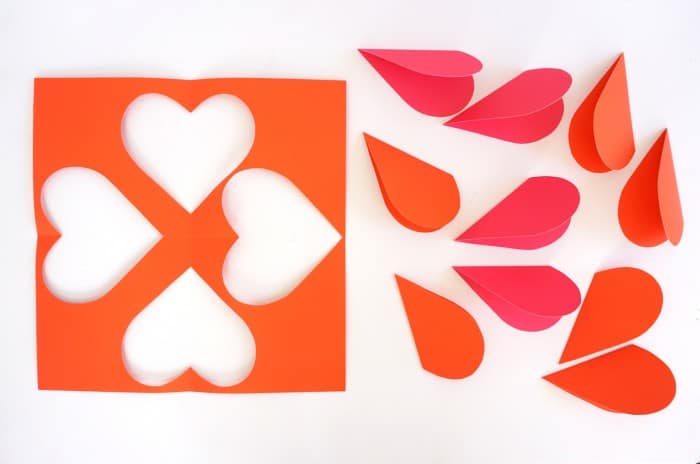
- Glue the twelve hearts in a stack, alternating between the two colors. Place weight on top (like a book) and let dry.
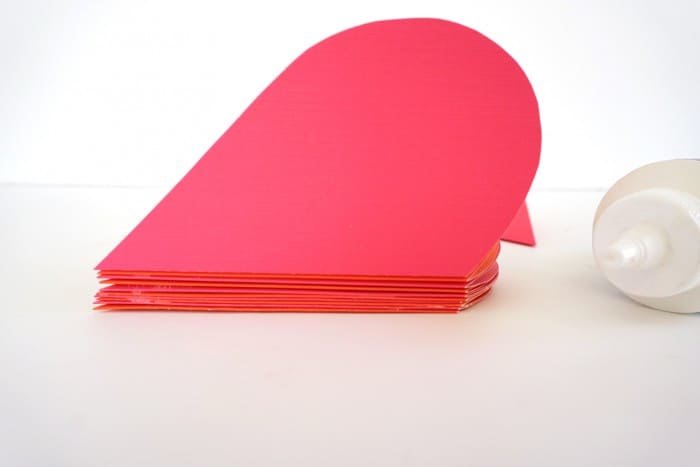
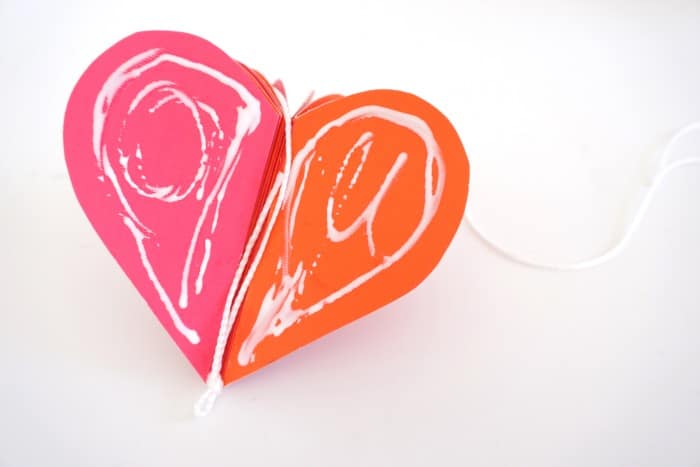
- Cut a length of string. Unfold the heart stack and place glue on the first and last heart halves. Place the string in the middle and glue the pieces together. Let dry.
- Hang your heart decor as desired using thumbtacks or Command strips.
Did you enjoy this paper heart decorations how-to? Make sure to check out the Maker Mama tutorial gallery. I’d also love for you to check out the following paper crafts and projects:


