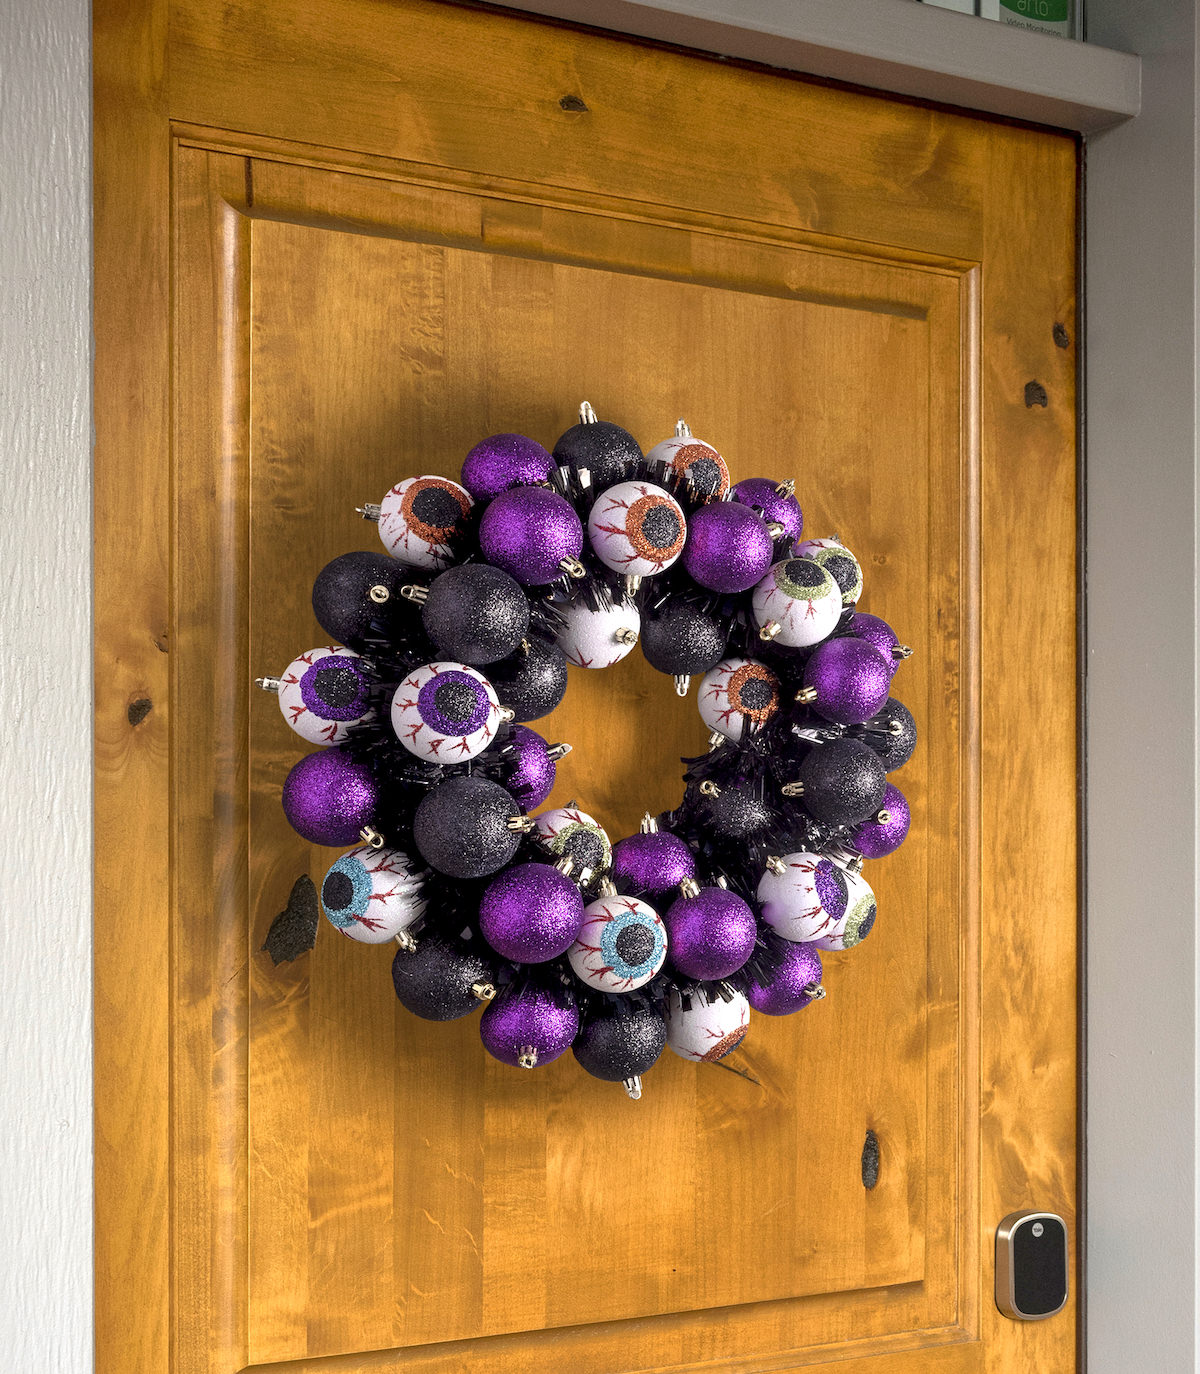
DIY Halloween Ornament Wreath to Haunt Your Door in Style
Make a Halloween ornament wreath using supplies from Dollar Tree! This is an easy idea, and perfect for holiday decorating on a budget.
Skills Required: None. You don’t need any prior crafting skills to make this wreath. All you need to do is know how to use a hot glue gun!

Very recently I made a witch hat wreath using Dollar Tree supplies. The day that I was at the dollar store, the deco mesh and wire wreath form weren’t the only things I bought.
I bought several packages of Halloween ornaments – black glitter, purple glitter, and monster eyes. With more glitter.
I bought seven packages to be exact, with six ornaments each (for a total of 42). I had no idea at the time what I was going to do with them, and I was even thinking about some sort of Halloween tree.
But after I made the witch hat wreath . . . I was thinking . . . these ornaments would make an amazing Halloween wreath! So that was the moment I decided to make a Halloween ornament wreath and give it to my neighbors. I’m pretty pleased with 1) how it looks on their door and 2) the price.
The best part of this project is that I can’t emphasize enough how easy it is. You don’t need crafting skills to make it. Just dollar store supplies and a glue gun!
I was so excited to make this project, because I had a lot of the supplies on hand! I already had the black paint, the wreath form, the glue gun and glue sticks, and the Command strip.
Even if you have to buy the wreath form and a glue gun (which Dollar Tree also has), it’s still going to be under ten bucks.
There are four steps to making this wreath. You’re going to paint the form, glue the ornaments, glue the garland, and then attach the final row of ornaments. Then your creation will be ready to hang!
Gather These Supplies
- Craft foam wreath form – 12″
- Halloween ornaments – 42
- Acrylic paint – black
- Halloween garland – 9 feet
- Paintbrush
- Scissors
- Hot glue gun and glue sticks
- Command strip
This Halloween wreath is going to be just fine outside as long as it’s under a covered area. Use it to decorate just about anywhere!
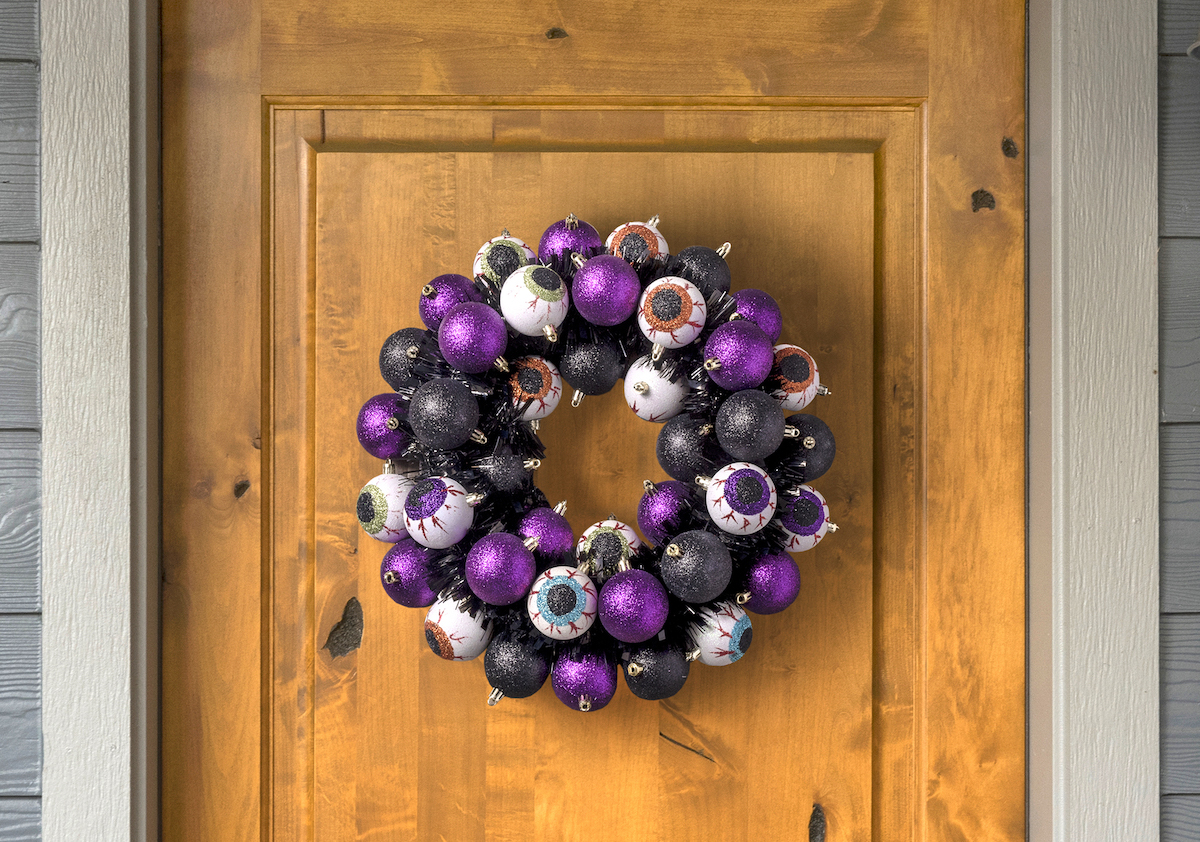
I think it’s so fun and I just love the eyeballs! While they might traditionally be considered a little spooky, just the sheer amount of glitter makes this a little more fabulous than anything else.
Halloween Ball Ornament Wreath
Materials
- 1 Foam wreath form 12"
- 42 Halloween ornaments
- Acrylic paint black
- 1 Halloween garland – 9 feet
- Command strip
Video
Instructions
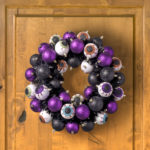
- Paint the wreath form using black acrylic paint. Coat thoroughly and let dry.
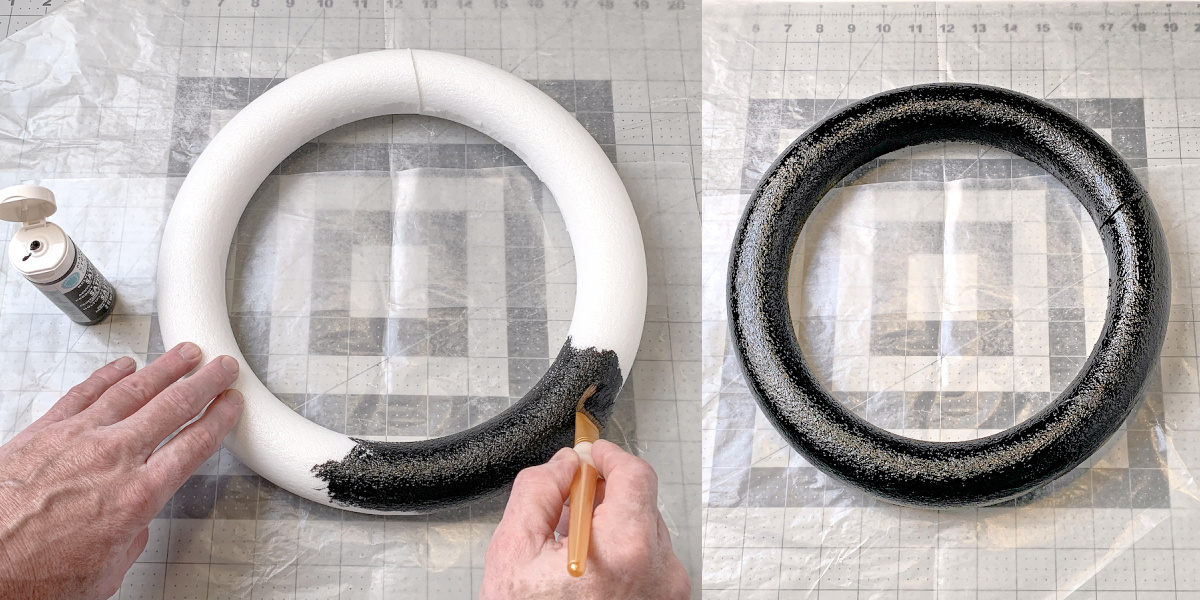
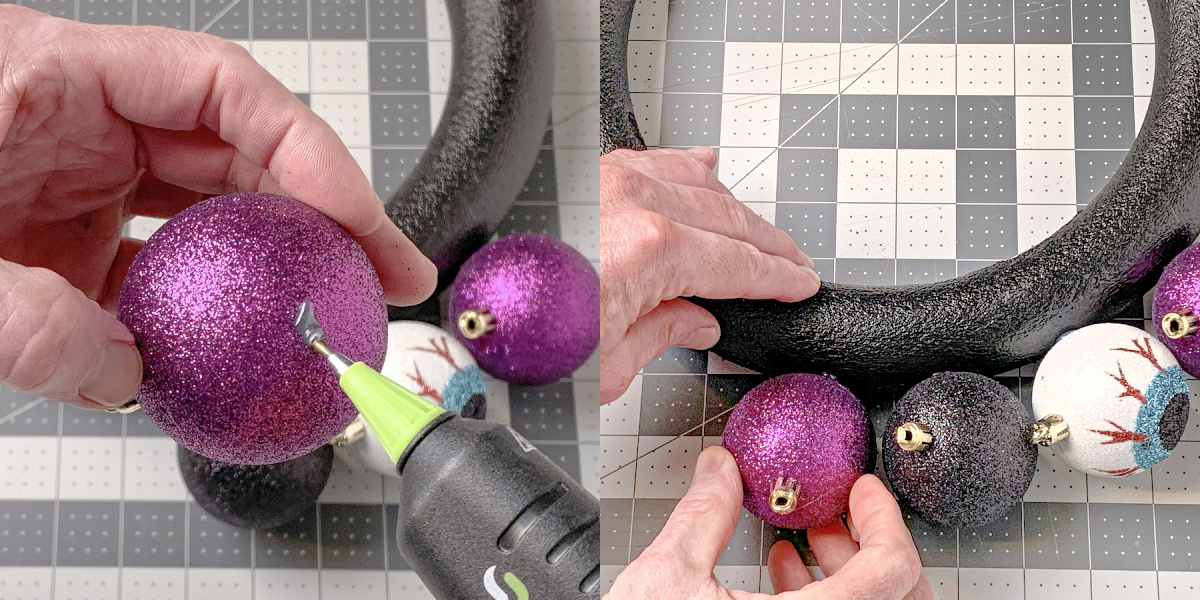
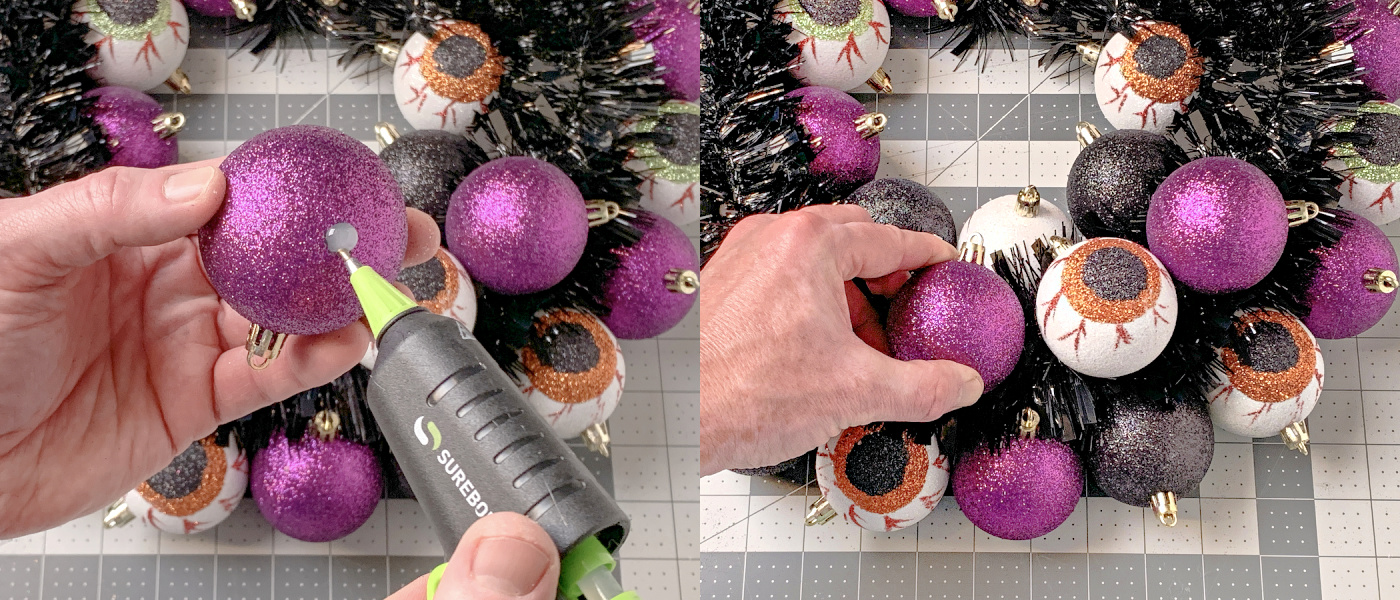
- Heat up the glue gun. Place glue on one side of the ornament, then press directly onto the wreath form and hold for a few seconds.
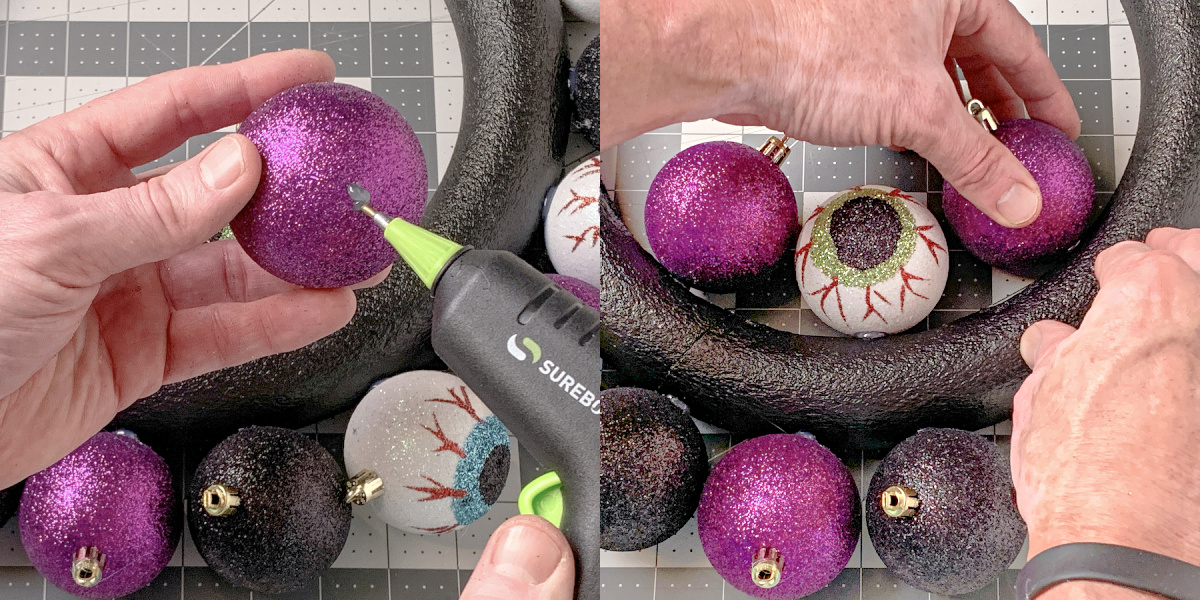
- Continue hot gluing ornaments around the outside of the wreath. Don't worry about them being too tight – just space them evenly.
- Repeat step 3 around the inside of the wreath as well. Space them as evenly as possible.
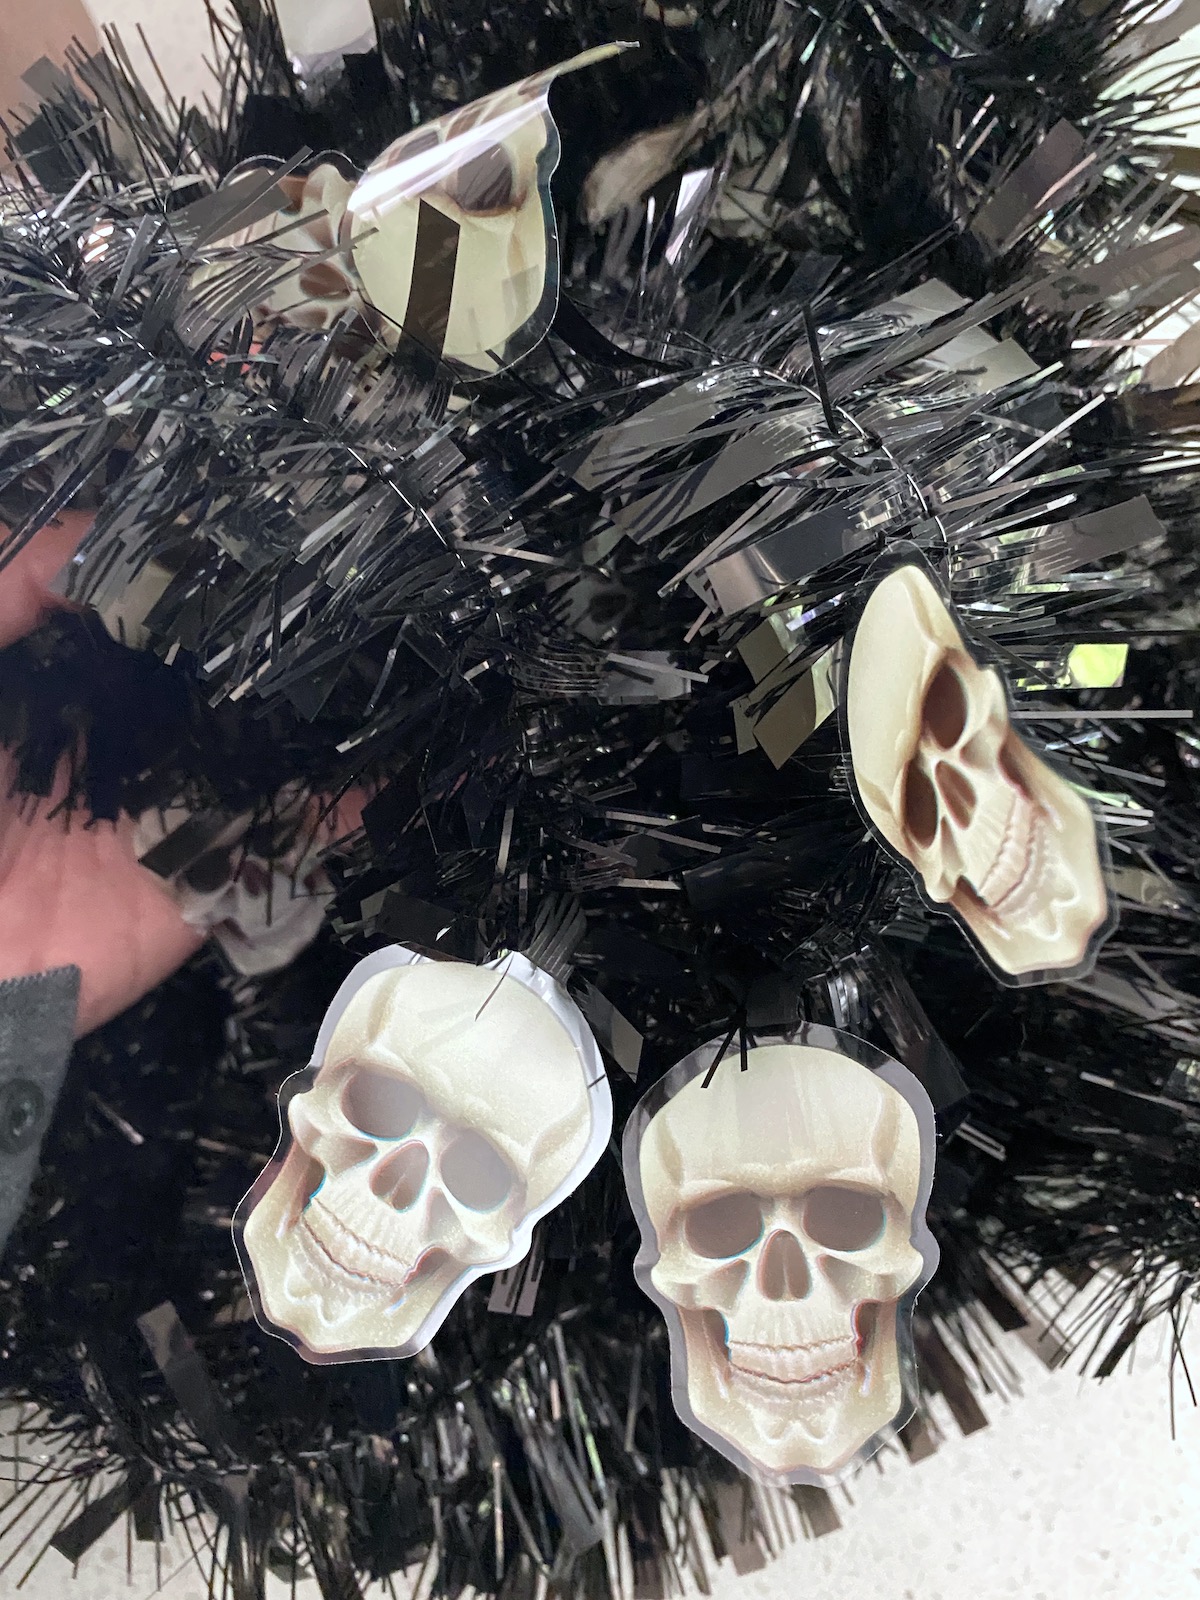
- If necessary, remove any extra embellishments from the black garland with scissors.
- The garland is going to be your base for the final layer of ornaments. Begin by gluing the end down at a random spot on the front of the wreath form in the center. Hot glue the garland around the form, sticking toward the inside on your first go around.
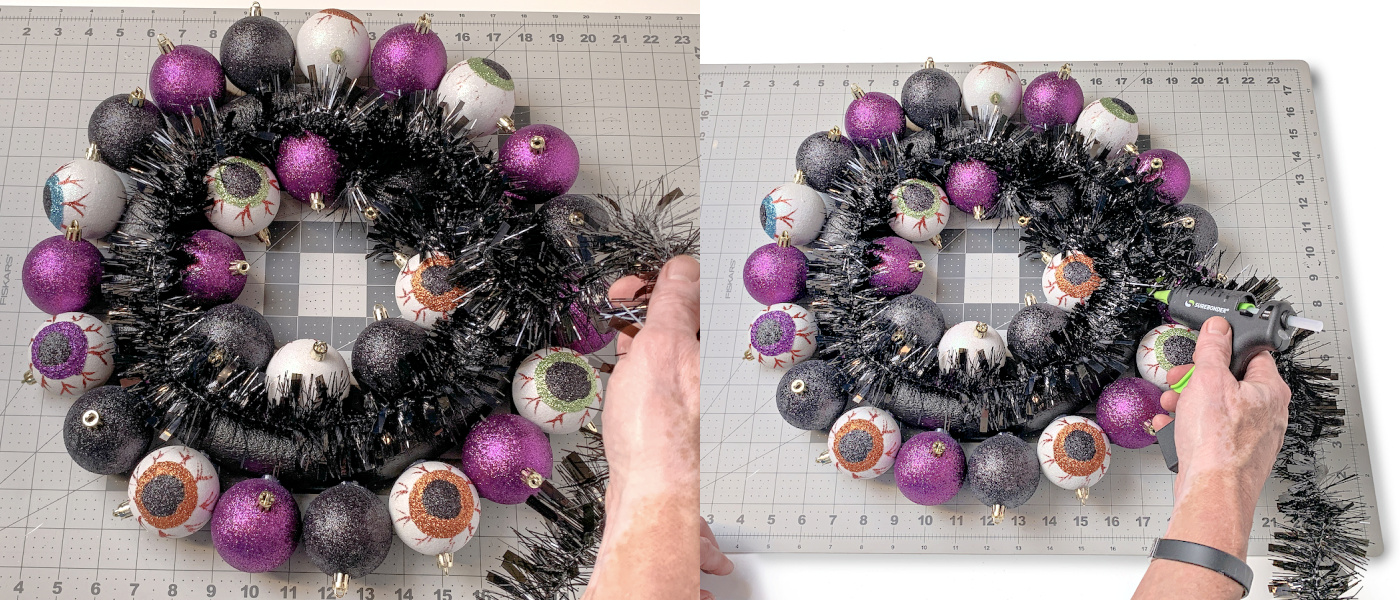
- As you go around the form, place dabs of hot glue to keep the garland in place. Continue working your way around, and when you do the second round, stick to the outside. You're going to go around a total of three times, and on the third time, you're going to stick to the outside. Don't forget to put regular dabs of glue to secure the garland to the form.
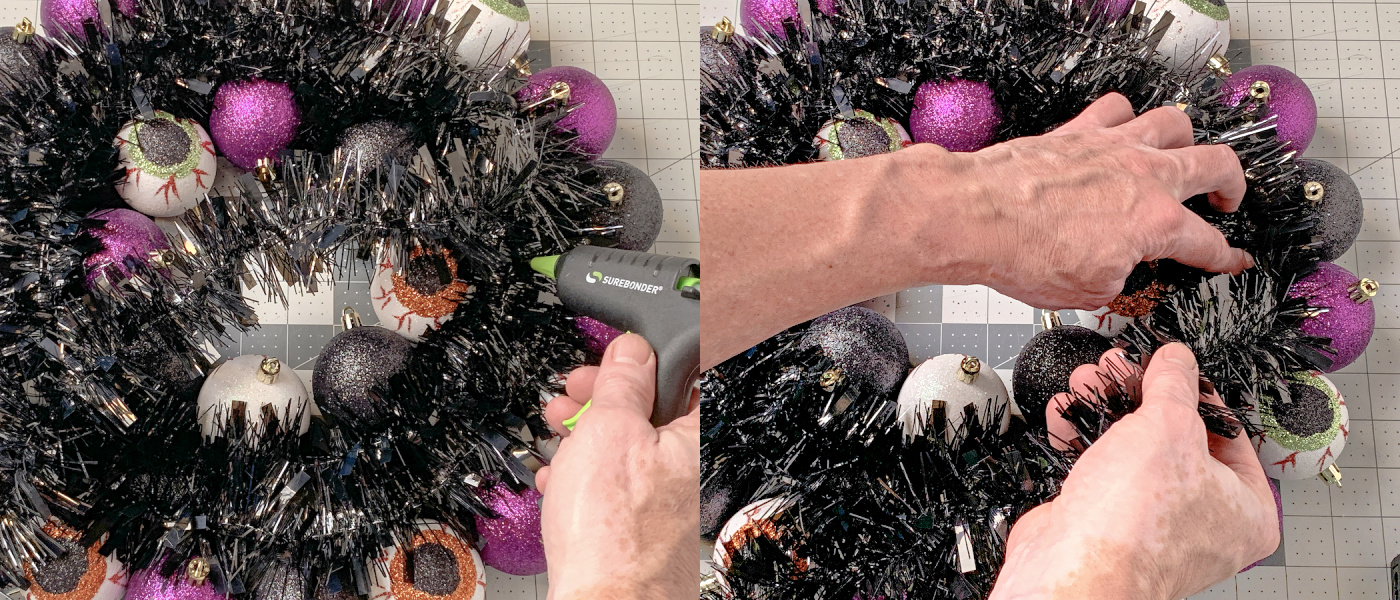
- To finish the wreath, glue ornaments directly down onto the garland. Work your way around the wreath, spacing evenly.
- Attach a loop of scrap ribbon or yarn onto the back of the wreath form with the glue gun. Hang using the Command strip.

If you enjoyed making this project, let me know in the comments. I’d love for you to check out these other seasonal wreath ideas:
Fall • Felt • Halloween Mesh • Pinecone • Mini Pumpkins • Pool Noodle • Pom Pom • Ribbon