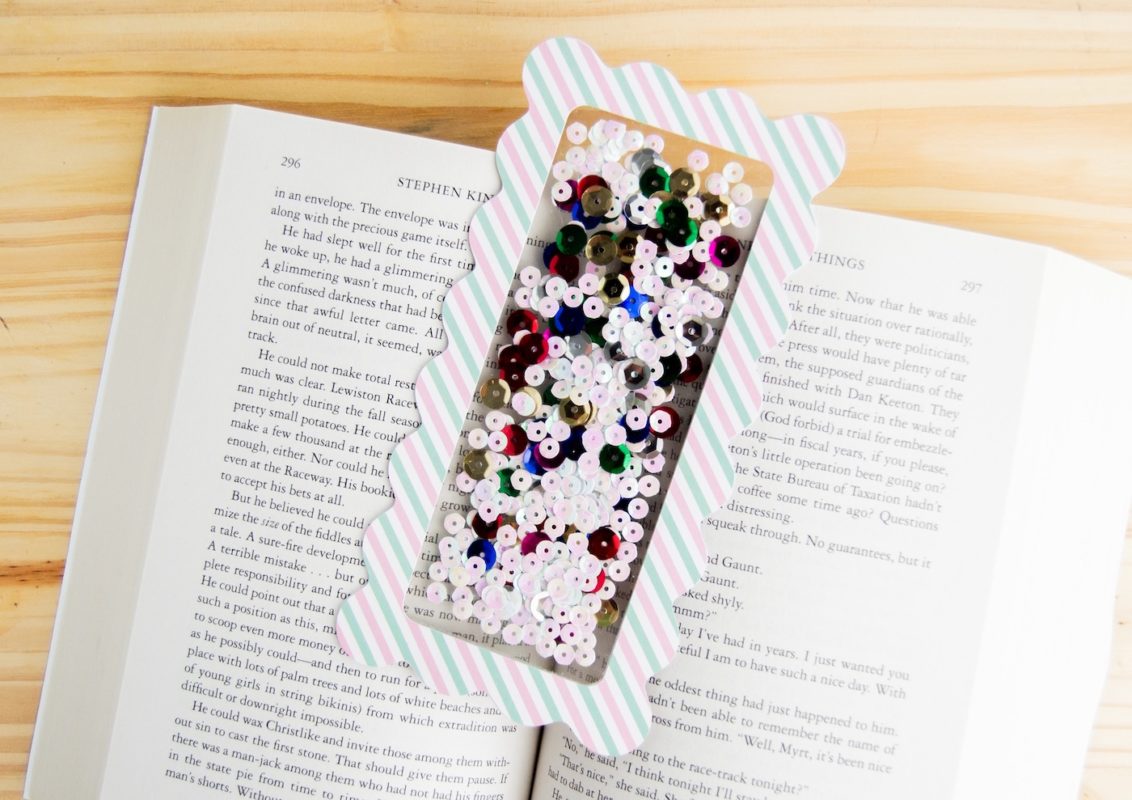
DIY Confetti Bookmarks Are Totally Extra (In a Good Way!)
Your kids are going to love making these DIY confetti bookmarks with a twist. They feature a clear center that is fun to decorate. So easy!
Skills Required: None. Any skill level can make these bookmarks, even if you’ve never crafted before. I would say this project is great for kids ages 5 and up – and adults too, of course!
If you’re anything like me, you’ve got a book (or three) lying around at all times—and probably a random receipt or scrap of paper marking your place.
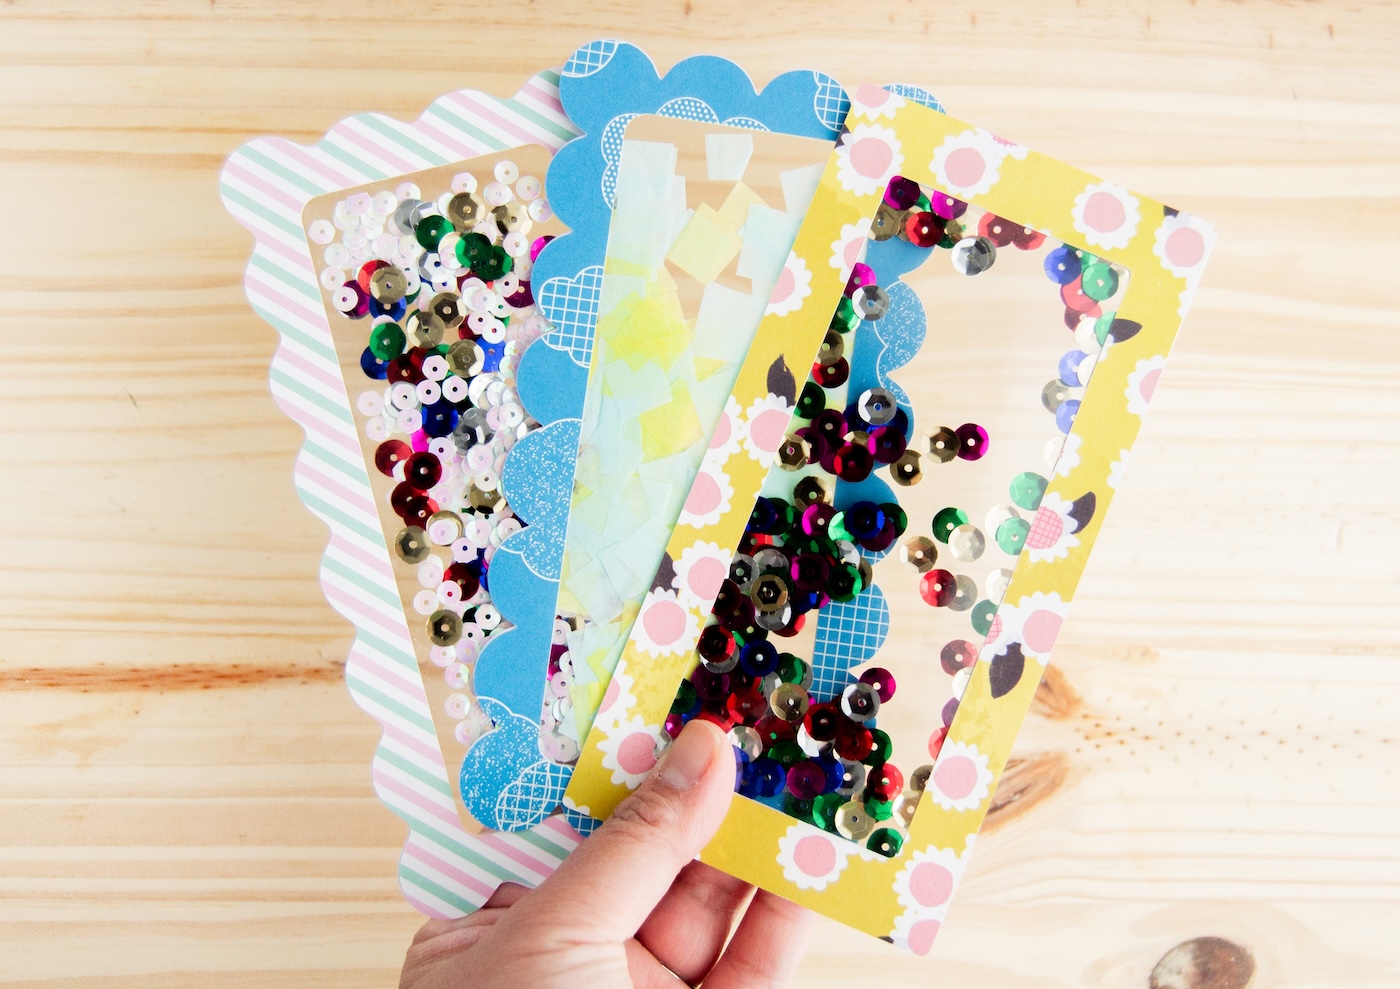
Let’s fix that with these DIY confetti bookmarks! They’re not just cute; they’re shakeable and sparkly, and they add a little party to your pages.
The best part? You don’t need any fancy tools or advanced crafting skills to make them. Just some cardstock, clear plastic, and a bit of tape, and you’re in business!
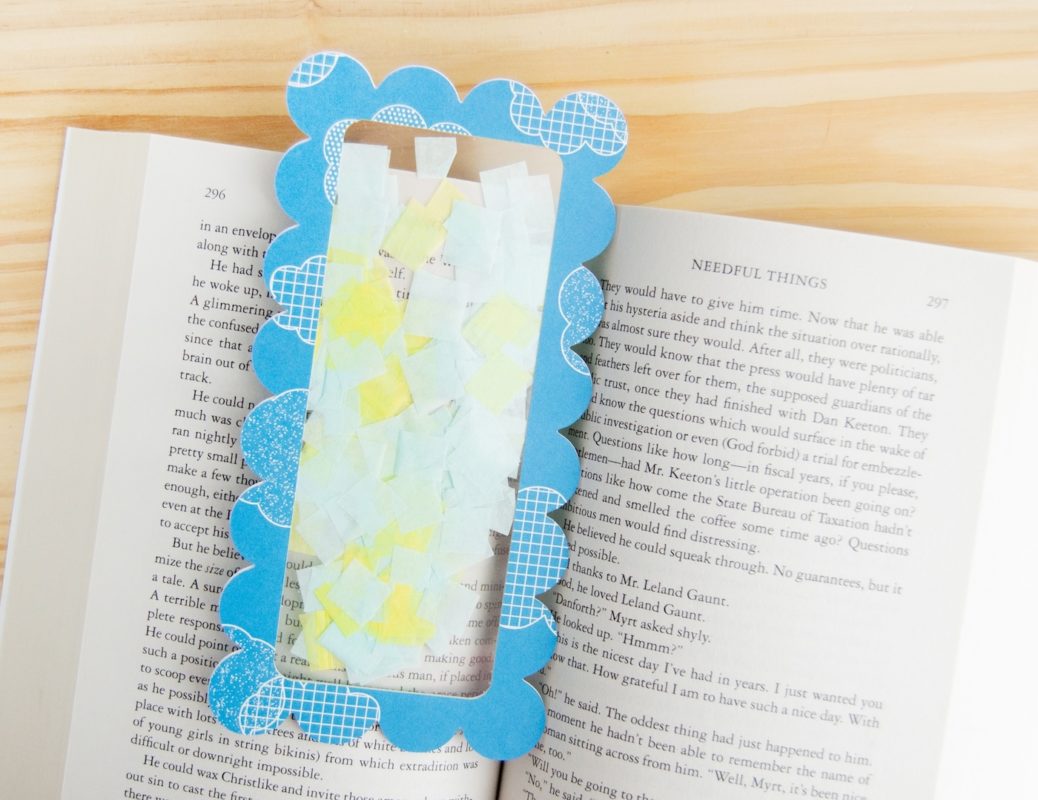
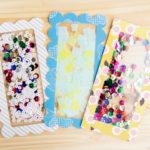
These are the perfect quick craft for kids and adults alike. Make them as bold or minimal as you like—use bright confetti for a pop of color, metallic sequins for a little glam, or even cut up construction paper shapes for a totally custom look.
They also make awesome gifts! Think teacher appreciation, book club swaps, party favors, or even a fun way to add a personalized touch to a new book for a friend.
You can add names, quotes, or just go wild with color. Whatever your style, these bookmarks will bring a little extra joy to every reading session.
So grab your supplies, let’s get crafty, and get ready to add some sparkle to storytime!
Learn how to make these using the printable how to card below.
Confetti Bookmarks
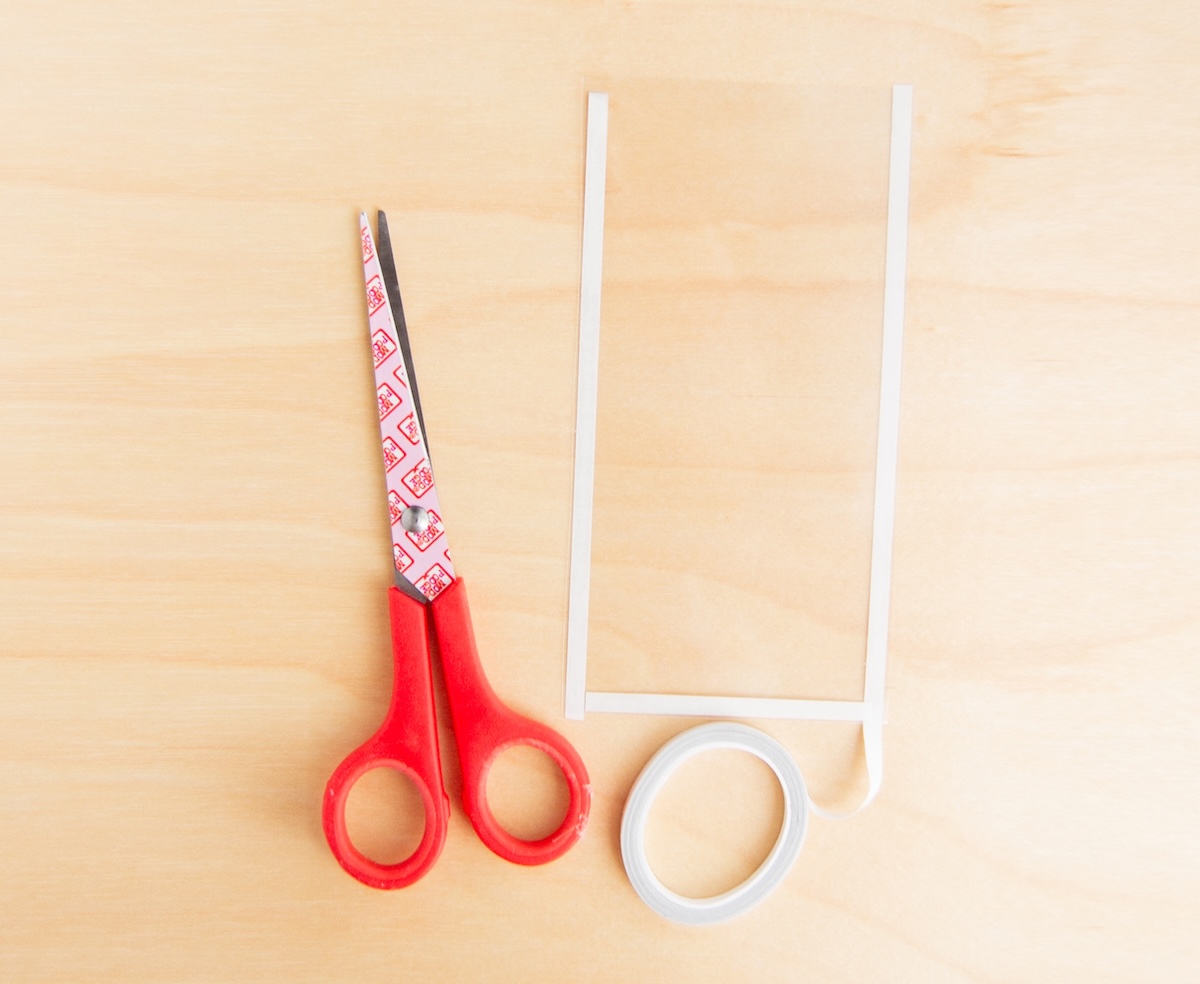
Equipment
Materials
- Scrapbook paper or other sturdy paper
- Confetti other options: cut up construction paper, sequins
- Plastic or acetate sheets
- Double sided tape
Instructions
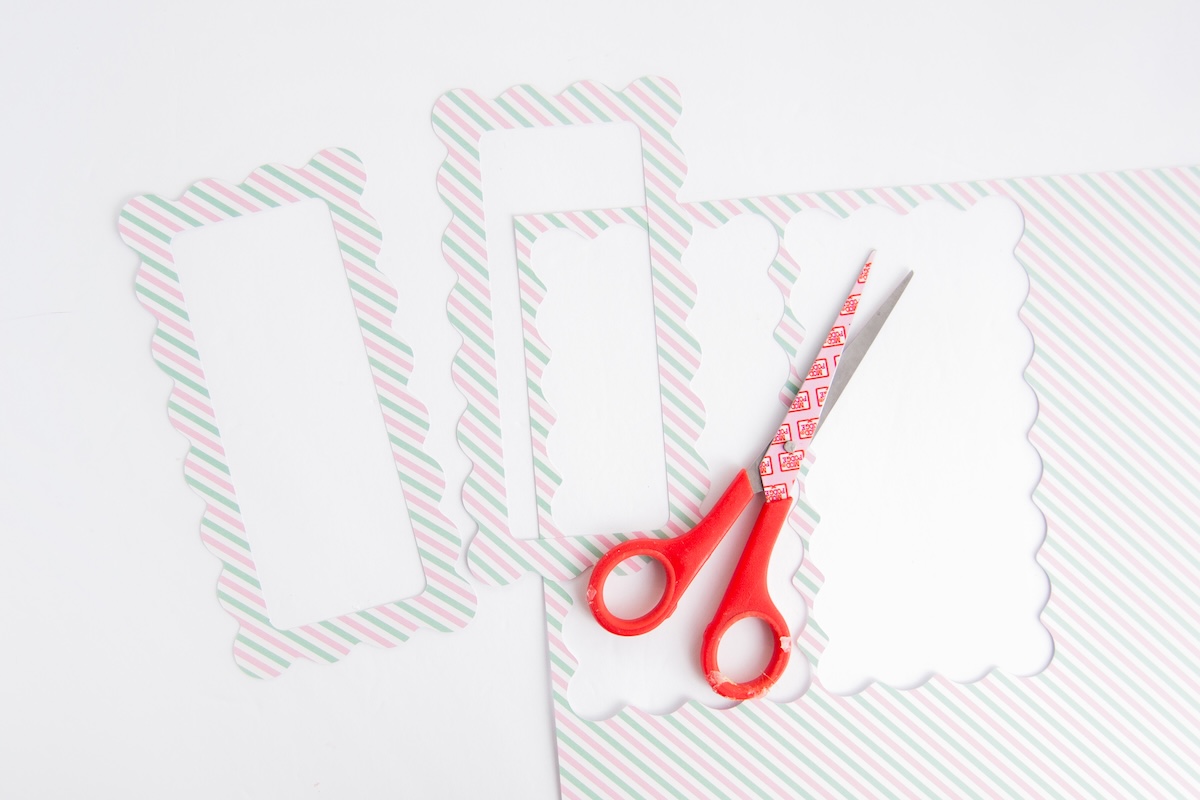
- Cut the border for your bookmark – use a cutting machine or a pair of scissors. You will need two pieces per bookmark, one for the front and another for the back.
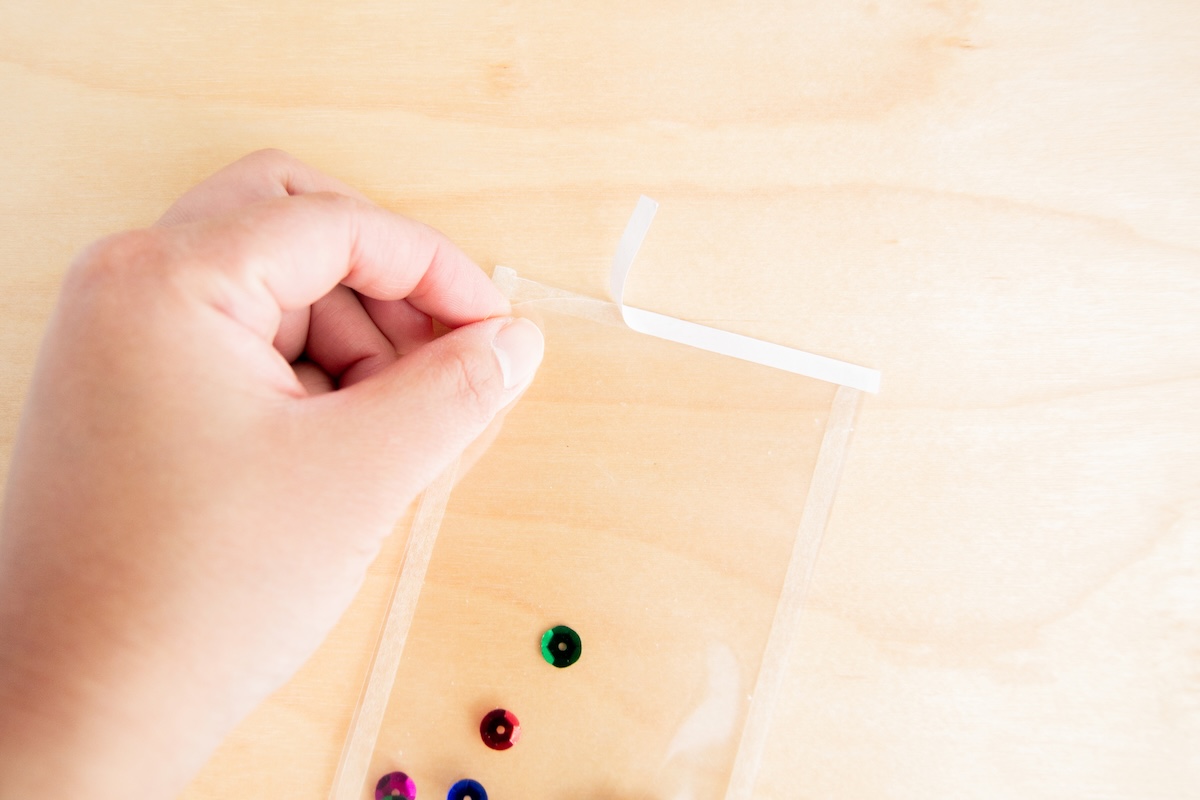
- Cut the plastic sheets down to size, making sure they are smaller than the edges of your bookmark but bigger than the opening. You will need two plastic sheets per bookmark.
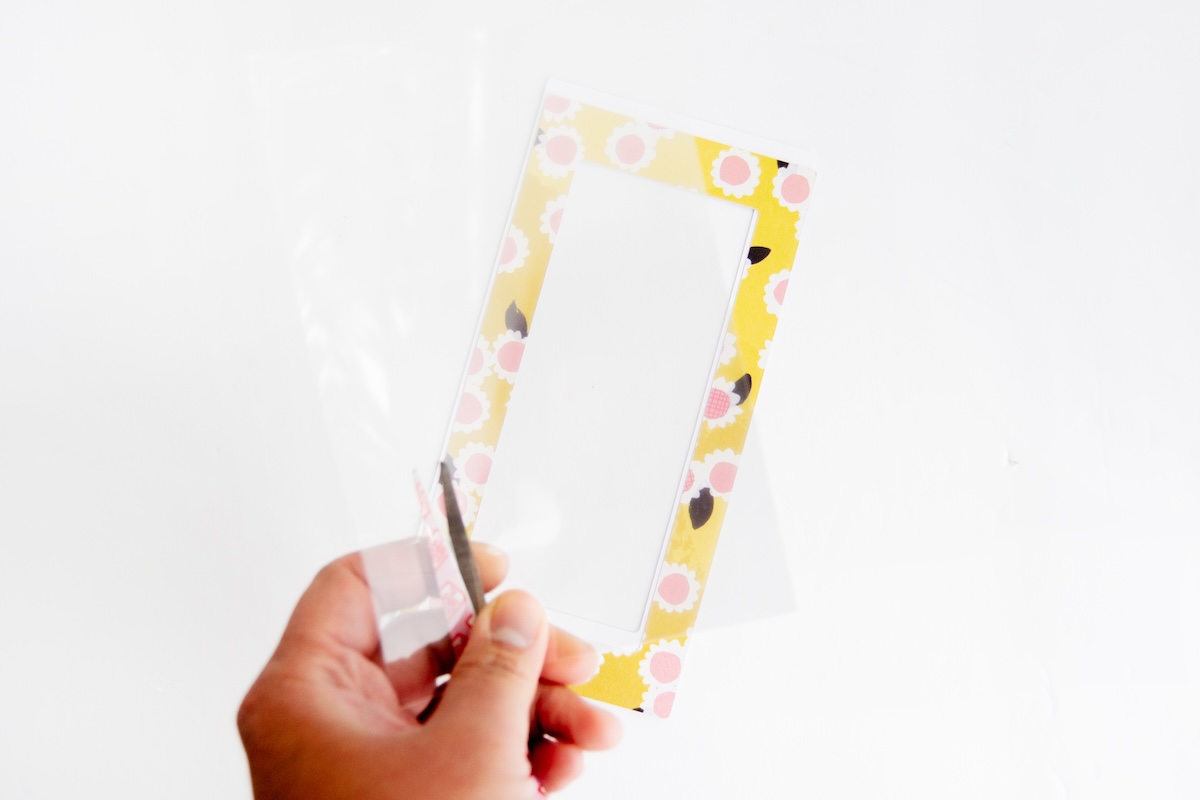
- Use double sided tape to attach your two plastic pieces together, leaving an opening on one side.
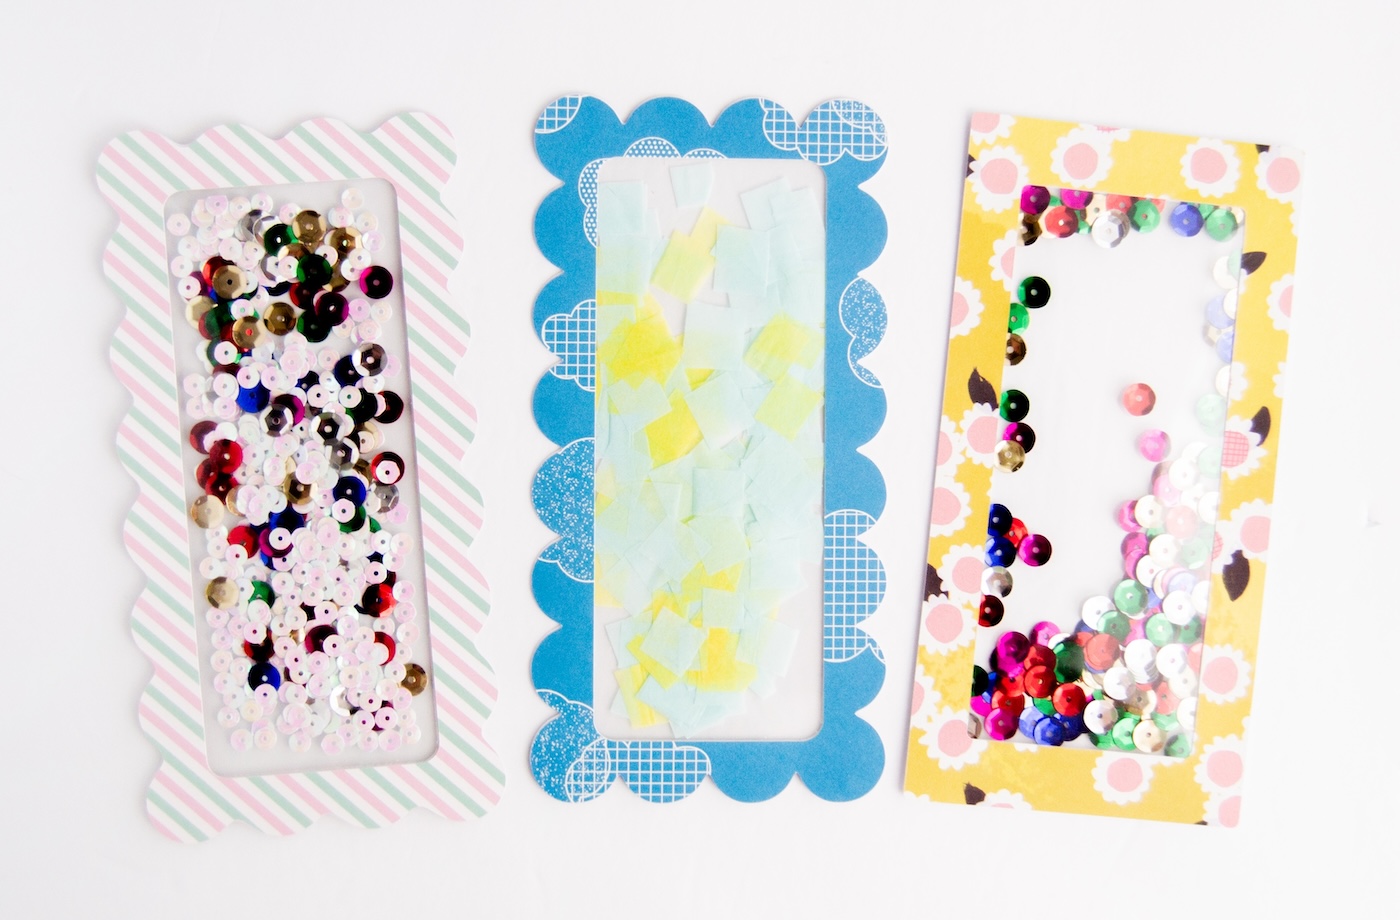
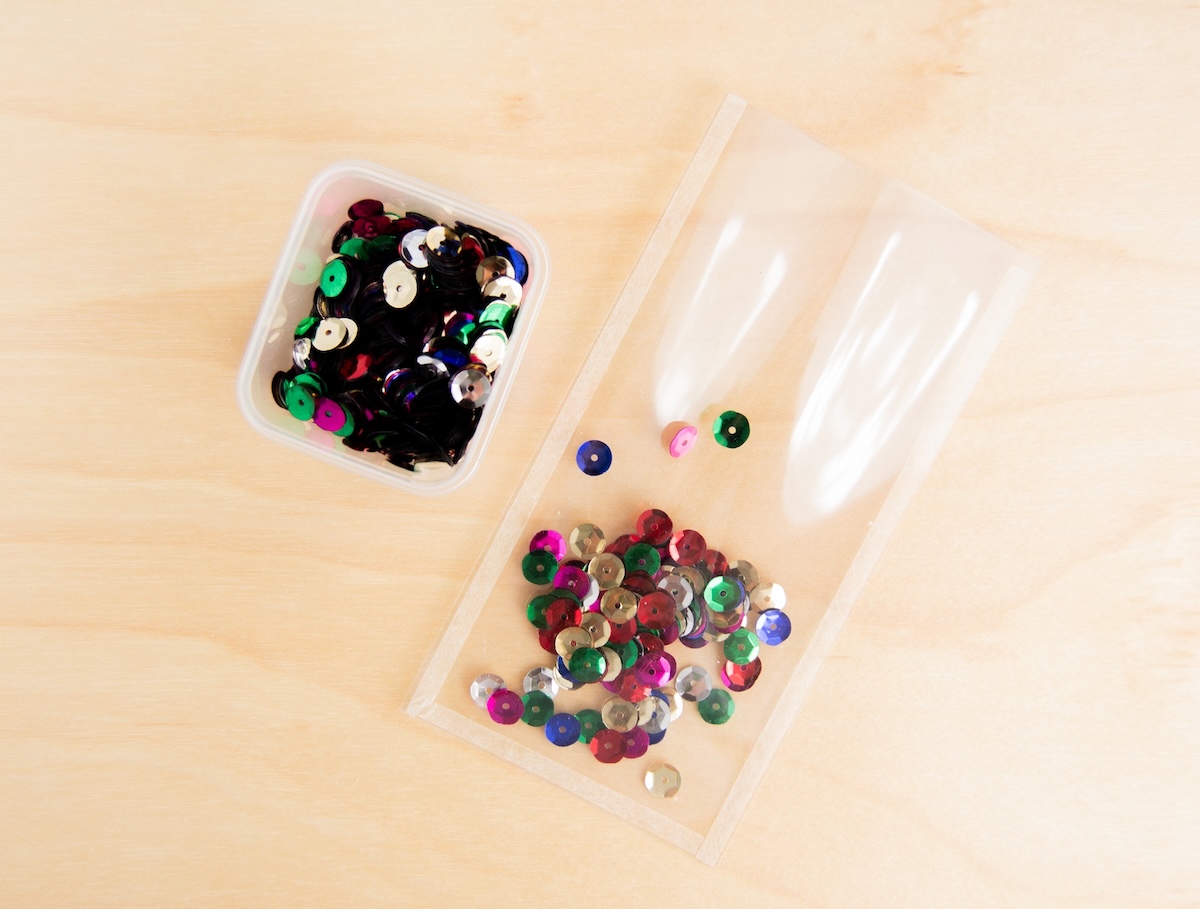
- Fill your plastic pockets with confetti, sequins or any flat pieces.
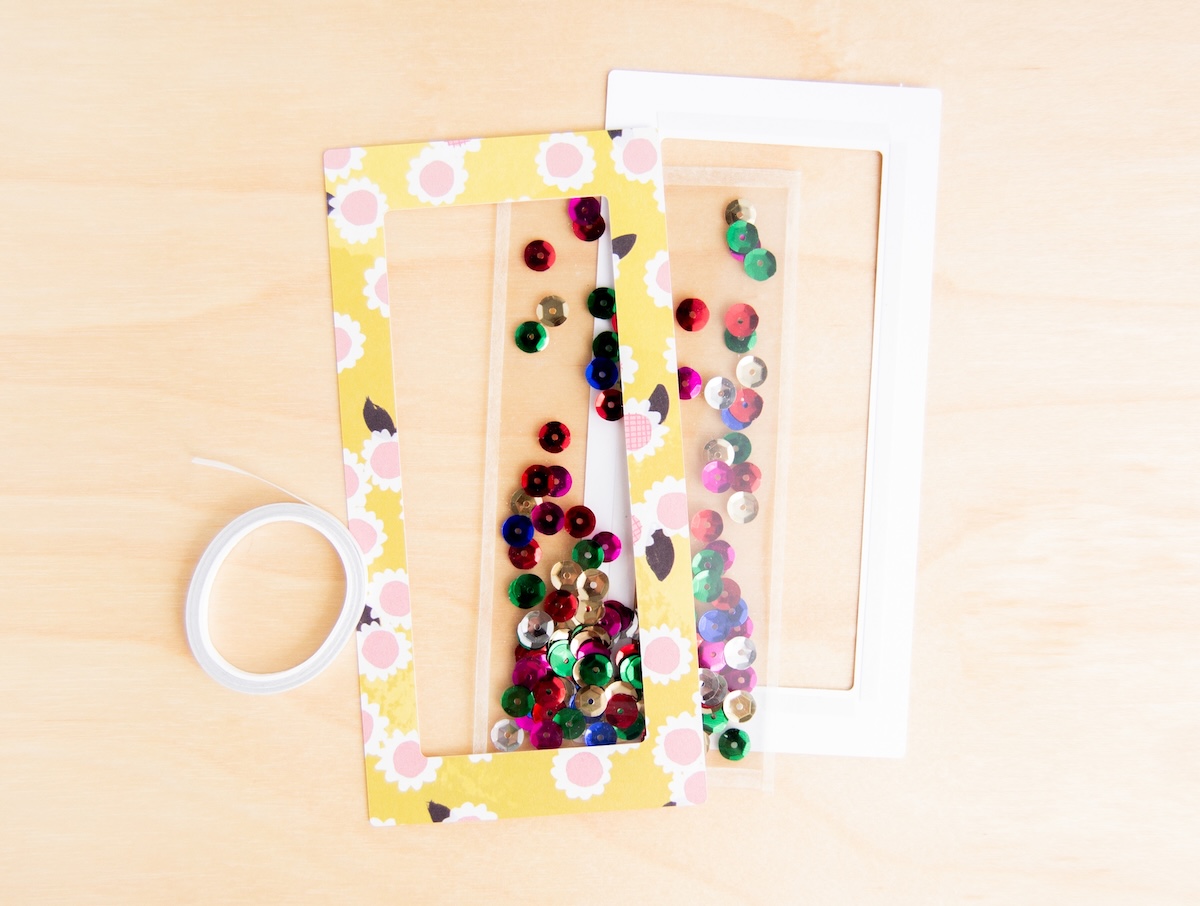
- Once filled, use a strip of double sided tape to fully seal the plastic pocket.
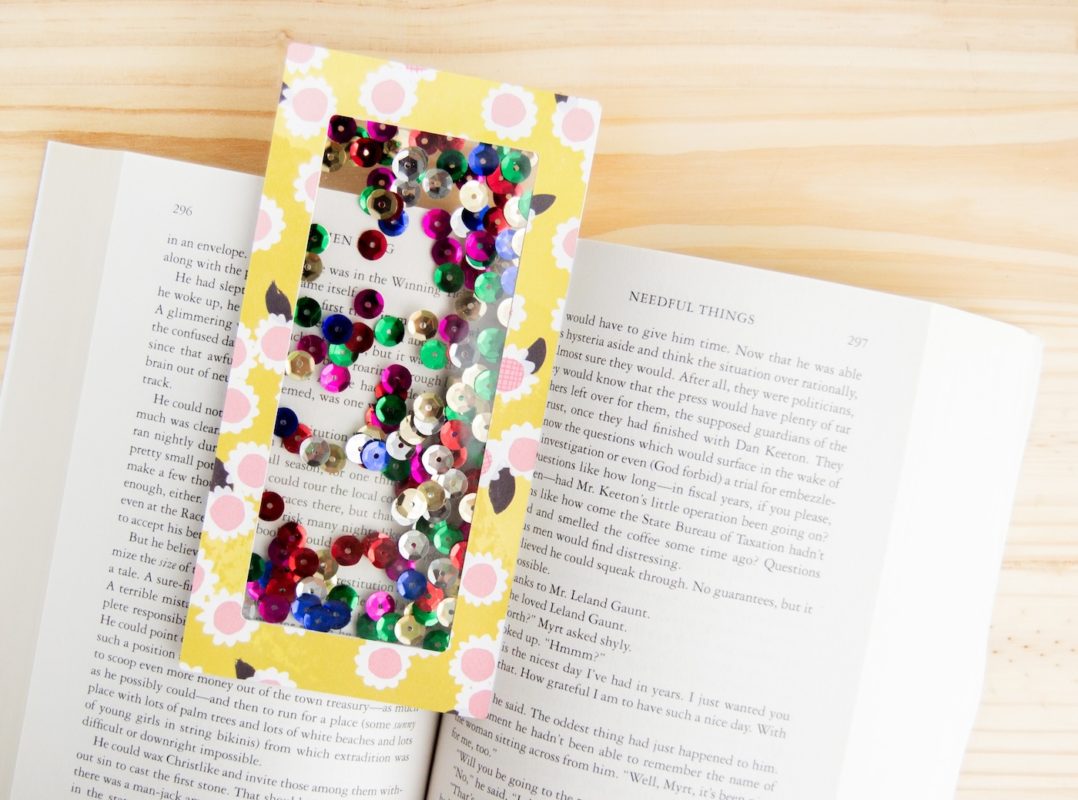
- Time to assemble the bookmark – use double sided tape to attach the front and back sides of the border.
Notes
If you liked this cute idea, I think you’ll also like these posts below. Happy making, friends!
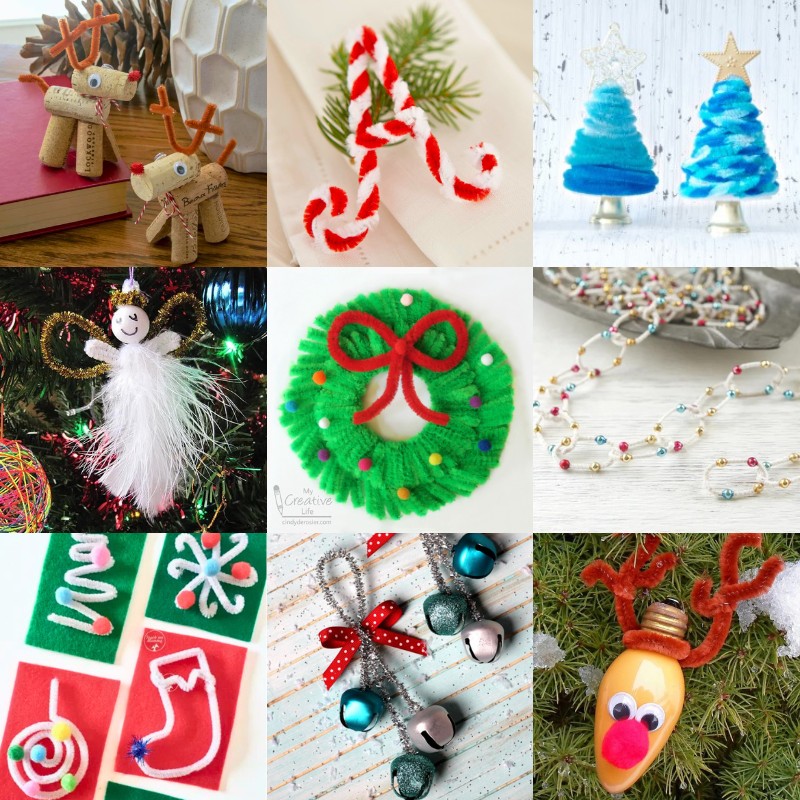
Cat Bookmarks • Corner Bookmarks • Easy Paper Crafts • Flower Bookmarks • Fun Flower Pens • Origami Bookmarks • Perler Bead Bookmarks • Personalized Pencil Toppers • Summer Crafts

Cute! Do you have a link for the plastic paper?
This was a brilliant idea for the whole family . My kids really enjoyed the fun about it .? try it ??? love ? the idea