DIY Floral Headband for Weddings, Parties, and Everyday Wear
This DIY flower headband is adjustable which means it can be made for kids or adults! Perfect for festivals, weddings, costumes, and more.
Skills Required: Beginner. This floral headband is SO simple. You will need to know how to braid and use a hot glue gun, but that’s about it.
Hi everyone! I’m Jennifer from Brave New Home and today I have a simple and versatile project to share with you: a DIY flower headband. This hair accessory came out of needing a little something special for a photo prop for a sweet little shoot I wanted to do.
When I was last in a store at the mall (a maybe yearly occurrence), I spotted a floral headband in the store where I was having my daughter’s ears pierced.
I thought the headbands were so cute! While I can’t quite remember the price tag of the accessory I found, I do recall making a note that I could easily make a better, higher quality looking headband for much less. To me, that’s the whole reason I DIY!
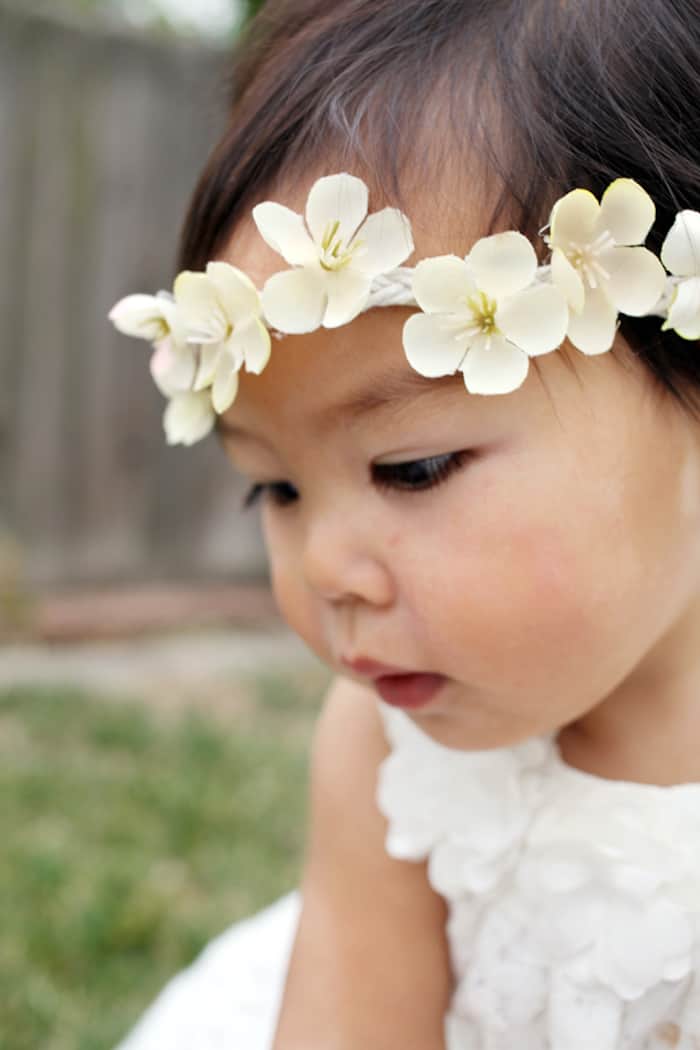
This adjustable floral headband is a pretty prop for taking photos, for a wedding, or even for a casual weekend out or festival (meaning adults can wear it, too!).
It’s an easy craft for adults but also for kids, to be honest. If you like hot glue gun crafts that are quick, you’re going to love making this.
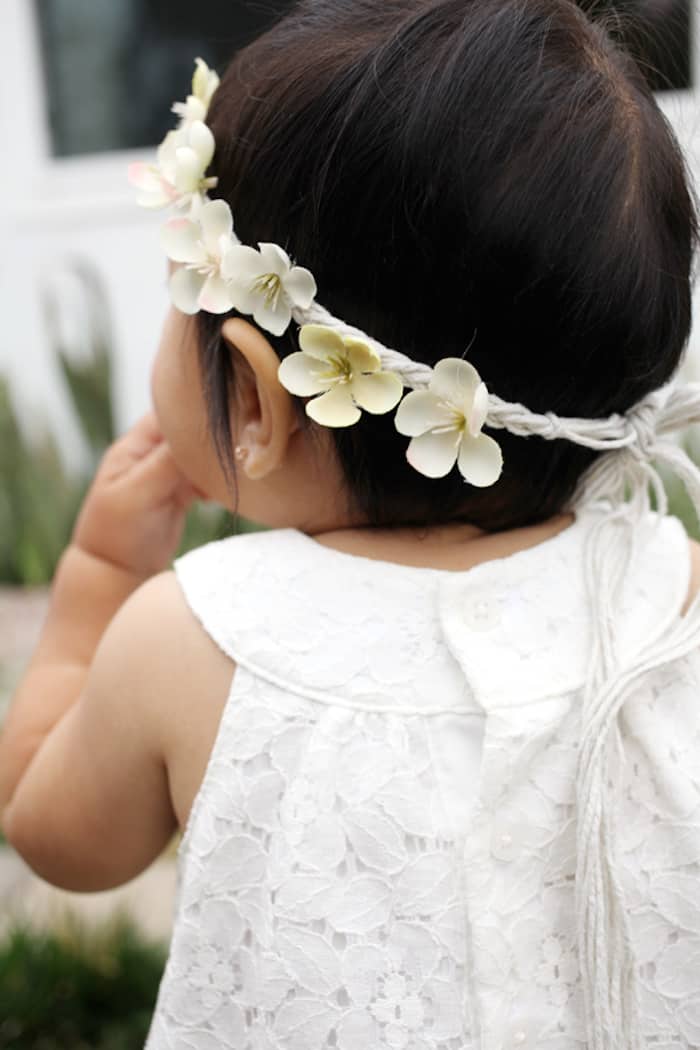
What makes this headband adjustable is the ability to tie it in back. The floral arrangement I chose goes around the crown of a small child but only around the forehead of an adult.
Get the printable project tutorial below!

DIY Flower Headband
Equipment
Materials
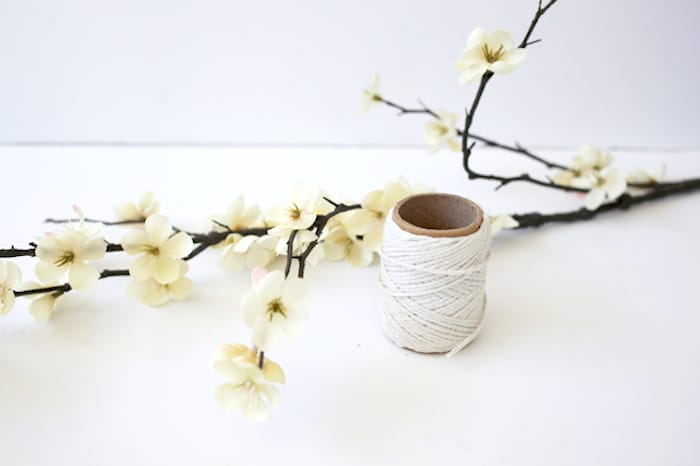
- Fake flowers
- 1 roll String/twine
- Washi tape or some other removable tape to hold the string
Video
Instructions
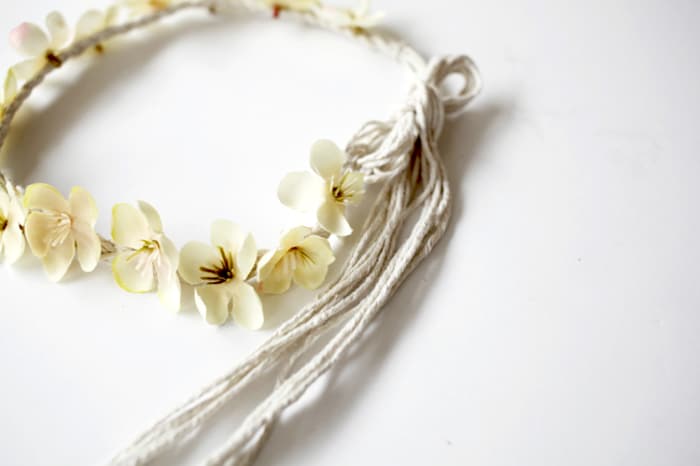
- Cut six lengths of twine, each approximately four feet long. Place all lengths of twine together and tie a knot in one end (leaving excess twine). Tape that end down to a table or clipboard.

- Braid the twine in a fishtail braid, with two lengths in each part of the braid (OR you can use a regular braid, with three strands of two pieces of twine each.). Tie a knot at the other end. Trim the twine (leaving excess).
- Remove the faux flowers from the stems. You might be able to just pull them off. If you can't, you can cut them with scissors.
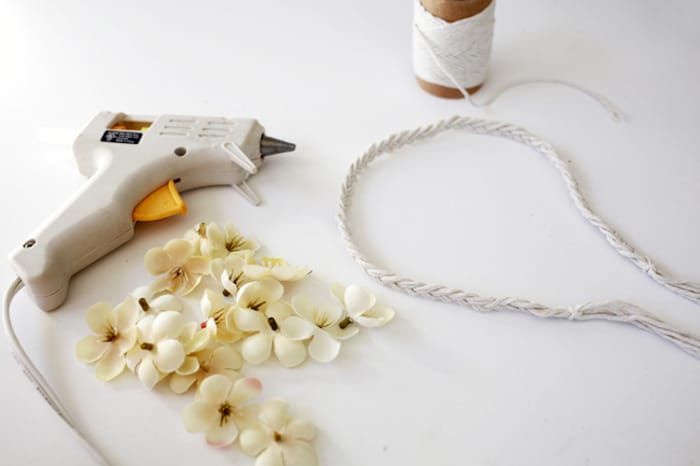
- After removing the flowers, hot glue them onto the band. Space them apart for a random pattern. Let cool and wear. The headband is adjustable because you can tie it around the back of the head.
Notes
What do you think of this DIY flower headband? I’d love to hear in the comments! Plus if you like this project, you might like some of these other floral and summer tutorials:


I love this! I’m helping girls make crowns at a girls camp. Any idea where I could find flowers like this? All of the fake flowers I find are huge and I’d like to get some that are more delicate. Or, do you happen to know what kind of blossom that would be? I tried hydrangea, but they didn’t look quite the same. Anyway, thanks for the idea! Beautiful!
Could you let me know how you have fastened the end of the plait? I have tried knotting each end but makes it very bulky – and then have to fasten the ends in a bow etc which makes it VERY bulky.
Thank you
I love this!! Could you use round elastic instead of the twine so that you could adjust the tension according to the wearers comfort level? Just a thought.
Absolutely! That’s a great idea!