Calavera Pallet Art for Dia de los Muertos
This unique calavera (skull) art was made using a recycled pallet. Perfect for Dia de Los Muertos, but you can keep it up all year!
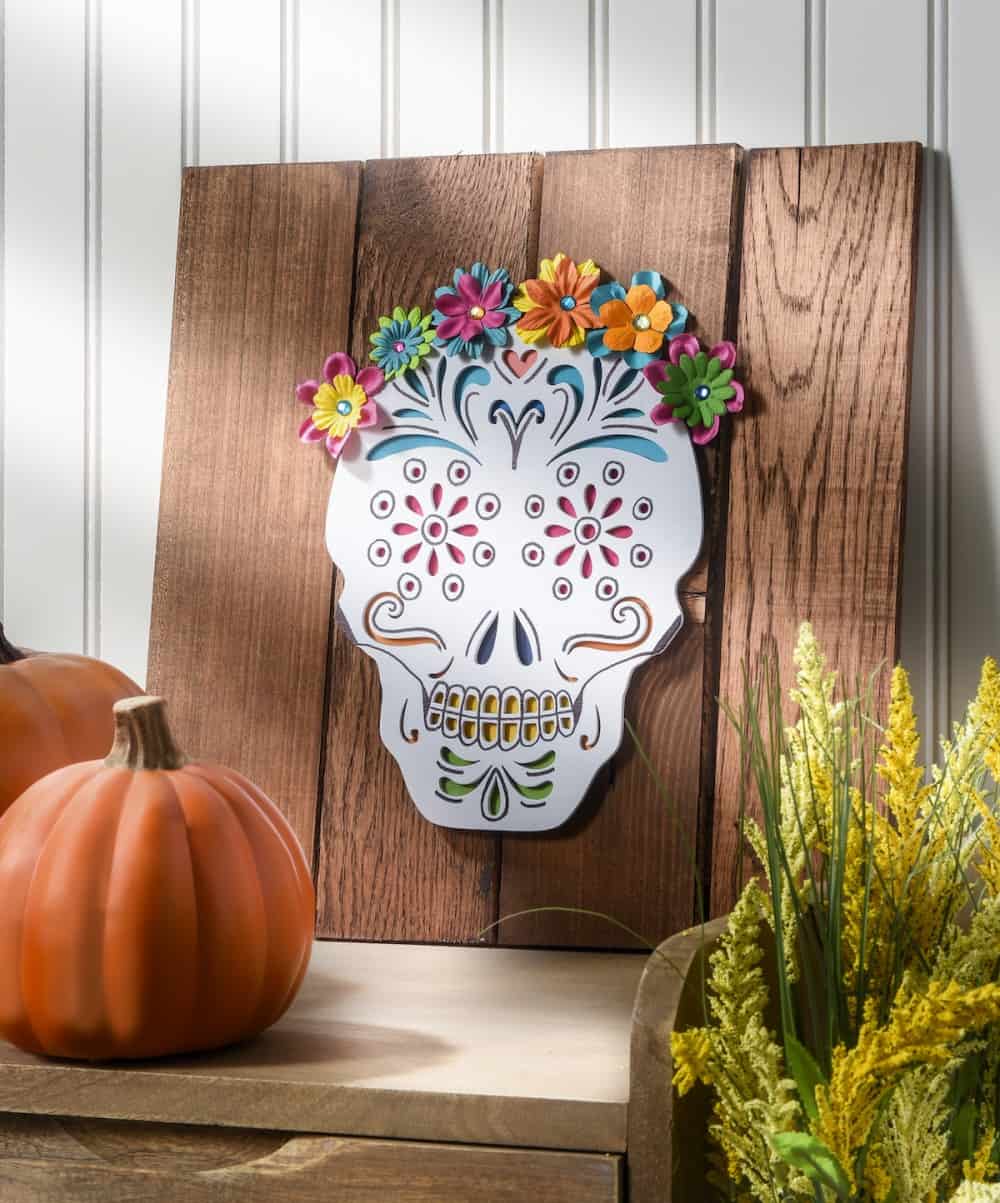
So it all started when we spotted this calavera wood cut out at Michaels. There it was, near all of the Halloween goodies, and we had to have it. Because “Dia de Los Muertos” is becoming popular, and we love it too. If you haven’t heard of it, here’s the description from Wikipedia:
” . . . a holiday celebrated throughout Mexico . . . the holiday focuses on gatherings of family and friends to pray for and remember friends and family members who have died, and help support their spiritual journey.”
I don’t celebrate it as a religious holiday, but I do enjoy the art and colorful celebration. With a bit of extra pallet wood we had lying around and our beloved wood cutout, we decided to contribute to that. Here’s how we made this wood wall art.
DIY Calavera Art
Gather These Supplies
- Recycled pallet wood – or other reclaimed wood
- Skull wood cutout – I got mine from Michaels
- Finished piece of pine, 2″ x 1/4″ x 3′
- FolkArt Home Decor Wax – Antiquing
- Scrapbook paper in a variety of bright colors – you can use scraps
- Spray paint – white
- Sharpie marker – black, fine point
- Paper flowers – a variety
- Rhinestones (to glue in the centers of the flowers)
- Nail gun and 3/4″ nails
- Miter saw
- Scotch tape
- Craft glue
- Scissors
- Paint brush
- Old rag

Steve actually had several pieces of pallet wood left over from a previous project. Pallet wood probably comes in a variety of widths, but he cut four pieces down to 16″ long with . When four pieces were laid out as shown, it made a “canvas” that was almost square – about 16″ x 16.5 – 17″ or so.
It doesn’t have to be exact, and it’s okay if it looks rough (you can see where we tested stain on a piece above!). As long as the skull fits, you’re good.

The next step was to cut the 2″ x 1/4″ x 3′ piece of pine down to two cross pieces that fit across the back to hold it together. The cross pieces will be about 14″ long, so you’ll have some wood leftover.

Place the cross pieces as shown, and nail gun them down. You can also use a hammer – we just happy to have a big ol’ fancy nail gun that we love.
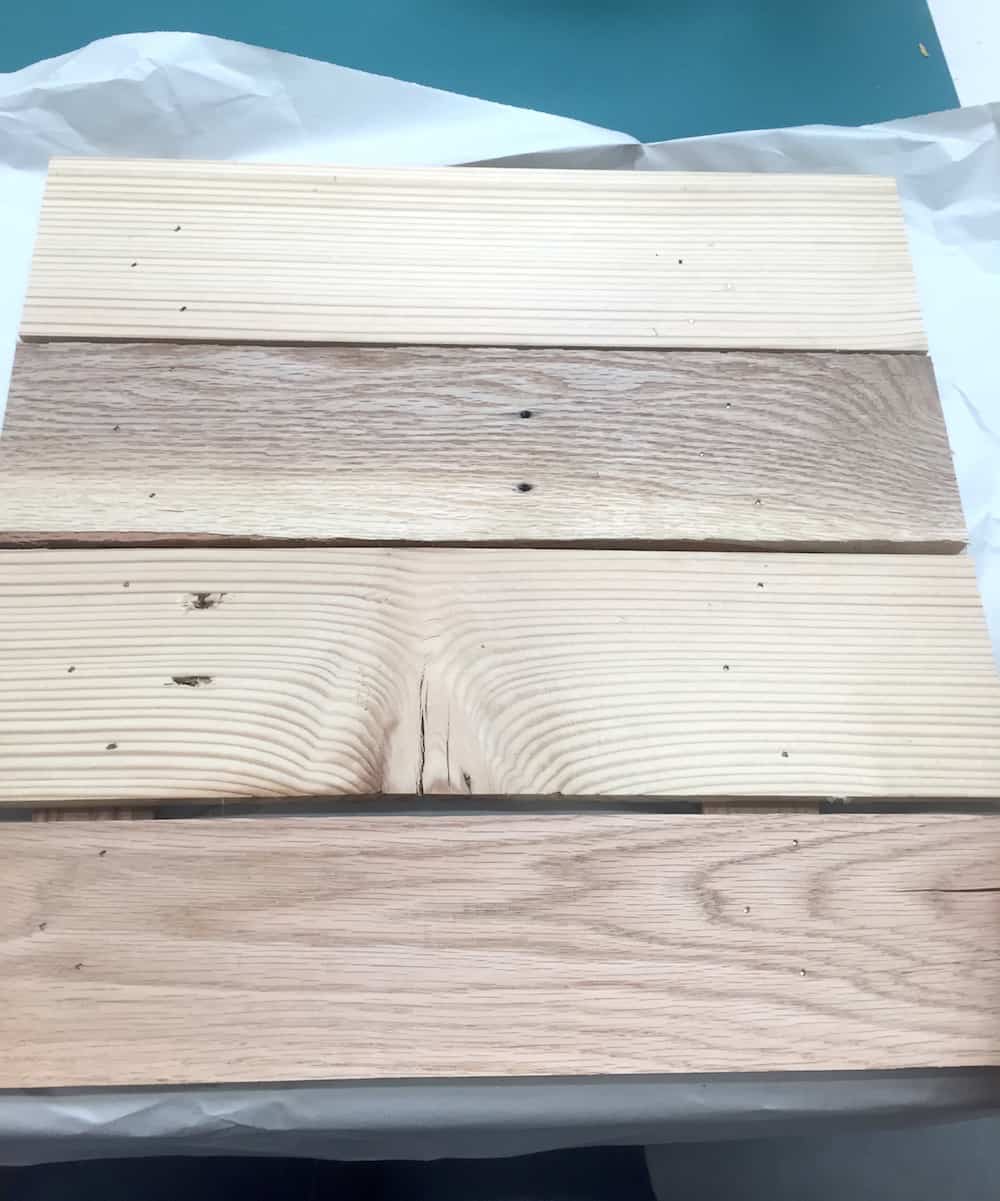
Once the piece is nailed together, flip it over. You can see that there’s actually a little bit of space left in between the pallet wood slats. I’ll leave that up to you.
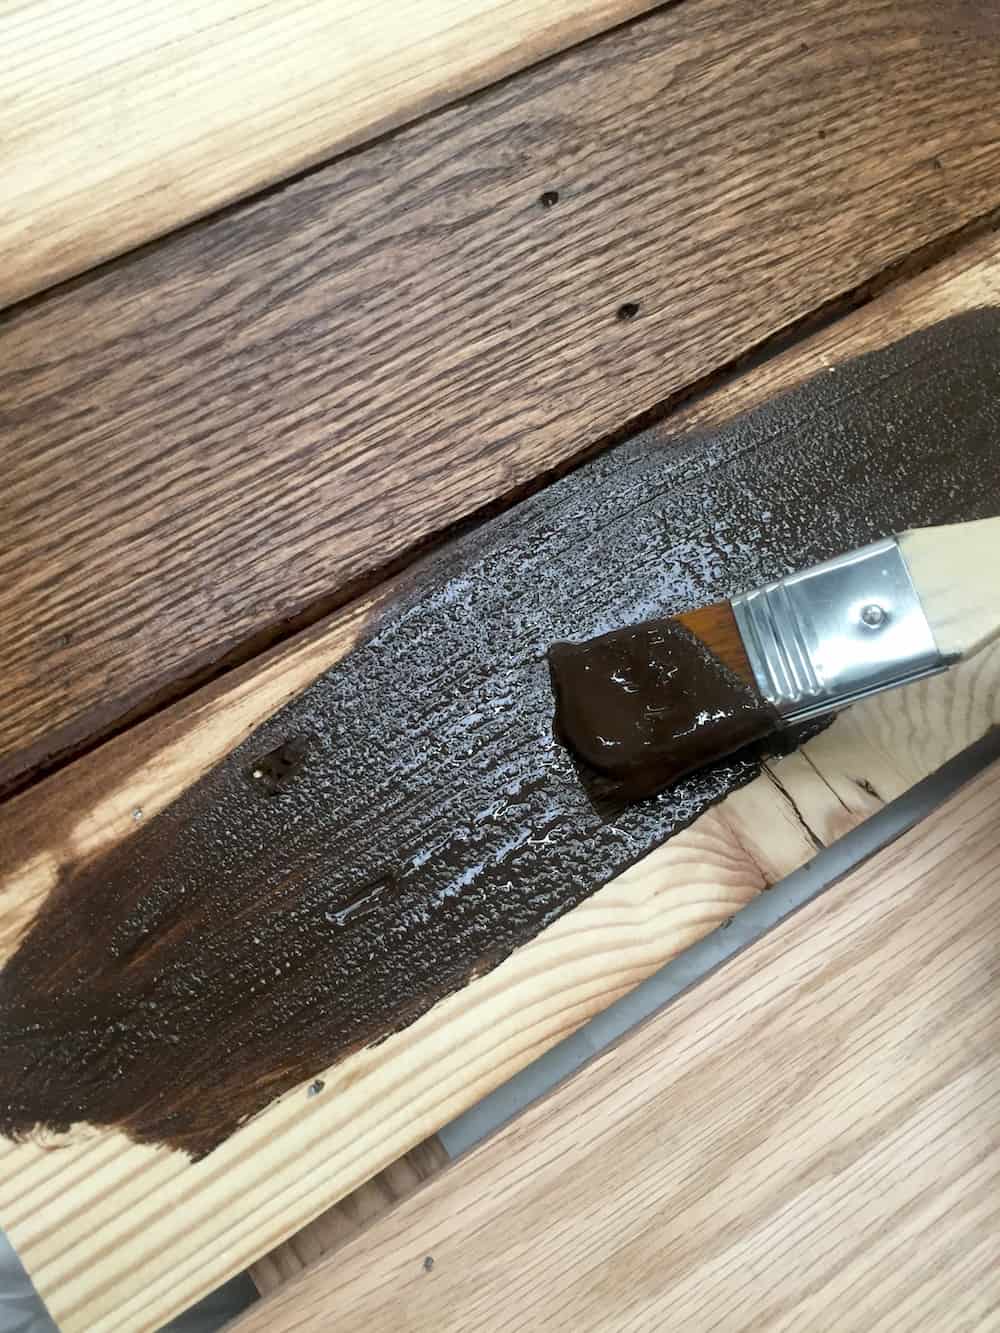
The FolkArt Home Decor Wax was used to stain the wood. Simply paint it on . . .
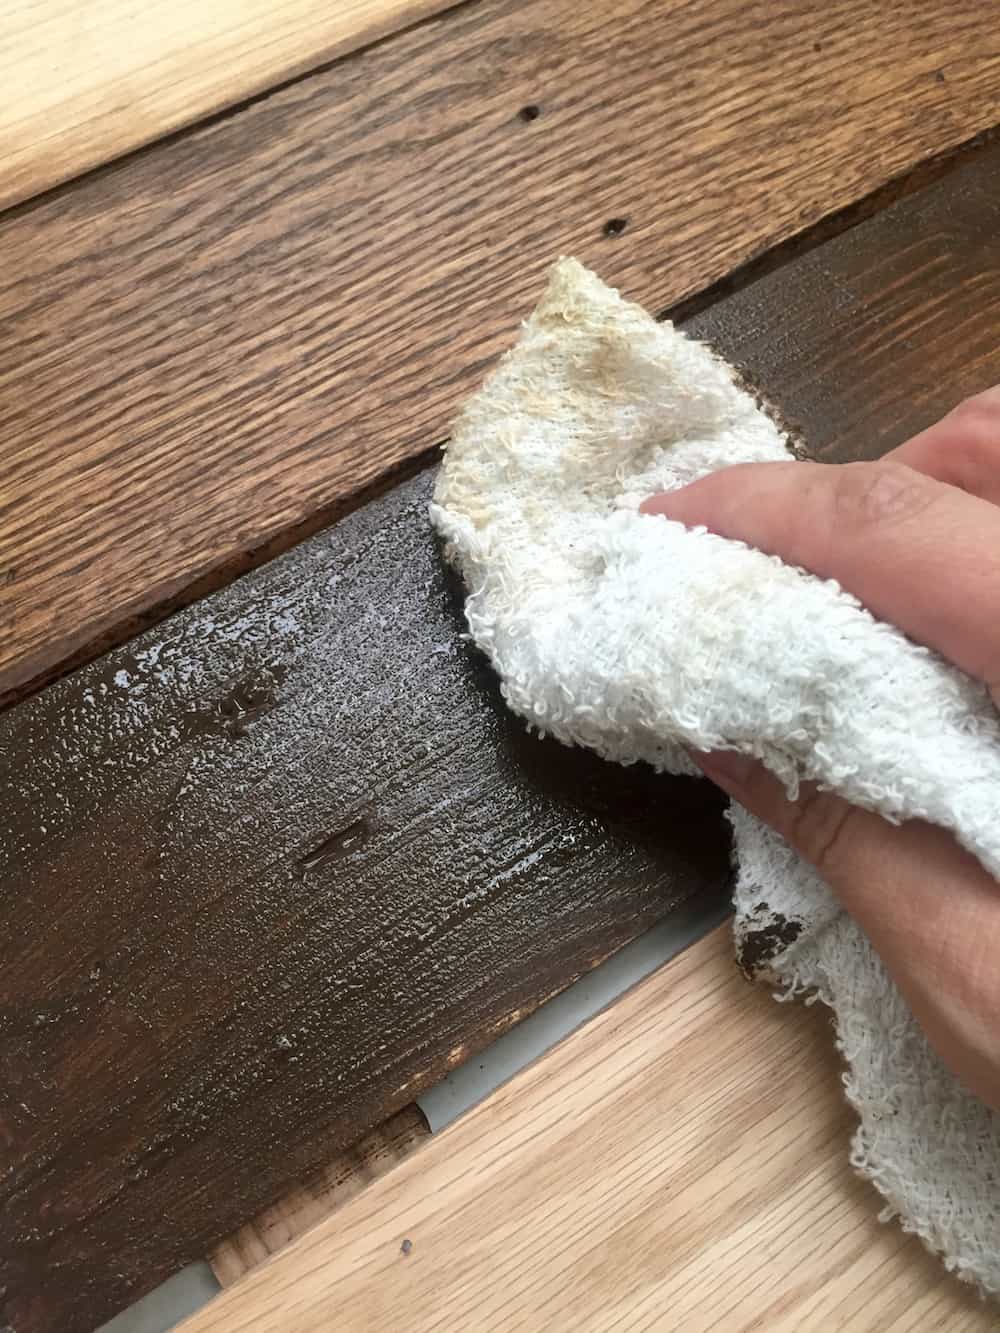
And then use a rag to wipe the excess off. I love the feel of the FolkArt Home Decor Wax after it’s been applied and dries. It’s very soft and smooth.
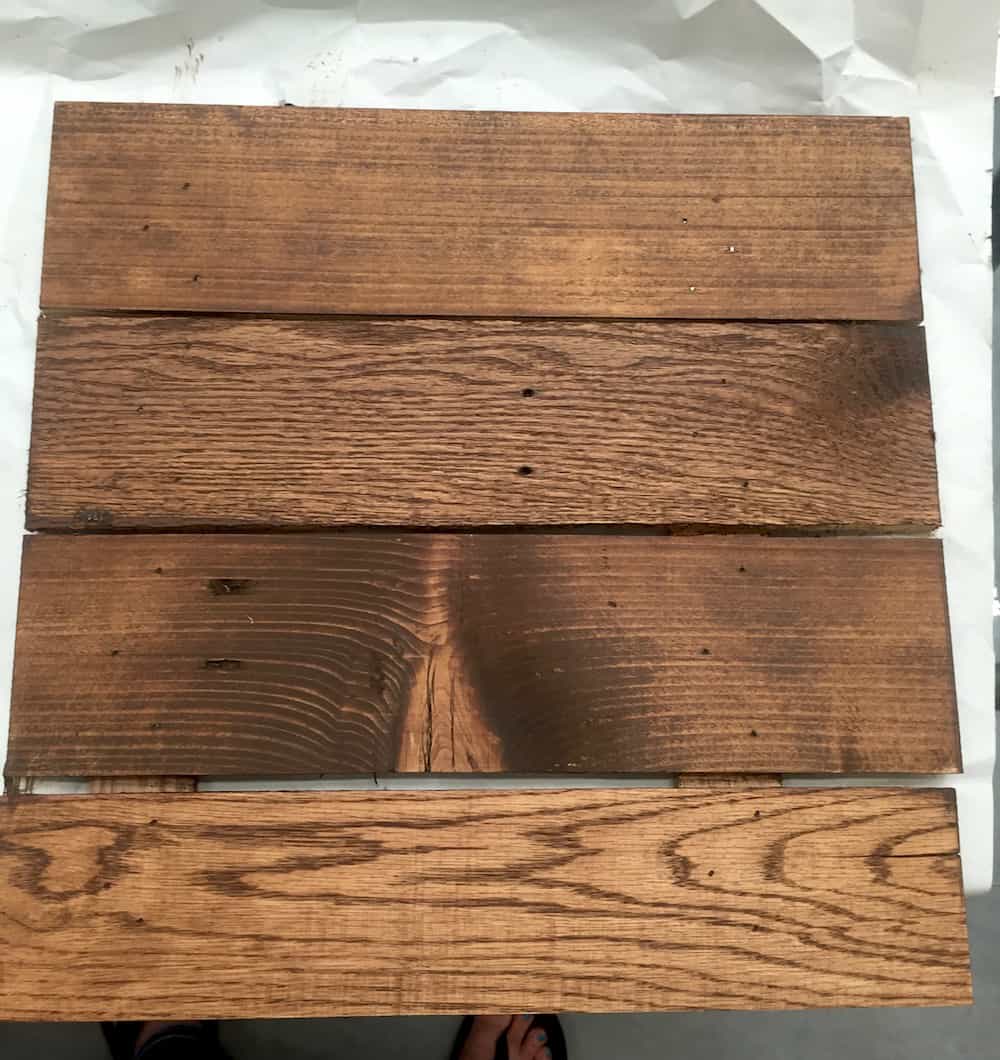
After you’ve stained, you have a beautiful surface! I love how the variations in the pallet wood add some different colors.
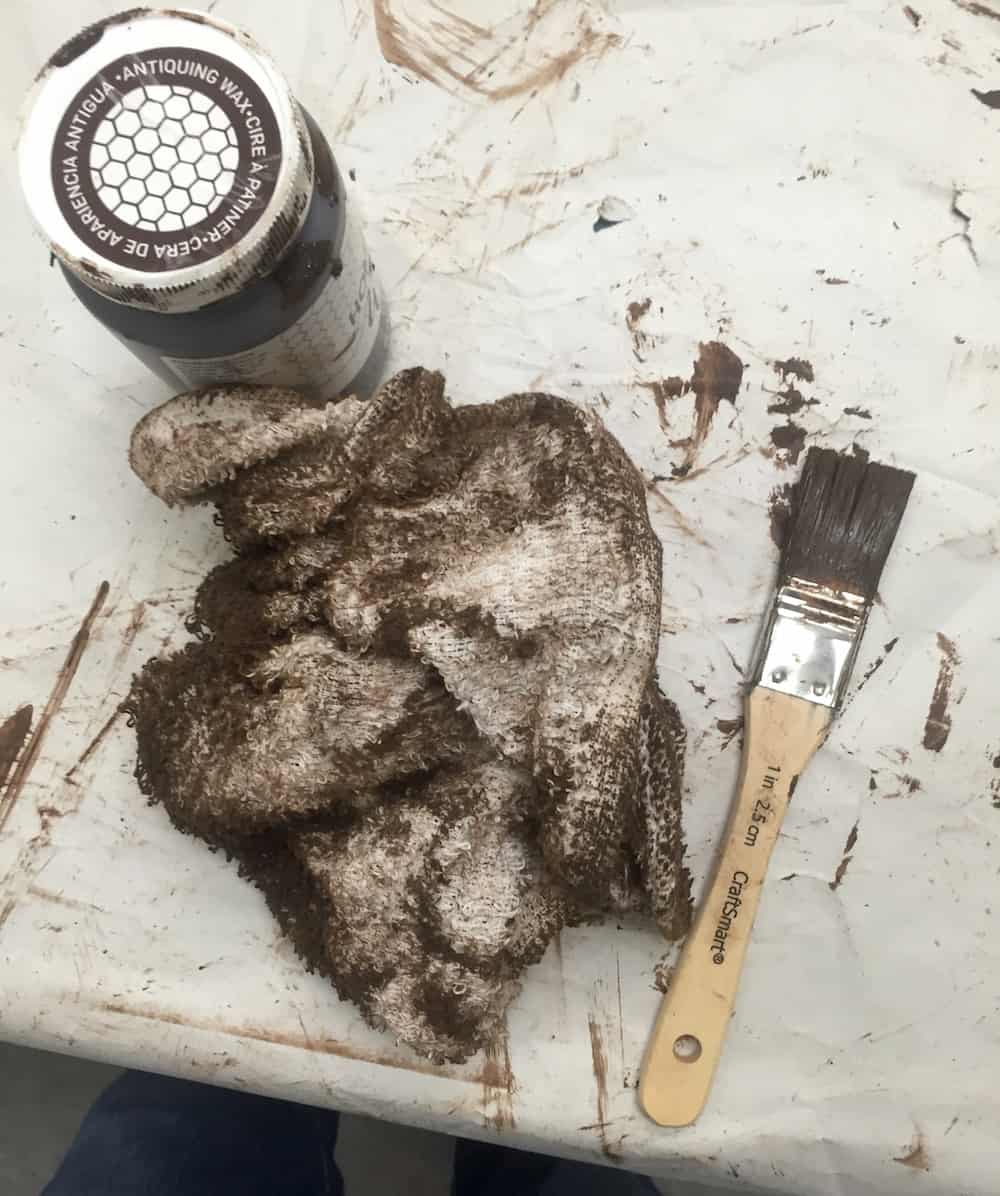
You might make quite a mess. That’s okay. I always make a crafty mess.
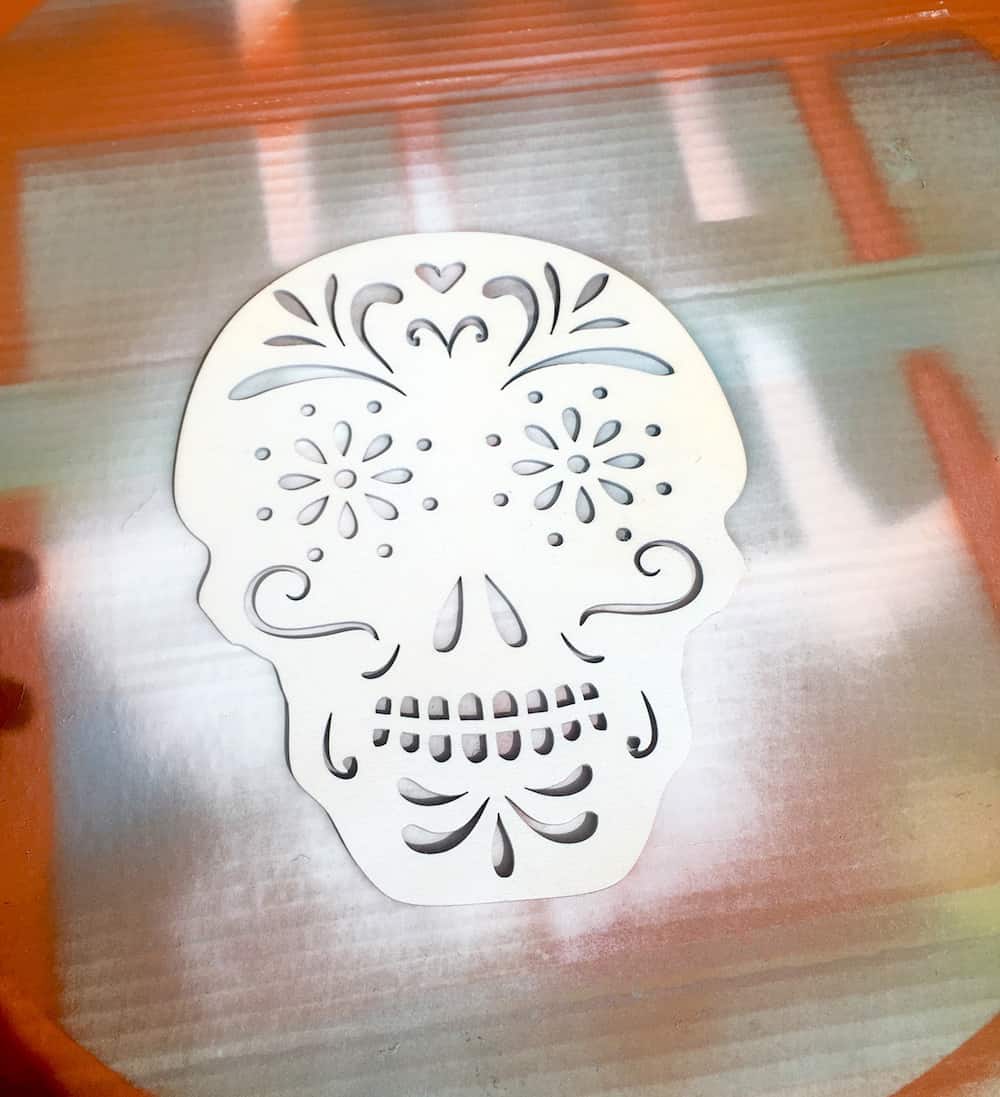
While the wax is drying, paint your wood skull cutout. We did it with white spray paint.
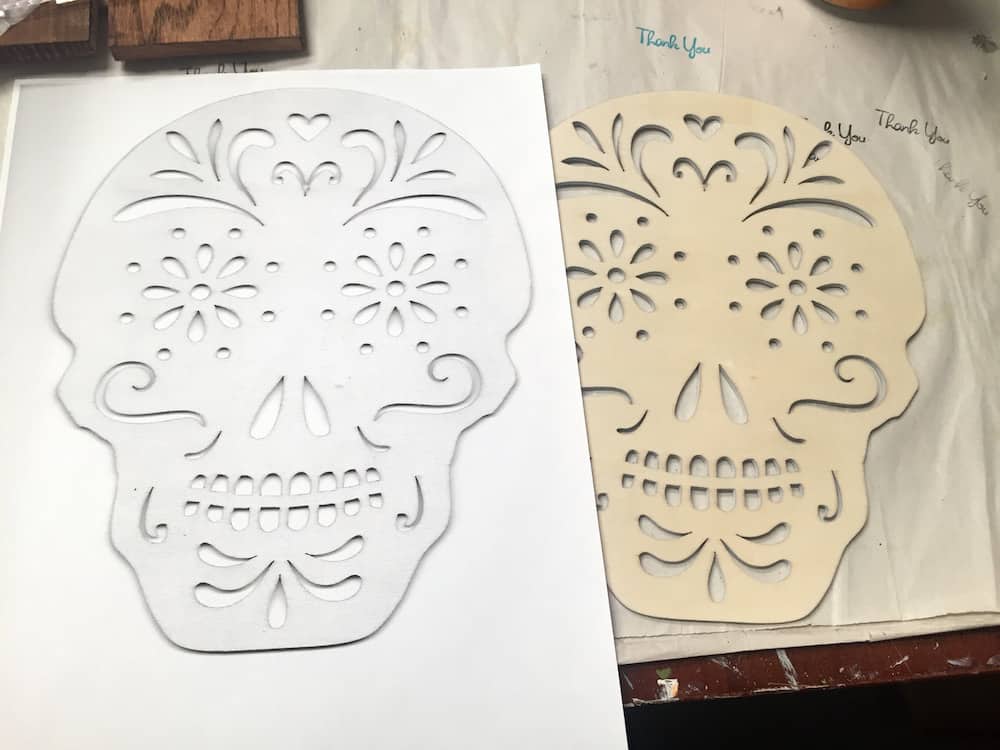
The next step was to place colorful papers behind the wood cutout. I had a brilliant idea for how to make sure the papers were the size I wanted and to get them in the right spot.
I made a copy of the wood cutout that I could cut up! Okay, maybe it wasn’t that brilliant, but it was new to me.
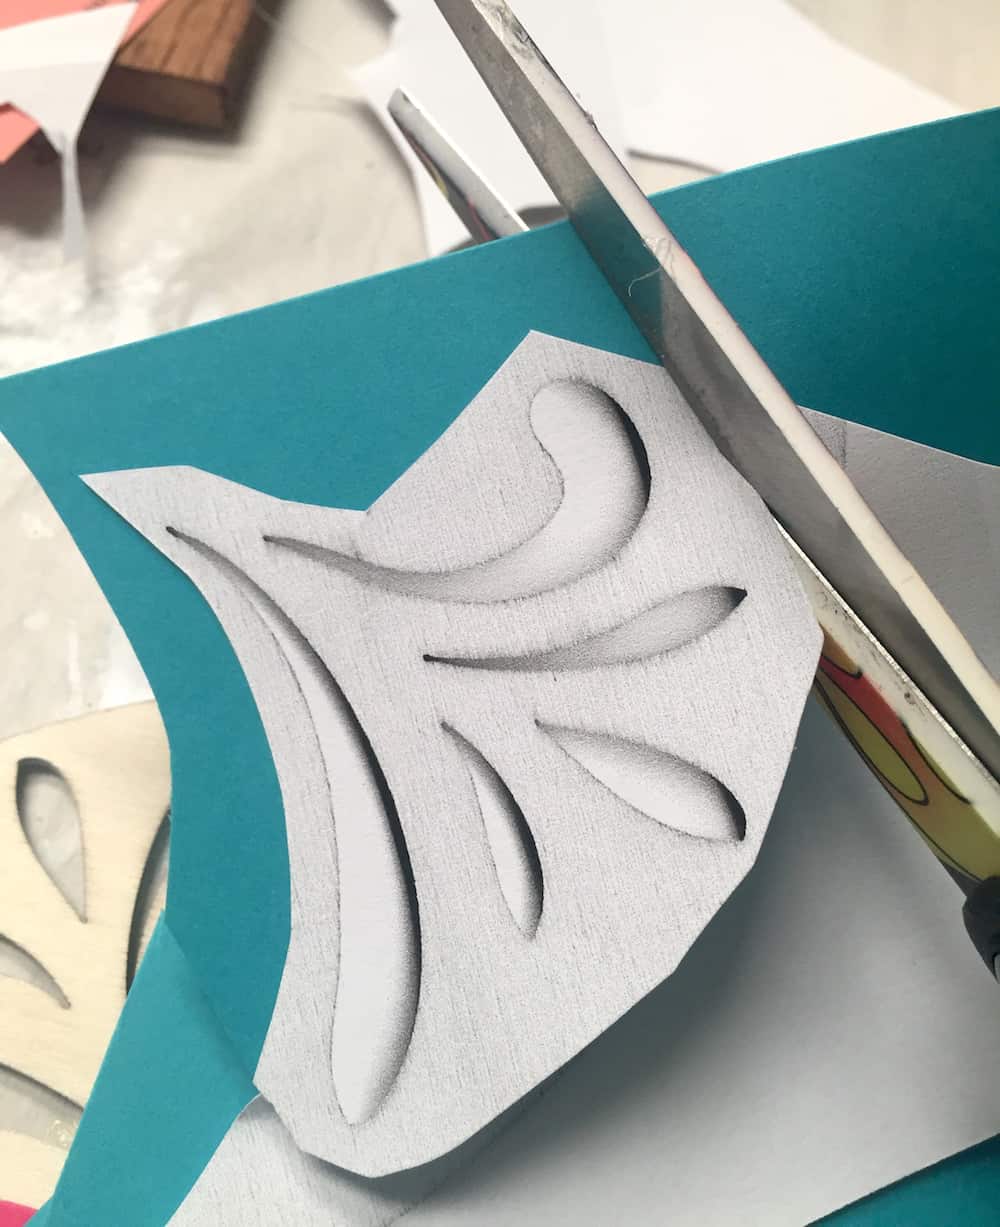
Cut up the papers according to the areas you want them in. I used so many different colors! Tape them all to the back.
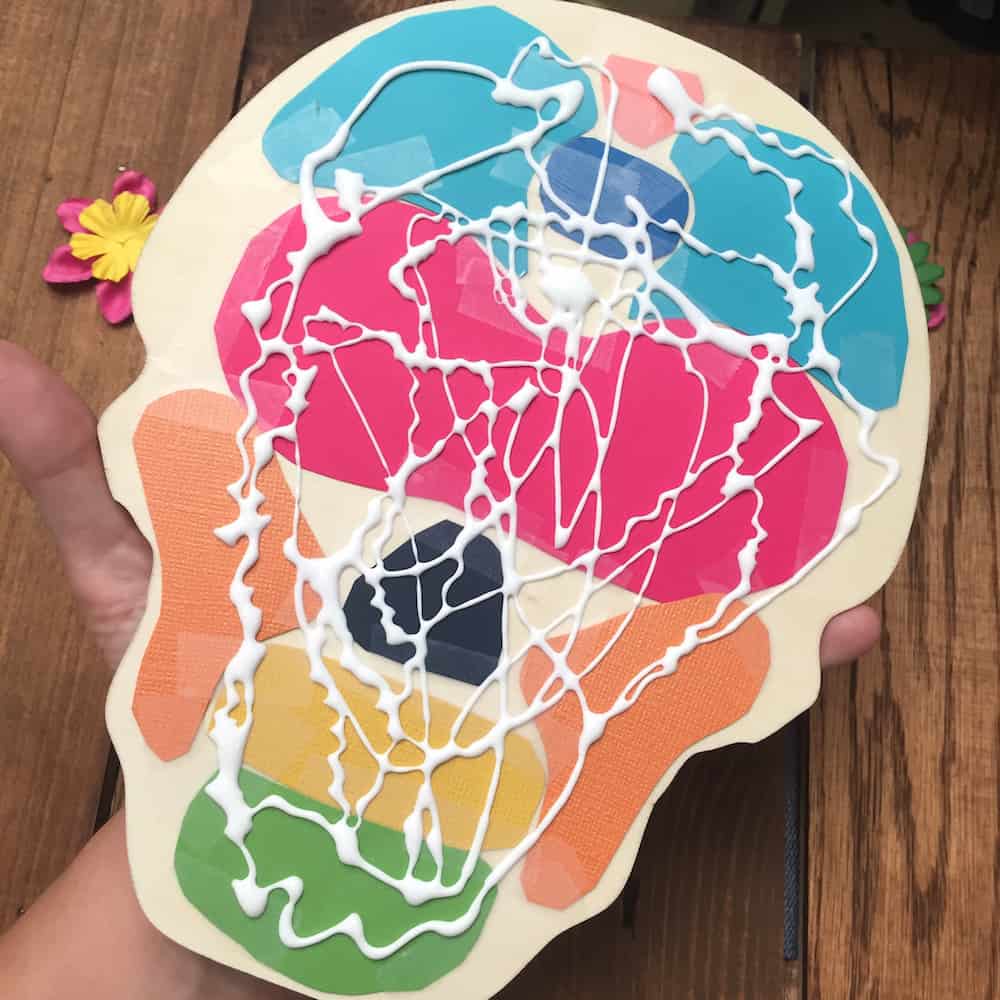
You can see the taped papers here – and, I obviously added glue so that I could adhere it to the pallet wood canvas.
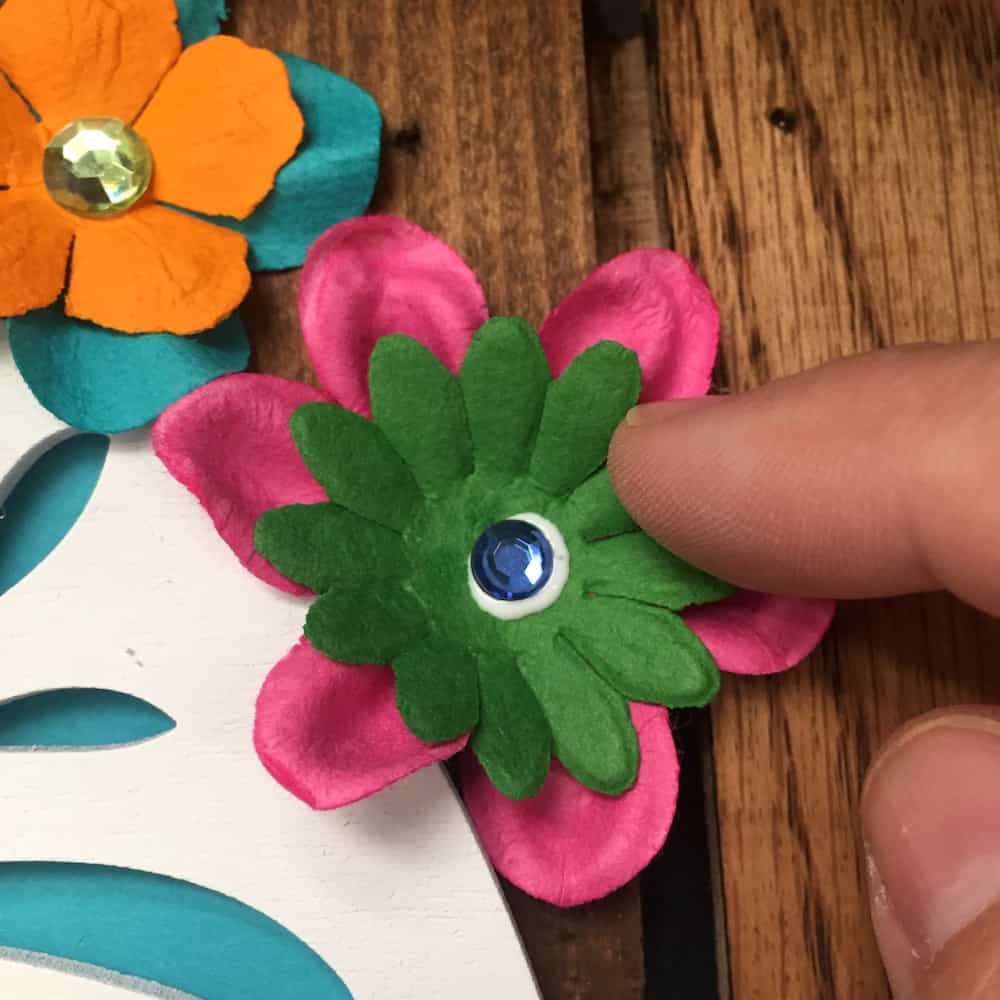
For finishing touches, add paper flowers with craft glue – and then rhinestones in the center.

I thought I was done, but then Steve made a fantastic suggestion – outline some areas with Sharpie! It really needed something, and the Sharpie outlines really made a difference.
I used some calavera inspiration online (searching calaveras) to give me a bit of guidance for where to draw the lines.
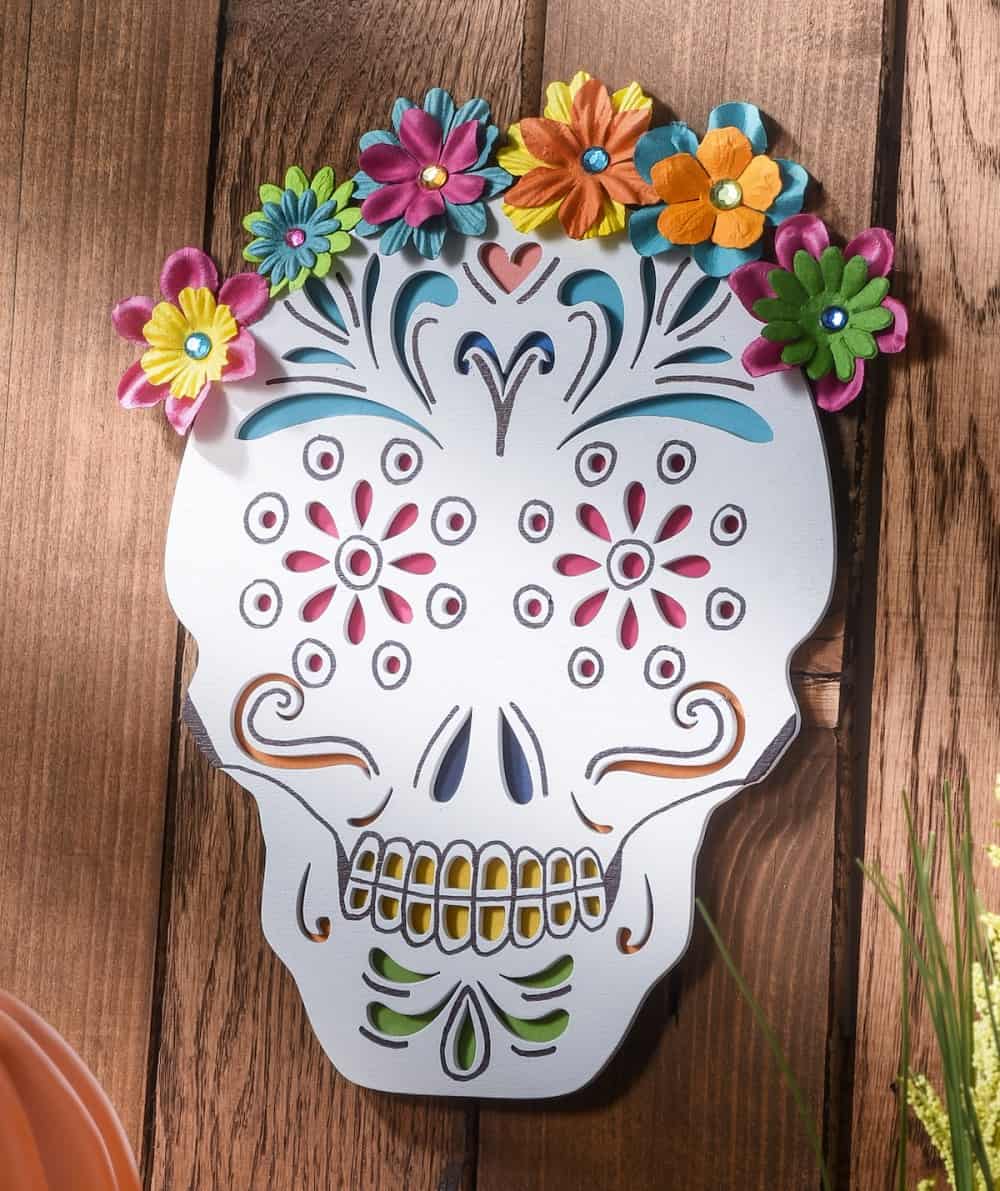
I think my calavera art turned out fantastic, and I won’t just keep it up for Dia de los Muertos – I’ll be keeping it up all year! If you enjoyed this post, I hope you’ll check out these other great ideas:





So cool! I wish I could find something like the wood calavera cutout where we live. Sadly, there isn’t a single Michaels in our entire state!
Hi Natasha! I’d keep your eyes out on etsy – for example, I found these:
https://rstyle.me/+ncEC5D0orxCgo3SraOV1sQ