Cotton Candy Cookies for Summer
Cotton candy cookies are a perfect addition to any spring or summer dessert table! Soft and chewy, brightly colored, and oh-so-fun.
What does cotton candy remind you of? For me, it’s all about my childhood. And a little place I like to call Kentucky Kingdom, baby!
I grew up (partially) in Louisville, Kentucky, and the Kingdom was a theme park that opened when I was ten years old. It was a big deal, especially the roller coasters it brought to the area.
And speaking of roller coasters, that theme park went on a roller coaster ride of going bankrupt, then being acquired, and repeating that several times.
Poor Kentucky Kingdom.
I’ll never forget the treats, one of my favorite parts of the Kingdom besides the rides. My theme park “drug” of choice was always cotton candy.
I was never truly a shaved ice girl . . . and milkshakes aren’t for me (the bloating!).
Cotton candy was my fave! And I still love the sweet candy now. That’s why I’ve made the dessert shots and rice krispie treats. I’ve always loved cotton candy!
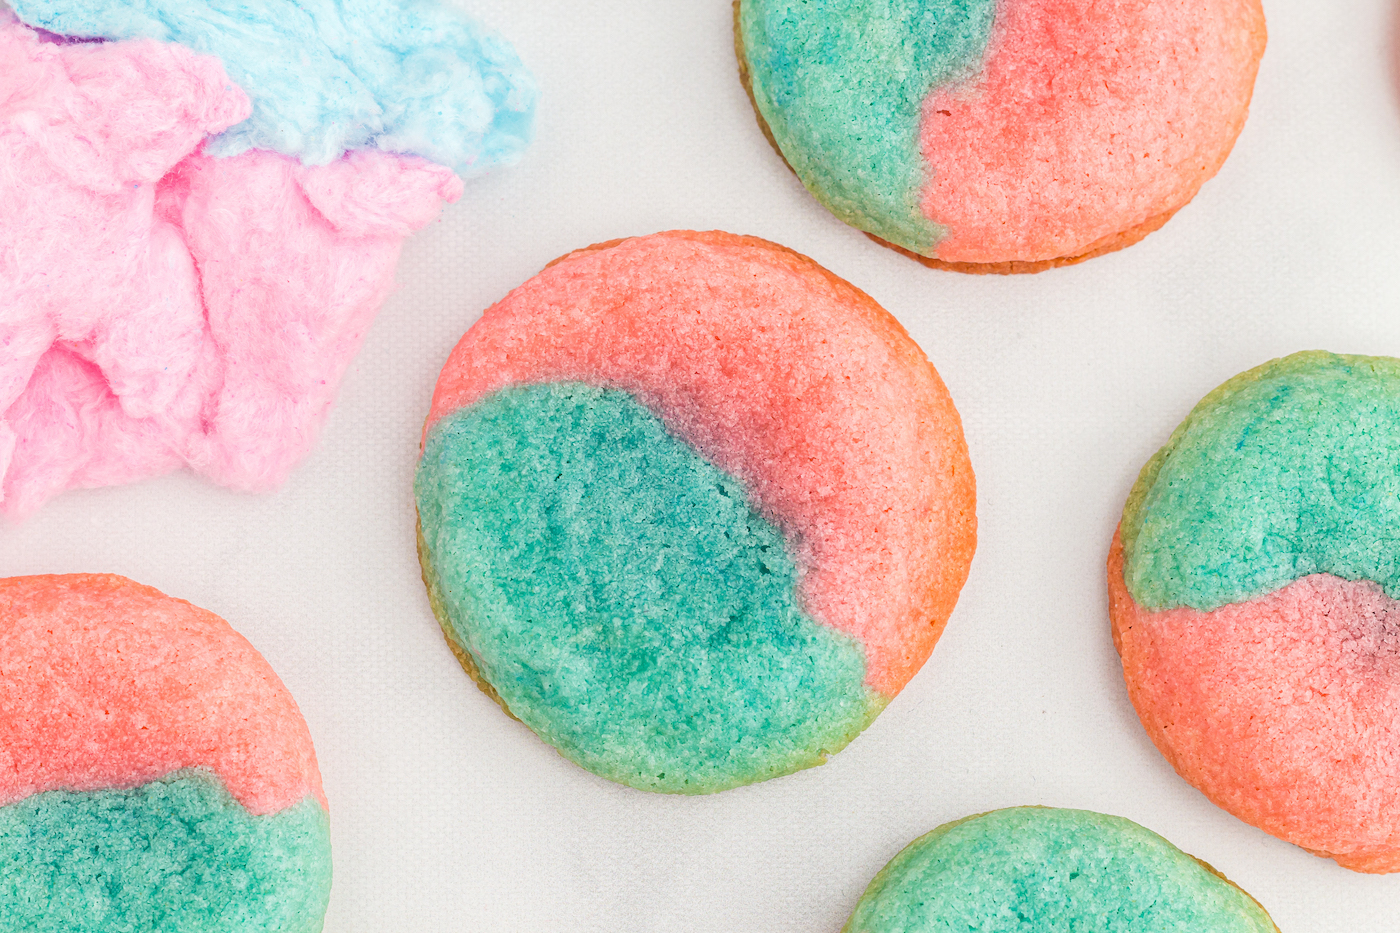
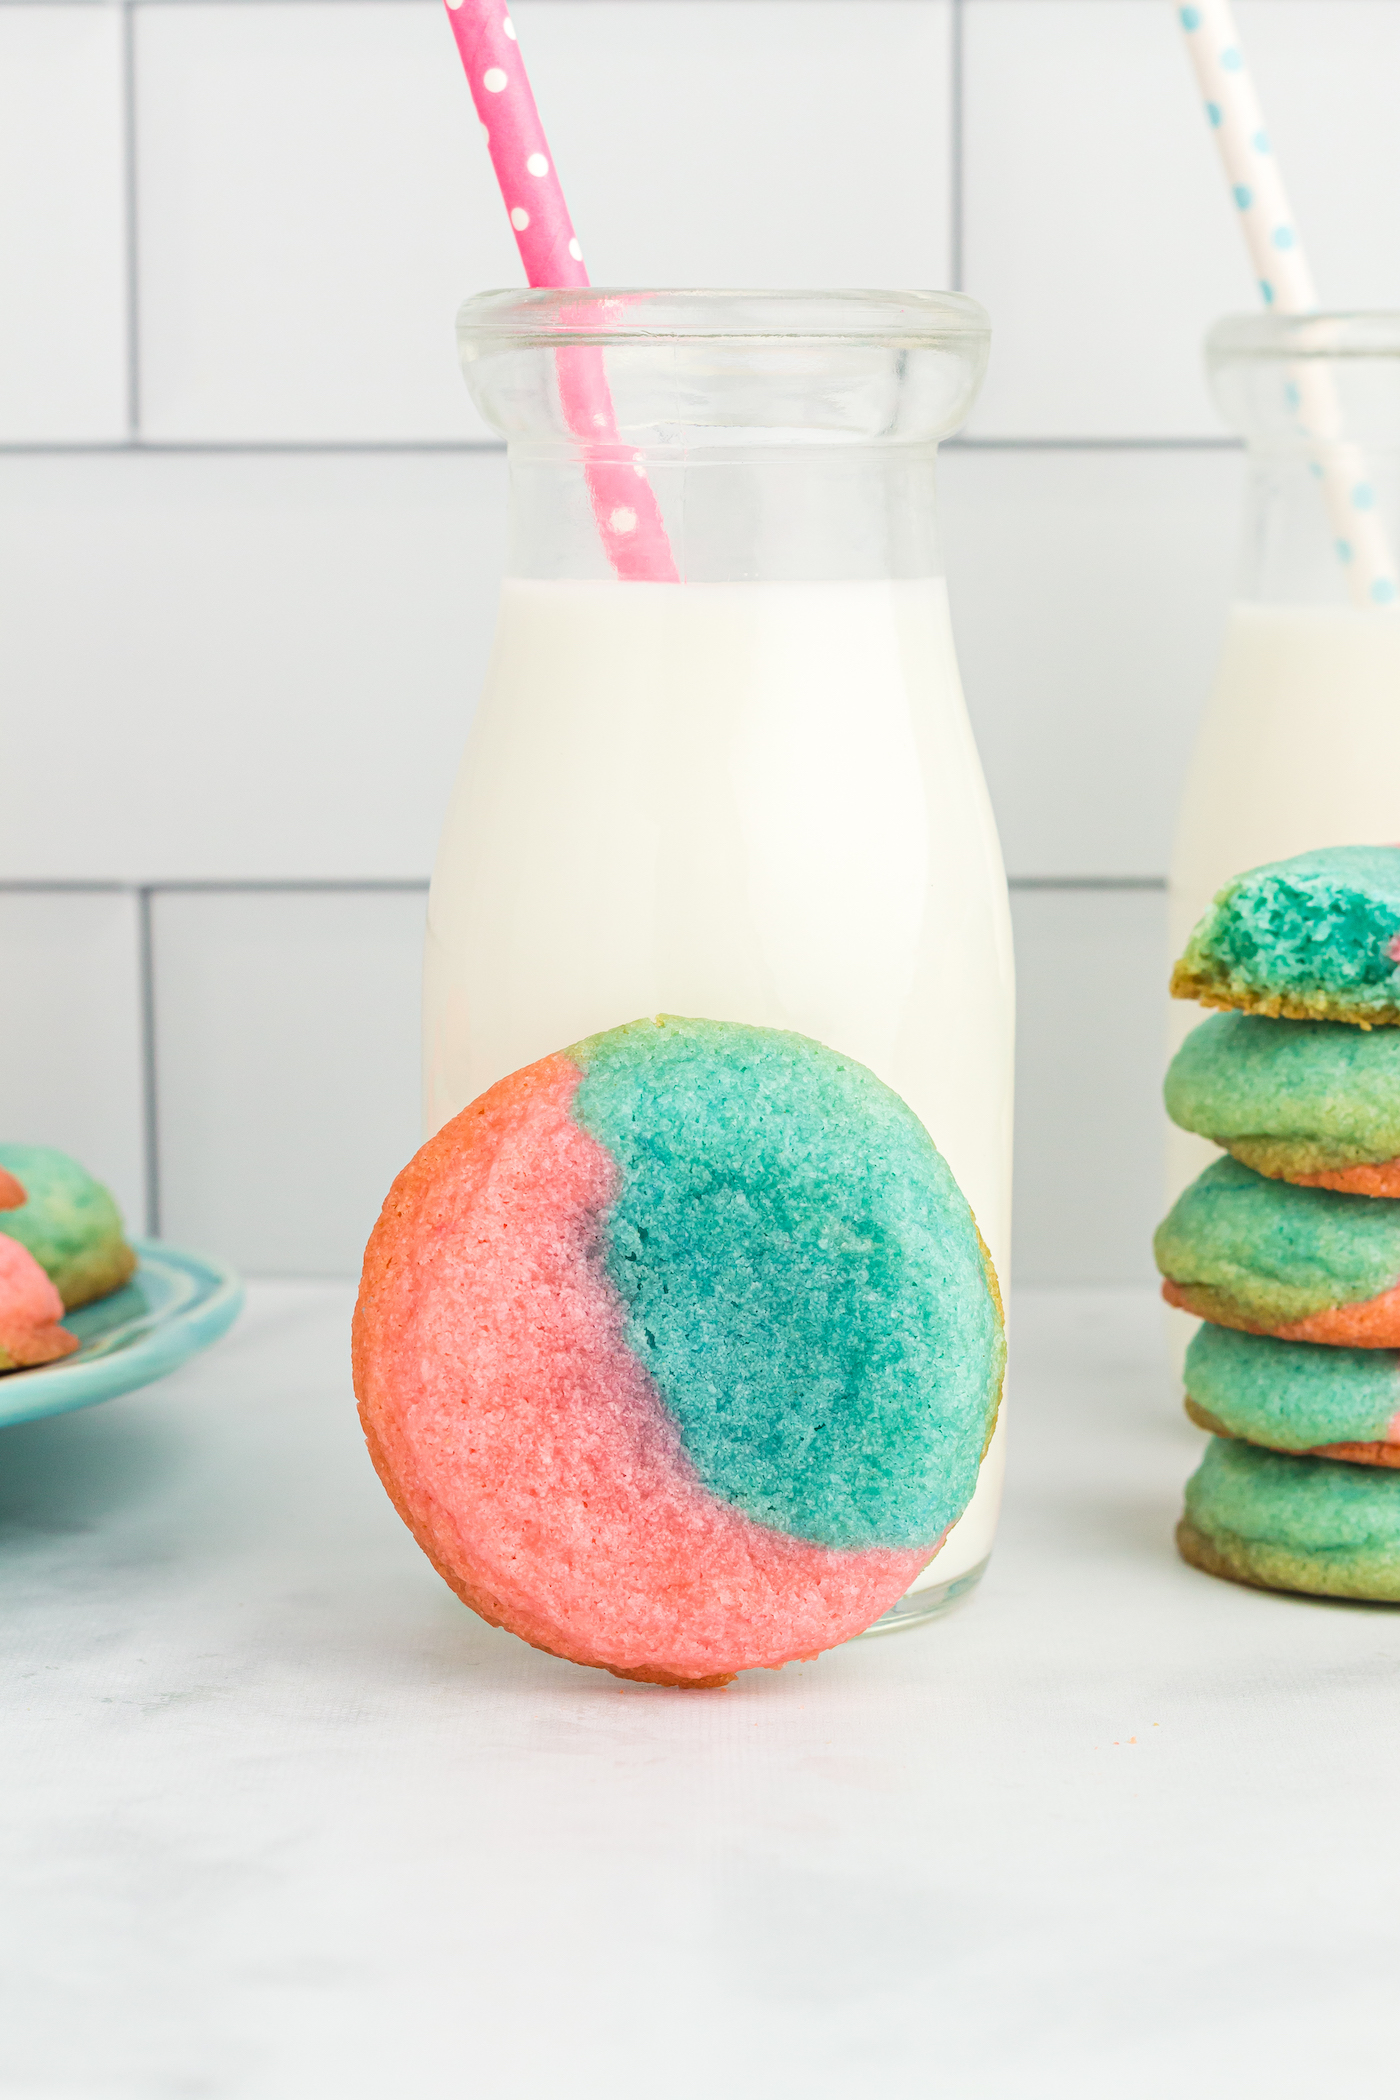
Today I’m adding a third recipe to the stable – cotton candy cookies.
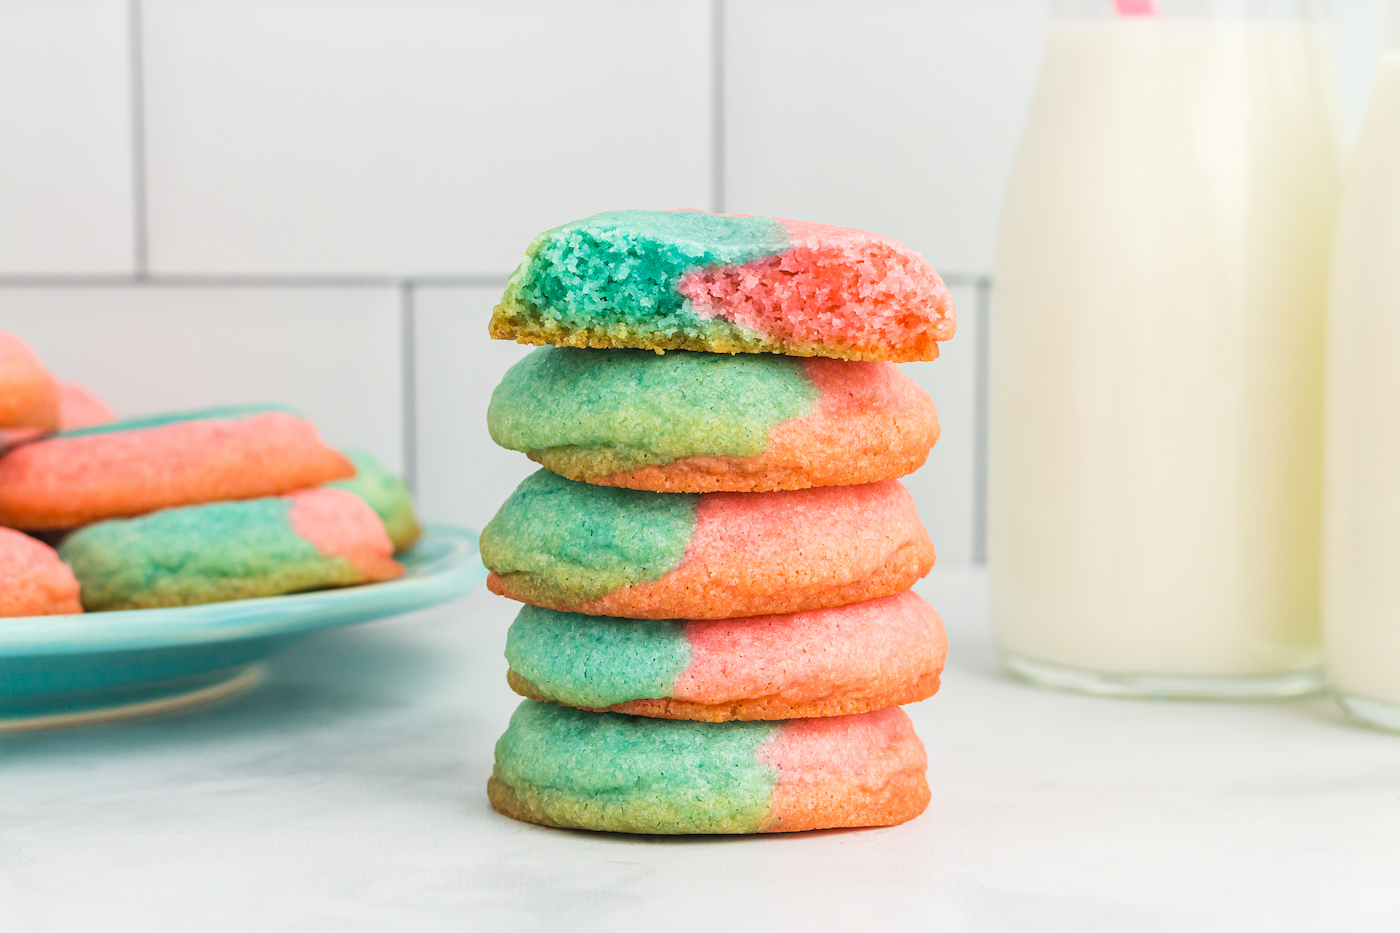
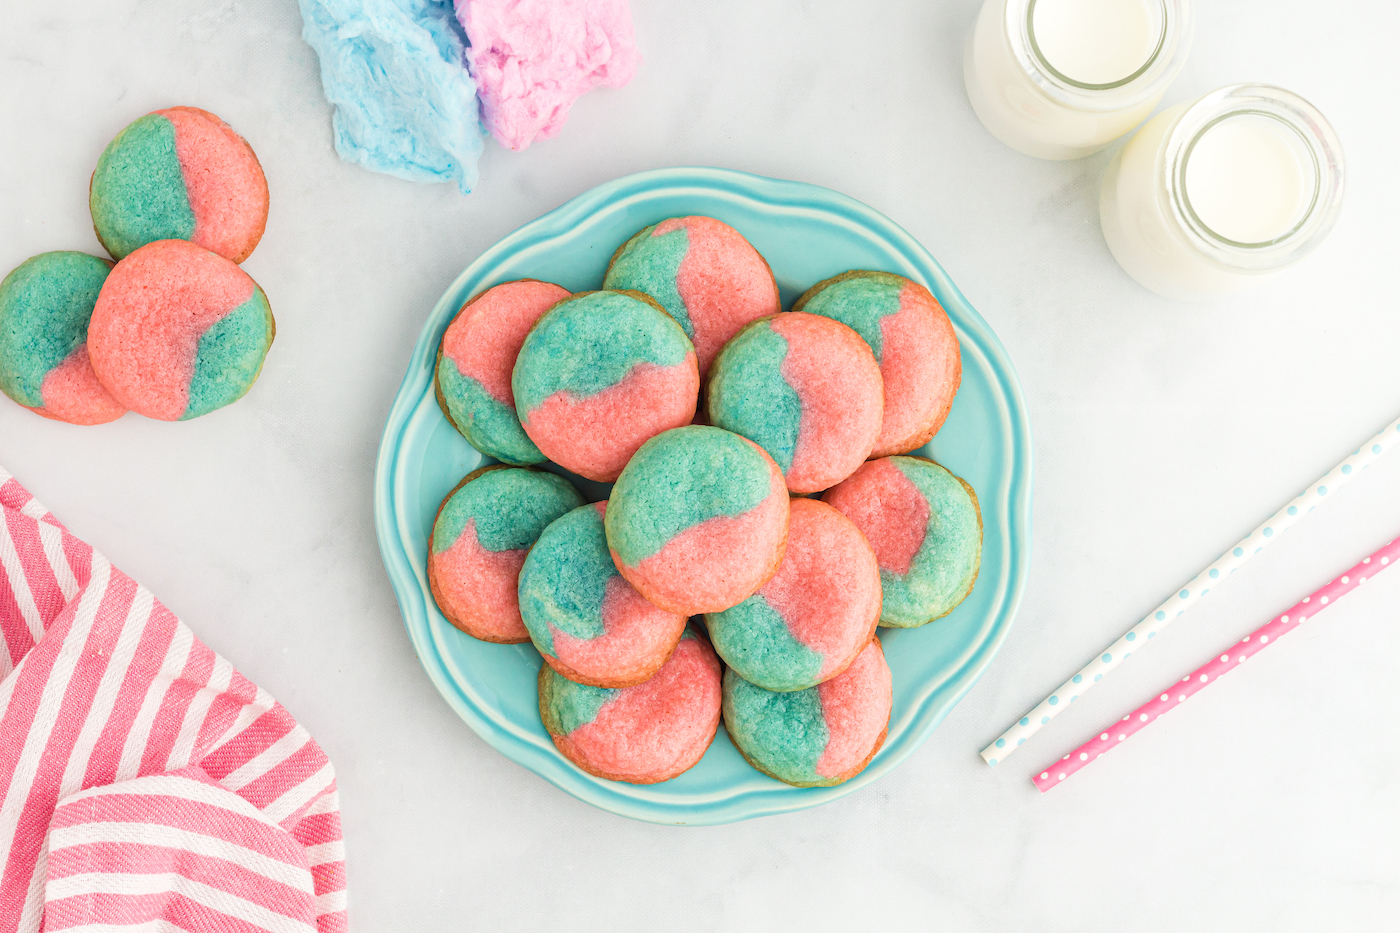
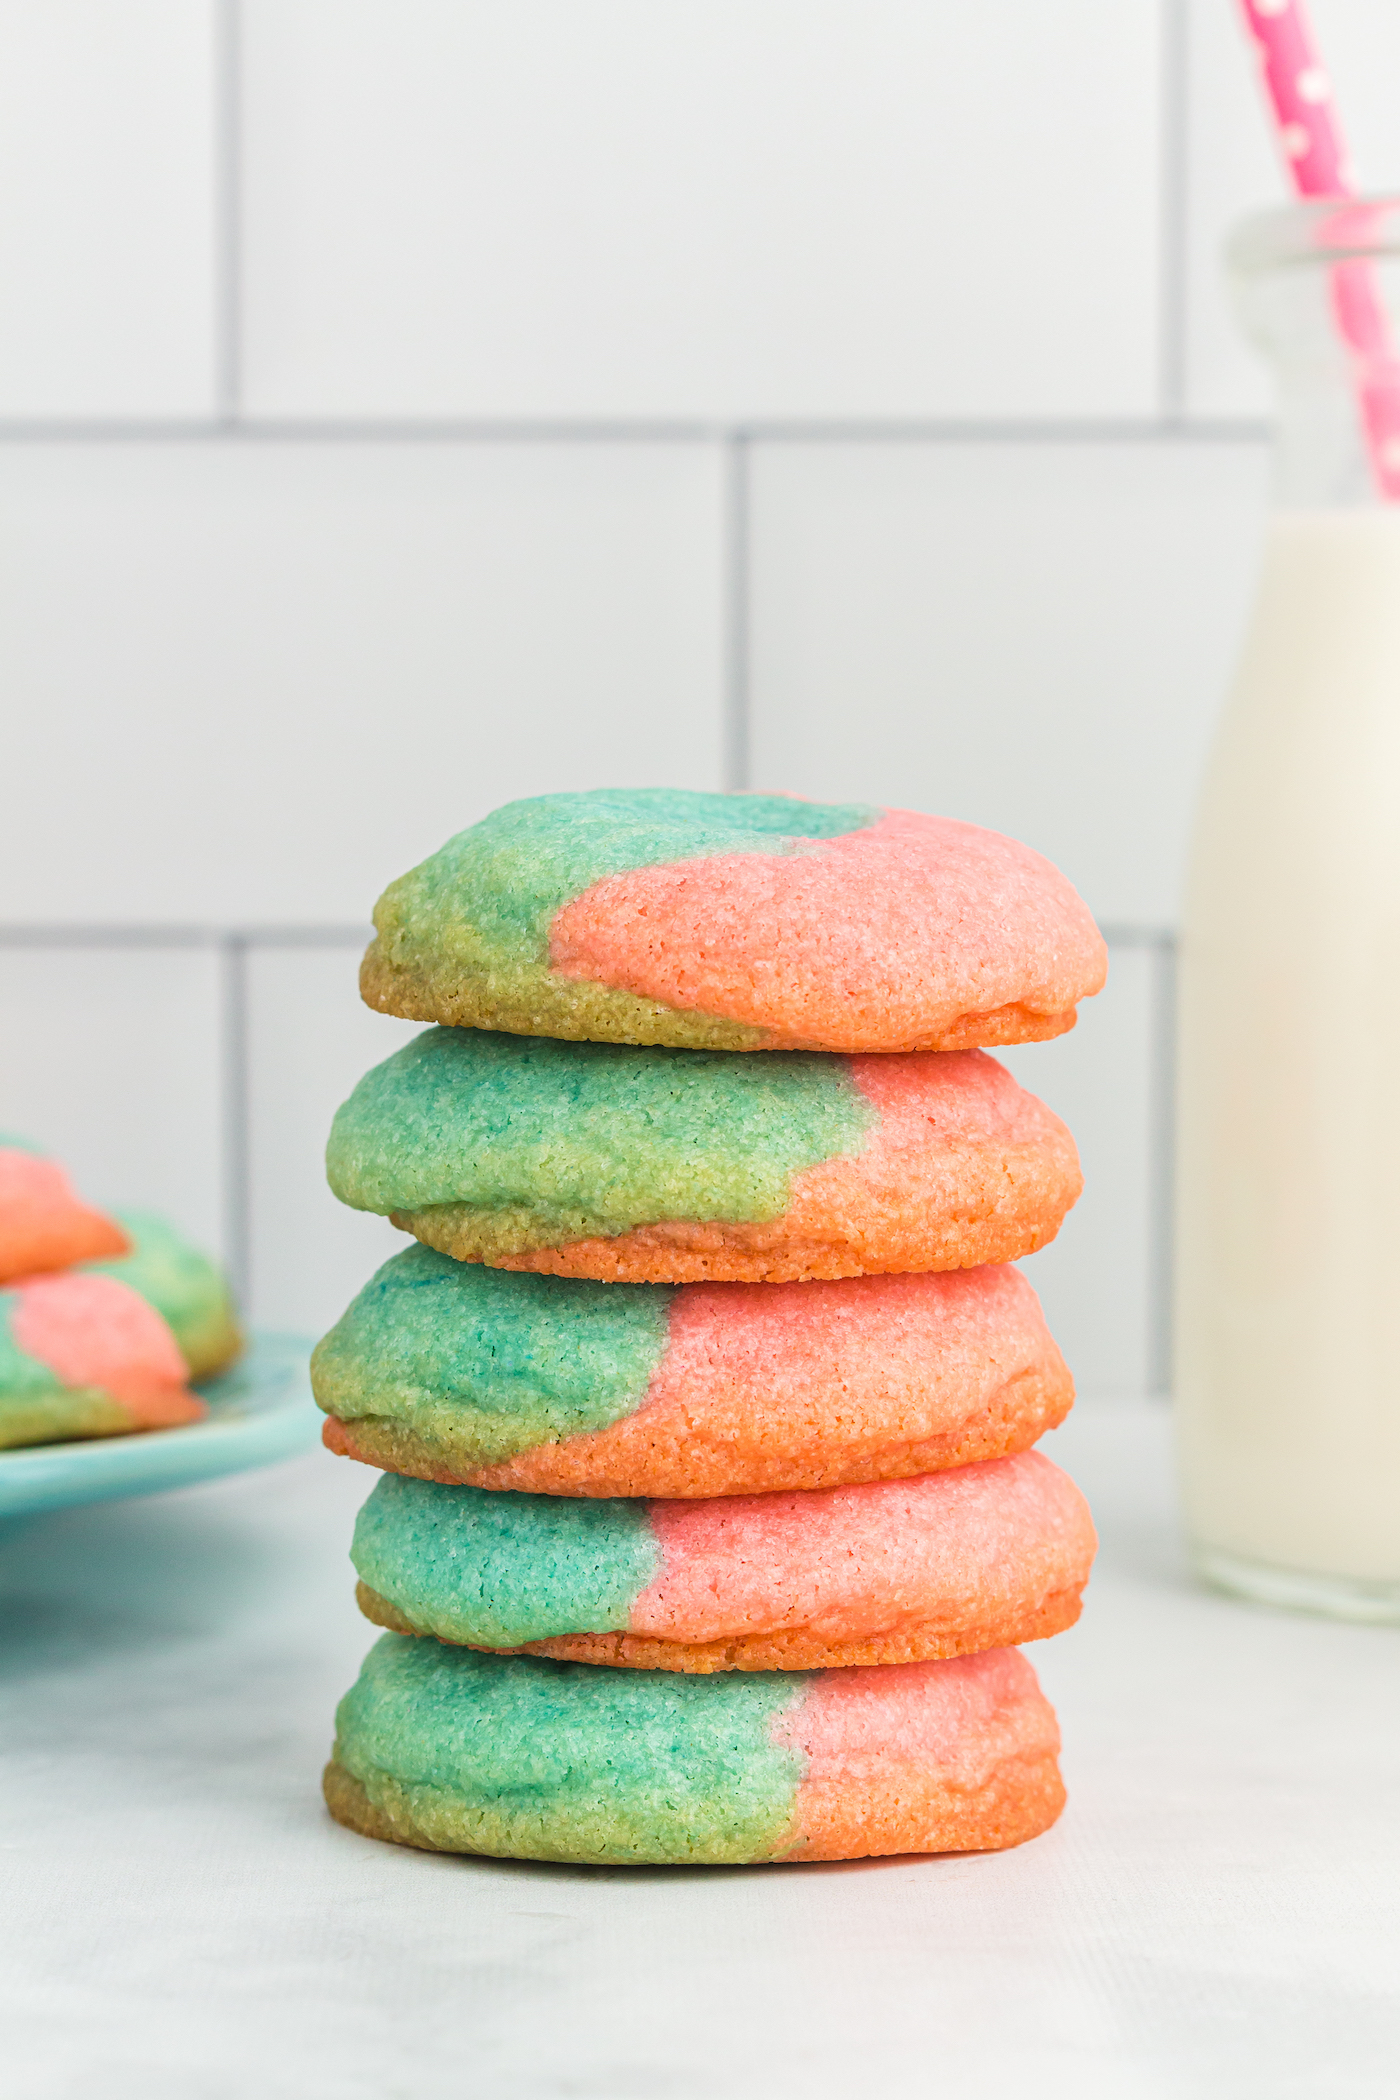
They’re cute, they’re colorful, and they’ve got cotton candy extract within. So you’ll get the soft and chewy cookie base with the sugar-y flavor you’re looking for . . . with a hint of vanilla!
I love that they are colorful, too. That makes them perfect for a summer party or a gender reveal.
Here’s what you’re going to need for these cotton candy cookies.
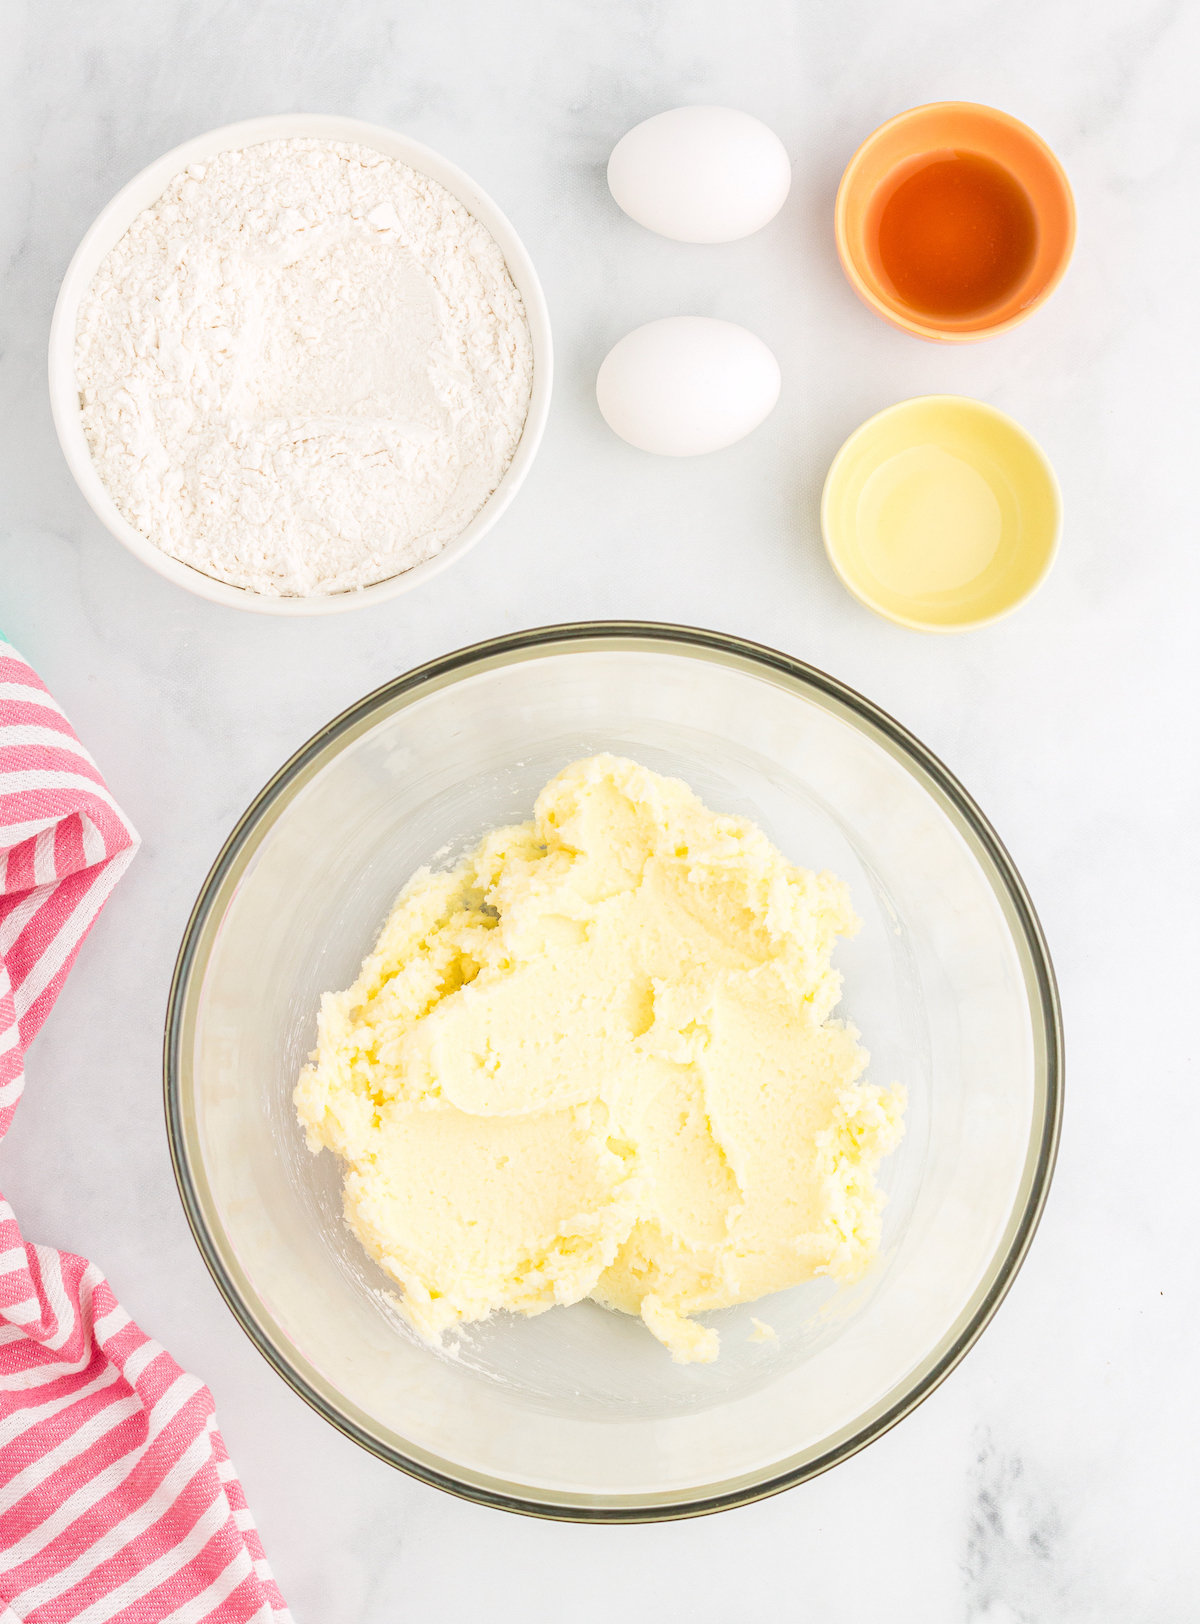
Ingredients
- All-purpose flour
- Baking soda
- Corn starch
- Salt
- Unsalted butter
- Granulated sugar
- Eggs
- Vanilla extract
- Cotton candy extract – LorAnn Cotton Candy Super Strength Flavor
- Pink & blue gel food coloring – Chefmaster Liqua-gel, Neon Brite Pink and Royal Blue
Tools & Supplies
- Measuring cups and spoons of various sizes
- Mixing bowls of various sizes
- Electric mixer
- Spatula
- 1-tablespoon sized cookie scoop
- Baking sheets
- Parchment paper
And just FYI . . .
the type of extract used makes a big difference in this recipe. The cotton candy flavoring I use is LorAnn Cotton Candy Super Strength Flavor. It is a highly concentrated flavoring. One teaspoon in this recipe is enough to give a nice, but not overpowering, cotton candy flavor.
LorAnn Super Strength Flavor is typically four times as strong as regular baking extracts. If the flavoring you’re using isn’t super strength like this one, you may need to add a bit more than what the recipe calls for.
Keep these cookies in an airtight container at room temperature for up to a week. They’ll last a few weeks in the refrigerator.
You can also freeze them in an airtight container for up to six months. When you bring them out of the freezer, let them rise to room temperature naturally as opposed to microwaving.
Get the printable recipe for these cookies below:
Cotton Candy Cookies
Ingredients
- 2 3/4 cups all-purpose flour
- 1 teaspoon baking soda
- 1 teaspoon cornstarch
- 1/2 teaspoon salt
- 1 cup unsalted butter softened
- 1 1/2 cups granulated sugar
- 2 egg(s) large, room temperature
- 1 teaspoon pure vanilla extract
- 1 teaspoon cotton candy flavoring
- Gel food coloring Pink & blue
Instructions
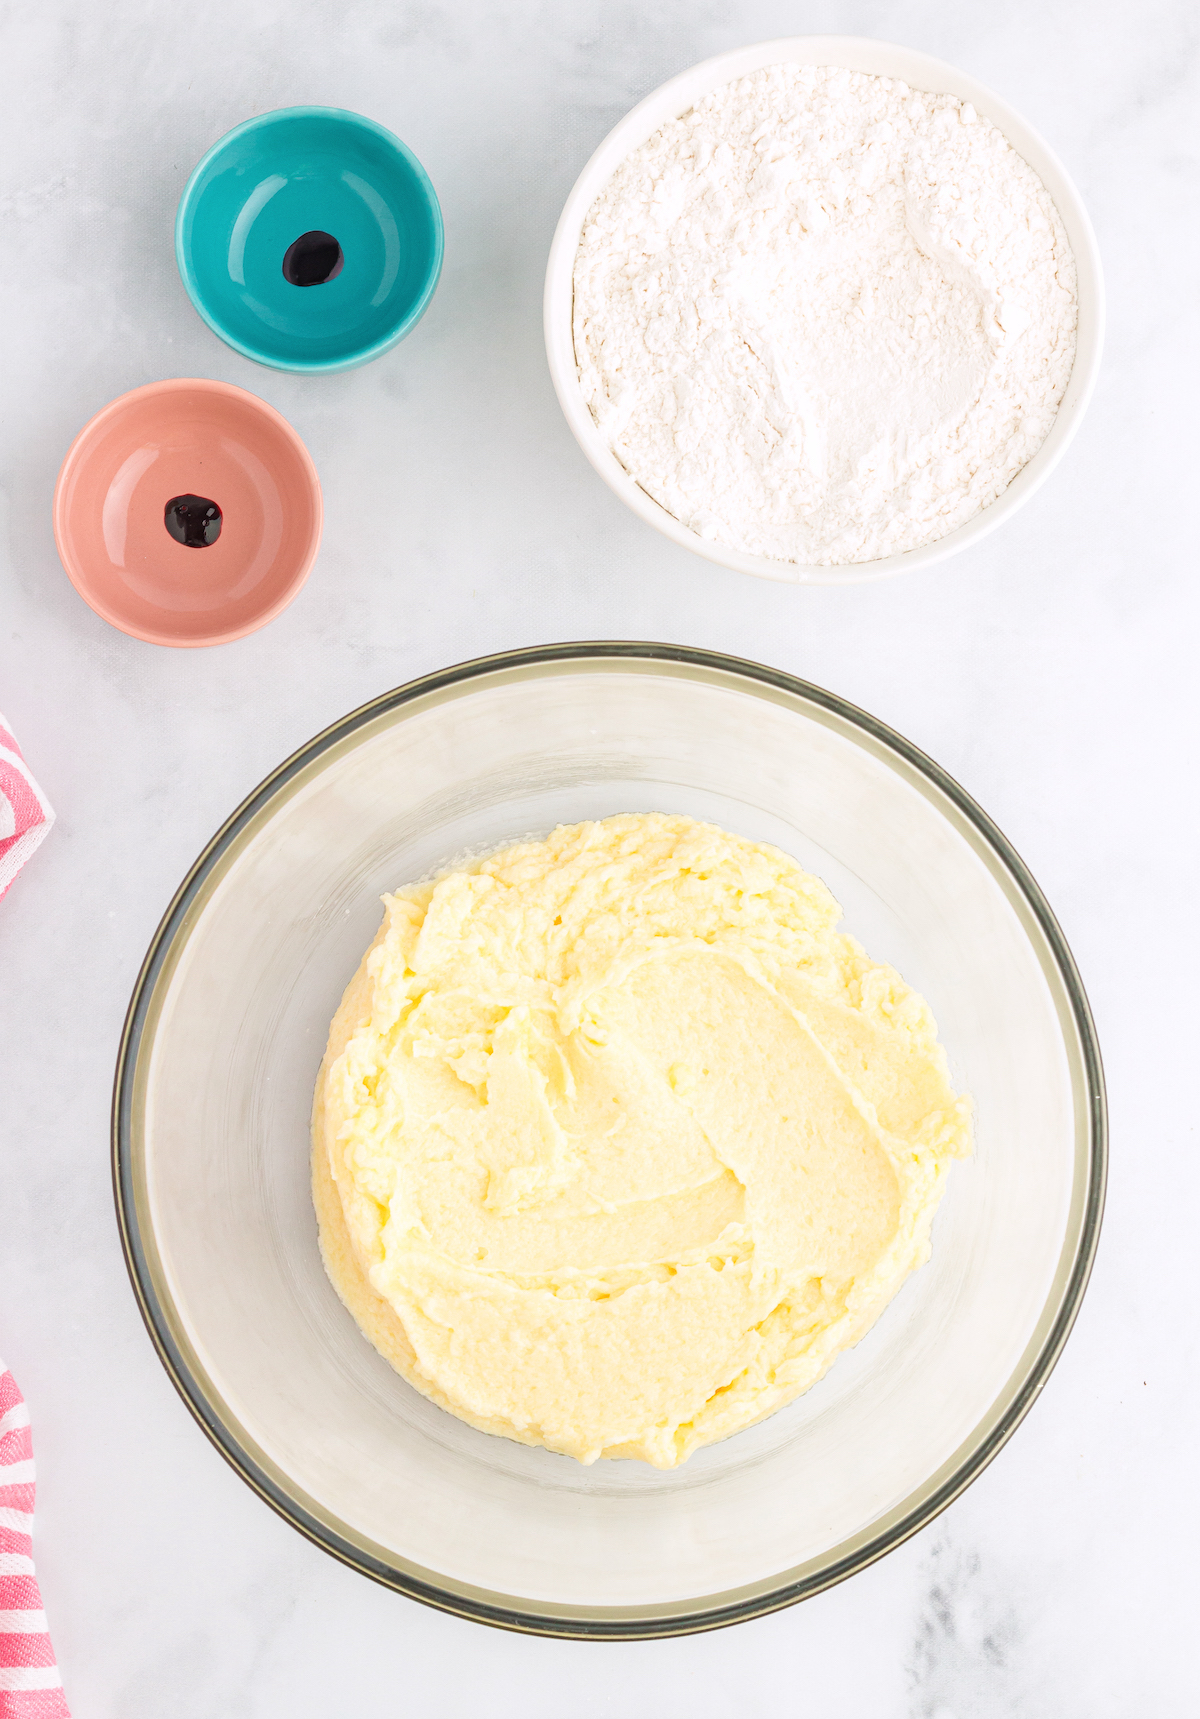
- In a medium bowl, whisk together the flour, baking soda, cornstarch and salt. Set aside.
- In a large bowl, beat together the butter and sugar on high until well mixed (about 1 minute).

- Beat the eggs, vanilla extract and cotton candy extract into the butter mixture until well mixed (about 30 seconds).
- On a low speed, beat in the dry ingredients. Don’t overmix – just mix until you no longer see dry ingredients that haven’t been mixed in with the wet ingredients.

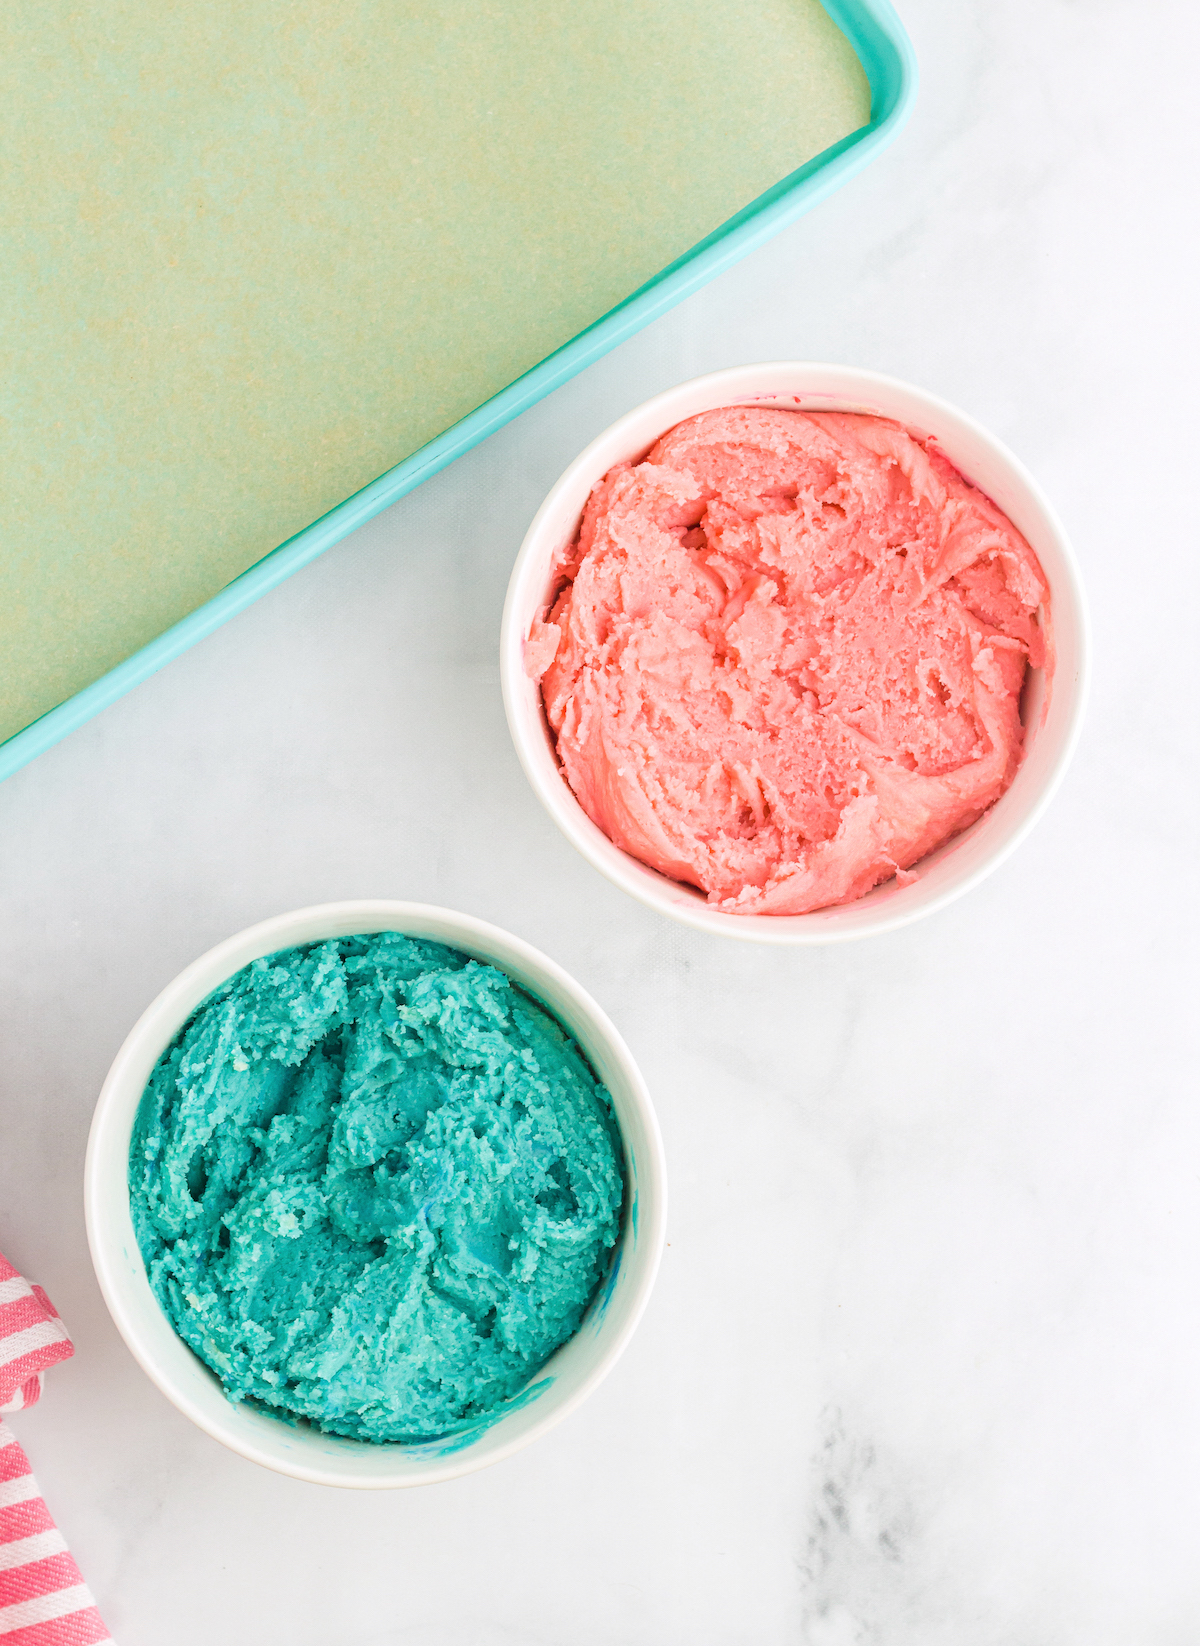
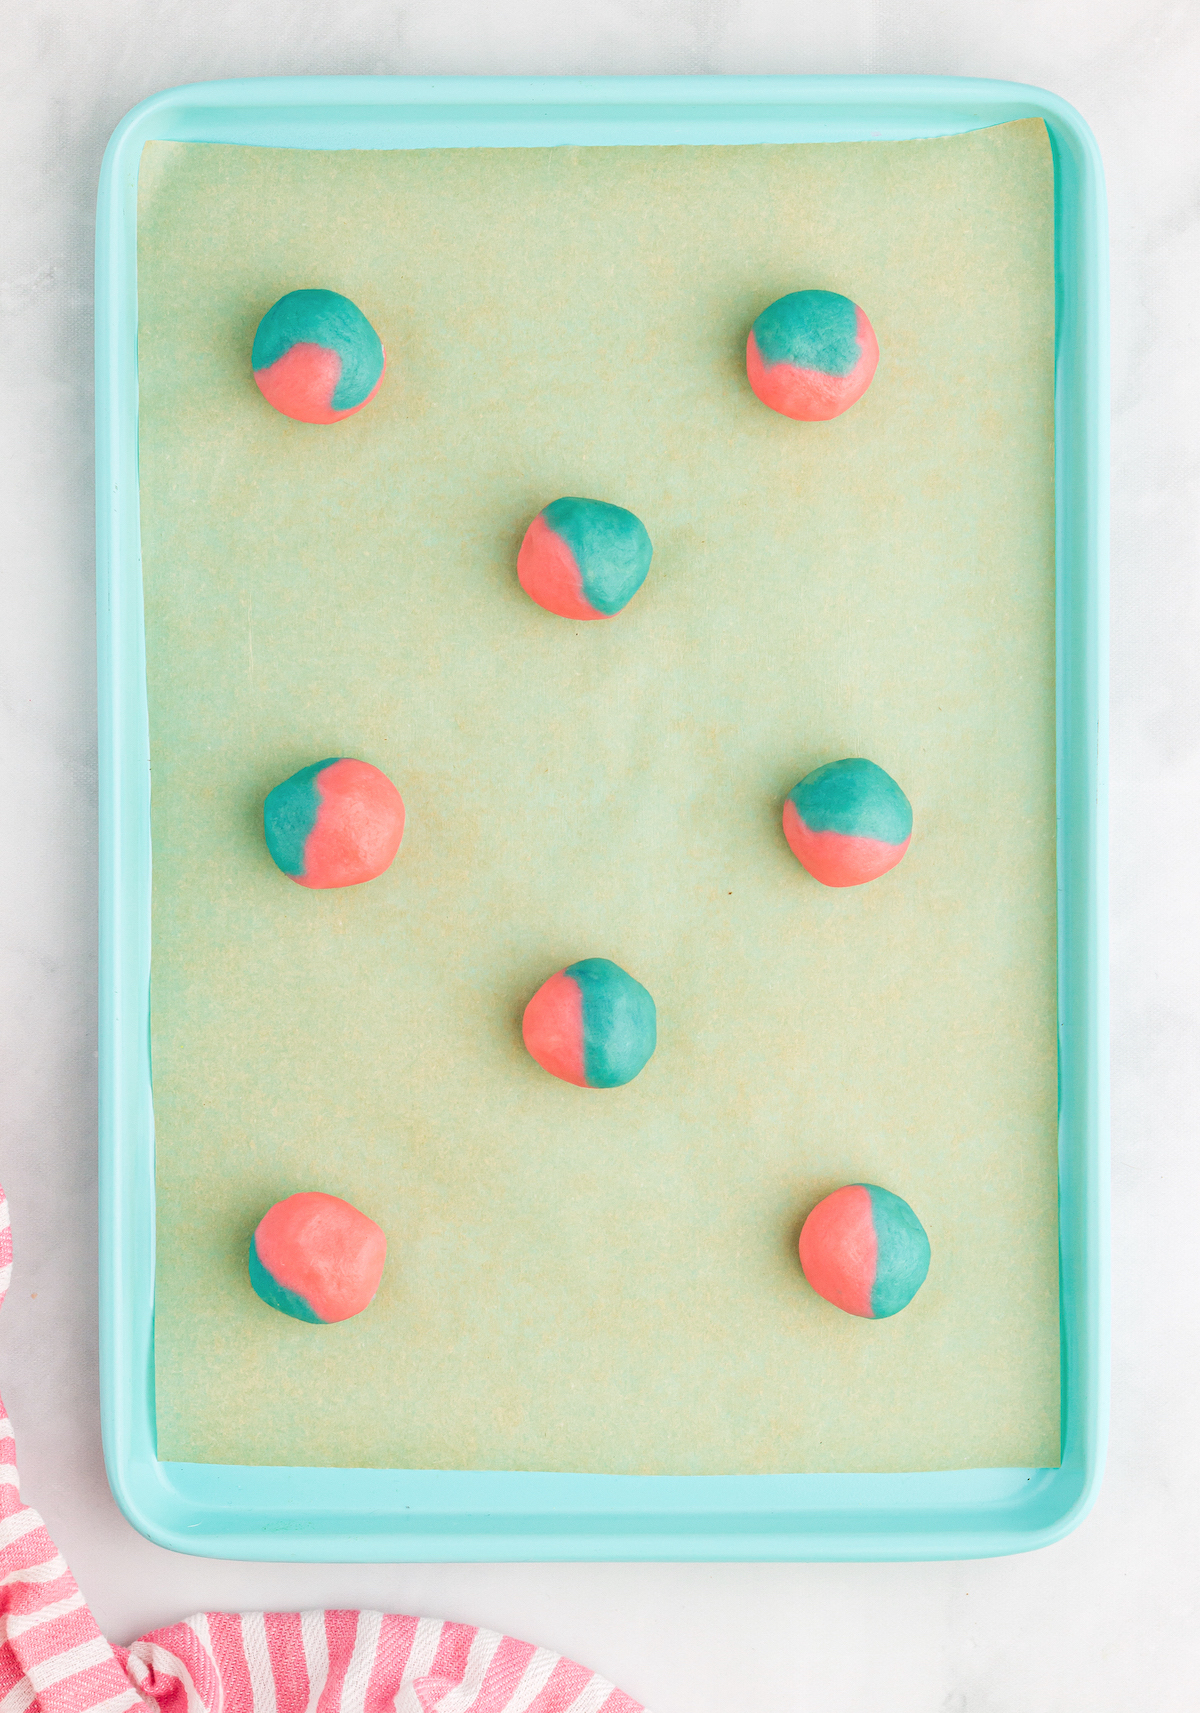
- Separate the cookie dough evenly between two bowls. Color one bowl of dough pink and color the other bowl of dough blue.

- Preheat oven to 350 degrees F. Add parchment paper to the baking sheets.

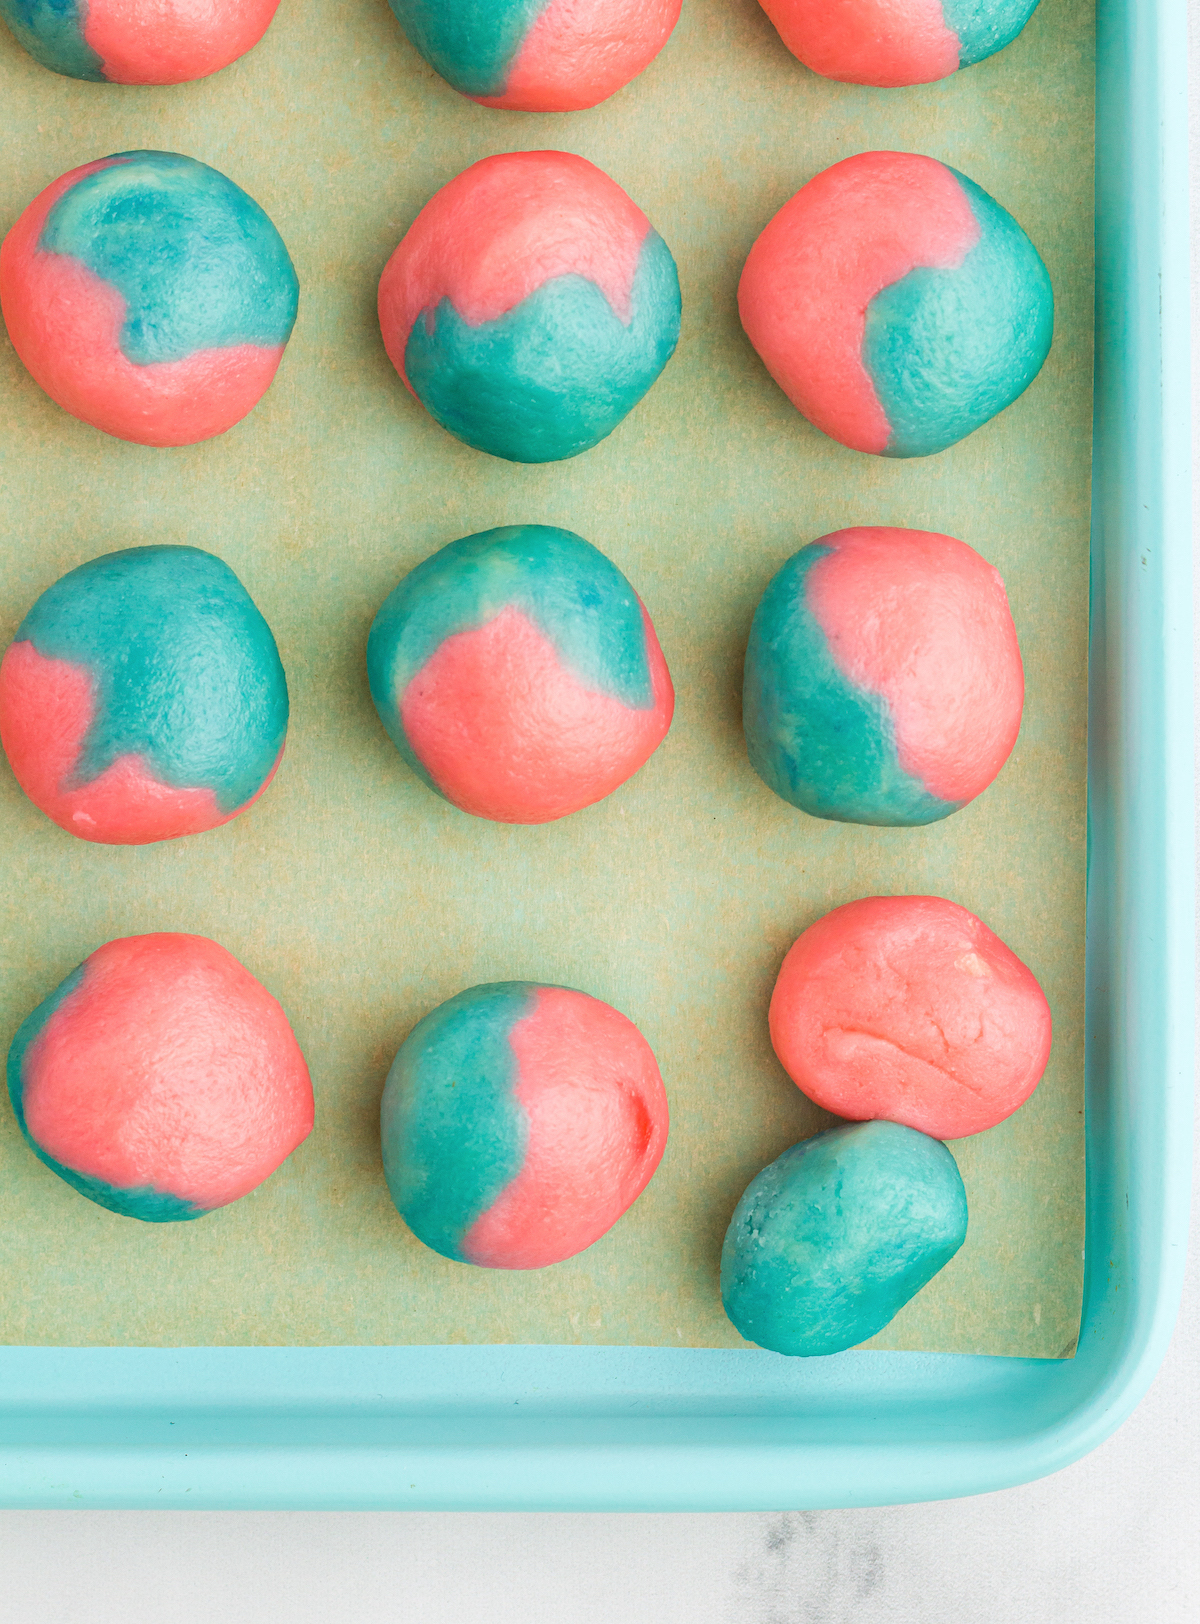
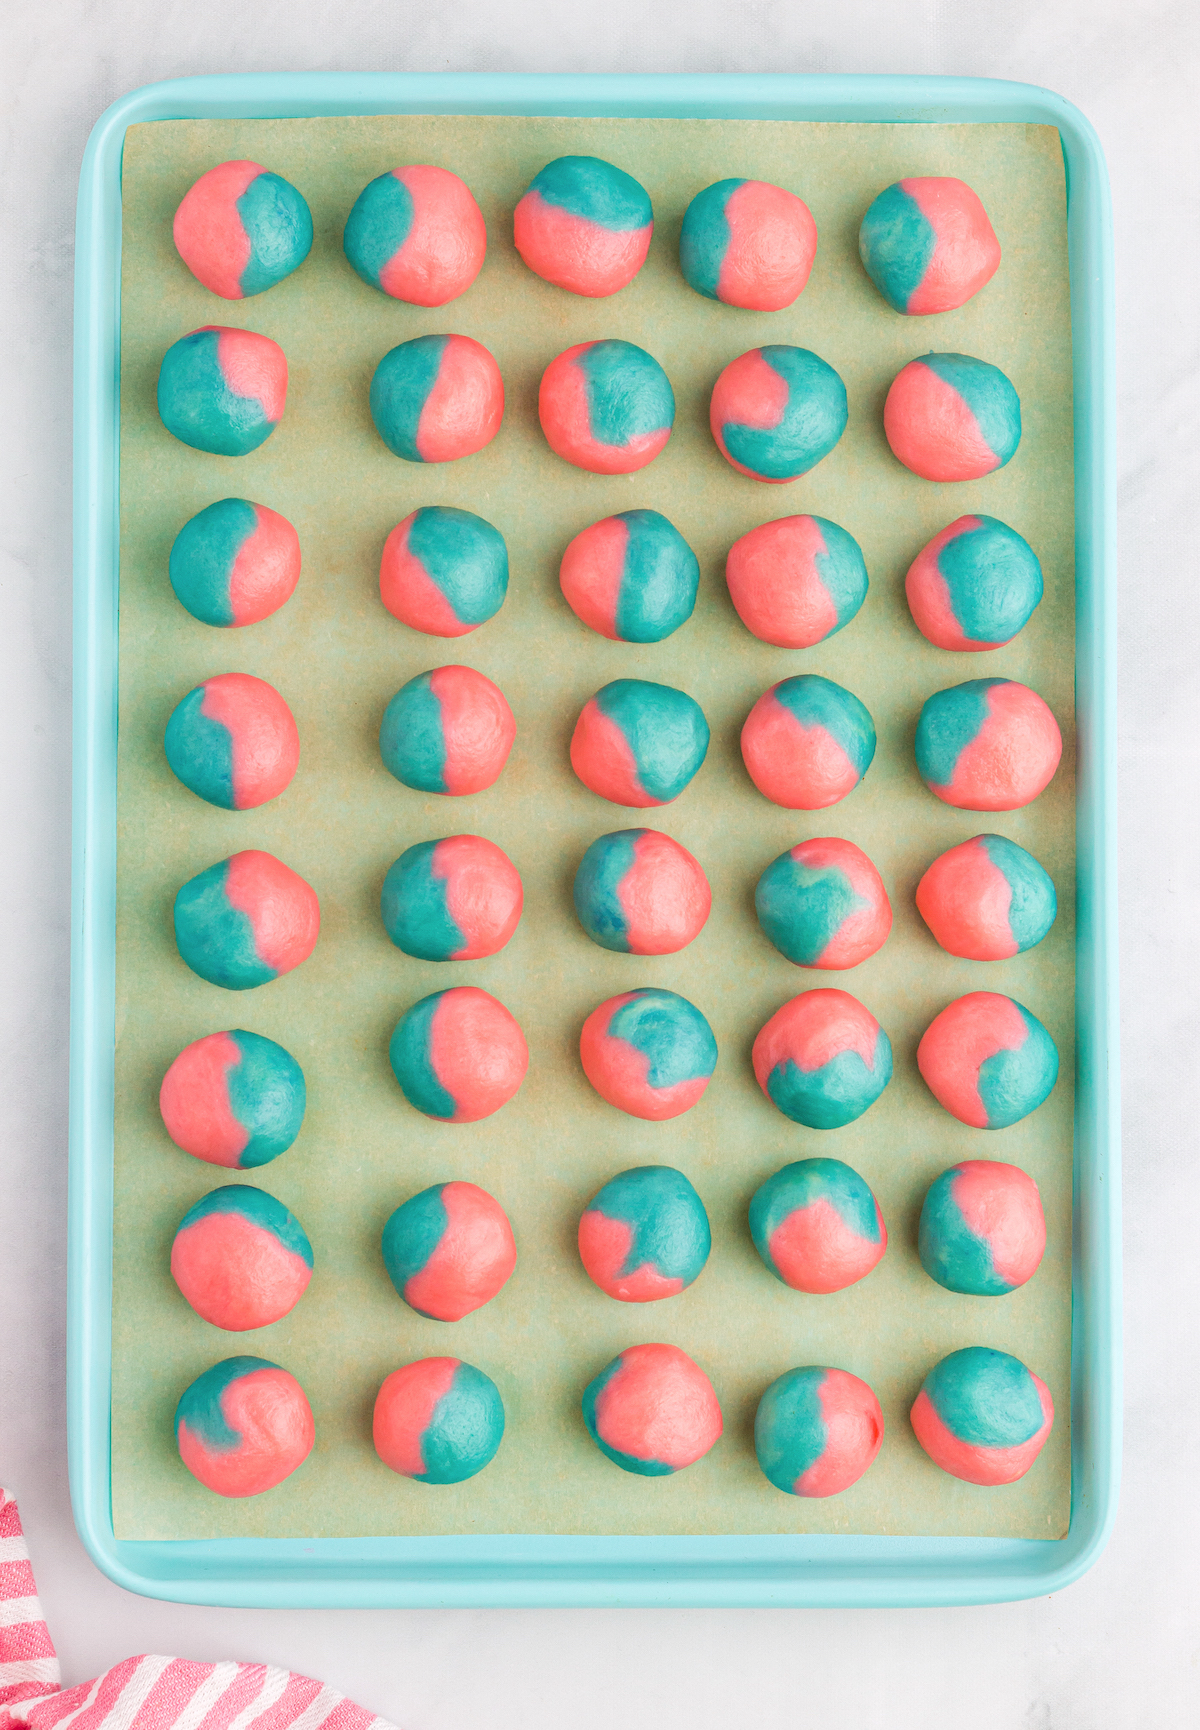
- Scoop dough out into one tablespoon scoops. Take a scoop of blue and a scoop of pink and put them together to make a half blue, half pink cookie. Use your hands to roll these together into a round ball, then place them onto a baking sheet.
- The cookies can be placed close to each other on the baking sheet in order to chill. Chill the dough for at least an hour before baking.

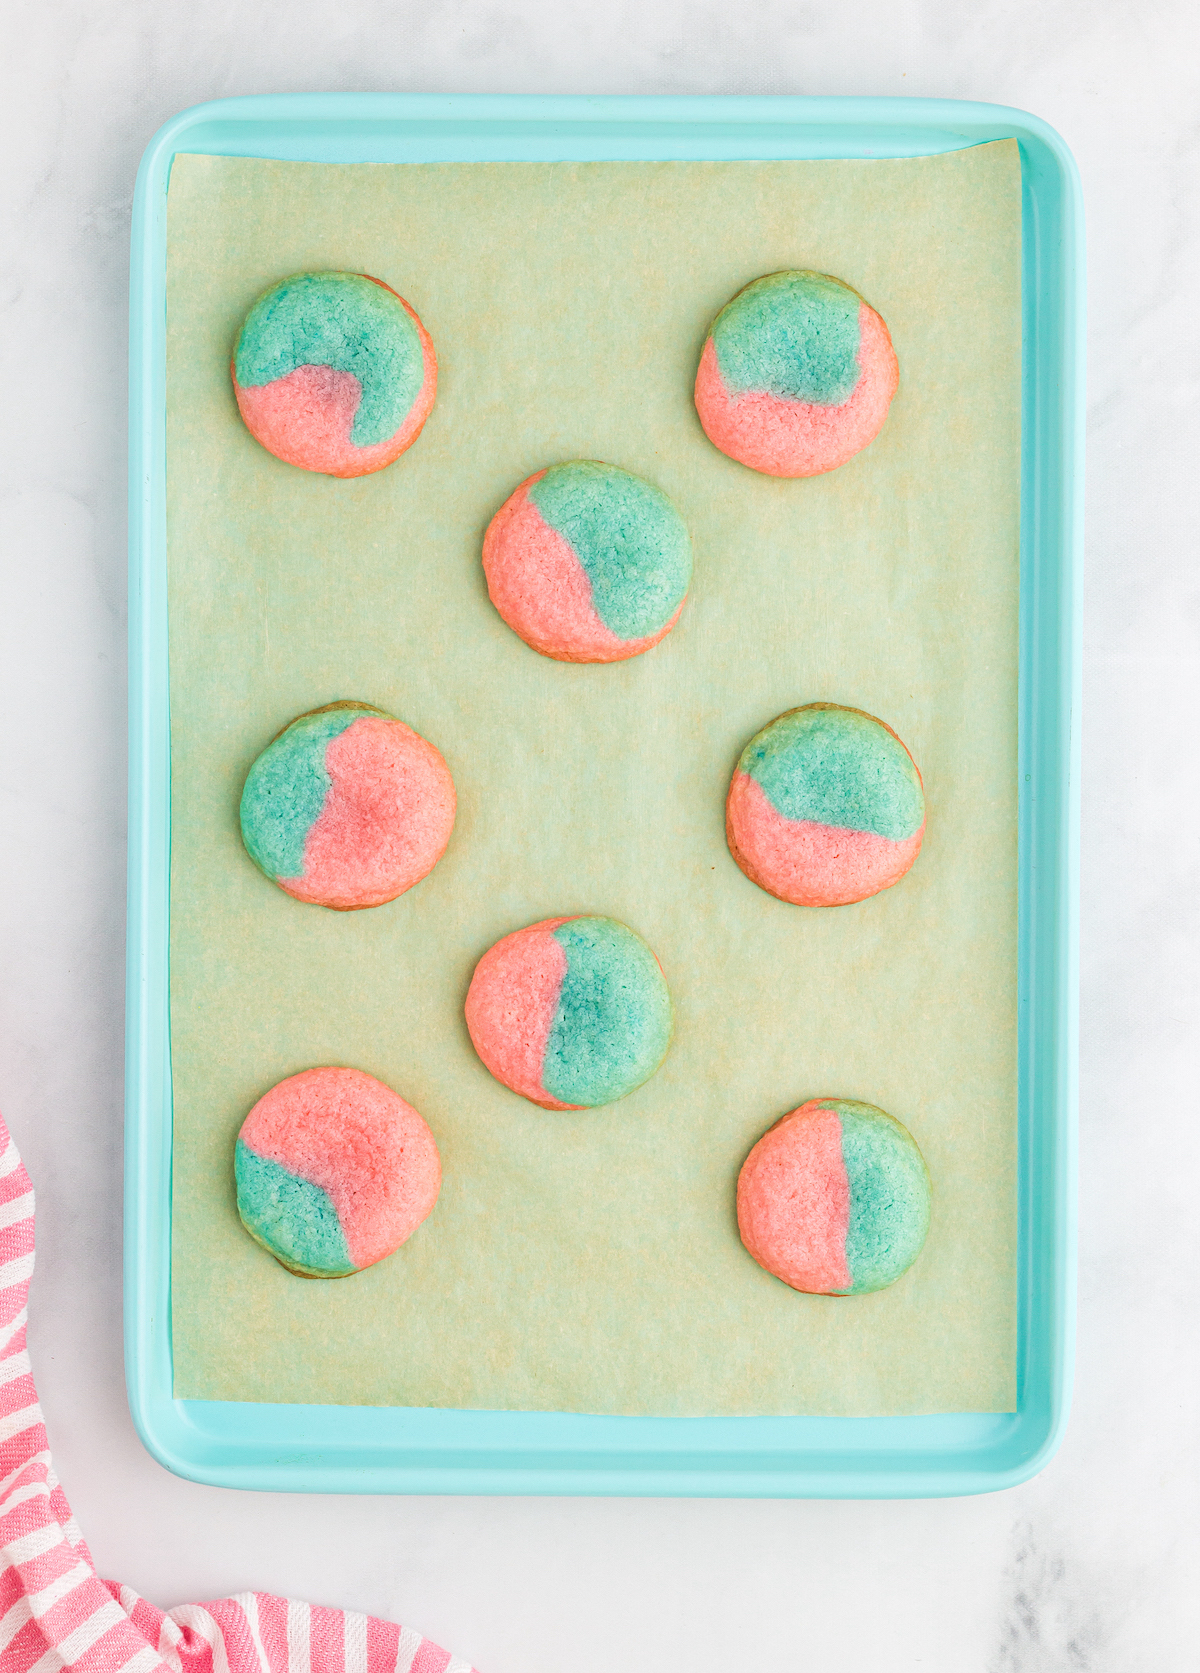
- Line a second baking sheet with parchment paper and take some cookies out of the freezer and place on baking sheet. Cookies should be 2 inches from each other on the baking sheet.

- Bake each tray of cookies for 12 minutes or until cookie edges seem set. The middles of cookies will still look slightly wet and that’s okay!
- They’ll finish baking on the hot tray when they come out of the oven. After cookies have cooled for 10 minutes, transfer to a wire rack to cool completely.


Notes
Nutrition
If you enjoyed this treat, please let me know in the comments!