Easy Air Dry Clay Ring Holder (Beginner-Friendly!)
Make a DIY air dry clay ring holder! This easy craft is fun to paint and personalize—perfect for gifts or organizing your favorite jewelry.
Skills Required: Beginner. You should have a little bit of crafting experience for this project, but not much. You’ll be cutting out clay to shape a dish and then doing some (very simple) hand painting.
I don’t know about you, but I have a lot of nostalgic crafts from my childhood. I went to a Montessori preschool, and for whatever reason I remember a lot of the craft projects we did there . . . even more so than elementary school!
We worked with clay a lot, probably because it’s a tactile, sensory experience for kids. Clay also allows for boundless creativity – you can make just about anything. And we did.
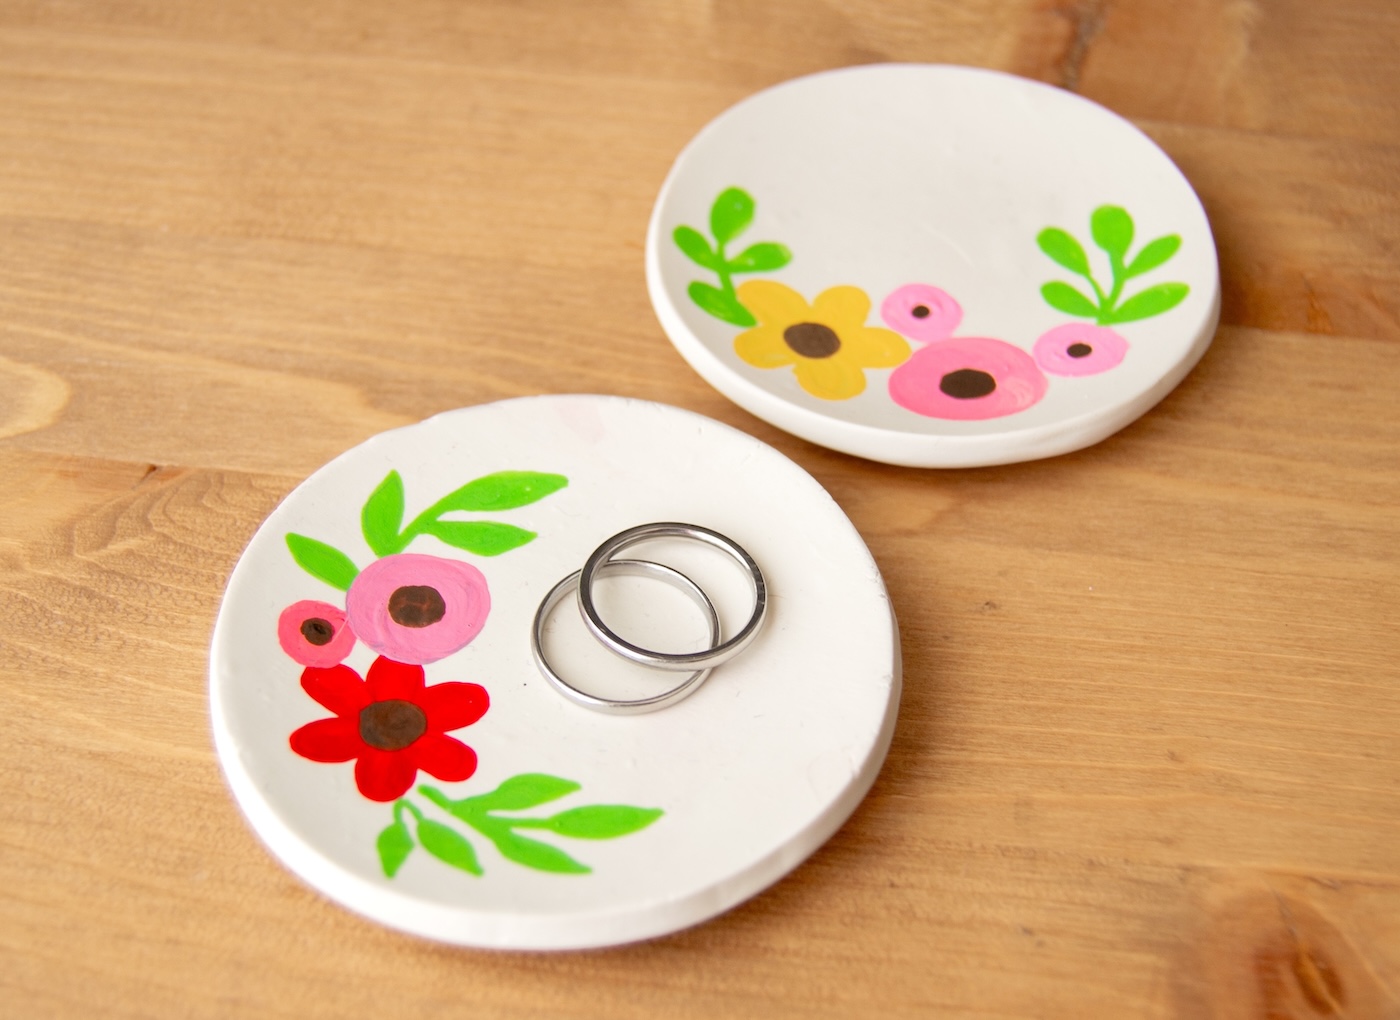
One of the crafts I remember vividly due to its ease: small clay trinket dishes. We cut circles out of clay and decorated them to our heart’s desire with paint.
I’m ready to share that fun idea from my past with you – today. If you love cute little projects that are both stylish and simple, this air dry clay ring holder is a must-try!
Whether you need a chic way to organize your jewelry or a thoughtful handmade gift, this project is easy to make and endlessly customizable.
Even if you’ve never worked with clay before, this project is beginner-friendly. The process is relaxing and fun, allowing you to experiment with different shapes, colors, and designs.
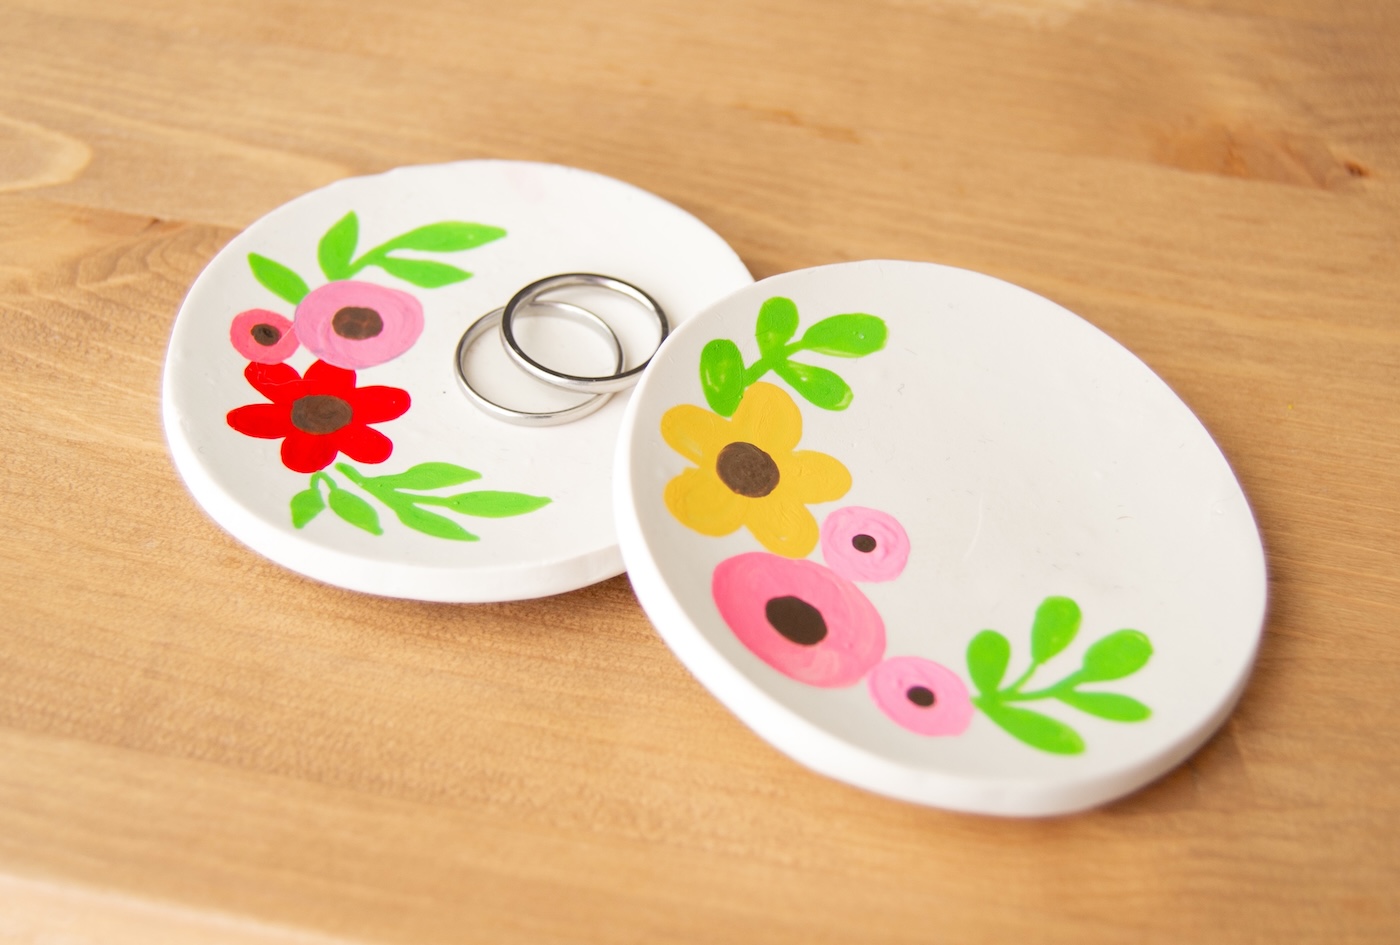
These DIY ring holders are perfect for keeping your favorite jewelry in one place, whether on a bedside table, vanity, or bathroom counter.
Want to make it even more special? Personalize it with initials, floral patterns, or abstract designs to match your style.
Handmade and heartfelt, these ring holders are ideal for birthdays, holidays, Mother’s Day, bridesmaid gifts, teachers, or even as a sweet surprise for a friend who loves jewelry.
The possibilities are endless, and the final product is both functional and beautiful. Ready to create your own? Grab some clay, roll it out, and let’s get crafting!
Here’s the printable how to:
Air Dry Clay Trinket Dish
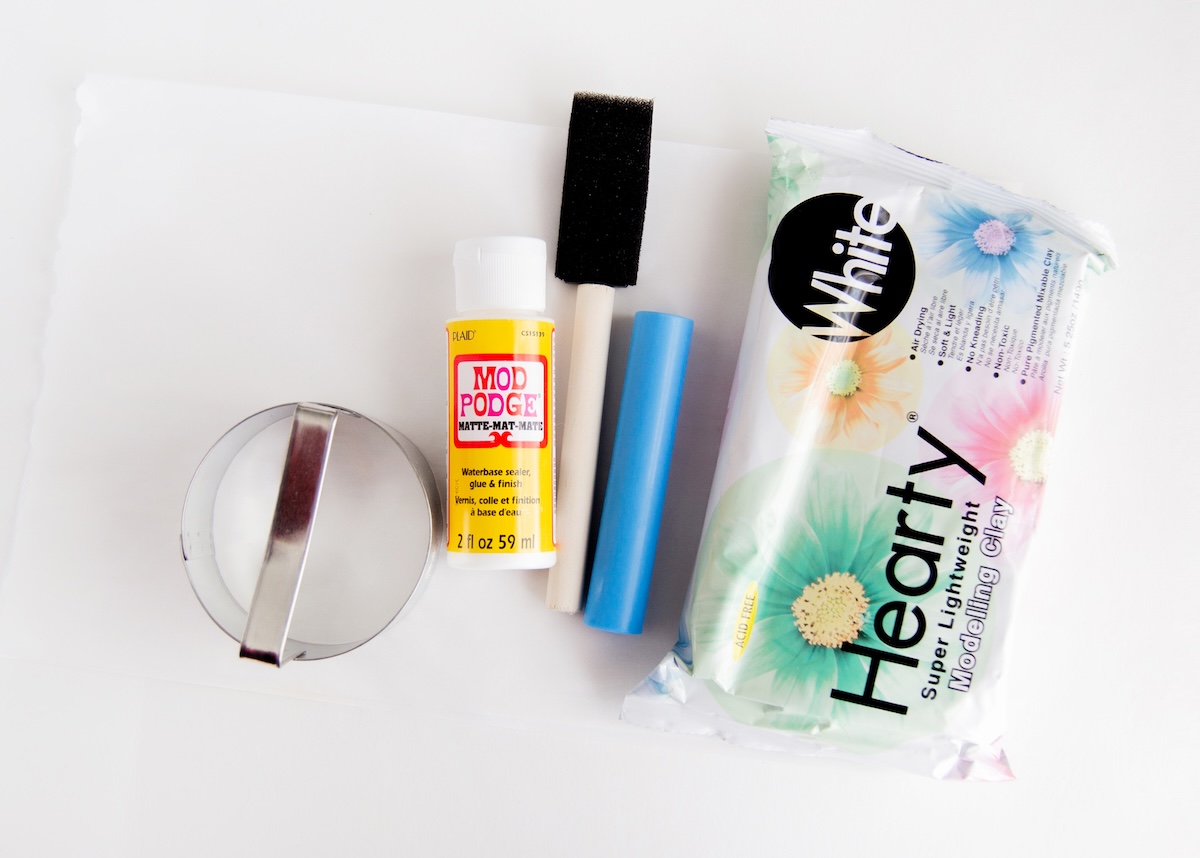
Equipment
- Rolling Pin
- Circle cookie cutter
- Bowl(s)
Materials
- Air dry clay or polymer clay
- Parchment paper
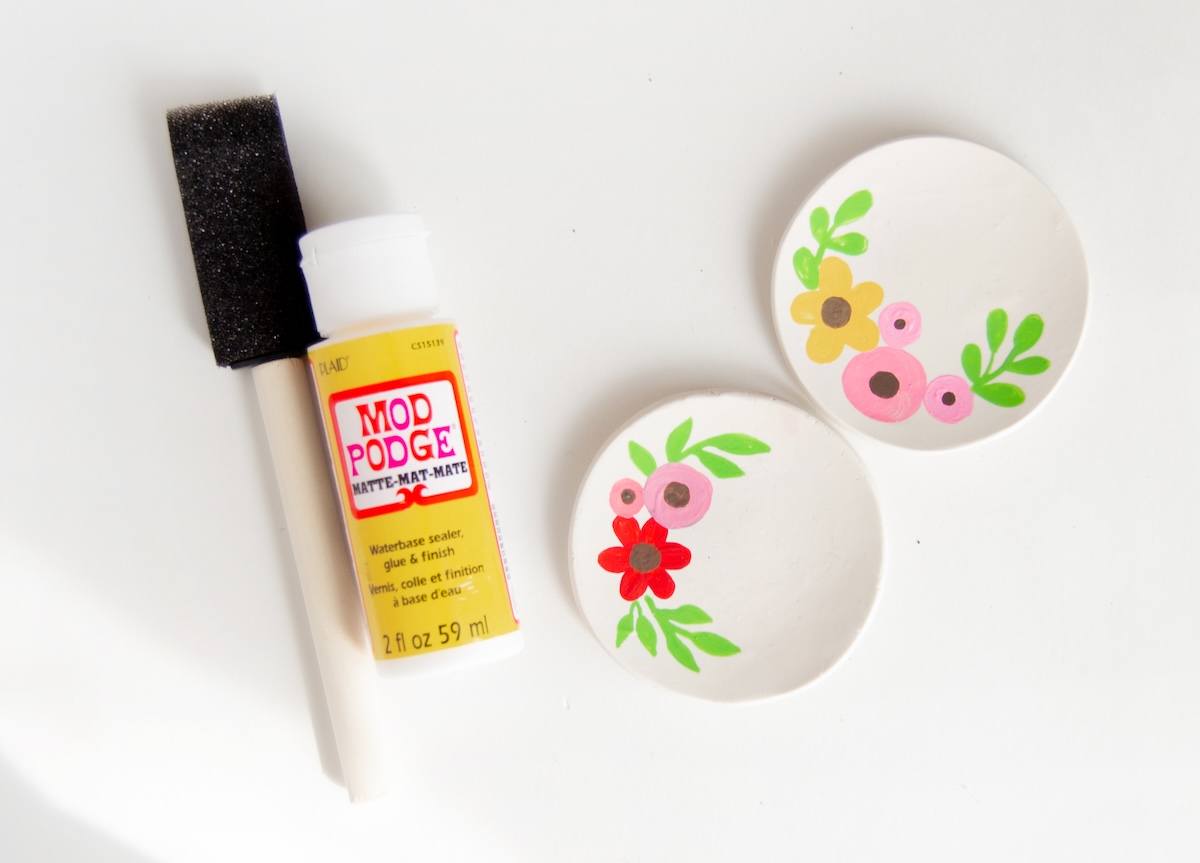
- Multisurface craft paint colors of your choice
- Clear acrylic sealer Mod Podge – could be another brush on or spray as well
Instructions
- Pull off a piece of clay and roll it around in your hands to warm it up. Using the rolling pin, roll and flatten it out. You will want to have at least a 1/4” thick piece.
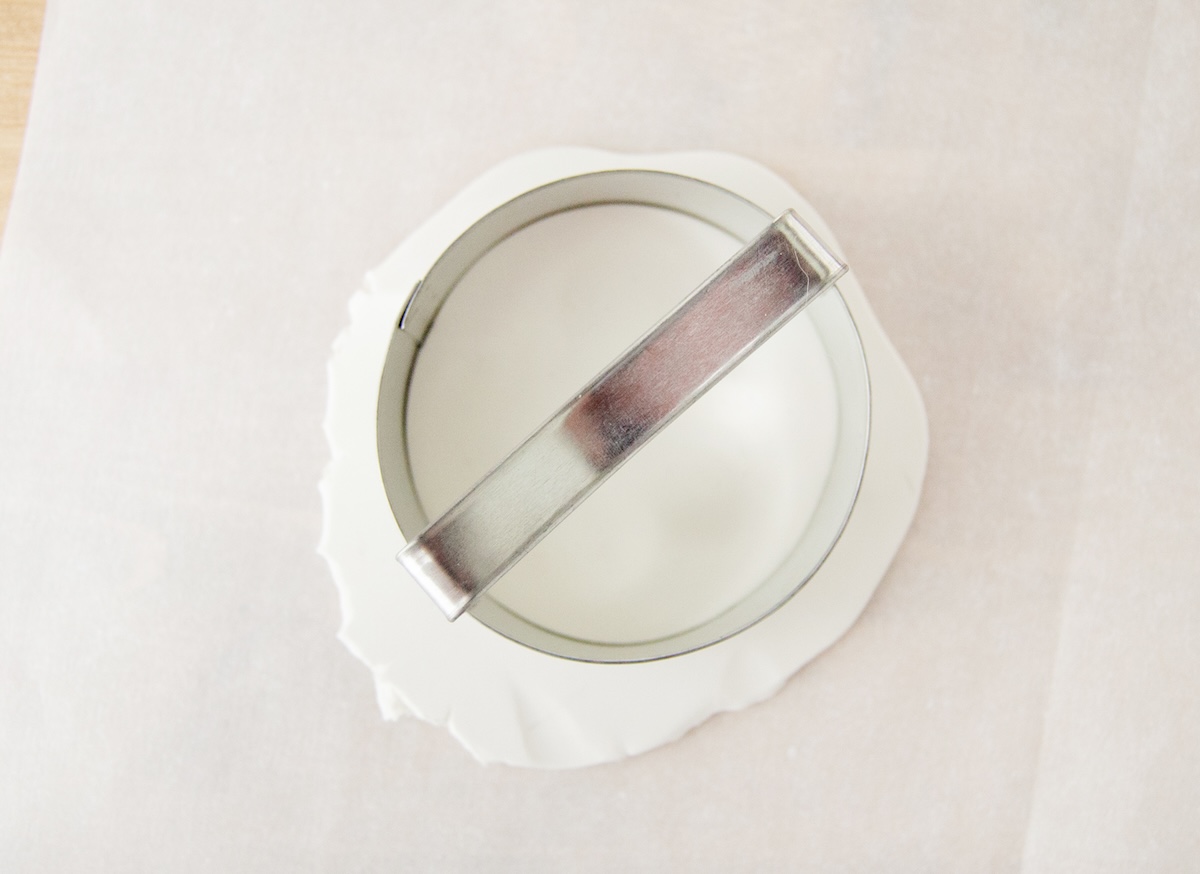
- Use your circle cookie cutter (or whatever shape you like) to cut the clay to a nice, clean, round shape.
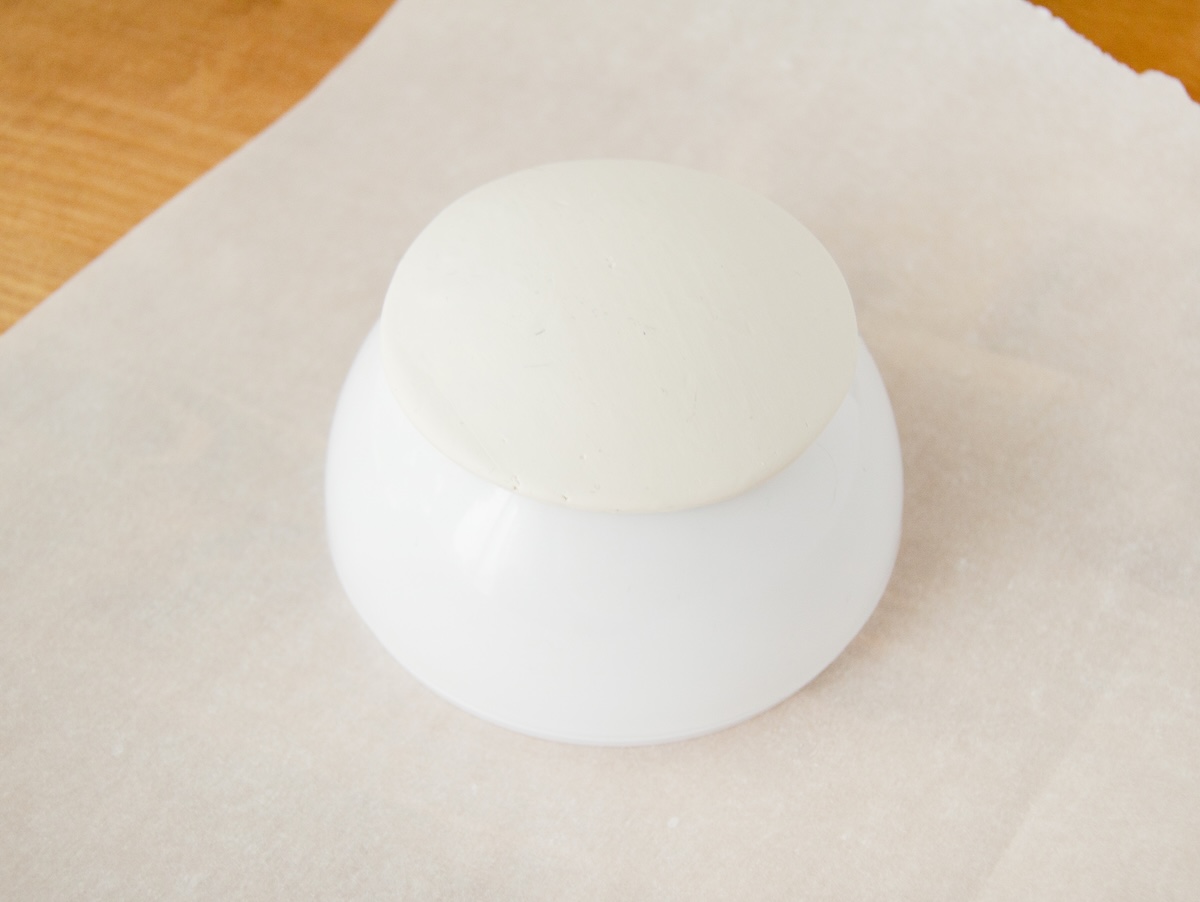
- Use a round object such as the bottom of a bowl to shape your clay for it to be rounded – meaning more dish-shaped, and not flat. Place parchment paper over the bowl and smooth down. You can wet your finger and rub it around the clay to smooth also.
- If you are using air-dry clay, let it dry for a few hours to a few days, until it has hardened.
- Use a pencil to sketch the design of your choice onto the clay.
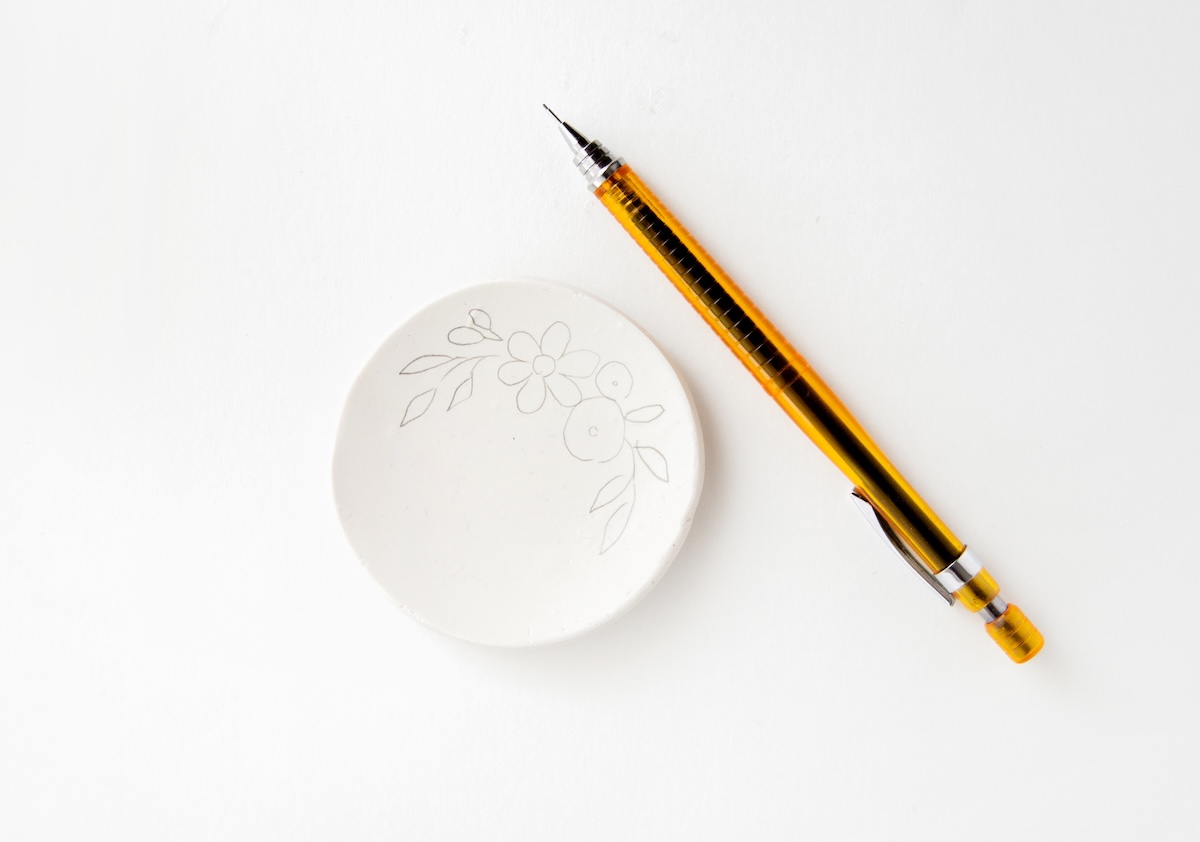
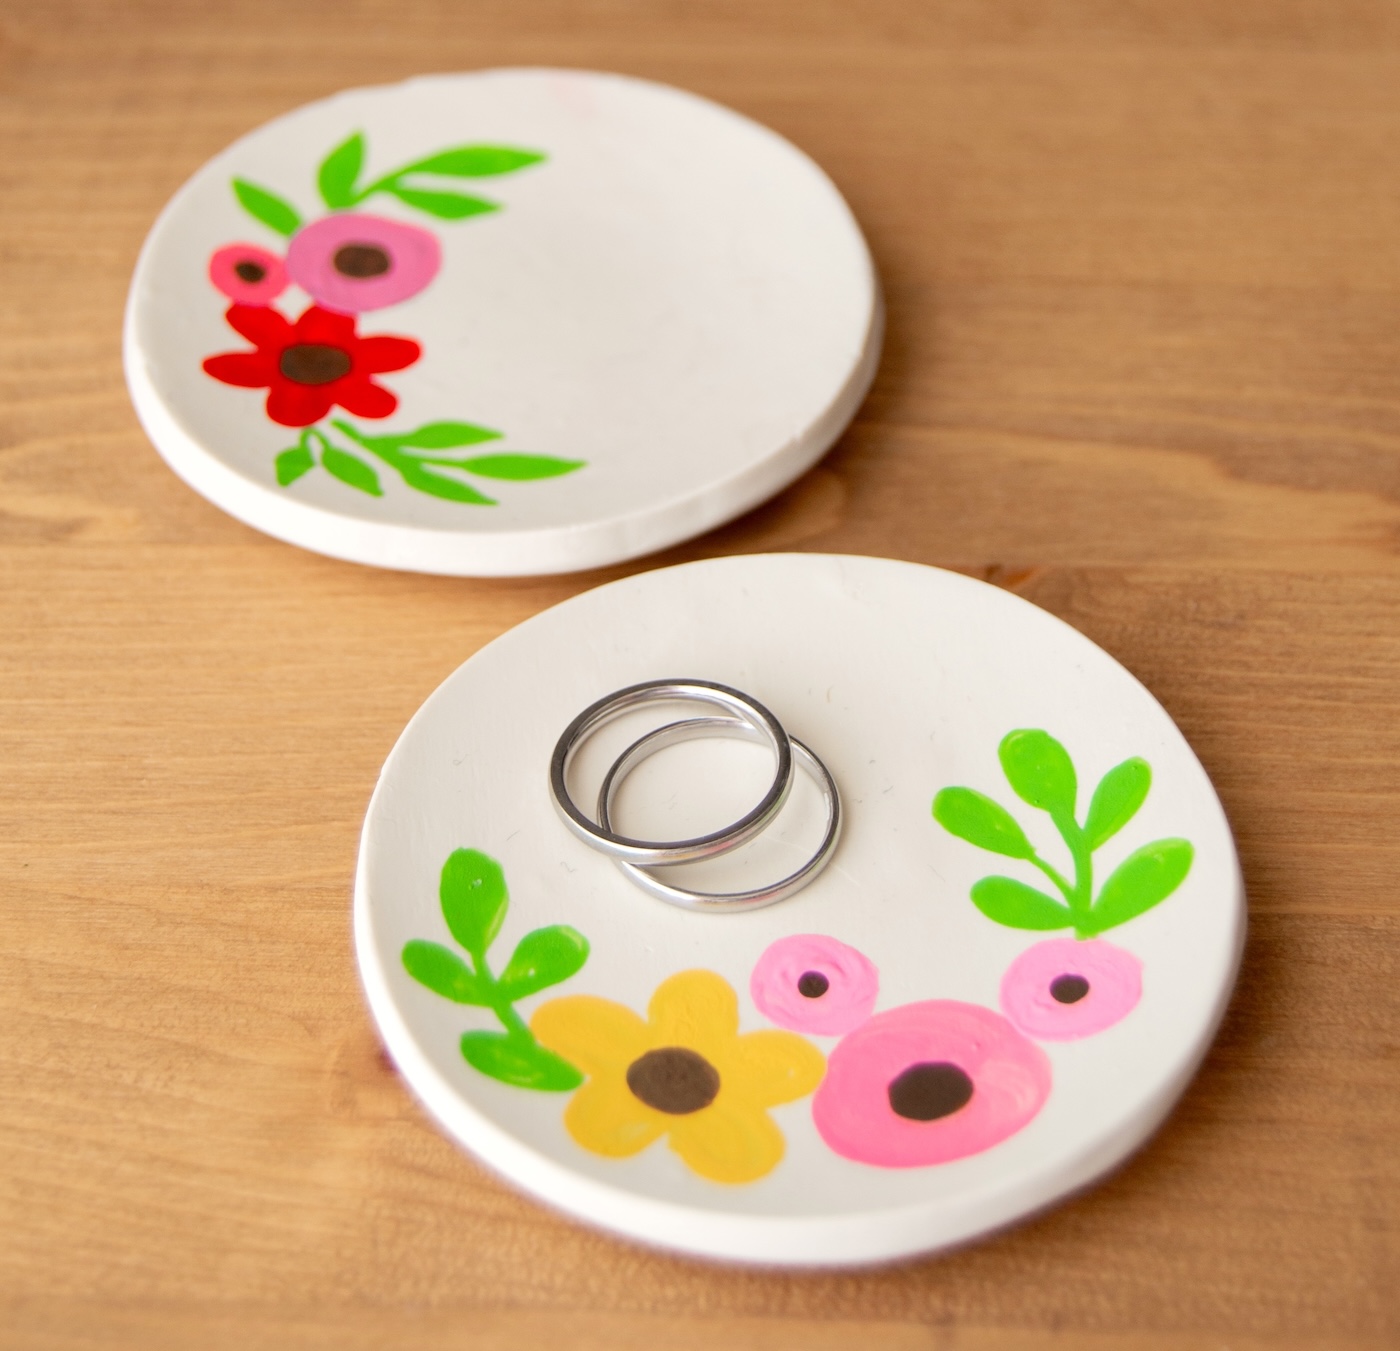
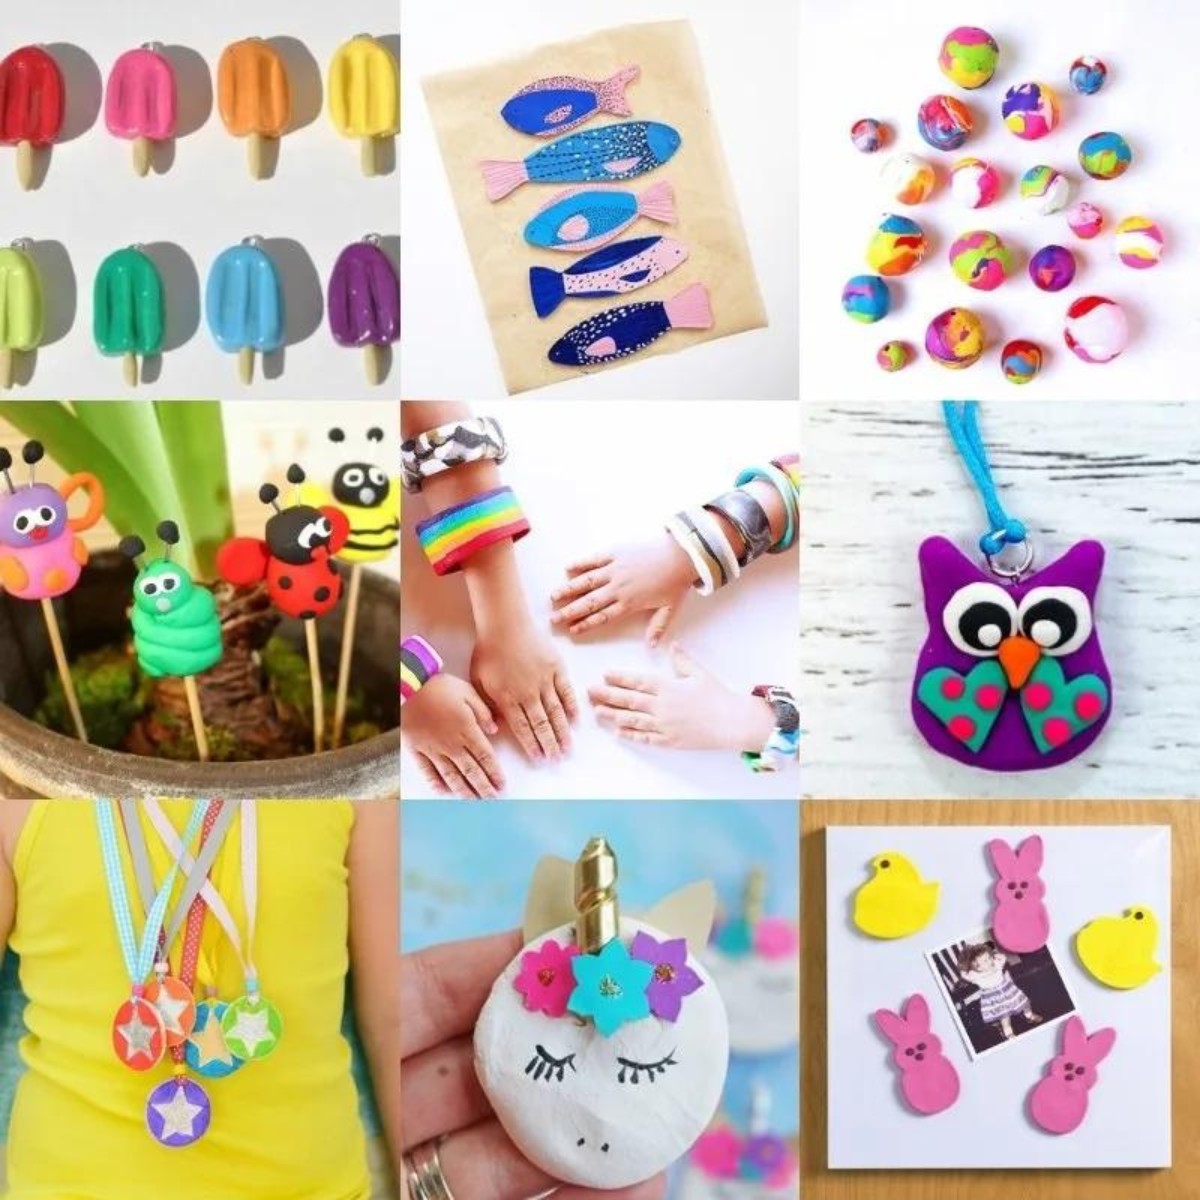
- Once hardened, paint your details – I chose flowers, but you can decorate with cute animal figures, leaves, stripes, dots – the possibilities are endless!

- Seal your piece with an appropriate sealer – Mod Podge works great for air dry clay, and . Let it dry, and you’re done!
Notes
If you enjoyed making this trinket dish, you might also enjoy these other simple projects and gifts:
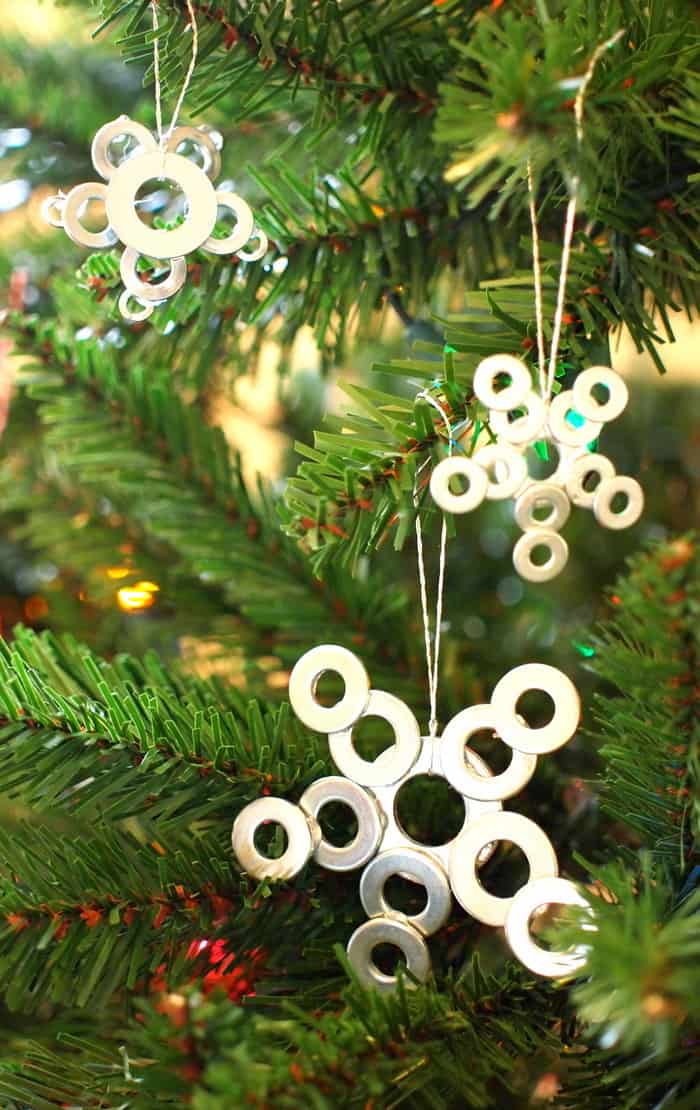
Clay Christmas Ornaments • Clay Leaves • Coloring Book Tea Towel • Cottagecore Crafts • DIY Magnets • DIY Photo Holders • How to Make Cork Trivets • Polymer Clay Necklace Ideas • Shrinky Dink Keychains
This is so cute! I tried to make similar dishes out of polymer clay and they didn’t turn out quite as well. Could be that I need more practice. I think air dry clay is a great place to start practicing, and get instant gratification from the finished trinket dish. Great idea!