DIY Halloween Village with Spooky Mini Ghosts!
Make a DIY Halloween village using paint and paper mache houses. My favorite part are the spooky mini ghosts you can make from concrete! Kids will love to participate too.
Skills Required: Beginner. You’re going to do a lot of painting, but it doesn’t require exact detail painting. In fact the lines not being straight adds to the spooky effect! The ghosts are easy to make too.
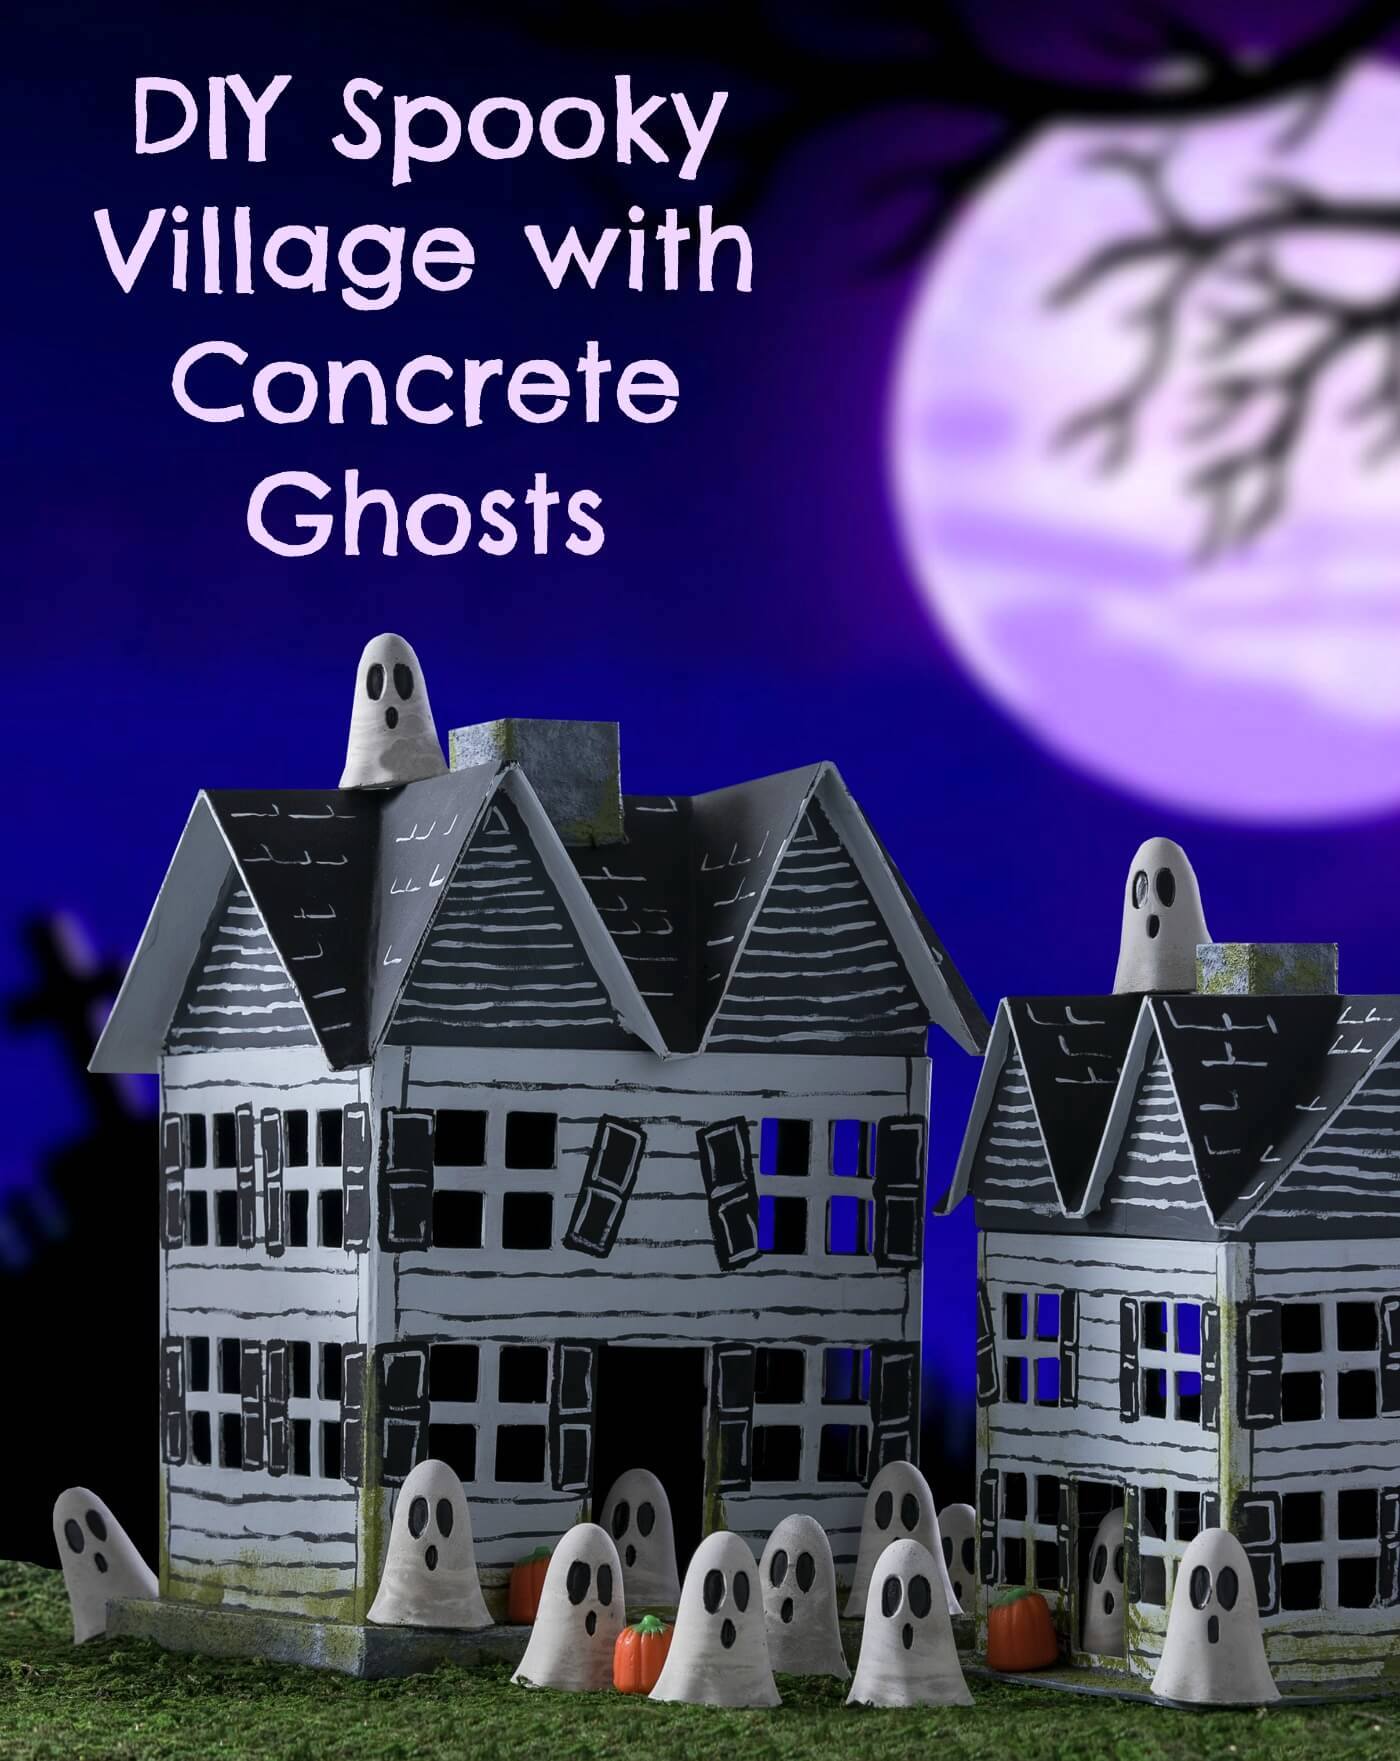
I’m obsessed with Halloween villages. You know the ones I’m talking about? A Halloween village can be very elaborate . . . and some are made from ceramic and cost hundreds of dollars per piece.
But what if you want to make your own spooky village but don’t want to break the bank? You can make one yourself!
What I love about this project is just about everything. It’s perfect for Halloween decorating of course, but also – the ghosts are so cute I can’t stand it.
AND your family members (and children) can help make it! It’s pretty fun to put together! Learn how we made a spooky village of our very own.
Halloween Village DIY
Note about this project: some of the accents on the haunted houses use painted finish texture paints. If you don’t have this on hand, you can use white texture paint and paint it. You can also make your own texture paint.
Gather These Supplies
- Paper mache houses – we got ours from Hobby Lobby
- Acrylic paint – black, light gray
- FolkArt Painted Finishes – Dark Concrete, Dark Moss
- Quikrete Mortar Mix – you can use Quikrete 5000 too, this just happens to come in a smaller bag!
- Ghost ice mold
- Paintbrushes – flat brush, detail brush
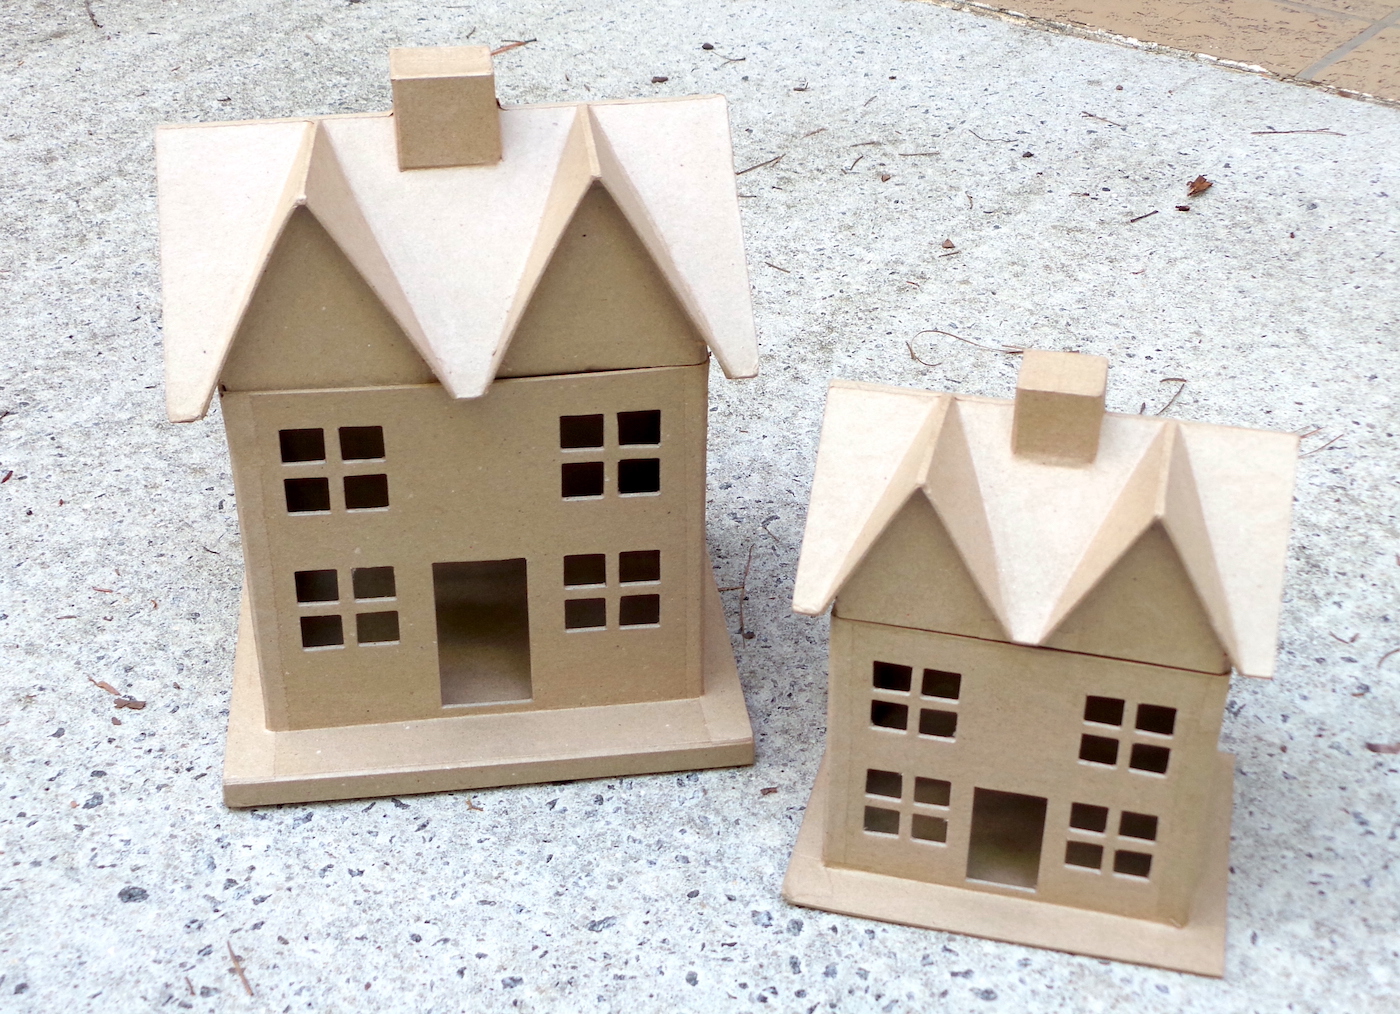
Here are the paper mache houses we used. You can get them at Hobby Lobby, or online.
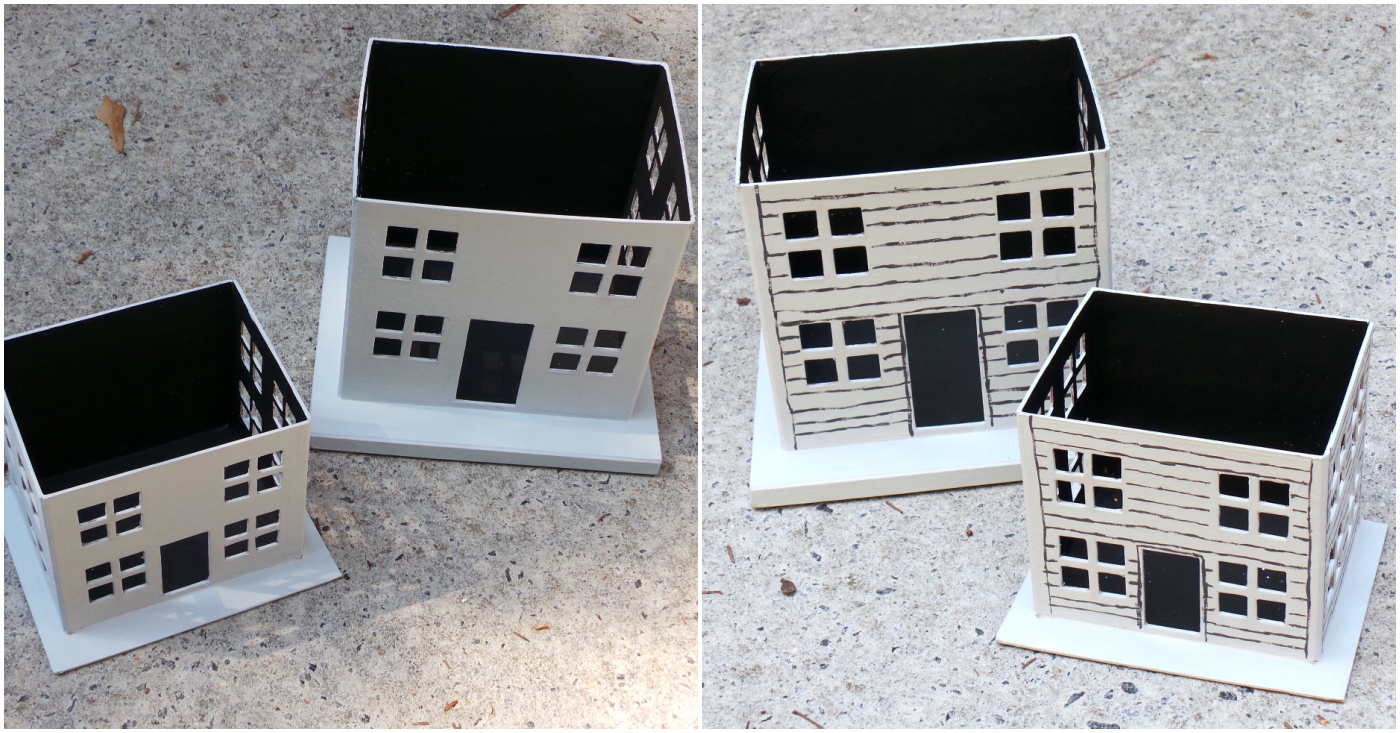
Paint the Houses
Paint the inside of the houses with black acrylic paint (the roofs come off) and the outside with light gray. Then use a detail brush to paint a squiggly line pattern as shown. It doesn’t have to be perfect. Remember this is a creepy house! Let that dry.
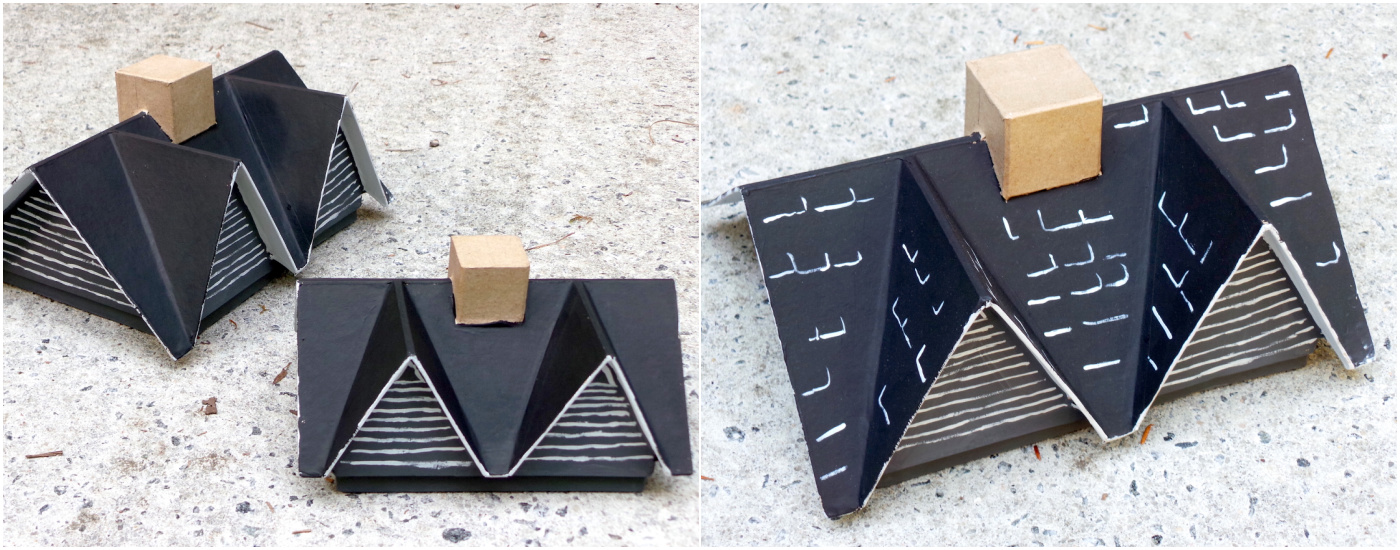
You’re going to do the opposite treatment on the roof. Paint it black, then add some light gray accents and lines. Even add some shingles . . . it’s all just random.
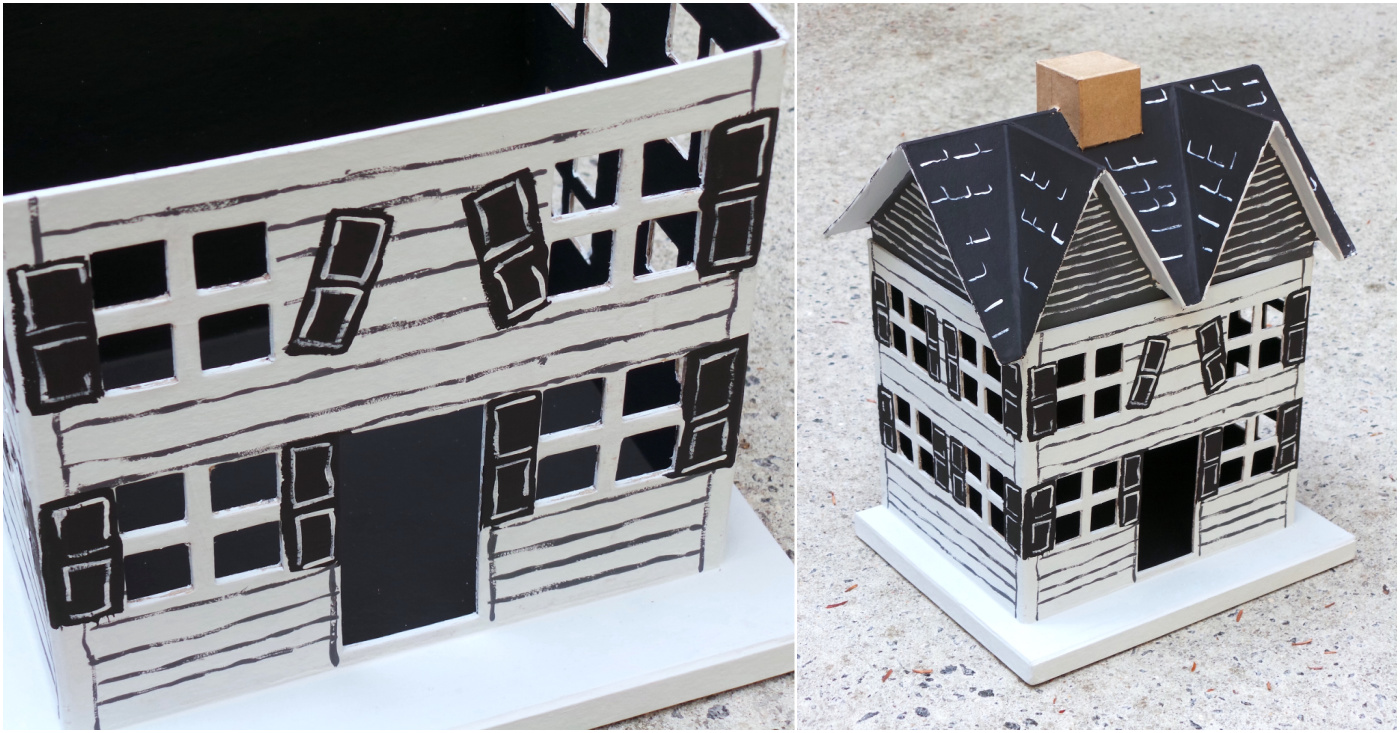
Paint shutters on the windows of your house. We used the detail brush for this. Make some of them look broken. Remember, this house is spooky and haunted and that means it’s falling apart!
Add the Accents
Now you’re going to play with some cool textures.
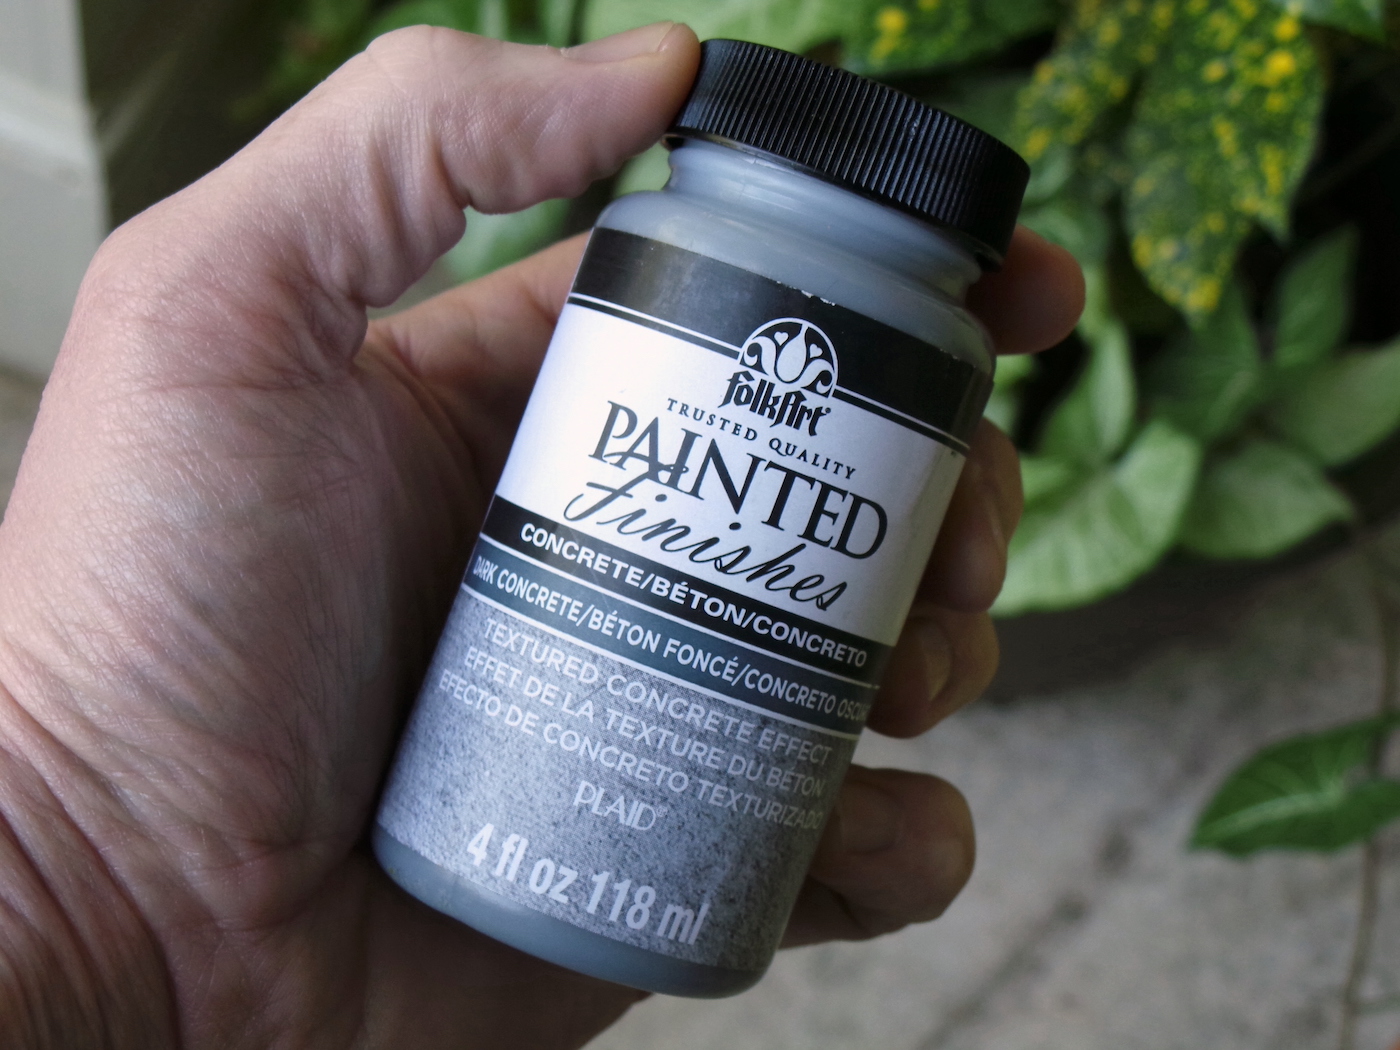
We grabbed some of this cool FolkArt product from Plaid that makes a concrete texture to use on our chimney. You’ll want to shake this product before using.
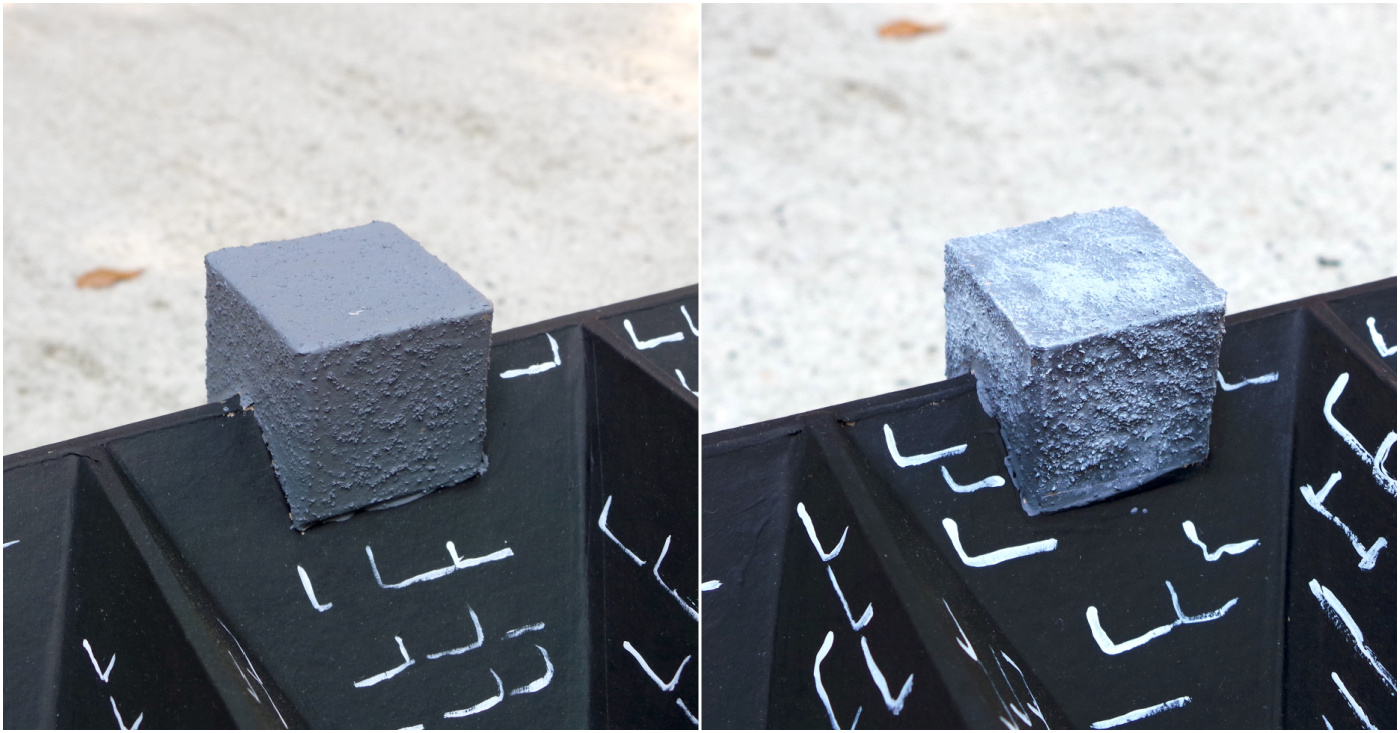
We dabbed it on with a brush after kind of scooping it out. It’s very easy to use. We let the Dark Concrete texture dry and then dabbed some light gray on the top. It looks cement-y, don’t you think?
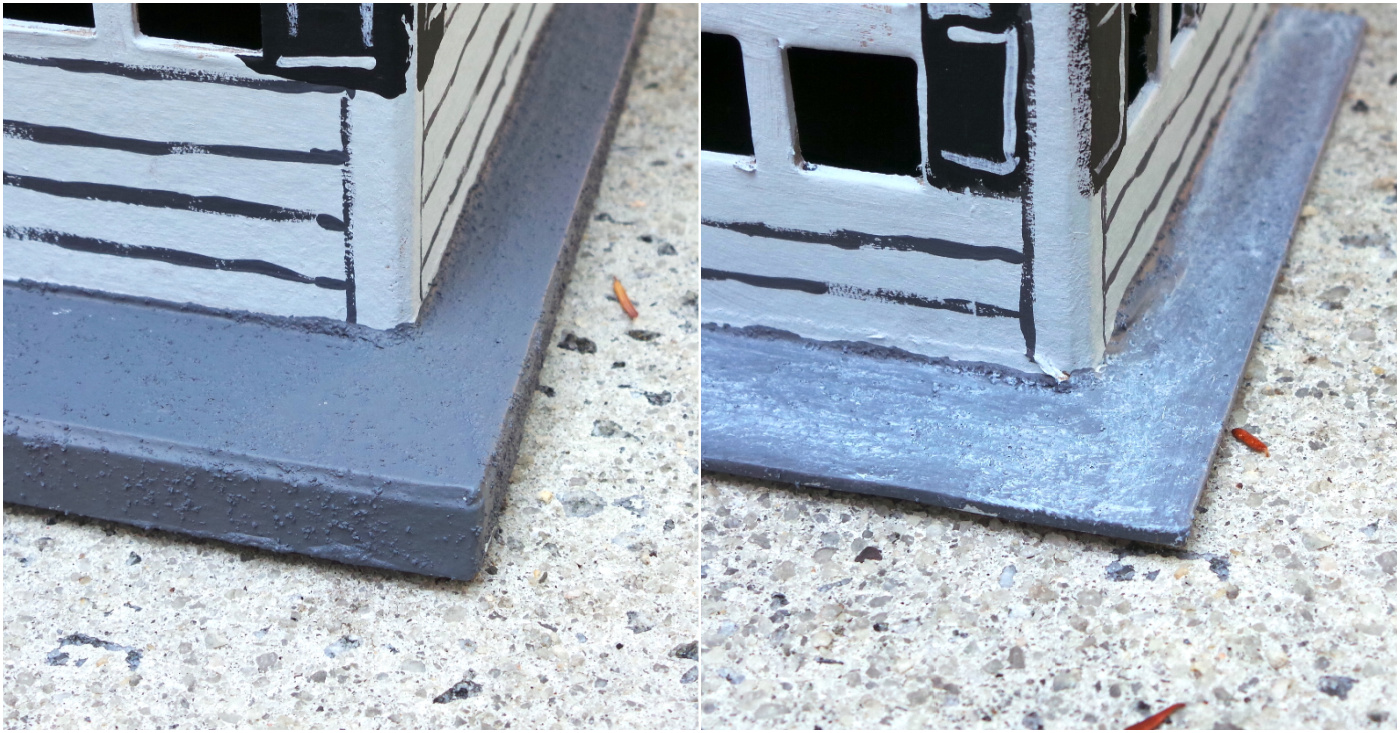
We gave the same treatment around the base of the house.
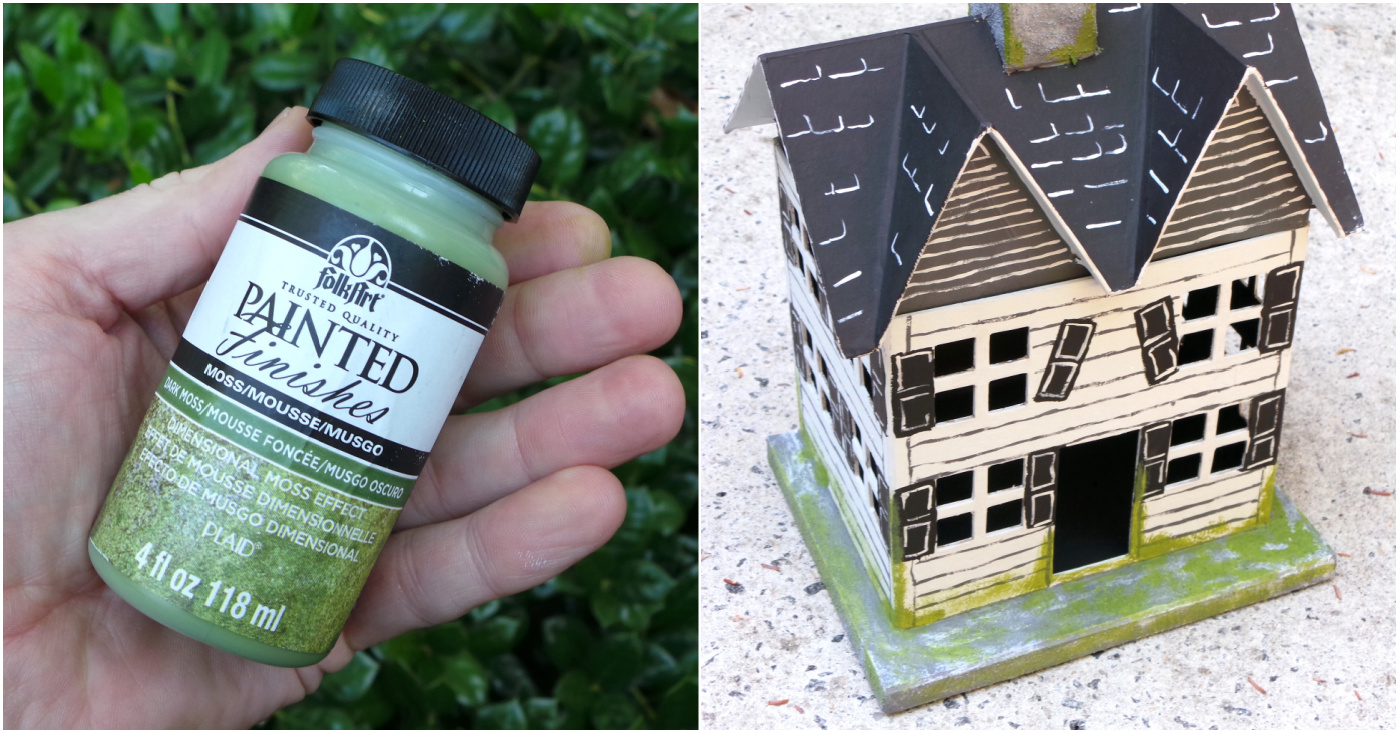
We used our second FolkArt Painted Finish – the Dark Moss – to add mossy accents around the base of the house and on the chimney. All haunted homes have overgrown moss, right?
Make the Ghosts
Sit the houses aside and let them dry while you make your concrete ghosts!
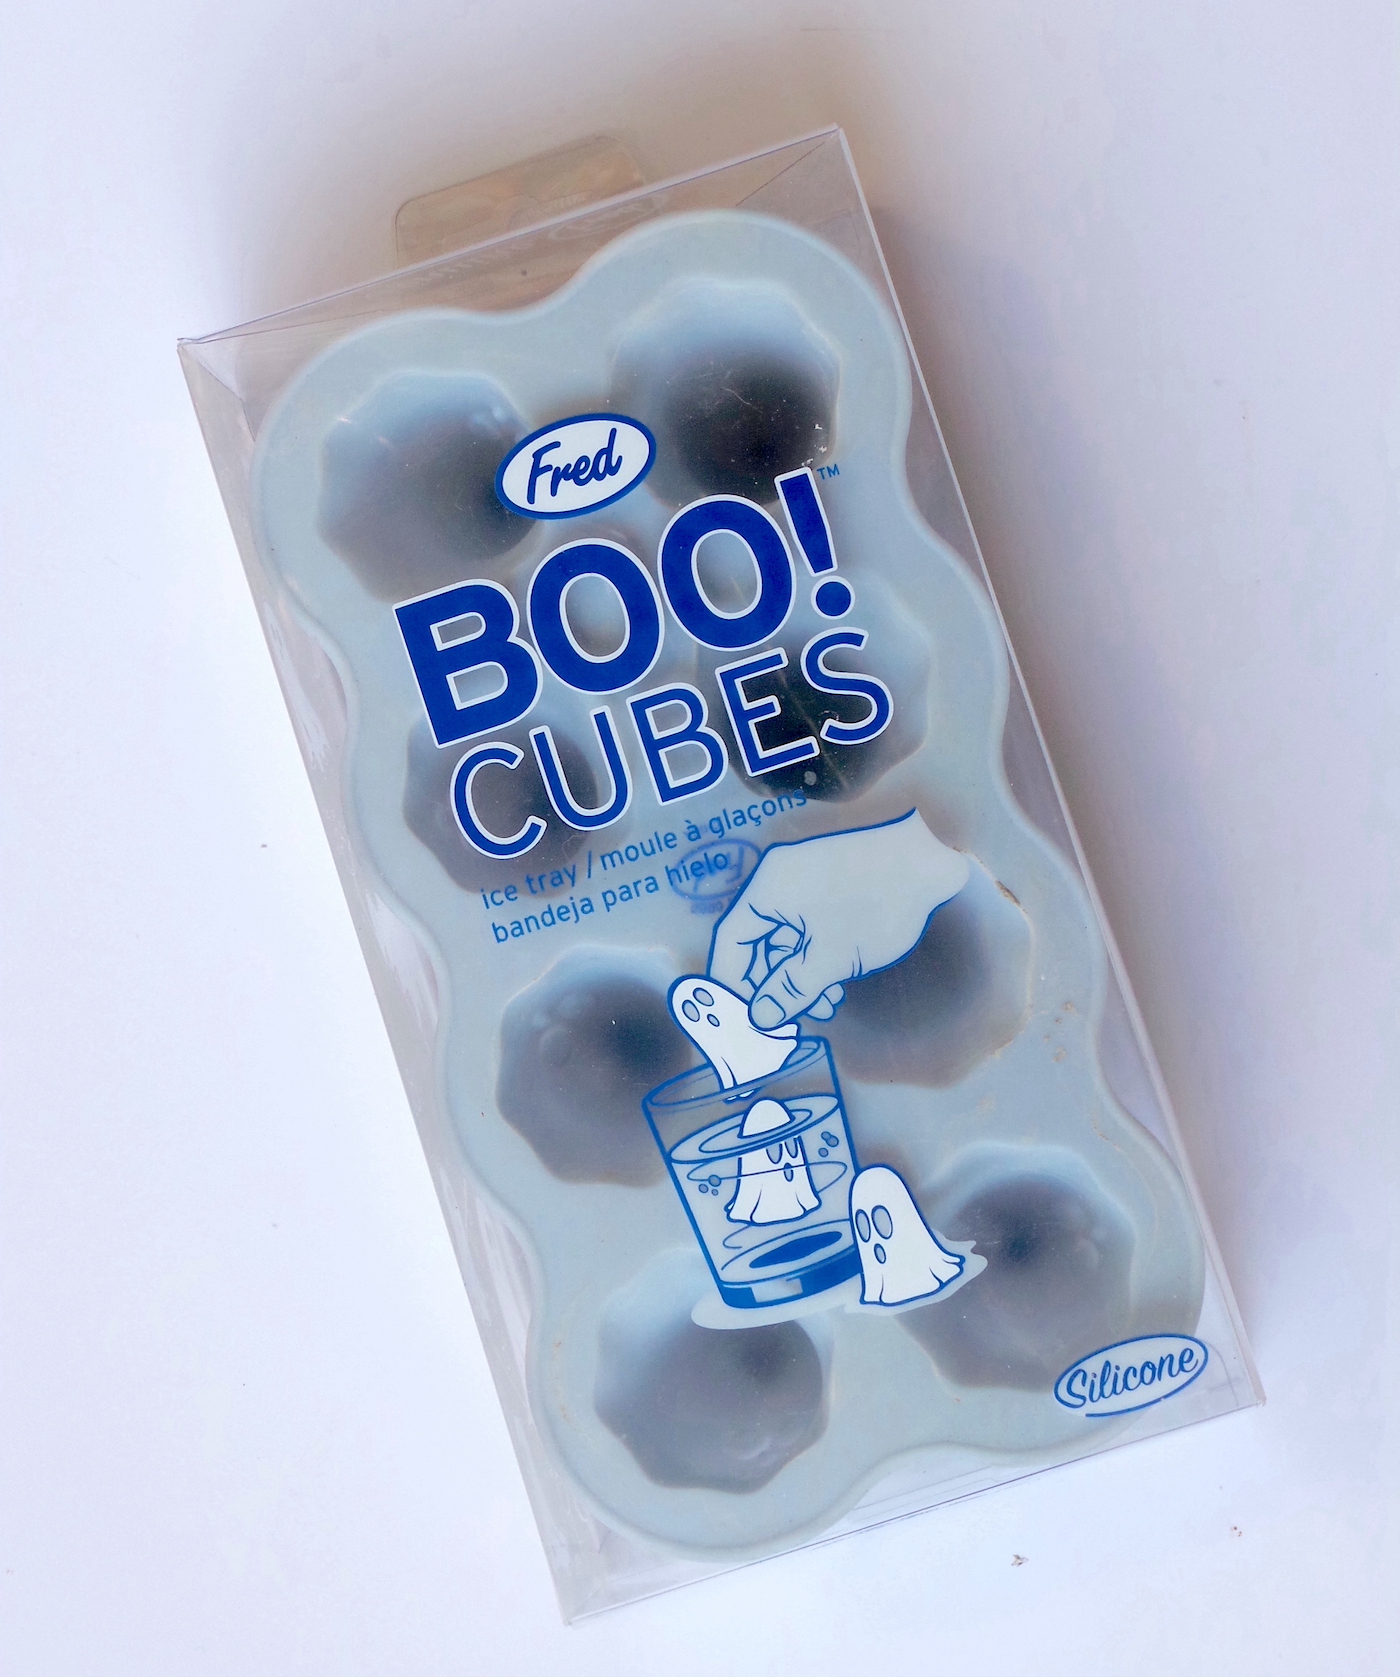
We found this Fred & Friends ghost ice mold and squealed with delight (well I did, Steve didn’t squeal). and we knew that’s how we were going to adorn our spooky village with concrete ghosts. These little guys are too cute!
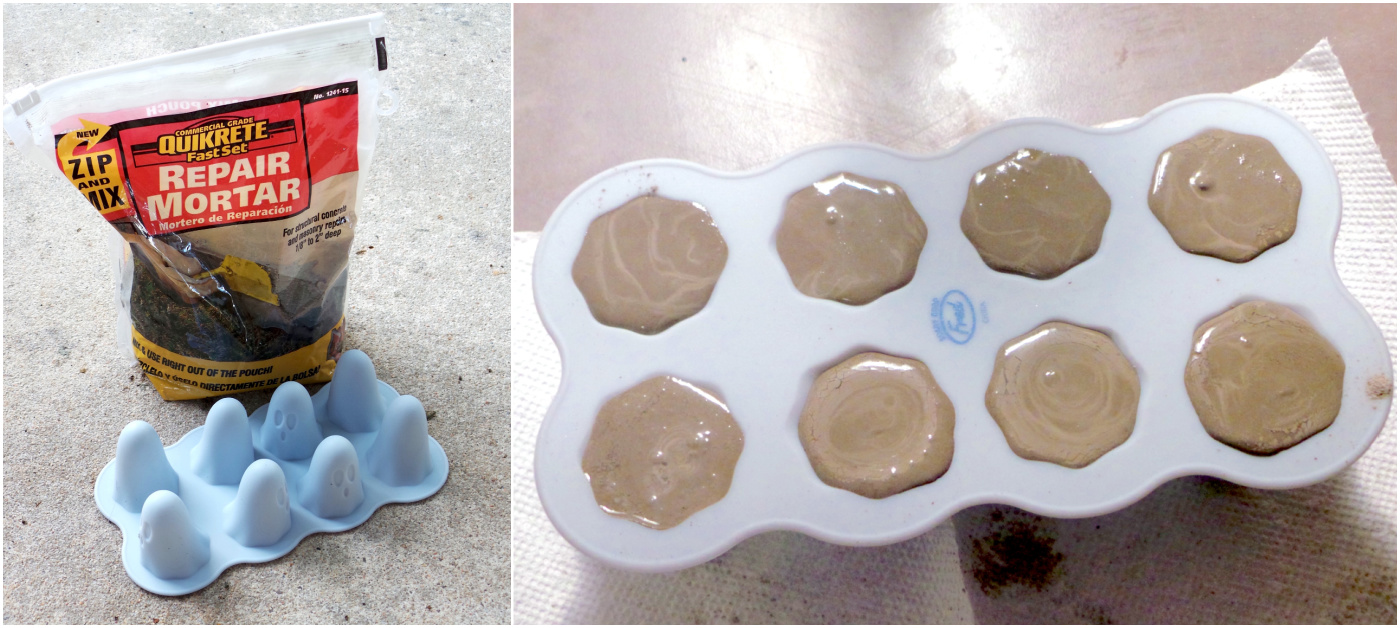
All you need is some Quikrete. Mix according to package instructions and place inside the silicone mold. Let dry, bust those little bad boys out and paint their eyes with black paint and a detail brush. Let dry and display!
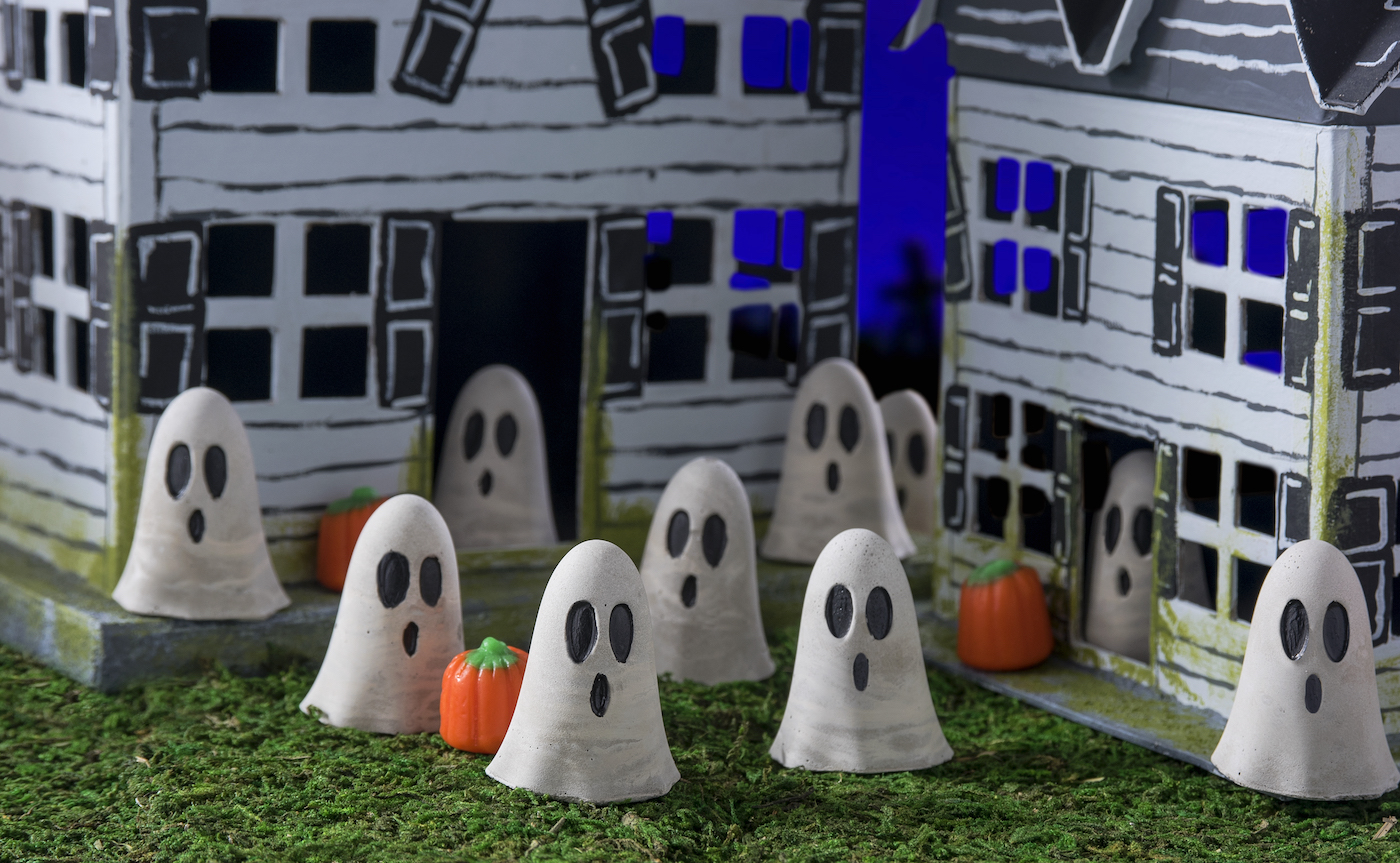
Those little pumpkin candies are perfect with your concrete ghosts and your painted haunted houses.
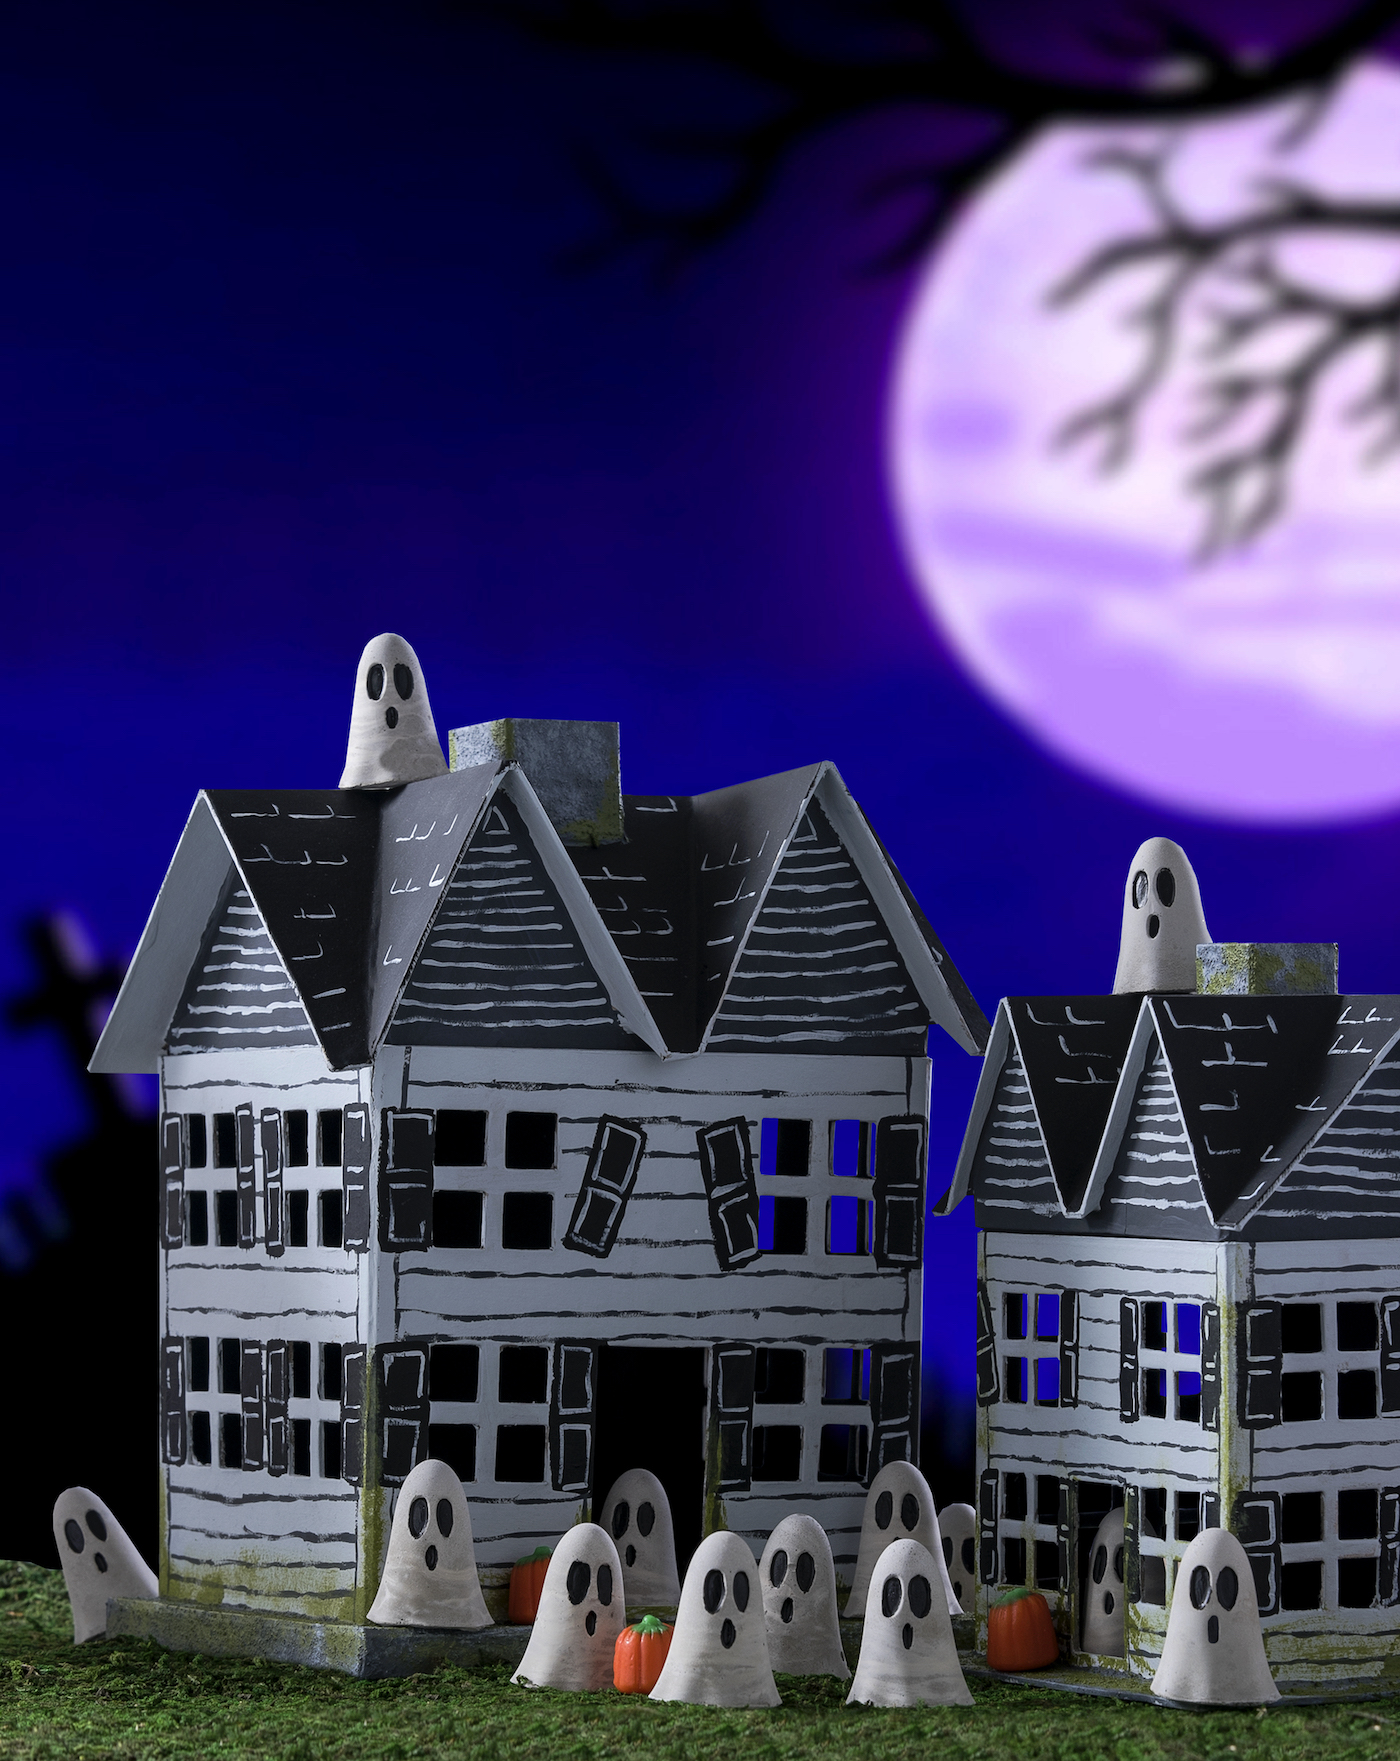
What do you think of our DIY Halloween village and concrete ghosts?! Ghosts hiding everywhere . . . punkins . . . so fun! Let us know in the comments!
If you enjoyed this Halloween craft idea, I’d love for you to check out these other fun projects and posts:

