Festive Crafting: Easy DIY Snow Globe Ornament
Craft your own magical winter wonderland with this DIY snow globe ornament. Perfect for Christmas tree decorating or unique gift-giving.
Skills Required: None. Even if you’ve never crafted before, you can make this. You’ll basically be gluing. it’s easy enough for both kids and adults!
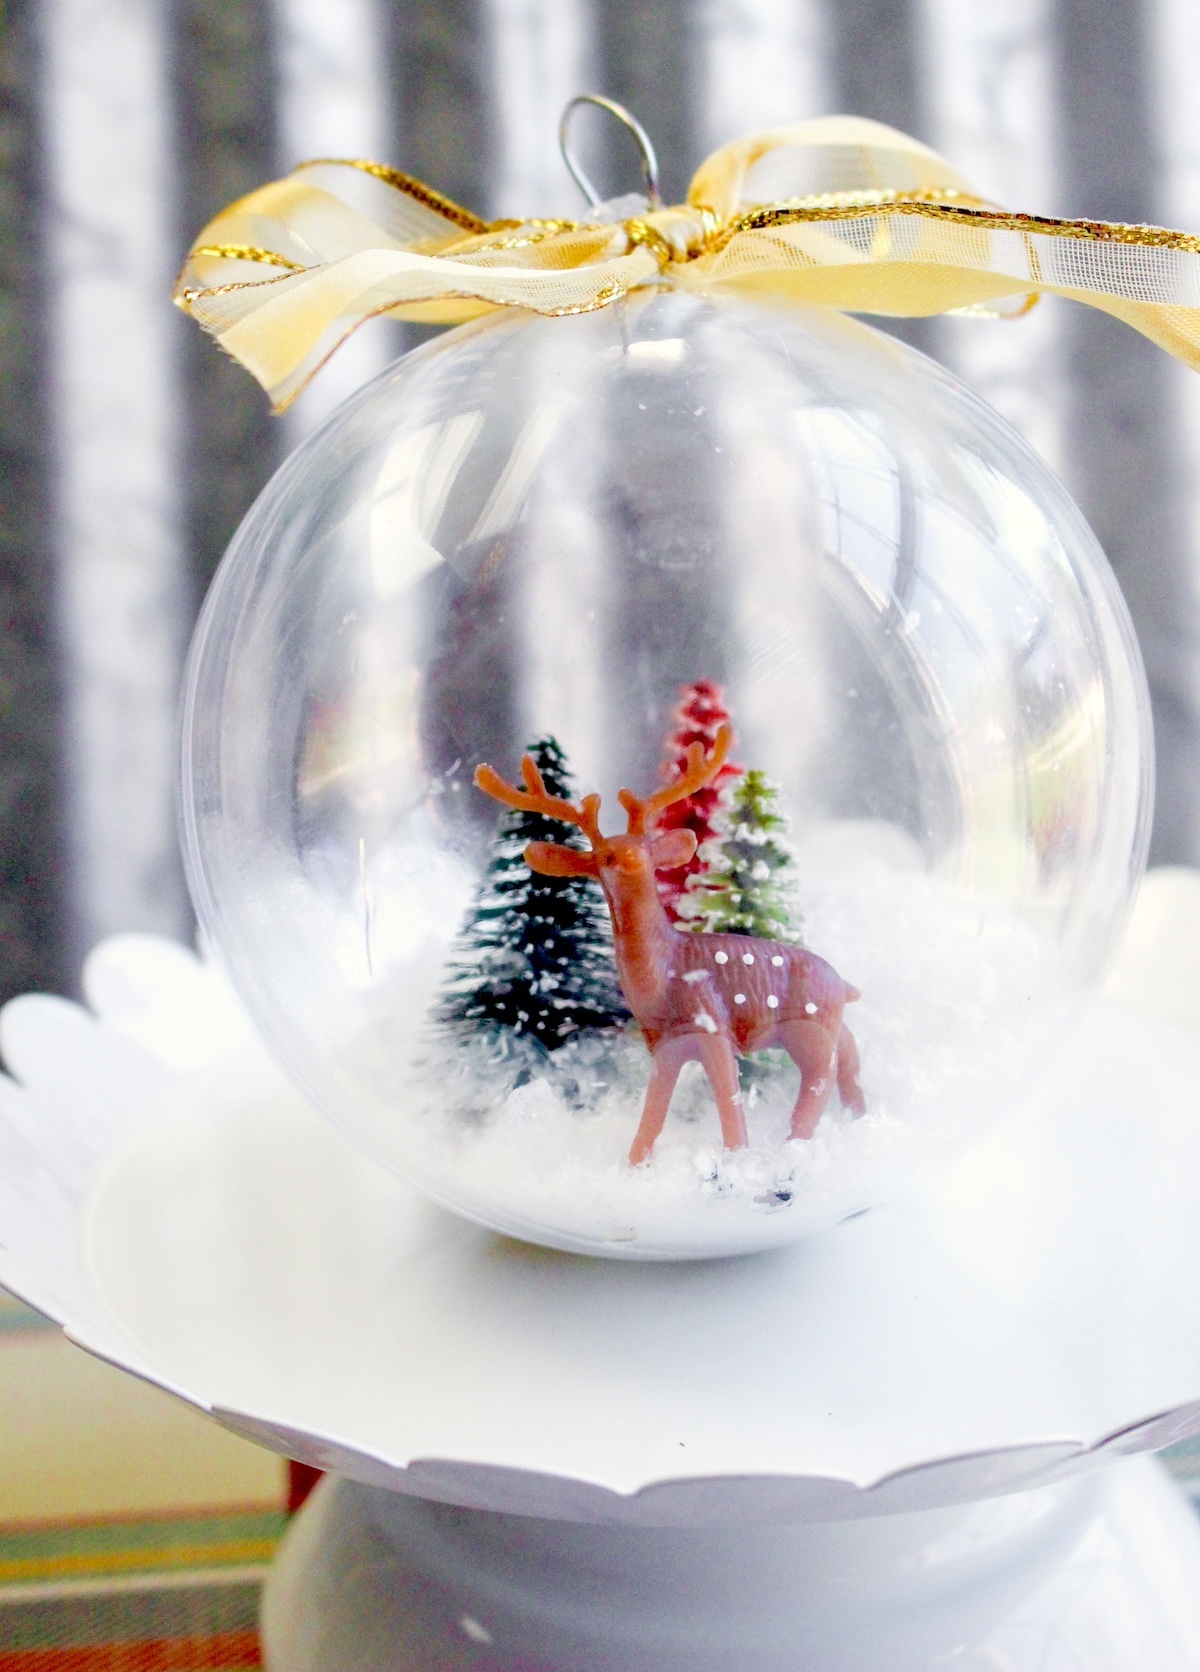
Welcome, holiday crafters and Christmas enthusiasts! Get ready to shake up your ornament game, literally, with a project that’s snow much fun – the DIY snow globe ornament!
Forget the traditional baubles and tinsel; we’re about to turn a little bit of plastic and some crafty magic into a winter wonderland that fits in the palm of your hand.
You’re about to make a tiny, tranquil scene of winter bliss, nestled within a plastic fillable ornament. It’s like capturing a piece of the North Pole (minus the freezing temperatures and the need to feed reindeer).
This isn’t just an ornament; it’s a miniature, shakeable, mesmerizing world of holiday cheer.
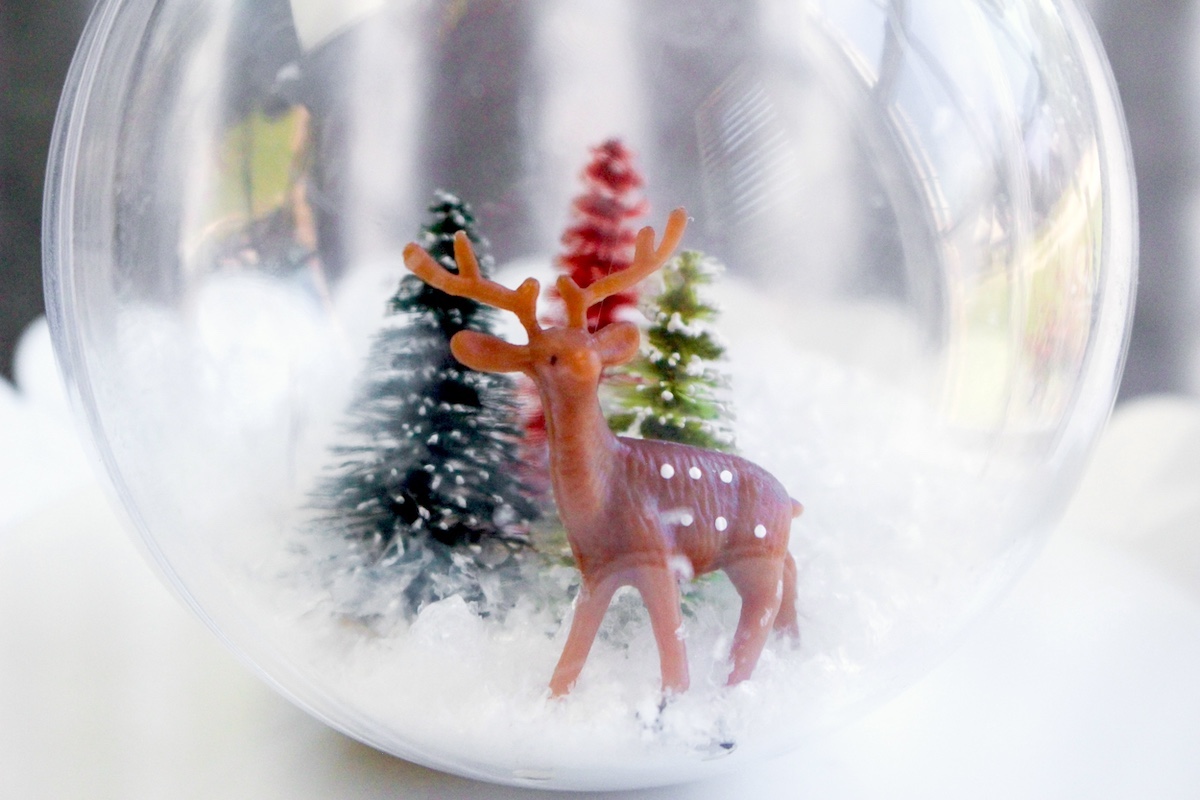
Whether you want to create a peaceful winter scene, a tiny replica of Santa’s village, or a frosty forest – the possibilities are as endless as the lines at the mall in December.
And the best part? Making these DIY snow globe Christmas ornaments is as easy as pie (and let’s be honest, much less messy).
It’s the perfect craft for a cozy night in, a fun family activity, or even a crafty gift that says, ‘I made this, and yes, I am that awesome.’
So, grab your plastic ornaments, rustle up some bottle brush trees and that adorable plastic deer, and let’s get to creating a festive storm!
Prepare to dazzle your friends, family, and maybe even a few envious elves with your DIY prowess.
It’s time to bring a little handmade holiday spirit to your Christmas tree. Let the snow globe crafting commence!
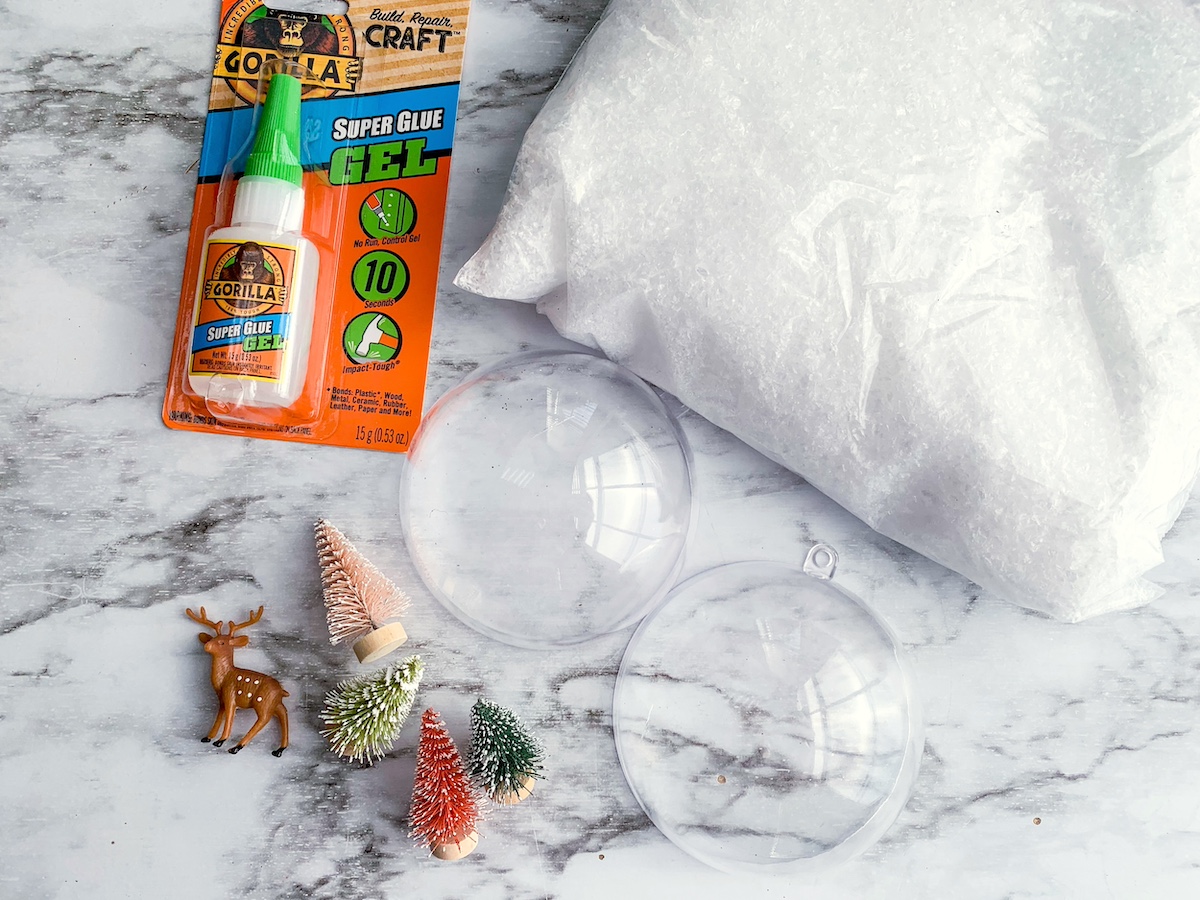
Gather These Supplies
- Clear round ornament that will split in half
- Hot glue gun and hot glue or tacky glue
- Decorative snow
- Small trees or animals to create your scene
- Ribbon
- Ornament hook
- Scissors
Tips and Thoughts for This Project
Clean your hands and the inside of the ornament at least before beginning to reduce smears. Just use mild soap and water and let dry.
The ornament needs to be able to be pulled apart so that you can insert your goodies. There are some that unscrew from the bottom, and those work too.
Check the Dollar Tree for ornaments as well as the minis and snow that go inside them. They have it all!
I recommend adhesive that dries clear and works with plastic. You don’t need much! A toothpick can help you to apply glue on smaller items.
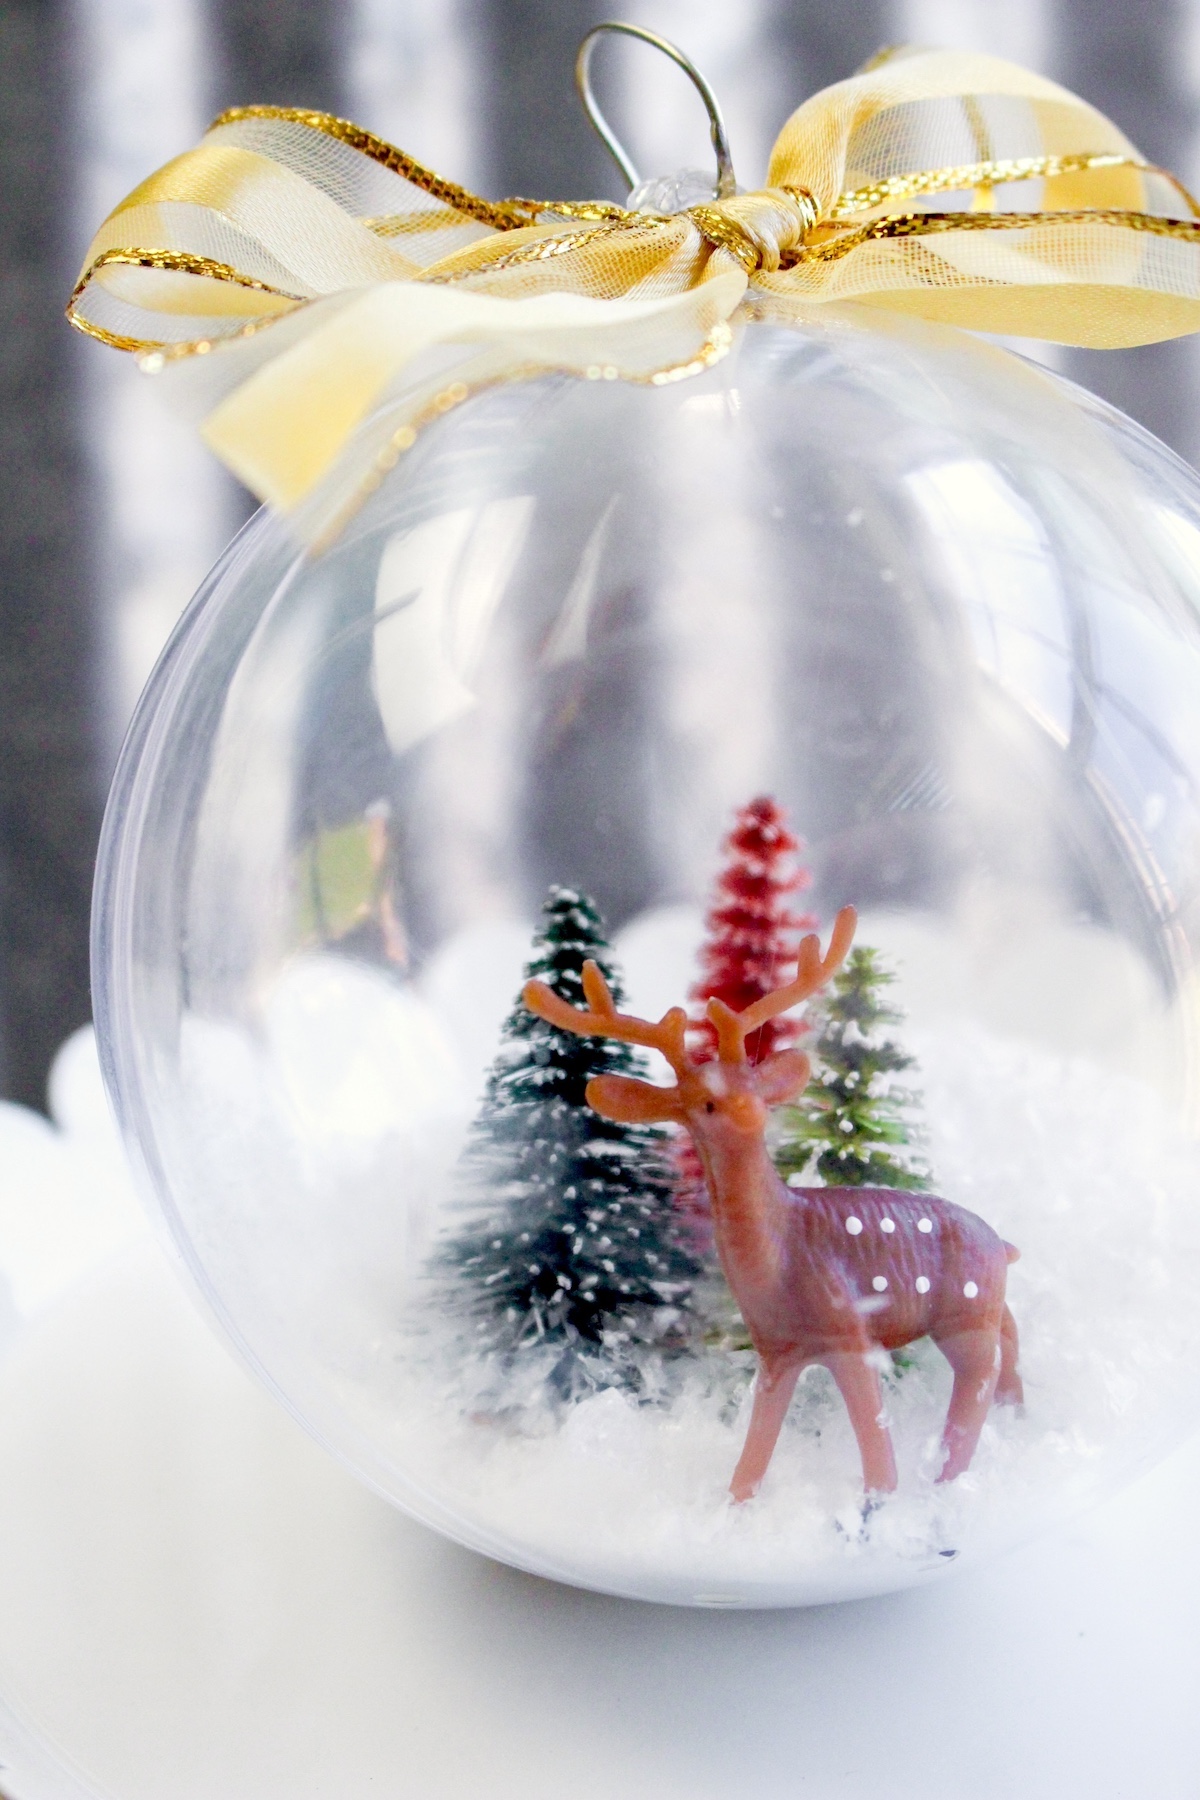
Get the printable how to card for this project below:
DIY Snow Globe Ornament
Equipment
- Hot glue gun and glue sticks optional
Materials
- Clear round fillable ornament
- Craft glue
- Decorative snow
- Small trees, plastic animals, or other embellishments
- Ribbon(s)
- Ornament hook
Instructions
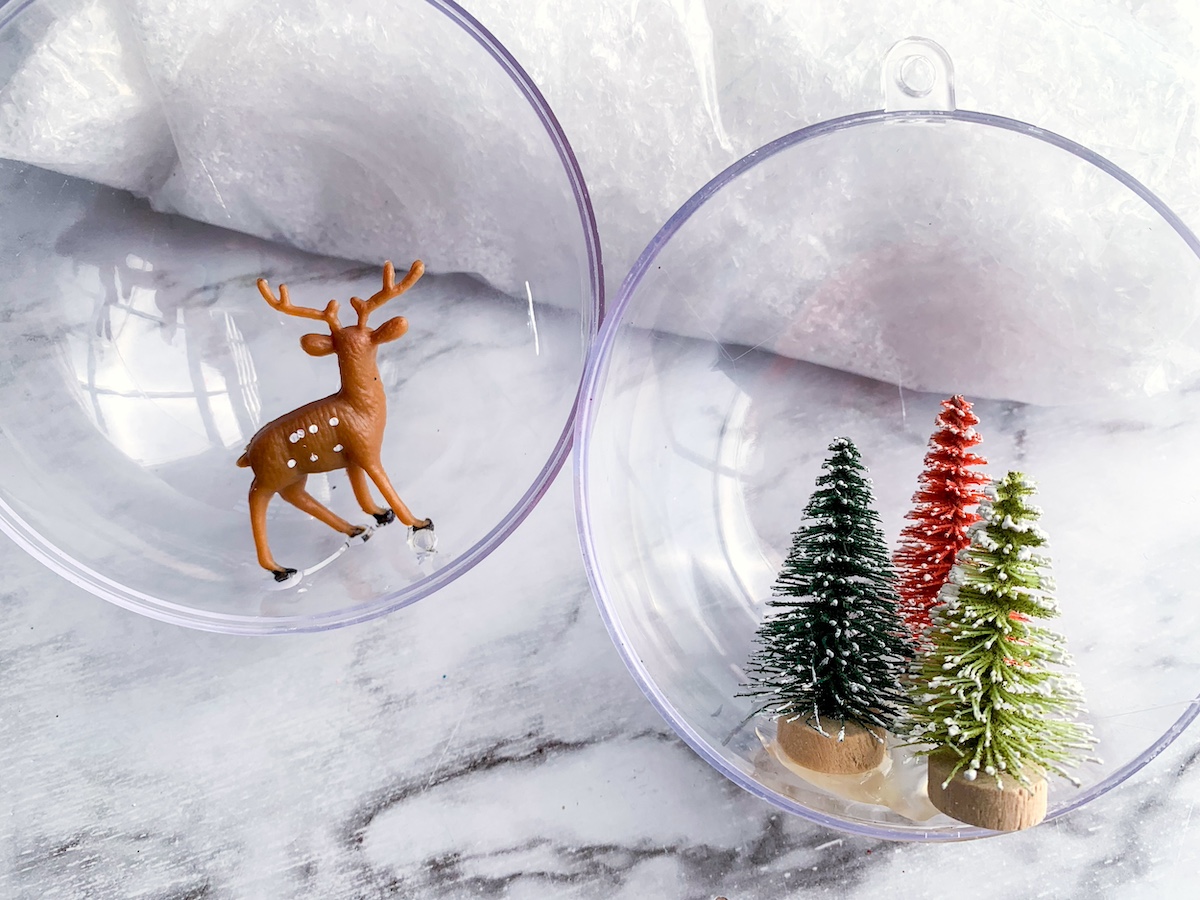
- Using the glue, attach the scenery inside the ornament. As you plan the scene, try to keep everything on the bottom of the ornament. Remember that you can use both halves of the ornament. Allow the scene to dry completely.
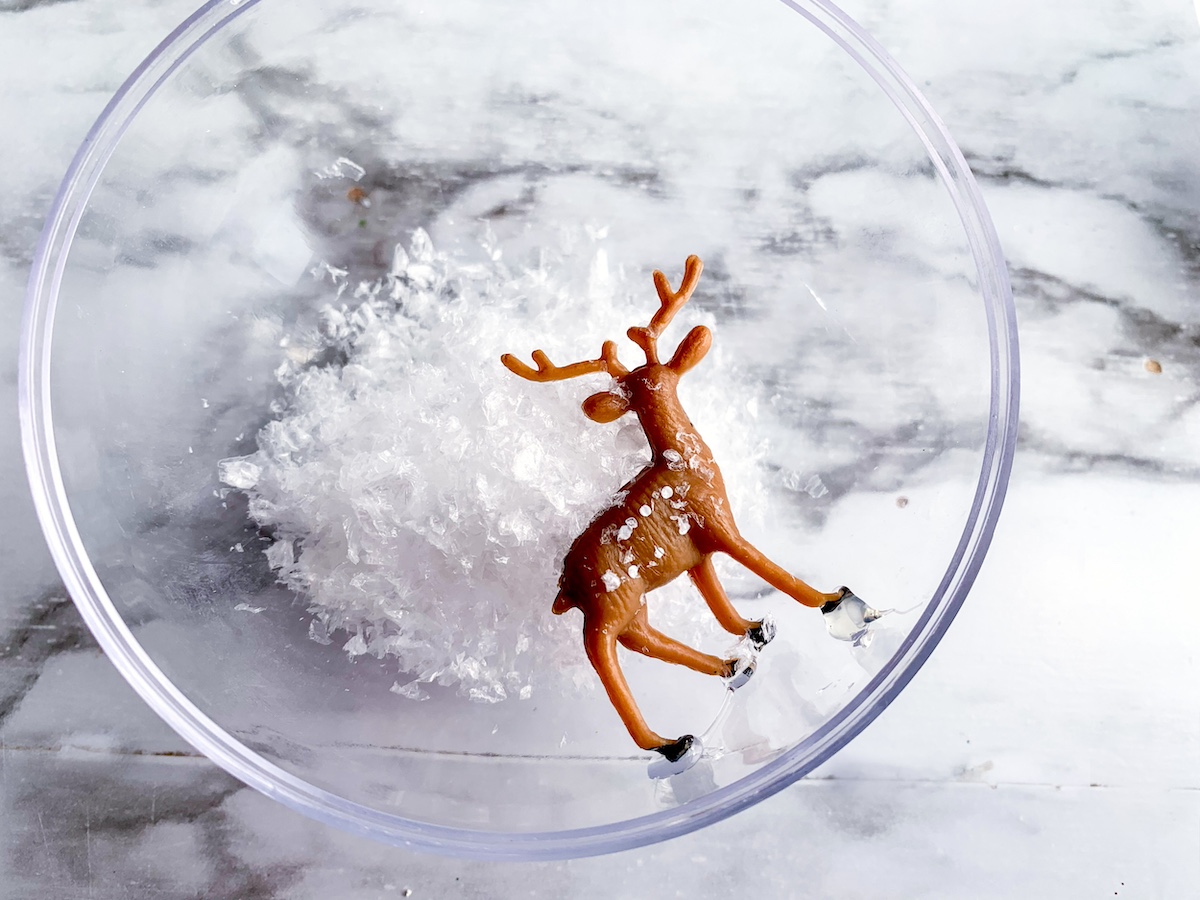
- Add a small amount (about 1 to 2 tablespoons depending on the size of the ornament) of decorative snow to the ornament. Press the two sides of the ornament together to seal.
- Add the ornament hook to the top of the ornament to keep the ornament closed. Tie the ribbon into a bow and use glue to attach it to the ornament.

If you enjoyed this DIY snow globe Christmas ornament, let me know in the comments! I’d also love for you to check out these other ornaments:


