DIY Wood Slat Doormat with Mid-Century Style
Make a DIY wood slat doormat using wood slats, wood beads, and rope! You can also decorate with fabric. It’s easier to do than you might think.
Skills Required: Intermediate Beginner. You should have experience with a saw cutting wood slats, Mod Podge, and stringing beads and rope. It’s not hard, there are just several steps.
My husband and I are huge fans of mid-century modern home decor items. We are especially inspired by the color palettes; greens, browns, oranges . . . shades along these lines.
For me, it’s a reminder of my grandparents’ house in Bellevue, WA, just outside of Seattle. My dad grew up in this home in the 1960s, and when I was growing up the furniture was the same.
I’d like to tell you that my grandparents were stylish, but I think they just didn’t want to buy anything new. Either way, I have a fondness for Mad Men-esque furniture, and it’s the look we go for in our home, at least a version of it.
Our latest creation inspired by mid mod is this slatted wood doormat. We knew the wood we wanted to use, and I actually had the fabric and wood beads from a previous DIY.
We We Used Oak In This Project
Oak is one of the most durable hardwoods available. Its dense grain structure gives it excellent wear resistance, which is crucial for a doormat that will endure constant foot traffic, dirt, grit, and moisture.
While oak is not fully waterproof, it has a relatively high resistance to rot and fungal decay compared to many other woods, especially if treated or sealed properly.
I highly recommend using it for this project! Here’s the how-to.
Wood Slat Doormat
Equipment
- Drill
- Pencil(s)
- Brayer
Materials
- 2 pieces 8-foot 1 x 2s cut into fifteen 18 inch pieces, these will be your slats
- Mod Podge Outdoor
- Thompson’s WaterSeal Nutmeg
- Multisurface craft paint Pure Orange
- Clear outdoor spray sealer I believe we used Rustoleum
- Fabric pattern of your choice
- 42 Wood beads 3/4″ round
- Nylon cord around 13 feet, make sure it fits through your beads
Instructions
- Cut the wood slats on a table saw.

- Stain the slats with Thompson's Water Seal and a foam brush after cutting, then let dry.
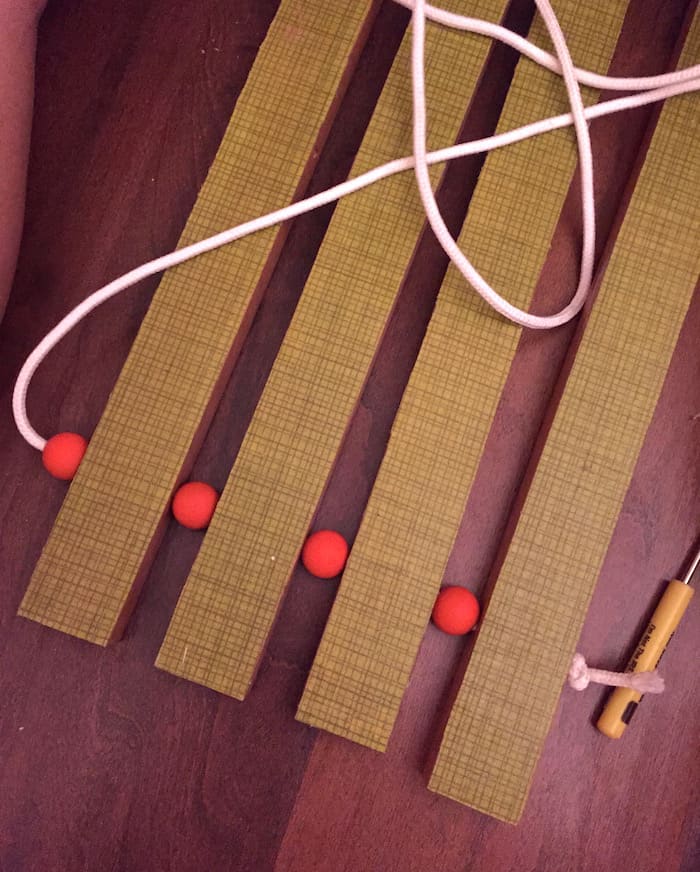
- Drill into the slats. On each slat, measure holes at 2.5", 9", and 15.5" inches on the side of each slat (in the center from top to bottom) – then make a pencil mark at each point.Use a drill bit that matches the hole in your wood beads. Not all wood beads have the same sized hole, so you'll need to use the drill bit that works for your beads.
- Prep the fabric using Mod Podge Outdoor. Place the fabric on a piece of wax paper and brush Mod Podge on top (a medium layer) and let dry.

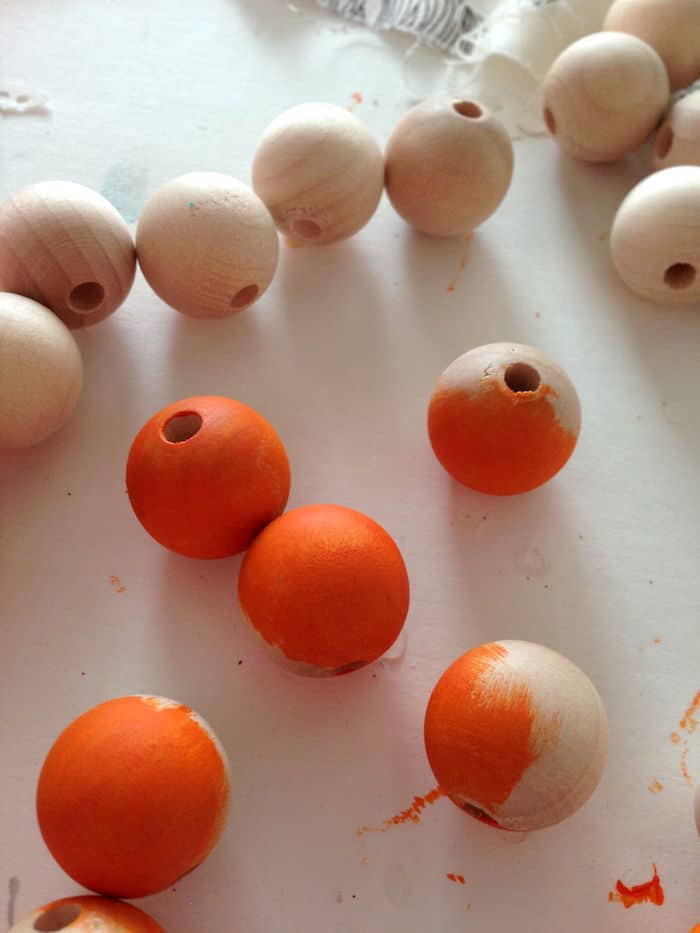
- While the fabric is drying, paint the beads with your multi-surface paint, or another paint made for the outdoors.
- Cut the fabric into pieces to cover the slats. Apply Mod Podge to the slat, then smooth the fabric down onto the slat, gluing it in place.
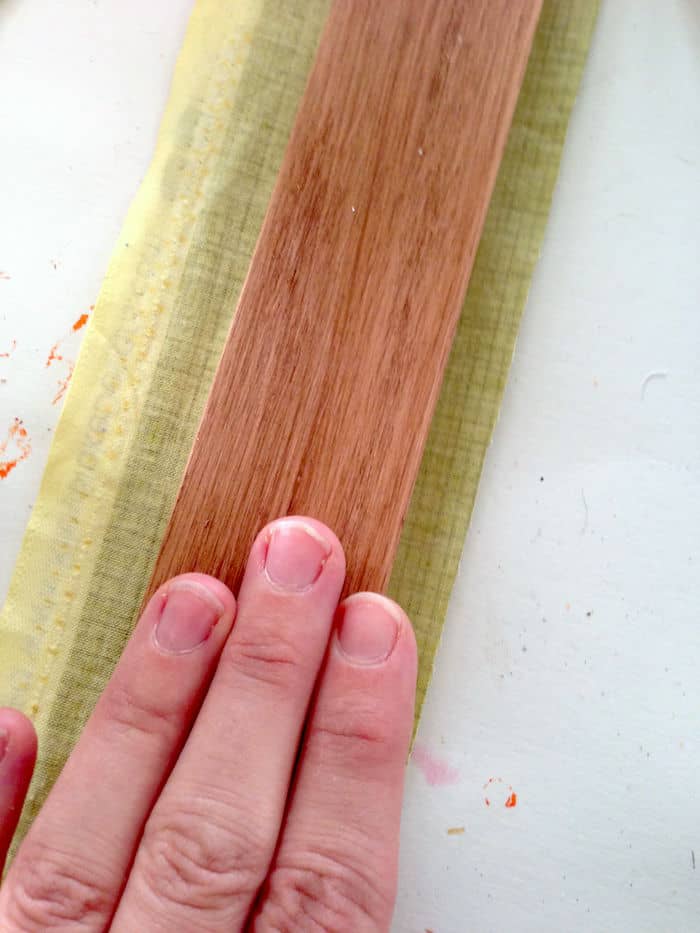
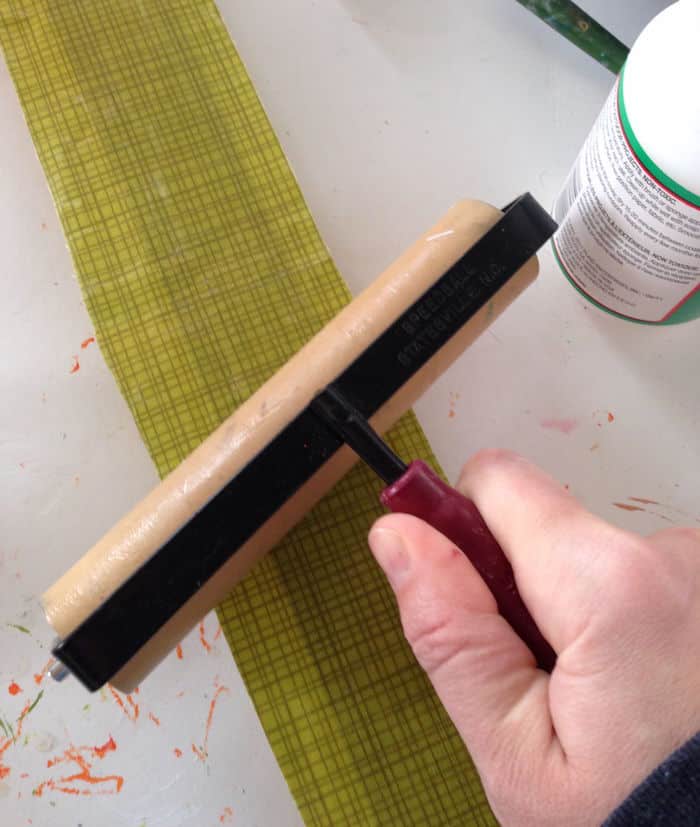
- Turn each slat over and use the brayer to completely smooth it out. Wipe away any Mod Podge that squeezes out the sides between the fabric and slat with a brush.Repeat with the rest of the slats and let dry for an hour or so.
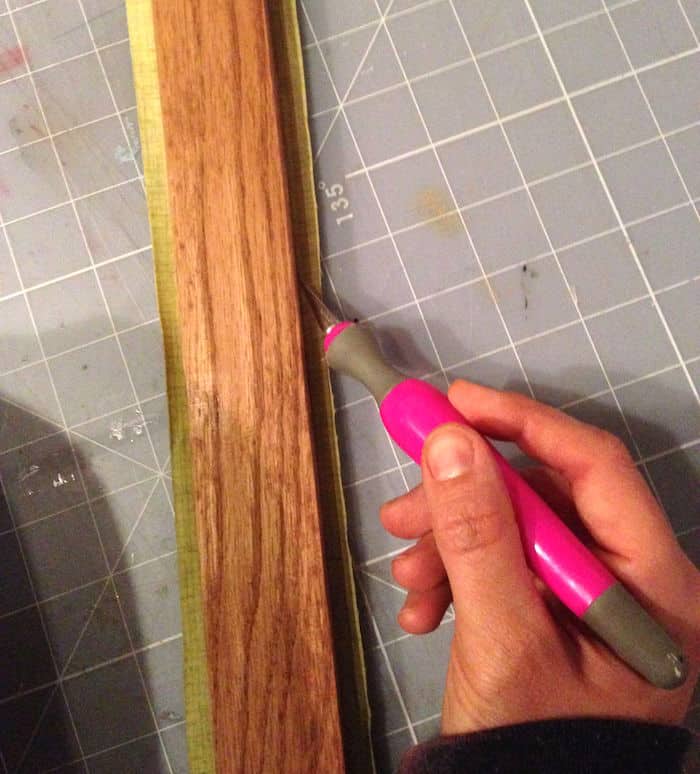
- NOW you'll know why I prepared the fabric. Place each slat onto a cutting mat and trim the excess fabric off with a craft knife. It cuts more like paper and doesn't fray.Repeat with the rest of the slats.
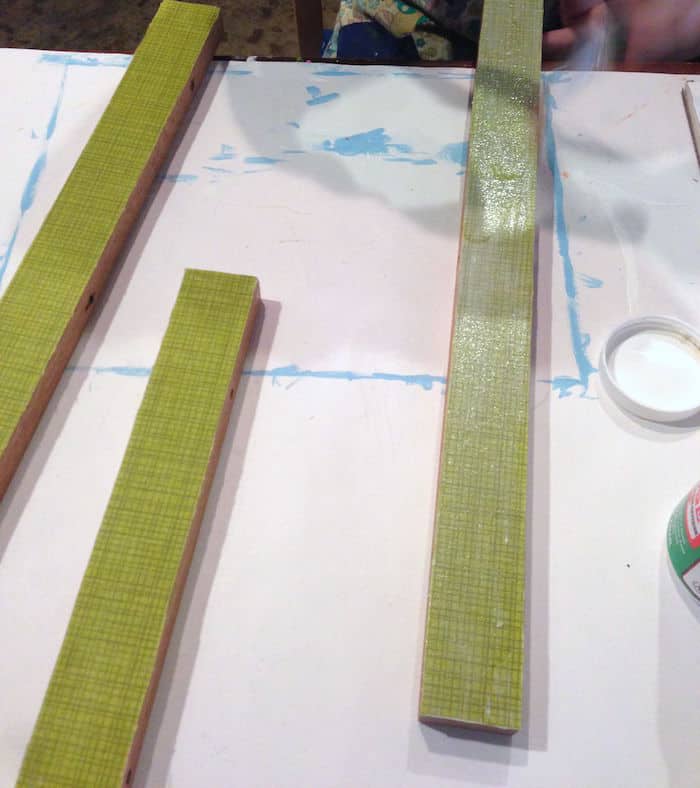
- Coat them all with Outdoor Mod Podge and let dry.
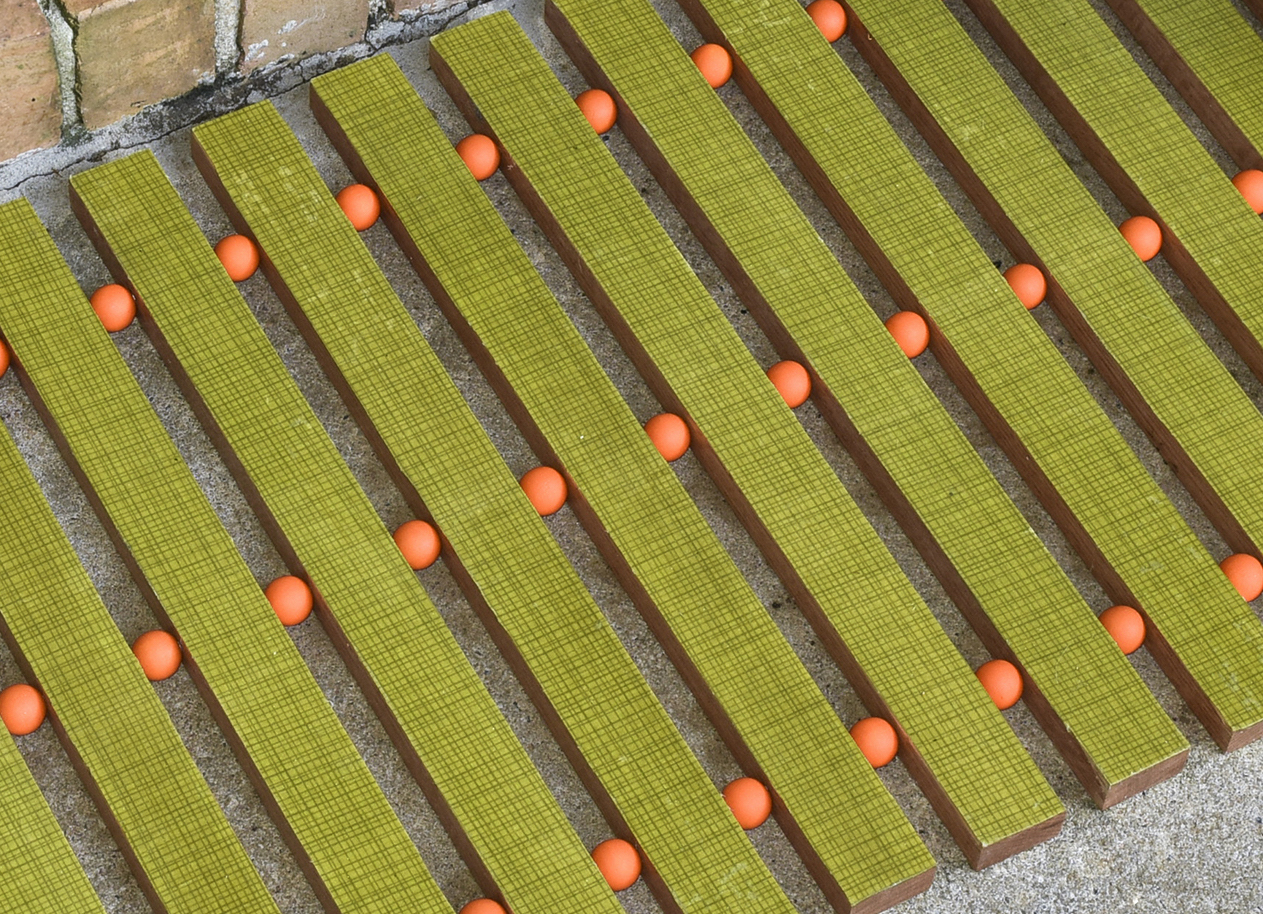
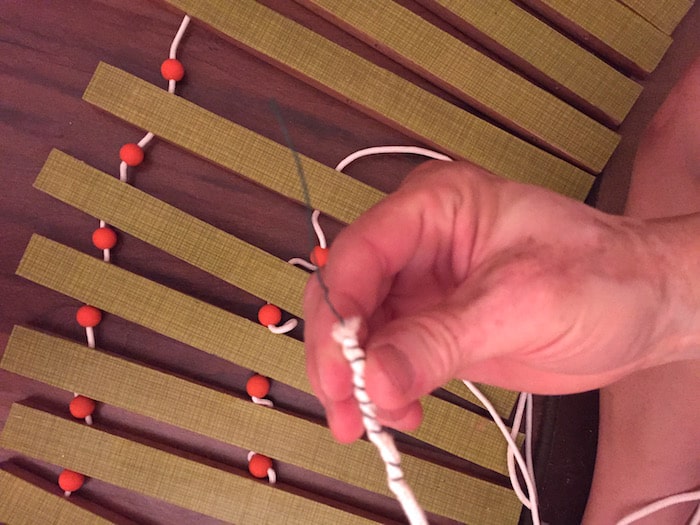
- Make a knot at one end of the nylon cord, and put through the hole in a wood slat. Add a bead, then another slat, and repeat.
- Thread all of the slats together with wood beads in between, then pull the cord taut and tie knots at the end. Trim cord with scissors and melt the ends (slightly) with a lighter to keep from fraying.
- Your final step is to spray the entire thing with the clear acrylic sealer, several coats, to reduce tackiness from the Mod Podge and add further protection.
Notes
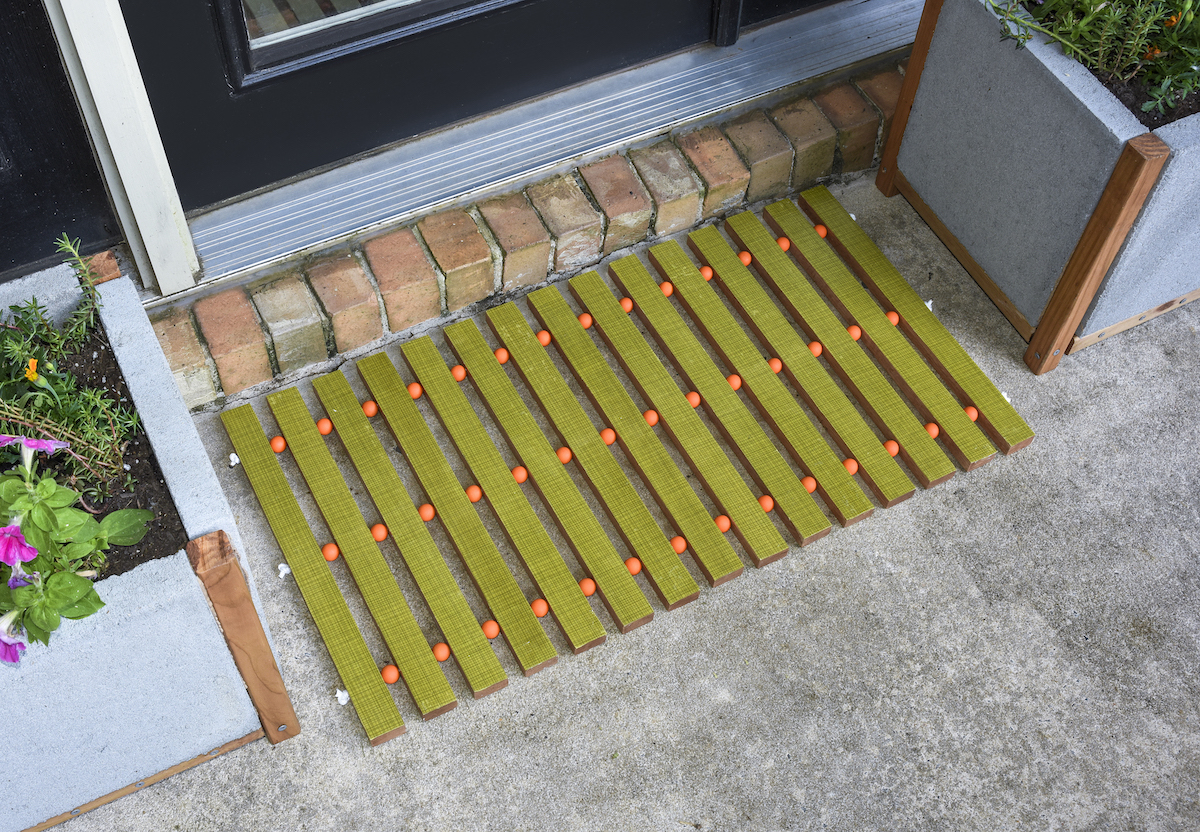
The finished doormat looks AMAZING outside of our place. It’s a great woodworking project for beginners, so I’d love for you to try it.
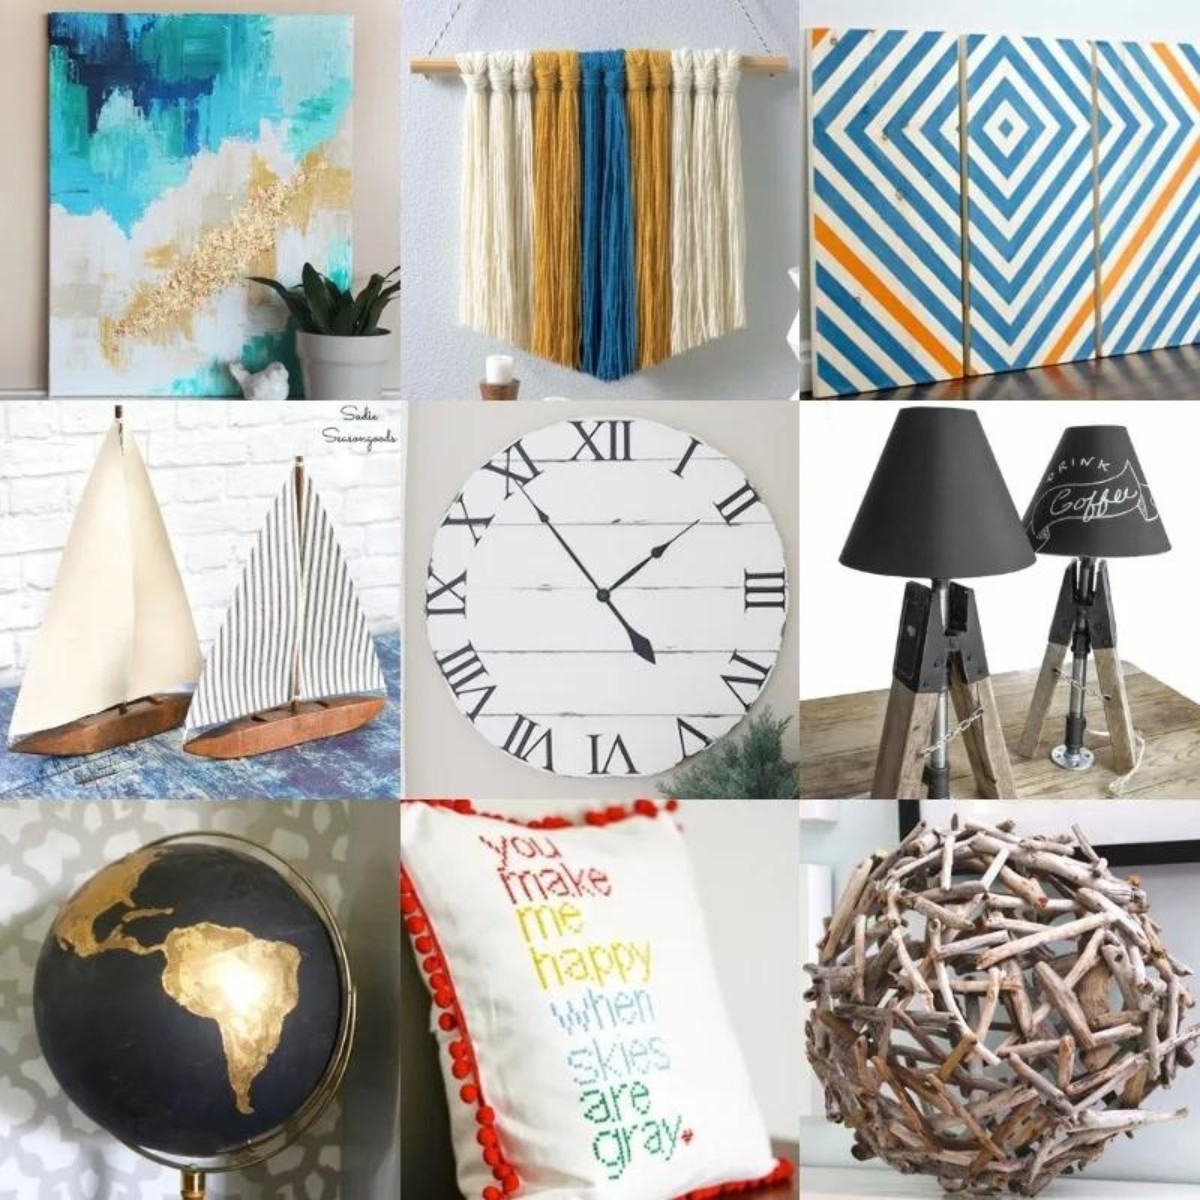
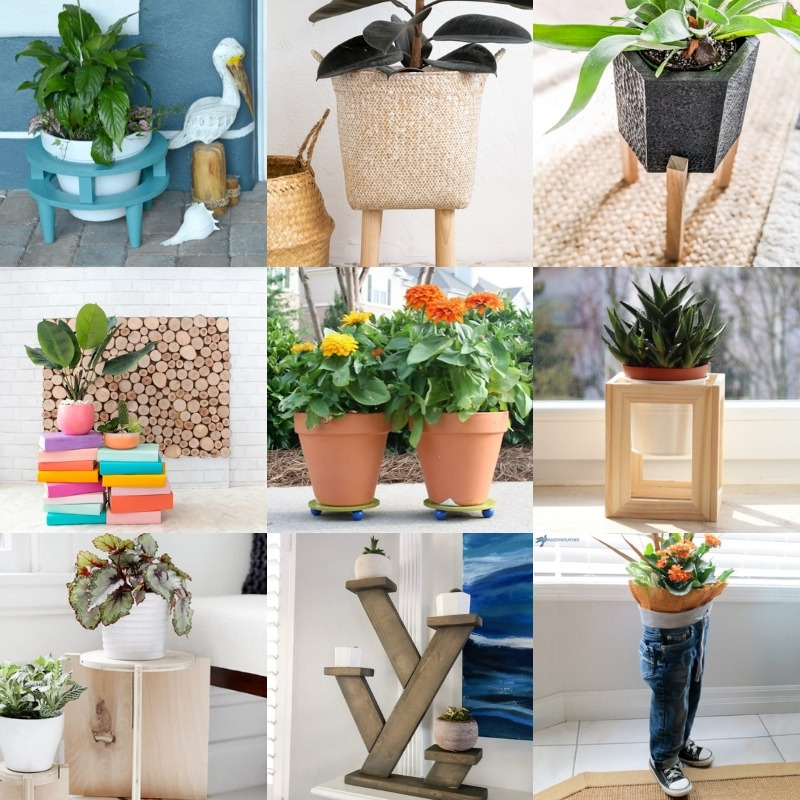
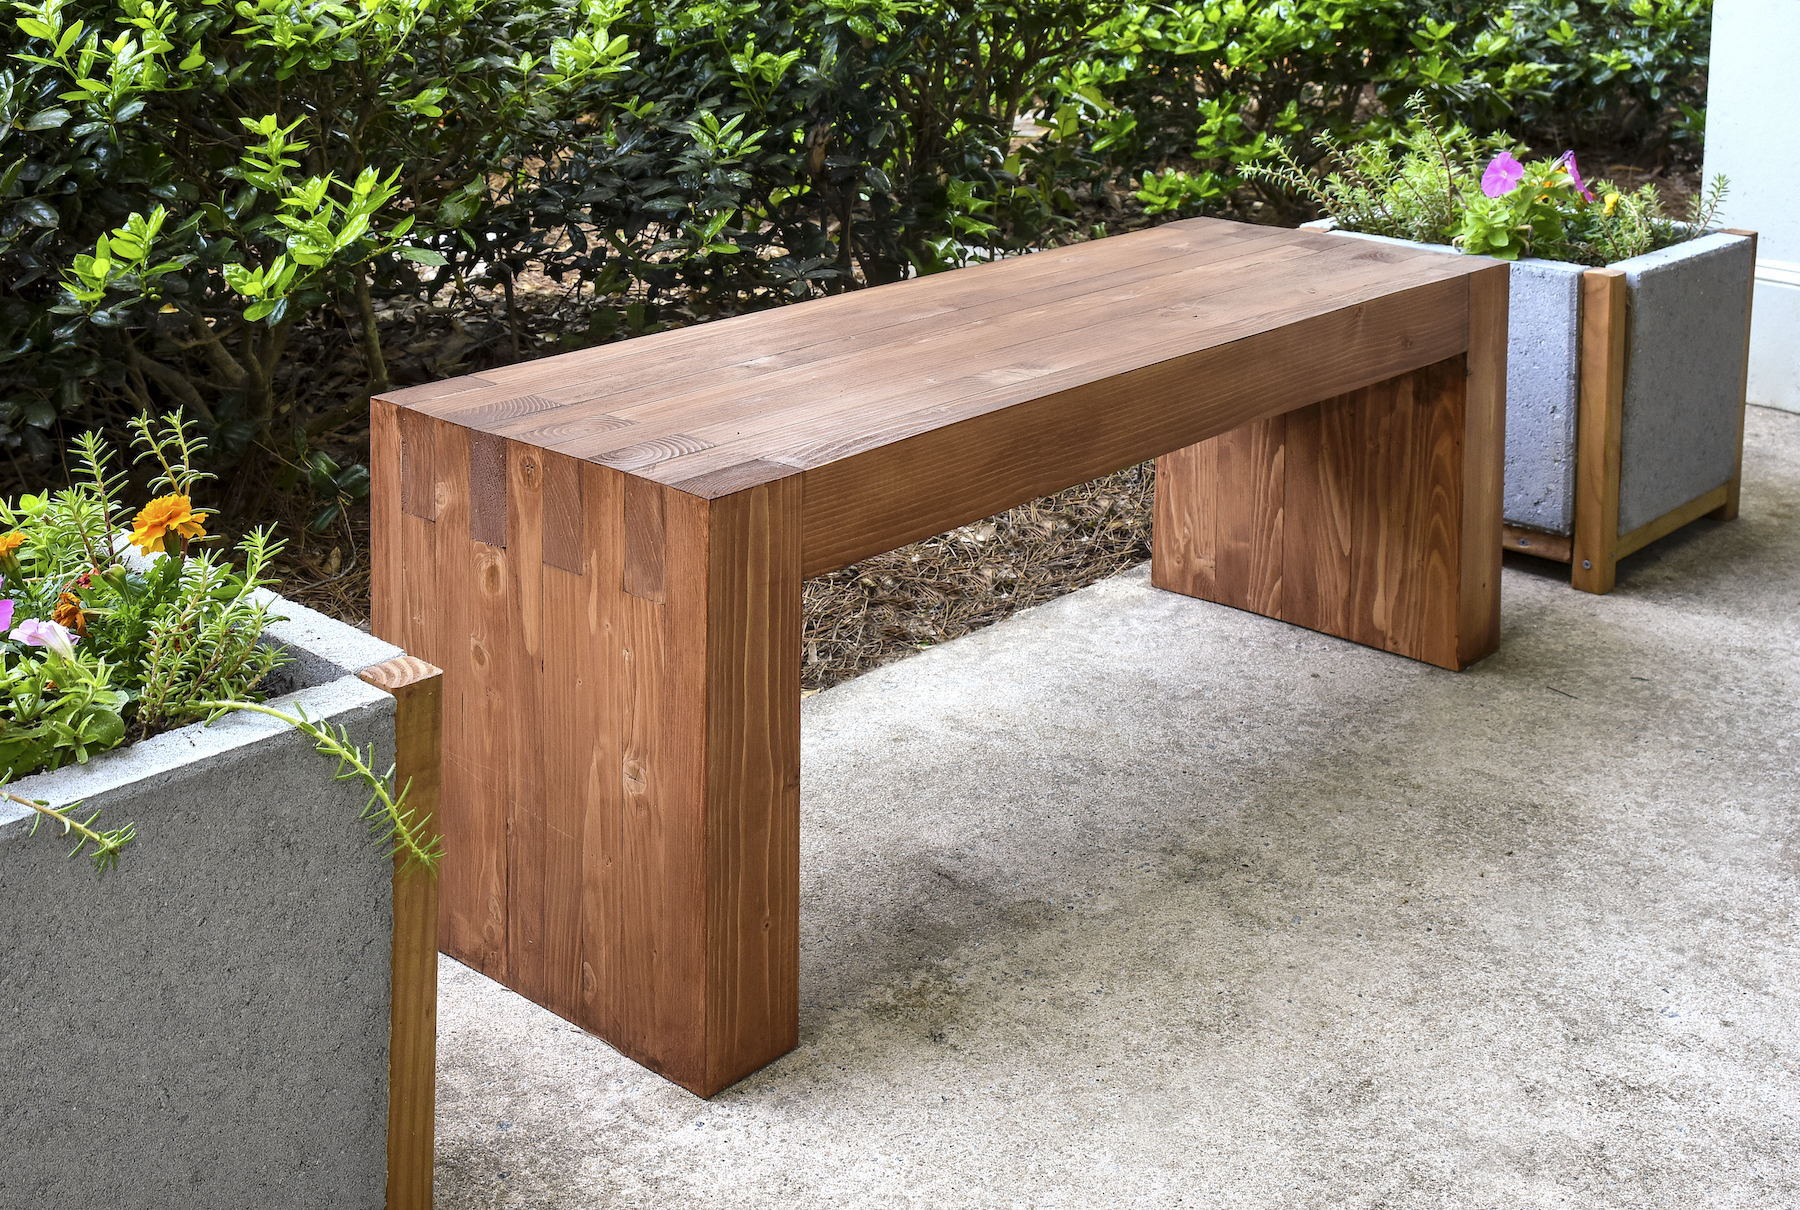
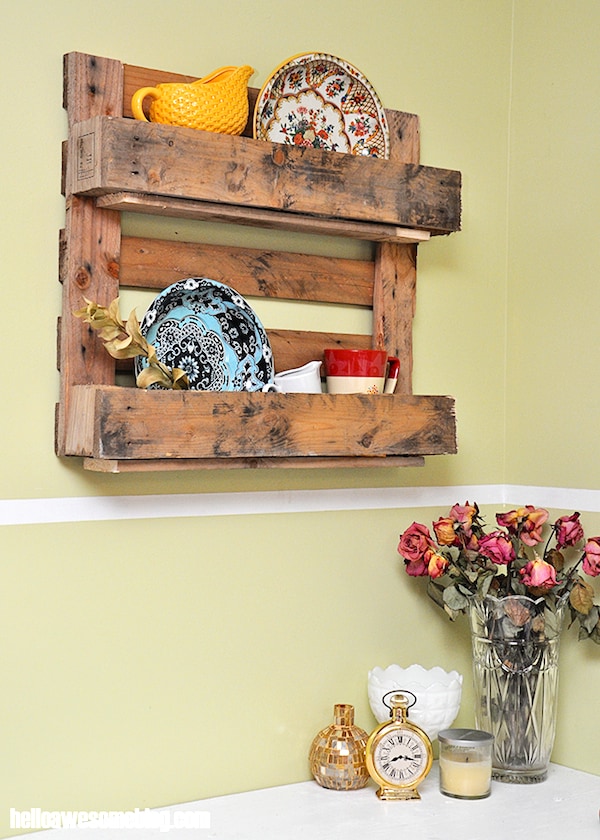
What do you think of this project? Are you a fan of mid-century inspired style? We’d love to see your projects! I’d also love for you to check out these related ideas:

THIS LOOKS SUPER COOL! THANKS FOR THE IDEAS!
I love this! Congratulations on the beautiful final result. Thanks for such a thorough tutorial.