Easy Coffee Filter Flowers for Kids
Learn how to make the cutest coffee filter flowers for spring or summer! These are so easy and FUN to make for kids of all ages.
Skills Required: None. Even if your children have never crafted before (or you haven’t), you’ll be able to do this craft. You’ll be bleeding markers (easy) and wrapping pipe cleaners.

Moms are always looking for easy craft ideas for when their kids get bored. Nobody likes bored kids. They complain.
Mothers are often on the lookout for budget-friendly and engaging activities to ease that boredom. So, I’m excited to share an interesting and affordable craft project that will work perfectly: coffee filter flowers.
Using everyday items found in your kitchen, these pretty blooms are a creative way to keep the littles entertained. PLUS they can even add a touch of color and charm to your home without spending much money.
These flowers can be used to decorate your dining table, spruce up a bedroom, used as party decor, or even as a heartfelt homemade gift for loved ones. They’re frequently made for Mother’s Day!
This craft project is suitable for all ages and skill levels. Whether your kids are experienced in crafting or just starting out, they’ll be able to manage this project.
These flowers an excellent opportunity for children to practice their creativity and fine motor skills too!
(Don’t forget to visit our coffee filter butterflies and snowflakes as well, they’re super cute).
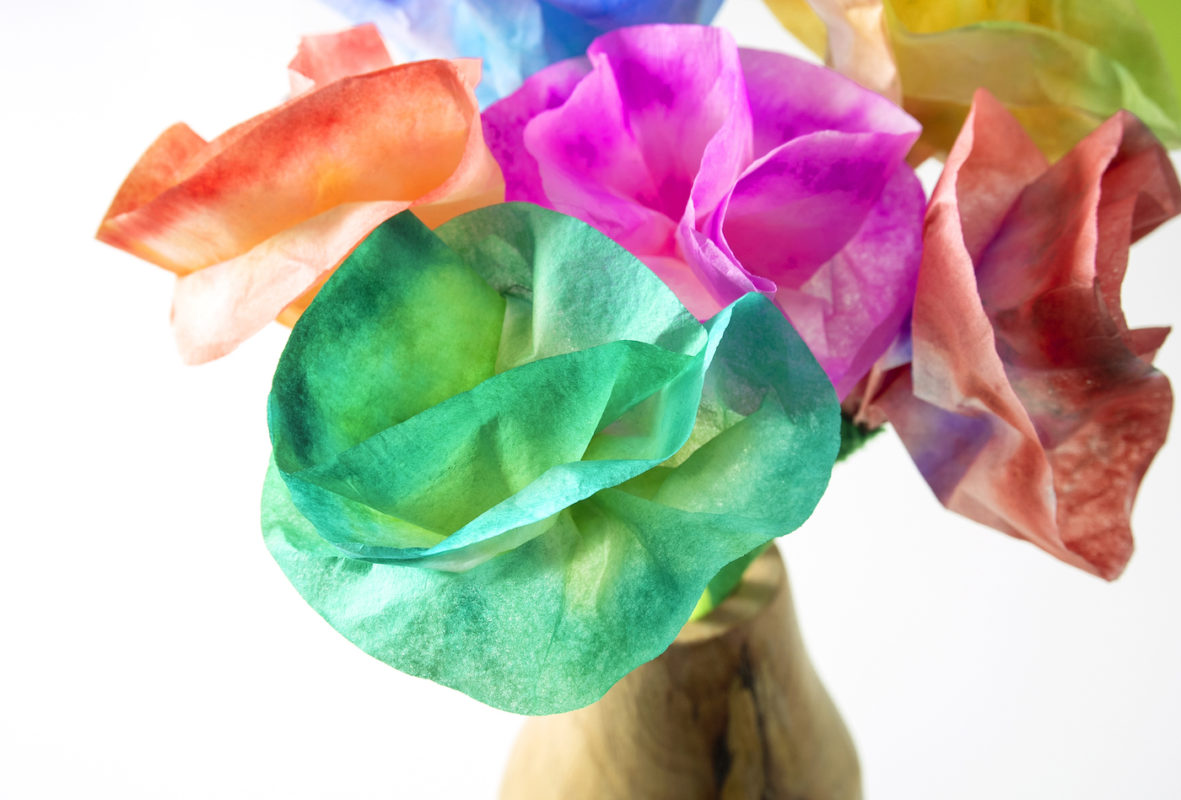
You’re make these bad boys in three simple steps. You’re going to dye the filters, then dry them. Then you’re going to turn them into flowers with pipe cleaners.
It’s quite simple.
And if I might suggest, you try working on this project together with your kids. I mean yes, it’s great to spend time together. But I think you’re going to love making them too!
They’re super easy and rewarding. And colorful!
Also: the coffee filters and clothespins were from the dollar store, which makes this a really inexpensive project that you can make with kids – even a group of children in a classroom – for a very, very low price. Gotta love that!
First, here’s what you’re going to need. Then I’ve got some tips and a how-to card with a video.
Gather These Supplies
- Coffee filters – 1 per flower
- Washable markers – fun spring colors (light blue, orange, pink, yellow, etc)
- Pipe cleaner – 1 per flower
- Small spray bottle of water
- Hair dryer (optional)
Tips and Thoughts for This Project:
- If you don’t have a spray bottle, you can drop water (single drops) on various areas of the filter, or use a toothbrush to fling water onto the filter. It might be a bit messier but it gets the job done.
- Don’t add too much water when you spray the filter. You want to barely saturate the filter, otherwise all the water will drip off and take the color with it.
- You can let the coffee filter dry naturally. It might take a few hours. Other options are to use a hairdryer, or place in the oven for a few minutes at the lowest heat. If you use the oven, use a baking sheet and watch the whole time so nothing catches fire.
- Felt, foam, construction paper, or cardstock can be used to add leaves if you so choose. Just poke a hole and slide it up the stem, or glue onto the pipe cleaner.
- Experiment with different shades of pipe cleaners for the stems. You could even use metallic ones for the holidays.
- Wouldn’t these make cute Easter decor? For the kids’ dinner table for sure, but even for the adult table too!
I just love how bright they turned out.
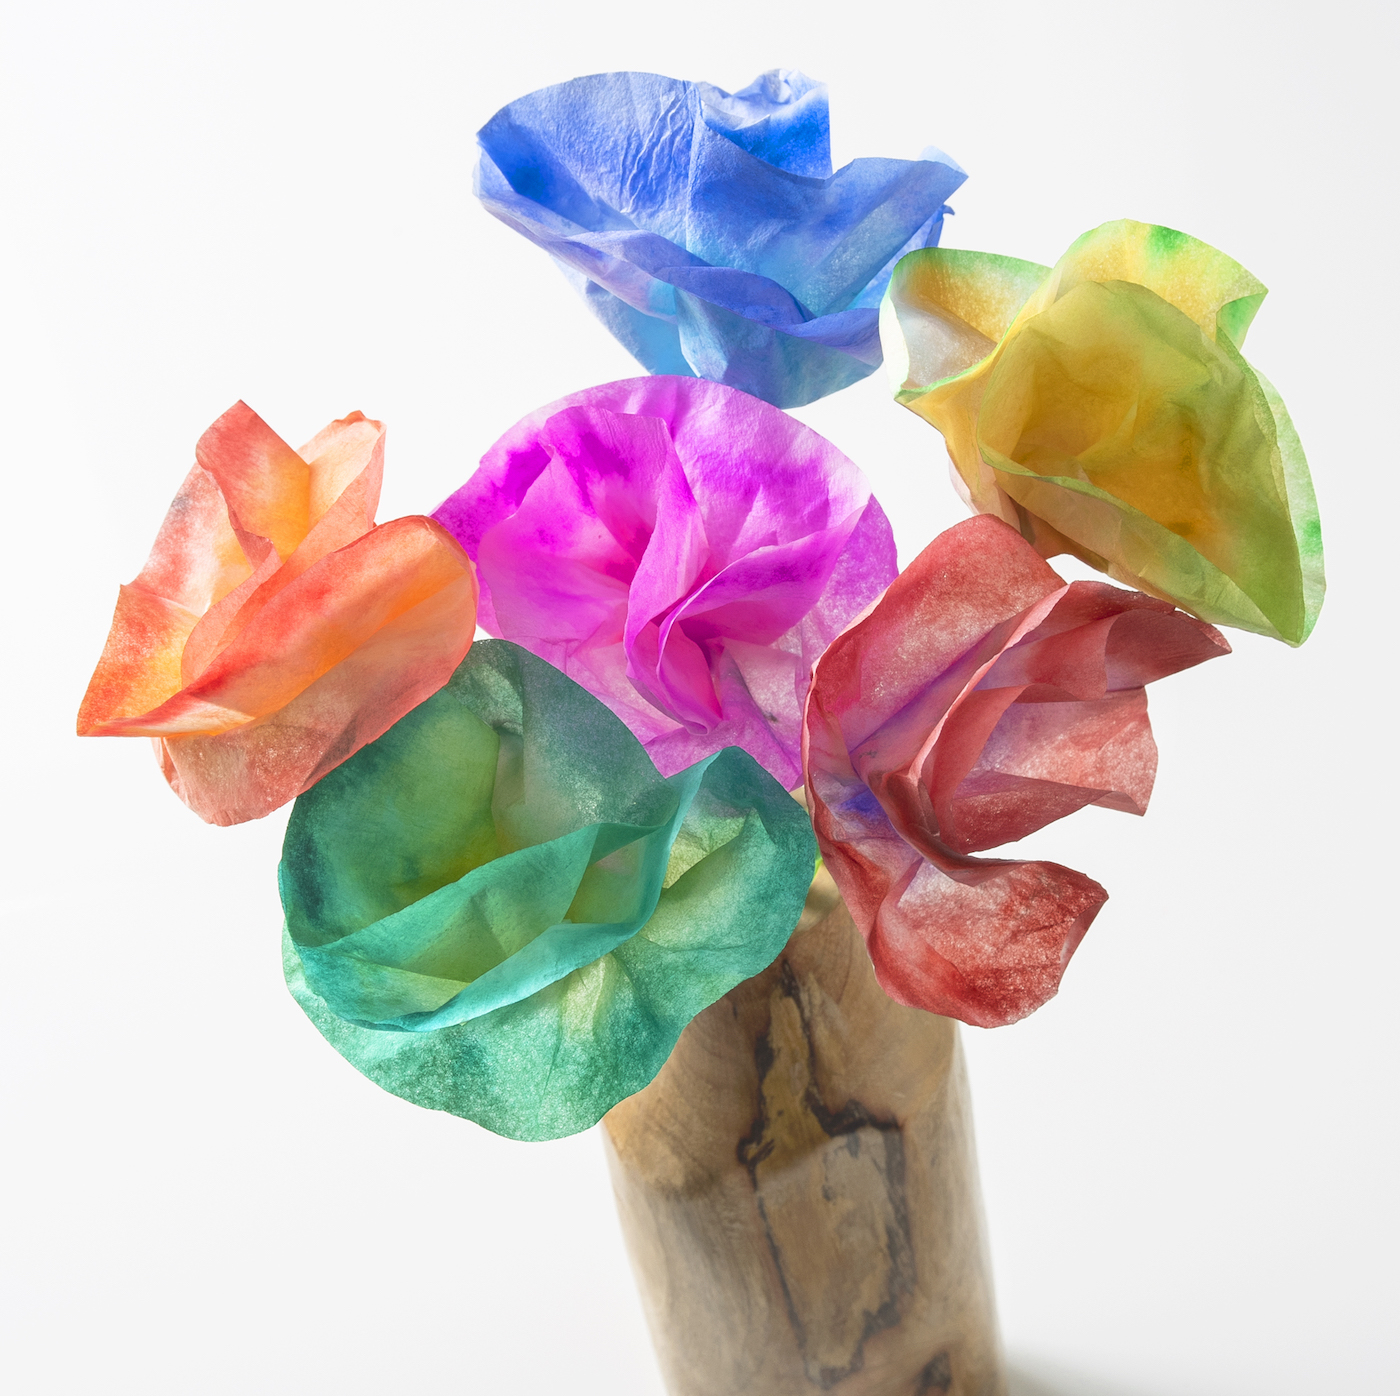
Get the printable how to card for this easy kids’ craft below!
Coffee Filter Flowers
Equipment
- Small spray bottle of water
- Hair dryer (optional)
Materials
- 6 Coffee filters 1 per flower
- Washable markers fun spring colors like light blue, orange, pink, yellow, etc
- 6 Pipe cleaner(s) green, 1 per flower
Video
Instructions
- Choose four colors that you would like to use for your first flower. Picking a variety of colors that are different shades (light and dark) makes for the best results.
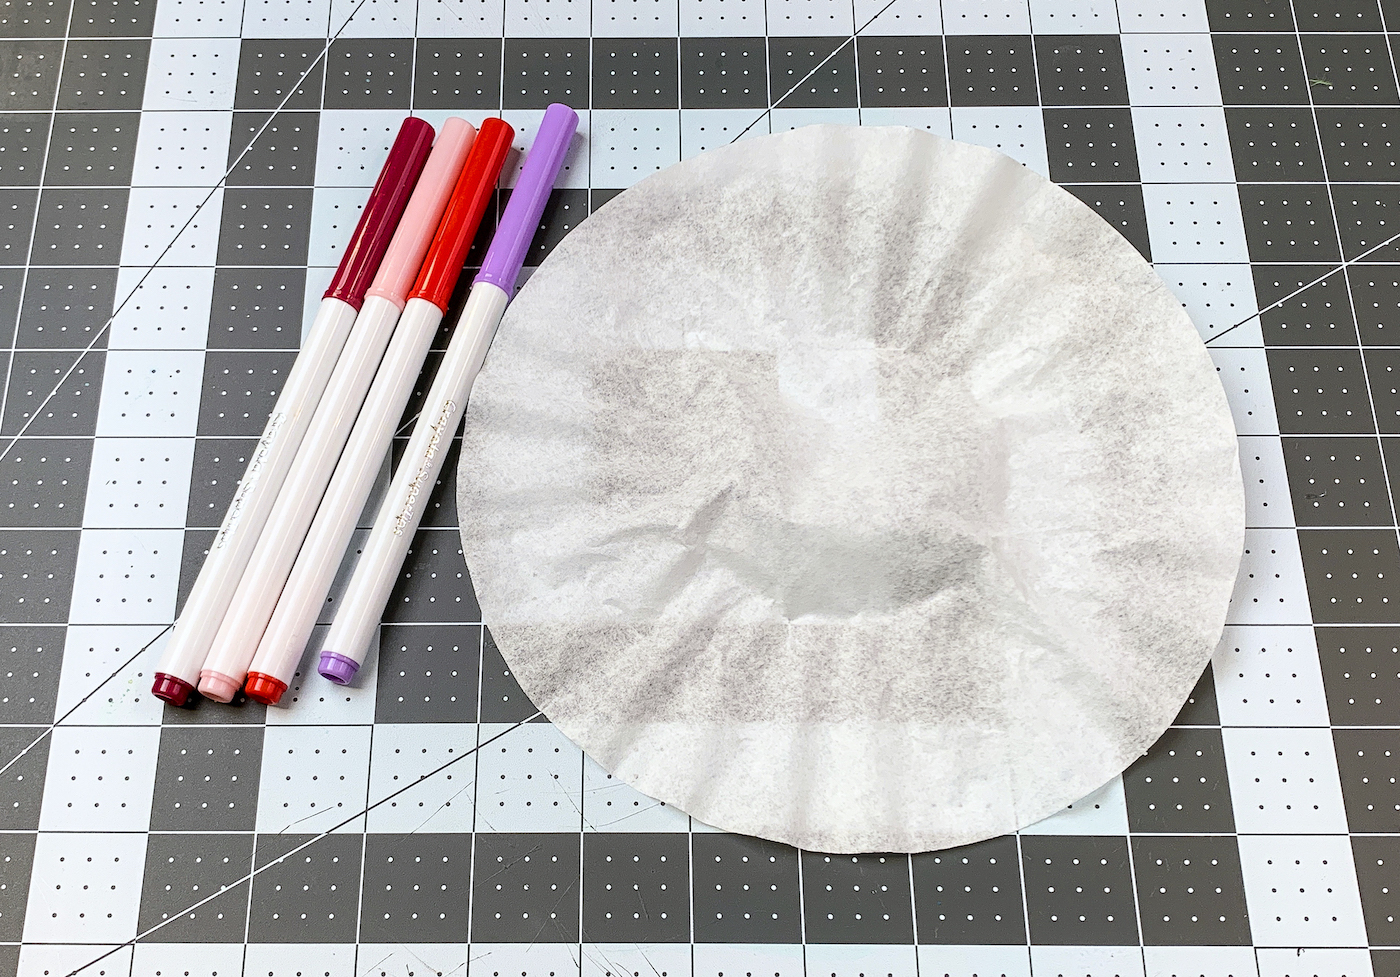
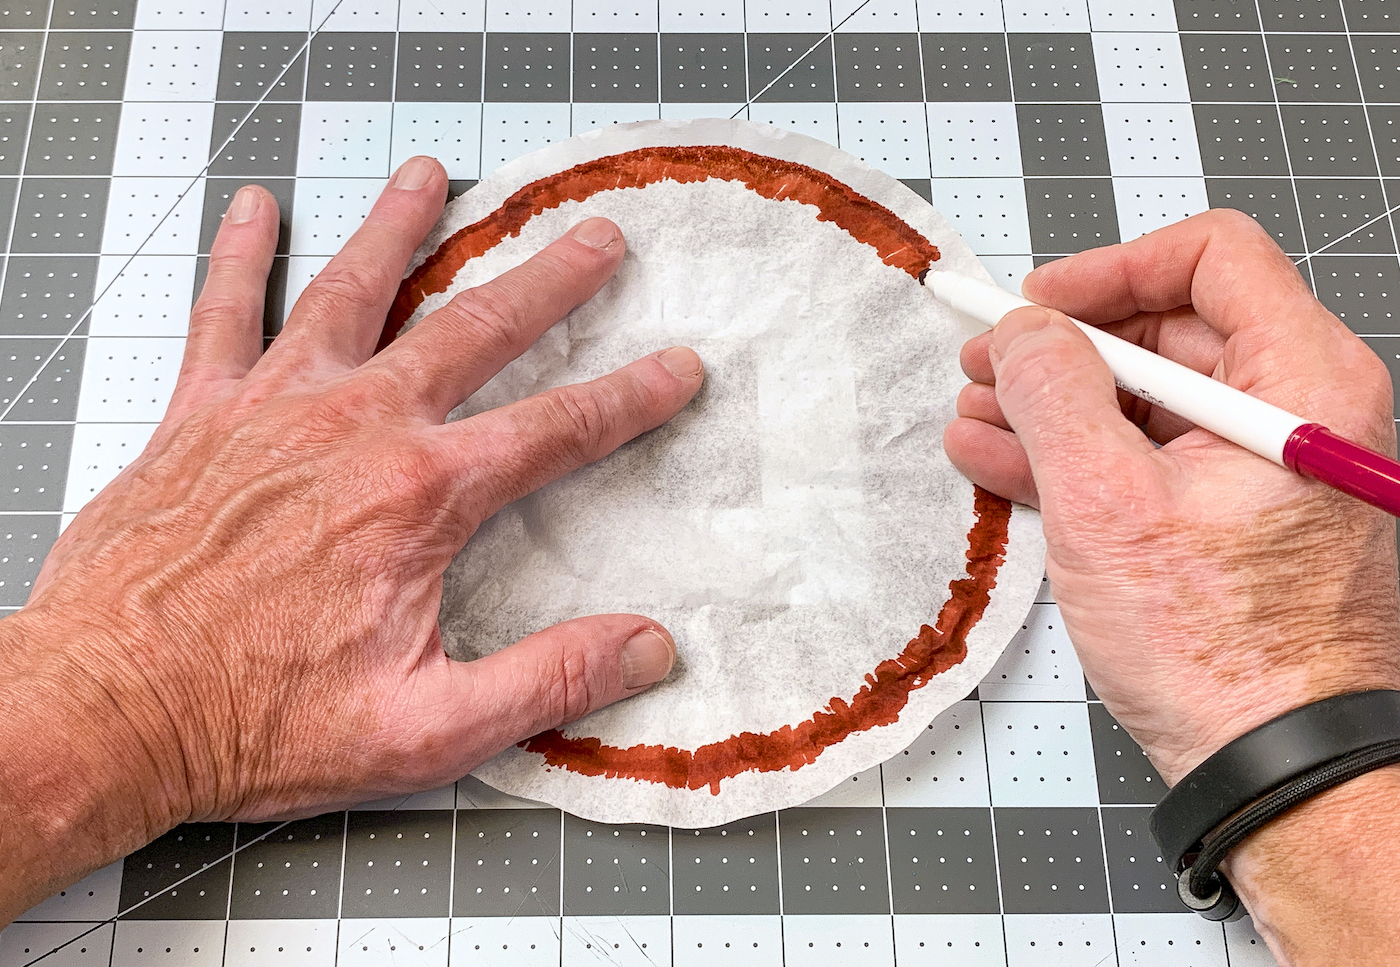
- Start with a red or similar dark shade of marker. Draw a circle around the edge of the coffee filter.
- With the other markers, add additional circles at random to the inside of the big circle on the coffee filter. No need to add too many circles. They will bleed into each other.
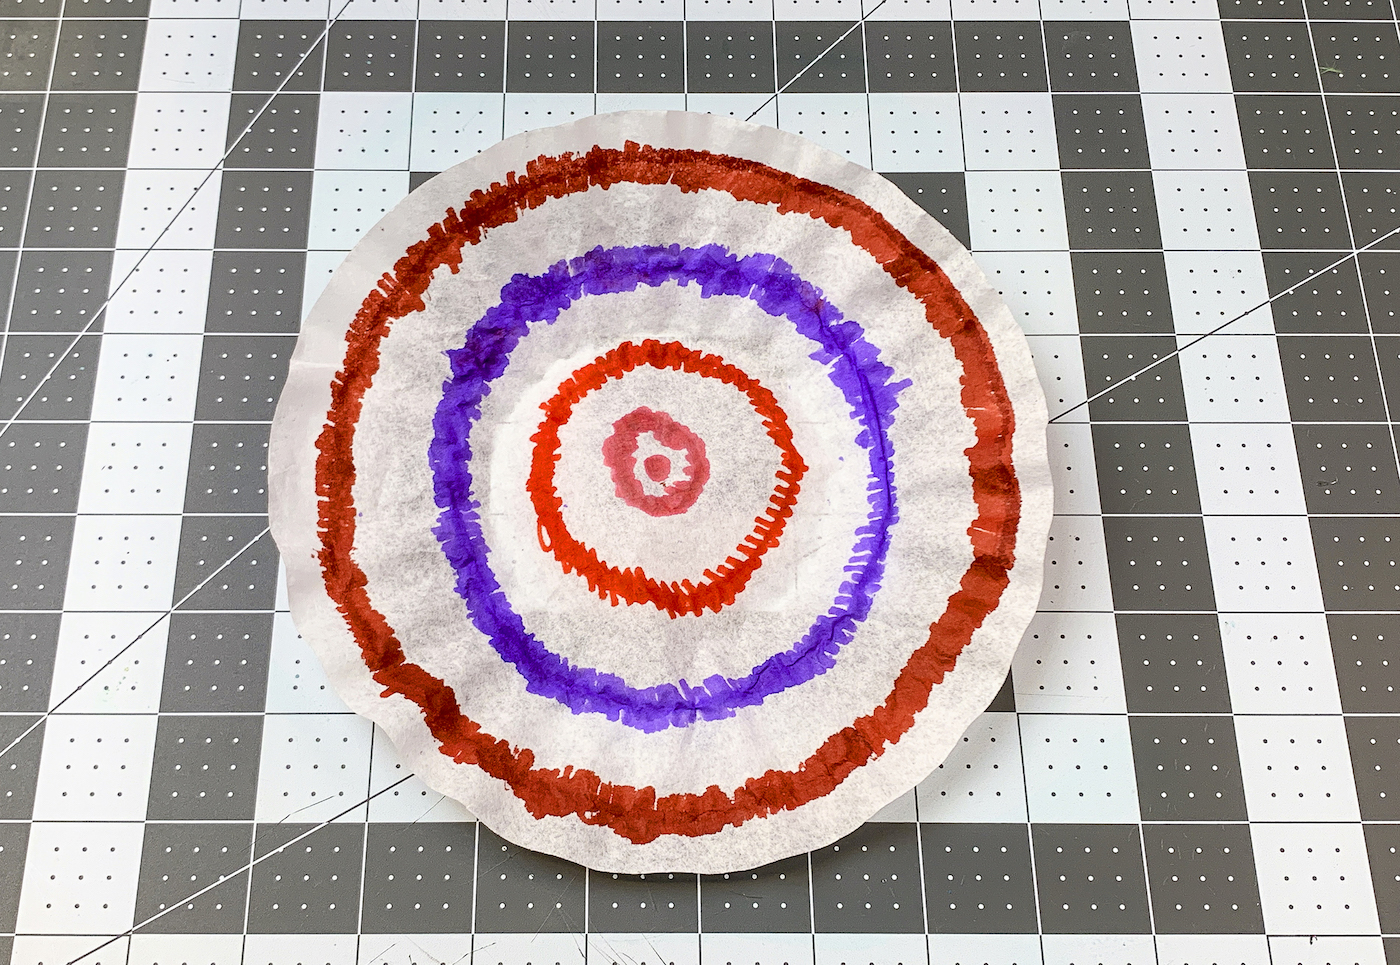
- Place the coffee filter down on a washable work surface. You can use a craft mat, silicone mat, or wax paper. Mist the paper with 4 – 5 sprays of water and you will start to see the markers bleed. This is what you want.
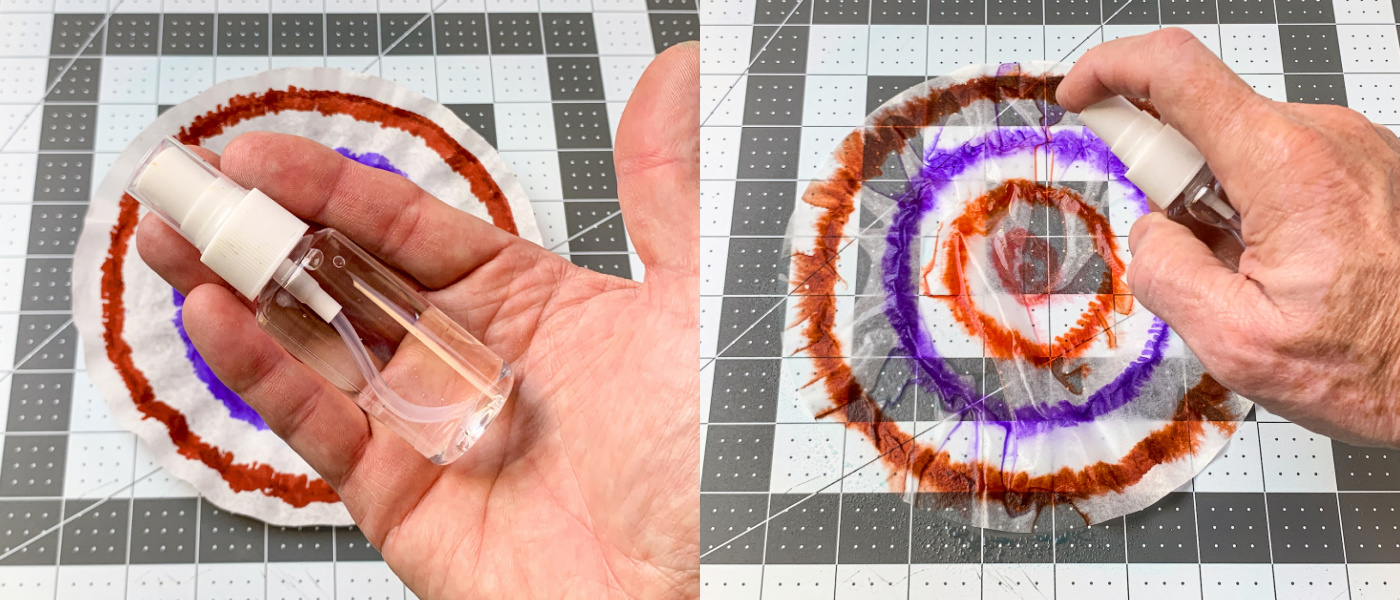
- If the markers didn’t bleed enough, add additional sprays of water. Don’t add too much water. You want to barely saturate the filter, otherwise all the water will drip off the filter and take the color with it.
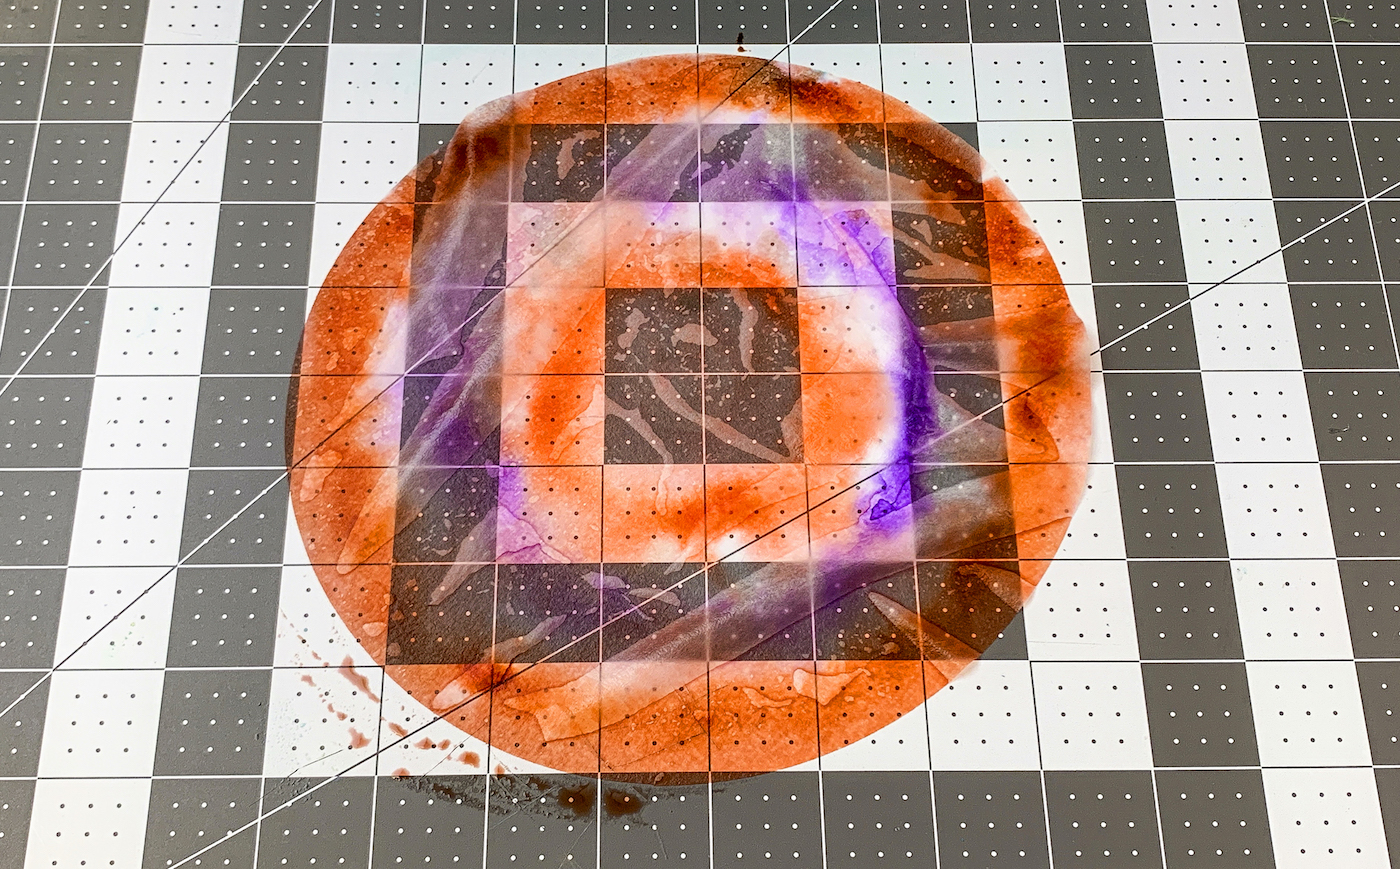
- Leave the coffee filter on your work surface to dry. Additionally, you can take a hairdryer and dry the filter, or place in the oven for a few minutes at the lowest heat (watching the entire time).
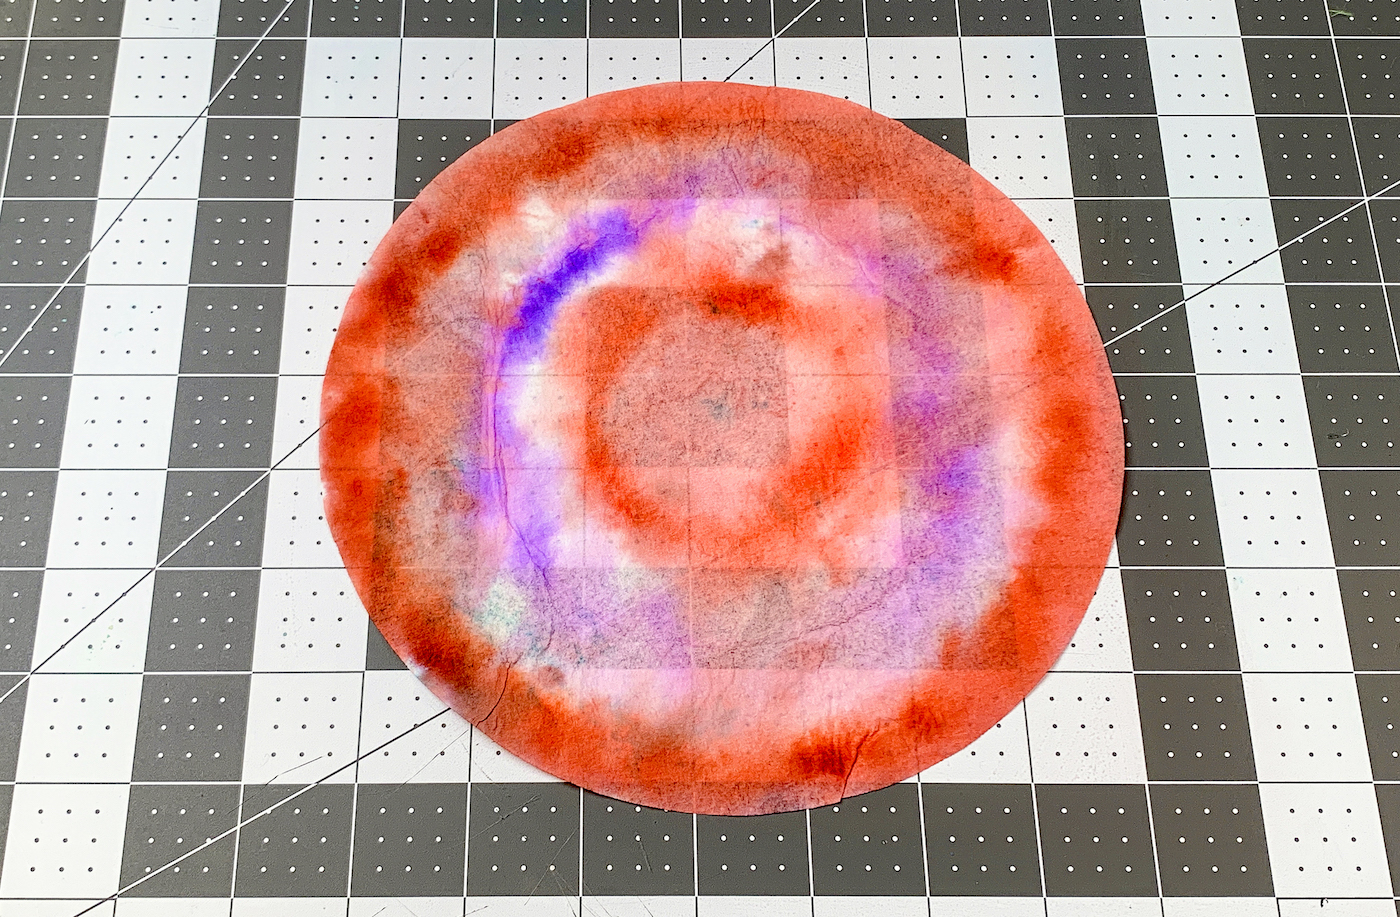
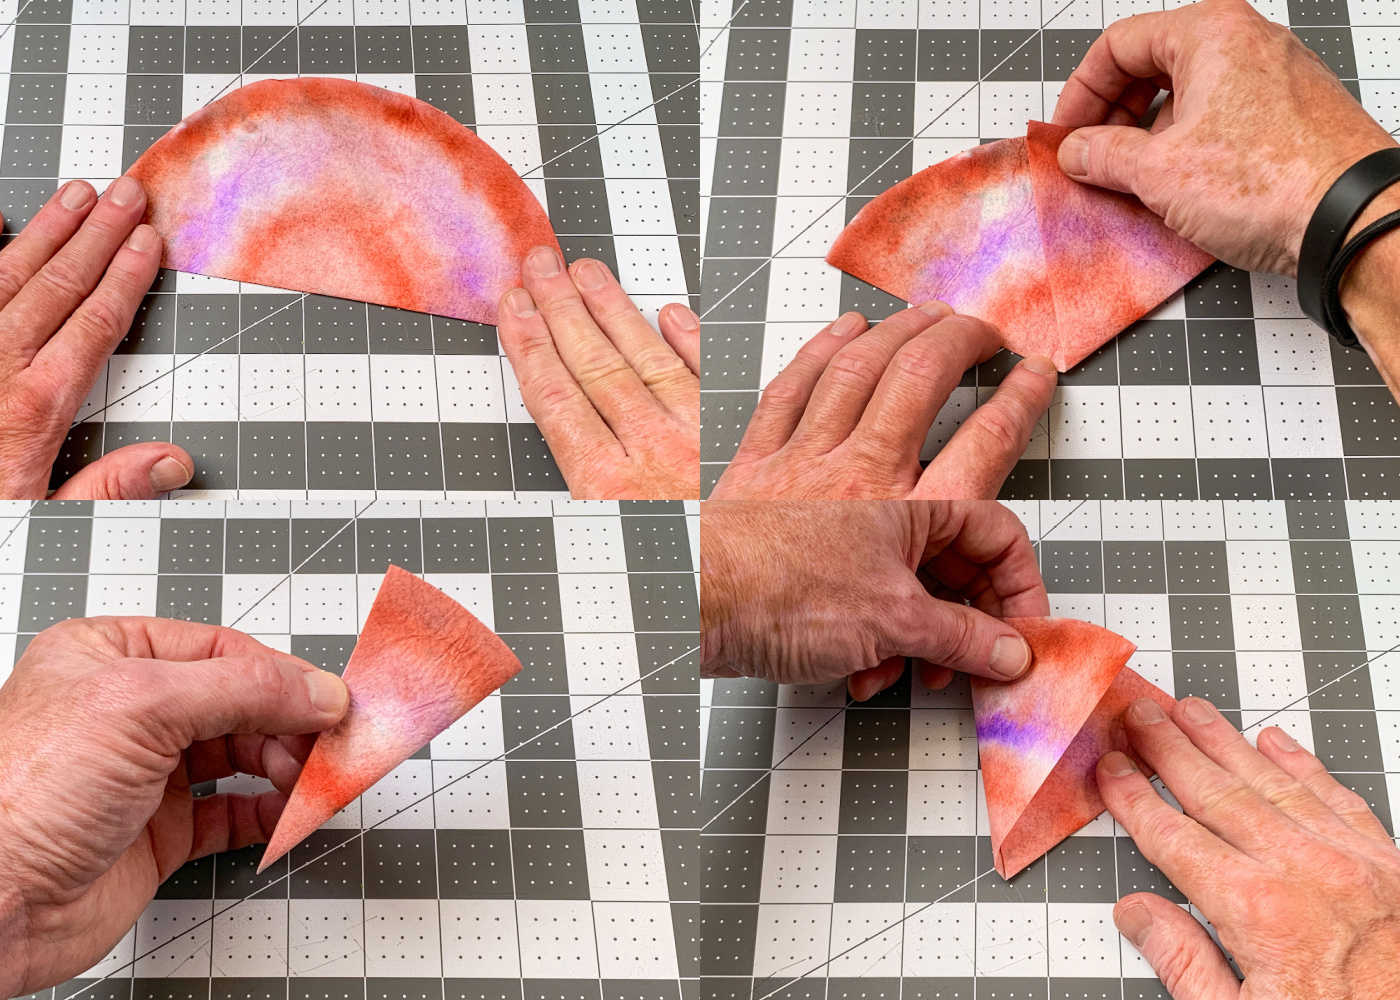
- Fold the filter in half. Fold that half into thirds, and then in half again (as shown).
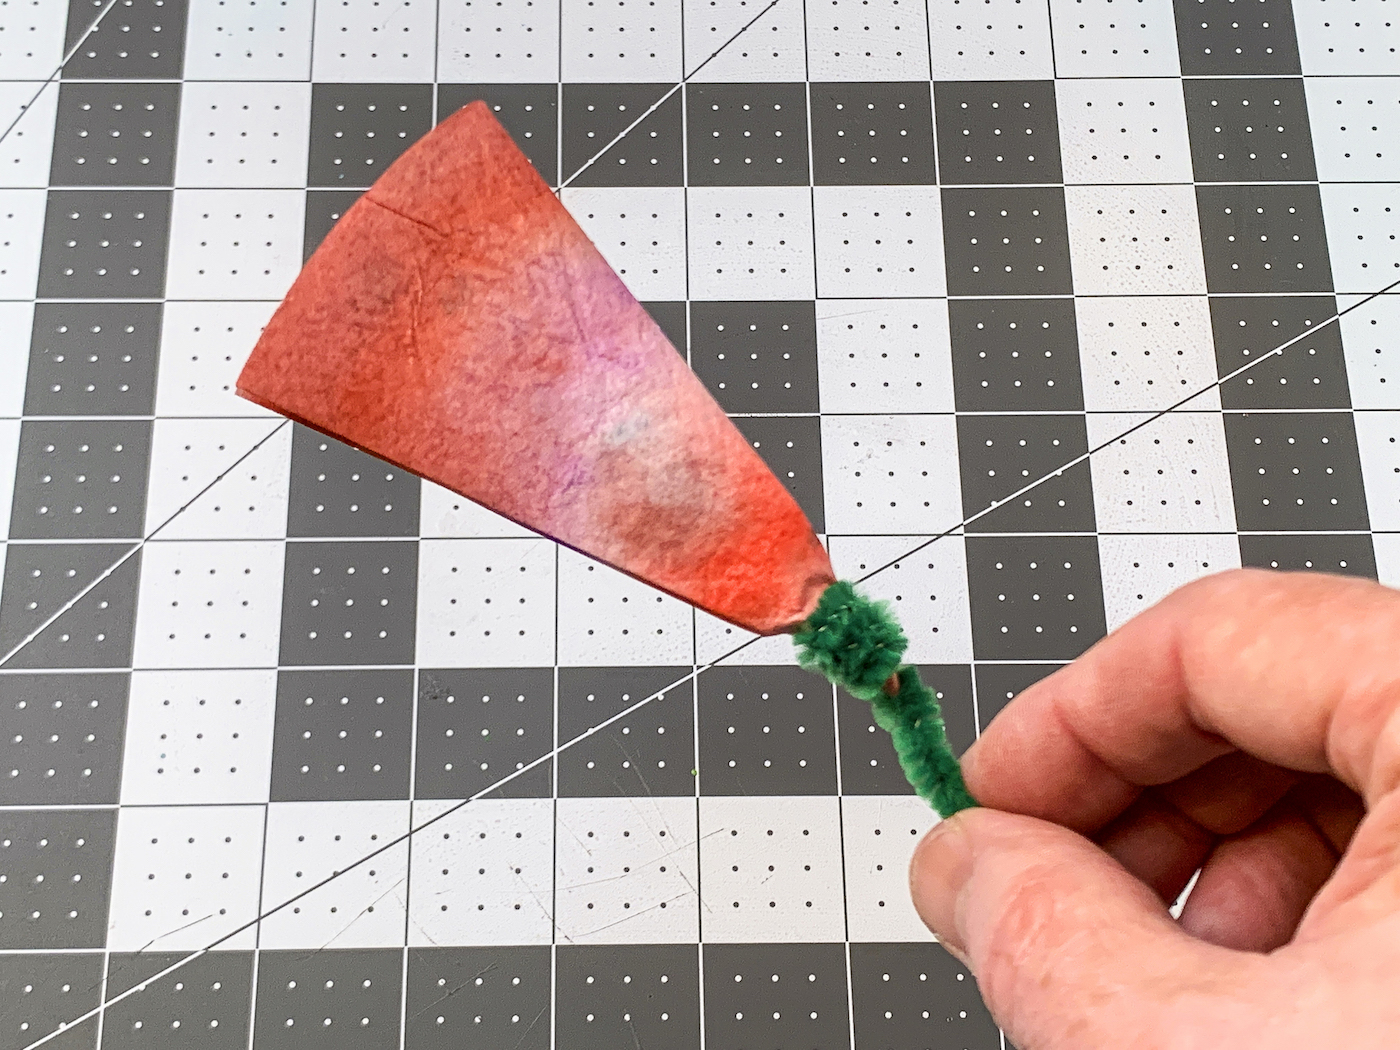
- Wrap the pipe cleaner around the base of the folded coffee filter. Wrap 2-3 times to hold the filter.
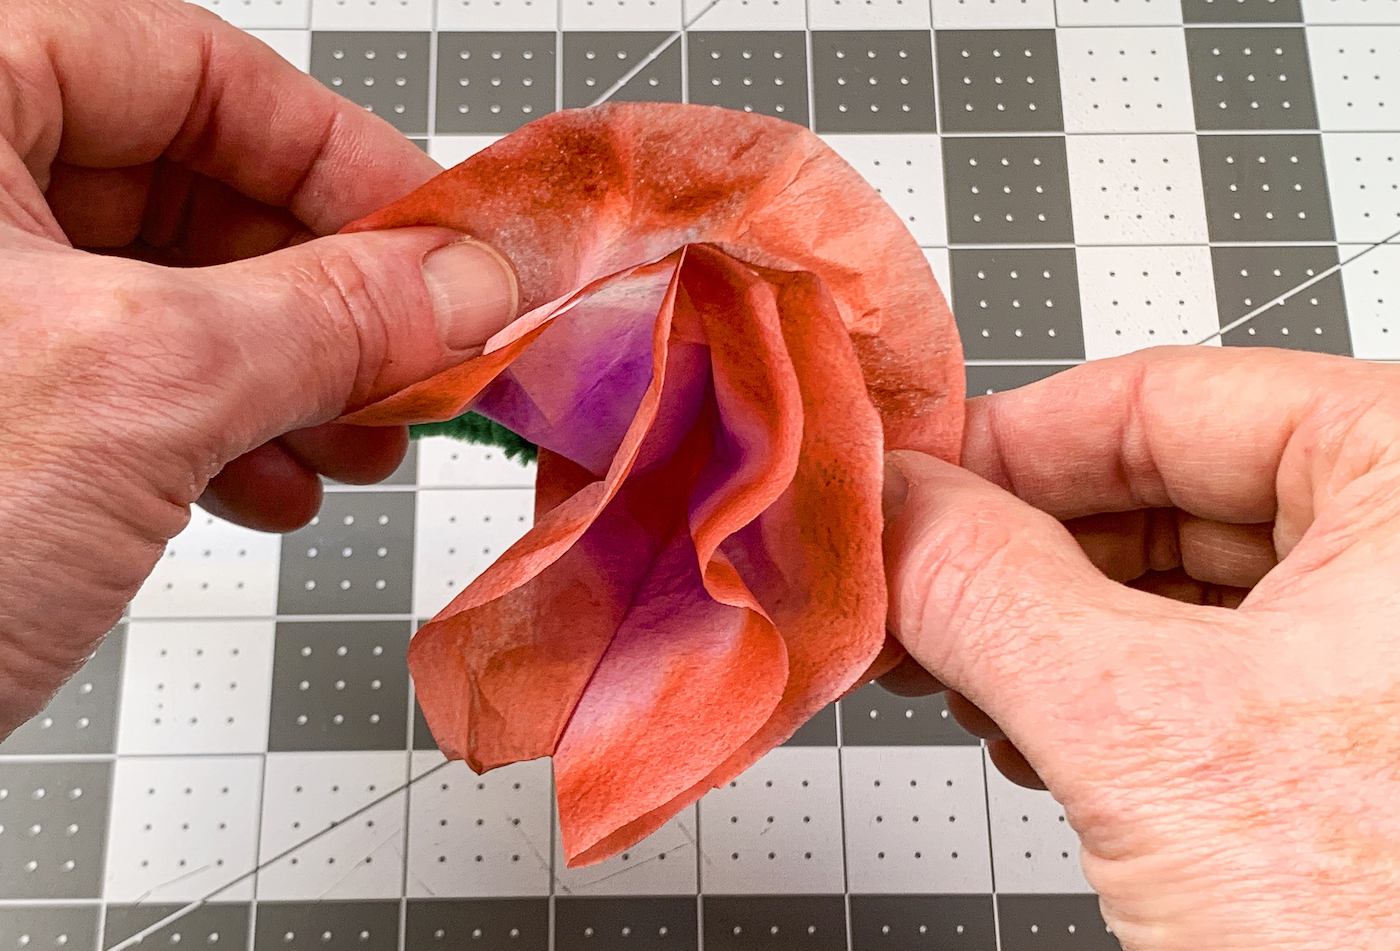
- Spread apart the filter to create the look of pedals. Wrinkle as needed, and keep fluffing until you are satisfied with the look.
- Create additional flowers in additional colors to make a bouquet.

What did you think about making these flowers? Let me know in the comments! I’d also love for you to check out these related ideas:



I can’t find out how to unsubscribe.
There’s a link in the email. I did it for you! Thanks.