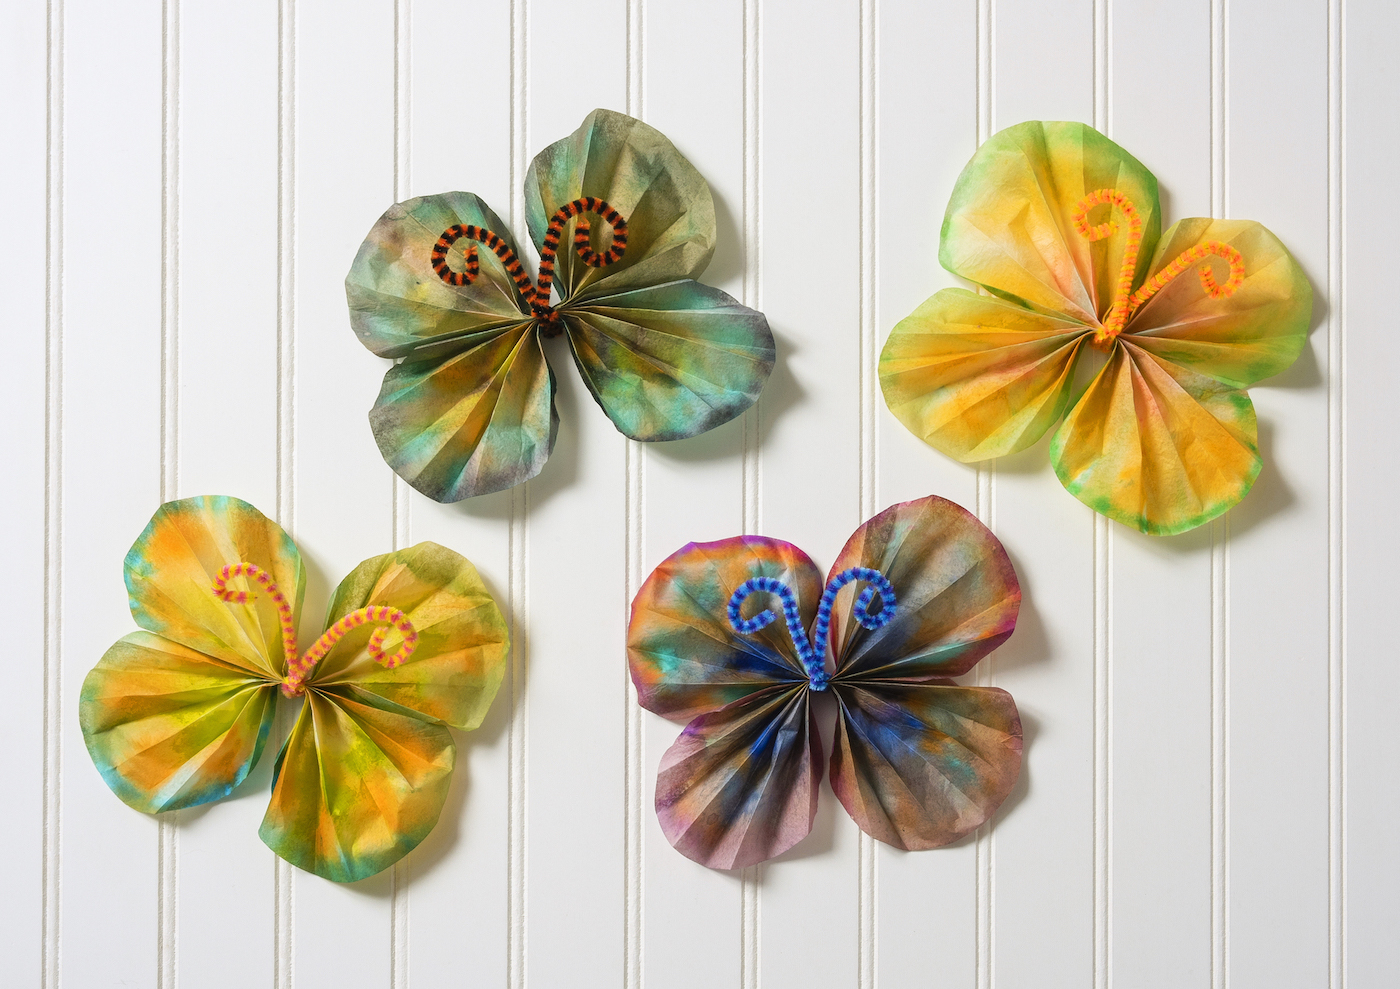
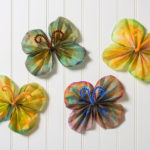
Coffee Filter Butterflies You’ll Want Hanging Everywhere
These coffee filter butterflies are colorful, inexpensive, and easy for kids to make using washable markers and simple craft supplies.
There are certain crafts that somehow feel magical even though they cost almost nothing to make.
These coffee filter butterflies are exactly that kind of project.
One minute, a kid is scribbling all over coffee filters with washable markers. The next? The colors blend together into bright, watercolor-style butterfly wings that honestly look way fancier than they should.
This butterfly craft is colorful, inexpensive, easy enough for younger children, and surprisingly relaxing for adults too. It’s also one of those fun craft ideas that doubles as a bit of a science experiment once the water starts spreading the marker around.
And if you’ve ever bought a giant package of coffee filters for one recipe and wondered what to do with the other 497 sitting in your cabinet? Problem solved.
What I love most about coffee filter butterflies is how customizable they are. You can make rainbow versions, spring colors, bold neon wings, or softer pastel combinations. Add googly eyes, glitter glue, or patterned antennae if you want something extra playful.
And unlike some kid projects that leave your entire kitchen looking like a craft store exploded, this one is pretty manageable.
Mostly. There might be a few messy fingers.
Why This Butterfly Craft Works So Well
There’s a reason coffee filter butterflies have stayed popular for years. They’re:
- inexpensive
- low-prep
- colorful
- classroom-friendly
- fun for multiple ages
Plus, the marker bleeding effect is genuinely cool to watch. Once the water hits the filters and the colors blend together, everyone suddenly becomes very emotionally invested in the outcome.
This butterfly craft is also great because perfection doesn’t matter. Random scribbles somehow turn into beautiful wings every single time.
Helpful Tips Before You Start
A few simple tricks make these turn out even prettier.
- Use a variety of colors instead of shades that are too similar
- Don’t oversaturate the filters or you’ll create a big pool of water
- Let the entire coffee filter dry fully before folding
- A spray bottle gives softer blending while an eye dropper creates stronger color movement
- Using less white space creates brighter butterflies
- You can one filter inside another so you’ll be coloring through two layers. Some marker will bleed onto the bottom coffee filter naturally
I also recommend using the smaller filters designed for 4–6 cup coffee makers because they’re easier for a kid to manage.
These coffee filter butterflies are one of those fun craft projects that never really get old. They’re colorful, inexpensive, and make a great summer craft idea when you need a fun low mess activity indoors.
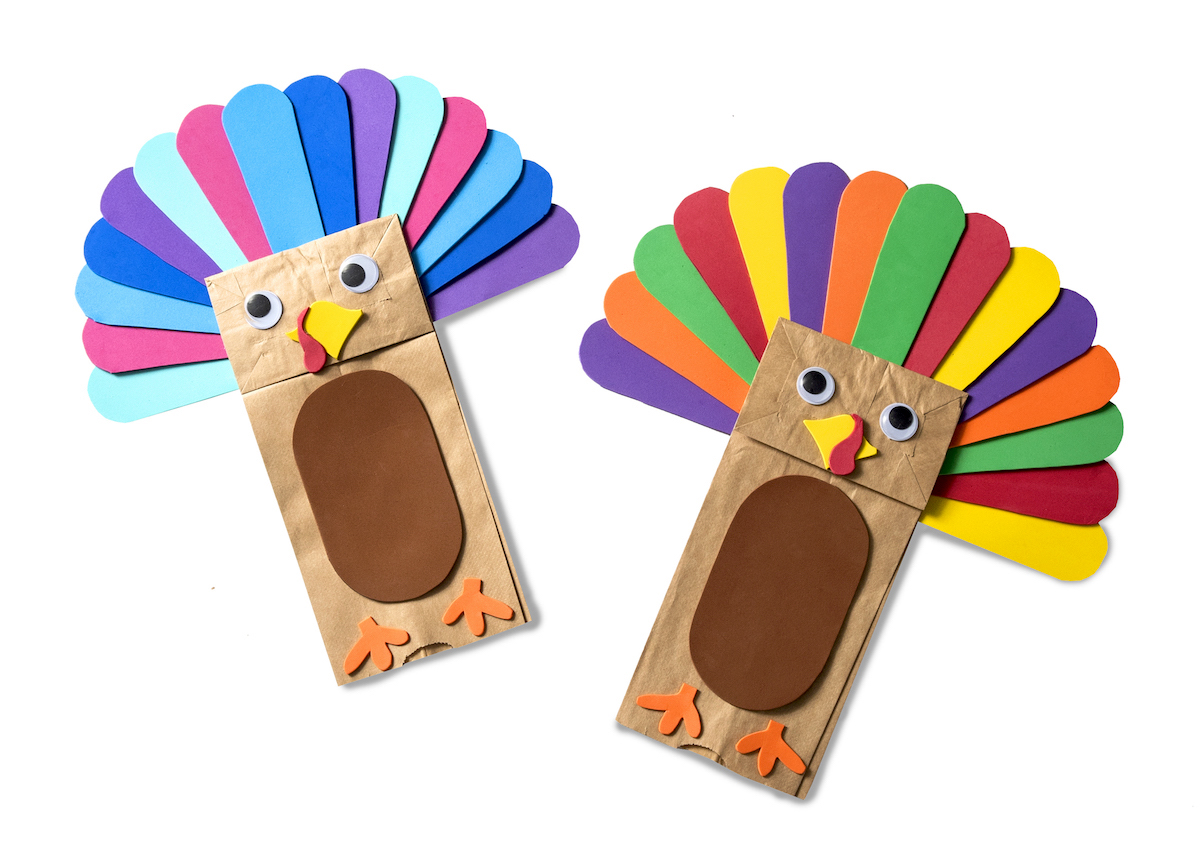
PS – if you like working with the filters, try our bats, flowers, snowflakes, turkeys, or wreath!
Coffee Filter Butterflies
Equipment
- Spray bottle or eye dropper or spoon
- Hair dryer (optional)
Materials
- 2 Coffee filters per butterfly
- Washable markers spring colors
- 1 Pipe cleaner(s) per butterfly
- Wax paper or a cookie sheet
Video
Instructions
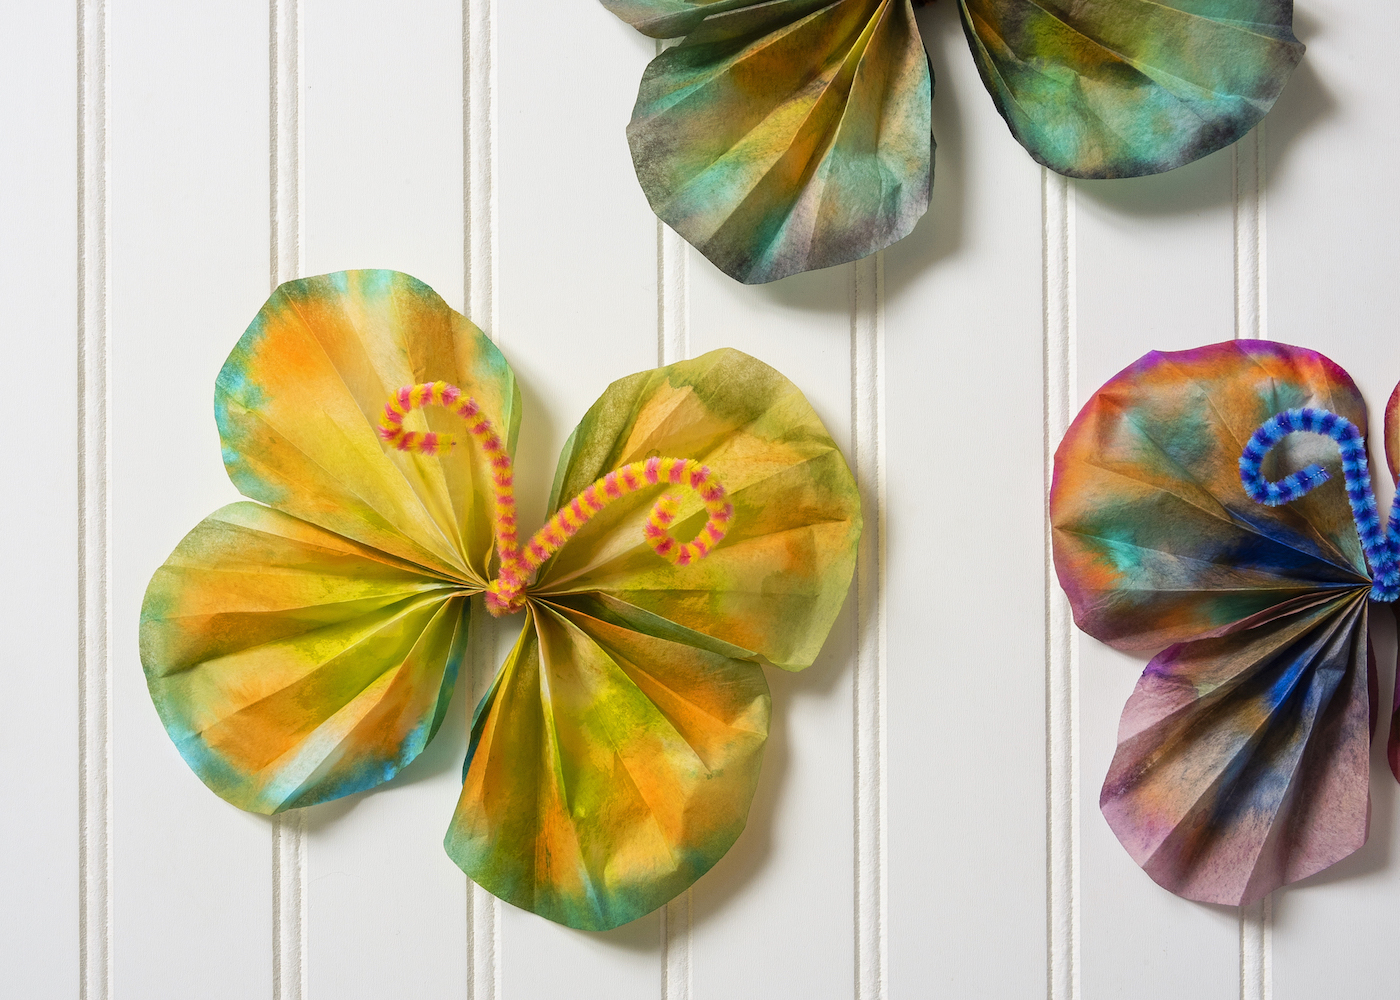
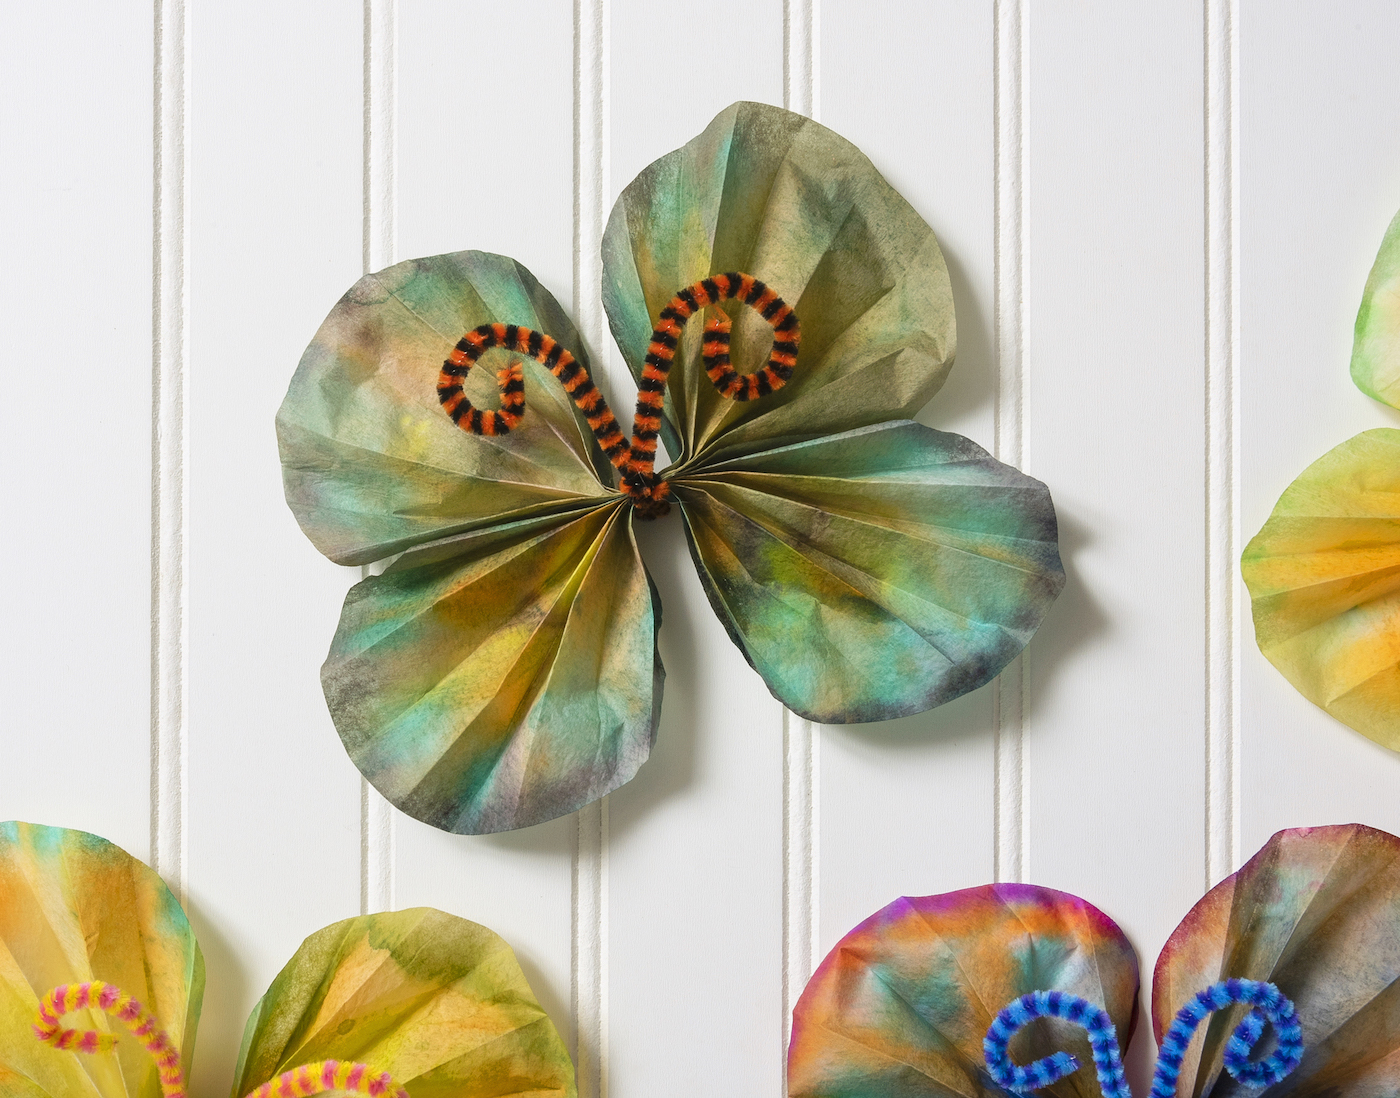
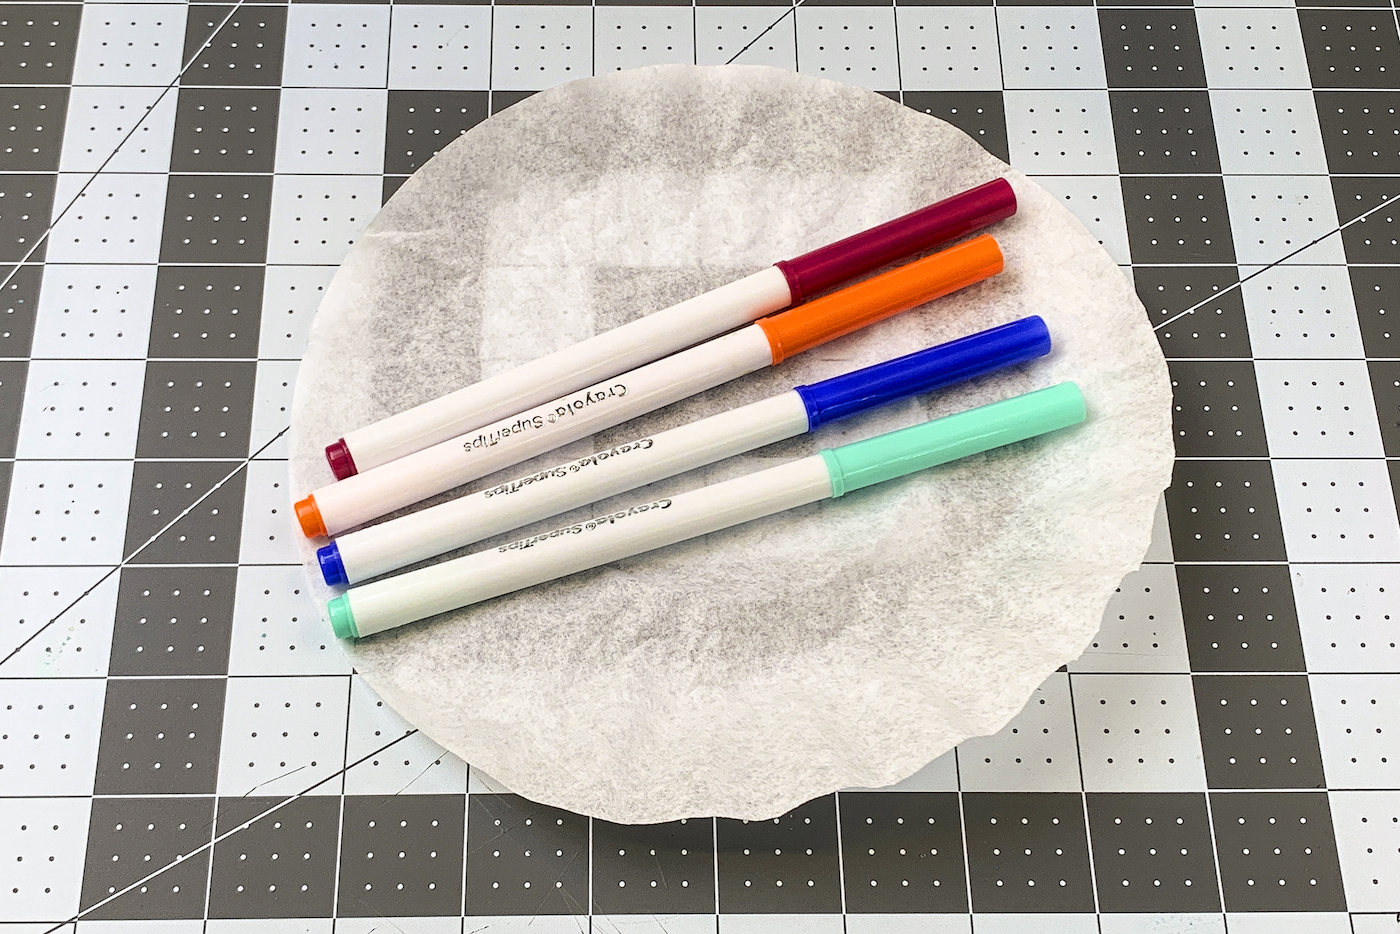
- Choose four colors of washable markers that you would like to use for your butterfly. Picking a variety of colors that are different shades (light and dark) makes for the best results.
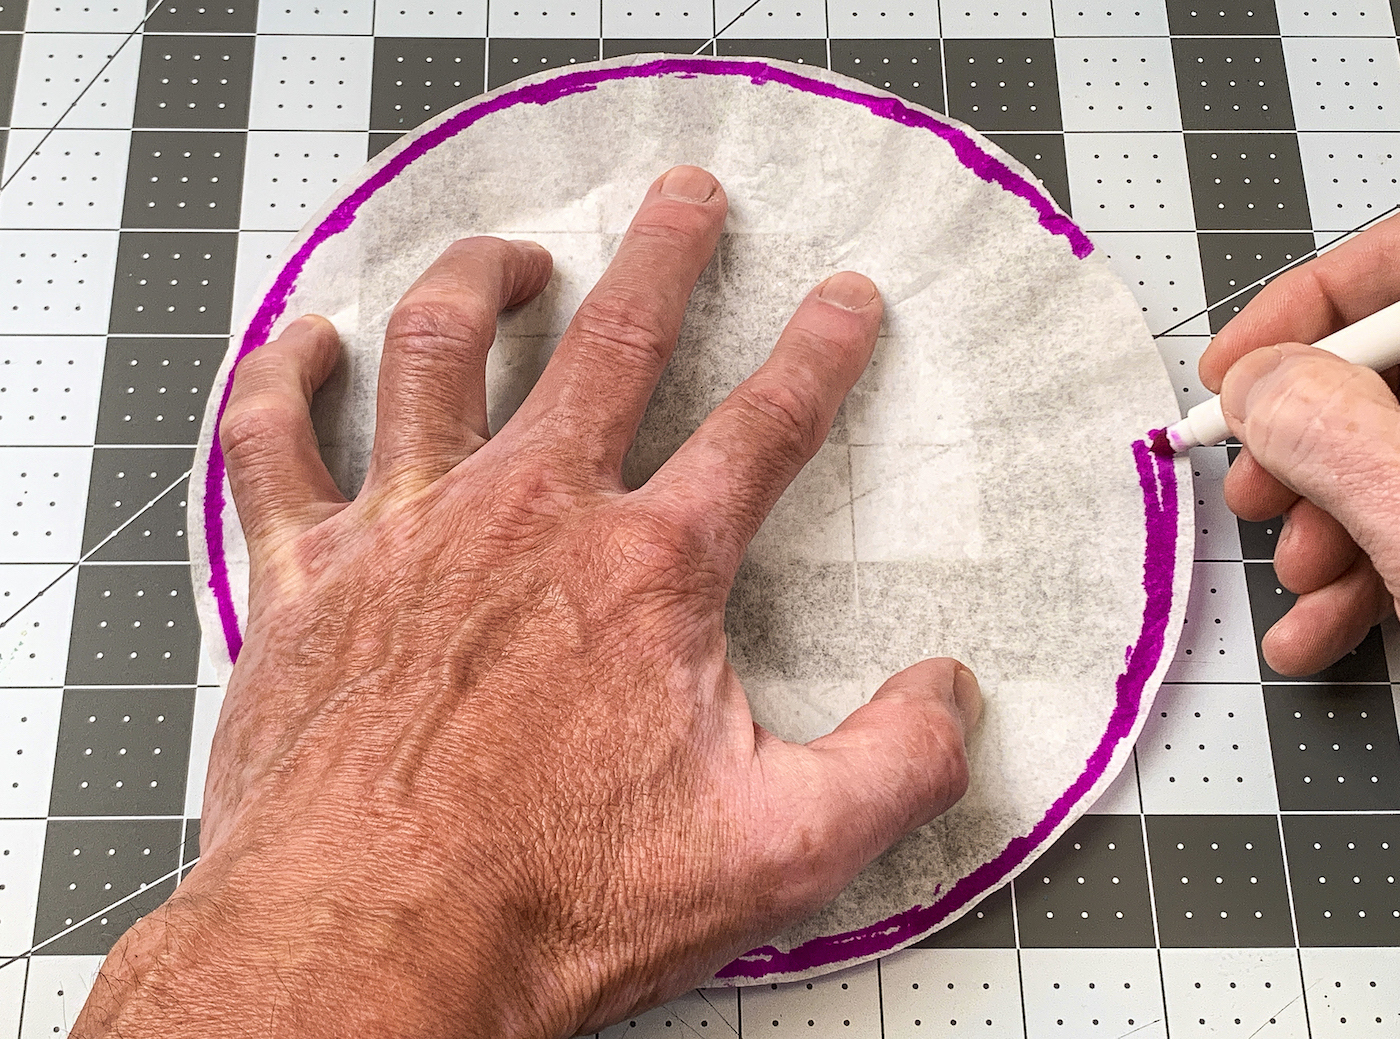
- Start with a magenta, navy, or similar dark shade of marker. Draw a circle around the edge of the coffee filter.
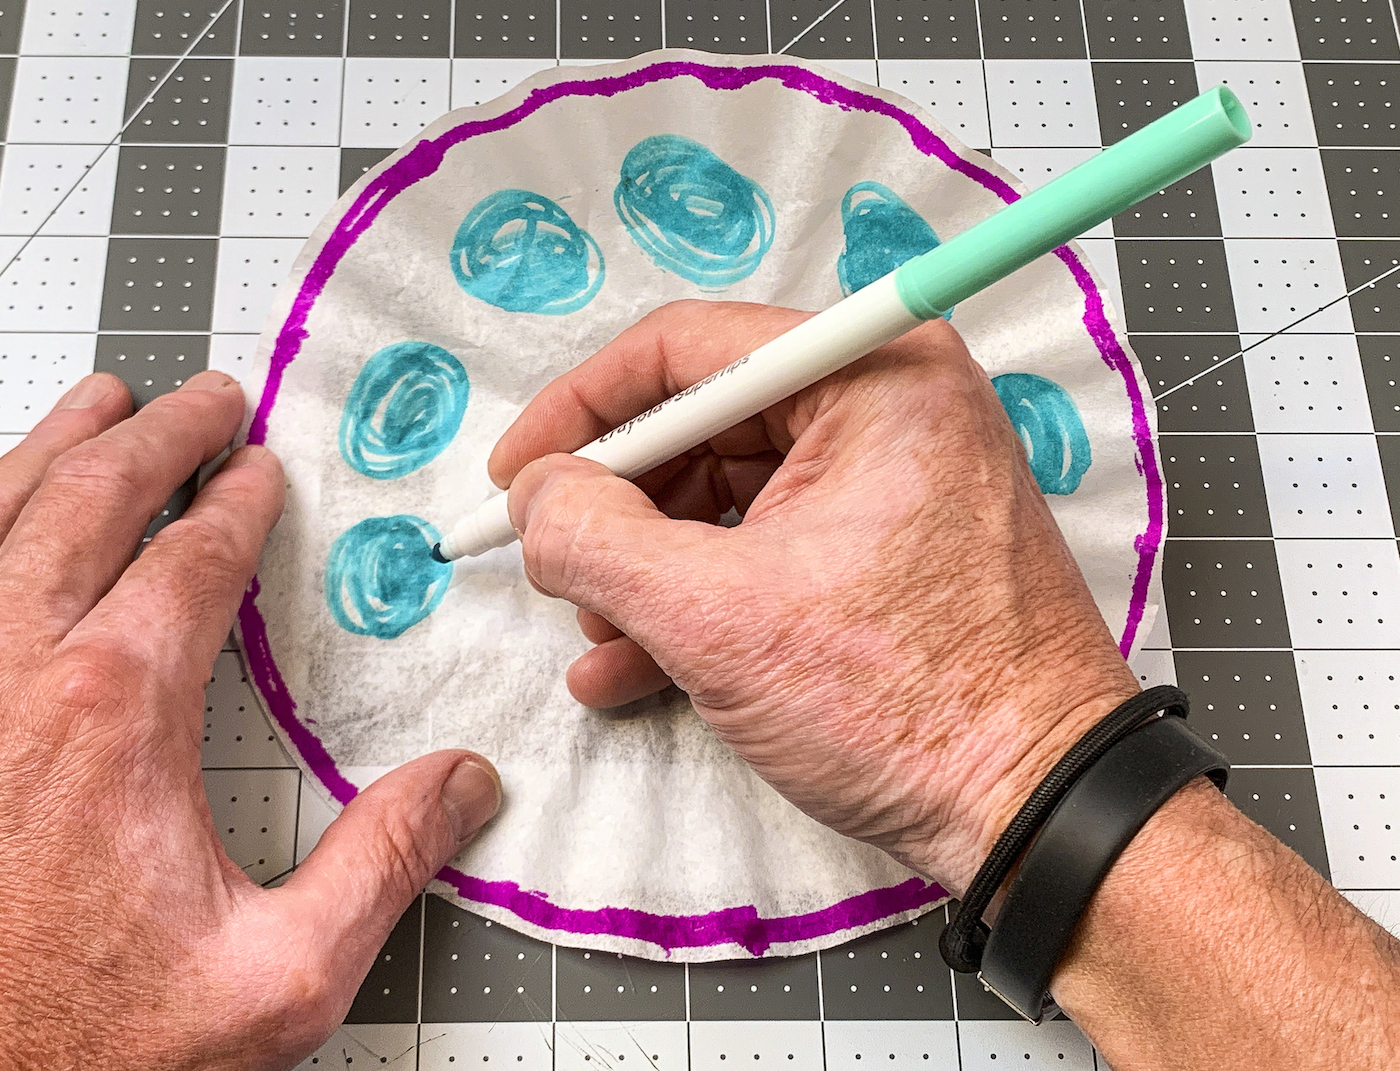
- Take a contrasting color marker and draw some circles around the coffee filter on the inside of the line. Leave a little bit of white space between shades so the colors don’t turn muddy (like in my tutorial photo).
- With the remaining two markers, add additional creative designs at random to the inside of the other lines on the coffee filter.

- Place the filters onto a cookie sheet or wax paper. Use a spray bottle, eye dropper, or spoon to drip water onto the filters gently. Don't add too much water.
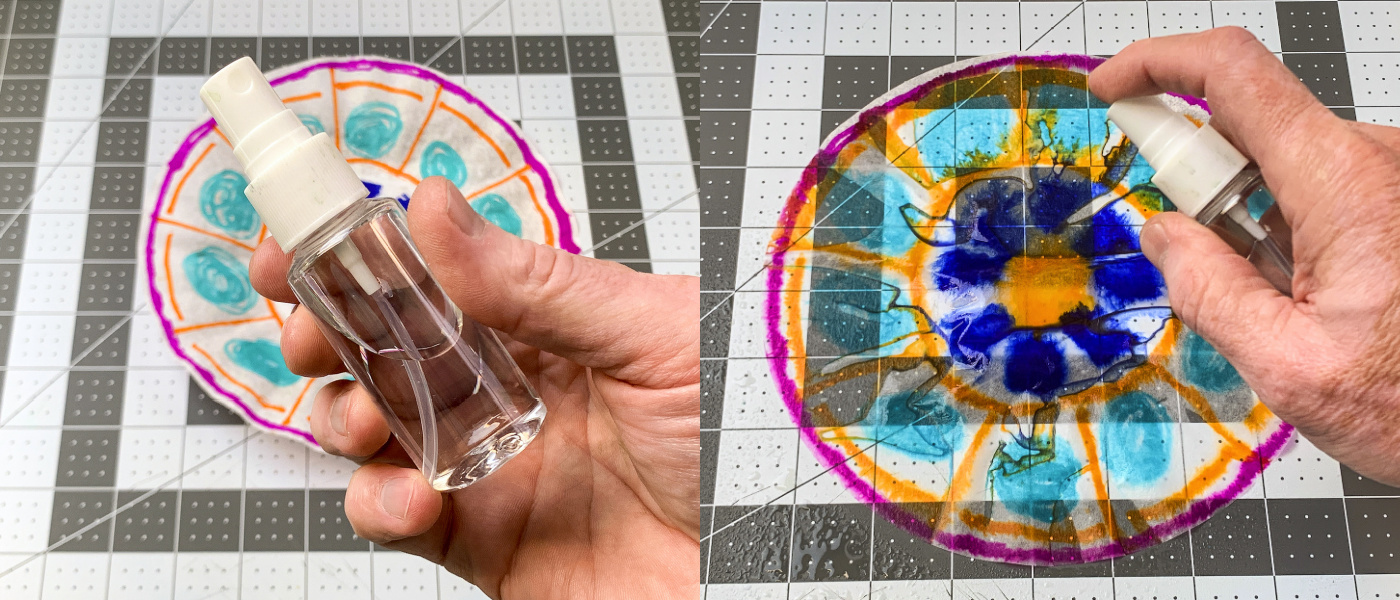
- Allow the filters to dry completely. If needed, place baking sheets outside in the sun or use a hair dryer carefully.
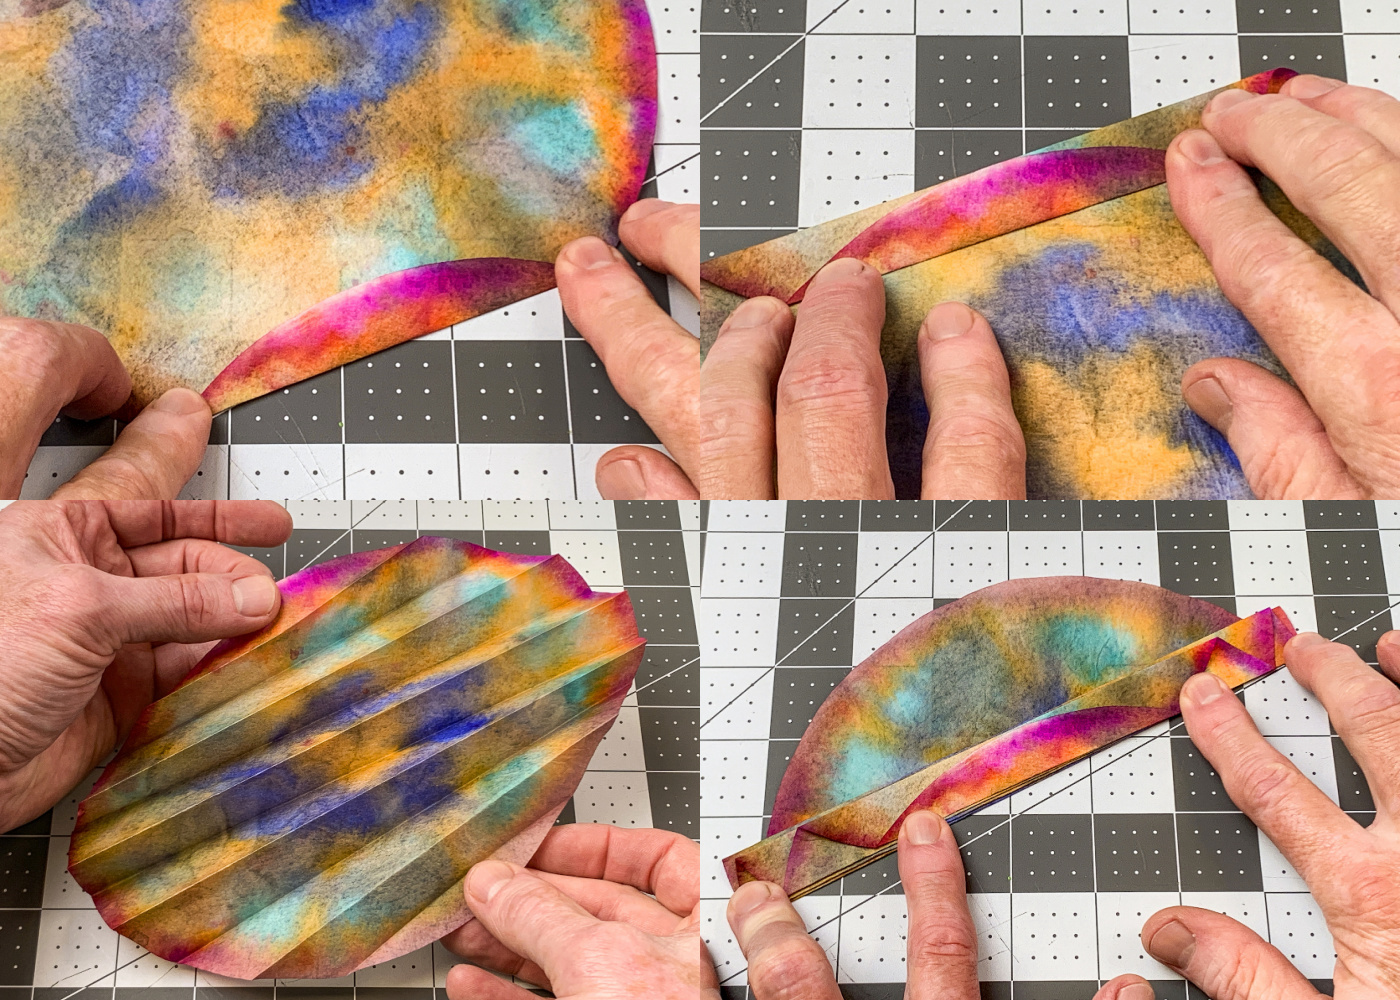
- Place the filter on your work surface. Fold the filter accordion style by folding about 1/4" up on the end. Flip over and fold another 1/4". Repeat until the filter is completely folded. Repeat with a second filter.
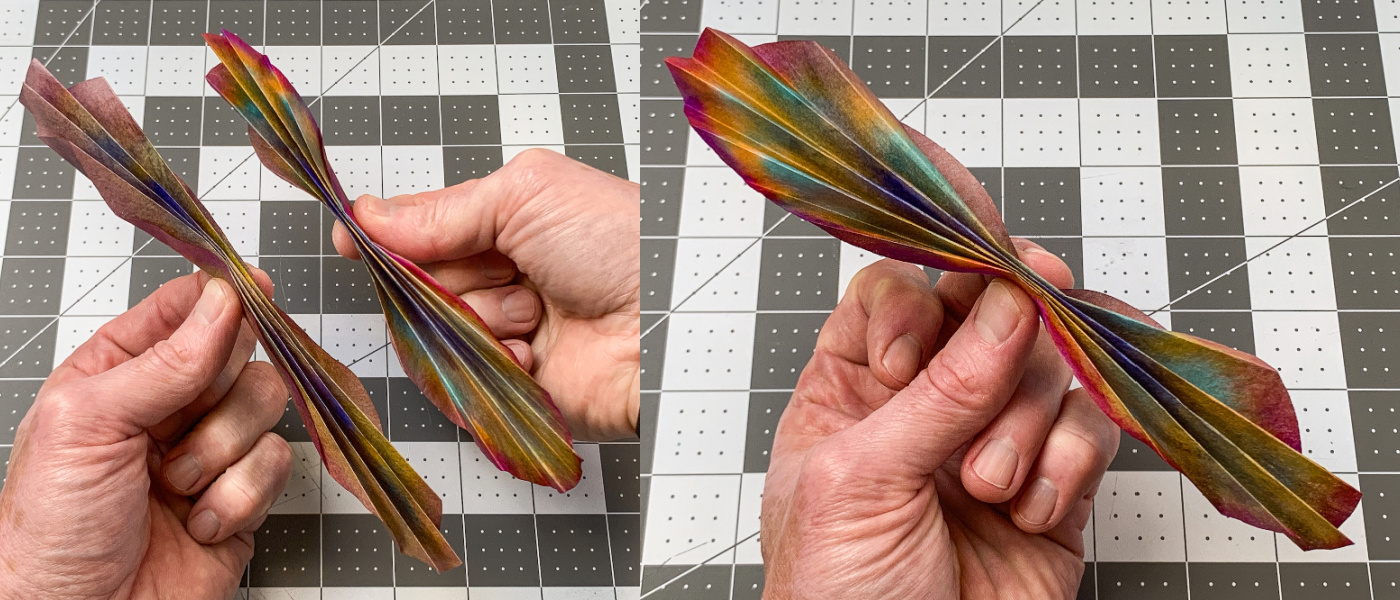
- Take the two folded strips and place them together, sandwiching between your fingers.
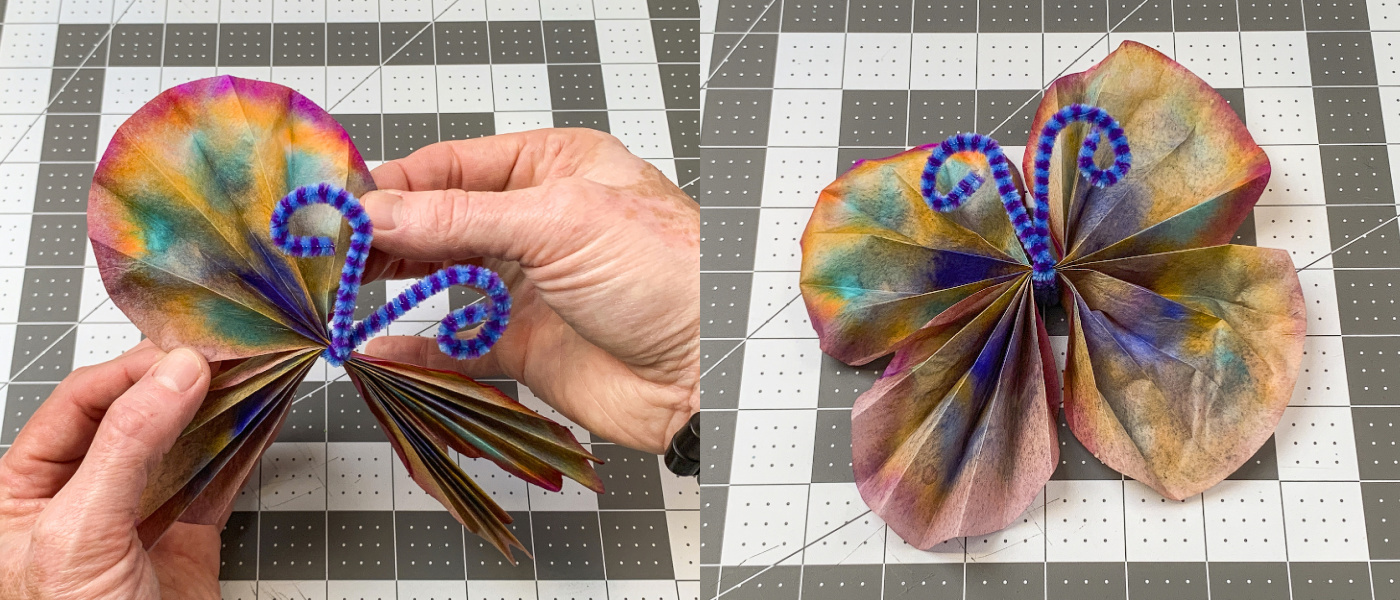
- Fold a pipe cleaner into the big letter V. Curl the end of each pipe cleaner outward into a small spiral to form the antennae.

- Gently pull apart the folds to shape the butterfly wings and fluff the layers evenly. Repeat with the other wings.
Notes
If you enjoyed this cute craft, let me know in the comments! Also check out these other posts:
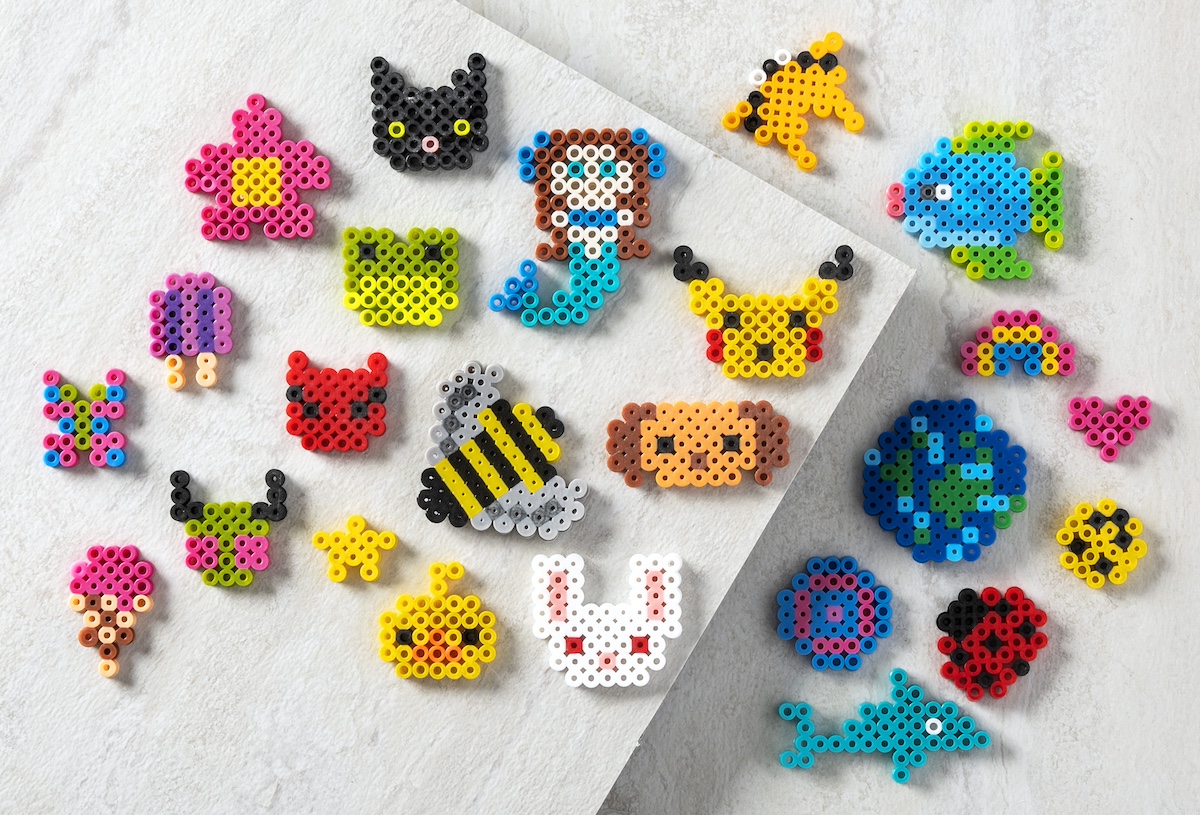
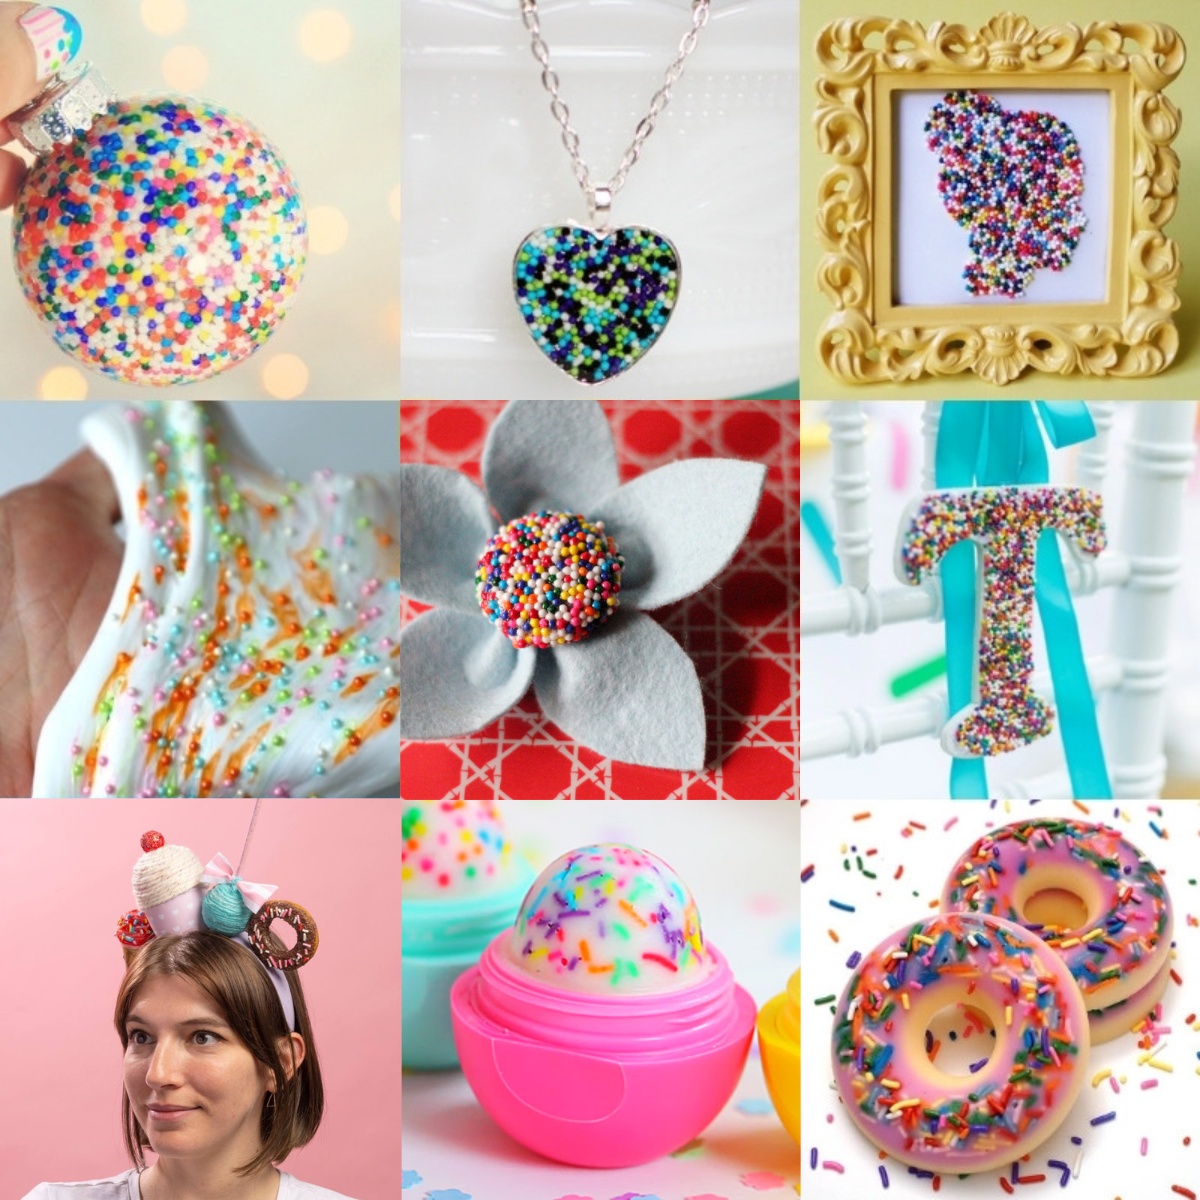
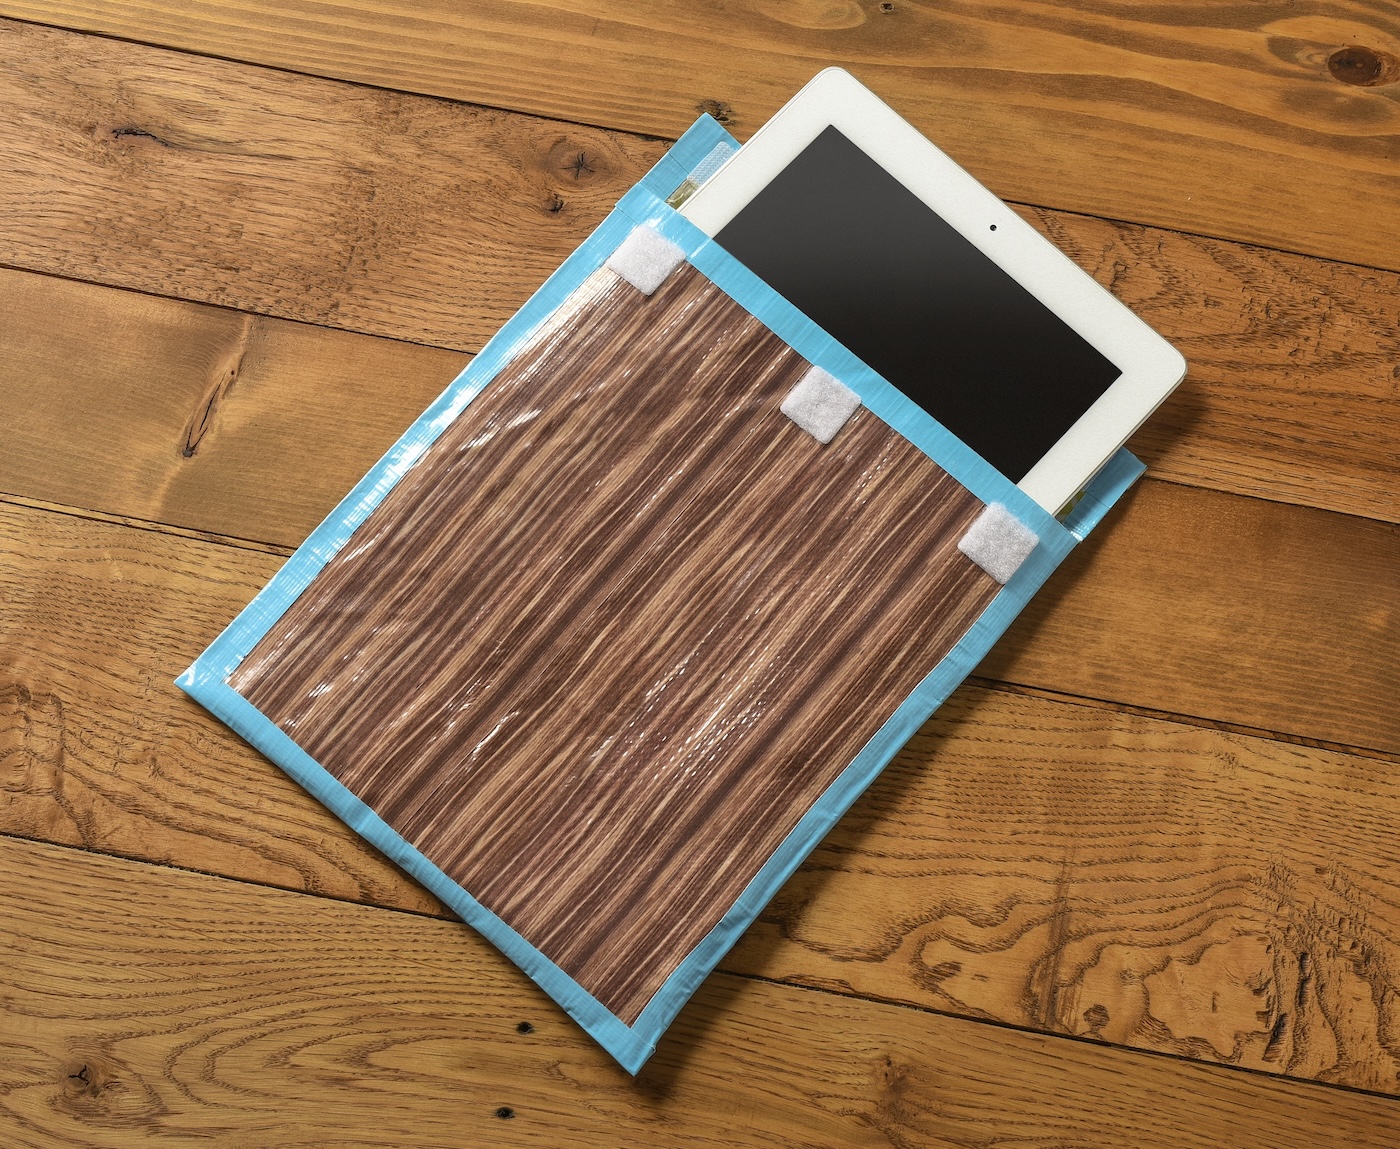
Beaded Suncatchers • Bean Art Mosaics • Blow Painting • Bubble Wrap Painting • Cloud Dough • Clothespin Butterflies • Duct Tape Bracelets • Food Coloring Art • Homemade Playdough • Paper Chain • Pencil Toppers • Perler Beads • Sidewalk Chalk Paint • Silly Putty • Spin Art • Toilet Paper Roll Binoculars • Weaving for Kids • Wine Cork Stamps