Food Coloring Art for Kids on the Cheap
Make food coloring art and have fun using inexpensive materials you probably already have on hand. It’s easy for kids of all ages and the results are stunning!
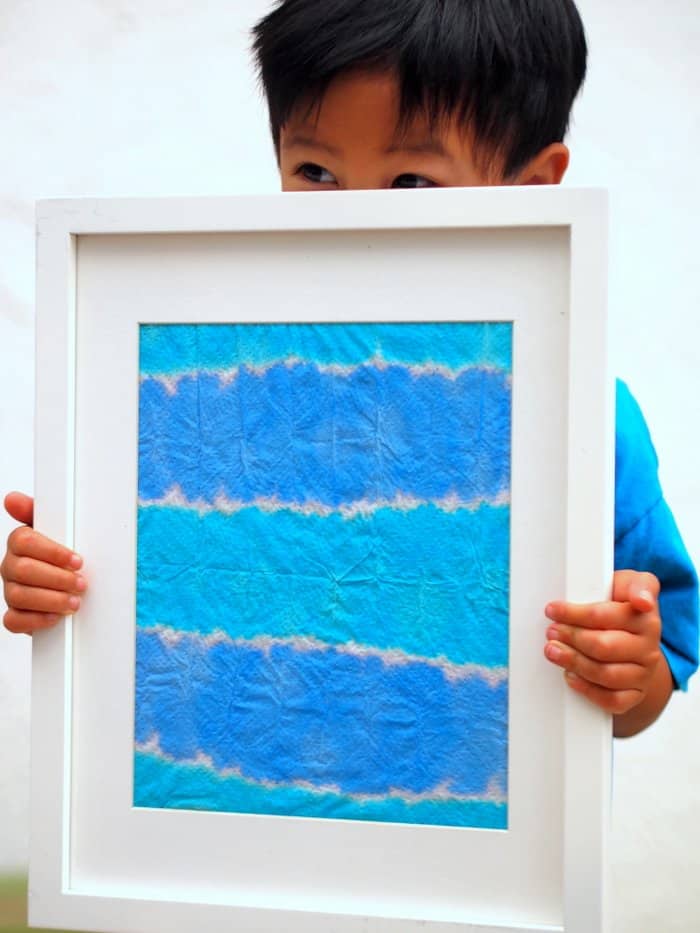
Lately I’ve felt the need to put some color on my walls. But it’s hard to find art that’s in my price range and personal to our family. Since my preschooler and I enjoy doing art projects together, I thought it would be neat to frame some of our joint art ventures.
We’ve been celebrating summer by doing a lot of fun boredom busters, and this is one of those summer crafts for littles you’re going to have on the greatest hits list. So how was it developed?
Right now my son is really into tie dying, but he’s not quite old enough to do the packaged tie dying you see at the craft store. So I came up with this easy and colorful dip dye kids wall art project. It was so easy to make and the results were quite stunning!
Food Coloring Wall Art for Kids
Materials Used:
- Food coloring (or liquid watercolors)
- Paper towels
- Ice cube tray
- Rags
- Scissors
- Tape
- Large piece of paper
- Frame

Create the Mixture
First you’ll create your dye by mixing together food coloring/liquid watercolors and water. (You’ll have to play around with the dye to water ratio).
We filled up each ice-cube holder ½ way up with dye, and then added a similar amount of water. The colors came out fairly vibrant this way!
Note: We’ve done this activity several times now and I love using an ice-cube tray to hold our dye. Once we’re done, we add more water to all the ice cube holders. Then we pop the tray into the freezer to create colorful ice cubes for later fun.

Fold the Paper Towels
Fold your paper towels before dying to create lovely, symmetric designs. Different folding patterns will result in different designs.
We did two types of folds – a rectangular style fold and a triangle style fold.
For the rectangular style fold, we simply kept folding the paper towel in half lengthwise several times. The result was a long thin rectangle. Then we folded that rectangle in half to get a shorter rectangle.
For the triangle style fold, we folded the paper towel in half lengthwise, then folded it in half horizontally, and then folded the paper towel along its diagonal. The result was a triangle.

Dip the Towels Into the Food Coloring
Dip your paper towels into the food coloring dye! Once you’re done dying, carefully open up the paper towels and place them on rags to dry.
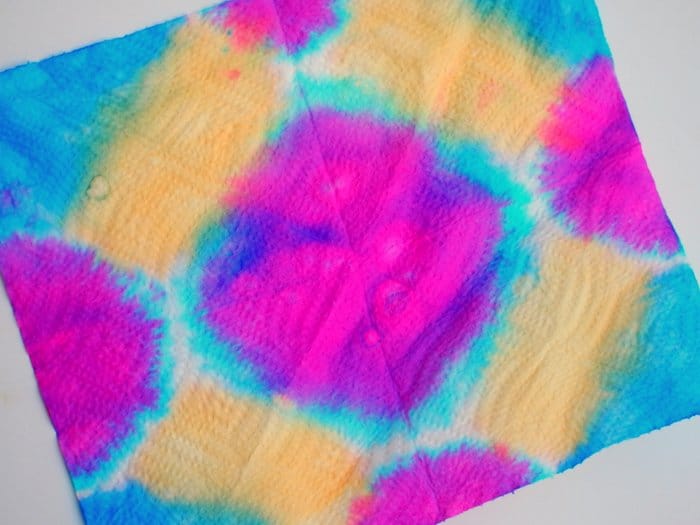

Step 4:
Once the paper towels dry, you can just hang them up as is! (My son used washi tape to tape a whole bunch to his wall. I love that it looks like a crazy, colorful paper quilt.)
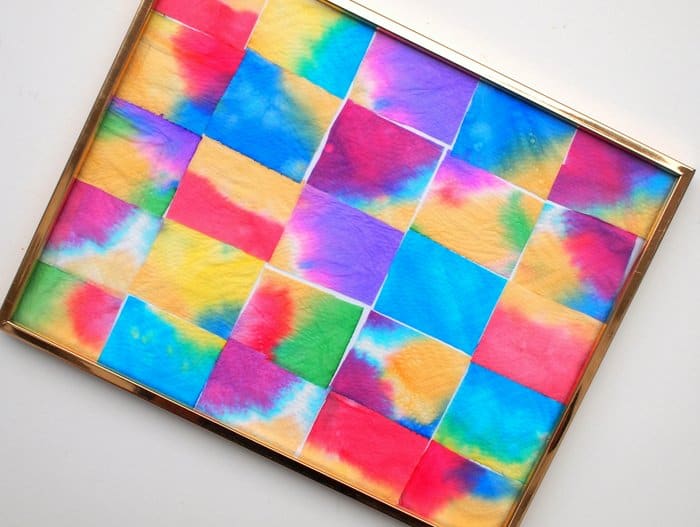
Or, you can cut them up and rearrange the designs to create abstract art. The result is quite magical!
You might want to highlight one particular design and frame it on its own. I fell in love with a blue striped design and put it in a white frame. Doesn’t this kids wall art look lovely?
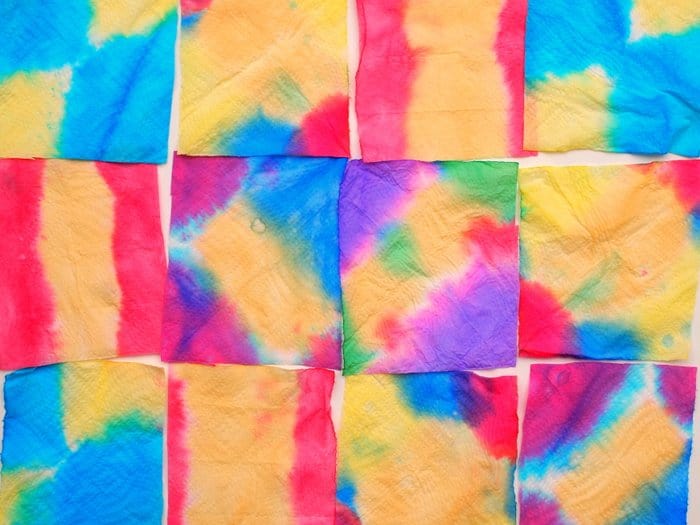

I hope you enjoy this simple and lovely child-friendly art idea. To see more projects like this one, visit my blog Pink Stripey Socks. I’d also love for you to check out these other art projects:
- DIY Spin Art Machine with a Salad Spinner
- Rainbow Painted Flower Pots for Kids or Adults
- Make Wine Cork Stamps The Easy Way!
- Confetti Bookmarks for Kids Are Colorful
- Moon Glow in the Dark T-Shirt (the Easy Way!)
Happy making, friends!


These are such a great idea!. We’re going to have to try it!
You can do this very easily after you’ve dyed all your Easter Eggs! The dye is right there for you. We do this every year after we dye the eggs.
That’s a great idea!
Thank you. This is GREAT. I am having as much fun as the kids are. I will introduce this to one of my kids teachers for arts and crafts. . Once again thank you for all these ideas they are fantastic 😊