Halloween Sand Art Made in Skull Mason Jars
Do you remember sand art from when you were young? Revisit it in this fun Halloween project using skull mason jars! Perfect for holiday decor.
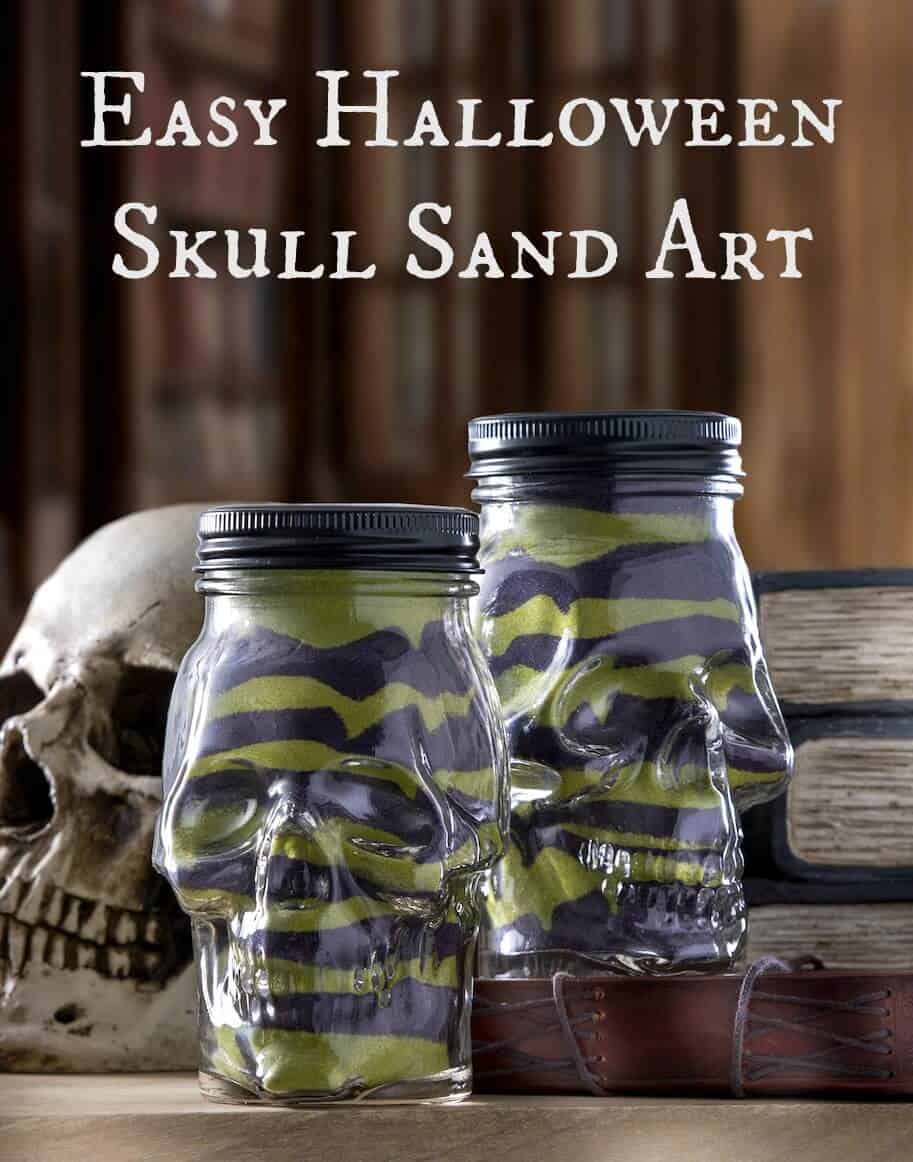
Do you remember sand art from when you were little? It was one of my FAVORITE activities. I loved layering different colors of sand and using a pencil to combine the lines of colors together. I decided to turn that love into a Halloween kids craft.
There’s something about pouring sand; it’s comforting and mesmerizing. Not only that, but sand art is truly a beginner craft. Anyone can make this Halloween decor from adults to children – no matter the skill level.
My sand of choice for this skeleton craft was ACTÍVA Scenic Sand. I really, really love the colors it comes in – there are 20 vibrant options! It also comes in various sizes to accommodate the project size of your choosing. ACTÍVA sand is great for use in candle and floral projects . . . or crafts ,of course. Here’s how I made these cool mason jar skulls.
Halloween Sand Art
Gather These Supplies
- Skull mason jars
- Lids if your mason jars need them
- ACTÍVA Scenic Sand – Purple and Sage, 5 lb. bags
- Paintbrush for poking
- Extra glass
- Spoon
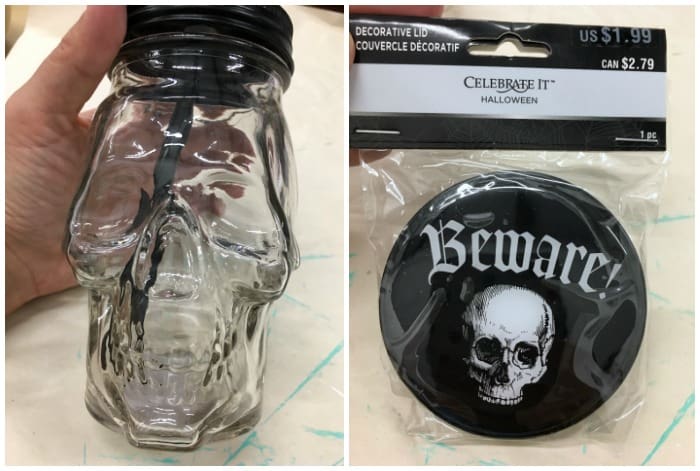
Here are the supplies I purchased from Michaels. They had these fancy skull mason jar glasses! I need to purchase additional lids because the original lids had holes for straws. I was okay with that though, because I liked the decorative lids available. So spooky!
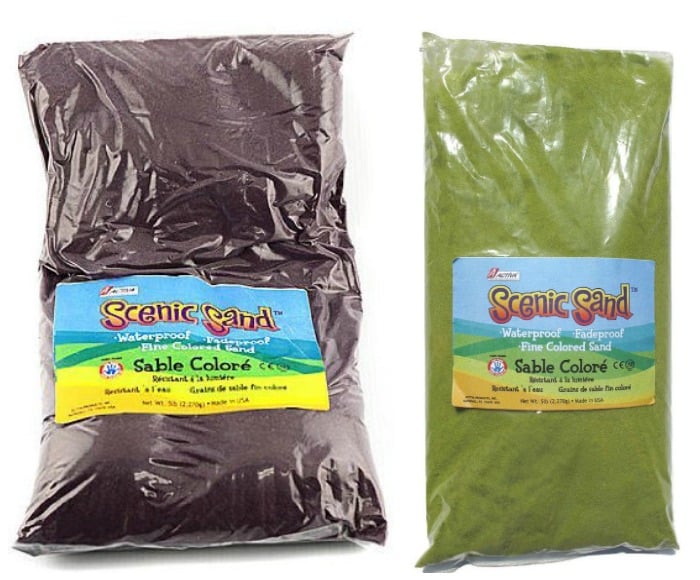
In addition to your vessel to hold the sand, you’ll need the sand itself. I used ACTÍVA Scenic Sand in two colors – Purple and Sage. I highly recommend that for contrast you choose one lighter color and one darker color.
You could even pick three colors or more if you were so inclined! Grab the 5 lb. bags. You’ll typically find this sand in the floral department of your craft store.
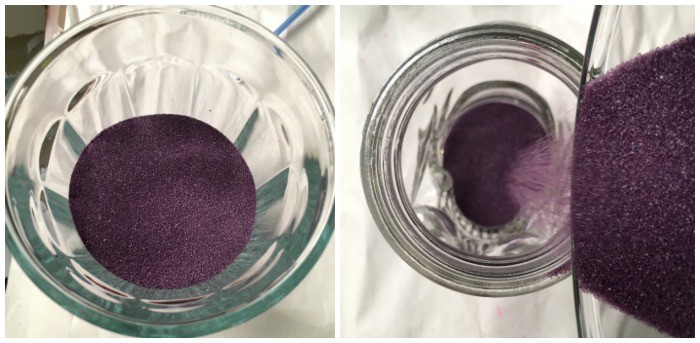
Since I can be klutzy, I opened my bags of sand and poured some into another glass. This is because otherwise the potential existed of dumping the entire bag on the ground. Use this glass to disperse the sand into your mason jar.
And it’s quite easy how you do it. You pour in just about as much as you like in layers. Look at your jar between layers and make sure you are happy with the amount; if you aren’t, remove some with a spoon or add more. It’s that easy! Note that I did about 1 – 2 second pours for each layer.
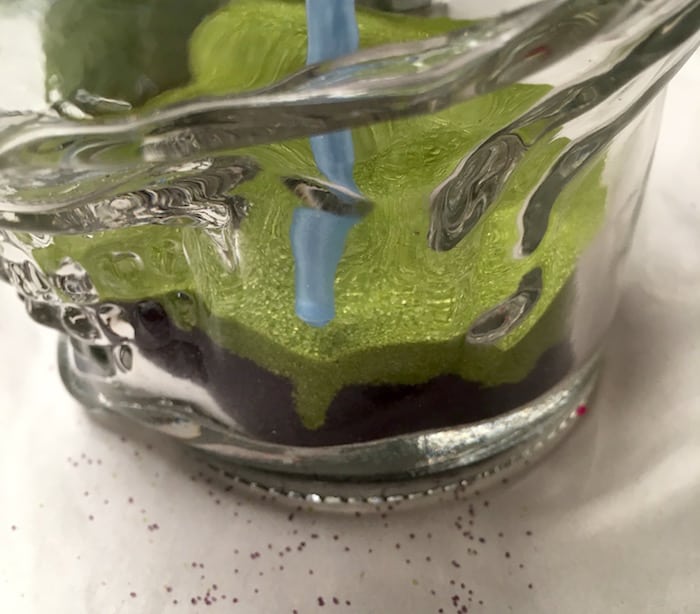
And this is where the expert sand art technique comes in. Use the base of a paintbrush to add some interest to your layers! Push down on the edges to make little dips here and there.
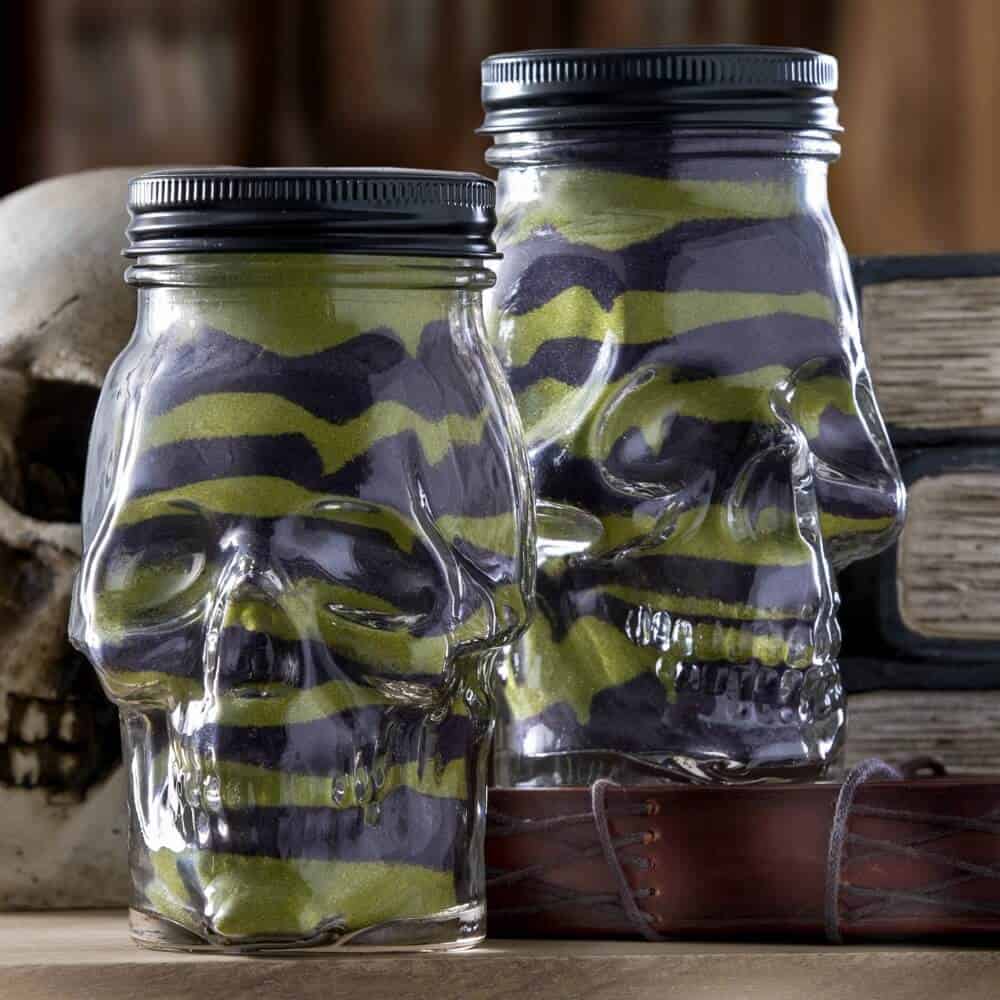
Fill all the way up to the top and screw your lids on. Get a closer look below!
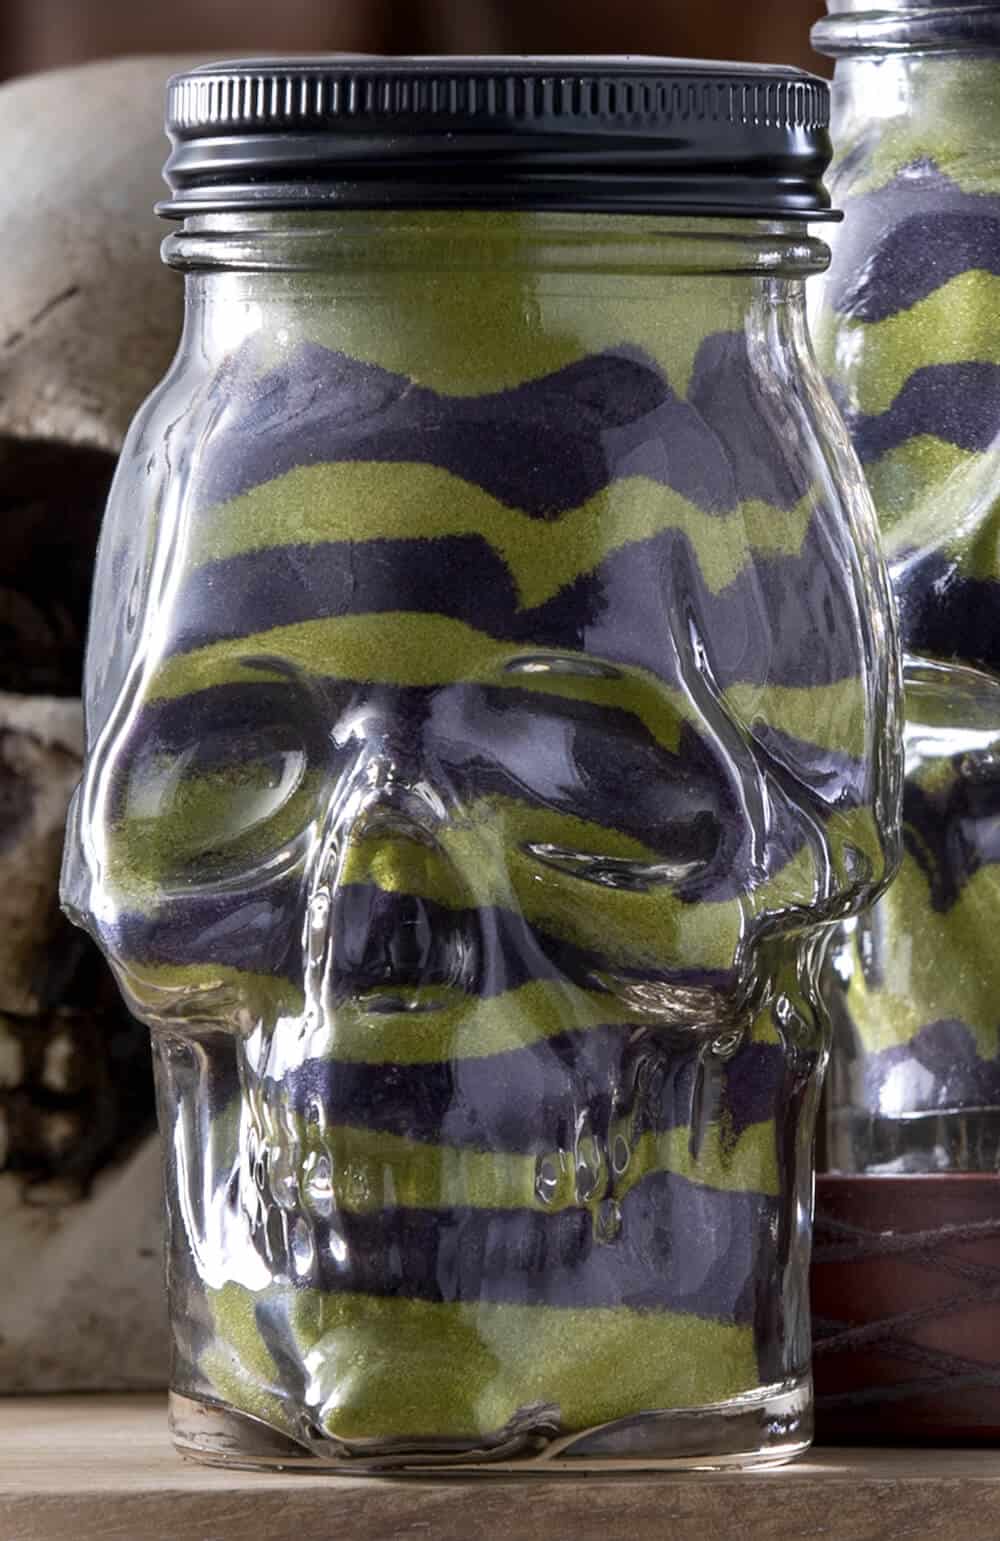
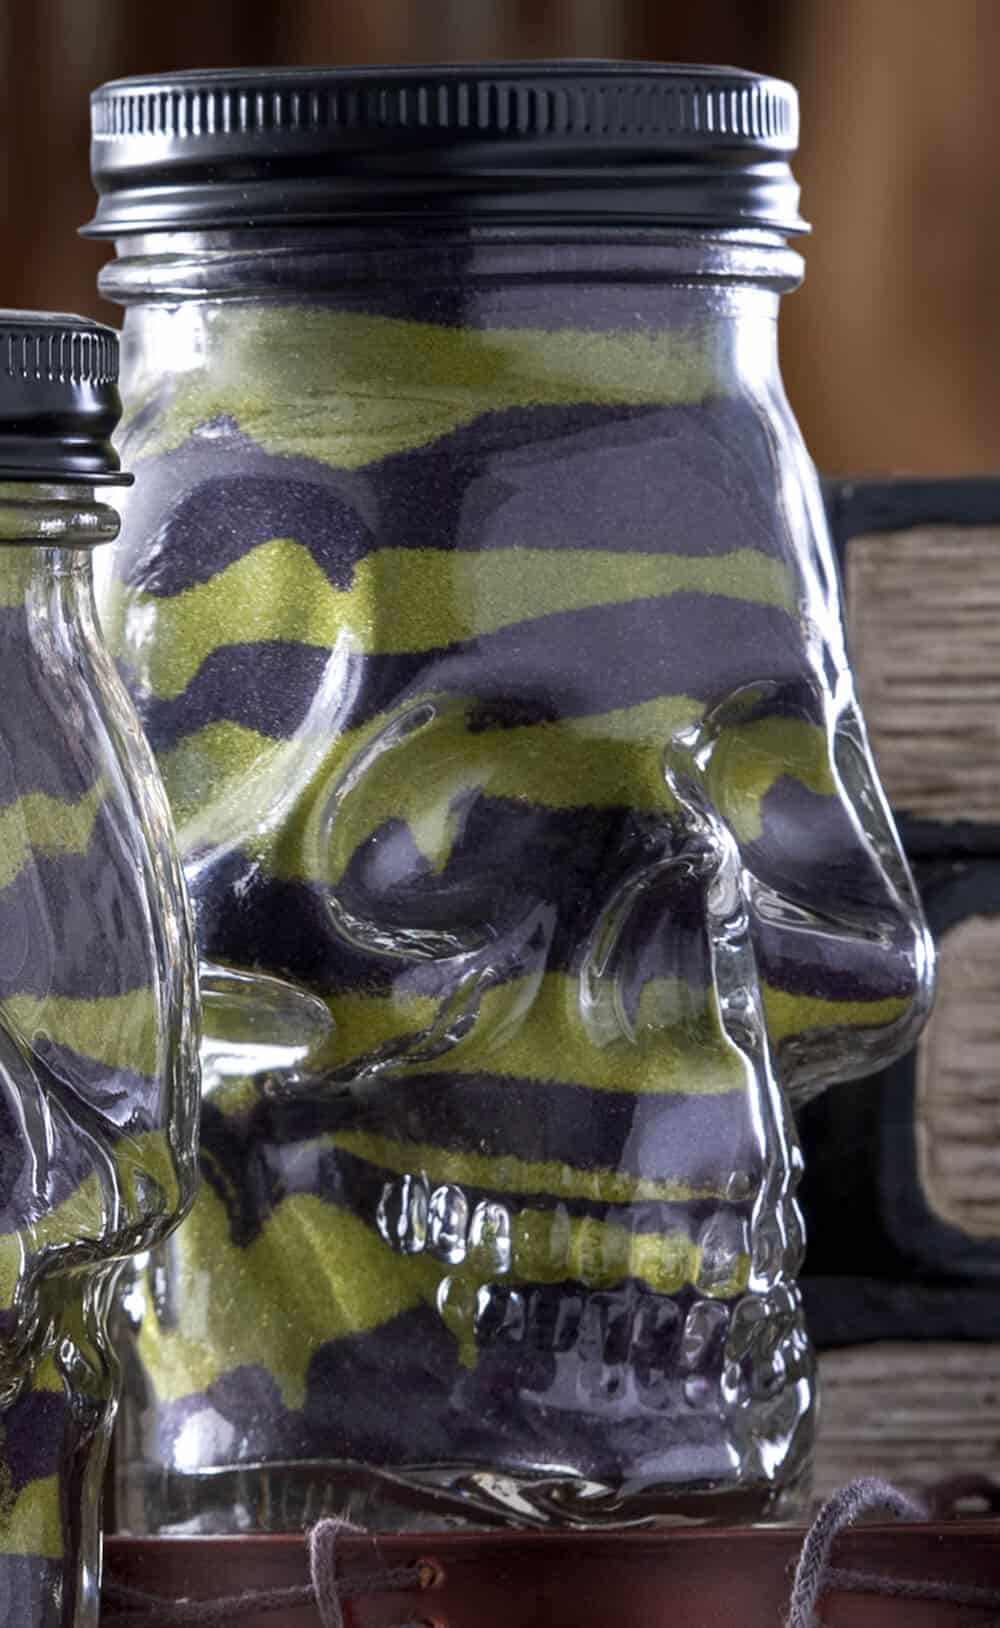
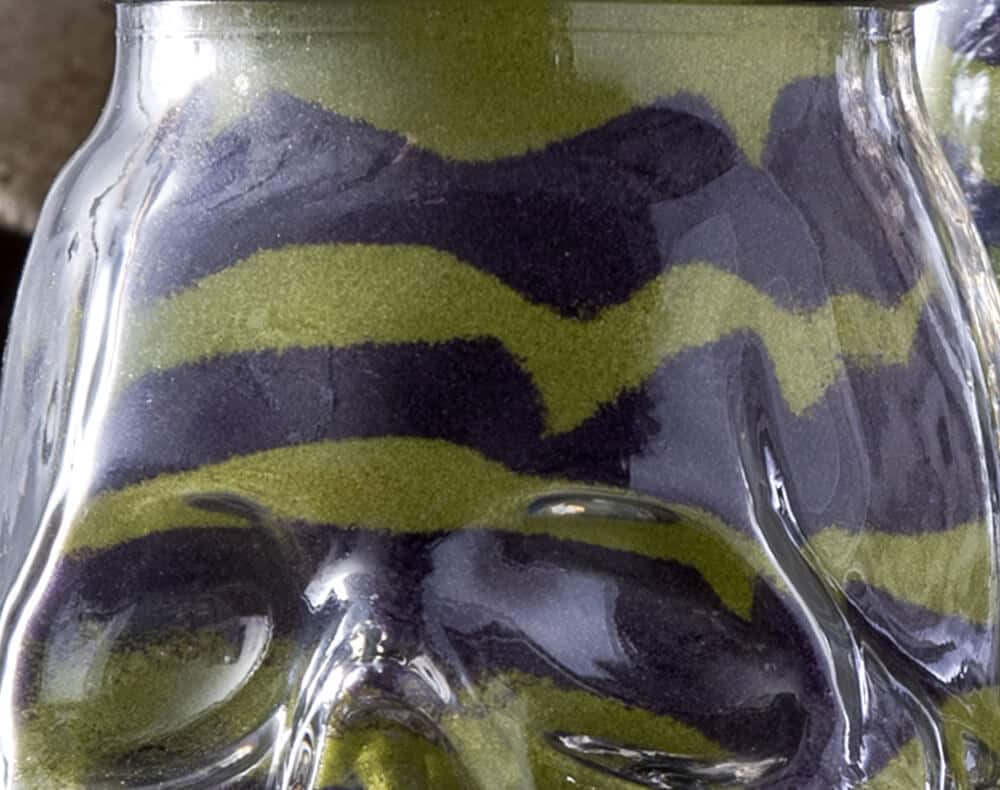
This Halloween sand art is probably one of the coolest, easiest Halloween crafts I’ve ever made. I LOVE Halloween in a jar! If you enjoyed this craft idea, I’d love for you to check out these other posts:

This is such a cool project! My kids would like it if I made these for decor.
This is such a unique way to craft with sand – you are so creative!
This is just so FUN!!!