DIY Bath Mat in Fifteen Minutes (Cheap & Cute!)
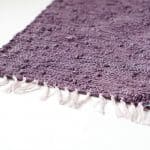
Use a pair of thrifted placemats to make an upcycled DIY bath mat. This craft is budget friendly and can be made in 15 minutes! You can also use this as a small DIY rug for any area of your home.
Skills Required: Beginner. You’ll use a needle and thread for this project exclusively. If you aren’t happy with your hand sewing technique, you might want to practice a bit, just so you get neat lines.
The linen rack is one of the sections I check religiously whenever I’m at the thrift store. And when I came across a complete set of these woven placemats, I knew I wanted to bring them home.
But not for their intended purpose.
They weren’t going to go on the table. Because with four children, I need more than two placemats. I had other ideas though!
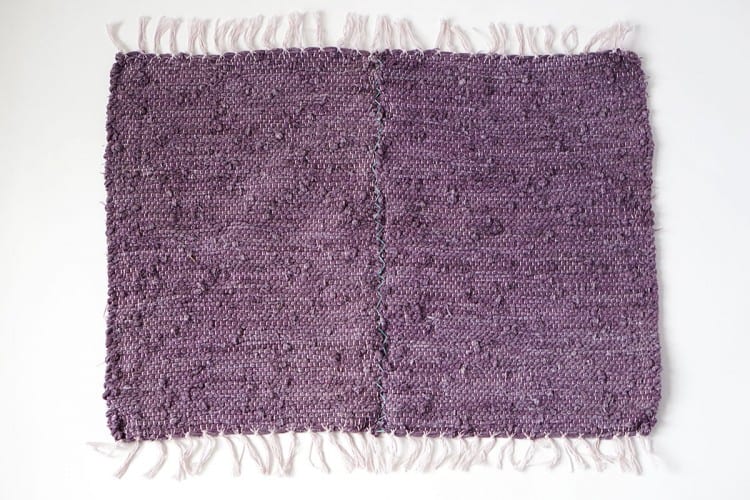
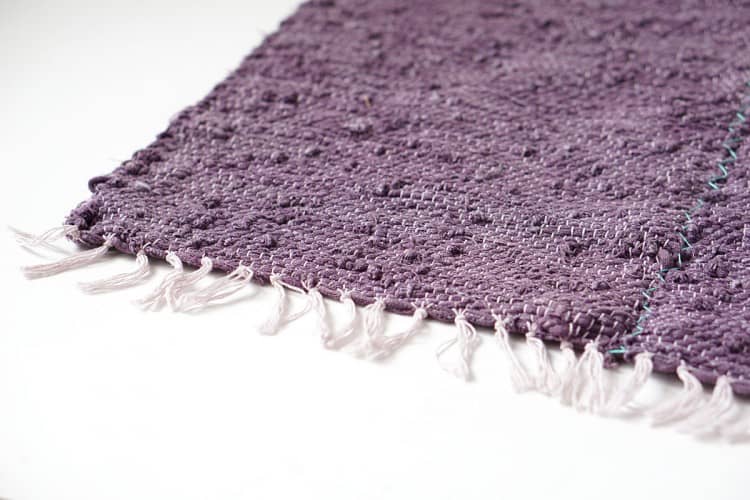
Instead I stitched a couple together to add a splash of color – a DIY bath mat for one of our barely used bathrooms. Why spend a lot of money when you don’t have to?
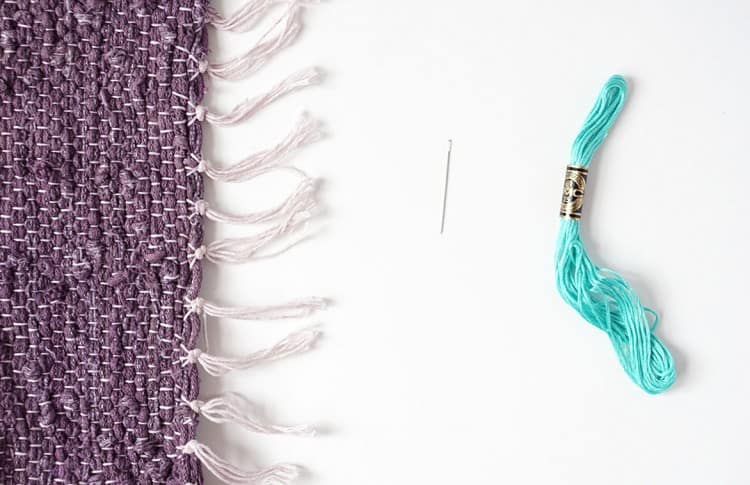
Gather These Supplies
- Placemats – two
- Embroidery thread – colorful!
- Sewing needle
- Scissors
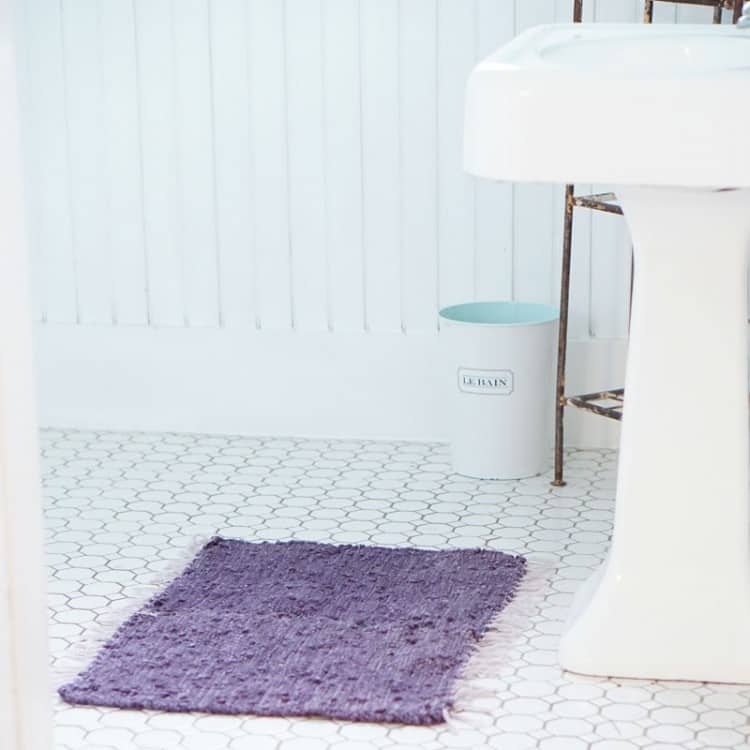
A 15-minute craft, and you have a new bathroom rug! I hope this DIY bath mat inspires you to look at things a little differently the next time you’re at the thrift store!
Get the printable how to below:
How to Make a Bath Mat
Equipment
- Needle(s)
Materials
- 2 Placemats
- 1 skein Embroidery floss or thread
Instructions
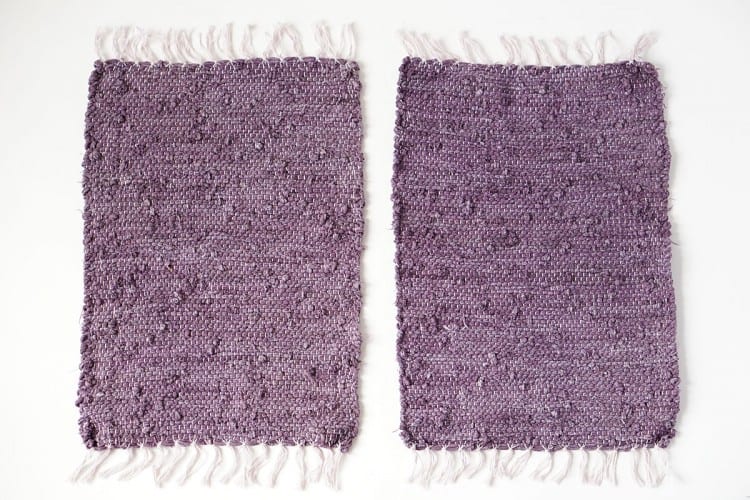
- Start by making sure the placemats are washed and laying flat. Lay them next to each other.
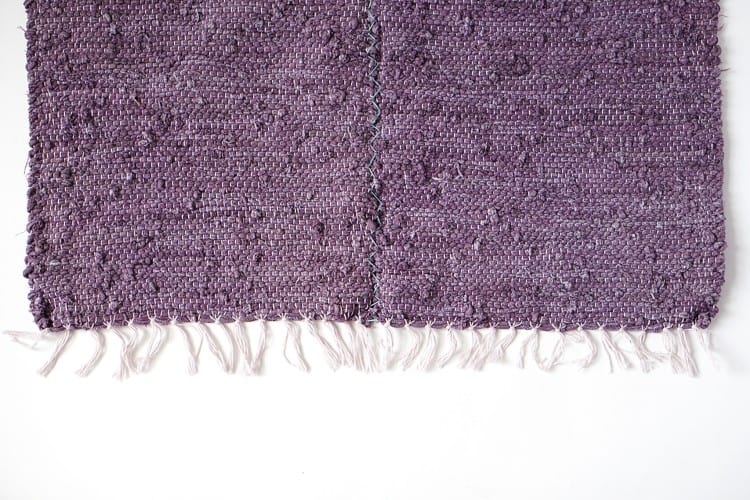
- Begin sewing at one end. Make knots to secure. Line the mats up and zig zag stitch all the way down, making sure to knot the thread at the beginning and end.
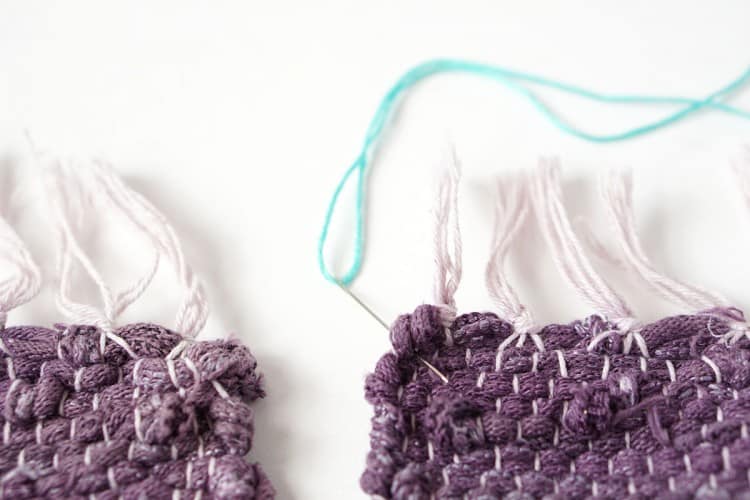
- Start at one end and push the needle up through. Then you're going to use the fibers of the rug for your stitches.

- Make enough stitches to secure the placemats well – you want them snug, because you want to have the ability to wash your rug.
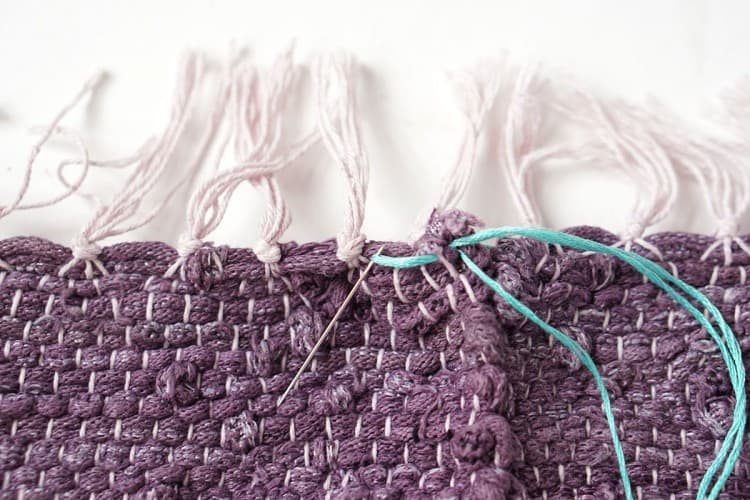
- Trim off the excess thread when you reach the end using the scissors.
Notes
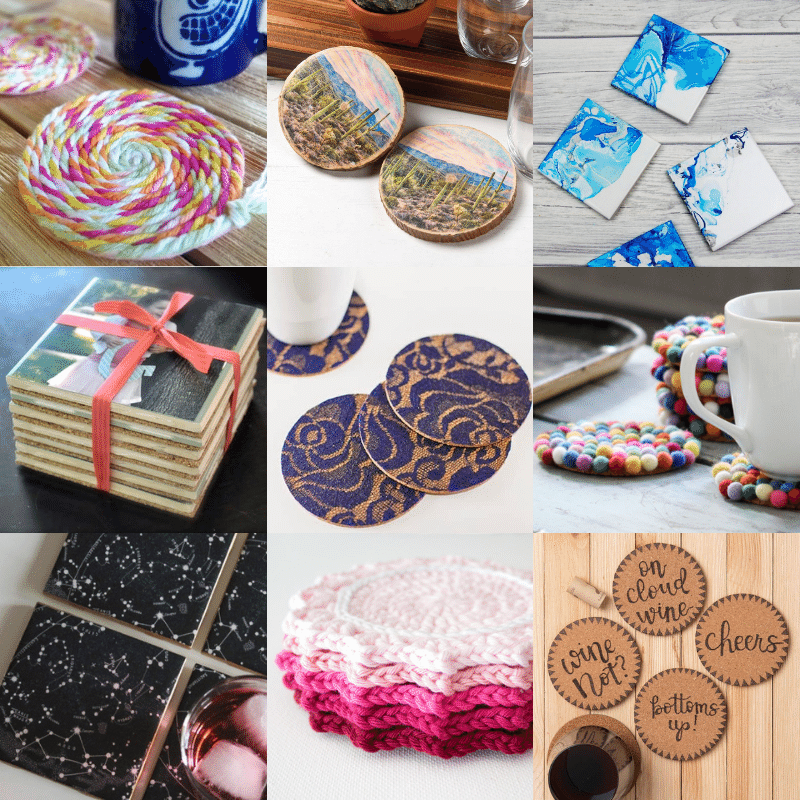
Looking for more creative reuse ideas or home decor crafts, check out these other posts below:


How do you keep it from sliding around?
Hi Linda! I either use a rug pad (they’re so cheap at IKEA or Dollar Tree) OR spare grip tape if I have it OR I place dabs of hot glue at strategic areas on the back. If I use the hot glue, I wash it normally and just replace it as it wears off. 😀