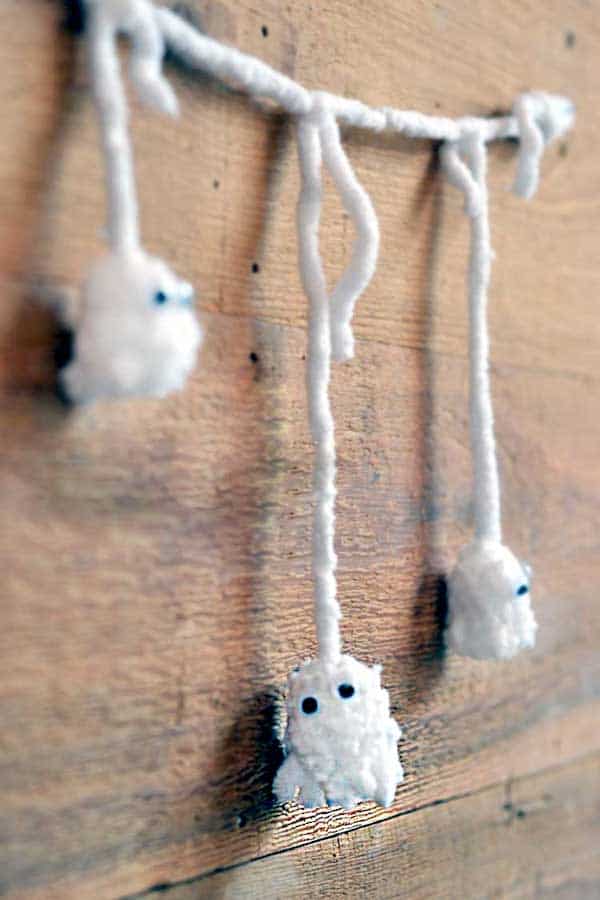
Owl Pom Pom: A Fun Fall Craft for the Whole Family
Create an adorable owl pom pom with yarn and a pom pom maker! This easy fall craft is perfect for all ages and offers endless creative possibilities.
Skills Required: Beginner. You’re going to use a pom pom maker which is relatively easy to do, but I suggest trying a plain pom pom first with scrap yarn. That way when you do the owl you’ll know what to expect from the tool.
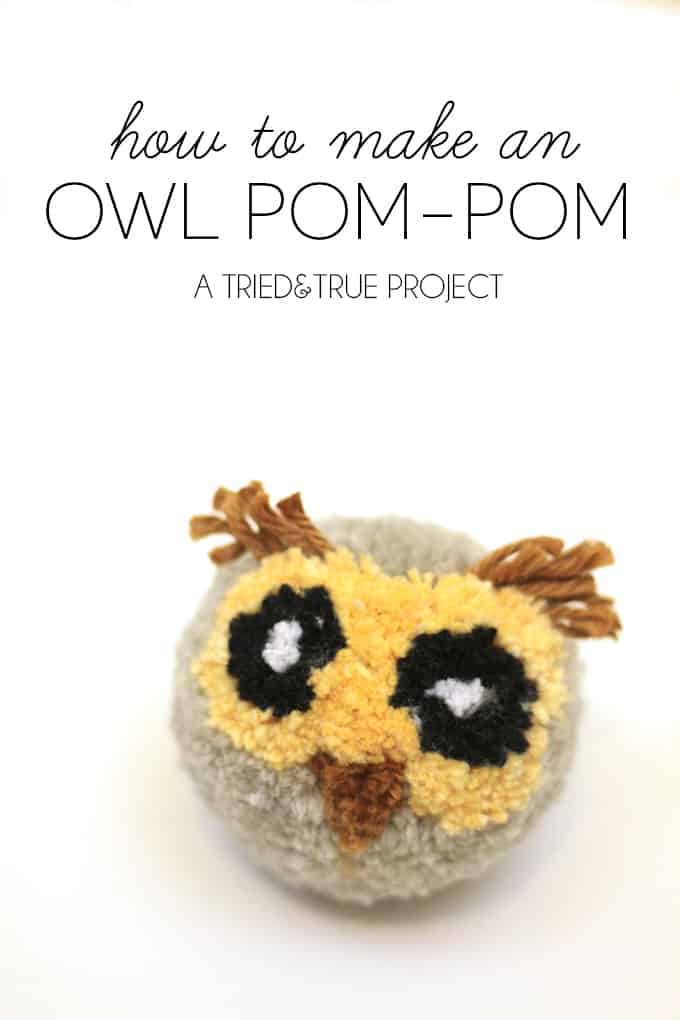
Fall is in the air, and we’re diving headfirst into cozy crafting with a project that’s as adorable as it is simple—meet our charming owl pom pom!
My kids and I have been having a blast with pom poms lately, but this little project has quickly become our top pick. With just a bit of yarn and a pom pom maker, you can whip up these cute critters in no time!
This craft is perfect for crafters of all ages, whether you’re a seasoned DIYer or just looking for a fun way to spend a crisp autumn afternoon.
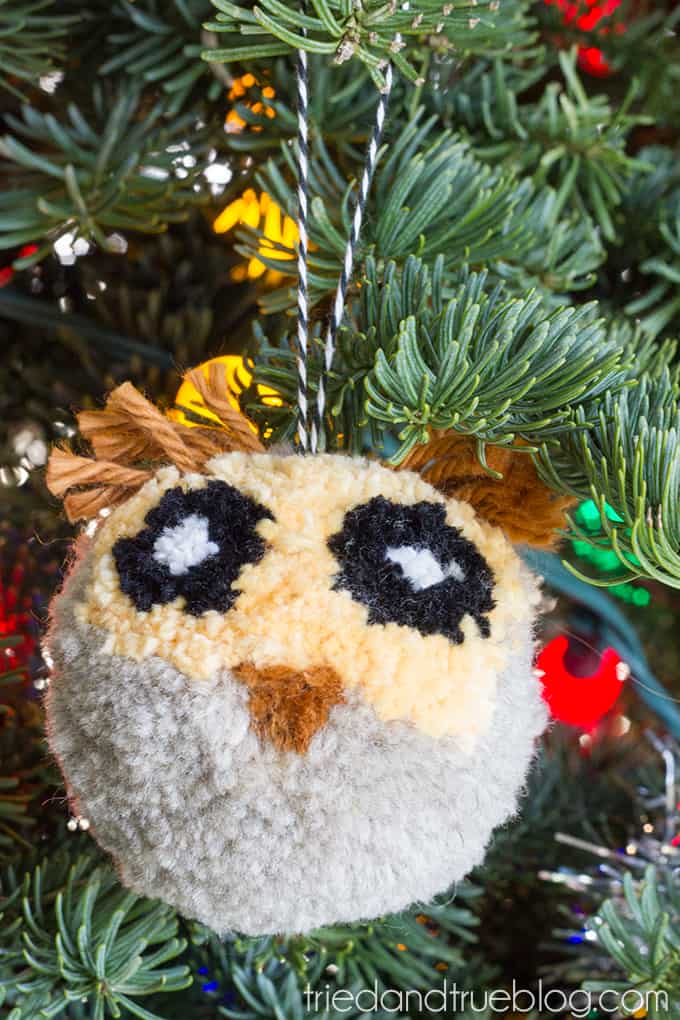
These pom pom owl craft is incredibly versatile – make some friends and use them to add a touch of whimsy to your fall decor, or thread a string through them to create unique ornaments or thoughtful gifts.
The possibilities are endless, so let’s get started on this fun and easy fall craft!
Make a Pom Pom Owl
Gather These Supplies
- Yarn (white and colored yarn, I used black, yellow, brown, and tan)
- Pom Pom maker
- Baker’s twine and needle for hanging (optional)
- Hot glue gun (optional)
- Scissors
Important Tip
It takes a little bit of “backwards” thinking to see how the yarn pieces end up looking like an owl. But after you make this one or two times, you’ll totally get it and can eventually make your own patterns.
You will only create this design on ONE side of the pom pom maker.
Make the First Eye
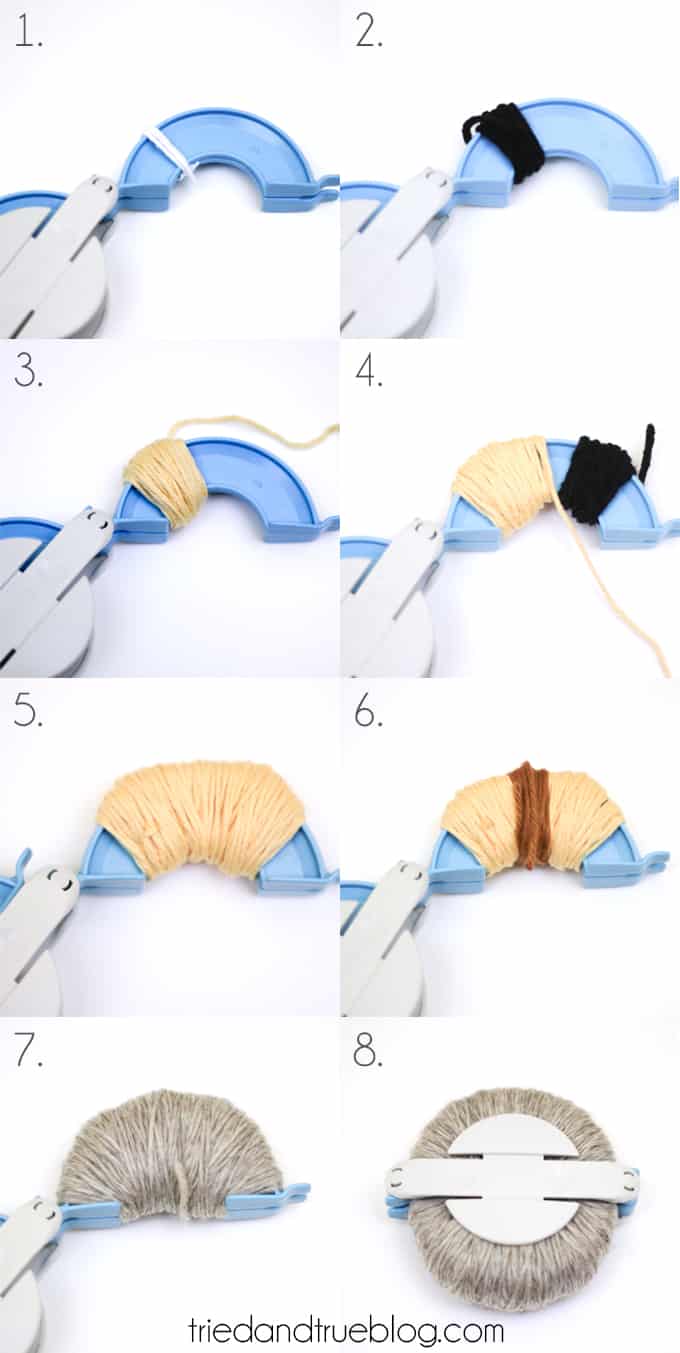
Step 1. Open the tool. Wrap the white yarn around the pom pom maker a few times on the left side of the U shape. Knot and tie off.
Step 2. Wrap the black yarn several times around the white yarn you just wrapped. This should be thicker than the white yarn. Knot and tie off.
Step 3. Wrap the yellow(ish) yarn around the black yarn several times, until it’s about as thick as shown. Don’t knot and tie off – just set aside. You are going to wrap this tan yarn around the second eye.
Make the Second Eye
Step 4. Repeat steps 1 and 2 on the right side of the U shape of the tool.
Fill in the Face
Step 5. Now you’ll pick up the yellow(ish) yarn and continue wrapping it from left to right, covering the other eye. Wrap back and forth a bit to thicken the pom pom.
Create the Beak
Step 6. Wrap some brown yarn around the center of the U shape as shown. This is going to be not only the beak, but the hair coming out the top.
Fill in the Rest of the Head
Step 7. Use the tan yarn to fill in the remainder of the tool. Then close that U and open the other one.
Step 8. Wrap the entire second U shape with the tan yarn to finish.
Tie Off and Trim
You’ll want to follow the instructions on the package for your pom pom maker. usually you tie off the pom in the center off the tool, then cut along the grooves.
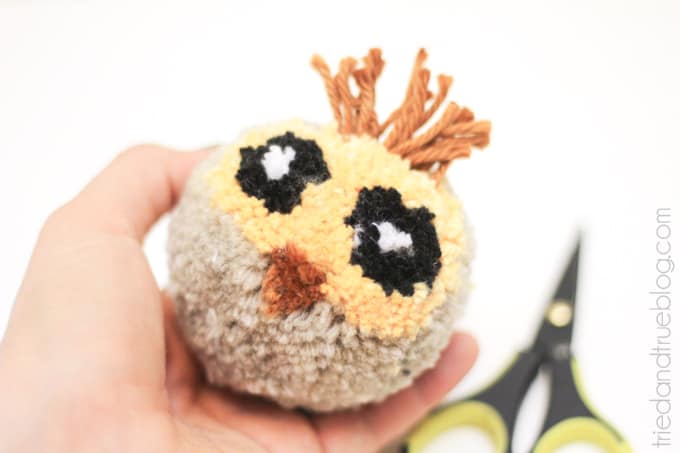
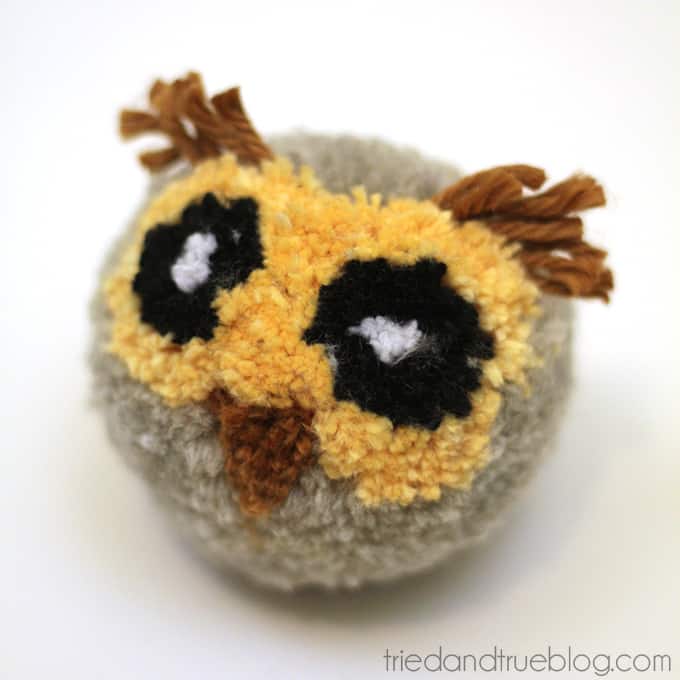
Open the tool and remove. It will NOT look like an owl until you use sharp scissors to trim the yarn down and clean up.
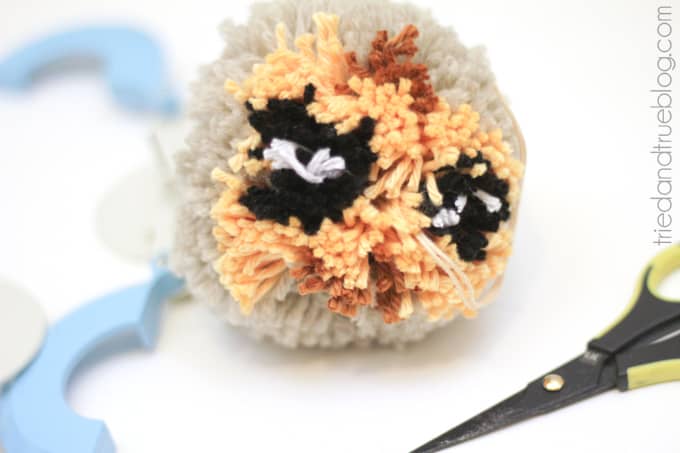
Continue trimming until you’re happy with the way it looks. I left the brown yarn on top a bit longer to resemble the eyebrow hair some owls have. I think it adds some personality to this little guy!
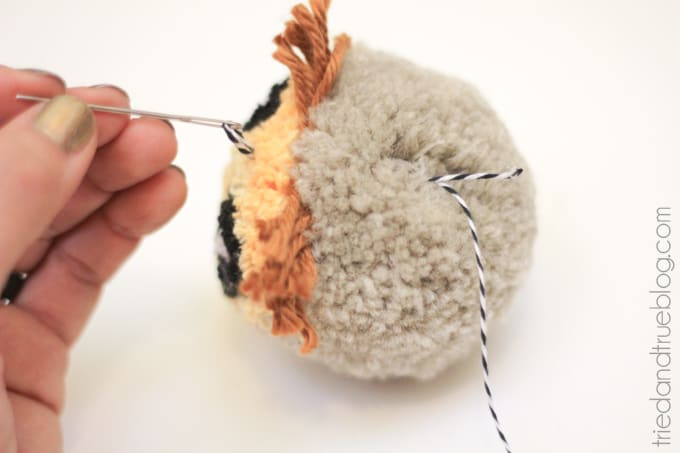
If you’re planning on turn this bird into an ornament, just thread a piece of bakers twine onto a large embroidery needle and insert through the middle (make sure to go through the center thread).Remove the needle, pull to the top, and tie off with a knot.
You can also hot glue the twine into the yarn, but it’s not as clean of a look.
I hope you enjoy making this cute owl with your kids. It takes a bit of practice to get everything symmetrical and straight. But with some experimenting and a lot of laughs, you’ll be making tons of little owl friends before you know it!
Stop by Tried & True to check out some of my other holiday crafts! I’d also love for you to check out these other pom pom ideas and posts:

