Crepe Paper Garland with Fringe for a Party!
Make a crepe paper garland – they’re inexpensive, easy, and very versatile! Perfect if you want a quick craft fix or some simple decor on a budget.
Skills Required: Beginner. You’ll be using a sewing machine to stitch everything together, but it’s just a straight stitch. So you just need very, very basic machine knowledge.
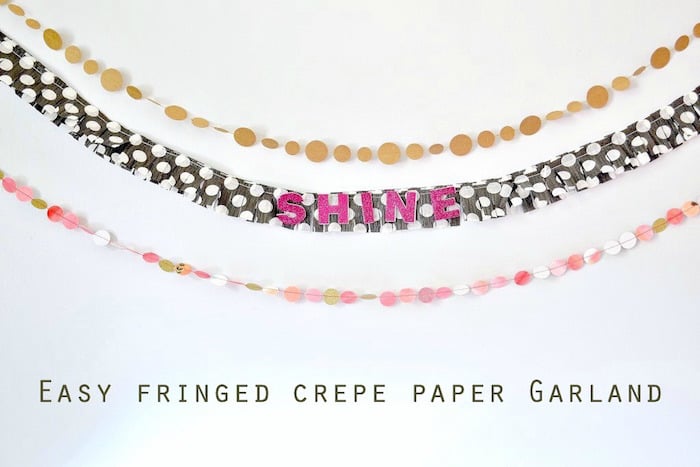
I’ll admit it, I’ve totally jumped on the DIY garland bandwagon. And for good reason too – they’re easy to make and you can really customize them however you want! For today’s project, I’m sharing a tutorial for my super simple fringed crepe paper garland.
The best part? You have complete control over how much decoration your space receives and where each strand will hang without any need of hardware or anything else but some scissors and tape!
This tutorial will show you how to make my fringed crepe paper garland, which you can use as a quick paper craft fix that’s great for any occasion or celebration.
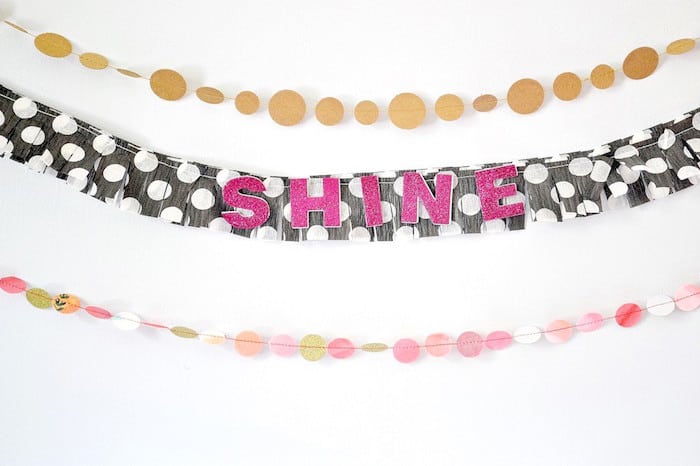
DIY Crepe Paper Garland
Materials:
- Crepe Paper Roll (isn’t this polka dot one I found adorable?!)
- Sewing Machine (or double-sided tape – I won’t tell)
- Scissors
- Foam Letters
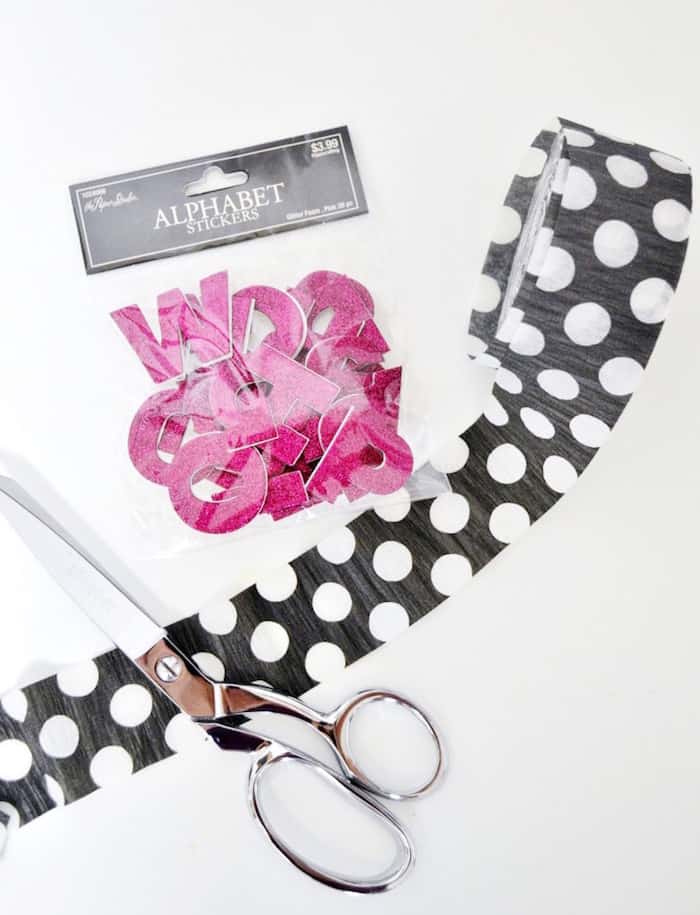
Step 1: Take your crepe paper, and cut 4-5 lengths that are 6′ long. I’m choosing to make a 6′ garland, but obviously you can make this garland as long or short as you’d like.

Step 2: Stack your crepe paper lengths on top of each other, and, using your sewing machine, sew down the length of your strips (I used a 1/4″ seam allowance).
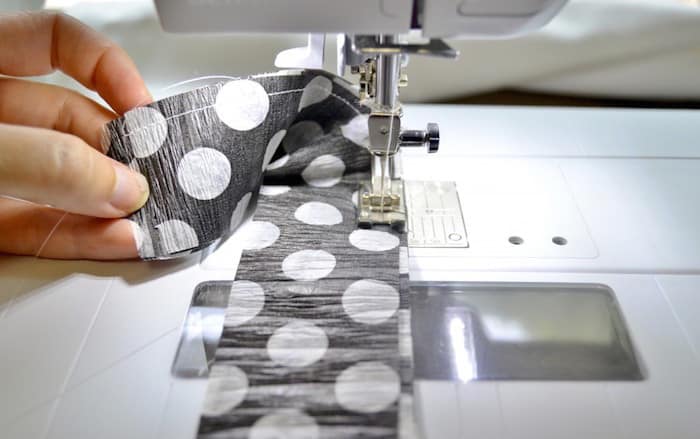
Step 3: When you’re done, you’ll have this.
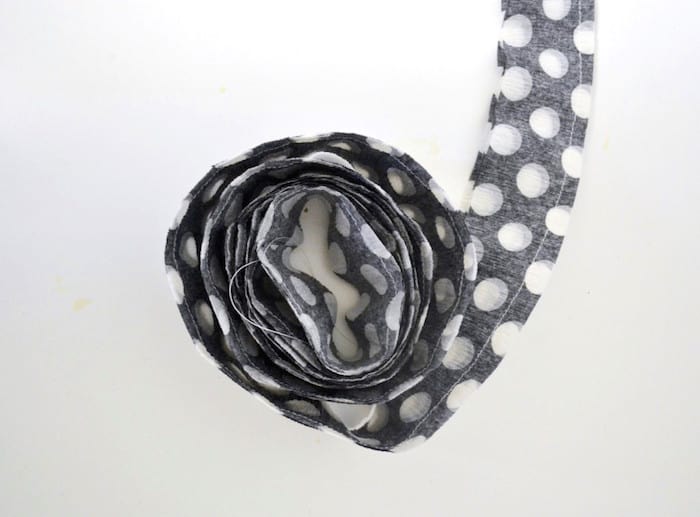
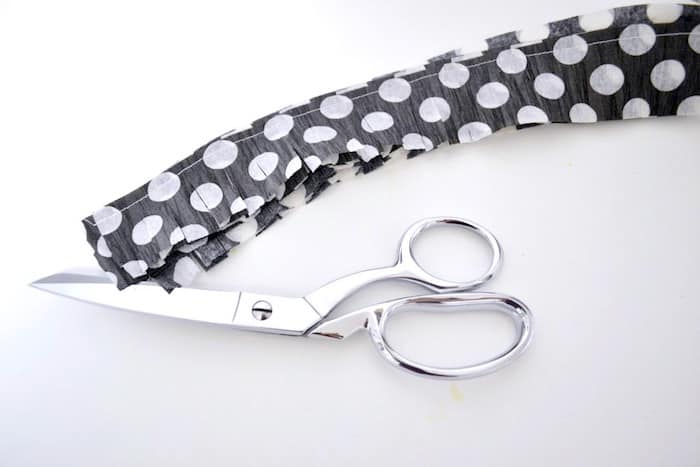
Step 4: Using your scissors, carefully cut slits in your sewn crepe paper (being careful not to snip through your stitches!) Separate your strips of crepe paper to make your garland fuller and add some dimension.
Step 5: Add any embellishments (I used foam letters to spell out “SHINE”, hang your garland, and admire . . .
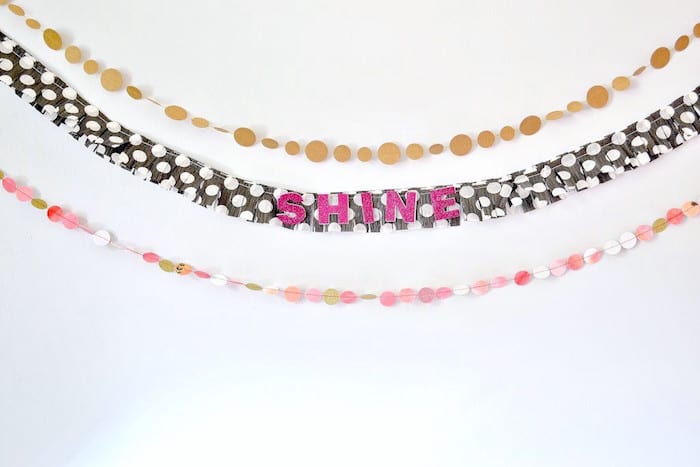
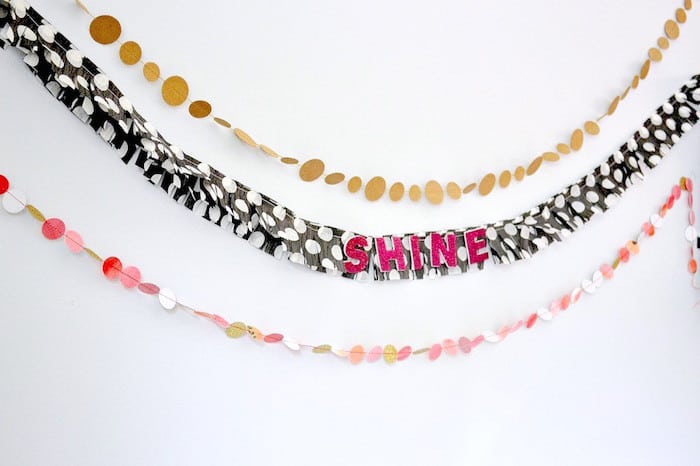
Curious about the other two garlands? The top one is just different sizes of kraft paper sewn together, and the bottom is a piece of paper that I painted with watercolor and let dry. Then I cut it into 1″ circles and sewed together. So easy!
Thank you so much for letting me share with you today. You can find lots of other tutorials and inspiration on my blog. I’d also love for you to check out these other projects:



This is so fun and cute! I’ll have to try this for the birthdays we have in our house next month!
Paige
https://www.thehappyflammily.com/