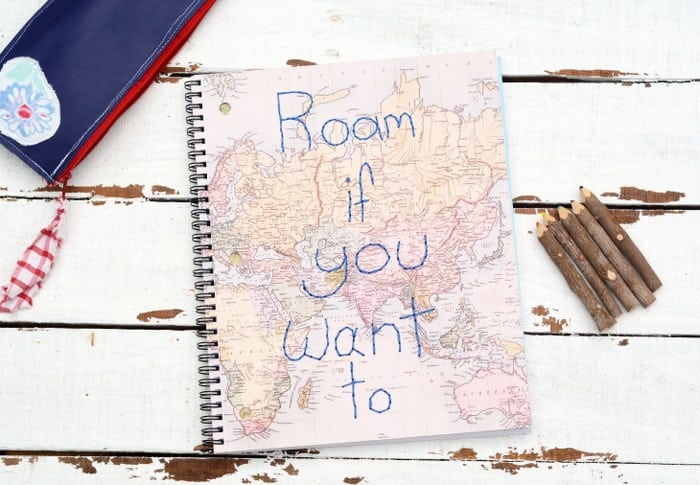
Embroidered Notebook for the Adventurer Inside
Learn how to make a cute embroidered notebook with thread! There’s a pocket on the inside that is easy to make. This is a great gift idea.
Skills Required: None. Even if you’ve never embroidered before, you’ll be able to accomplish this tutorial. Just follow the instructions and work slowly.
Hi guys! This is Ashlee from My So Called Crafty Life, and I’m here to show you all how to make this fun hand embroidered notebook. Years ago my mom got me into hand embroidery.
We still get together to stitch and talk, and my mom loves to hand embroider gifts for me. For my wedding anniversary this year, she embroidered a set of pillowcases for us, which are my favorite cases now of course!
I have embroidered on lots of unconventional surfaces like paper and mats and even wood, but I have been wanting to try stitching on a simple notebook for a while now.
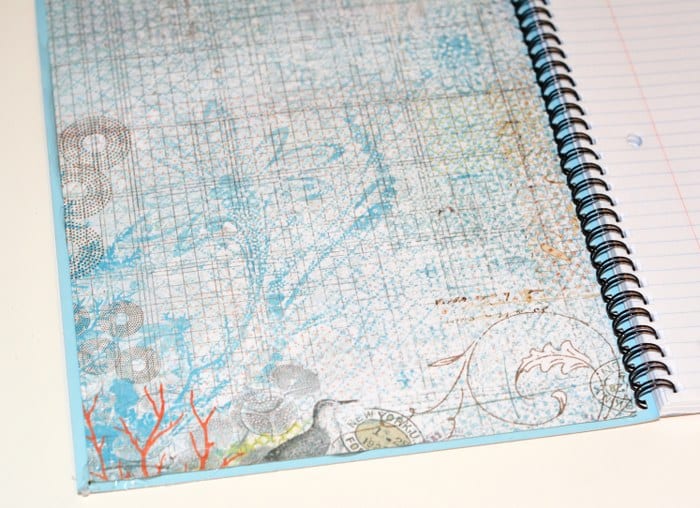
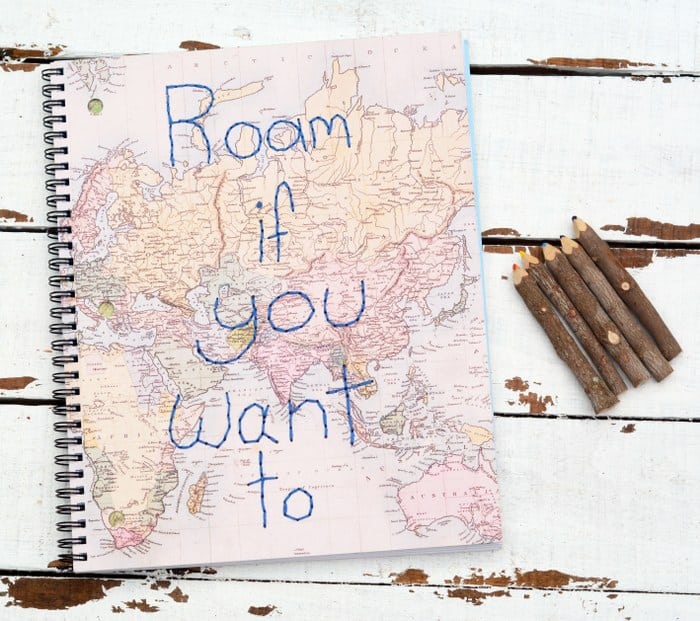
When I picked up this cute map themed notebook at the office supply store, I thought it would be perfect for embellishing with a stitchy quote! If you have kids that like to embroider, this is a back to school craft they need to try! Learn how it’s done below.
Embroidered Notebook
Here’s What You Need
- Notebook with a chipboard cover (that can be punched through)
- Embroidery Floss
- Pencil
- Sharp Awl
- Hand Sewing Needles
- Scrapbook Paper
- Glue
- Scissors
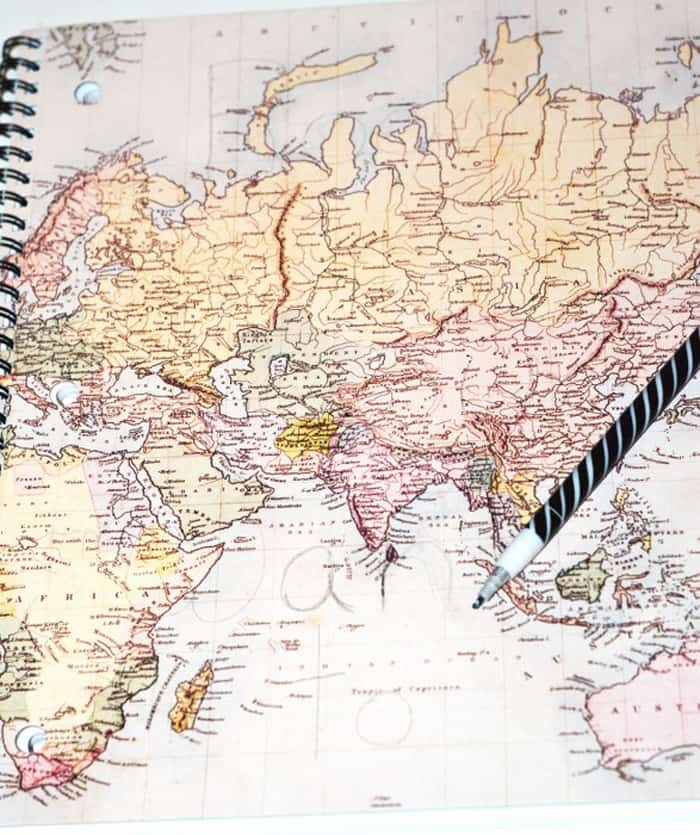
Make a Template
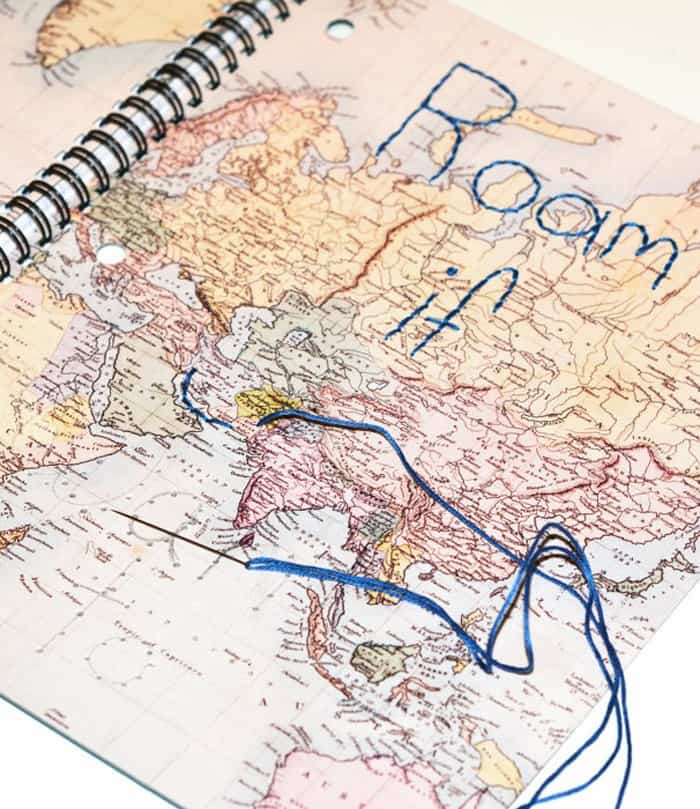
First you need to write your message on the front of your notebook to act as a template for the embroidery. Choose a few words or a phrase that isn’t too complicated if you’re a beginner.
Press firmly with your pencil so that you can see the lines of the letters you are writing.
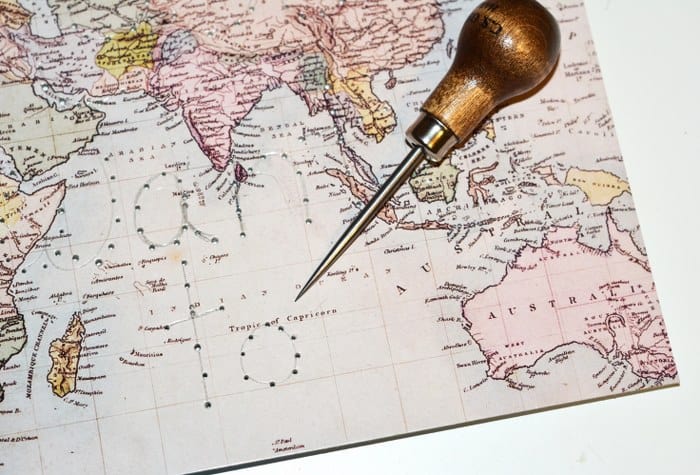
Now place just the cover side of the notebook face up on a protected surface like a self healing mat or a workbench.
Take your awl and punch holes into the cover from the front following the lines of the lettering and spaced about a quarter to a half inch apart. Punch holes around all of your letters of your saying.
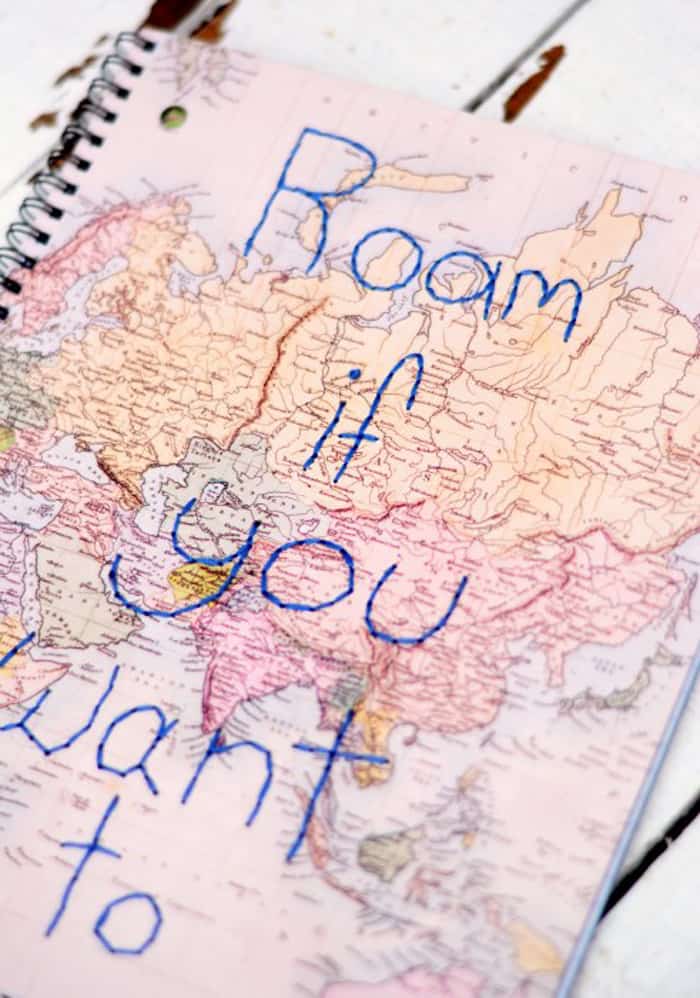
Sew the Thread
Now you are ready to sew. Cut a long piece of embroidery floss and knot one end. Thread the other end through the eye of your needle.
Starting at the back side, bring the needle up through a hole in your first letter. Then bring it down through the next hole.
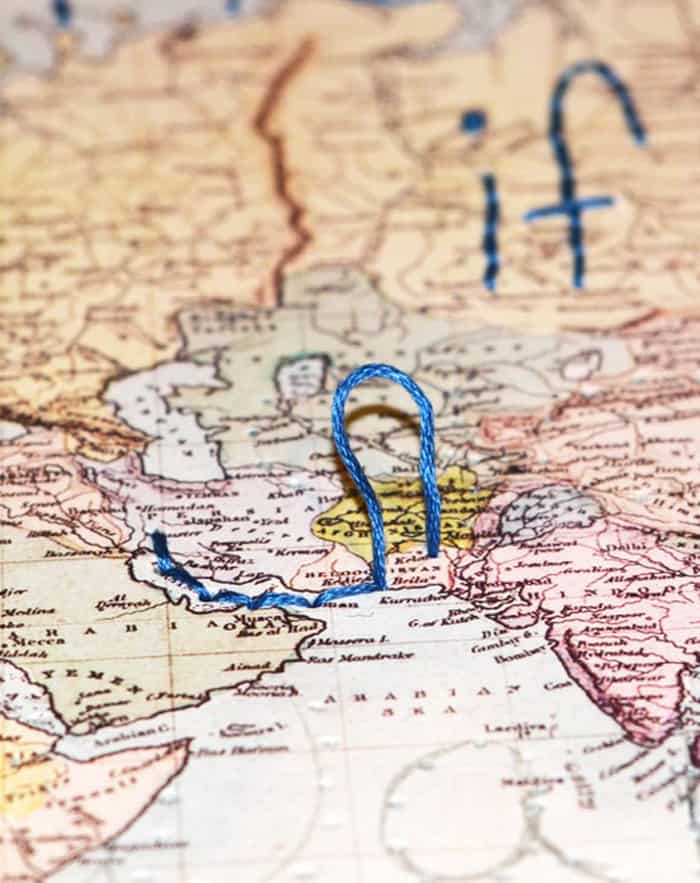
Then bring the needle up past the next hole and then backwards and down through the hole before the one you just brought the thread up through. This is a basic back stitch.
Continue stitching your word with a back stitch. Once you get to the end of a word, finish off the back side by bringing the thread through the last stitch and knot the thread.
Do the same thing with the next word and so on until you have stitched all of your lettering. Begin and finish off each word with a knot. Clip excess thread.
Finish Off
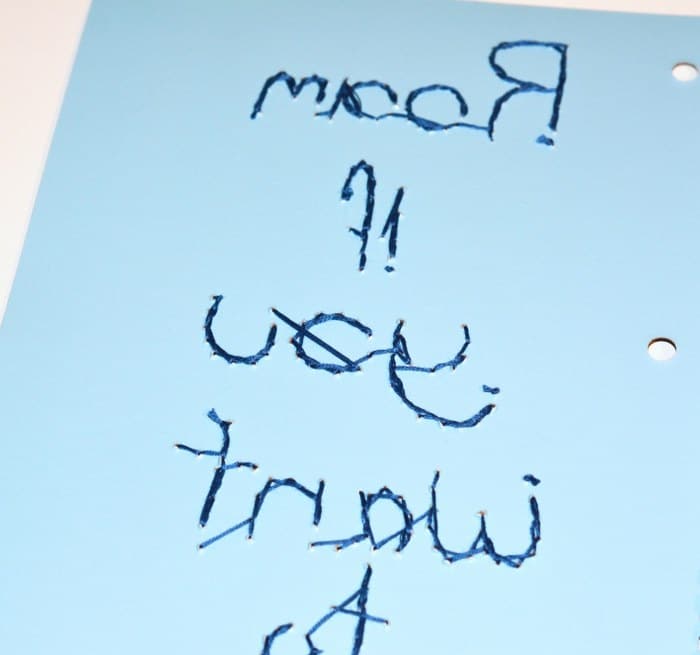
Now, cut a piece of scrapbook paper to be just a little smaller than the cover of your notebook from the binding to the edges. Glue down the paper to the back side of the front cover.
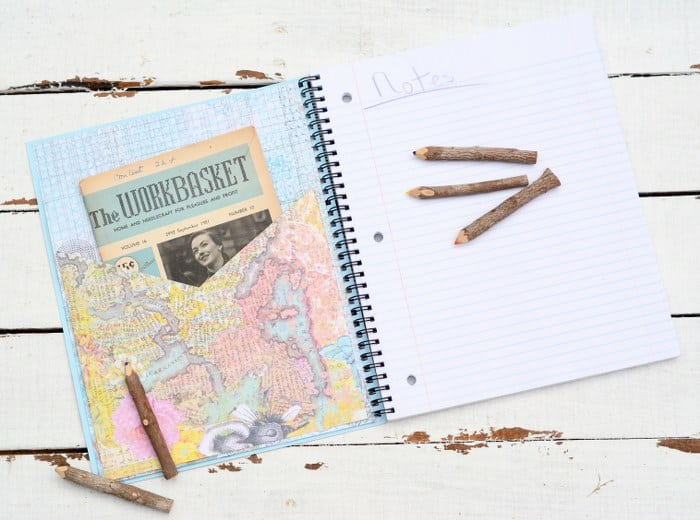
Create the Pocket
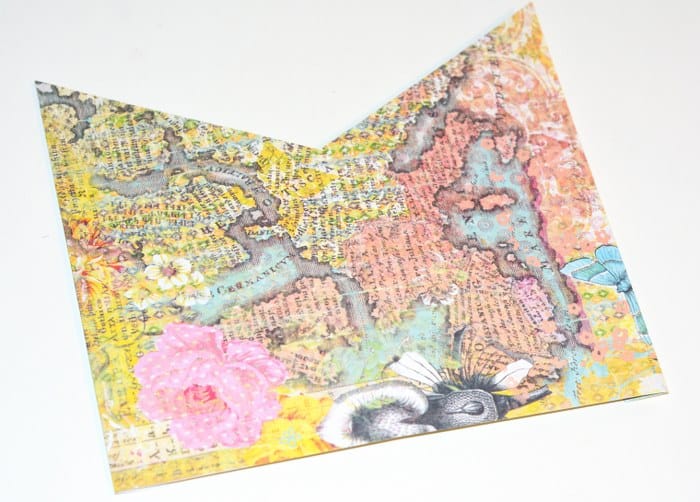
If you would like to add a pocket, here is how I made mine. First cut a piece of scrapbook paper to be the width of the paper cover you cut for the back of the cover, and add about an inch for folding.
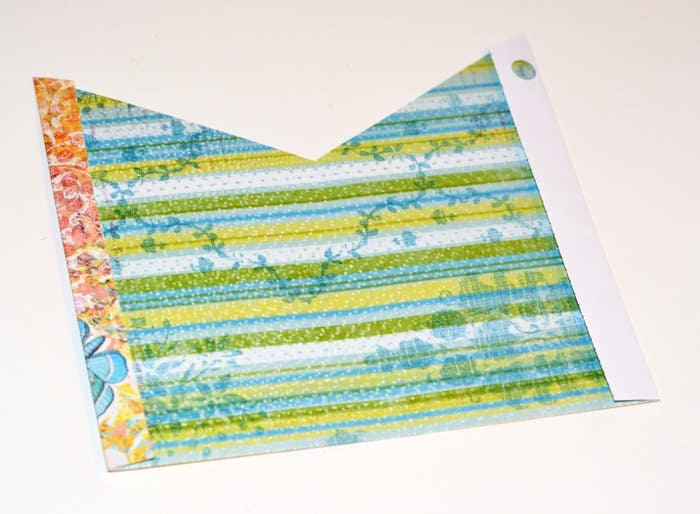
Lightly fold the paper in half widthwise and cut the paper at an angle a little less than half the length of the paper. Fold the sides of the paper back on each side about a half an inch.
Glue the pocket at the sides and bottom to the back side of the cover.
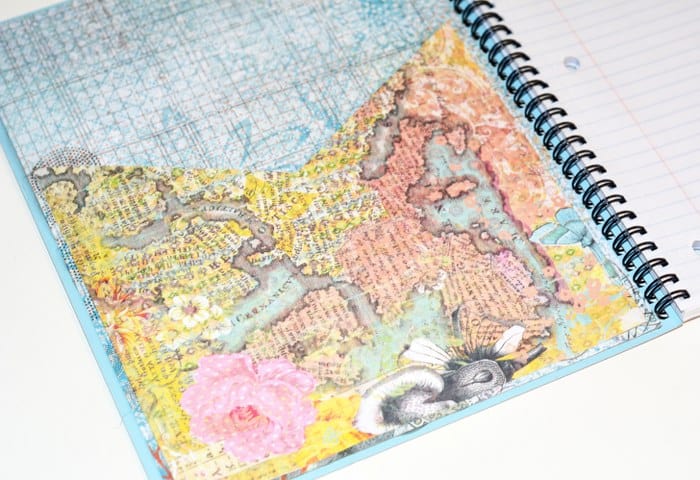
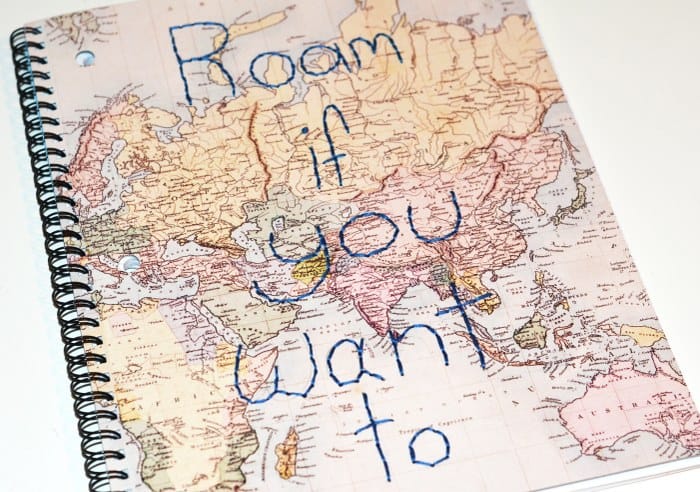
Let the notebook dry for several hours with the cover open before using. Close the cover to check out your embroidery work up close!
As it turns out, embroidering notebooks are really quite easy! I use my notebooks for menu planning and lists. I am definitely a list maker!

I think that this embroidered notebook would be a great handmade gift for someone, stand alone or paired with some beautiful pencils or a nice pen!
Add this DIY to your list next time you are feeling stitchy. I think you’ll love it!
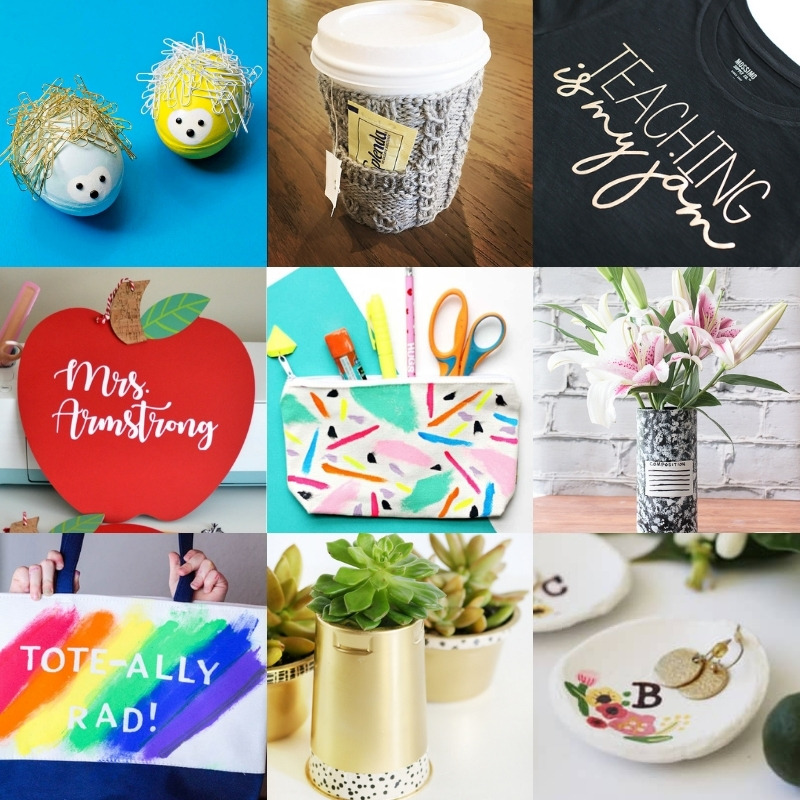
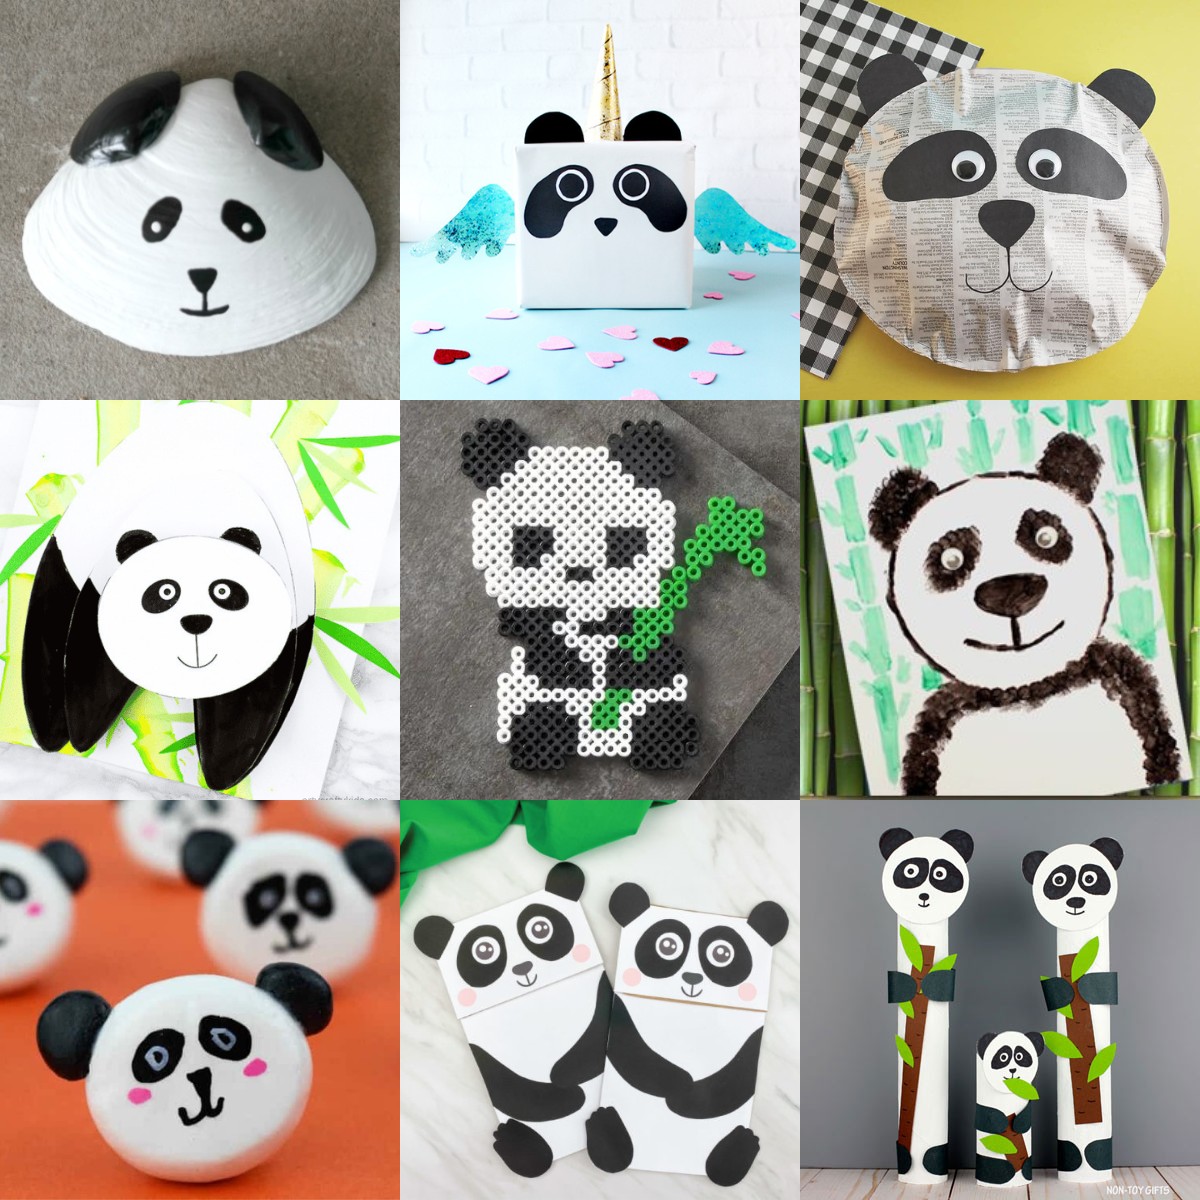
For more easy adult craft projects you might enjoy, check out the following posts:


I really love the idea of this DIY! It’s a great way to decorate your notebooks. I’m really going to try out this idea 🙂 x