Learn Wood Burning: Beginner Tool Guide + Tips
Get beginner wood burning tips and learn how to use a wood burning tool safely and confidently. Perfect for first-timers with no experience!
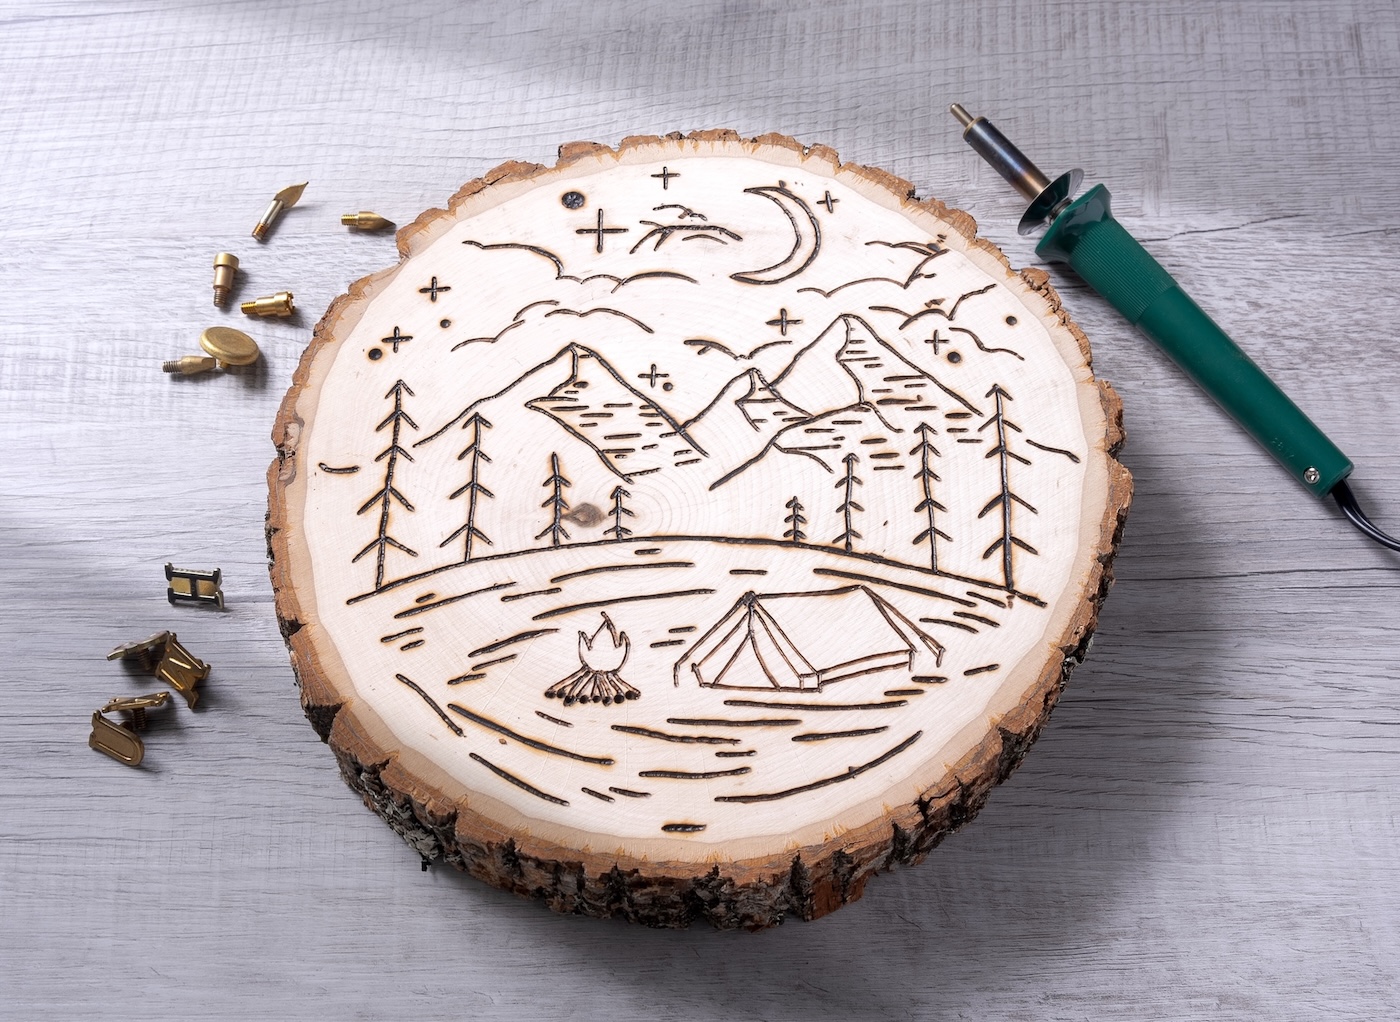
Are you ready to try wood burning? It’s easier than you think . . . and I’m going to walk you through it step by step!
In this beginner’s guide, I’ll show you how to use a wood burning tool, share my top tips, and give you a free pattern to try your first project (it’s an adorable outdoor scene!). I use a regular wood round from the craft store for my demonstration.
Let’s be honest: wood burning sounds a little intimidating at first, right? That was me too. But after diving in, I discovered it’s actually super relaxing and really fun! Once you get the hang of the tool and a few basic techniques, you’ll be amazed at what you can create.
Wood Burning Tools & Supplies
Before we dive into tips and the how-to, let’s talk tools. The great news is that getting started doesn’t require a huge investment.
Basic Supplies
- Wood burning tool with adjustable heat
- Basswood rounds (or another soft wood; scroll down for a list)
- Transfer paper
- Printable pattern (grab my free outdoor scene design!)
- Tape, scissors, pencil
- Optional: Command strips for hanging
You can also explore alphabet stamp kits and stencil sets for more designs—but to start, let’s keep it simple and fun.
My Best Wood Burning Tips
- Practice First – Grab a scrap piece of wood and just play. Try lines, dots, curves, and test different pressures.
- Pick the Right Wood – Soft woods like basswood, pine, or fir burn best and give smoother results.
- Work in a Safe Space – These tools get hot! Cover your work area and keep flammables away. Never touch the tip while it’s plugged in.
- Go Slow – Let the heat do the work. Pressing too hard can damage the tip or the wood.
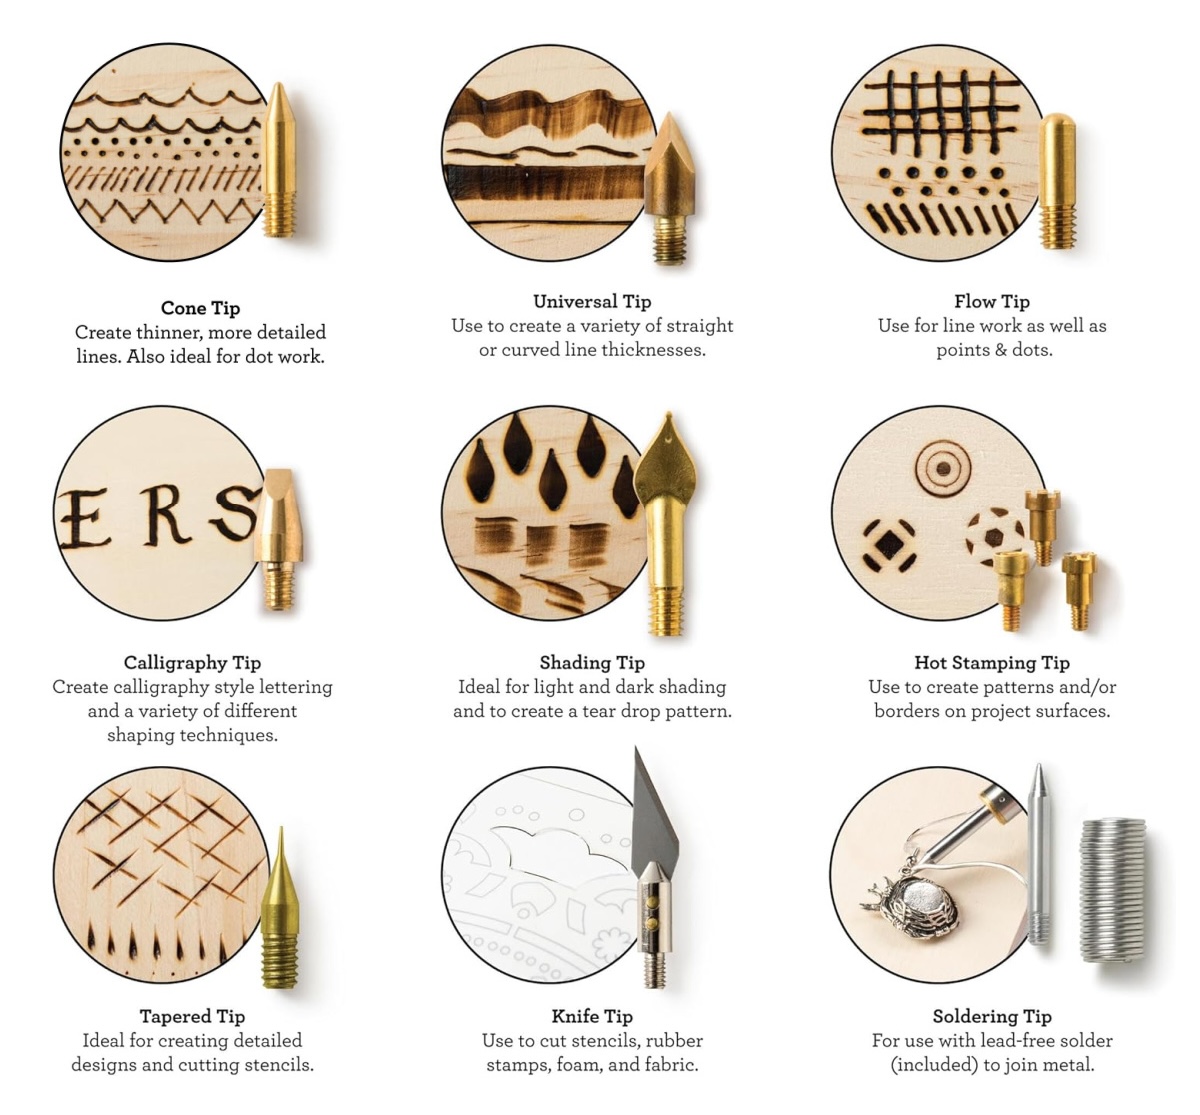
- Experiment with Tips – Start with the flow or cone tip, then test others to see what works for your design. You can get an idea of basic tips below:
What Woods Are Best for Wood Burning?
Choosing the right wood is a big part of getting clean, satisfying results. Some types of wood burn beautifully and make your design pop, while others can be frustrating or even dangerous.
✅ Best Woods for Wood Burning
Stick with soft woods that have a smooth surface and light coloring:
- Basswood – The gold standard for beginners: soft, smooth, and easy to burn.
- Pine – Easy to find and burns well, though it may have more grain or sap.
- Birch – Smooth, pale, and great for crisp lines.
- Poplar – Another beginner-friendly choice that’s affordable and soft.
- Maple – Slightly harder, but still manageable with clear detail.
❌ Woods to Avoid
Some woods just aren’t worth the headache, and some are unsafe:
- Pressure-treated wood – Contains chemicals that can release toxic fumes. Never use it.
- Plywood or MDF – Filled with glue and additives that also give off harmful fumes.
- Hardwoods (like oak or walnut) – Beautiful but hard to burn and less forgiving.
- Highly resinous woods (like cedar) – They can smoke excessively and gunk up your tool tips.
How to Use a Wood Burning Tool
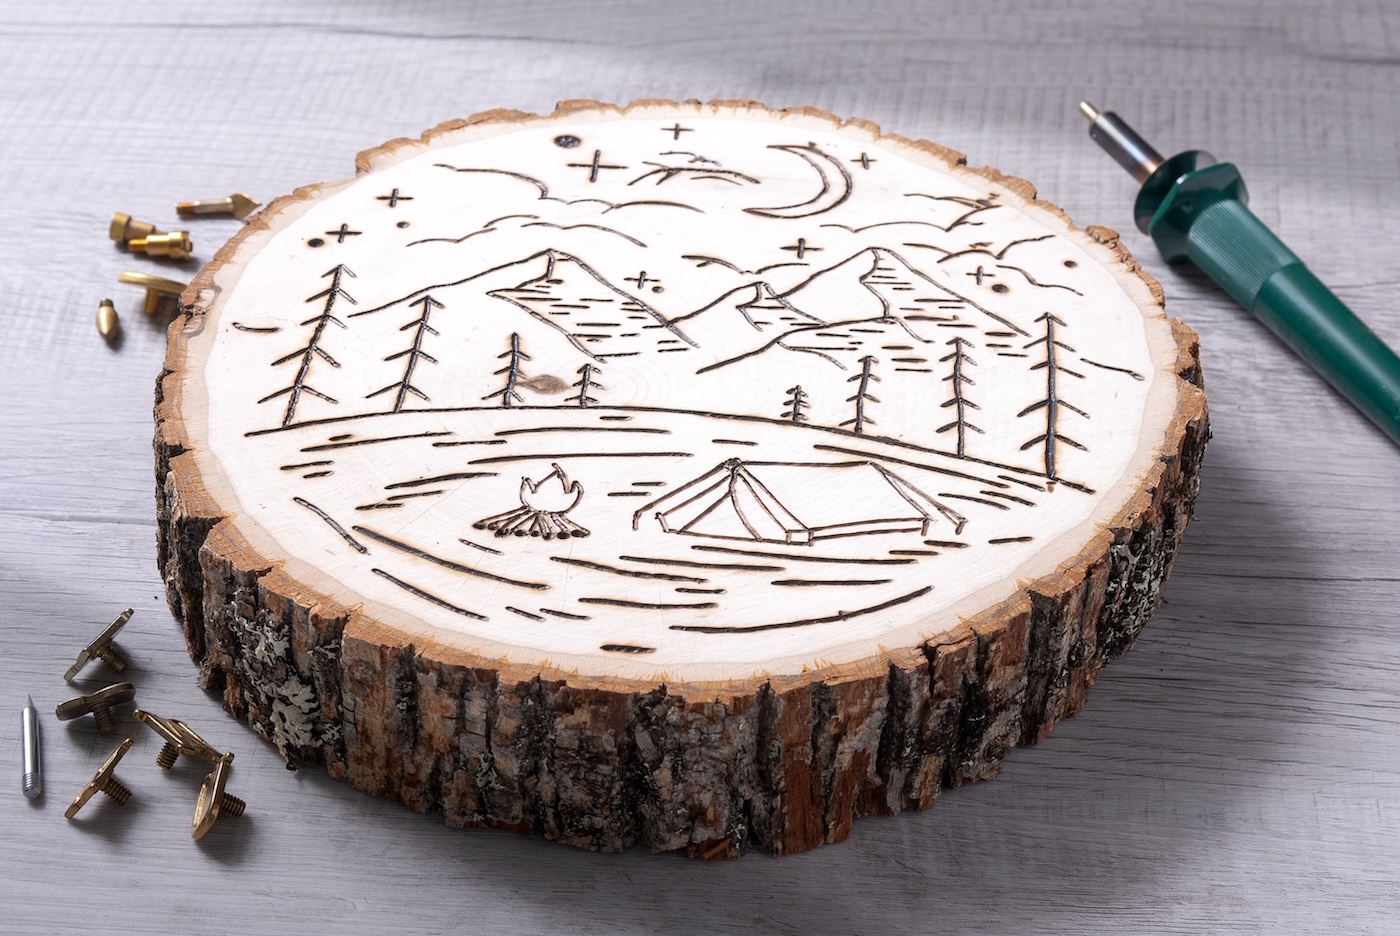
Here’s what you need to know before you start your first project:
- Let It Heat Up: Always allow your tool to fully heat up before using it. This usually takes a few minutes, and most tools have an indicator light.
- Test Your Pressure: Don’t press down hard; just glide the tool slowly. The heat should do the work for you.
- Drag, Don’t Push: Think of it more like drawing or writing. Drag the tip along your design gently, rather than pushing it.
- Start with Straight Lines: Curves and tight corners can be tricky when you’re learning. Practice with straight lines first.
How to Wood Burn an Outdoor Scene (Free Pattern!)
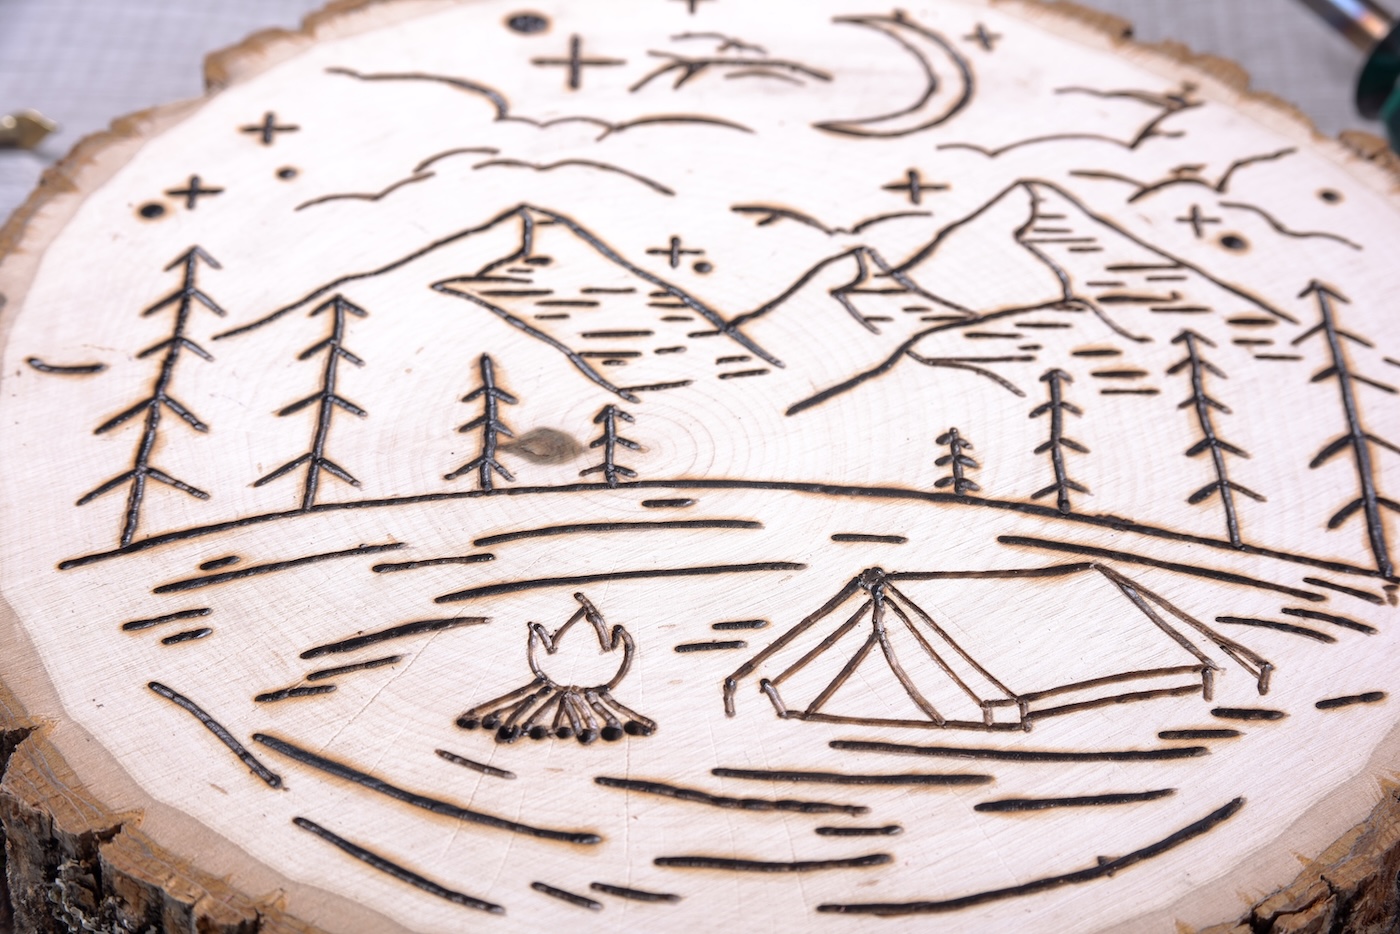
Step 1: Print & Prep Your Pattern
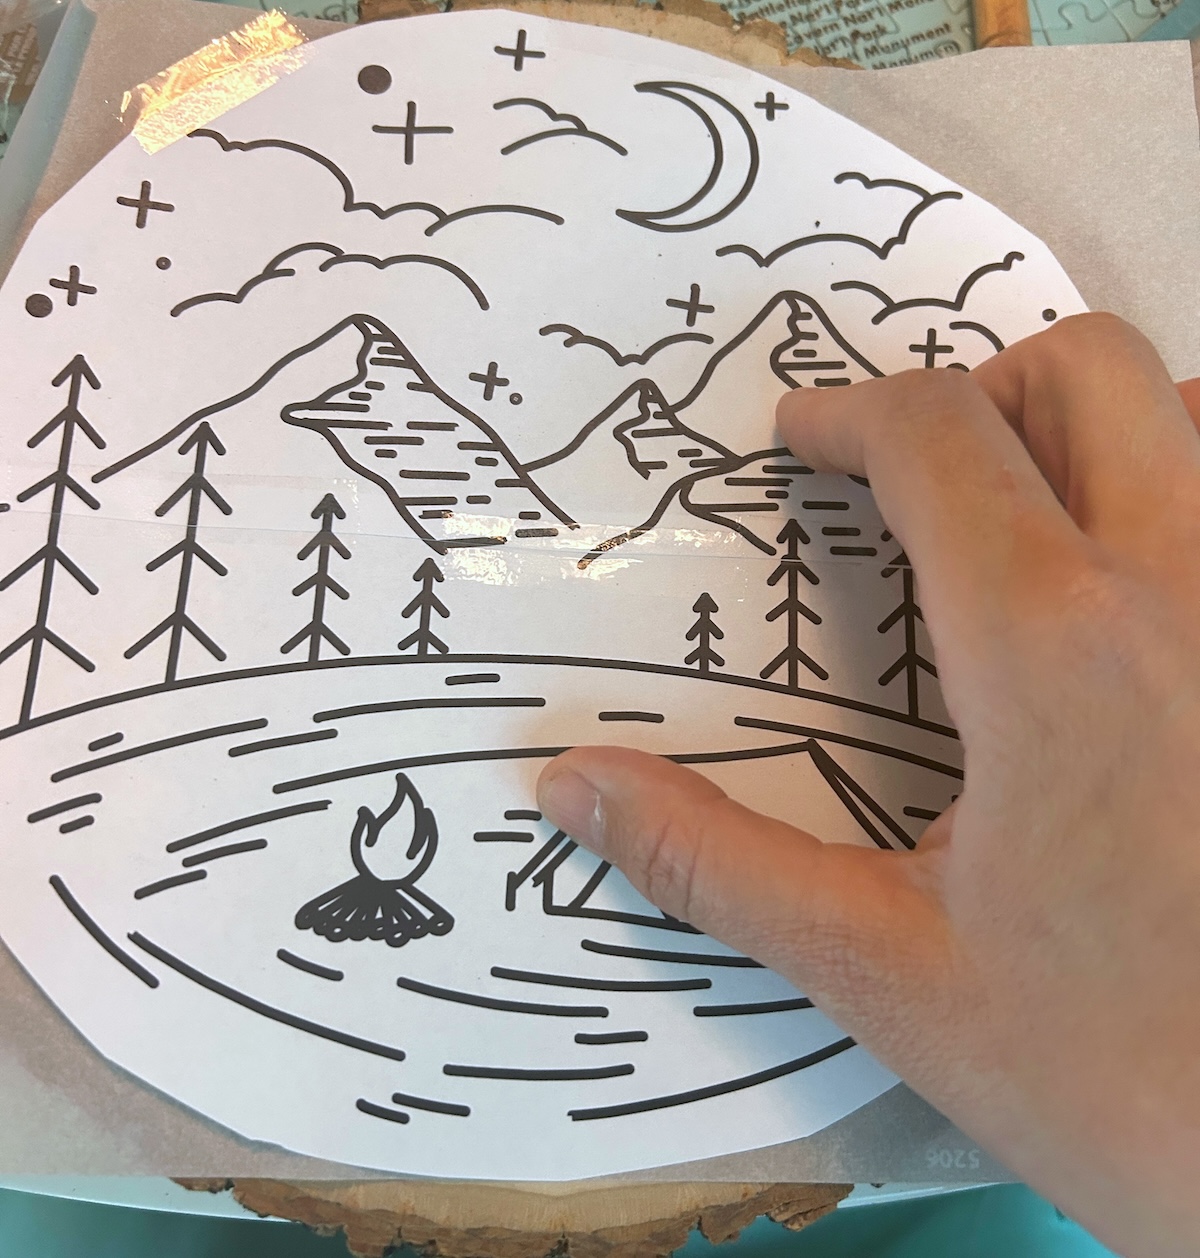
Download and print my free outdoor scene pattern (or the artwork of your choice). For my size round wood, I had to print the pattern on two sheets and tape together.
Step 2: Transfer the Design
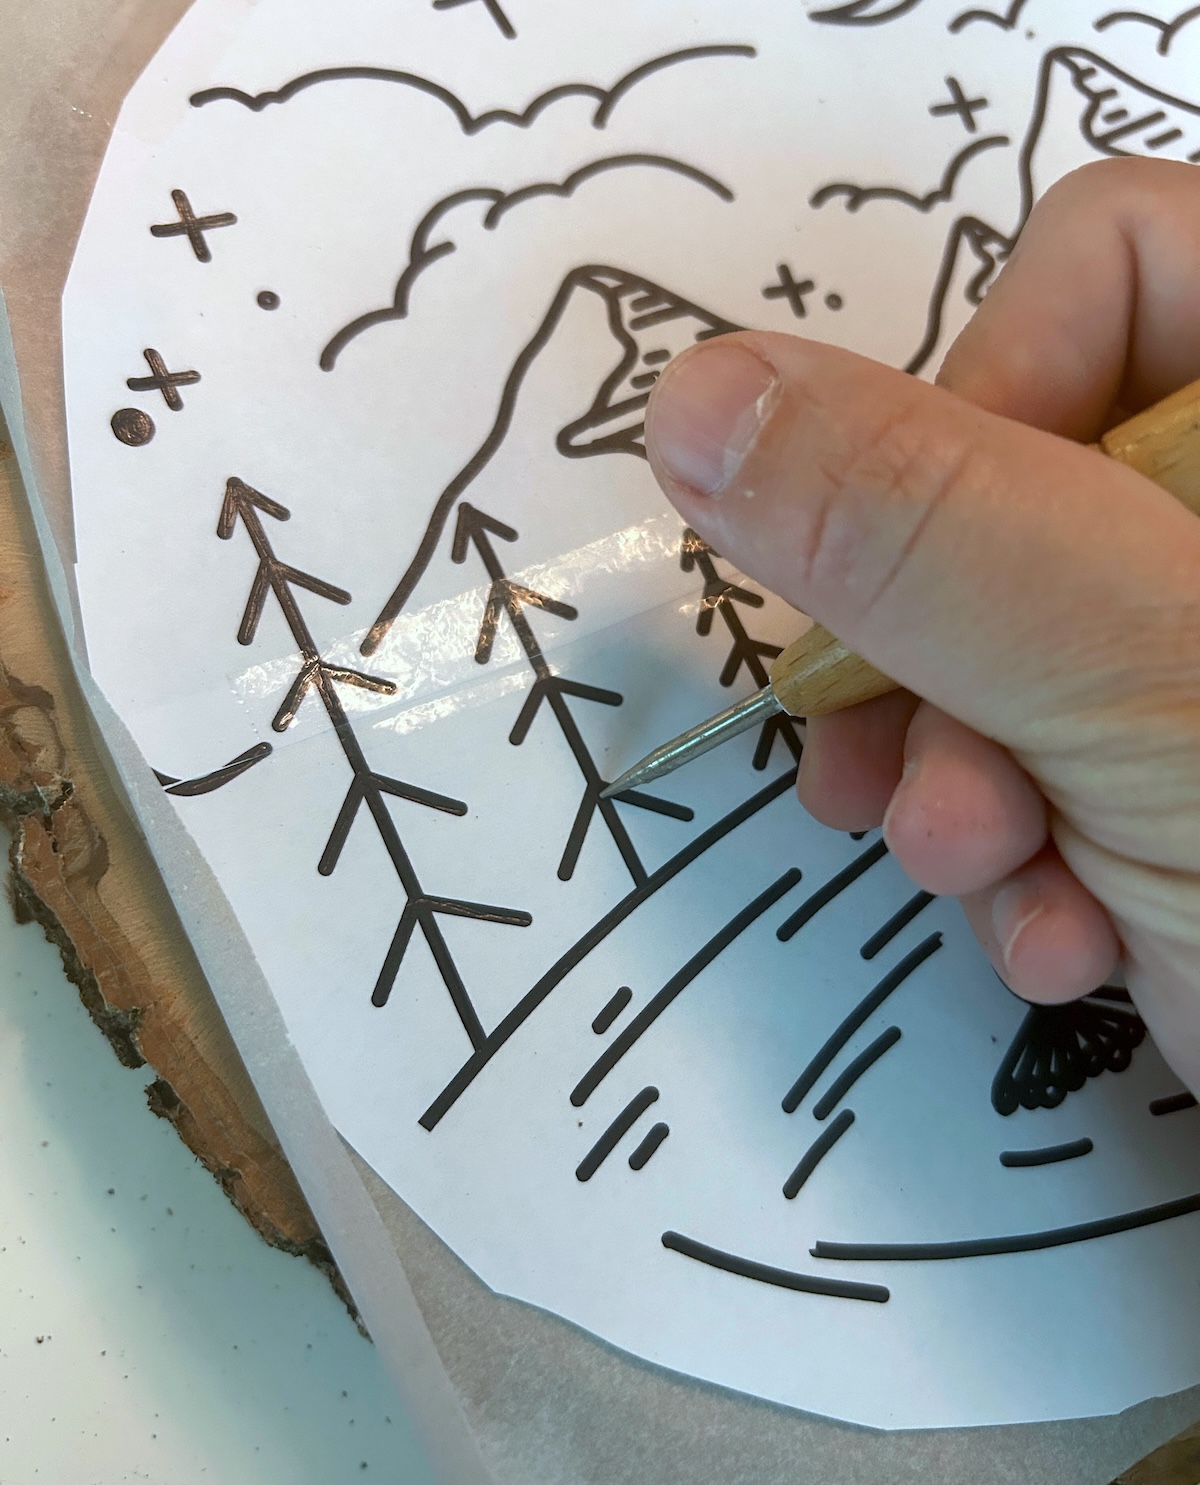
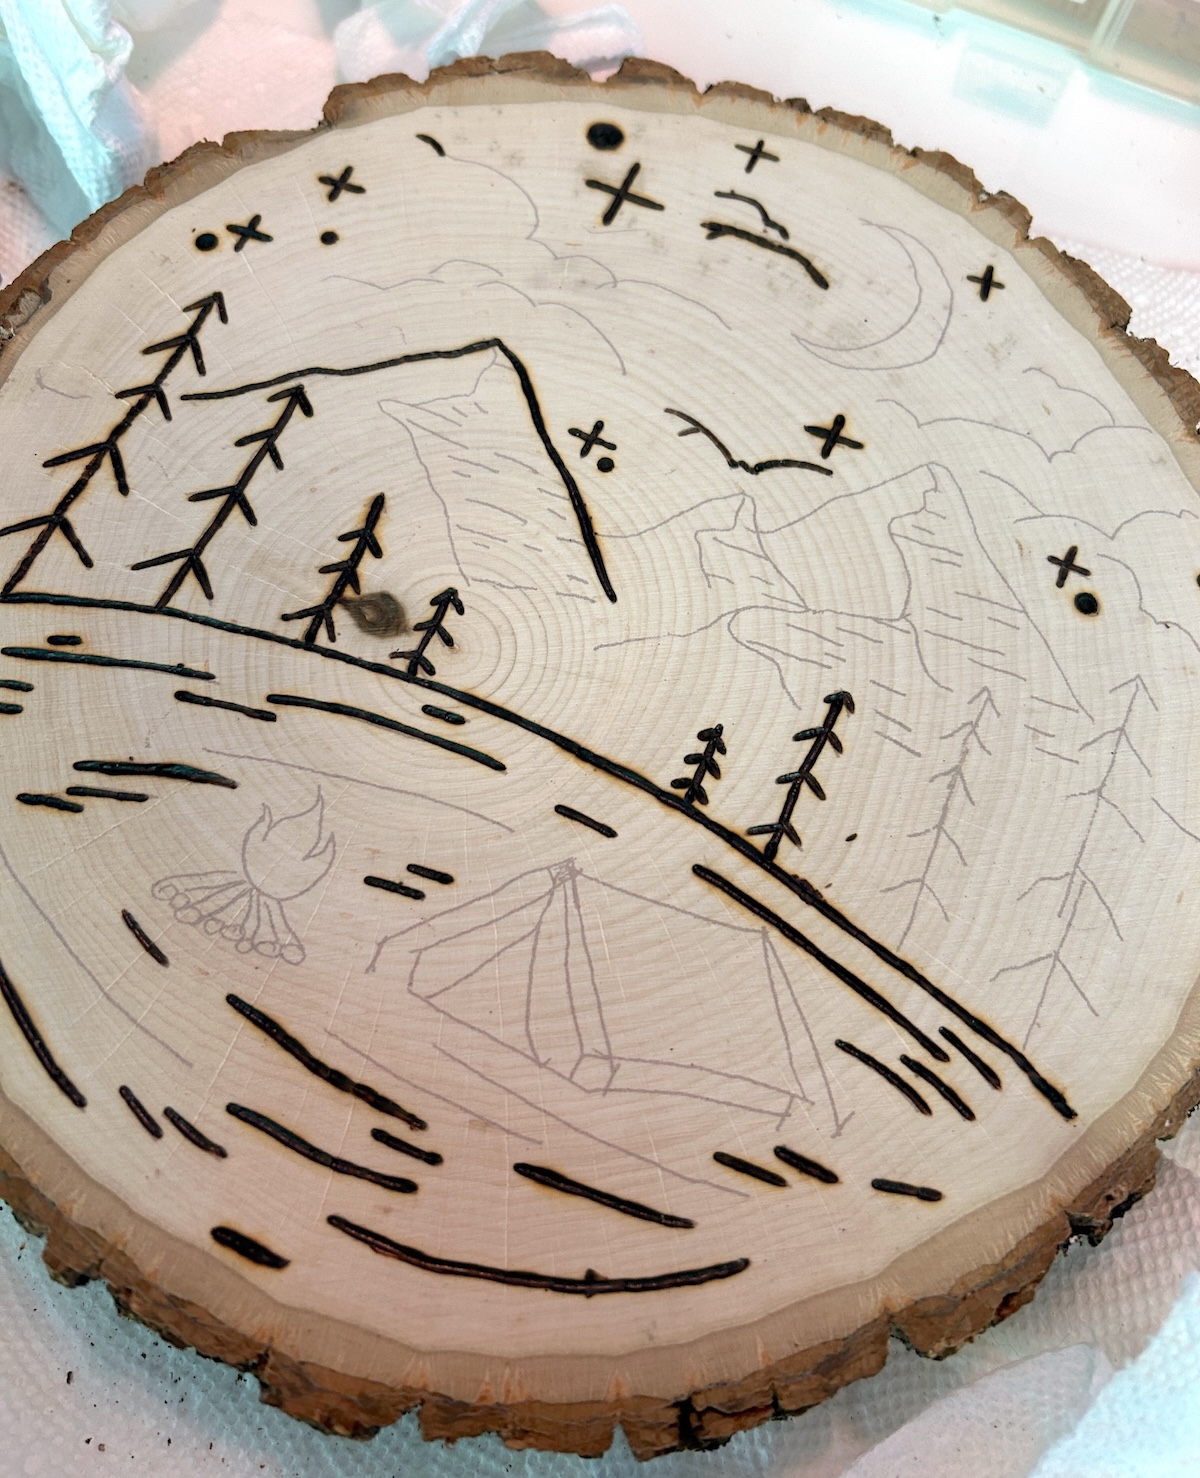
Place transfer paper on your basswood round, then your printed design on top. Tape in place. Use a pencil or tool to trace over the lines.
Step 3: Heat Your Tool
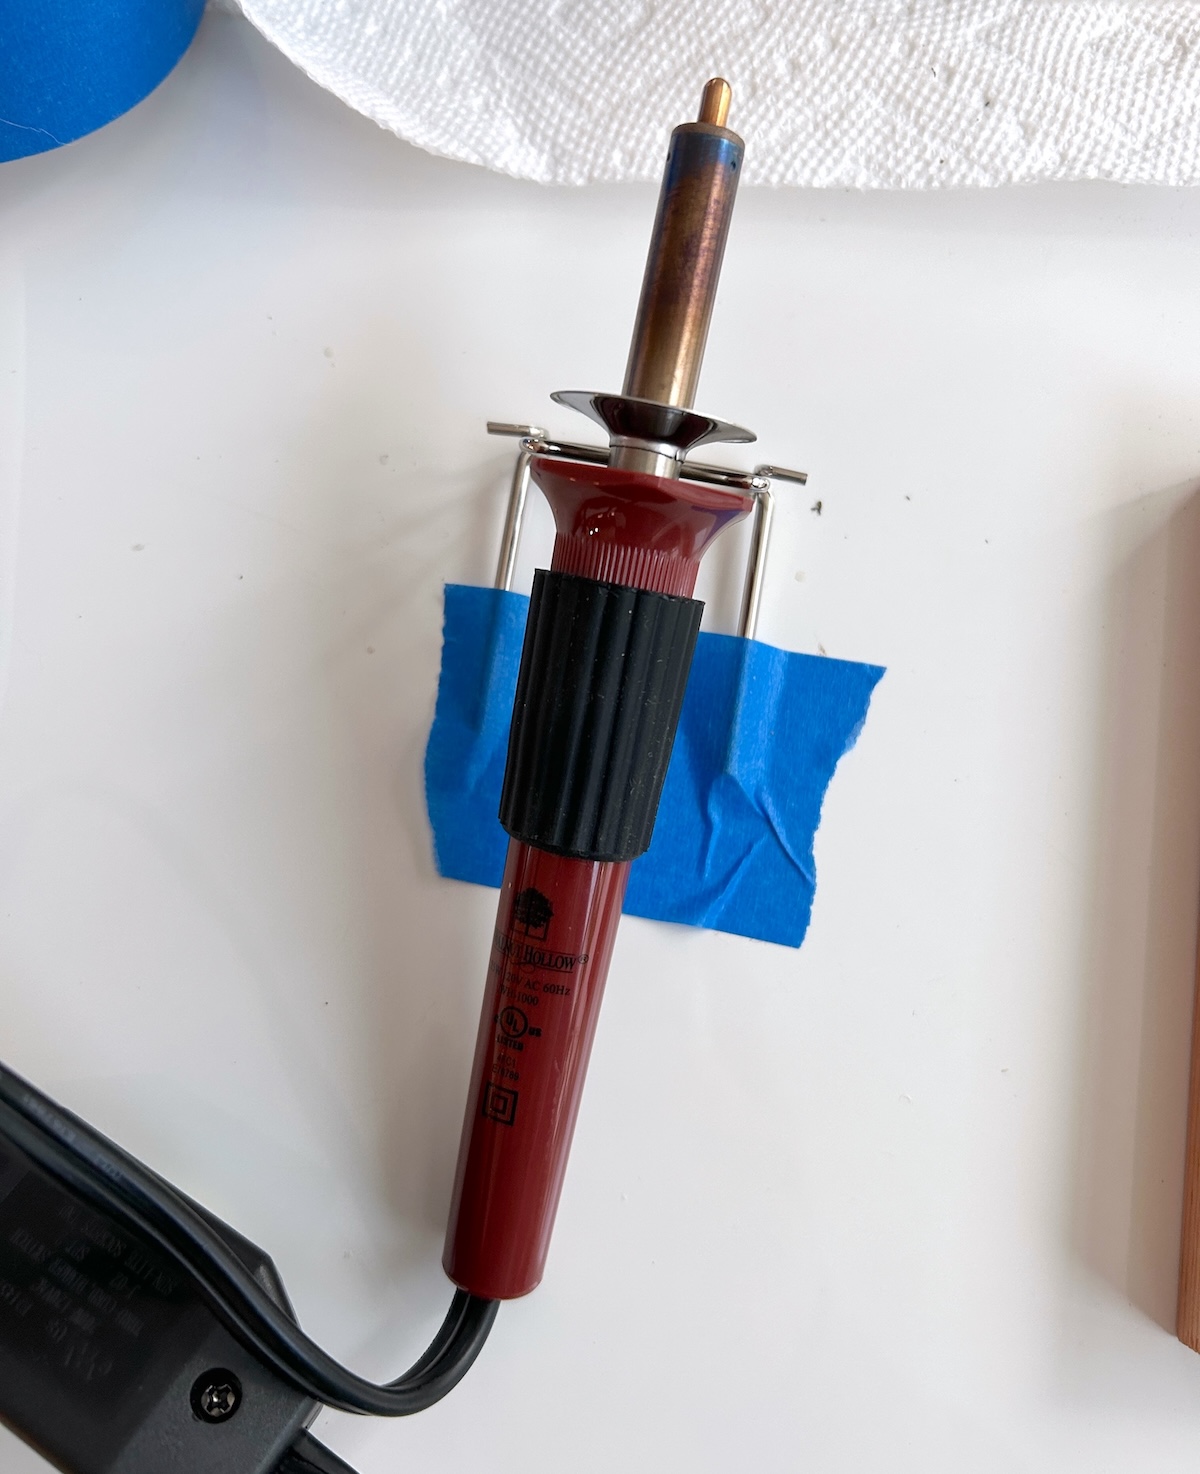
Plug in your wood burning tool and let it heat up fully. I started with the largest tip I needed, which was the flow tip for the circles. Start with medium-high heat. You can always turn it up if you need to.
Tip: tape the base down to the table. Otherwise tripping on the cord can zing your tool off the table. Ask me how I know . . .
Step 4: Start Burning
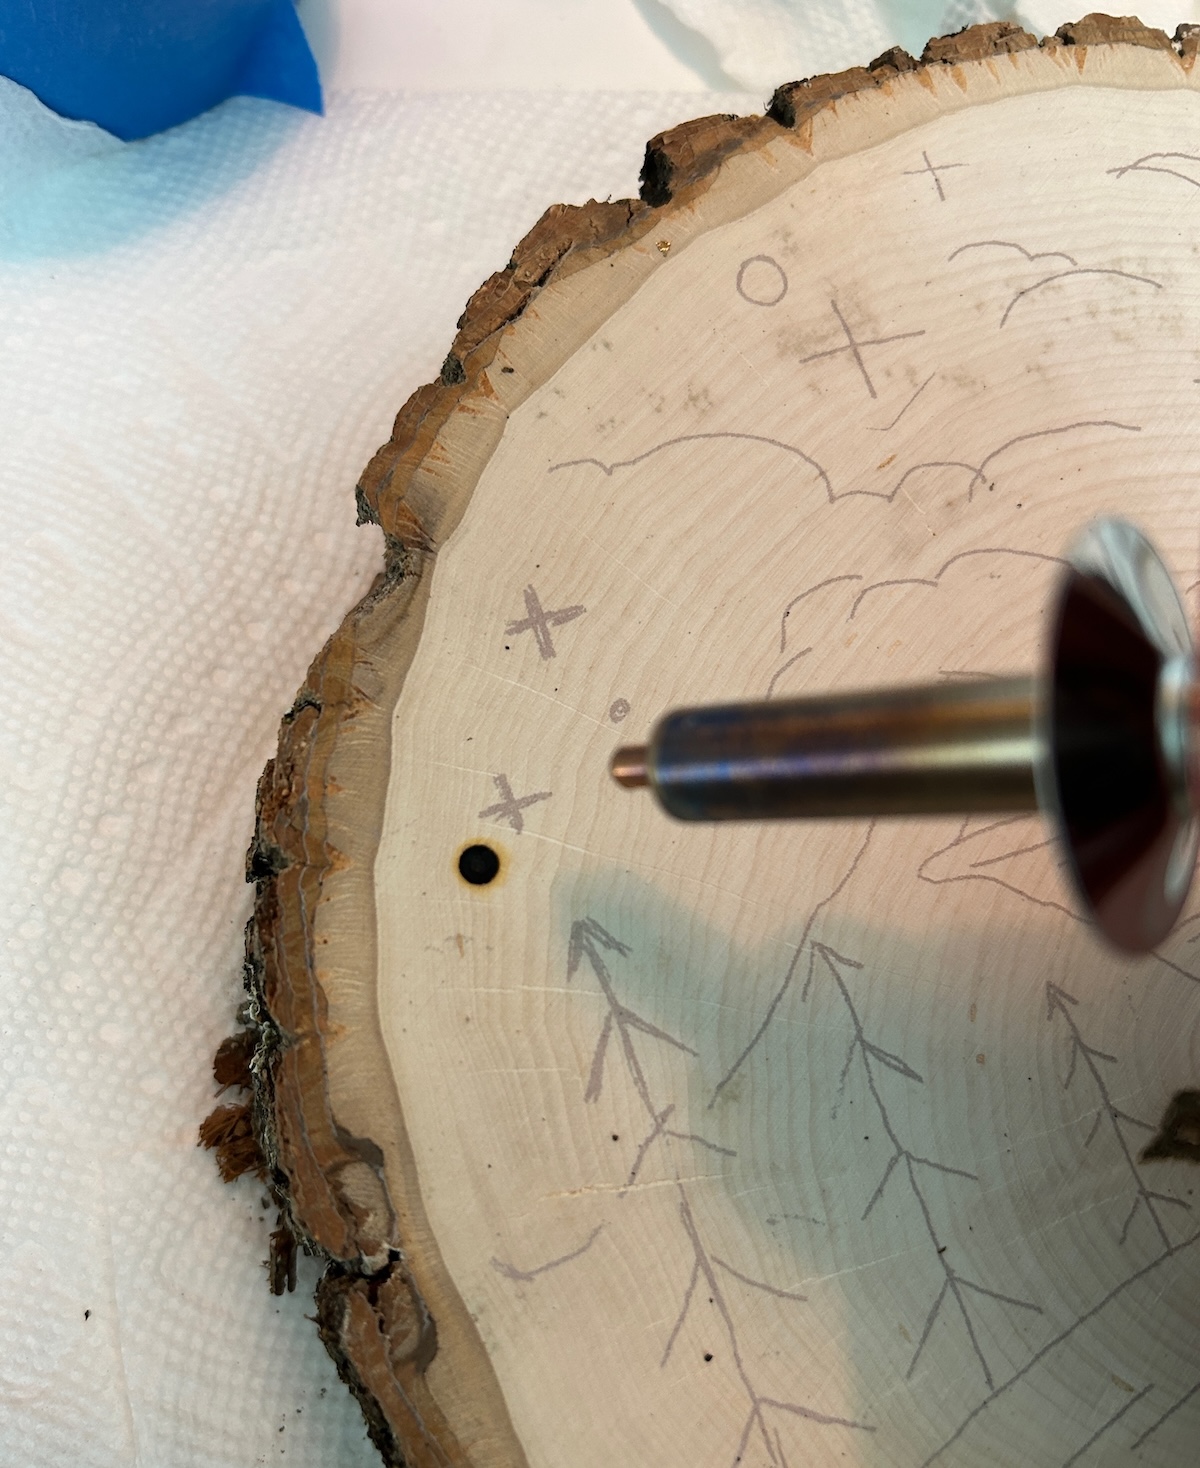
Carefully trace over the transferred pencil lines with your tool. Go slowly and evenly. Don’t press too hard, as the wood will start burning away underneath the tip naturally.
Step 5: Change Tips & Continue Burning
To change tips, you’ll need to turn the tool off completely and let it cool. Then unplug to switch tips. Never touch the tips while the tool is plugged in.
To do the medium details, I used the cone tip.
If you want to know the truth – I worked about 20 minutes at a time, stepping away and then coming back to it.
Step 6: Add Details & Finish
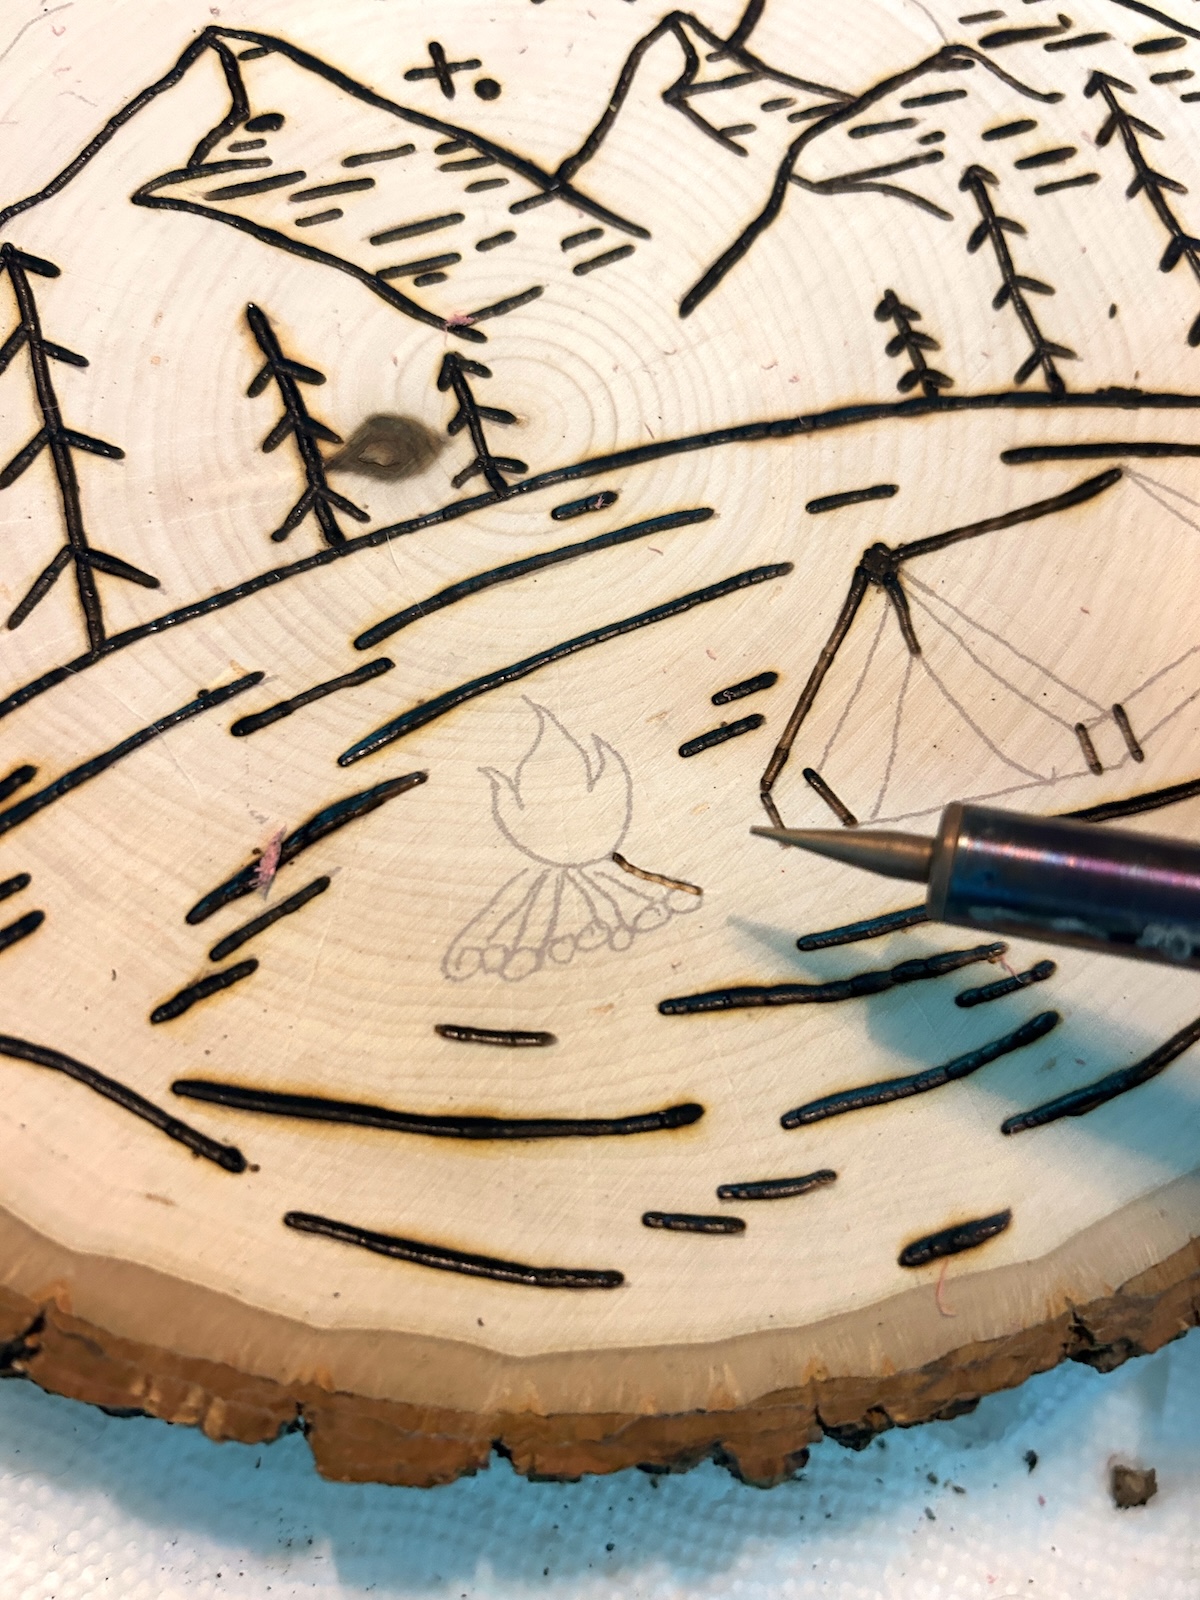
Once the main lines are burned, add the detail lines. To do this, I switched to the tapered tip for the smallest areas.
When you’re done, let the wood cool before handling or hanging.
Final Thoughts
A plaque like this is fun and easy to make, plus it’s rustic, charming, and makes a great gift too.
Once you try wood burning, I think you’ll be hooked just like I was! And the best part? You don’t need to be an artist. Just a little patience and practice goes a long way.
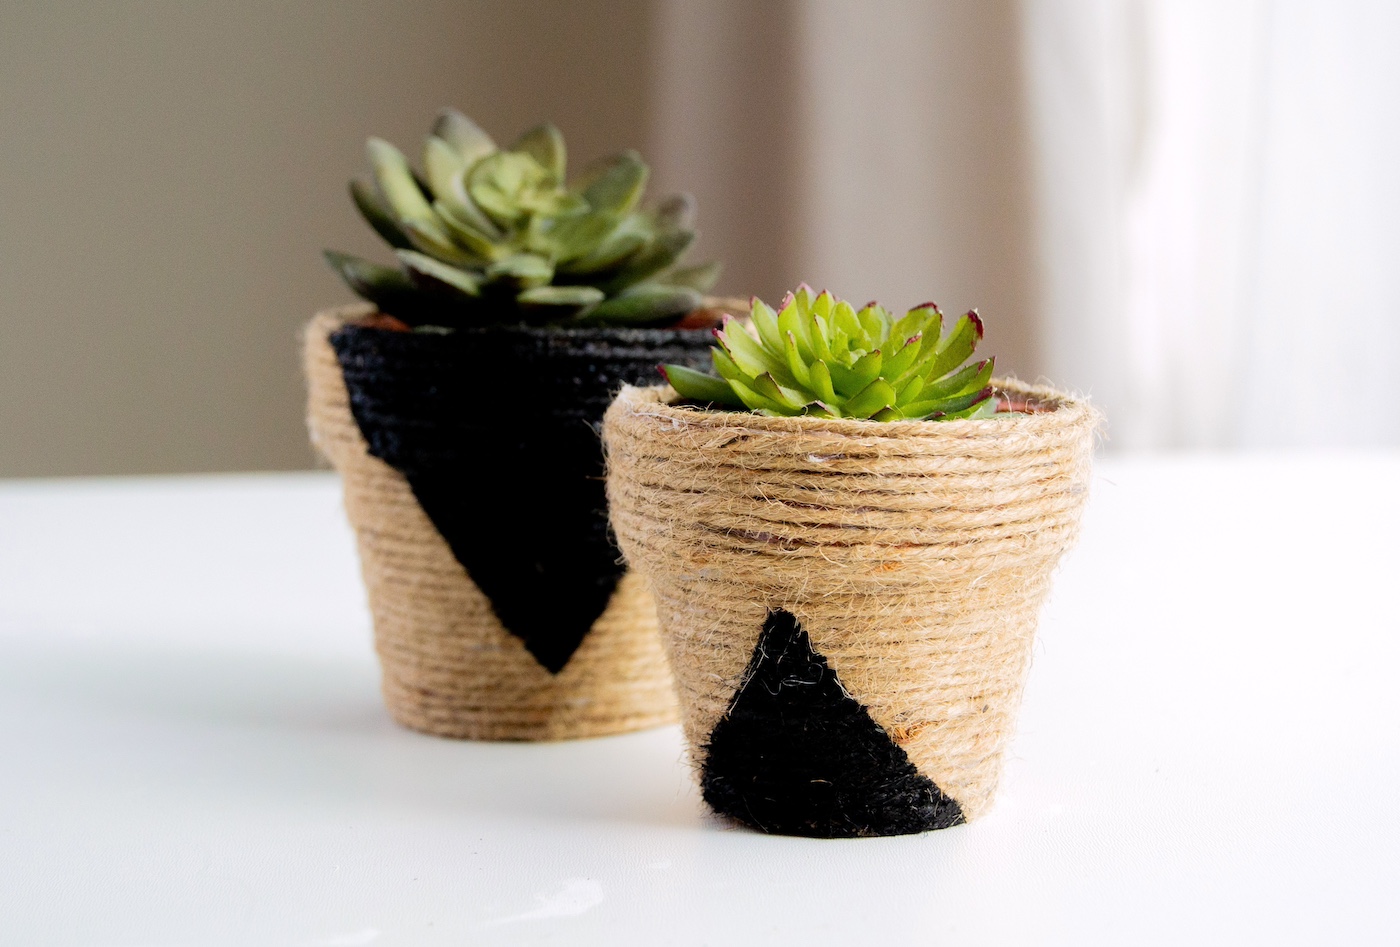
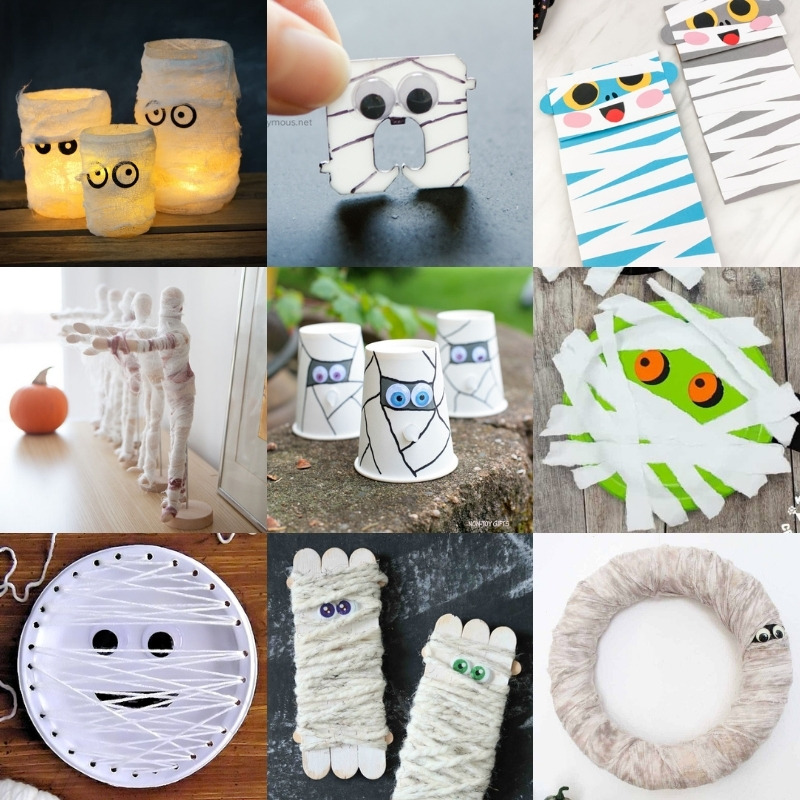
Ready to start burning? Download the pattern and let’s do this! And don’t forget to leave me a comment if you give it a try. I’d love to see your projects! Also check out these other ideas:




I love wood burning…..I did make a spacing mistake with my word spacing. Any ideas how to fix it so I can not mess it up.
Thanks.
Hi Linda! I’m not quite sure how to fix – have you already burned it? If so, I’d add a cute flower in or something! I’m not sure how else to fix 😀
Hi there. Do you do any preparation to the wood itself? My husband cut down a tree, a Maple and we’re going to attempt some projects on them but as far as killing whatever might be living in there or anything, little eggs, etc, do you soak it in anything or clean it and anyway? thank you for your help
Liz Fleming ☺
Hi Liz! Not that I know of. Besides letting it dry inside for a while? Maybe a week? Just because I’m not sure what moisture in wood would do to the final “drawing.”
Liz, you should sand down the wood at minimum. I usually go with a rated sand paper between 400-600
@Liz Fleming, when making a Christmas tree star last year from small branches, the directions said to run through dishwasher with no detergent. It will take a few days to dry thoroughly but I felt nothing organic remained!
I broke the head of my tip off inside my pen. How do I get the piece out of my pen?
That’s a good question – I’m not sure. I’d try to unscrew the top somehow or go down in there with a needle. If it doesn’t work, you might have to buy a new one – I couldn’t find anything online :/
@Kaci, Try a self tapping screw & a pair of pliers
Hi!!! I’m about to start woodburning and was wondering, is there a mat or something I can put underneath my tool to keep from accidentally damaging my work space?
Hi Sanya! Most of the tools comes with stands. They are a little janky but still work. You can also use a ceramic plate from the dollar store to put the stand on. You don’t want to leave the tool unattended at any point but it will protect your work surface 🙂
@Sanya, I use an ironing mat, the kind that’s meant to be put on something other than an ironing board. You could also use a trivet.
@Sanya, there are also soldering iron mats that are heat resistant, as that is basically the tool we are using
Is ventilation important?
I didn’t find it to be an issue at all in my home but if you are sensitive, you may want to keep the windows open and wear a mask. There is a teeny tiny bit of smoke.