Paper Plate Turkey for a Fun Kids’ Thanksgiving
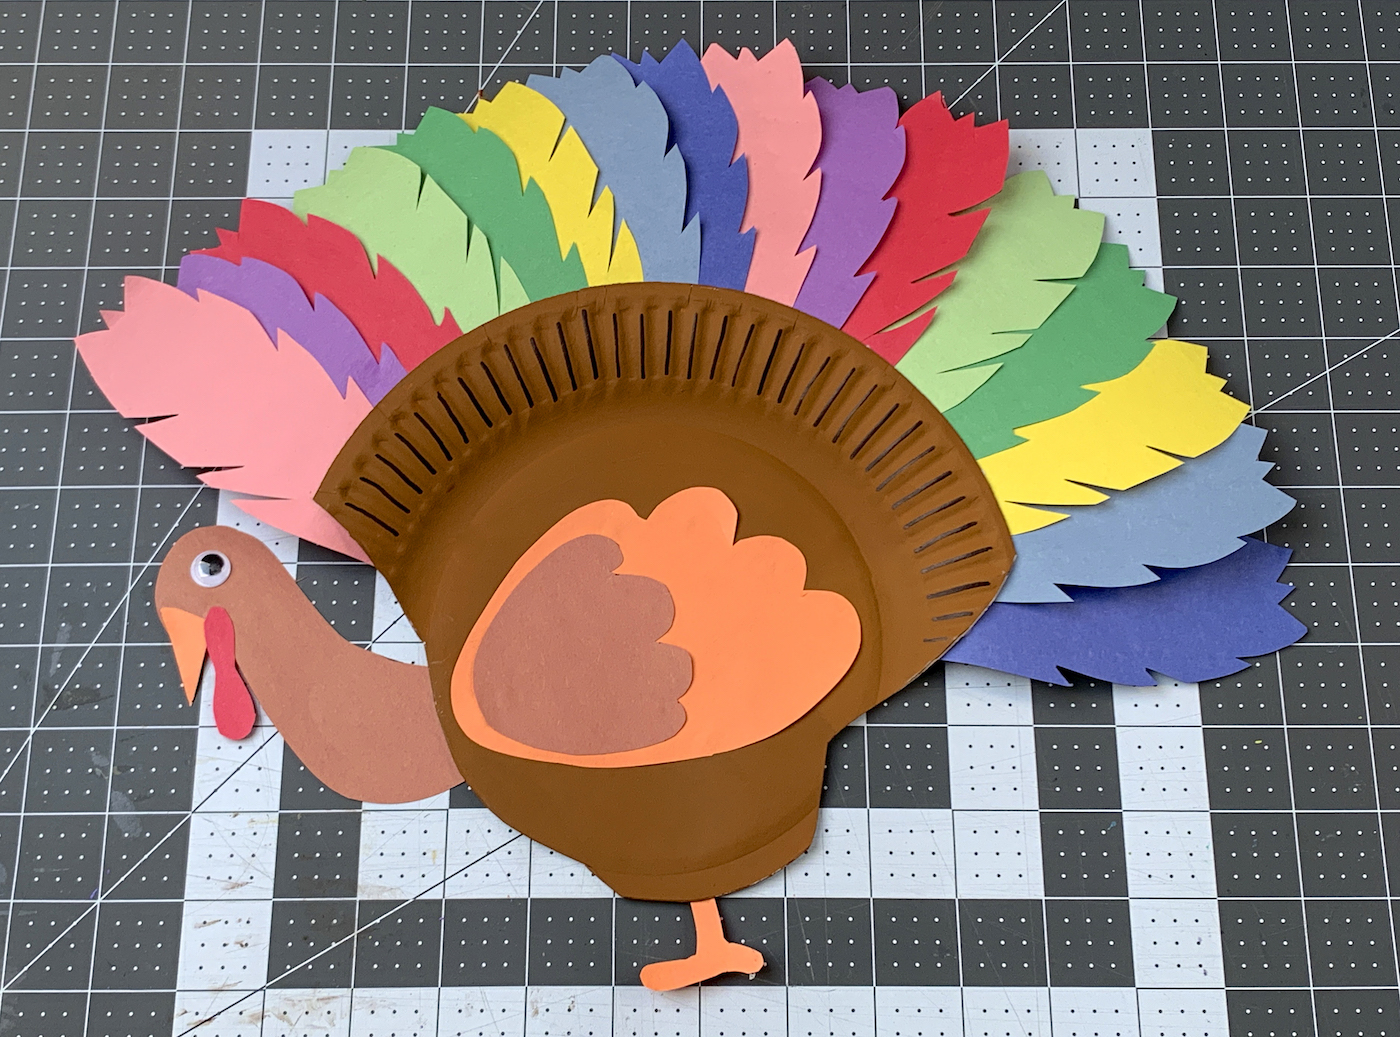
Learn how to make a colorful paper plate turkey craft with kids for Thanksgiving! It’s a great craft for preschoolers, kindergarten, and elementary age children. There’s also a free template available for the feathers and parts.
Skills Required: None. Even if you’ve never crafted before, you can make this turkey. You’ll be cutting, painting, and gluing. It’s a fun holiday activity for families to do together.
Did I ever tell you about the time I got attacked by a turkey? Well, it wasn’t actually me that got attacked – it was my car. My 1998 Honda Civic to be exact.
I had just started a new job in marketing analysis, and I went to my new office park which happened to have a natural area around it with a lot of walking trails and wildlife to enjoy. Including a wild turkey that was known by the locals as “Tom.”
As I drove into the office park, I missed the driveway for my building because all the entrances and buildings looked the same. So I chose a little pull out area to turn my car around . . . and that’s where I ran into Tom.
Tom ran out of the wooded area like a velociraptor ready for lunch, and he didn’t take too kindly to my car. In fact he started pecking it. Hard. And when I tried to pull out of the area I was in, he ran behind my car to stop me from leaving.
This turkey just wasn’t having it! Tom pecked the ever lovin’ crap out of my car. Finally I was able to back away from him (it might’ve been a 42 point turn?) and drive away quickly as he ran after me.
And because “pictures or it didn’t happen,” you can see him here. Of course I had to capture him in all of his glory. And I have to be honest. He was brave! You gotta respect a turkey that is willing to challenge something 100 – 200 times its size!
It was so long ago that Tom has certainly moved onto greener pastures. Turkeys only live 3 – 5 years in the wild, so hopefully he is running around a gigantic office complex in the clouds, pecking his little heart out.
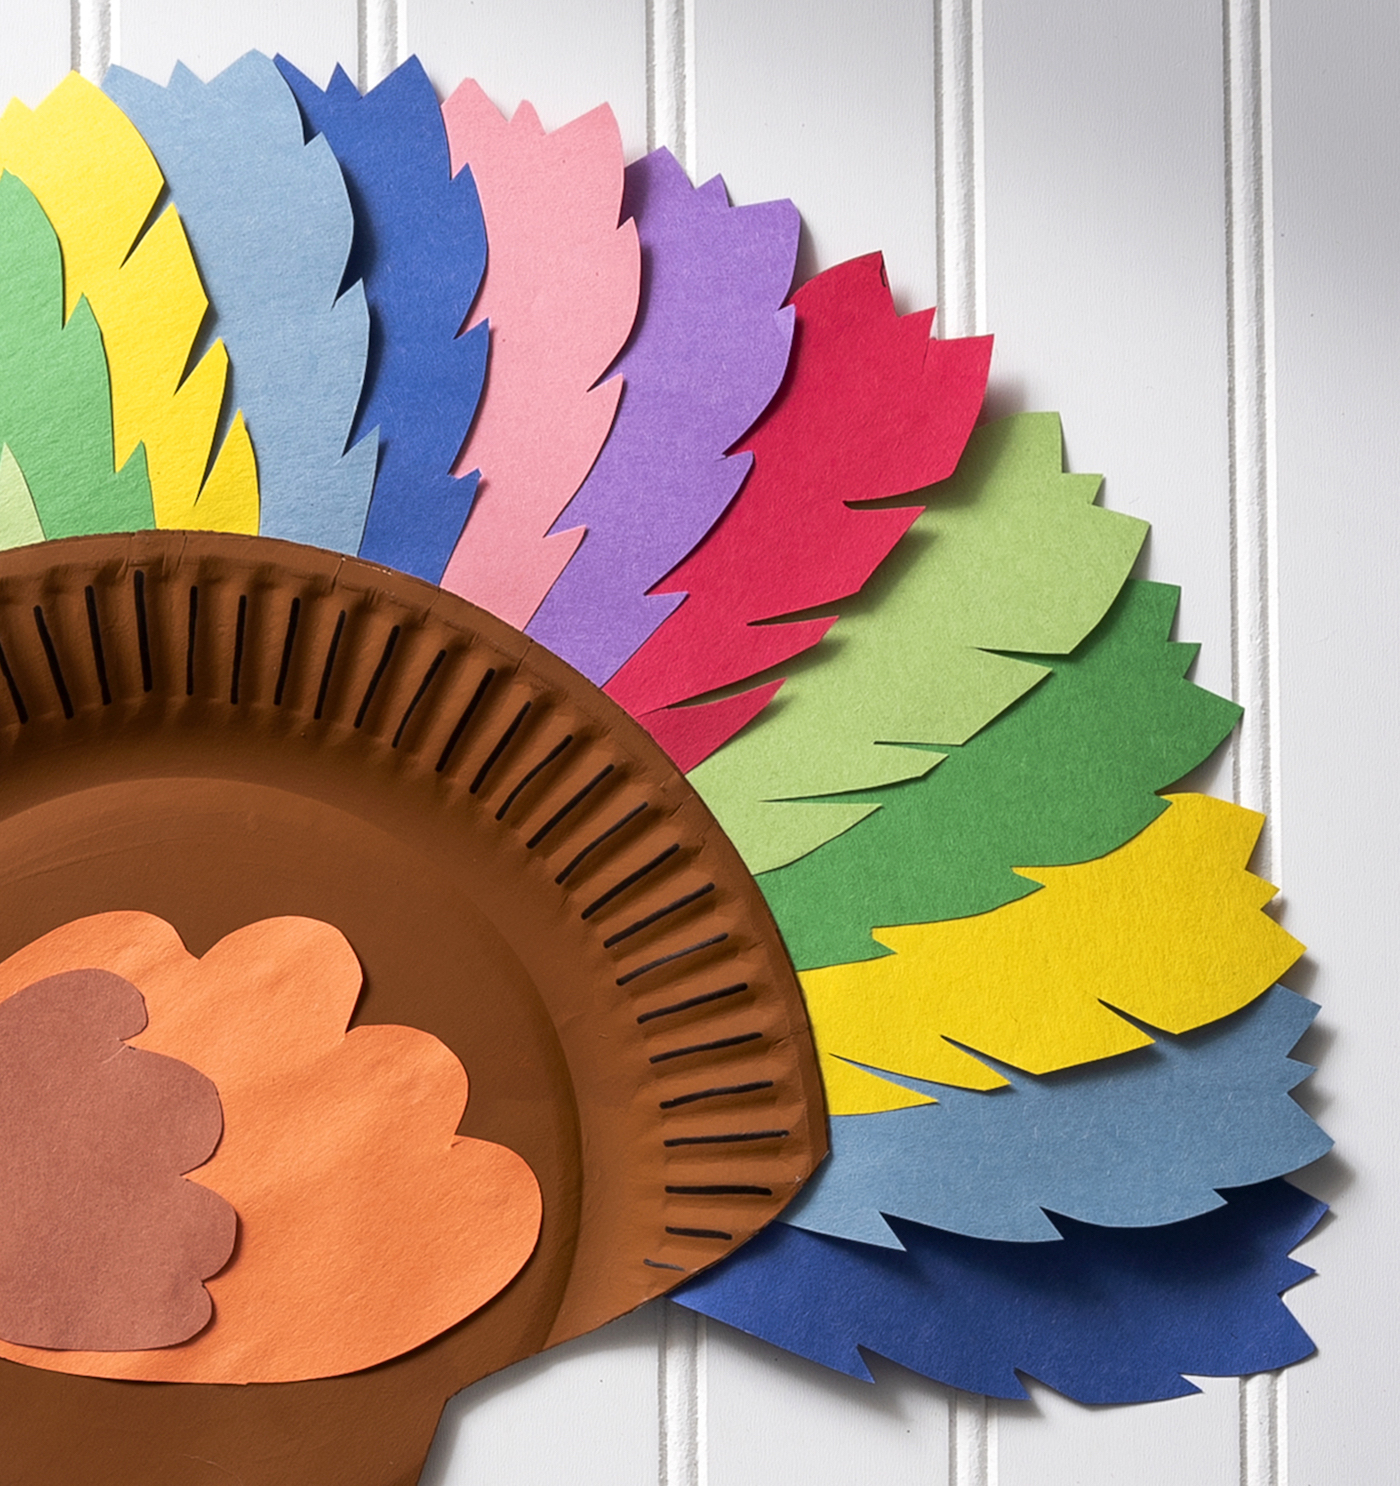
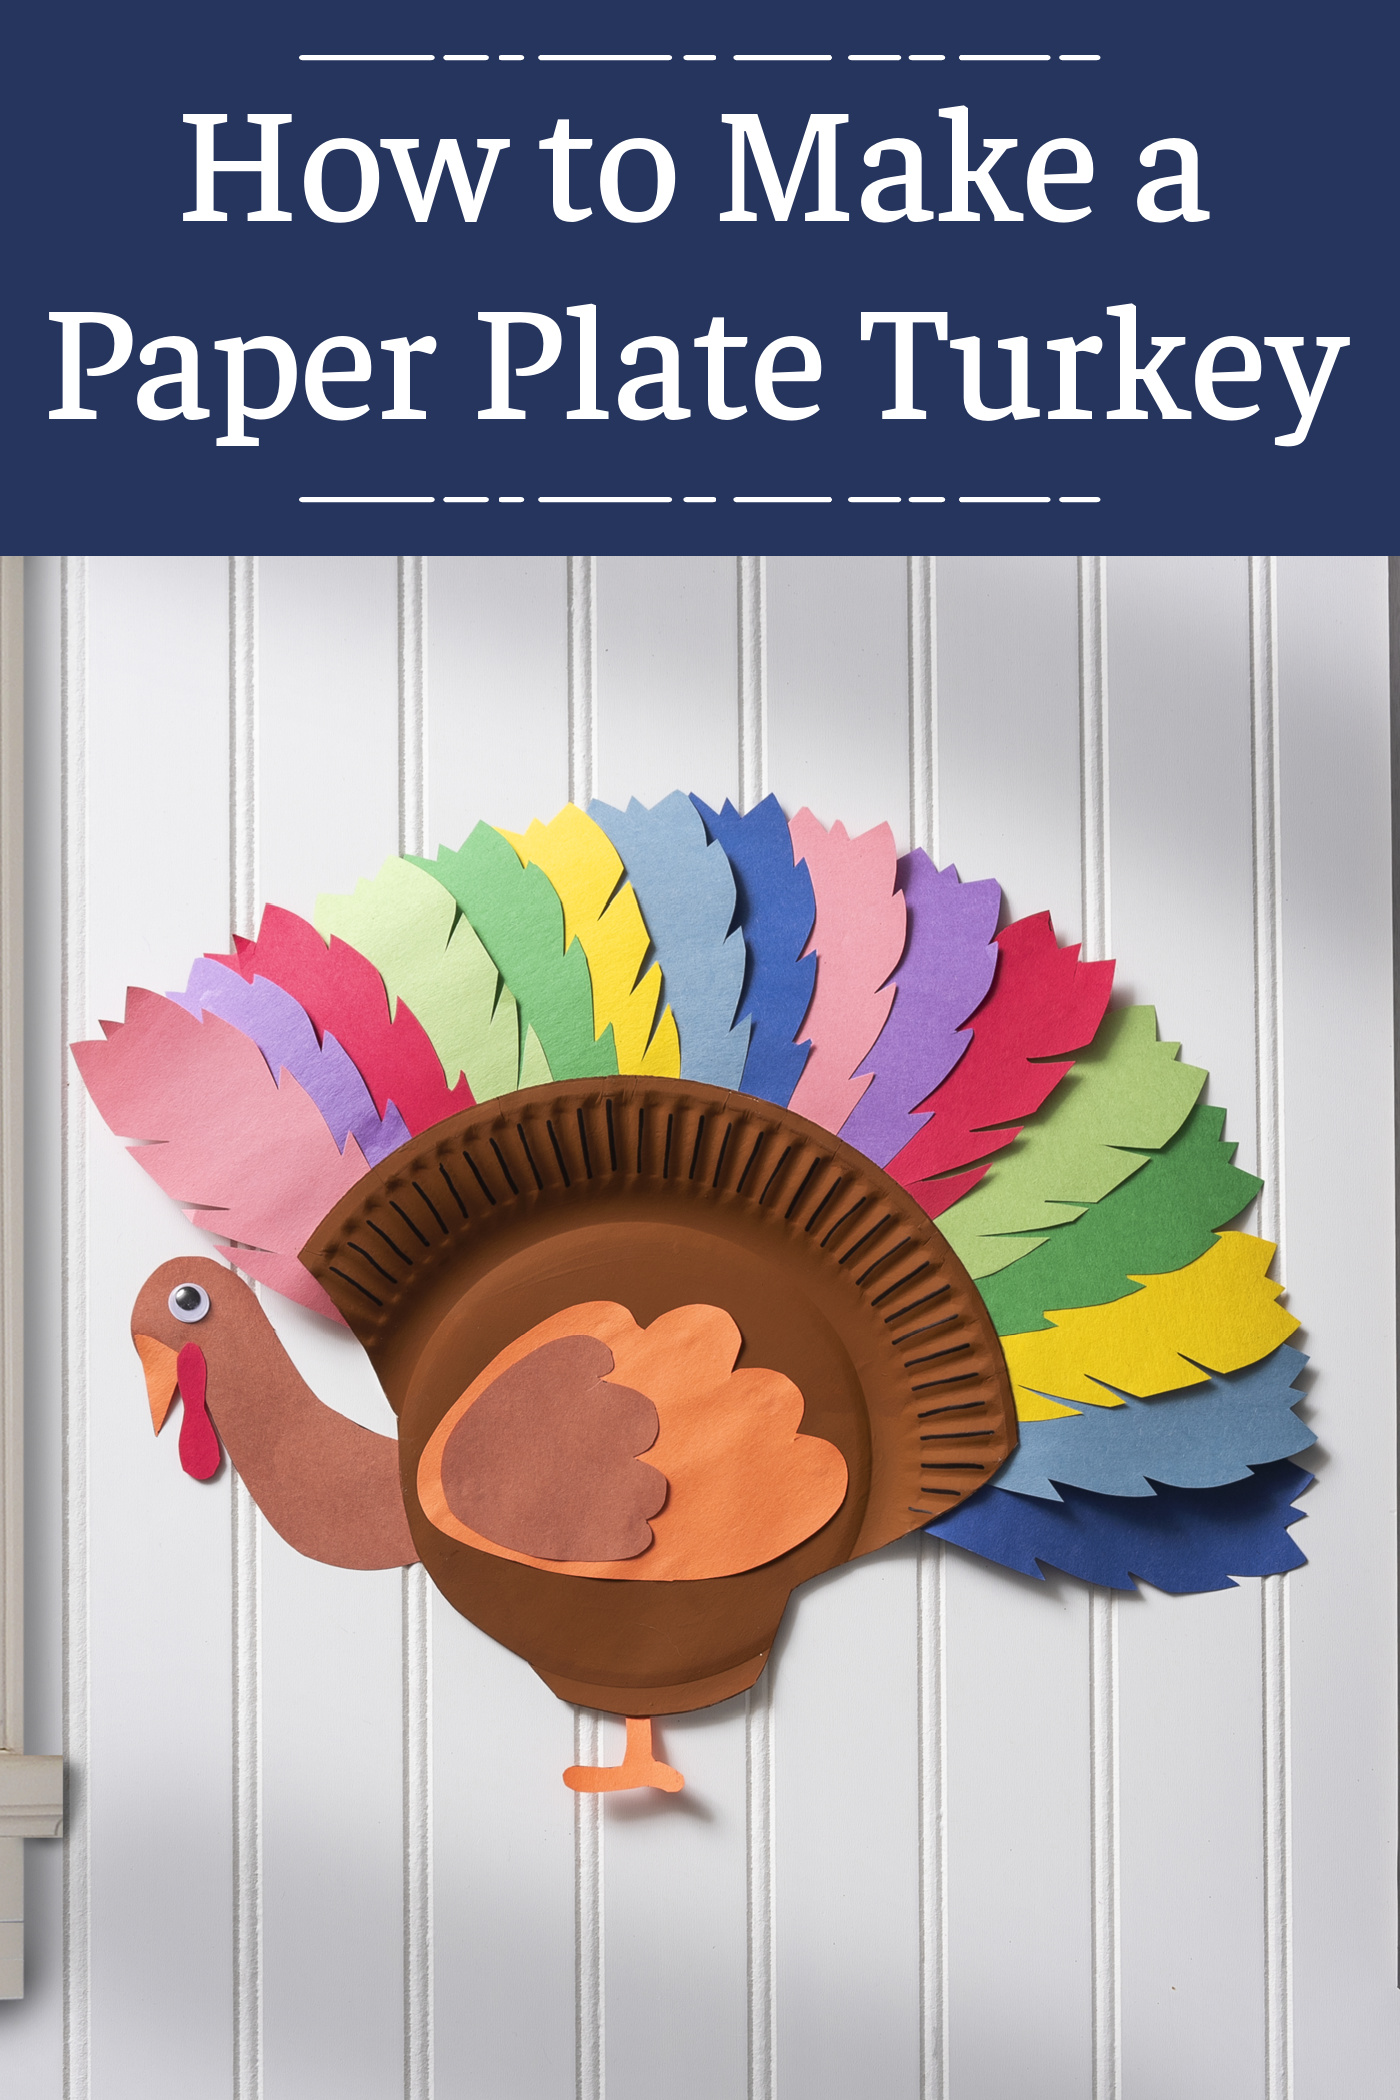
As a tribute to him, and just because it’s Thanksgiving and fun, we decided to make a paper plate turkey for everyone to enjoy! And of course – his name is Tom.
Tom has a paper plate body, beautiful feathers of colorful construction paper, and he’s really easy to put together. I’m going to show you how to do it below (plus there’s a video), but first you’ll need to grab your supplies.
Here’s what you’ll need for this cute kids Thanksgiving craft!
Gather These Supplies
- Paper plate
- Turkey parts template
- Craft paint – brown
- Construction paper – variety of colors
- Craft glue (or a glue stick)
- Googly eye
- Sharpie
- Scissors
- Pen or pencil
Tips and Thoughts for This Project:
- I got my plates from Dollar Tree, so they’re a little bit flimsy. If you find that to be the case, you can always glue two together to make the body of your turkey.
- Technically you don’t *have* to cut the paper plate to make the body. You can use it as the body by leaving it round. If you have a very young child, it might be easier to leave it round, while older children might want to shape the body more.
- The construction paper is also from the dollar store, so it is kind of flimsy. If you want the feathers to be more stiff, cardstock is the way to go.
- You can use my template for your turkey, but don’t be afraid to create your own design!
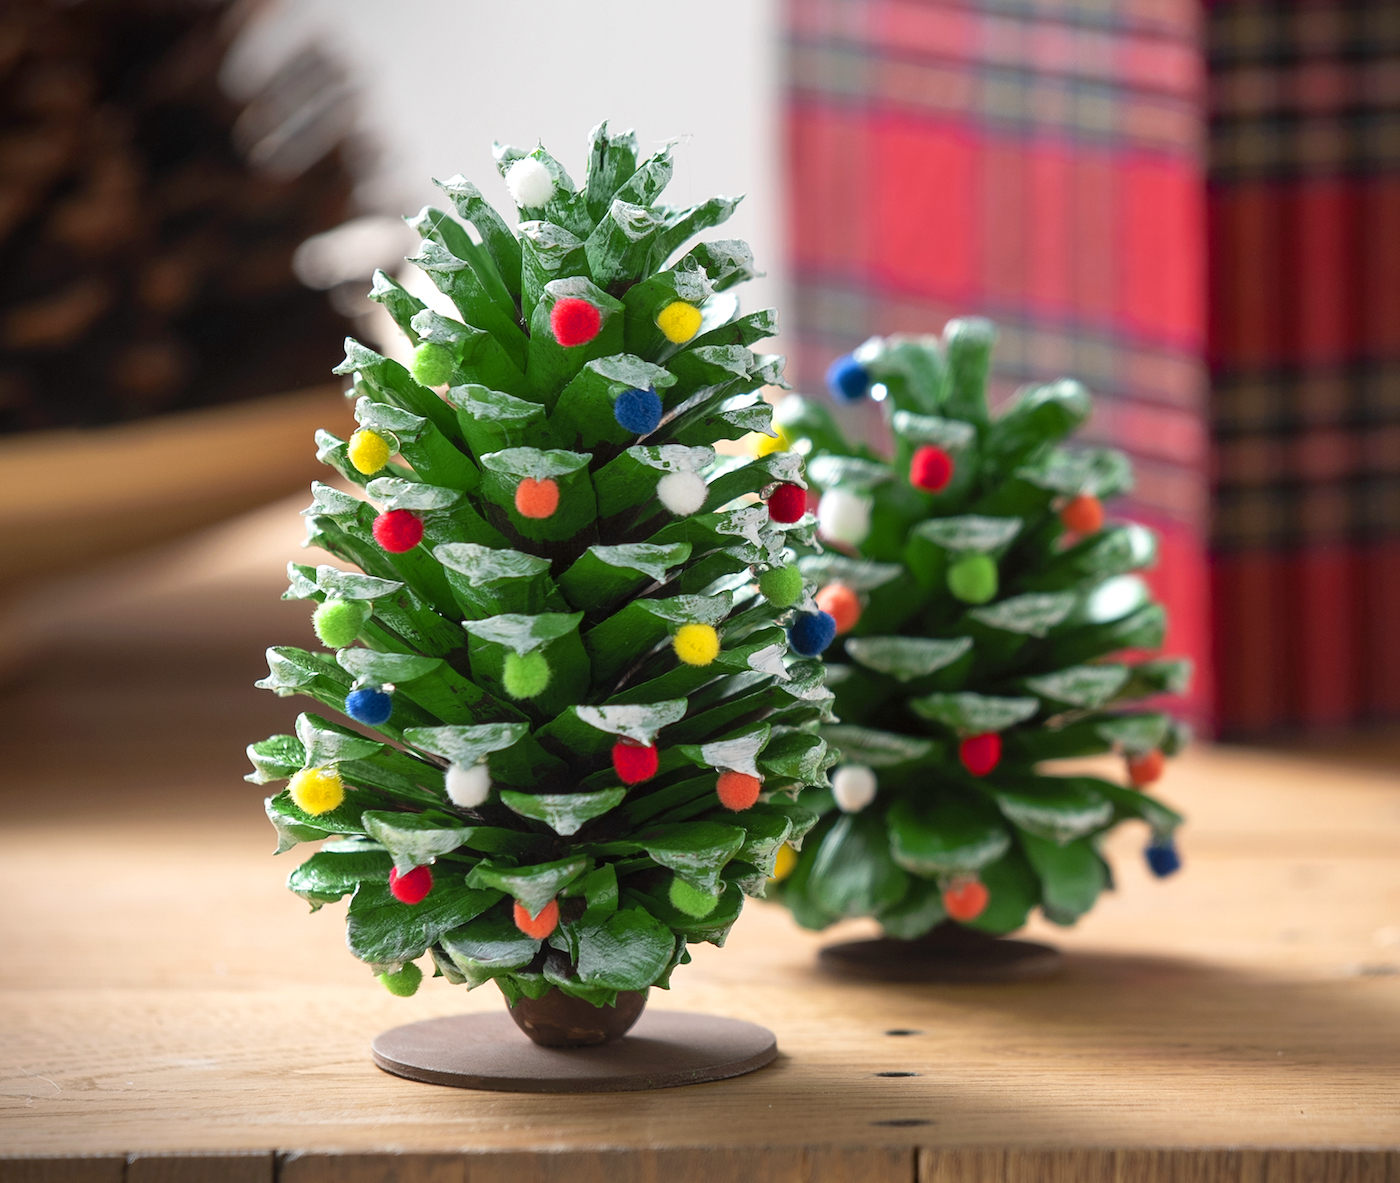
(I’d love for you to check out our pinecone turkey and coffee filter turkey if you are looking for more kids Thanksgiving crafts)
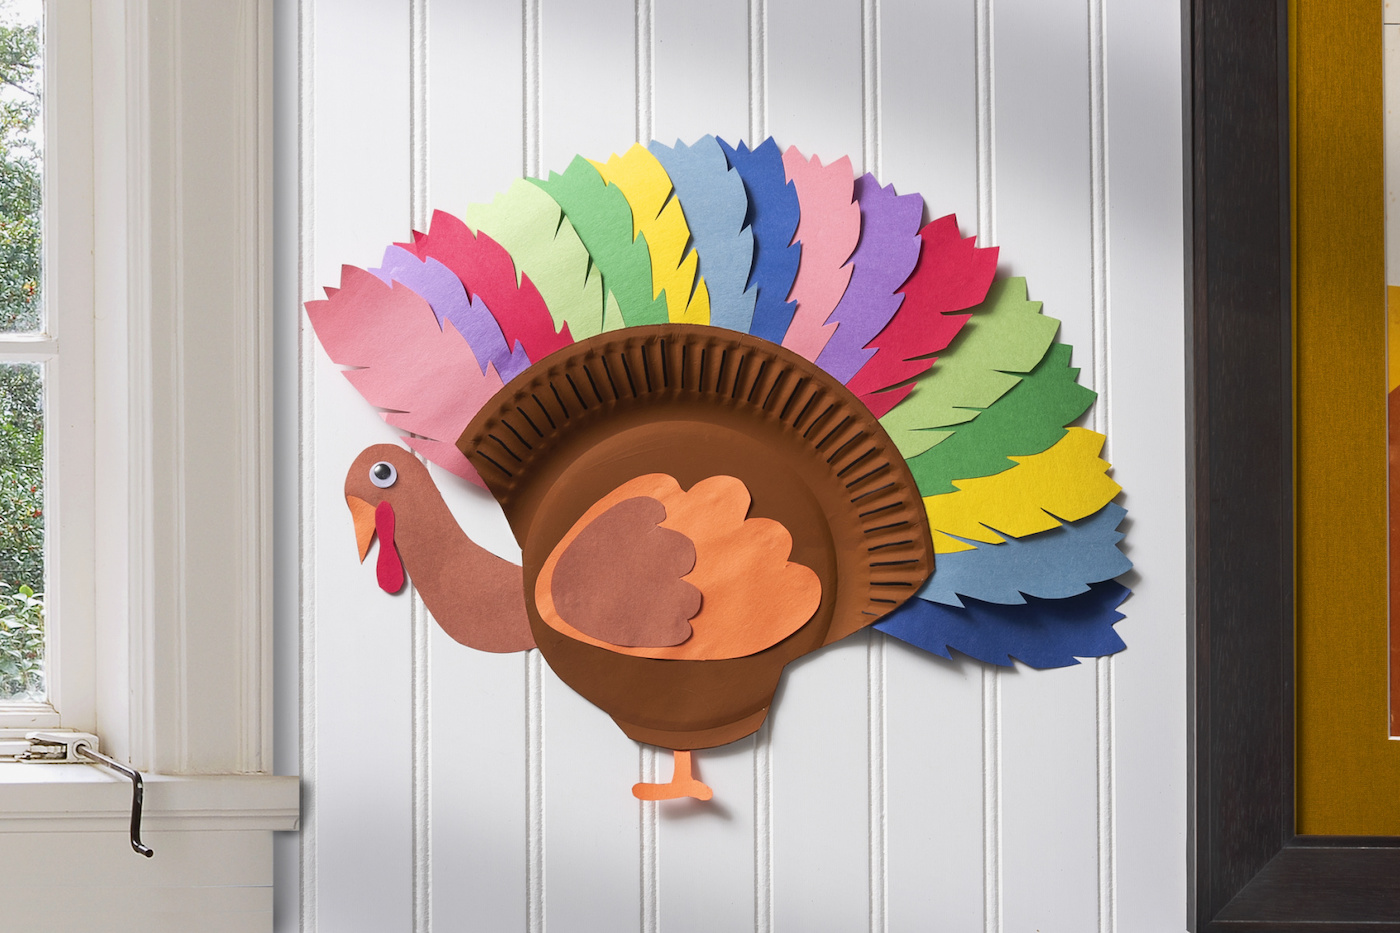
Are you ready to make a turkey out of paper plates? Get the how-to card below!
Paper Plate Turkey
Equipment
- Pen or pencil
Materials
- Paper plate(s)
- Acrylic paint brown
- Construction paper variety of colors
- Craft glue
- Googly eye(s)
- Sharpie(s)
Video
Instructions
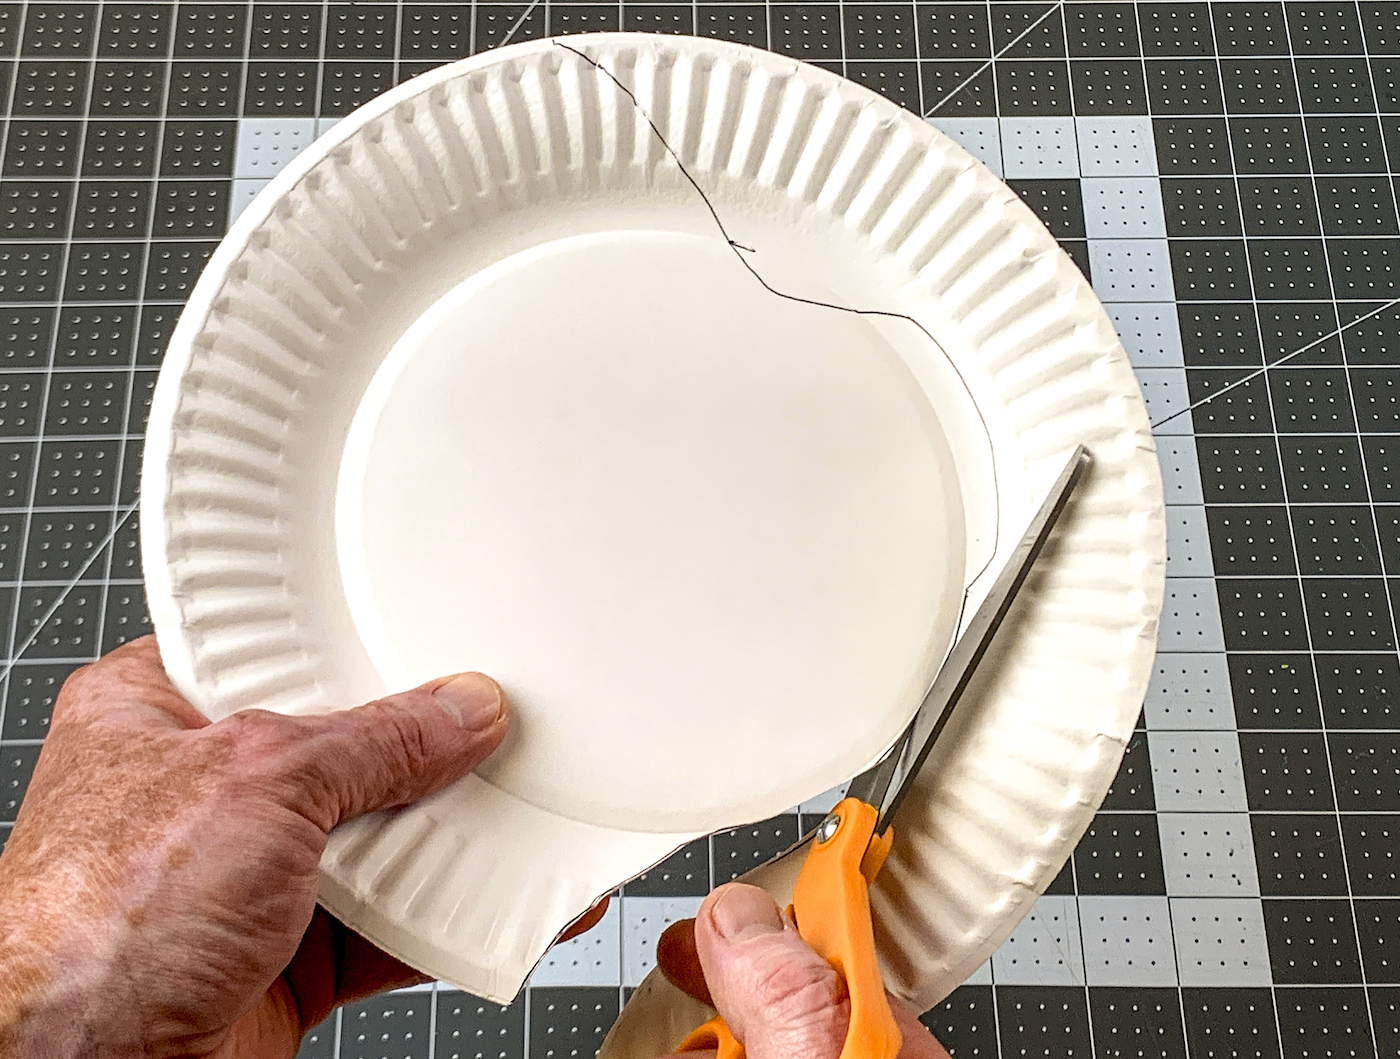
- Take one paper plate (or glue two together) and draw a body shape on with a pen or pencil. Cut out with scissors.
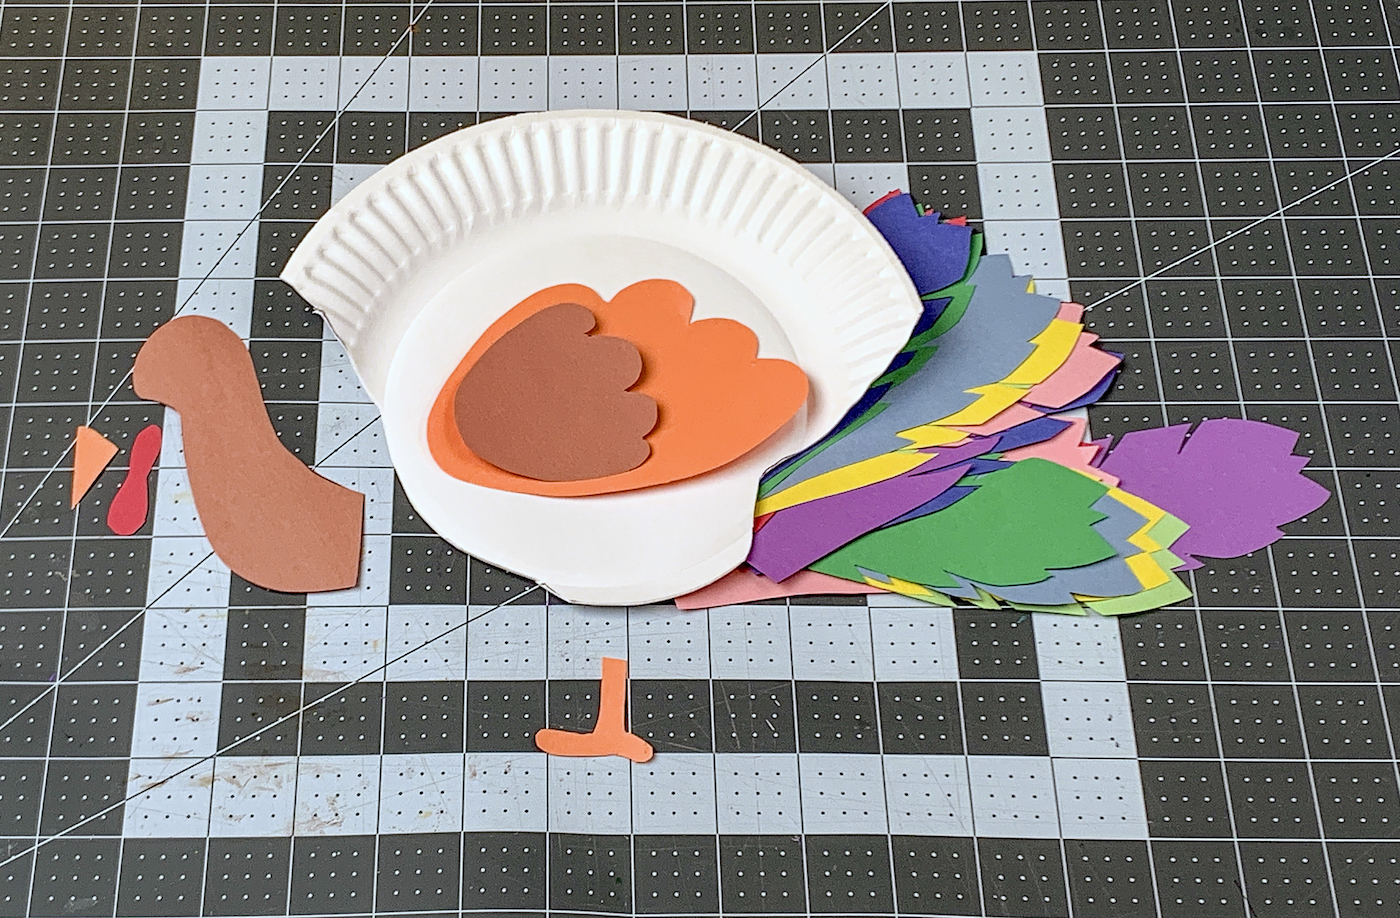
- Print out the template for the body parts if desired. Trace or draw the parts including the head, gobble, feathers (16), feet, and wings with a pencil or pen.
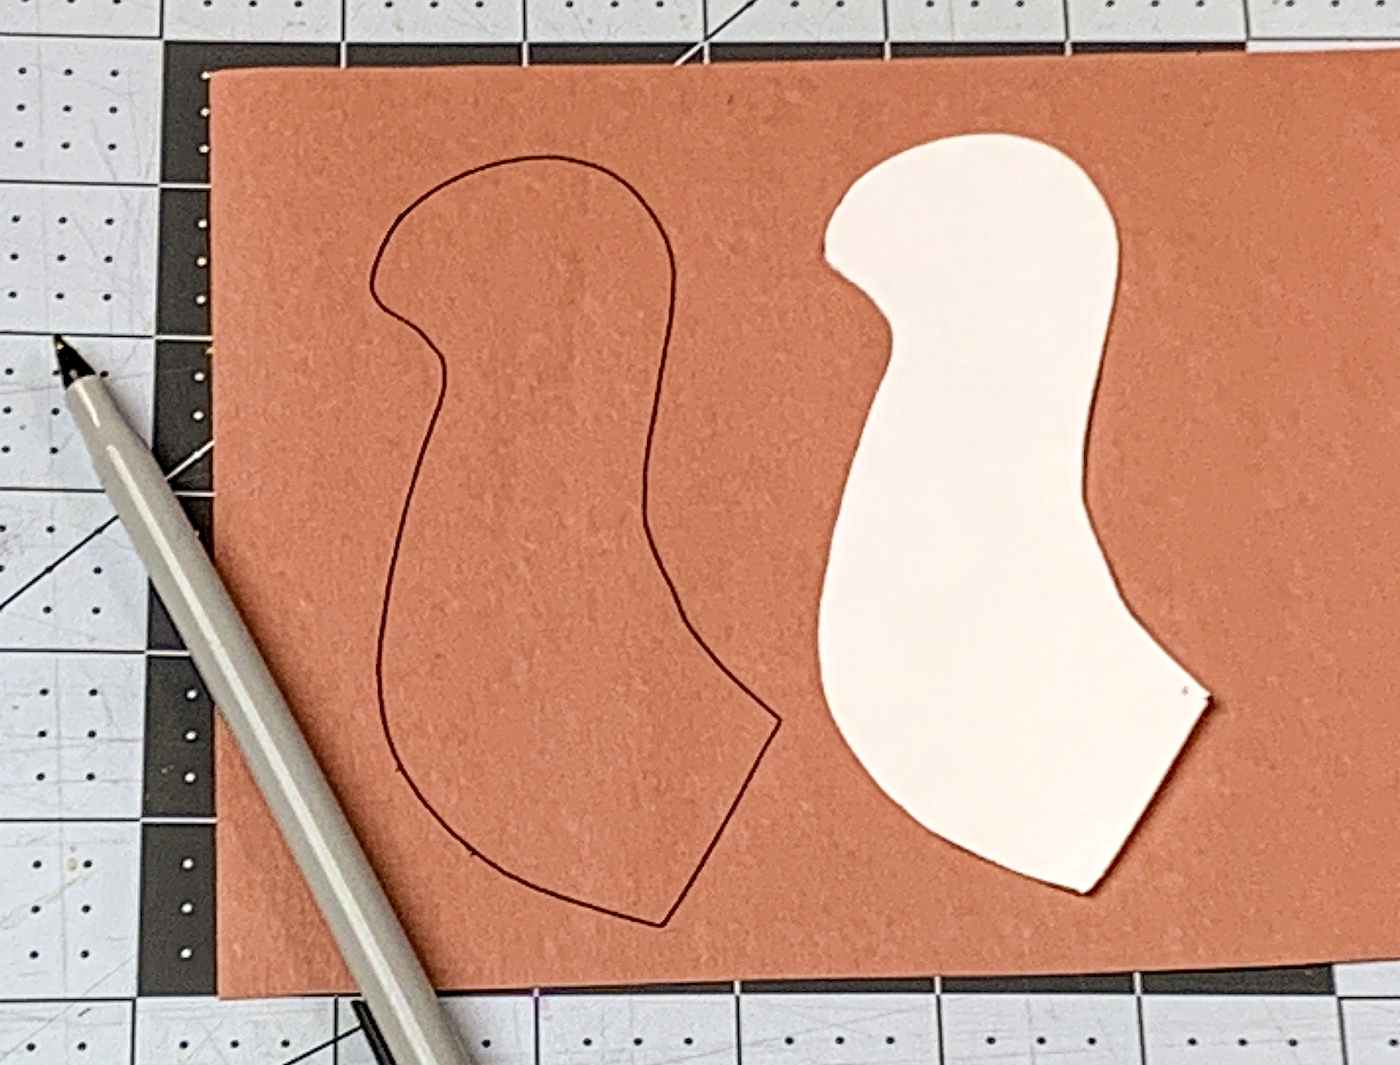
- Cut all the body parts and set aside on your work surface.
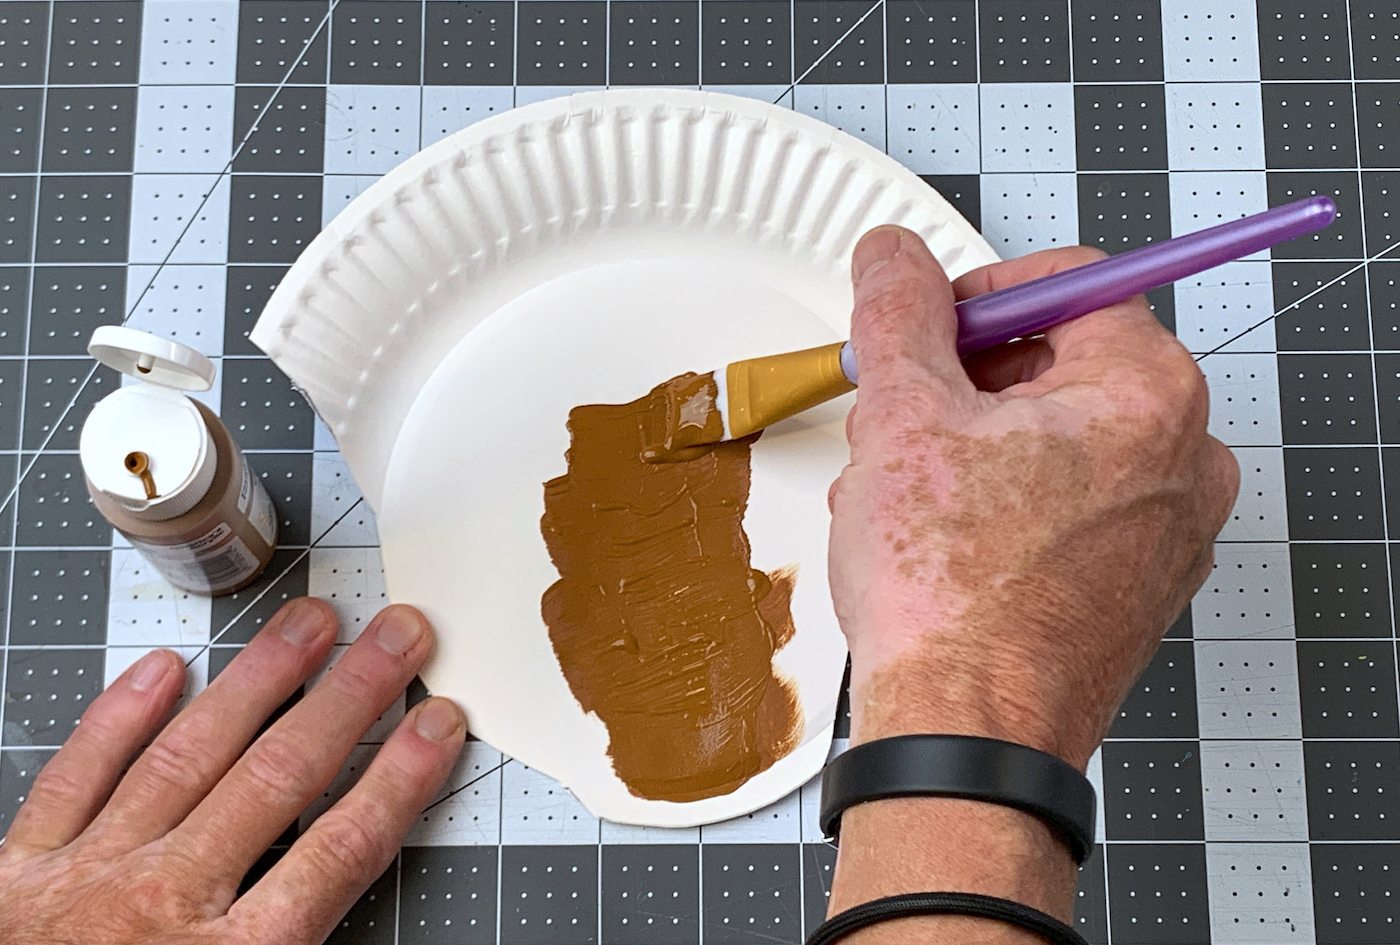
- Using the brown craft paint of your choice, paint the paper plate body of the turkey. Let dry completely.
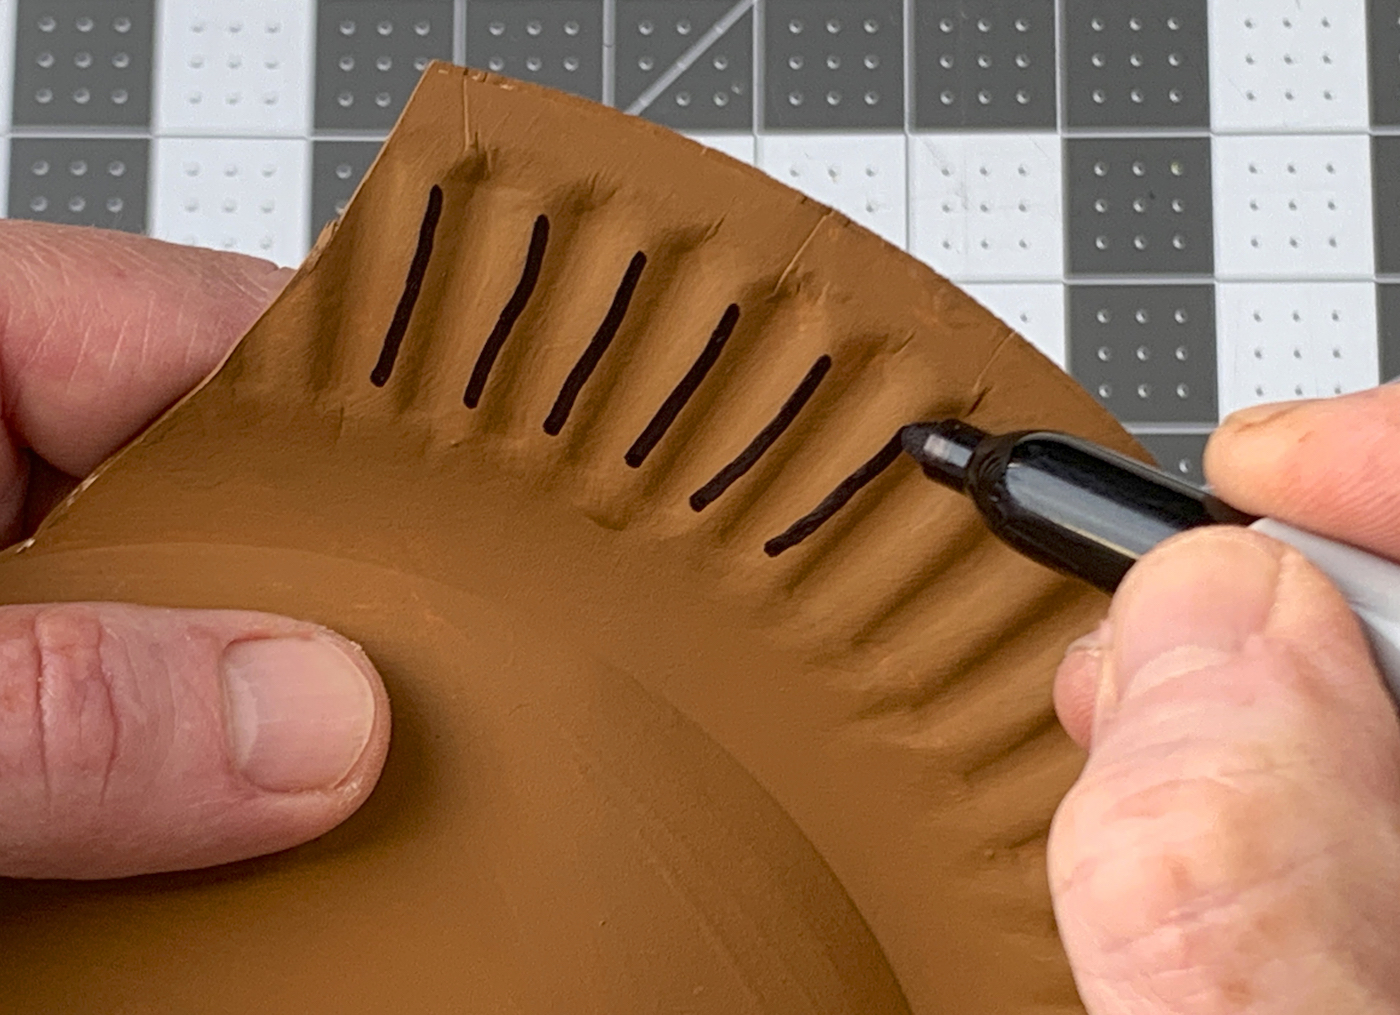
- This is a fun and optional touch. Add black lines to the edge of the paper plate with Sharpie or a black marker, for a little bit of interest.
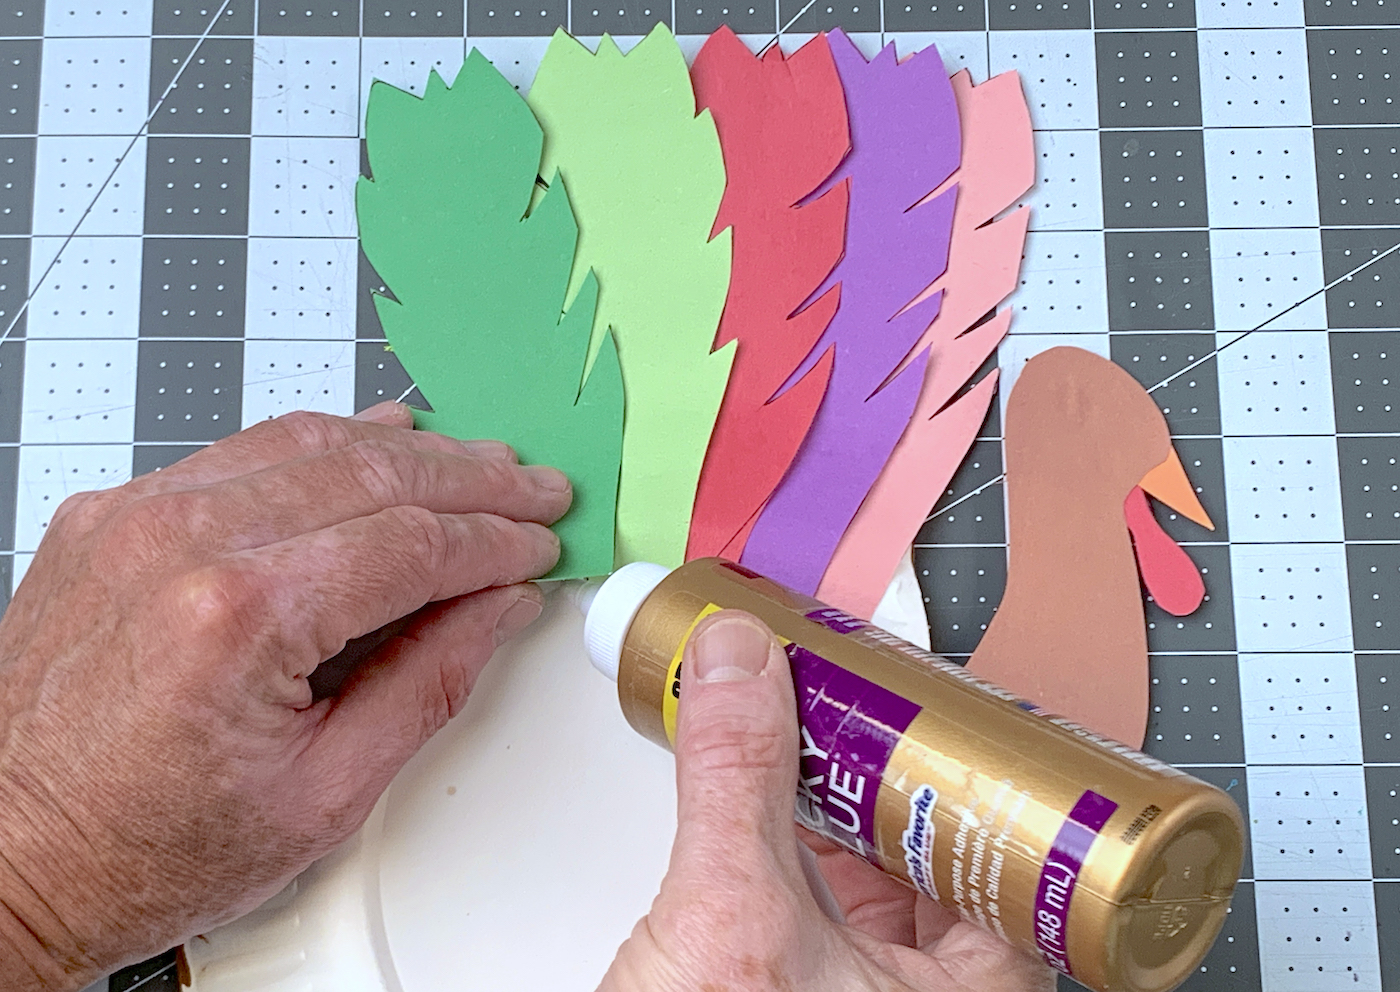
- Using craft glue, add all the feathers to the back of the turkey so they fan out across the top of the paper plate. Glue the rest of the body parts to the front of the paper plate. Don’t forget the googly eye!
- Let your paper plate turkey dry completely before displaying.
If you enjoyed my tribute to Tom, I’d love for you to check out these other ideas as well:

