DIY Christmas Hair Bows That Look Like Candies
Learn how to make the cutest DIY Christmas hair bows that look like peppermint candies! These are easy and you can make several in minutes.
Skills Required: None. These hair accessories require a little cutting and a little hot gluing. Even if you’ve never crafted before, you should easily be able to accomplish this project.
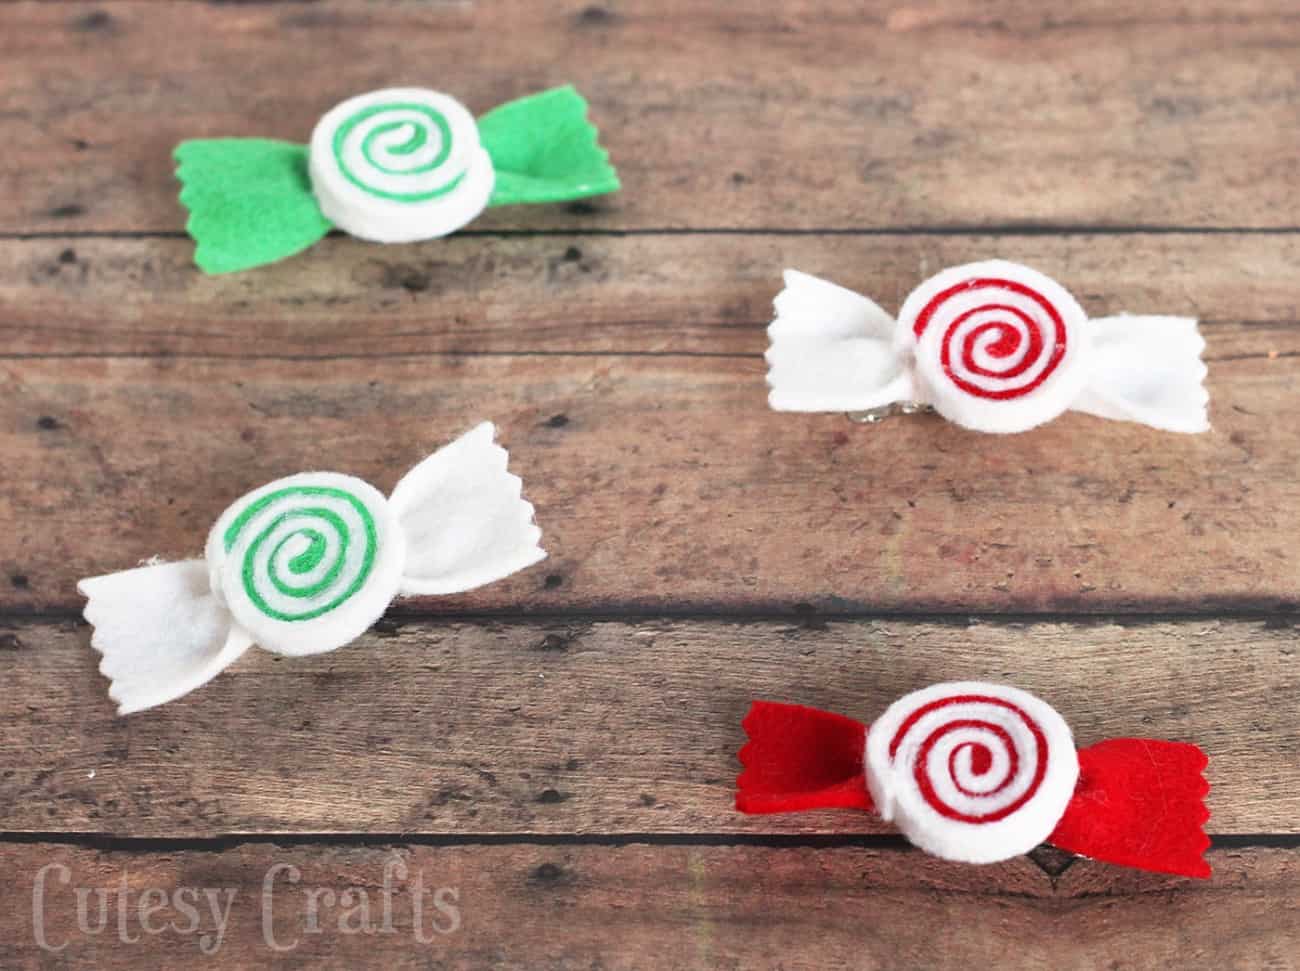
With the holiday season fast approaching, it’s the perfect time to add a dash of handmade charm to our celebrations. If you’re on the lookout for a Christmas craft that combines the festive spirit with a touch of personal flair, you’re in the right place.
Today, I’m excited to walk you through a simple yet utterly adorable tutorial on how to make DIY Christmas hair bows that look just like those classic peppermint candies we all love during this time of year.
These peppermint candy-inspired hair clips are not just cute; they’re incredibly easy to make. You can craft these sweet little accessories from pieces of felt in traditional Christmas colors. NO sewing skills required!
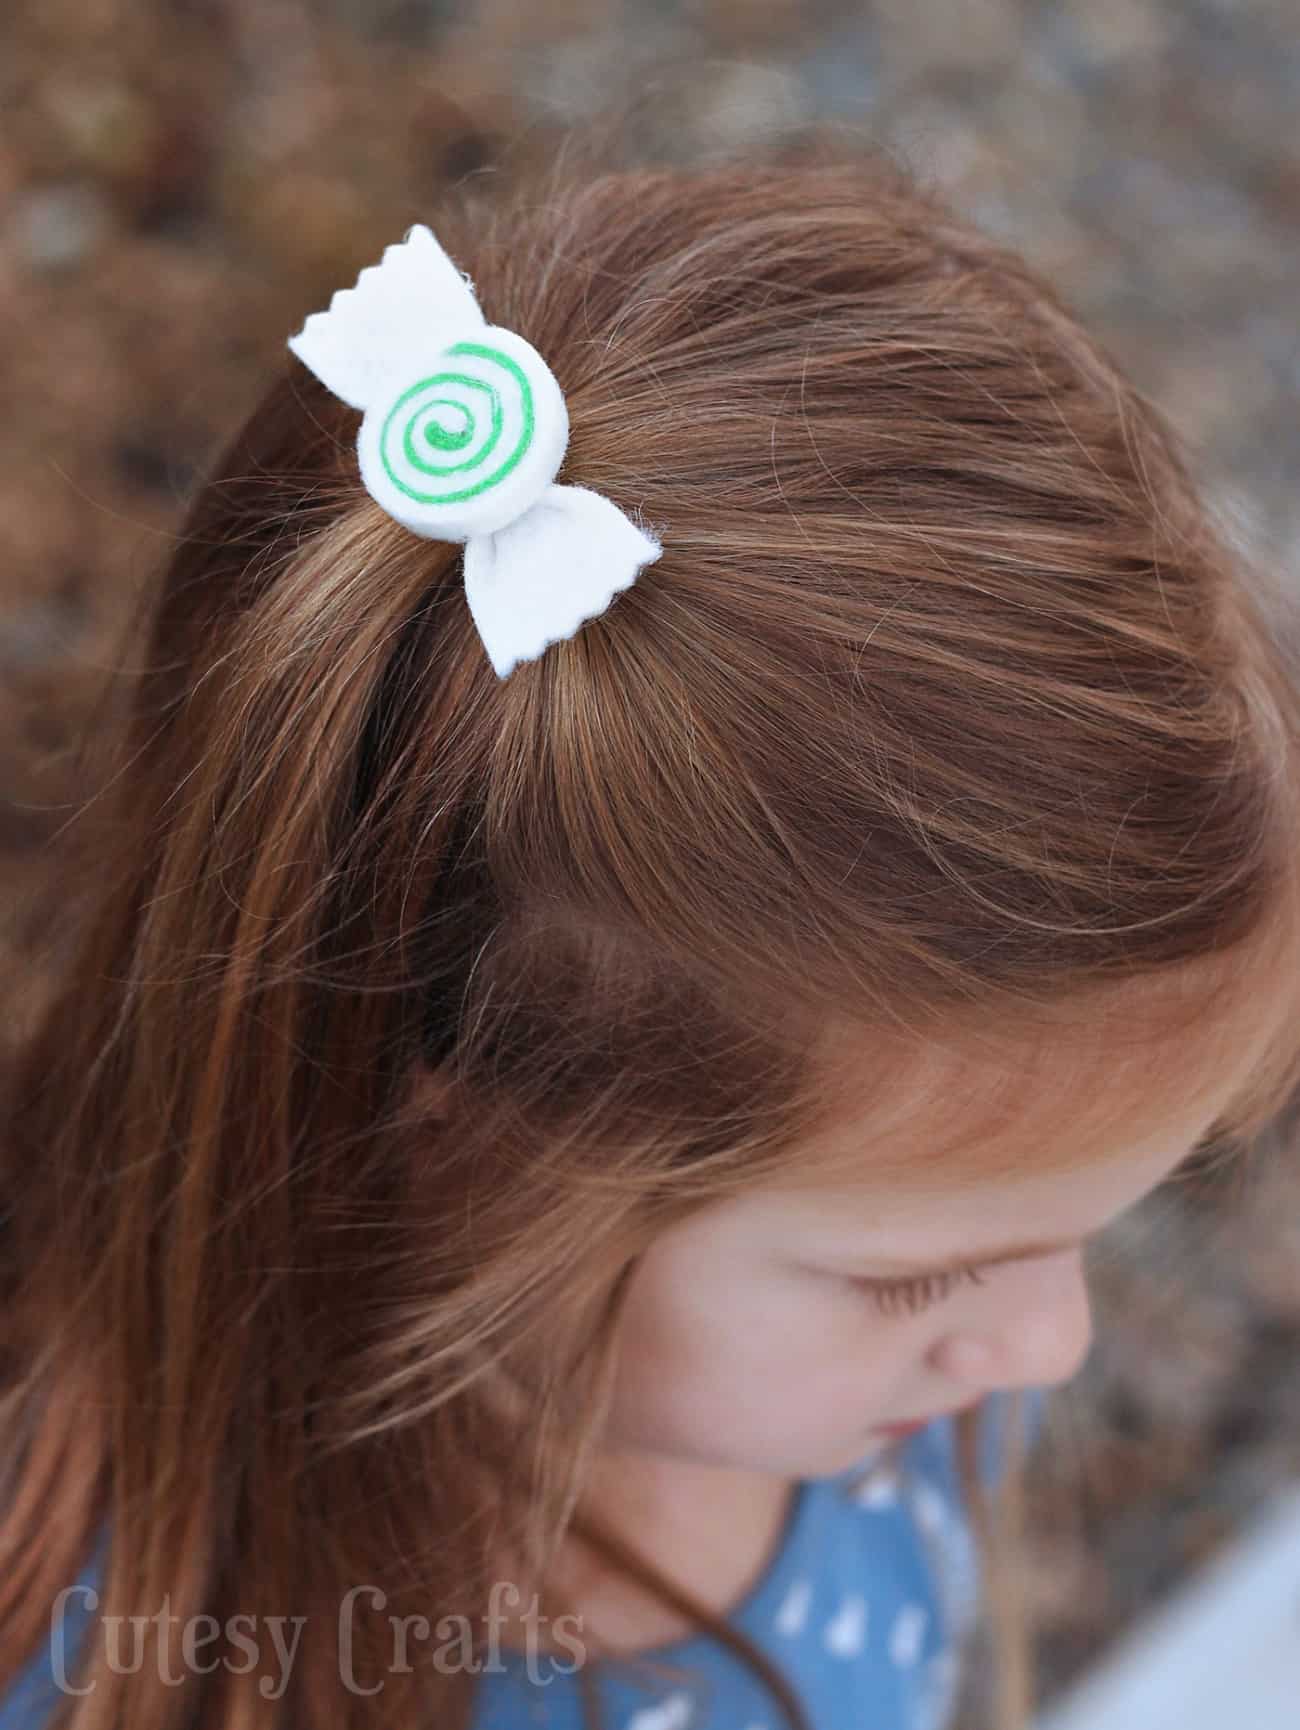
Whether you’re planning to make them for yourself, as a thoughtful handmade gift for someone special, or even as a fun craft to do with kids, these hair bows are sure to bring a smile to everyone’s face. They’re a small but meaningful way to celebrate the season, adding a festive flair to any hairstyle.
This tutorial is designed to be fun and accessible, requiring just a few basic materials that you might already have at home. Plus, it’s a great opportunity to get creative with colors and designs, making each hair bow uniquely yours.
So let’s get started and bring a little extra sparkle to this Christmas with our very own handmade peppermint candy hair clips. Here’s what you’re going to need.
Gather These Supplies
- Felt
- Two 1/4-inch wide strips of white felt – 7 inches long
- One 1/4-inch wide strip of red or green felt – 7 inches long
- One rectangle of white, red or green felt – 1 x 3 inches
- Hot glue gun
- Blank hair clip
- Pinking shears (optional)
My girls begged to wear them as soon as they saw them! Such a fun accessory for them to wear this season!

Get the printable how to card for this project below:
DIY Christmas Hair Bows
Equipment
- Pinking shears optional
Materials
- 3 pieces Felt sheet(s) 1 piece each of green, red, and white
- Blank hair clip
Video
Instructions
- Cut the strips of felt according to the sizes in the Notes.
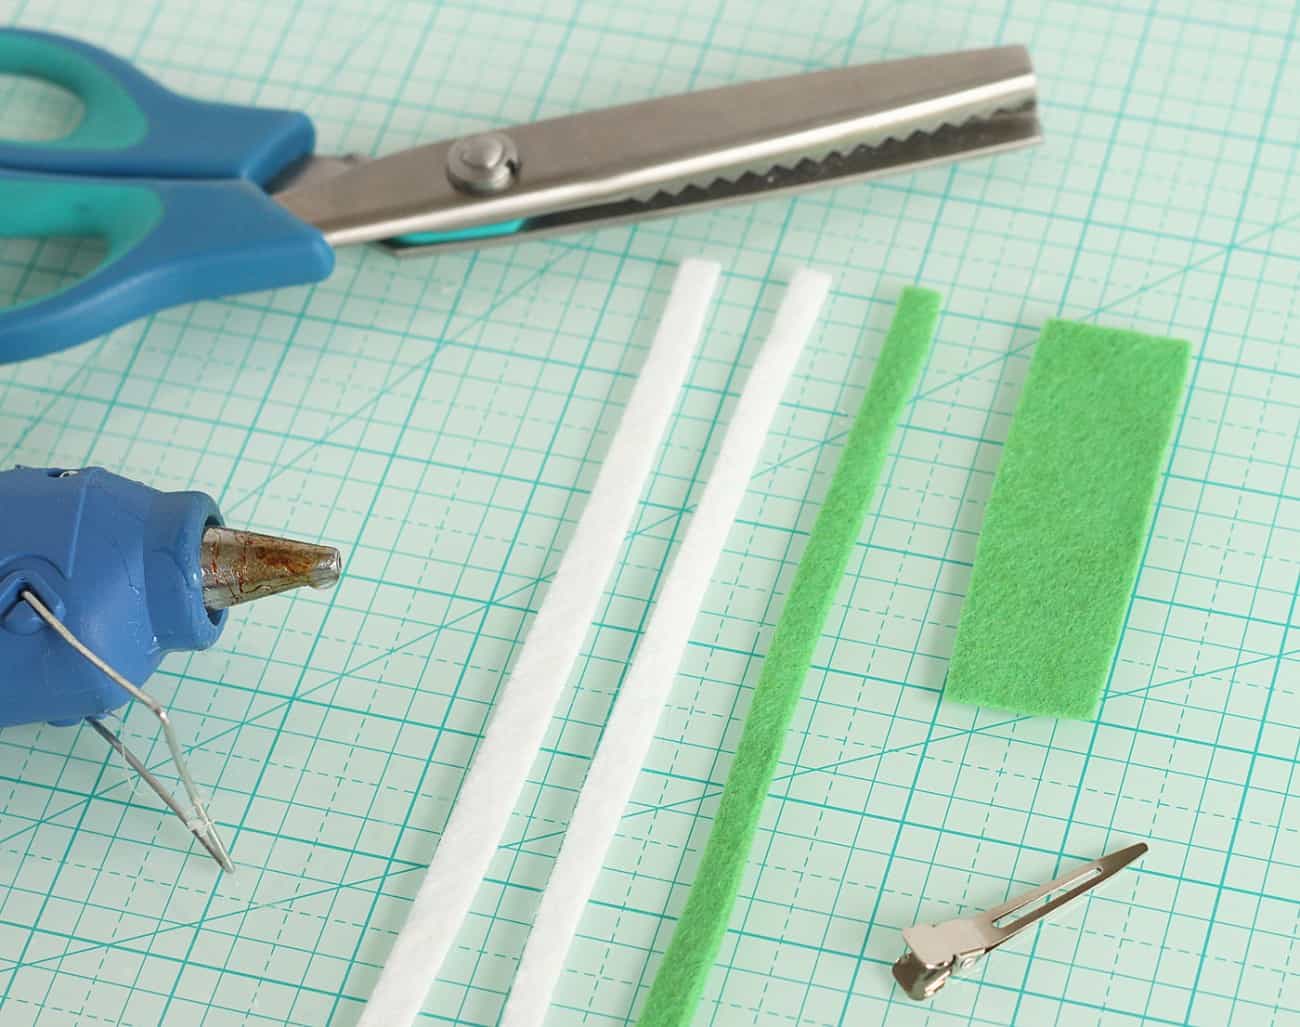
- Put the two white strips of felt on top of the colored strip and glue all of the layers together at one end.
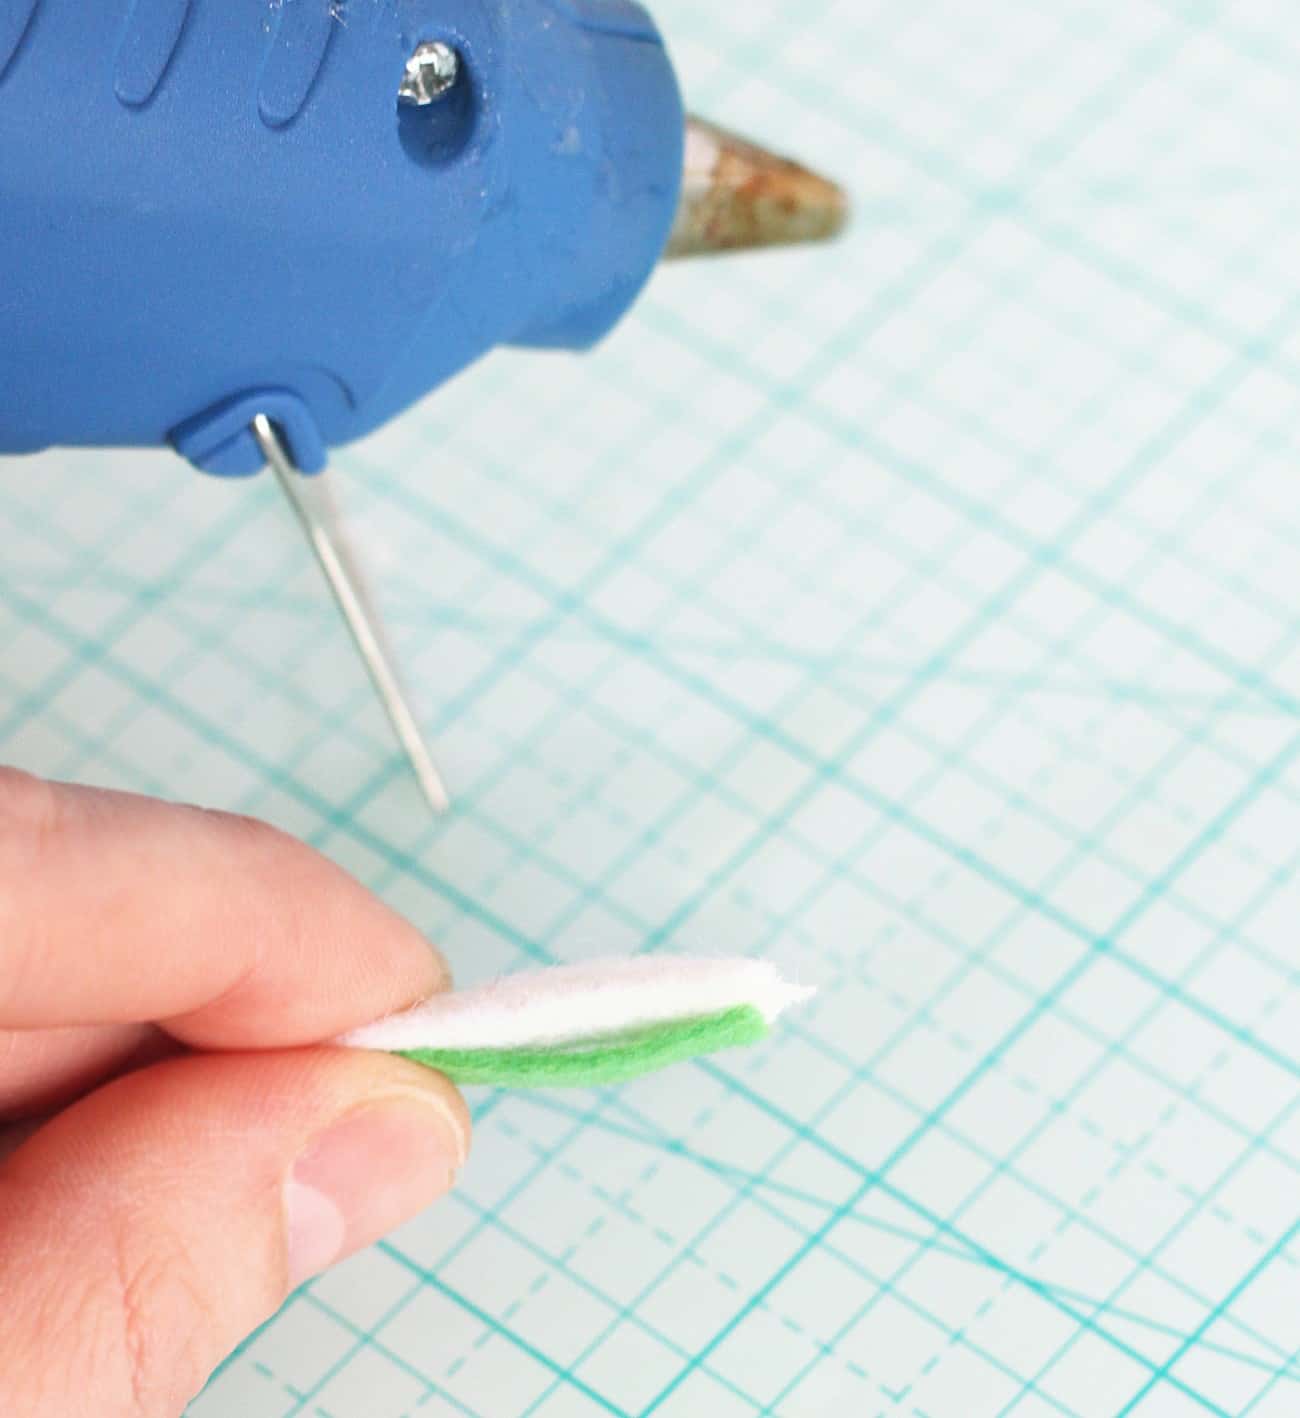
- Start to roll the felt toward the colored strip, so it ends up on the inside. Separate each layer, securing with little bits of hot glue as you go.
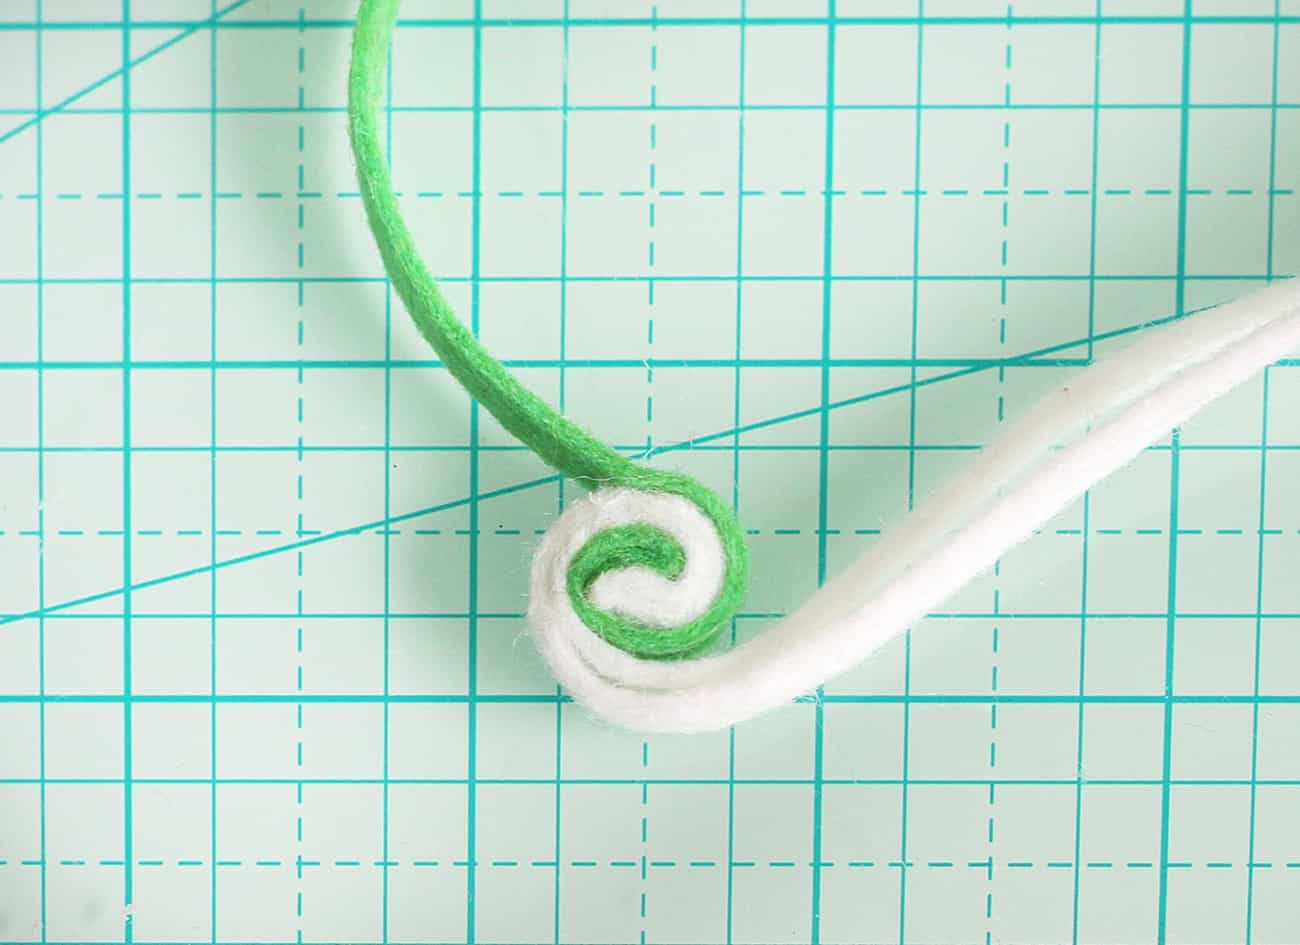
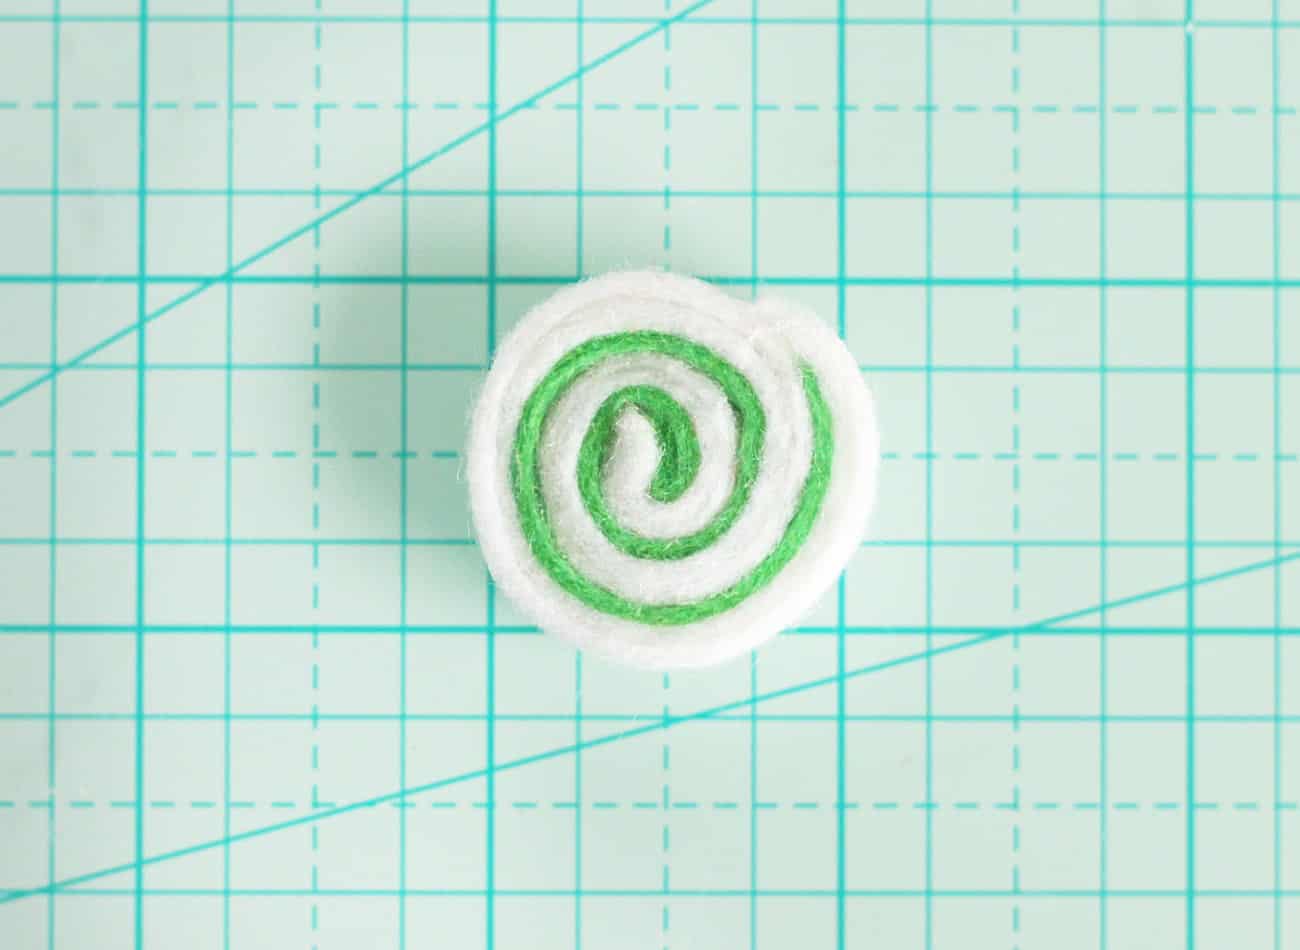
- Keep rolling and gluing until the roll is about 1 inch across. The strips will be uneven at the end, and that's fine.
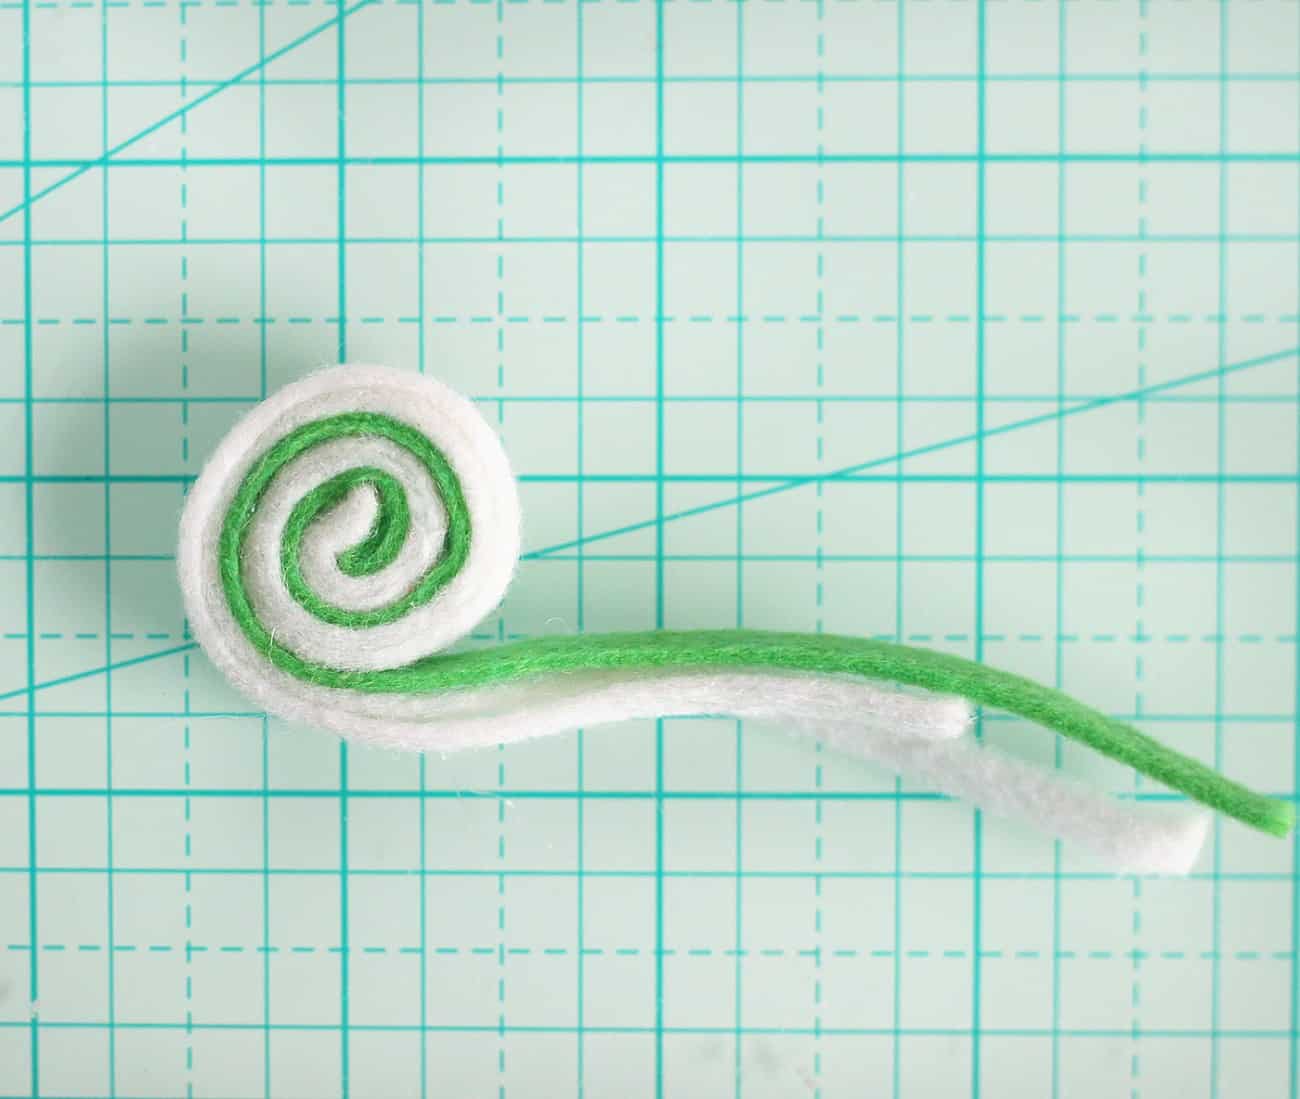
- Cut off the excess, keeping the outermost white strip slightly longer than the other two strips. Give all three of the strips some final glue at the end. Keeping the outermost white strip a little longer makes it look more tapered instead of just stopping the swirl abruptly.
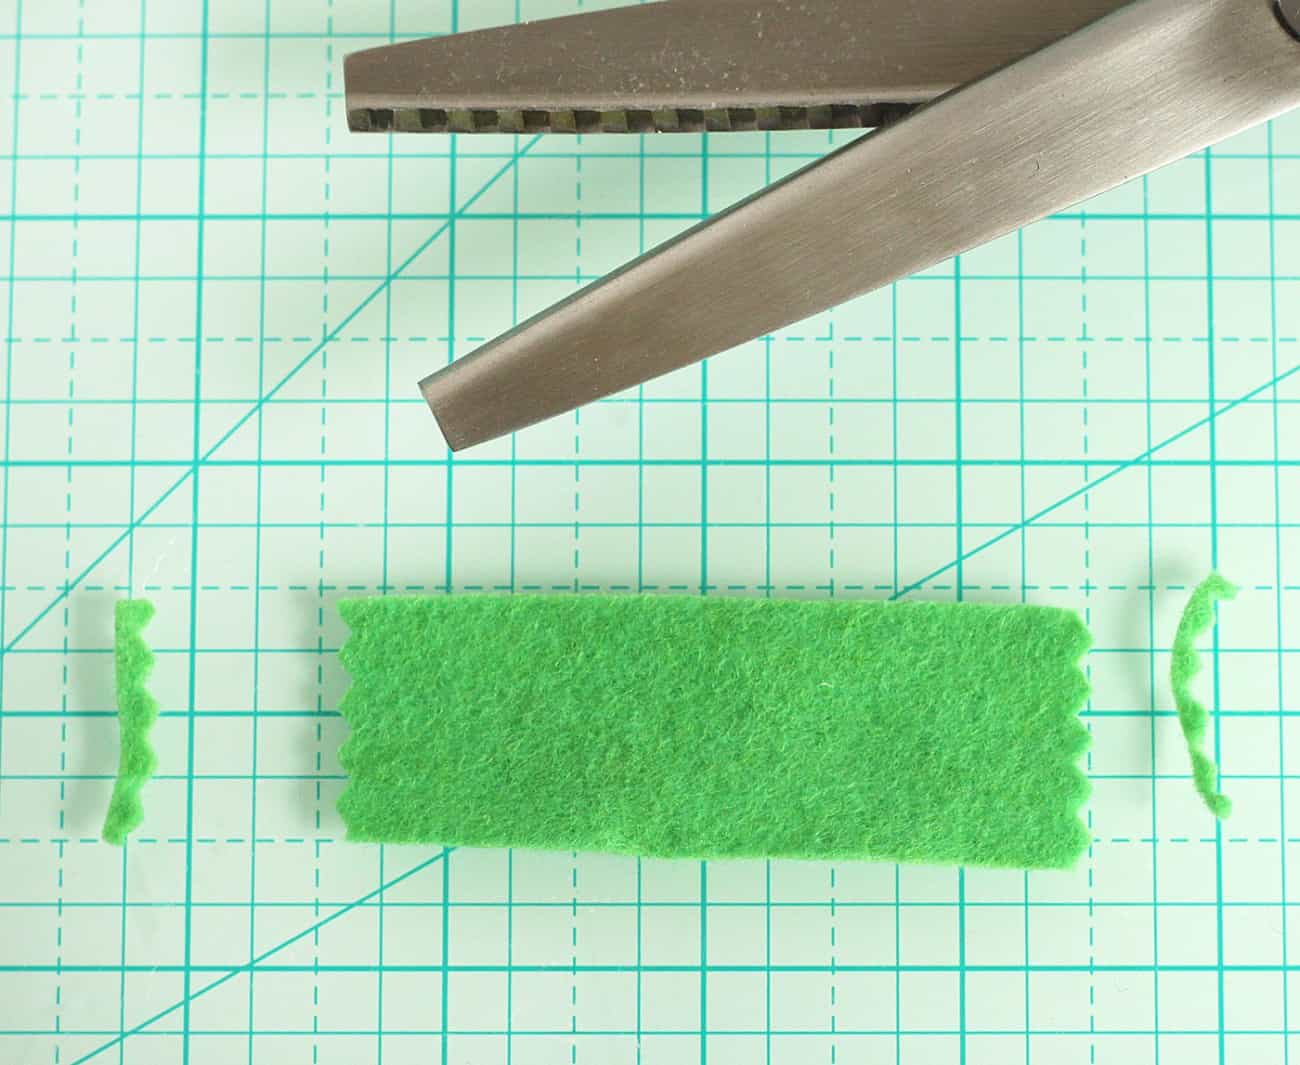
- Use pinking shears to cut both short ends of the rectangle. If you don't have pinking shears, make some small zig-zag cuts with scissors.
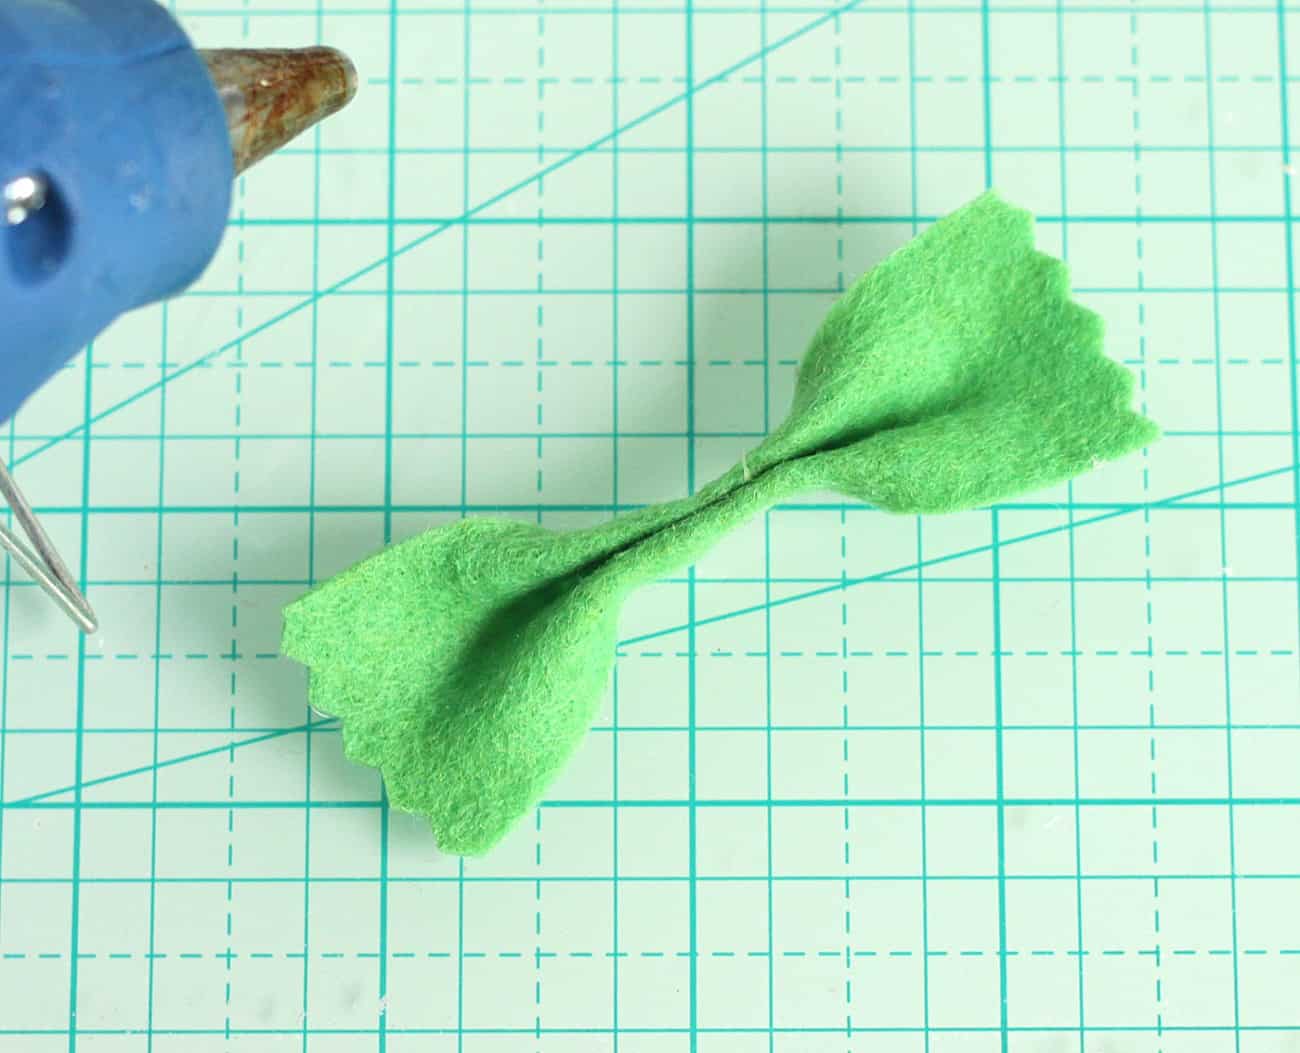
- Pinch the rectangle in the middle to make a bow shape and hot glue it together.
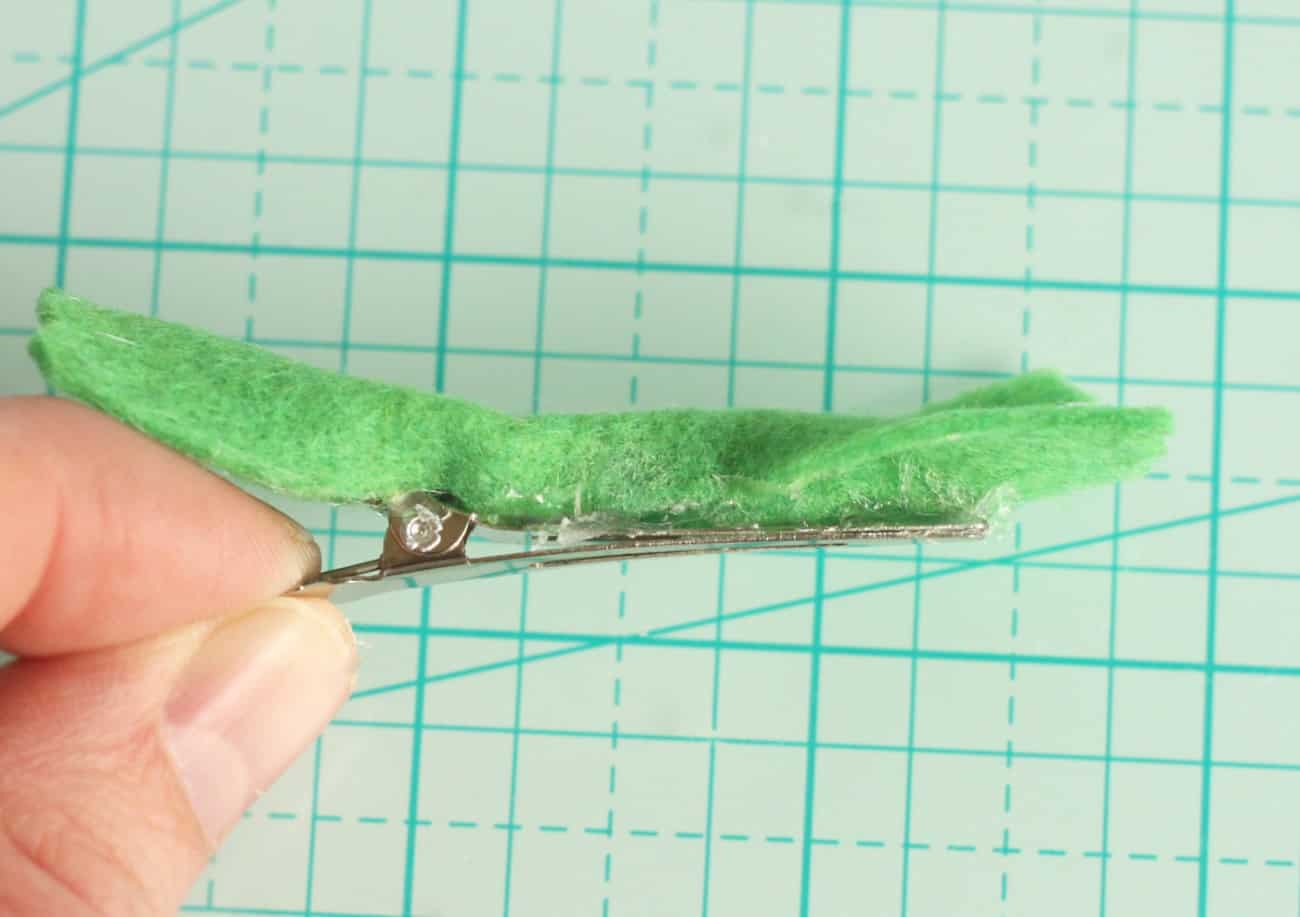
- Hot glue the bow to the top of your clip. You can line the clip with some felt first, but I decided not to since it would be completely covered by the bow. Just be careful you don't glue the clip shut!
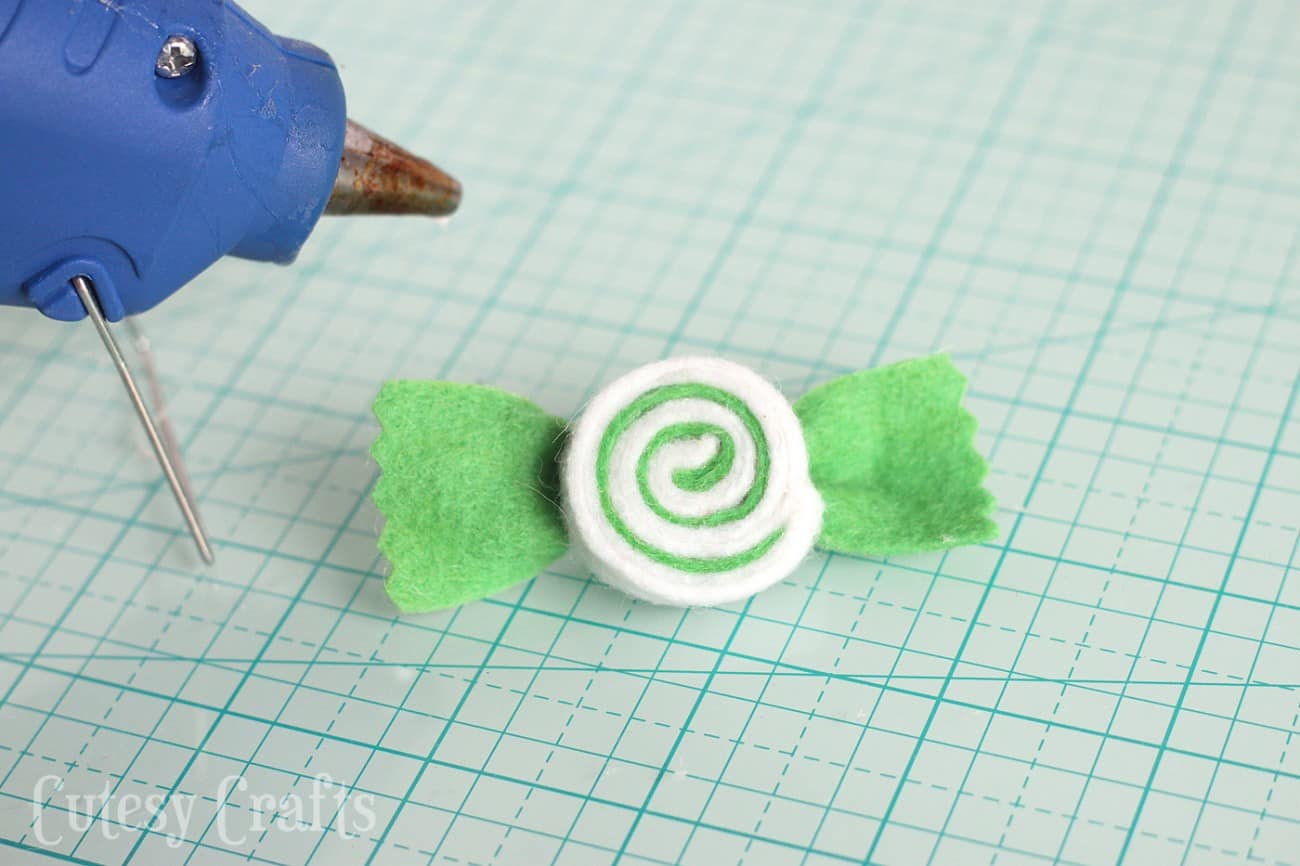
- Glue the swirl to the top of the bow to finish. Let cool completely before wearing.
Notes
If you like inexpensive Christmas crafts, you might also like this felt mistletoe, or these gift card holders, or this felt ornament. Enjoy!

Such cute bows! I love these!
Paige
https://www.thehappyflammily.com/
This looks so cute!! I think it would be a very popular little gift! And it’s so simple, it suits me.
Thank you for your kind comments Koya!