Adorable Handprint Leaves for Fall Memories
Create adorable handprint leaves as a fun and easy fall craft! Perfect for kids, classrooms, or as sweet seasonal keepsakes.

Is there anything more adorable than decorating your house with tiny handprints, especially when those little hands belong to your favorite tiny humans? This paper plate handprint leaves wreath isn’t just a cute fall craft – it’s basically autumn in craft form.
Think cozy colors, sentimental sweetness, and just enough sticky glue fingers to keep things interesting. It’s the type of project that says, “Yes, I’m that mom who will proudly display construction paper art all year round.”
Speaking of construction paper, spring for the good stuff – the colors that scream pumpkin spice, crunchy leaves, and sweater weather.

Your kiddos will be thrilled to trace their fingers on sheets of orange, red, yellow, and brown, and then magically transform those outlines into leaves with a few marker swirls,
Before you know it, you’ll have a wreath so charming that you’ll want to make multiples: front door, fridge, bathroom mirror, anywhere there’s space and an appreciative audience!
And why wouldn’t you? This wreath is a keepsake that checks every box. It’s cute, crafty, and sentimental enough to make your heart melt faster than hot apple cider.

Plus, kids adore seeing their creations take center stage around the house—it’s like their personal gallery exhibit!
So grab your best scissors, the paper, and a sturdy paper plate. We’re about to create something so sweetly festive, you’ll smile every time you walk past it – probably until December (or, let’s be real, maybe March).
Get the printable how to card below:

Handprint Leaf Wreath
Equipment
Materials
- Paper plate
- Construction paper
- Marker
- Glue
- String
Instructions
- Trace your child’s hand onto one of the sheets of paper. Make sure their fingers are spread out wide.

- Stack the papers all together before cutting. You can also fold the papers in half to double the number of leaves. Cutting through all the papers, cut out the handprint.

- Draw veins onto each of the resulting leaves with the black marker.

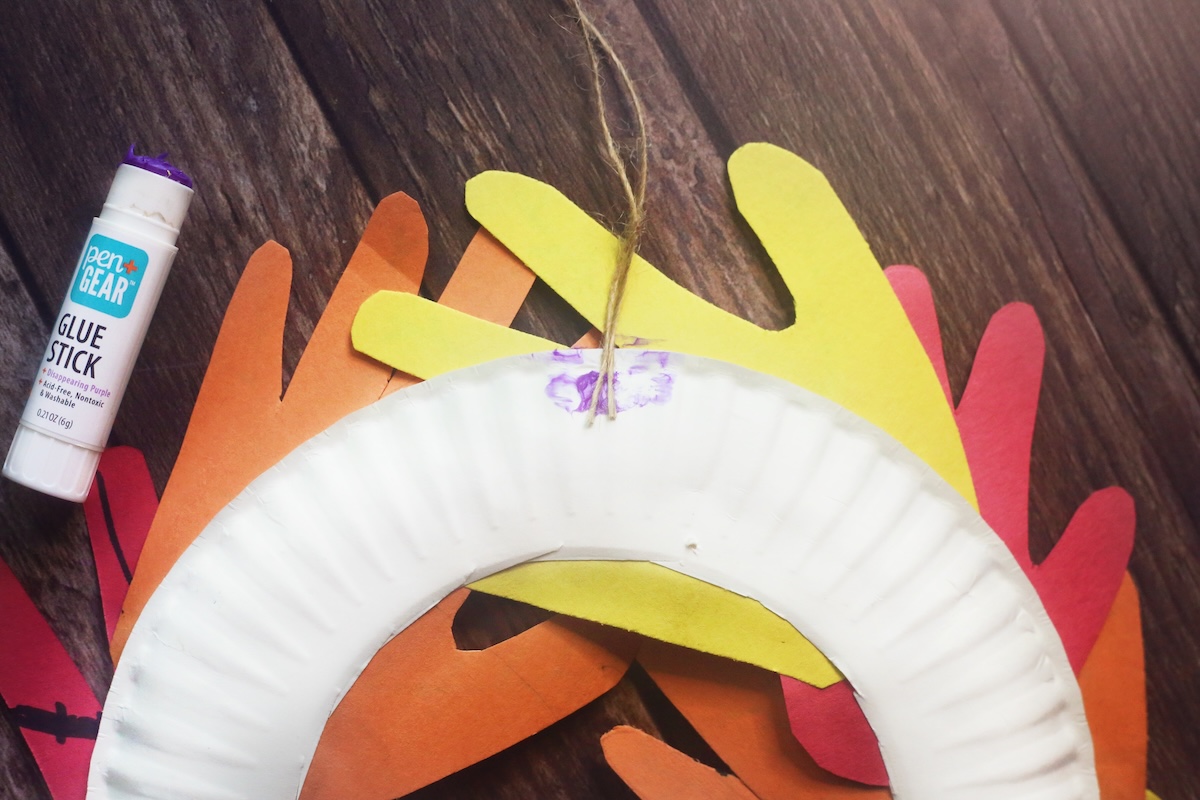
- Cut out the center circle of the paper plate and discard.

- Glue the leaves around the outer ring of the plate. Let dry.

- Glue (or tape) the string to the back of the plate. Let dry.
Did you enjoy this idea? Let me know in the comments! I’d also love for you to check out these other cute projects and posts:
Clay Leaves • Decorate Paper Craft Pumpkins • DIY Pumpkin Garland • Fall Gnomes • Melted Crayon Pumpkin • Paper Pumpkins • Pumpkin Perler Beads • Wine Cork Pumpkins