DIY Heart Hair Bows for Valentine’s Day!
Learn how to make heart hair bows for Valentine’s Day with a conversation candy theme! These are so cute and perfect for the holidays.
Skills Required: Beginner. You’ll be cutting clay, stamping on it, then painting and attaching to a felt bow. It’s pretty easy if you already have crafting experience.
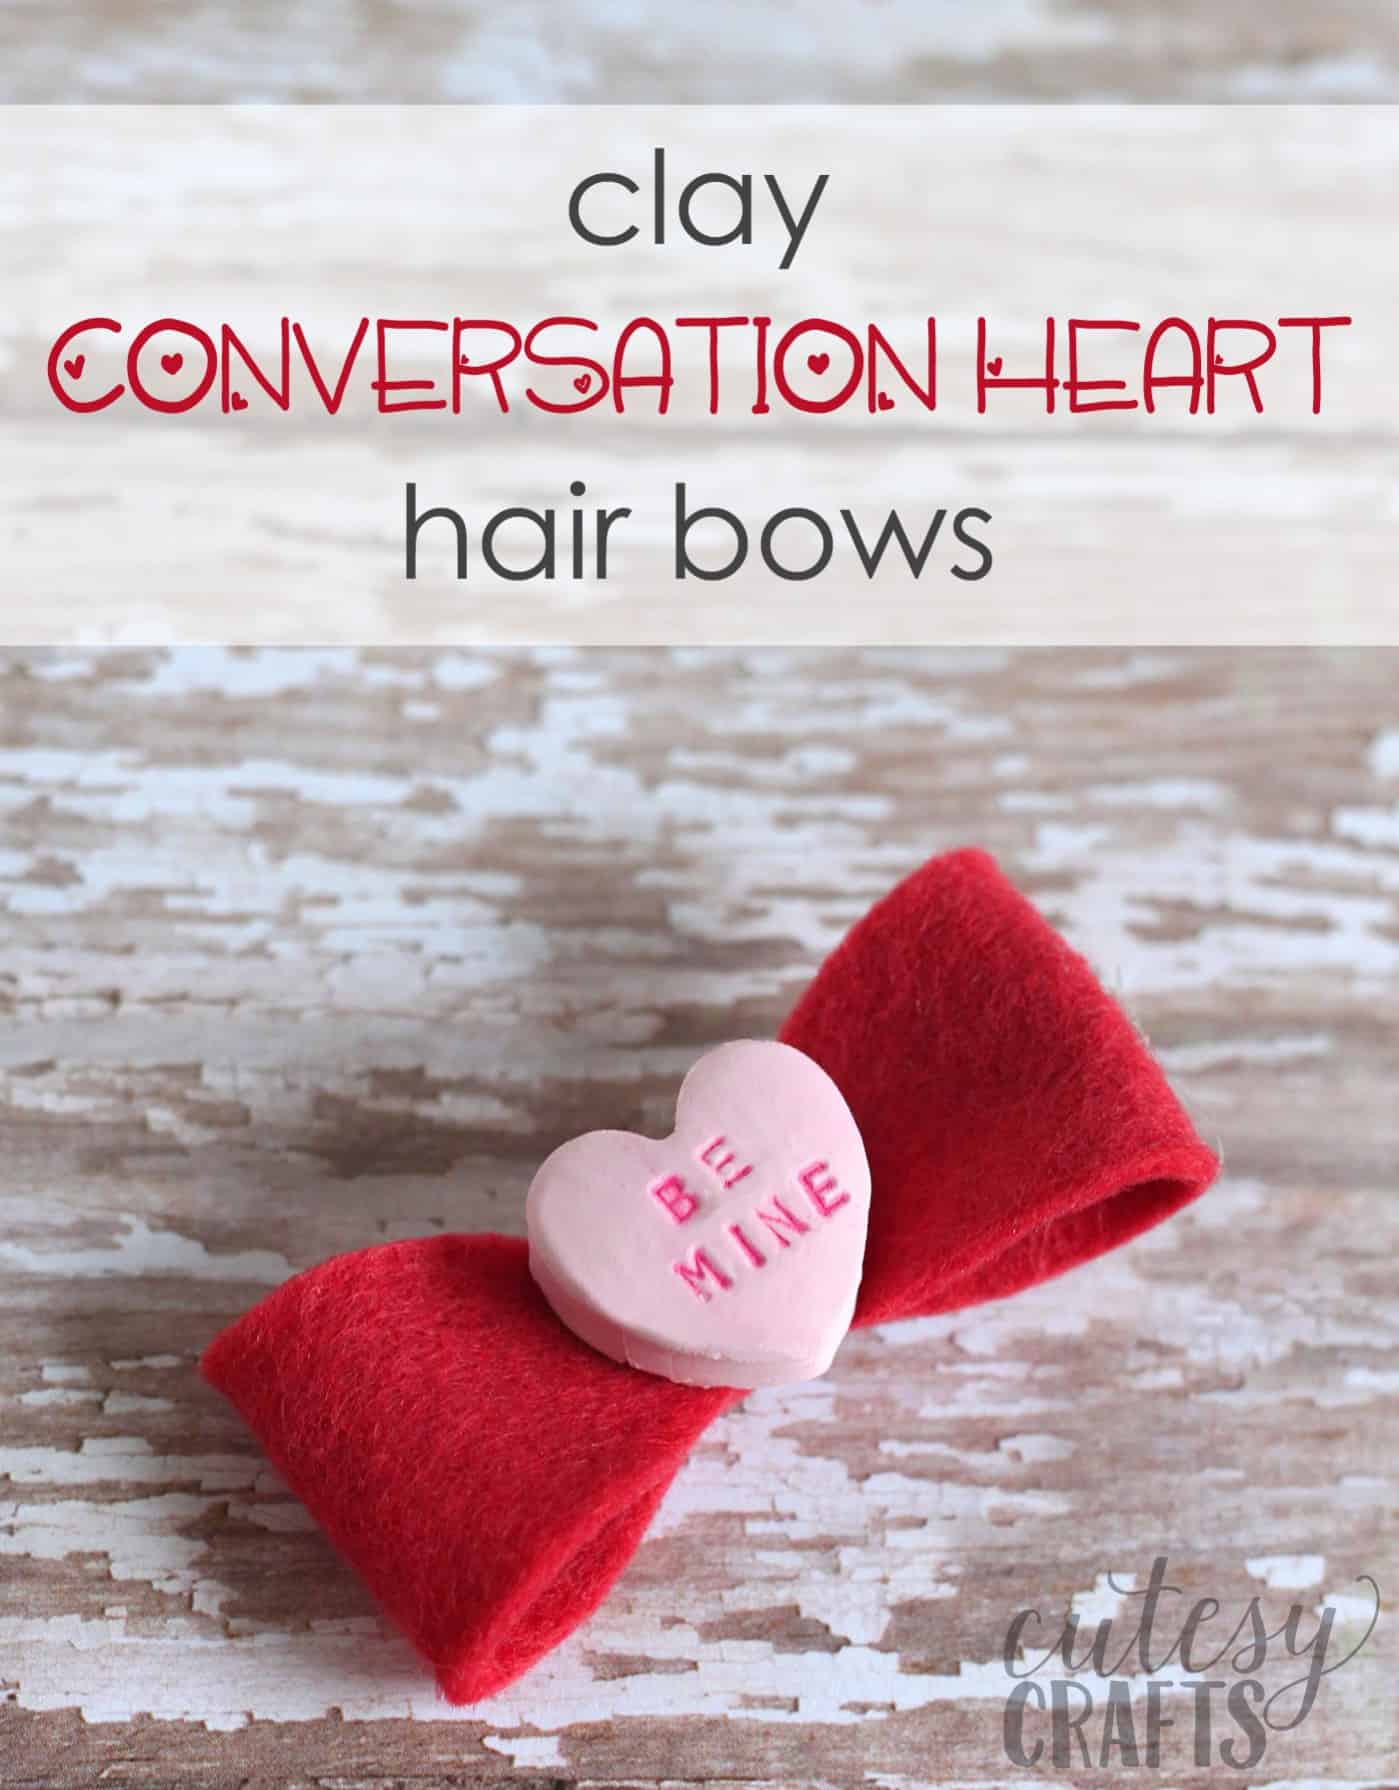
I love to make DIY hair bows for my girls for the holidays! I had this idea to make conversation hearts out of polymer clay, and I knew that they would be perfect for their Valentine’s Day bows.
Don’t they look real? If you’ve never made anything out of polymer clay, you’ve got to try these DIY hair accessories. You just bake it in the oven, and it hardens so these are quite durable.
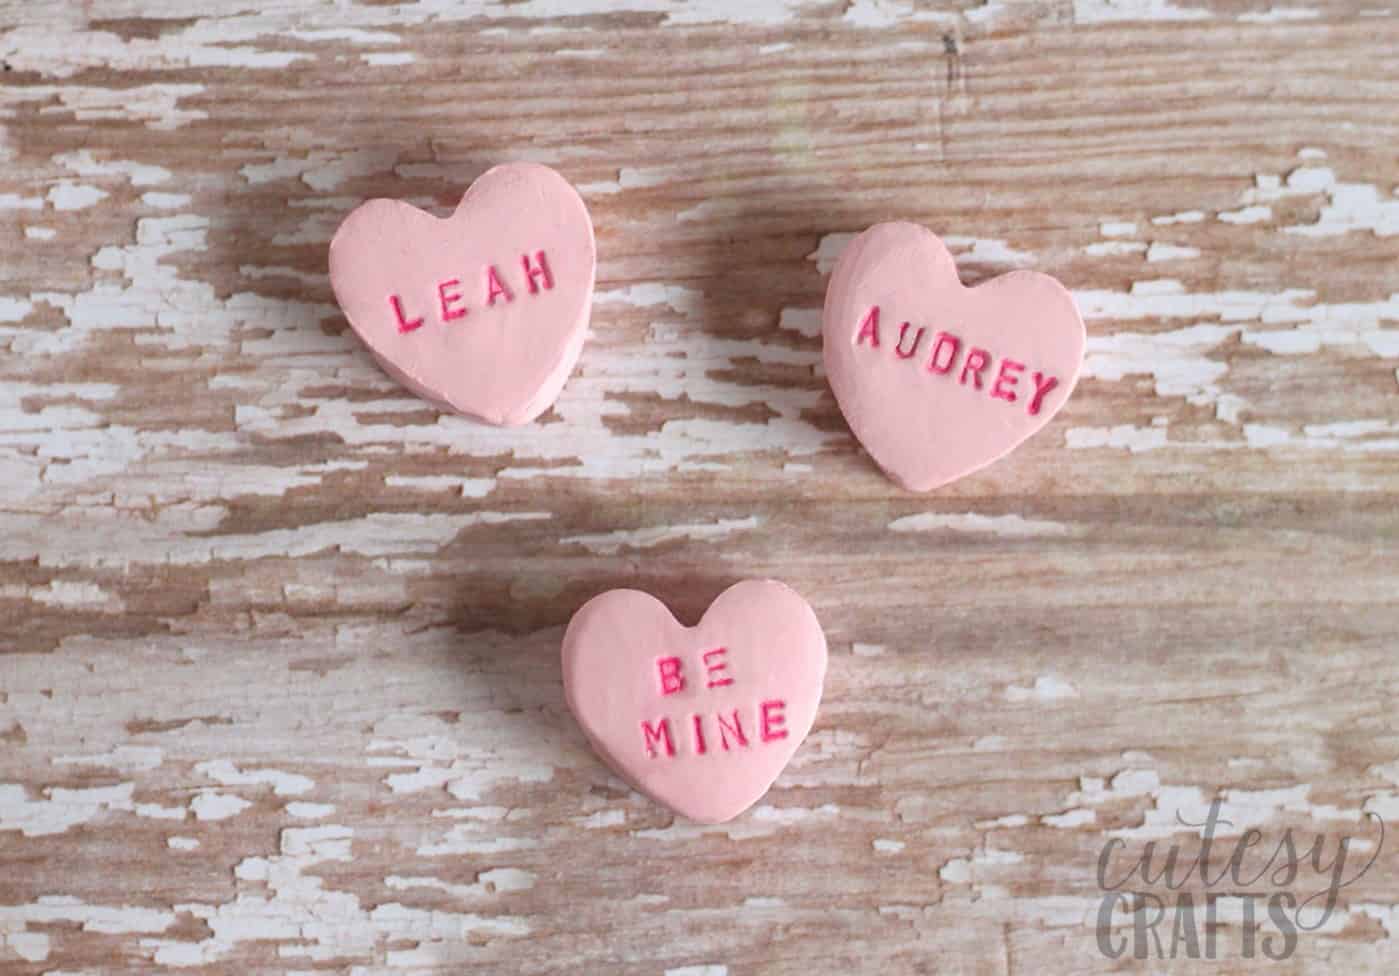
You can make some really neat things with clay! I even had a little fun and stamped my girls’ names into a couple of the hearts. They were so excited to see the heart hair bows when complete.
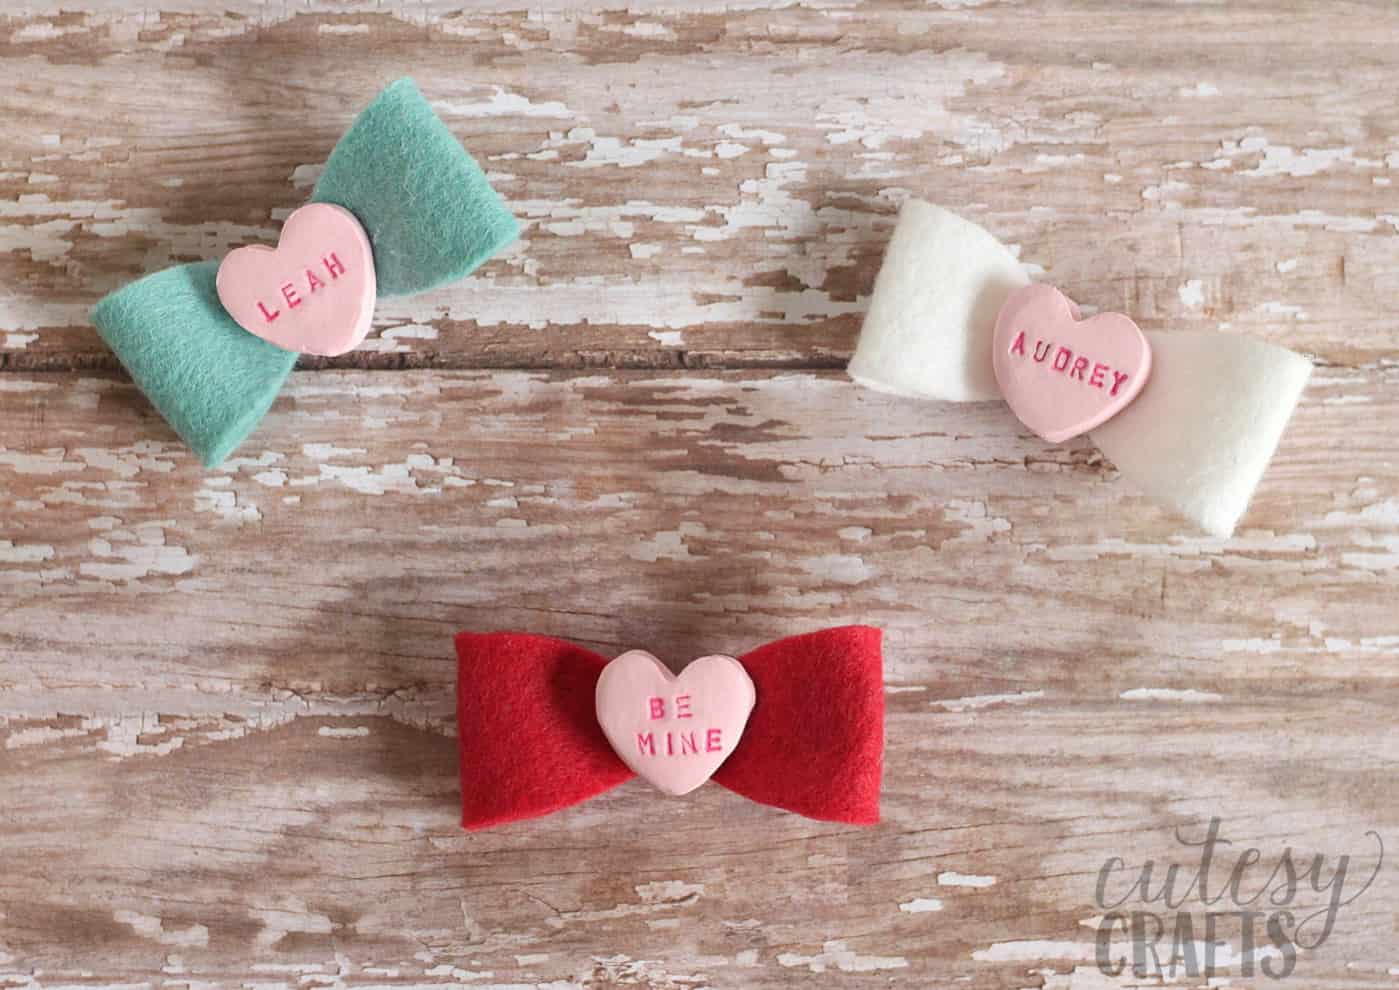
DIY Hair Bows
Supplies used:
- Polymer clay
- Heart cutter
- Letter metal stamps
- Parchment or wax paper
- Dark pink acrylic paint
- Felt
- Hot glue gun
- Hair clip
- Bow template
- Scissors
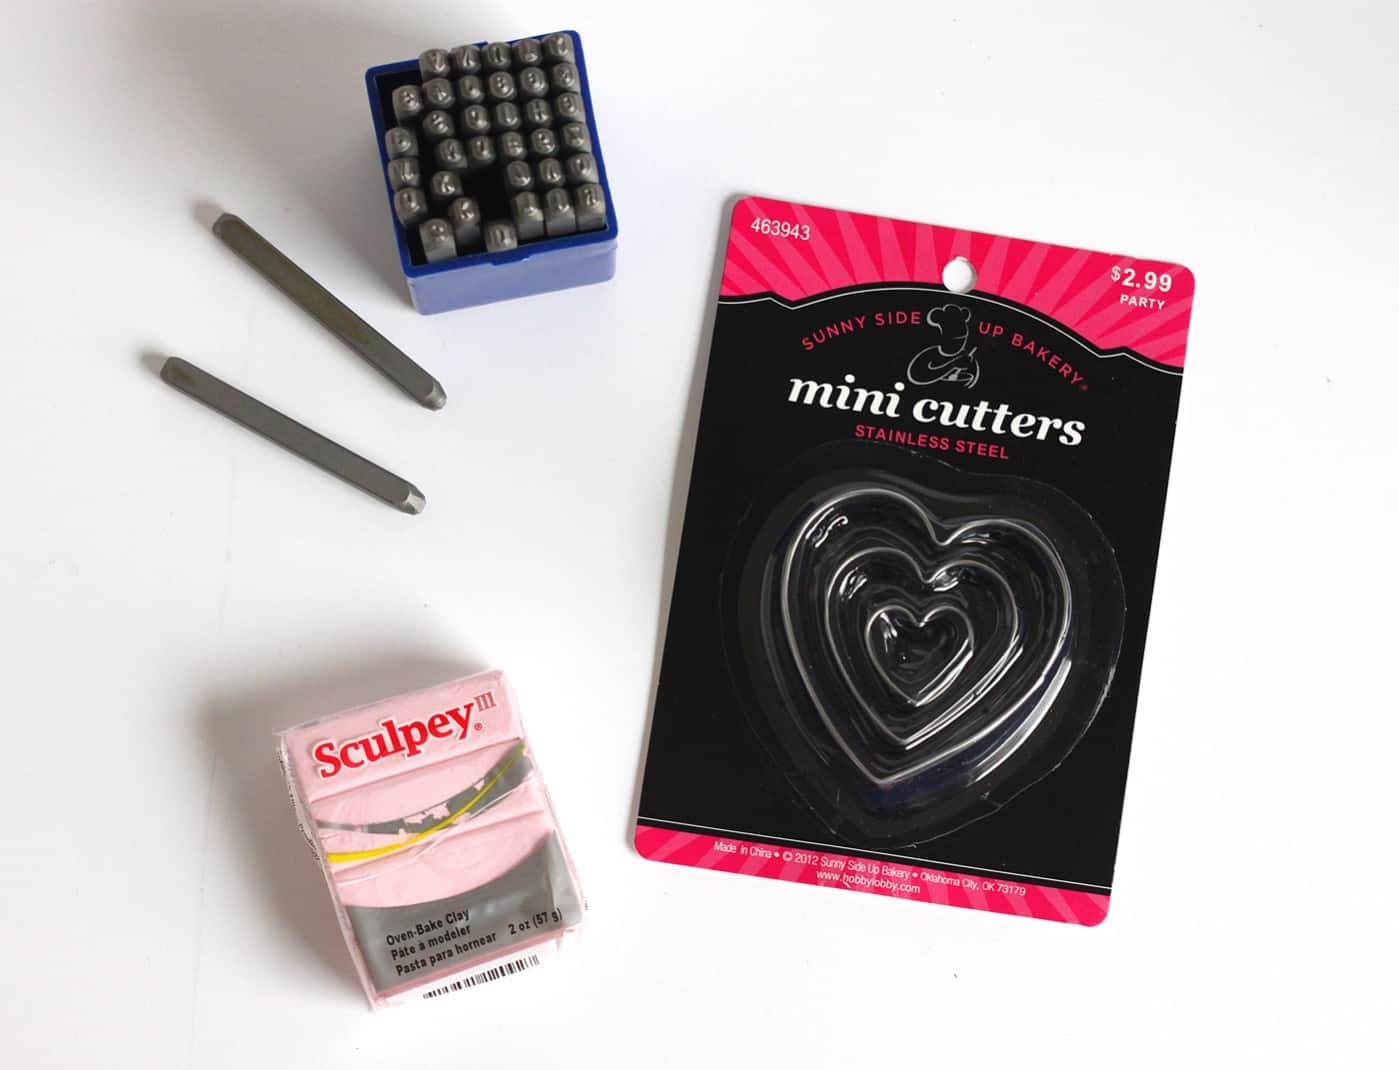
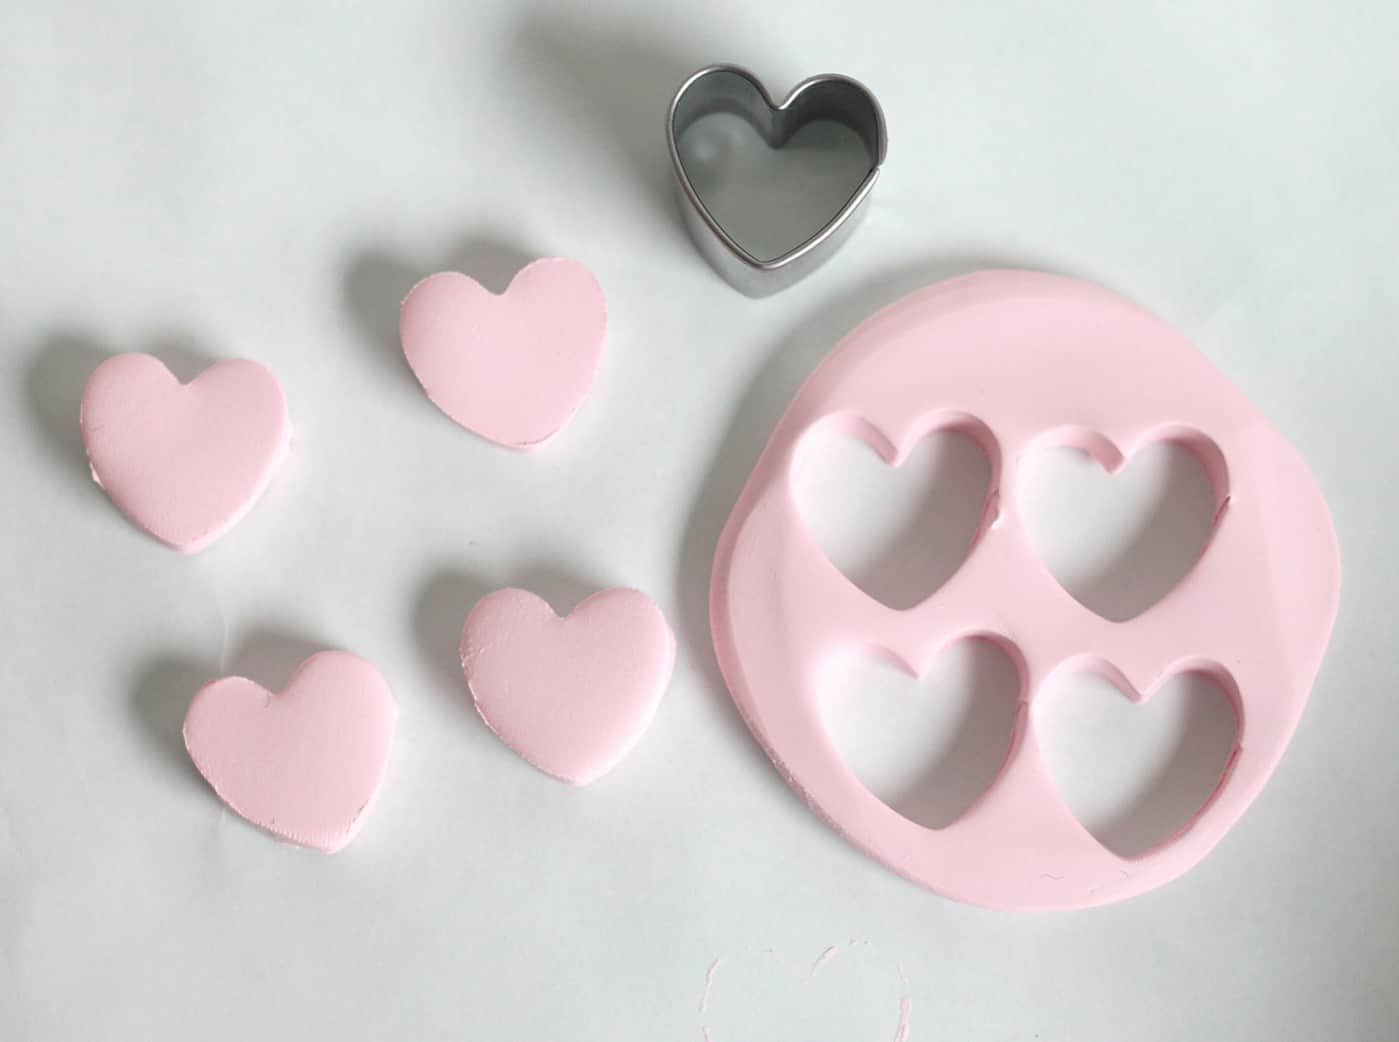
Roll the clay out flat to about 1/4-inch thickness on some parchment or wax paper and cut out some hearts. They sell clay cutters next to the clay in the craft store, but they didn’t have one that was the right size.
I found this set in the cake decorating section, and the size was perfect! If the clay gets stuck in the cutter, carefully push it out. Don’t worry if you get fingerprints on it, just flip it over and use the other side.
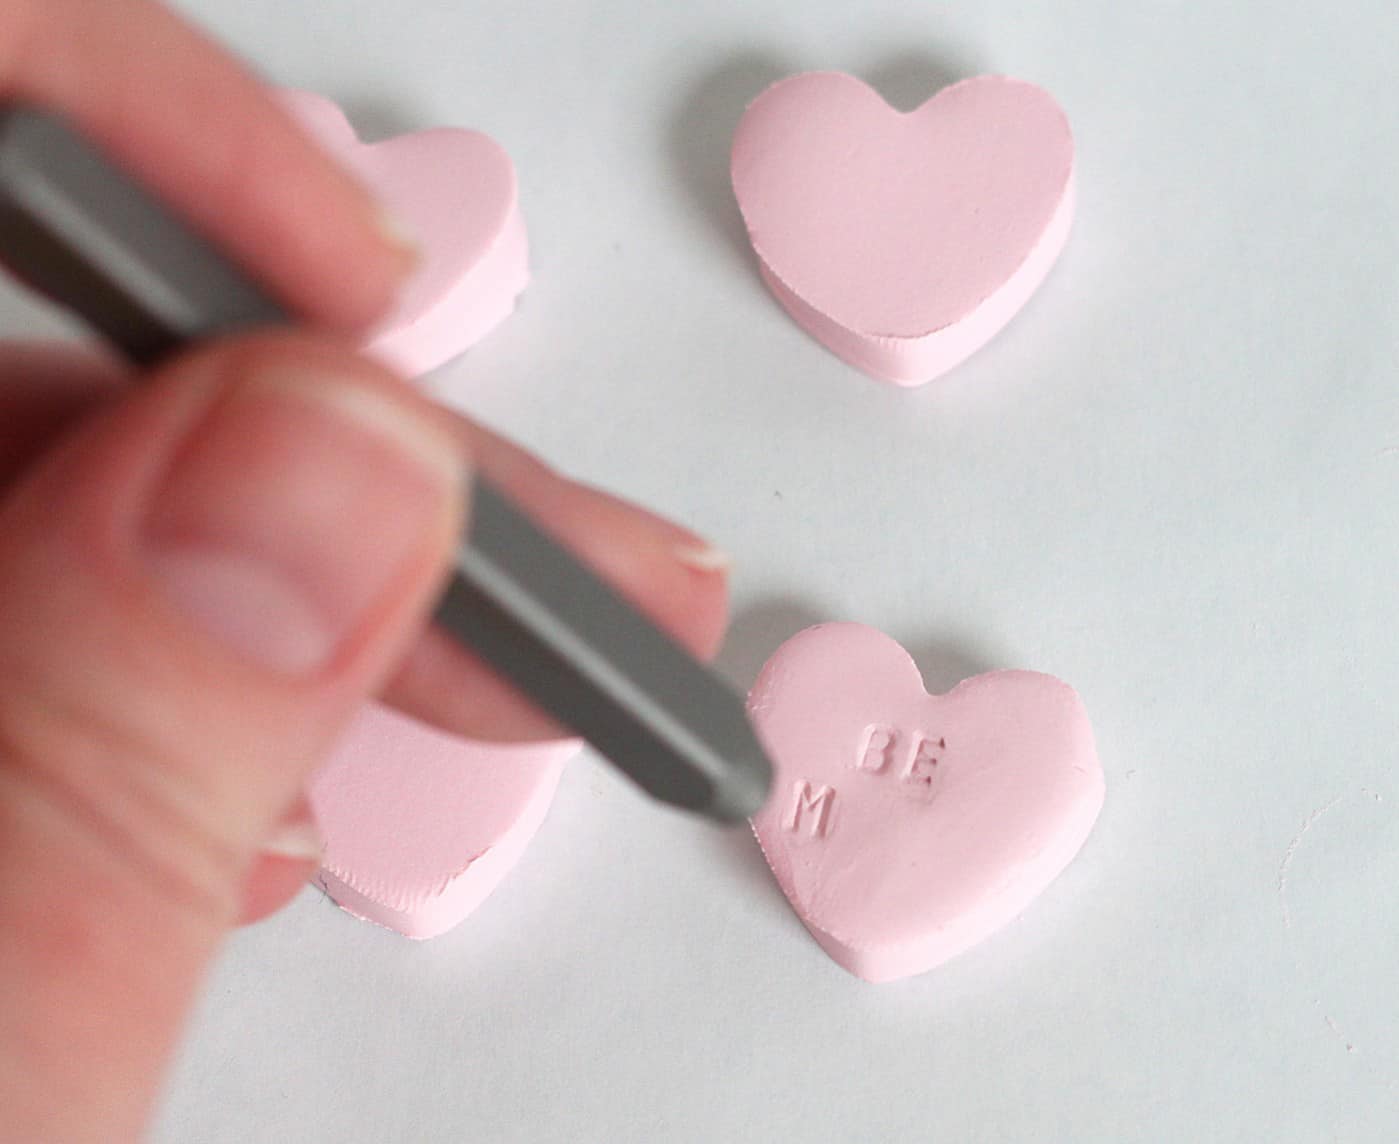
Stamp words into the clay. I used some letter stamps that I have for metal stamping. If you can find some really small rubber stamps, that might work too. Try not to push too hard or you will see the outlines of the stamp in the clay.
Smooth out any fingerprints or stamp outlines with the back of your fingernail. If you mess up, just try again. The nice thing about clay is that you can smoosh it and start over again. Bake the clay according to the package instructions.
Once the clay has cooked and cooled, push some acrylic paint into the letters.
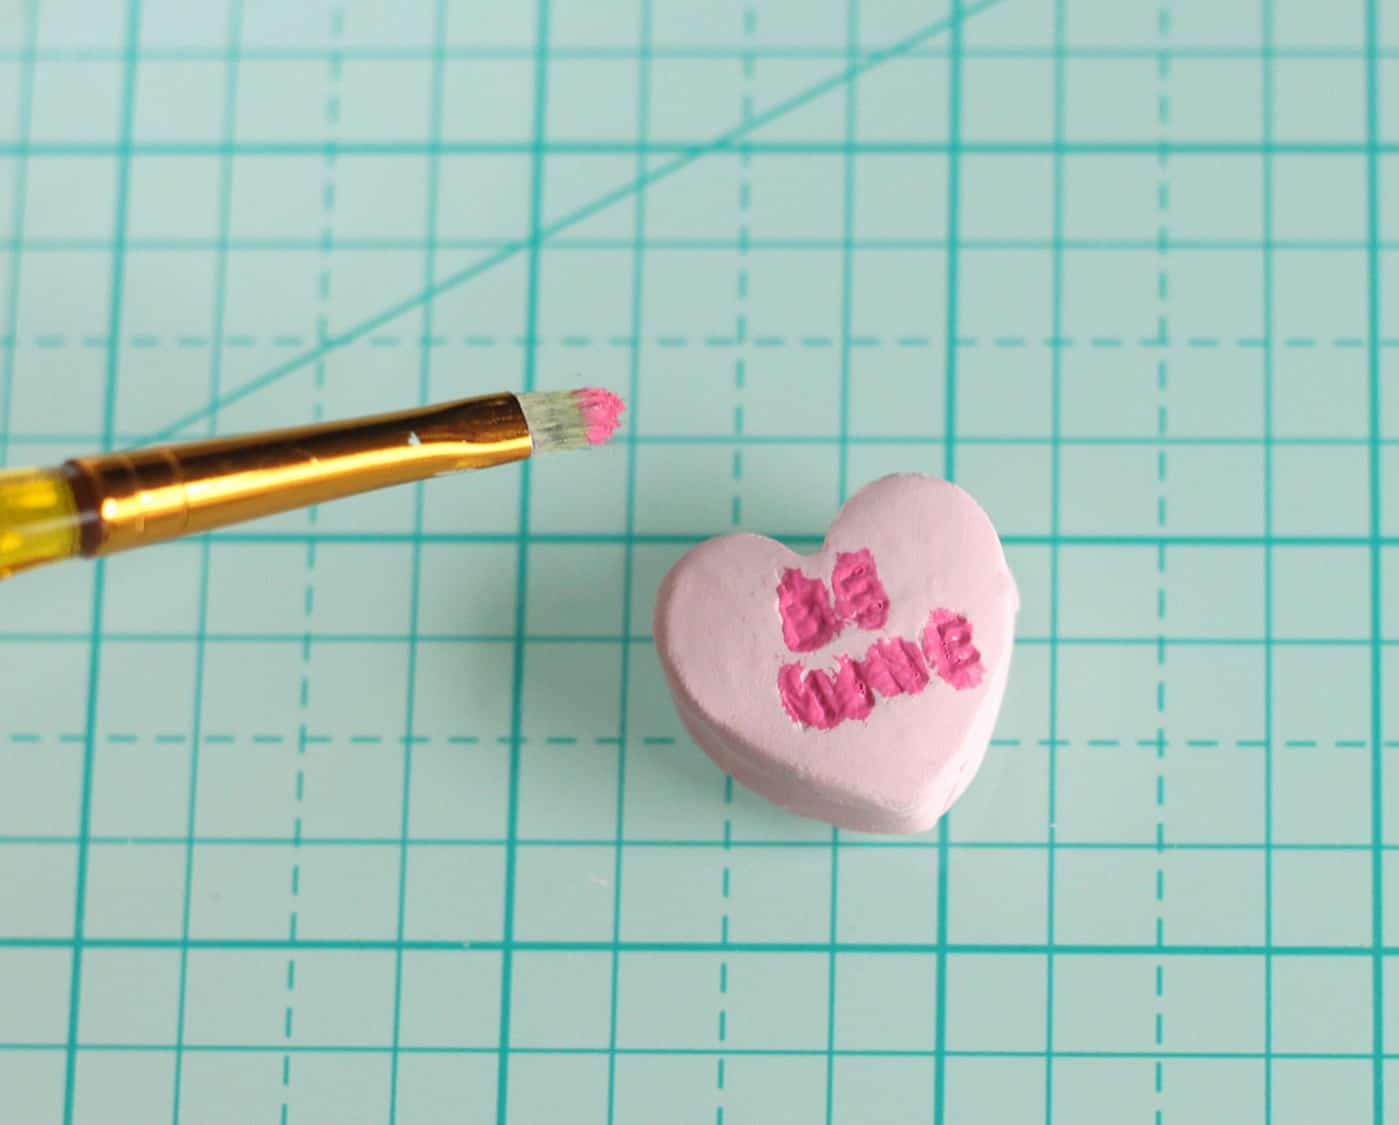
Before the paint dries, wipe away the excess using a damp paper towel.
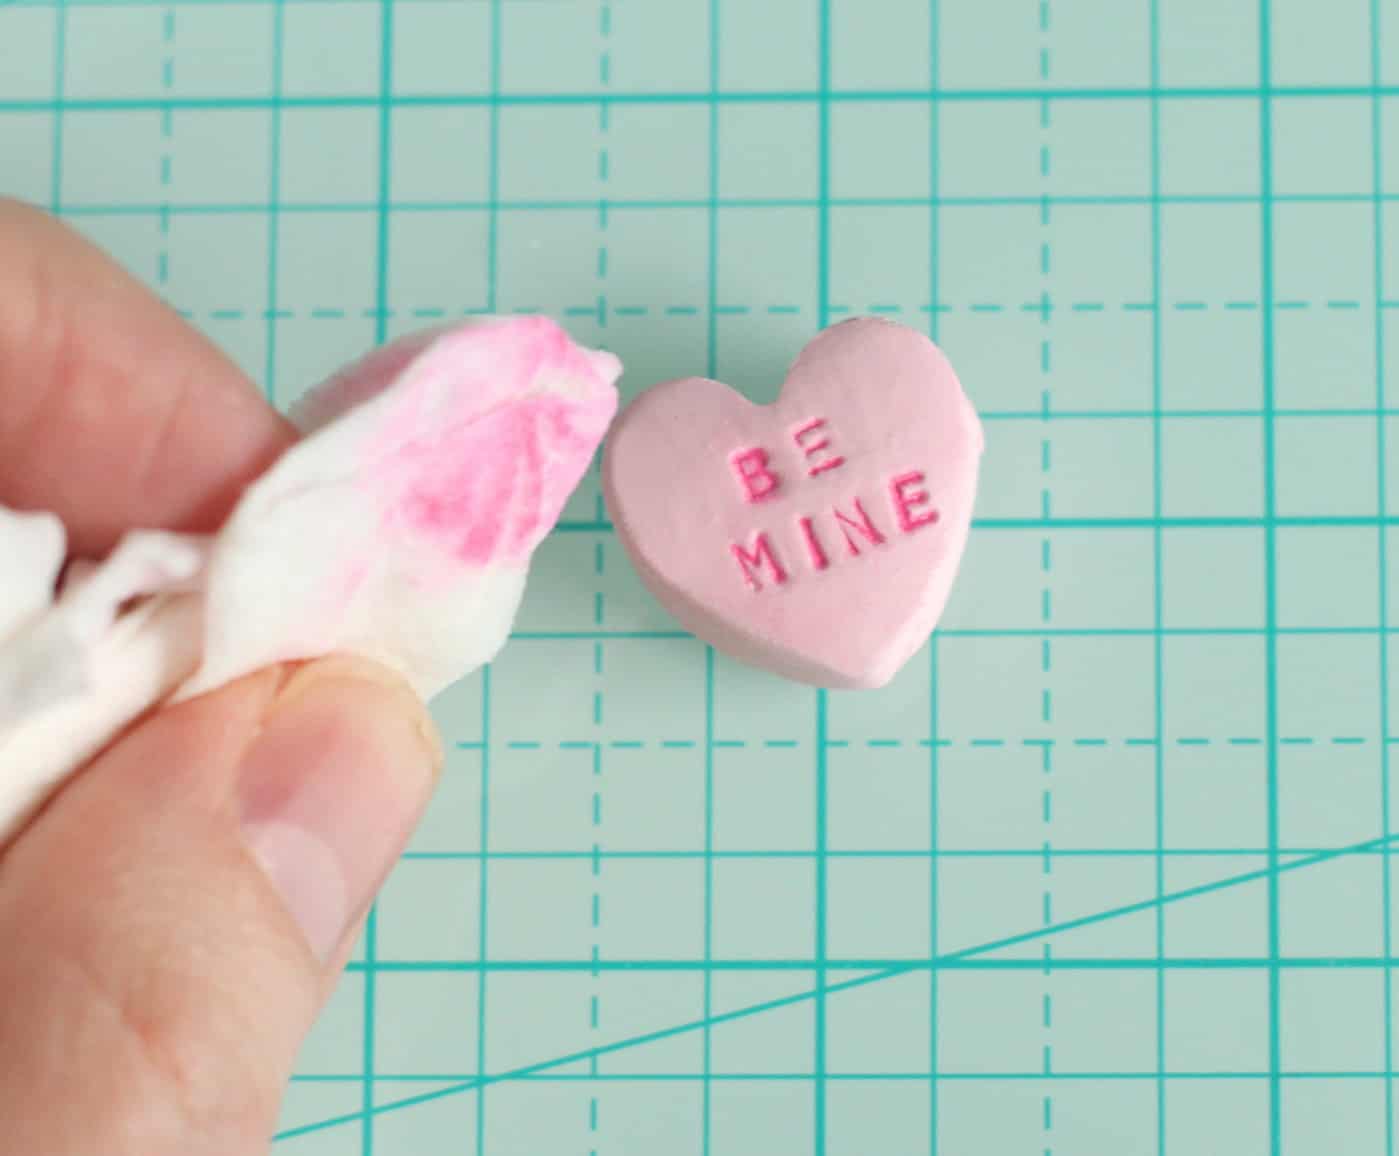
Don’t worry if they have some imperfections. Real conversation hearts have tons of imperfections, so that just makes them look more real.
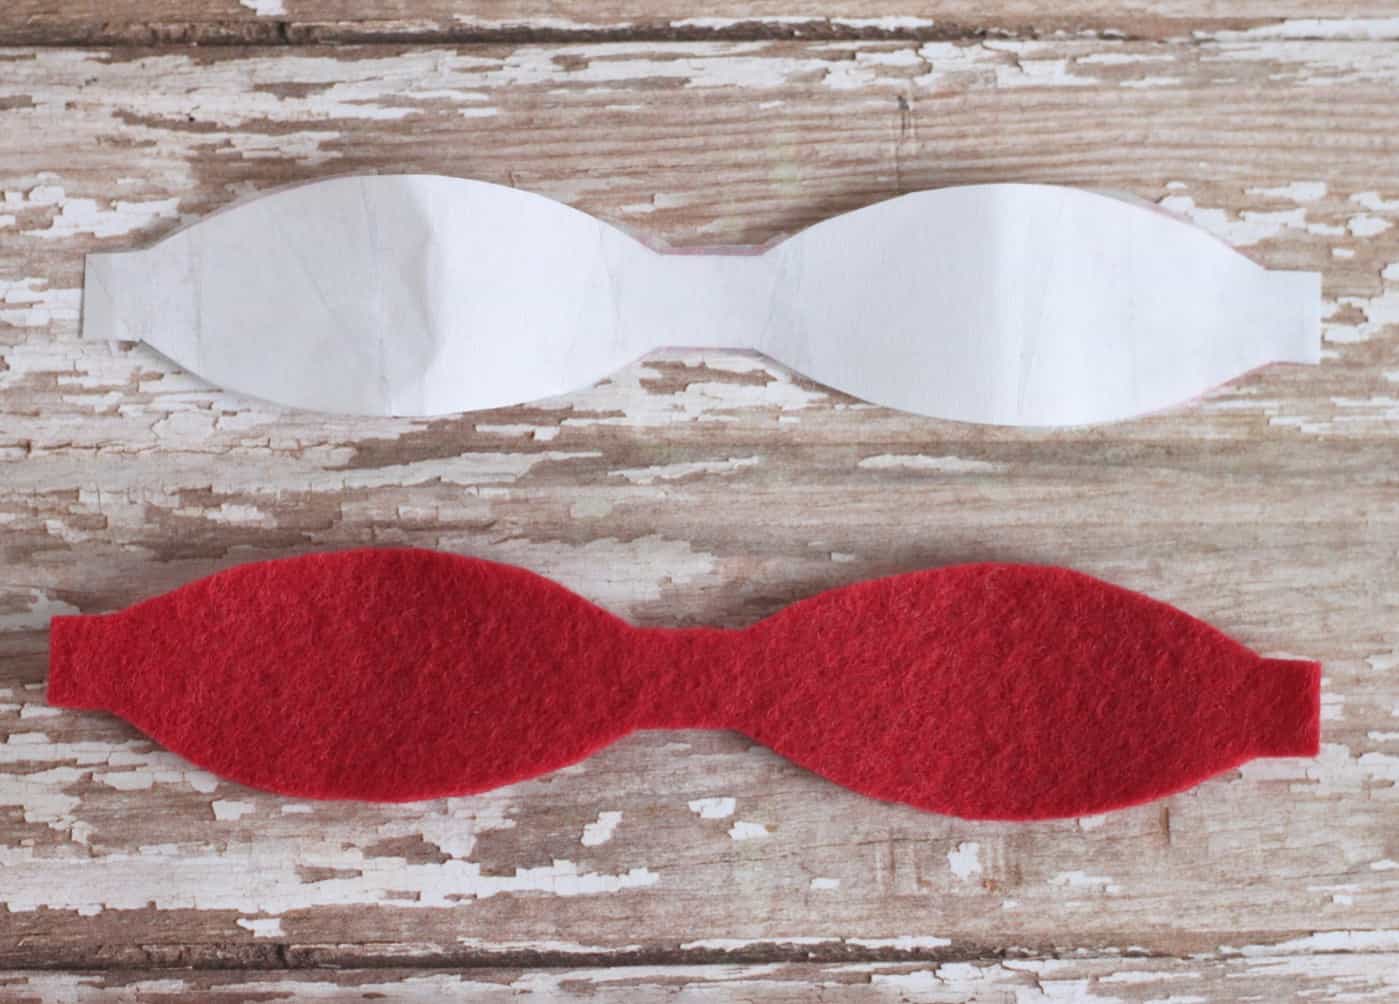
Cut out a felt bow using the template.
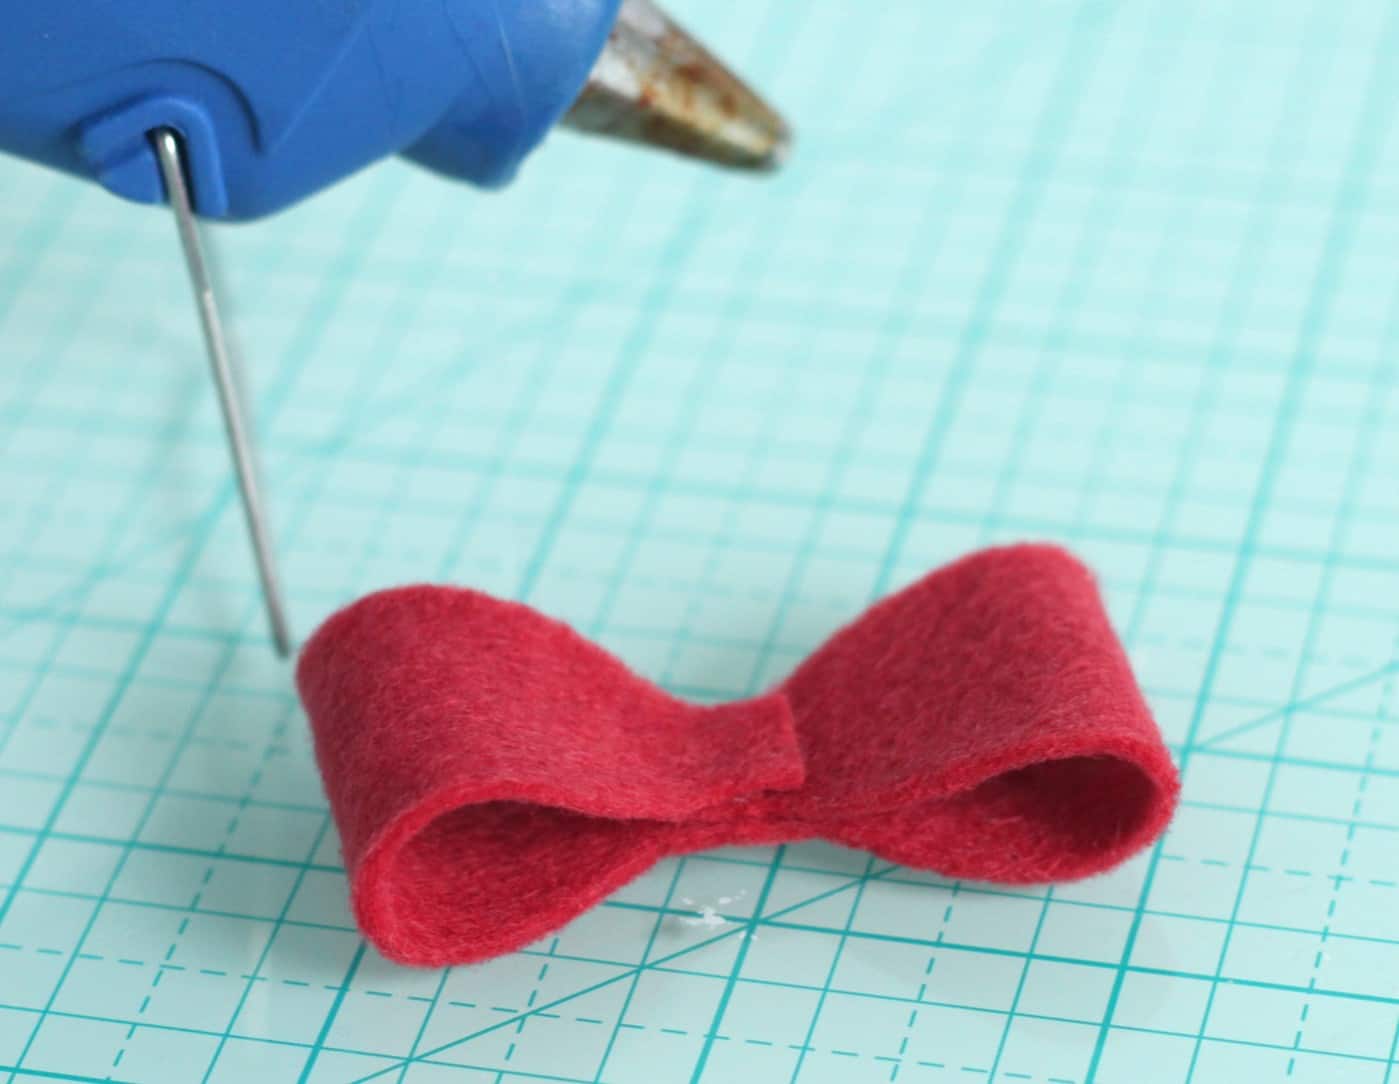
Fold up both ends and hot glue them to the center.
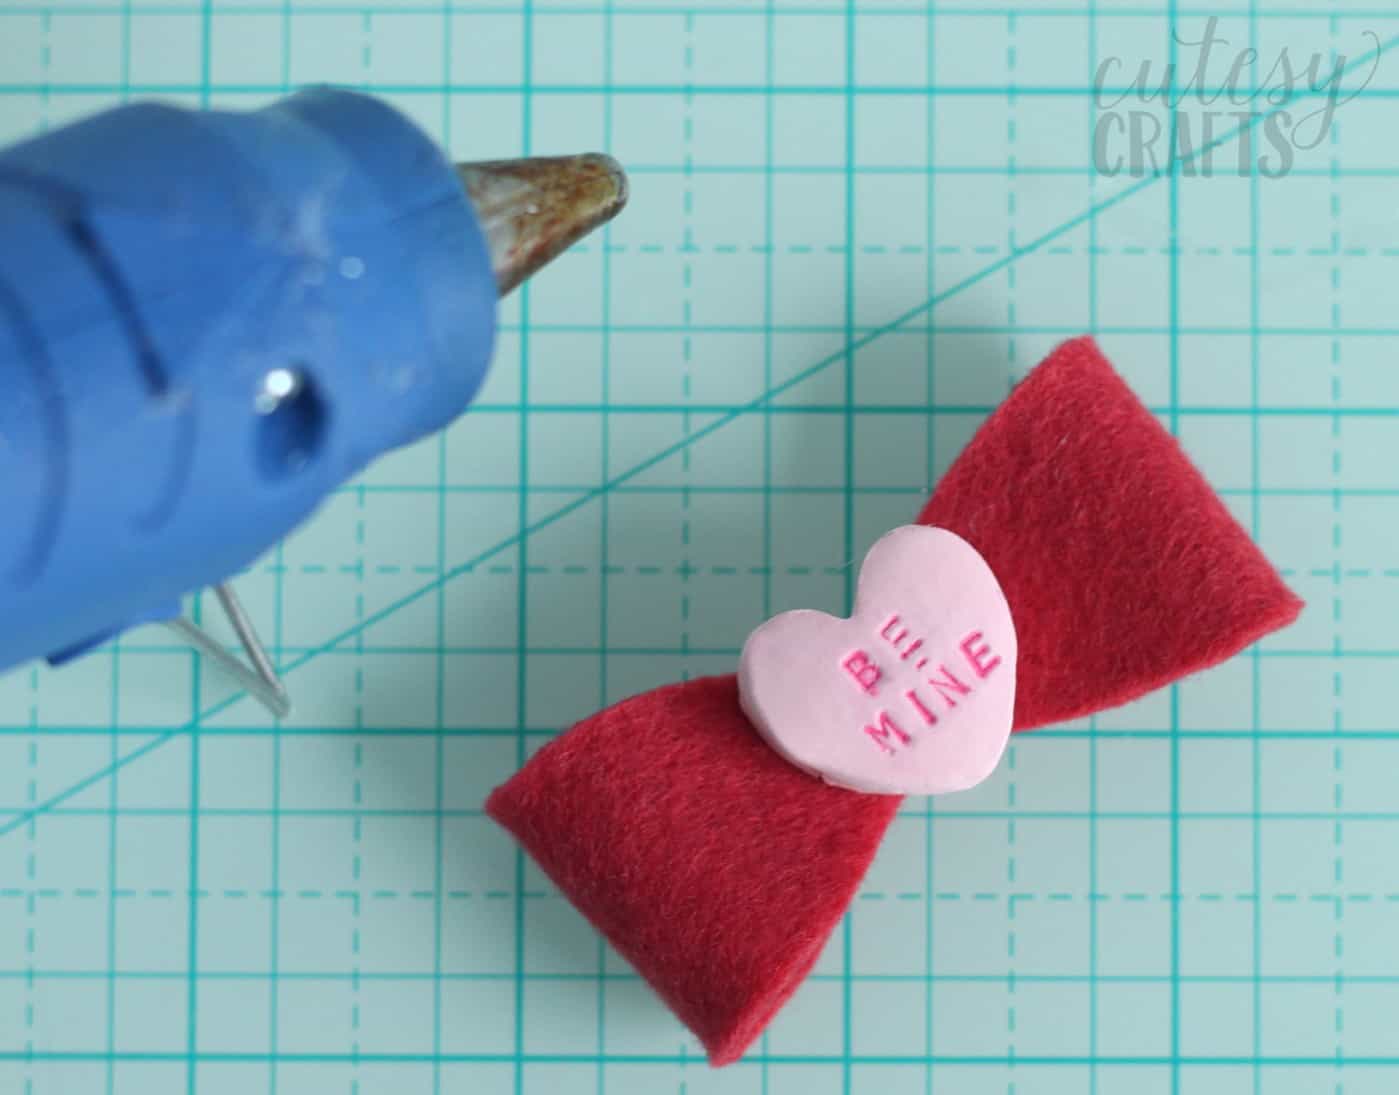
Hot glue a clay conversation heart to the center of the bow.
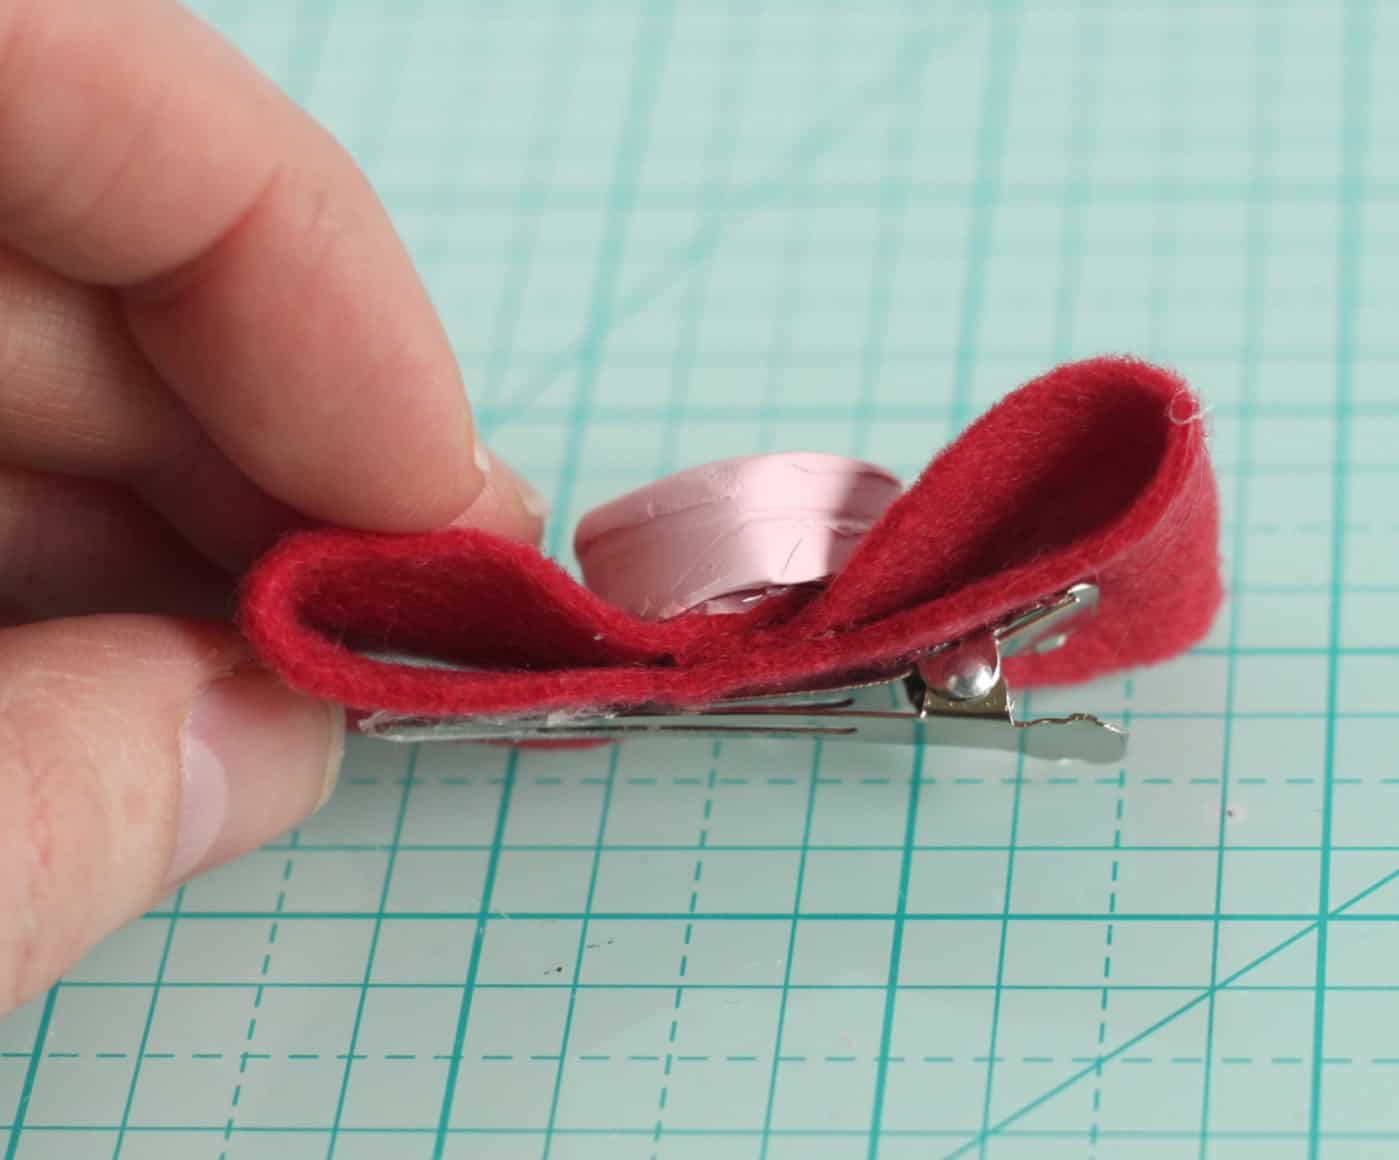
Hot glue the finished bow to the hair clip.
My girls love their new DIY hair bows! They even slept in them the first night after I made them. So fun!
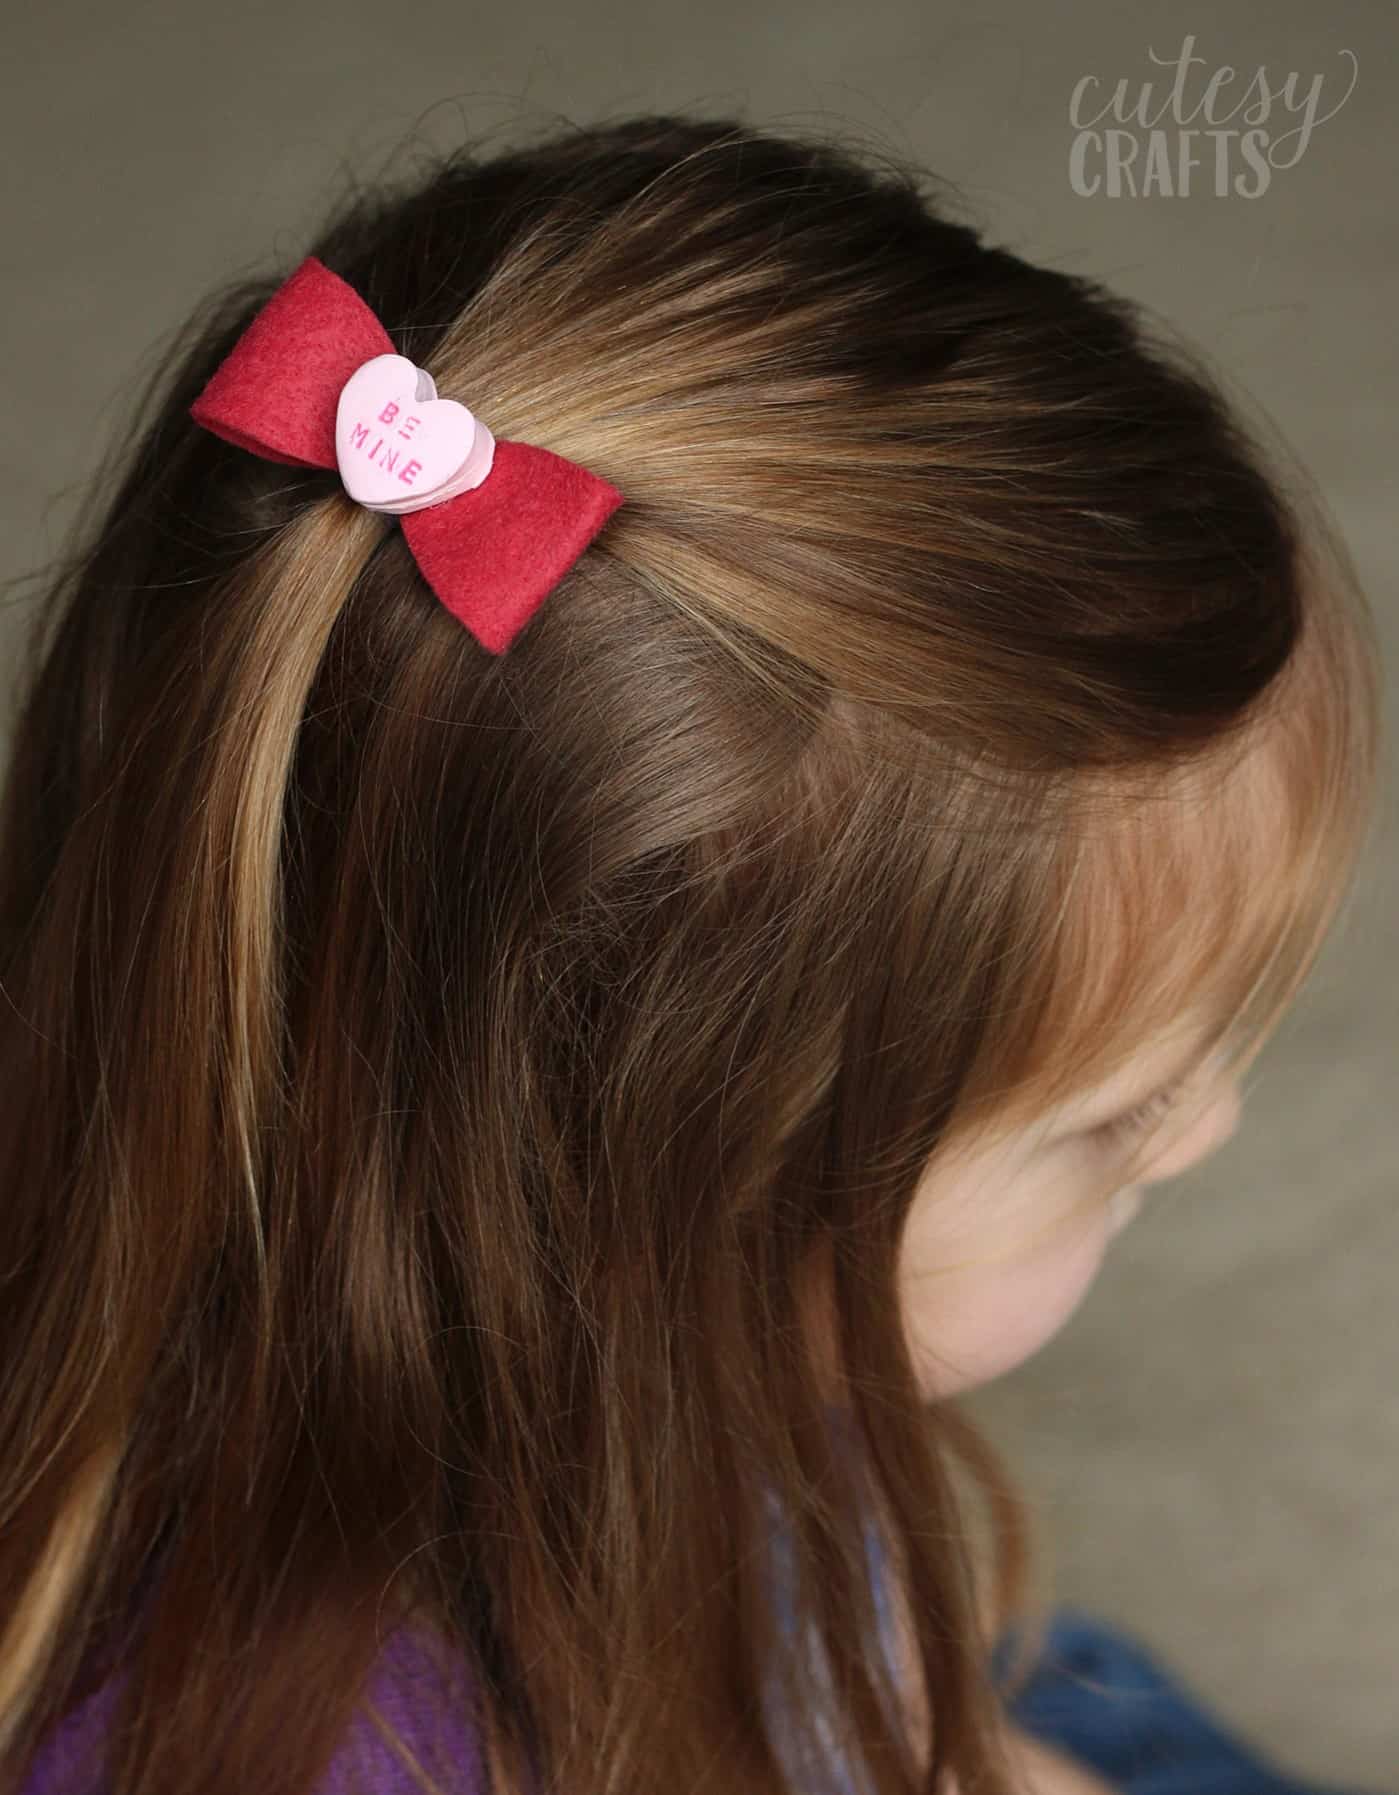
What do you think of these DIY hair bows? If you make them, let me know in the comments!
Plus I have another post for you to save – these Christmas hair bows. I’m not sure if the hearts or the peppermints are cuter! I’d also love for you to check out these other ideas:

These are the cutest bows ever, I wish I had a little one to make one of these for.
Can you tell me what size the letters are that you used?
Of course it depends on the size of your hearts – but I wouldn’t go with any larger than 1/8th inch: http://amzn.to/2io4oa5