These Clothespin Trivets are Heat Resistant!
Learn how to make clothespin trivets with a few simple supplies! These are easy and high heat resistant so you can use them with hot pots.
Skills Required: None. Even if you’ve never crafted before, you can easily make these with glue. They are definitely a perfect craft idea for a beginner.

I’m so excited to share this clothespin trivet DIY with you today! Why? Because we did a lot of testing on this particular kitchen craft to make sure that it could withstand high heat temperatures. And I’m excited to share my results with you!
If this is your first clothespin craft, get excited – it’s really fun making things with clothespins. At first I made these clothespin butterflies and then had enough pins leftover to make this clothespin napkin holder.
After that I just started purchasing clothespins to make things, and I have a ton of them in my craft stash right now! Once you start crafting with these fun wood pins, you’re not going to stop. I promise!
Anyway, our first iteration of clothespin trivets was a flop. We tried to use:
- High Heat Enamel Spray Paint
- High Heat Enamel Spray Paint with clear High Heat Coating
- Acrylic Craft Paint with clear High Heat Coating
None of them worked. Every time we boiled water and put the pot on the trivet, it stuck or made marks in the paint or coating. And I know for a fact that regular resin is only heat resistant up to about 110 degrees typically (some are higher, but not boiling pot higher).
SO – unless you are willing to spend the money for high heat resin, which I didn’t want to for what was to be an inexpensive DIY trivet, you should use plain clothespins. AND you can seal them with a cutting board or mineral oil so that they don’t try out and split. I’m going to show you how to do it below!
DIY Trivets
Gather These Supplies
- Wooden clothespins – 32 (these are the 3.3″ length)
- Craft glue or wood glue
- Cutting board or mineral oil
- Paintbrush and/or soft cloth
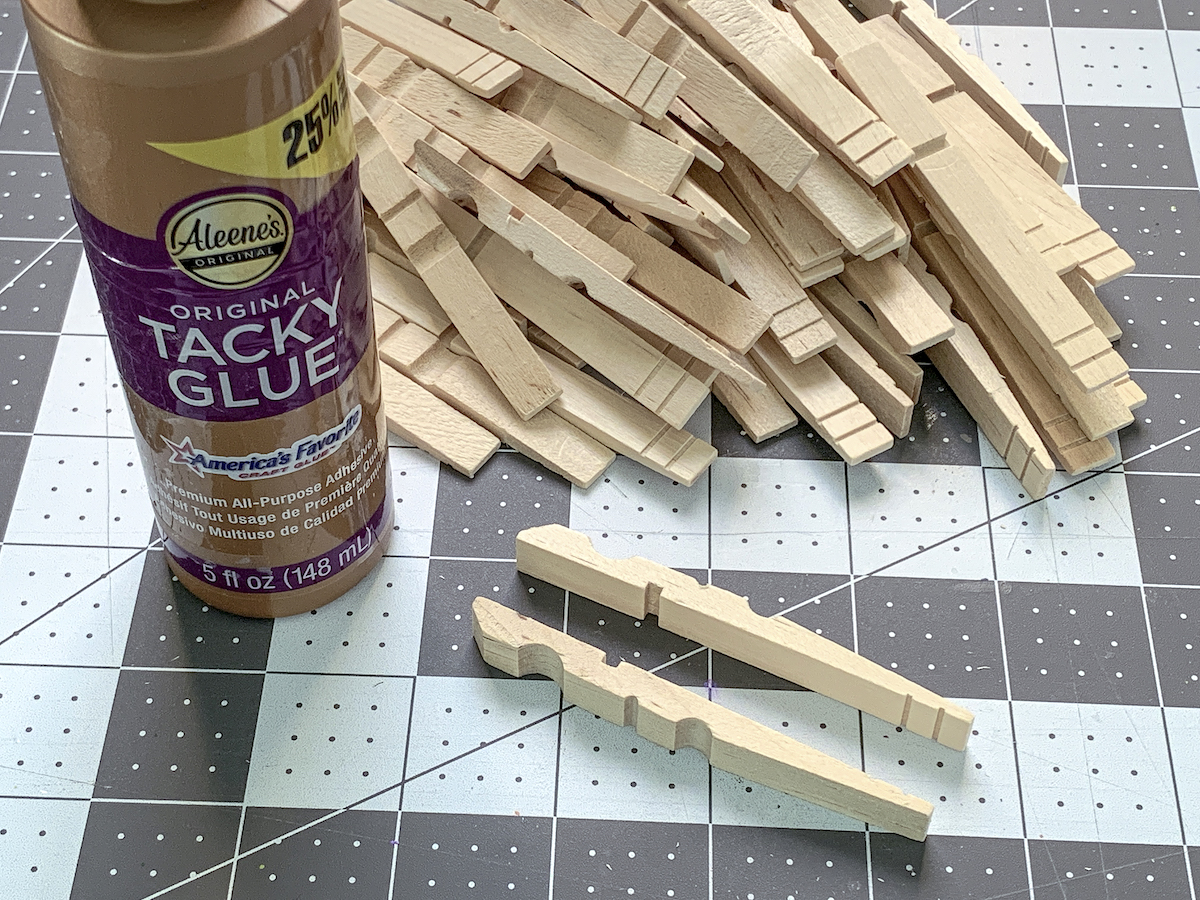
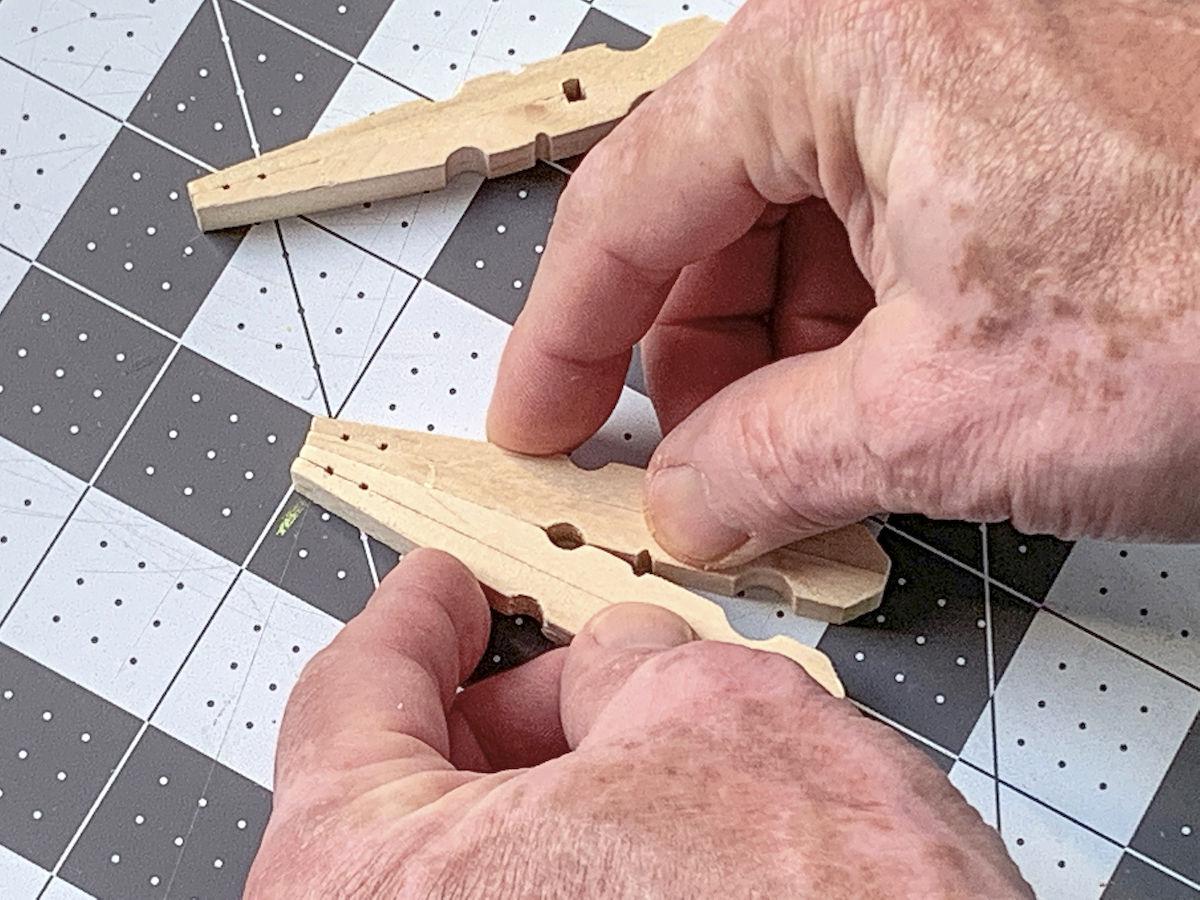
Separate the Clothespins

You’re going to use the clothespins without the springs – so the first thing you need to do is remove them! Begin by twisting the two half of the clothespin and removing one side. Then you’ll easily be able to remove the clip from the other half. Do this with 32 clothespins.
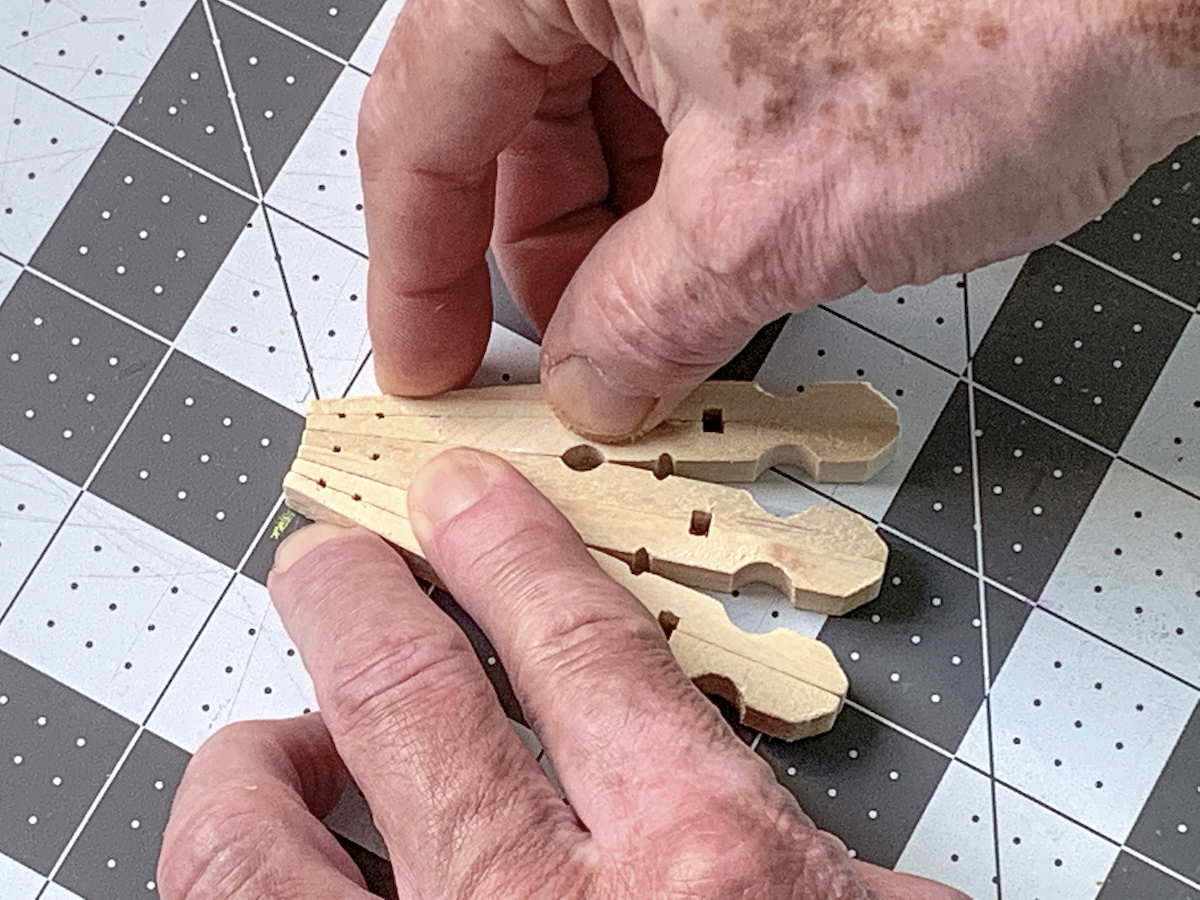
Glue the Clothespins
Keep your clothespins and your glue handy, because you’re going to glue a bunch of pairs together! You’ll start by gluing the flat sides of clothespins. You’ll need 32 of these pairs, which are 32 clothespin halves.
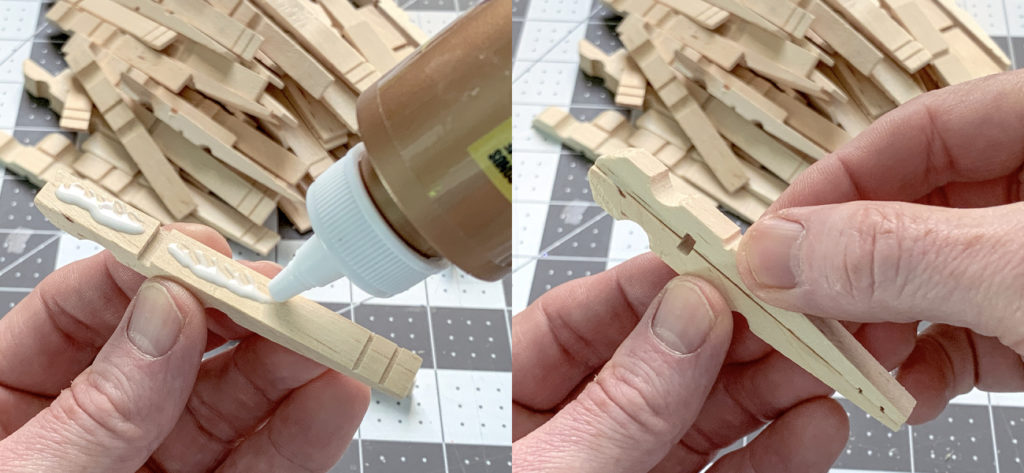
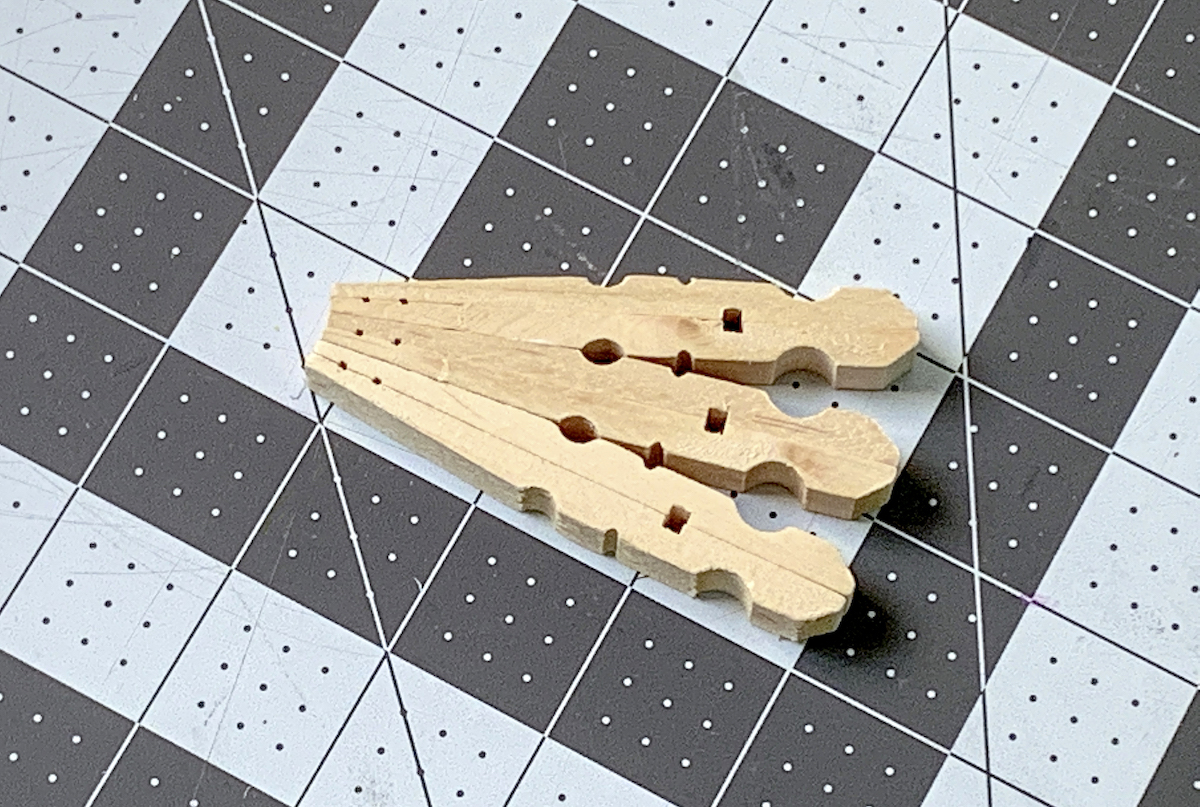
Place a line of glue down the flat side of a clothespin half and press the other side to it. Hold and let dry. Repeat with the other clothespins and let them all dry.
Create Your Design
Now you’re going to create the design. The best way for you to do this is to first lay out your clothespins into the trivet shape before you glue, just to make sure everything fits together.
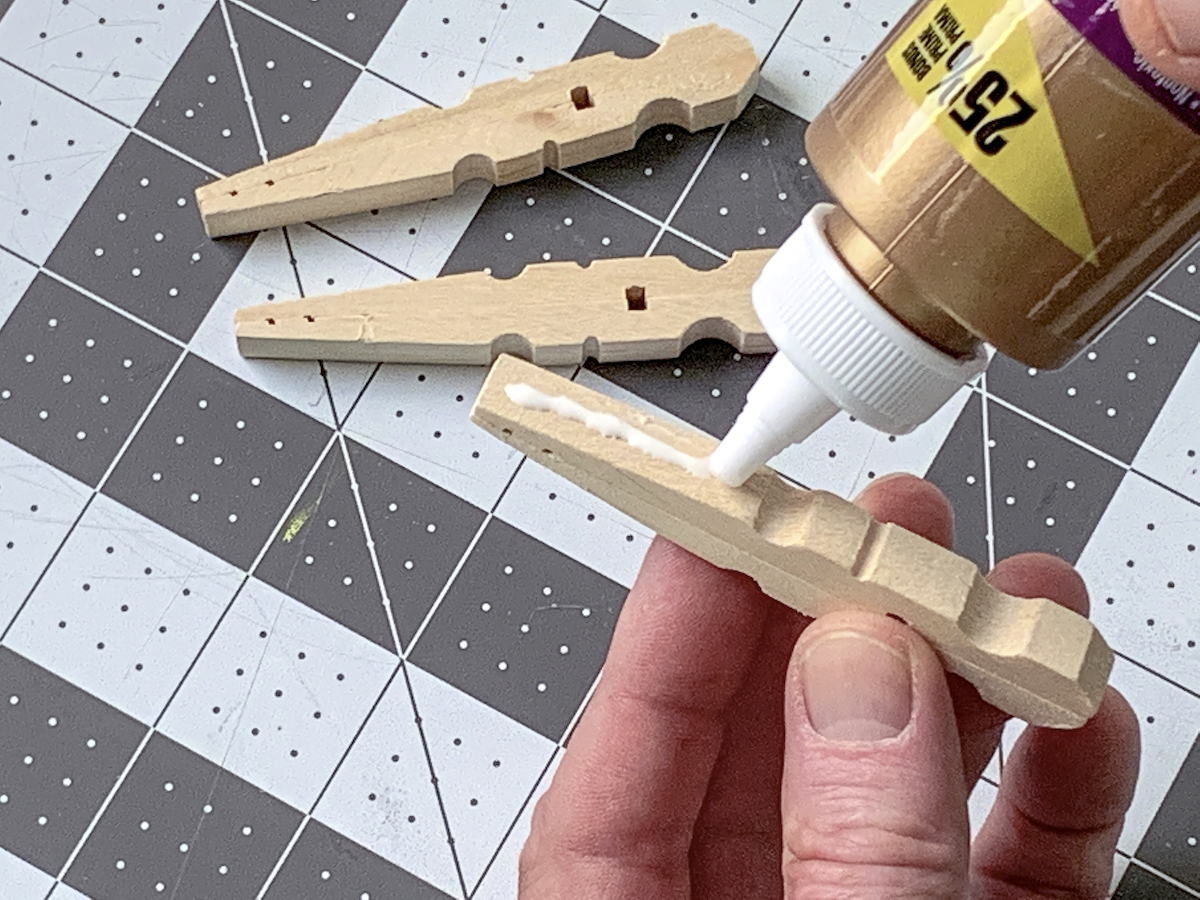
Then start gluing! Place glue on the side of a clothespin, and then sandwich another clothespin to it . . .
then hold then together to let them set.
Continue working your way around the circle, gluing clothespins together and holding.
You’re going to continue working around the “imaginary circle” in the middle, gluing clothespins to make your trivet.
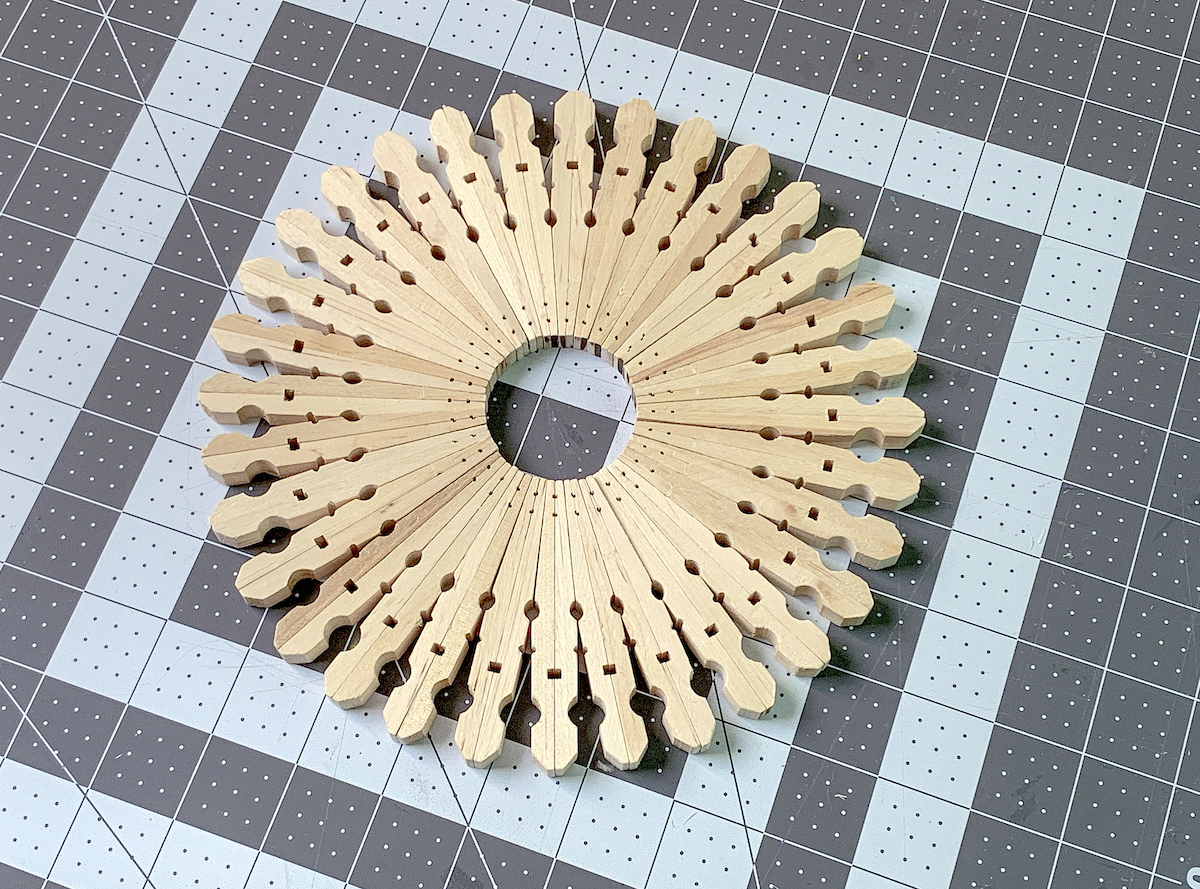
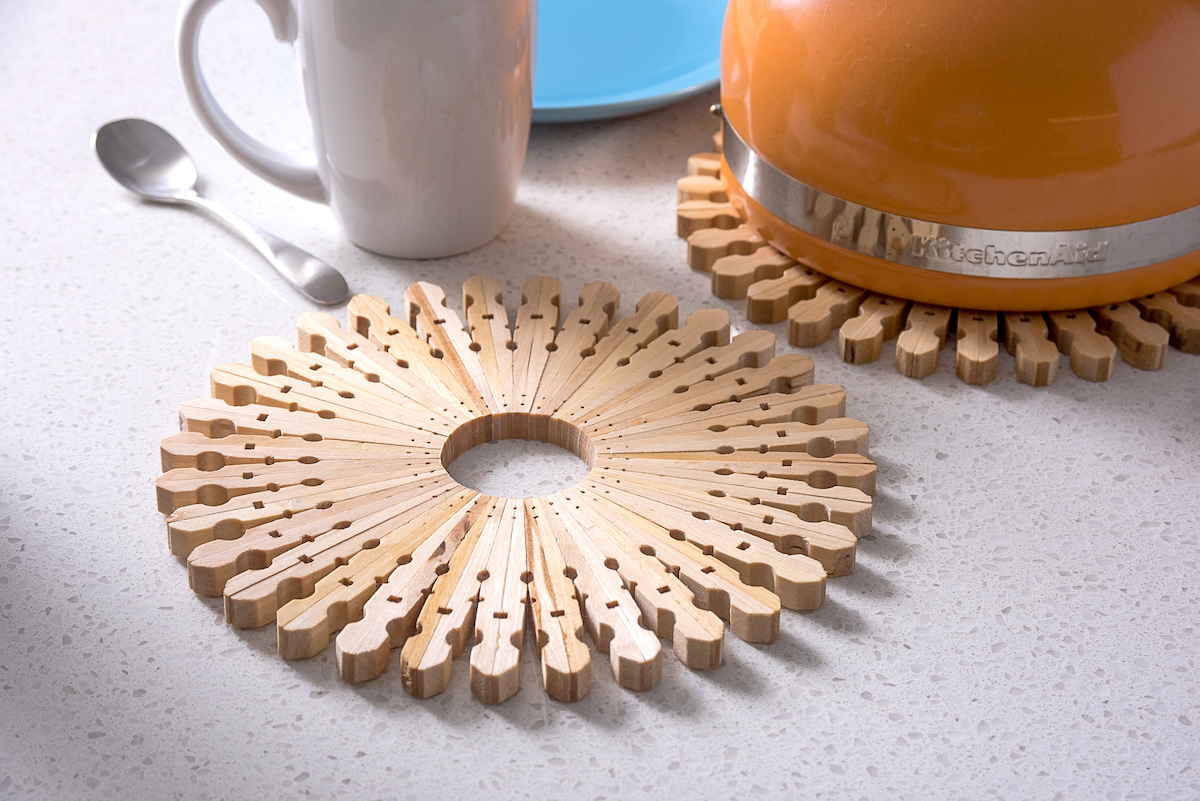
Once you finish, your trivet should look like this, and you should let it dry completely. I actually made two of these bad boys!
Sealing the Trivet

Now here’s the part that’s fun and easy. You’re going to seal your trivet with some cutting board oil! This will keep it from cracking when hot temperatures are constantly applied.
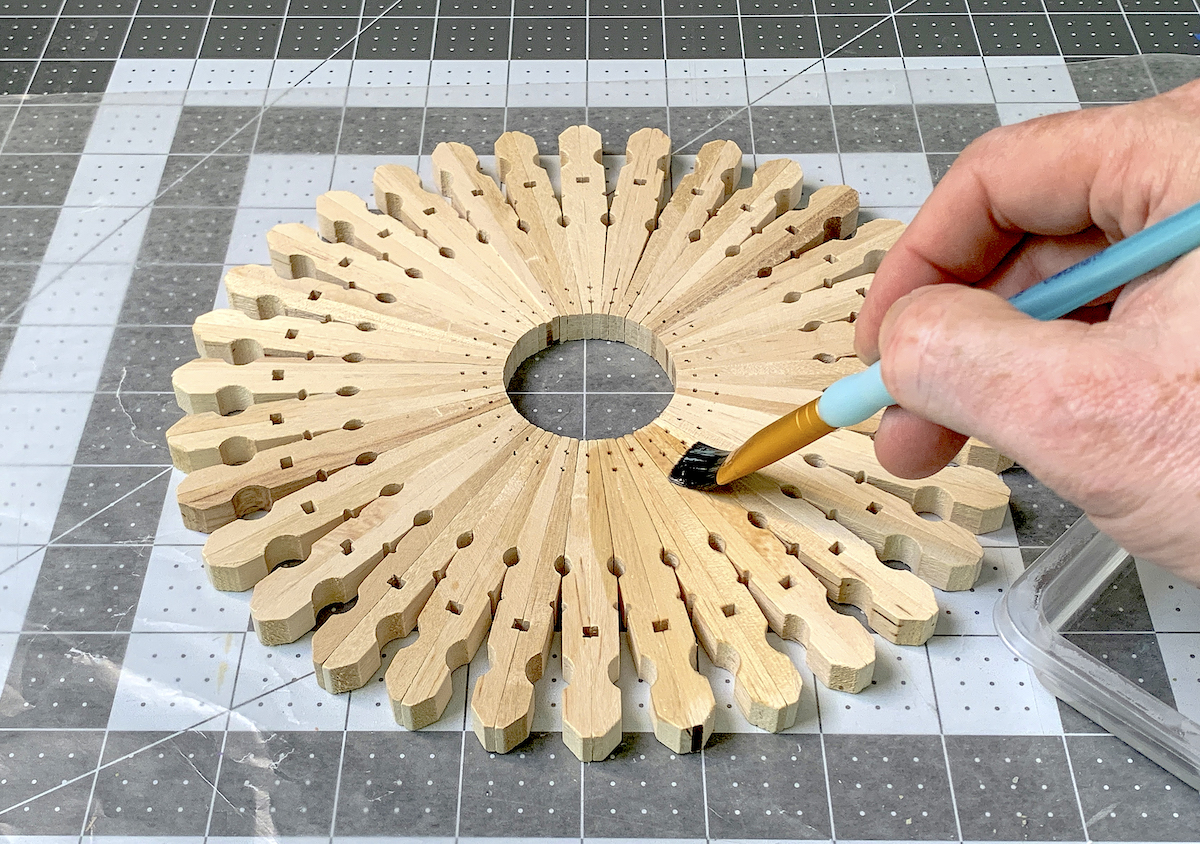
Add the oil to a small container, then use a paintbrush to apply over the entire top surface.
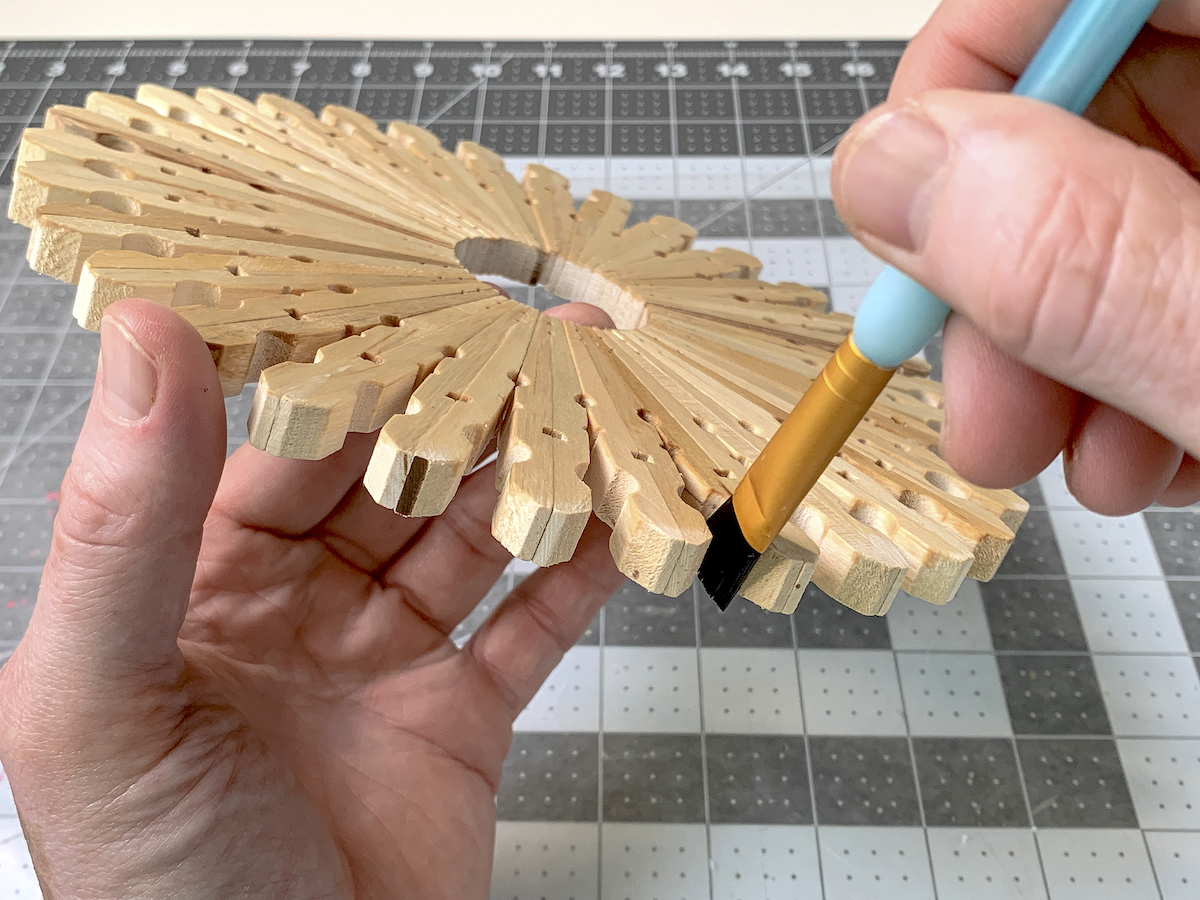
Get in the nooks and crannies with a paintbrush – a smaller paintbrush makes it easier.
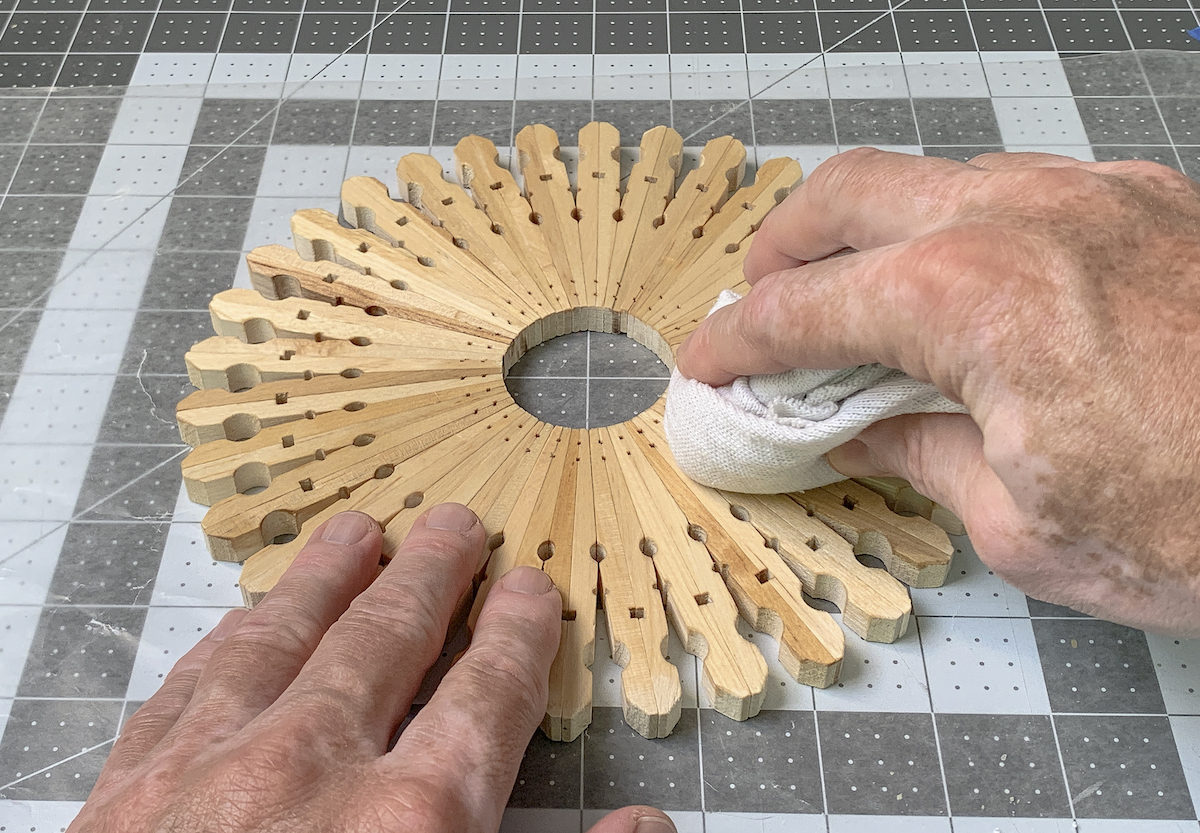
After you’re done, you’re going to rub the oil away (what didn’t soak in) and then let dry. Repeat two more times for a total of three coats of cutting board oil on your DIY trivet.
Update 2025: Great comment from Dave in regard to sealing this project: “Use regular mineral oil purchased at the drug store for about a fifth of the cost. Also I would recommend that you “soak” the trivet in mineral oil to be sure it soaks fully into the wood. Let it soak for a couple hours, remove excess and let it dry for a couple DAYS! No need to re-coat a second time; it’s protected.”
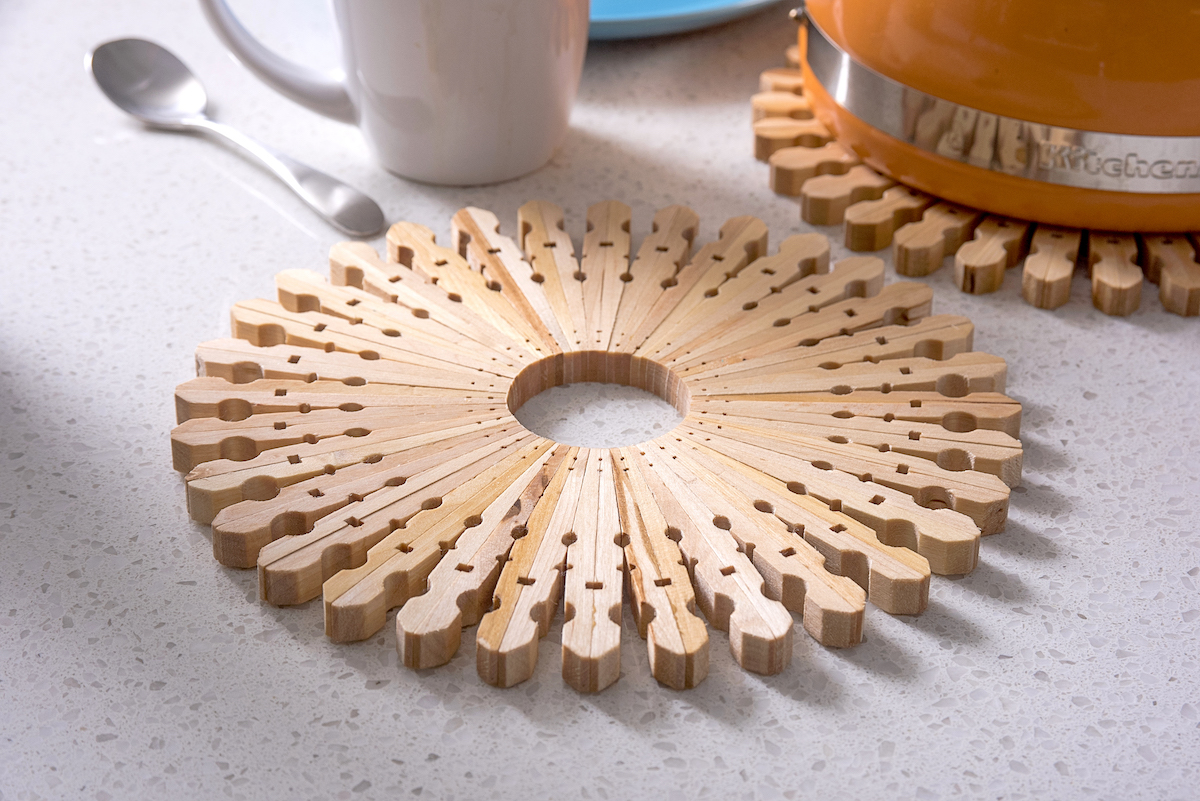
Guess what, my friends? Your trivet(s) are ready to accept hot dishes! Just like a tile trivet. We road tested them and they can handle a boiling pot straight from the stove or a hot dish directly from the oven. Plus the natural wood looks so nice, especially when accented with the oil. These make great gifts! Get the video here:
I’d love to know if you make this easy adult craft, and what you think of it in the comments!
I’d also love for you to take a peek at these other awesome ideas:

I’m loving your clothespin crafts. I’ll be making this too. I think I’ll try painting the sides of the clothespin for a little pop of color. I love the natural wood look too. I’ll make more than one of these.
I made one today and I had leftover clothespins.I put mineral oil on to seal them and it broke in half! I will try another one and see what happens.
@Nancy Freier, Mine broke too! Going to try to re-glue once mineral oil tries….
Can you use hot glue to put trivets together then put your wood oil on? Will it stay together without melting the hot glue?
Hi Patti! I’m thinking that repeatedly putting a hot item on the hot glue over and over would dry out the glue and it would become brittle and break. The hot glue doesn’t bond the wood together the way the liquid glues do. But if you want to try it and report back – let me know! I don’t know 100% that it wouldn’t work!
Love your idea for making clothespin Trivet! I will be doing this. Being a long, long time woodworker I had a little problem with your finishing technique. First thing is that “Butcher Block Oil” is just Mineral Oil with a little bee’s wax. Use regular mineral oil purchased at the drug store for about a fifth of the cost. Also I would recommend that you “soak” the trivet in mineral oil to be sure it soaks fully into the wood. Let it soak for a couple hours, remove excess and let it dry for a couple DAYS! No need to recoat a second time, it’s protected.
Dave this is great advice! Thank you so much! I didn’t know you could soak wood in the mineral oil. You rock!
I would like to use this idea for a library Take & Make kit and am wondering if you think Mod Podge would be an acceptable alternative to the other glues mentioned. I often put Mod Podge in little condiment cups in my kits.
Can you stain the clothespins before you put the mineral oil on?
I would think you could. I don’t think the mineral oil would disturb the stain. You could try it with one clothespin before assembling!
Do you think that soaking in mineral oil for hours would make the pieces come apart?
Hi Teresa! No I don’t. That’s what someone else did and said it worked.
I have made several of these trivets and when done there is no round circle. I is mor oval and not looking good. I use the right number of pins, glue and let sit . .also soaked in mineral oil. After several days they were easily pulled apart. That is the 1 problem and the face=t that they are not round. It was suggested to me to place a shot glass in center(greased) and glue the pins around but I haave not tried that yet.
Toni