Cute Cat Bookmarks From Paint Chips
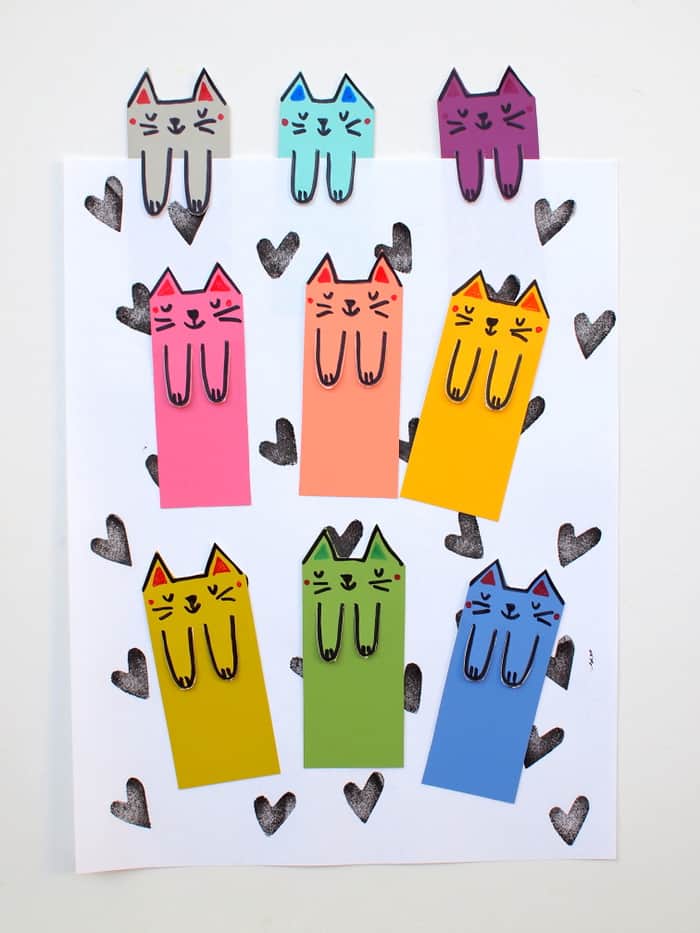
Instead of using random scraps of paper, I whipped up these super colorful and cute feline themed cat bookmarks out of paint chips!
Skills Required: None. These are easy enough for kids to make . . . there will be drawing and cutting. Great for older children or younger kids with assistance.
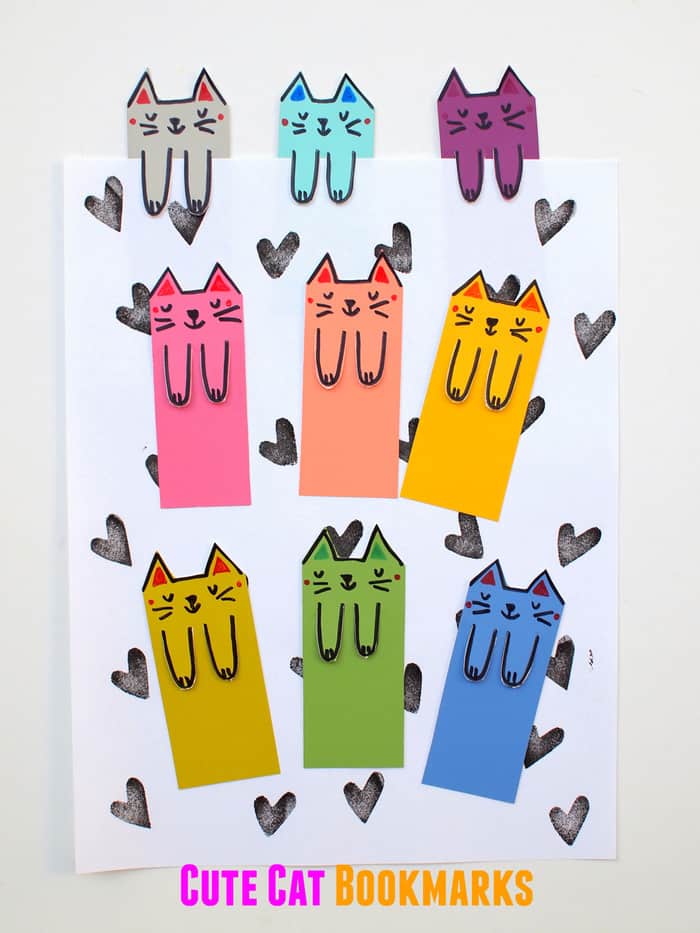
Are you a cat lover? (Good.) Are you a book lover? (Great.) Do you love colors? (Yes? Me too!) We must be on the same wavelength because today’s DIY bookmarks are just for you! Hiya! It’s Leslie from Pink Stripey Socks.
My son and I just started the summer reading program at our library… which means that we’ve been reading . . . a lot. Many times we never quite finish a book, and I’m always left looking around for something to hold our page. Hence this fun summer craft for kids: making our own bookmarks!
DIY Bookmarks
You may have seen the other bookmarks we’ve made: the confetti bookmarks, the flower bookmarks, and the origami page corners. I hope you’ll check out these versions because each of them are fun and unique in their own way. Having said that, I’m kind of in love with these kitties!
Instead of using random scraps of paper, I whipped up these super colorful and cute DIY bookmarks out of recycled paint chips!
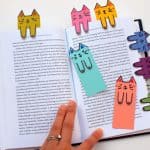
Now we have tons of cute cat bookmarks lying around to mark our pages all summer long! Bookmarks are great boredom busters you have to try.
Ready to make this purr-fectly adorable bookmark? Let’s get making!

Cute Cat Bookmarks
Gather These Supplies
- Paint Chips
- Craft Knife
- Scissors
- Cutting Mat (or a piece of cardboard)
- Permanent markers
- Pencil
- Eraser
- Ruler (or straight edge)

Step 1:
Let’s get rid of any unwanted words from your paint chip. Use a ruler to draw guiding lines around the words. Then, cut them out. Erase any leftover pencil marks.

Step 2:
Use your pencil and permanent markers to draw the shape of a cat. Make sure you draw the arms long enough so that they’ll hold onto your page.

Step 3:
Use your scissors to cut out your cat’s ears. Then, use your craft knife to cut around your arms.
Depending on how sharp your knife is, you might have to retrace your cut several times. Erase any stray pencil marks and gently pop out your cat’s arms.
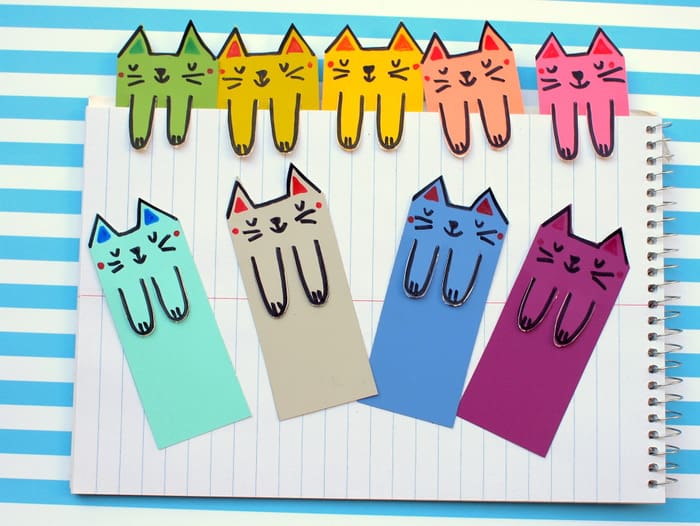
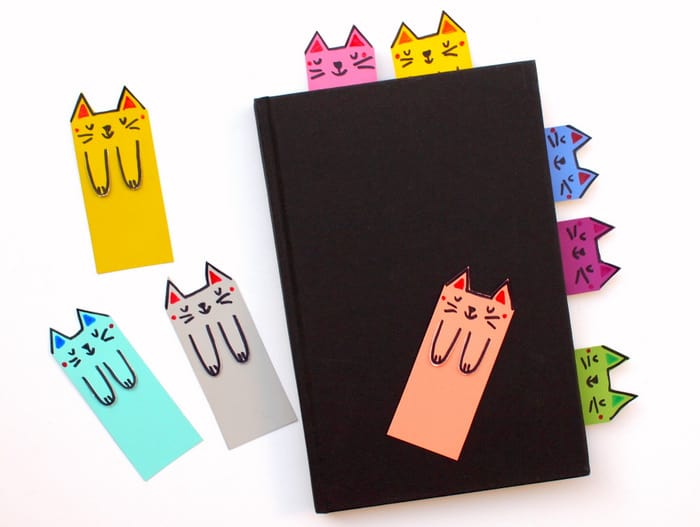
Tada! You’re all done! These DIY cat bookmarks are so easy to make, you could probably make a small army of kitties to hold your pages while watching your favorite tv show.
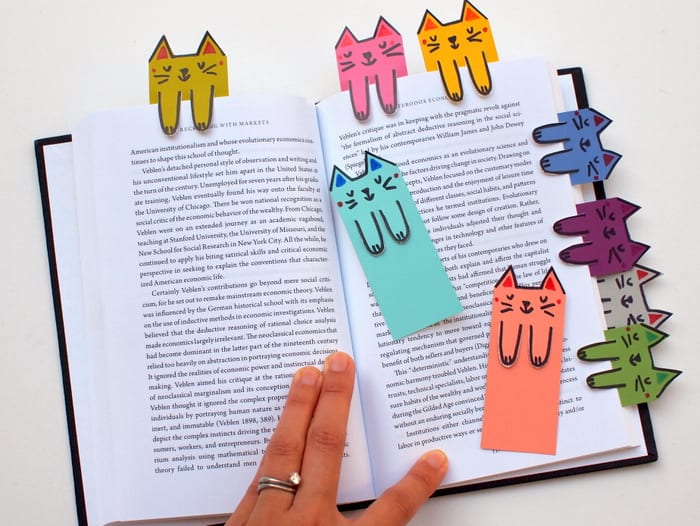
And if cats aren’t really your thing, no worries. You could also try making other animals. I’ll bet a dog, fox, or elephant would look super cute too!
This is a fun idea for Earth Day since the paint chips are recycled! Get the printable how to card for this project below.
Cat Bookmarks
Equipment
- Pencil(s)
- Eraser
Materials
- Paint chips
- Permanent markers
Video
Instructions
- Get rid of any unwanted words from your paint chip. Use a ruler to draw guiding lines around the words. Then, cut them out. Erase any leftover pencil marks.
- Use a pencil and permanent markers to draw the shape of a cat. Draw the arms long enough so that they’ll hold onto a book page.
- Use scissors to cut out the cat’s ears. Then, use the craft knife to cut around the arms.
- Erase any stray pencil marks and gently pop out the cat’s arms to finish.
If you enjoyed this easy and colorful cat craft, then you’ll also enjoy these other ideas from the blog. Happy reading and happy making, friends!




These bookmarks are the cutest! My two-year-old would love them!
Paige
LOL!!! I made some for my 8 year old grand-son who loves to read and his 6 year old sister. Both had the same reaction “grandma why does the cat have boobies???” LOL!! When I looked at the picture above – well, say no more……My grand-son also put the bookmark in his agenda and his teacher lol when she saw it…..my daughter got a very nasty phone call from the teacher!!! What are they teaching these kids at school???
Such cute idea. Really love it. Added to my DIY project list now. Thanks!
It’s really a wonderful diy tutorial! I like these bookmarks so much.
Hello
I would love to make a cat for my granddaughter not only dose she love’s cat’s she love’s to read so I need to know what you mean by Paint Chips what is it?
Have a blessed day
Hi Roberta! Paint chips like you would get from the hardware store – samples from the paint section. BUT you can make your own paint chips with thicker paper and acrylic paint, technically!
They are awesome. Congrats to you all for your hard work.
ossem