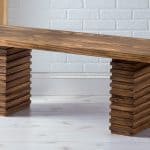
DIY Entryway Bench: A Stylish Woodworking Project for Newbies
Build a modern DIY entryway bench inspired by Crate & Barrel – for under $60! A beginner woodworking project with full tutorial, tips, and cut list.
Let me guess—you saw a $1300 bench at Crate and Barrel and immediately thought, “Yeah… no.”
Same here.
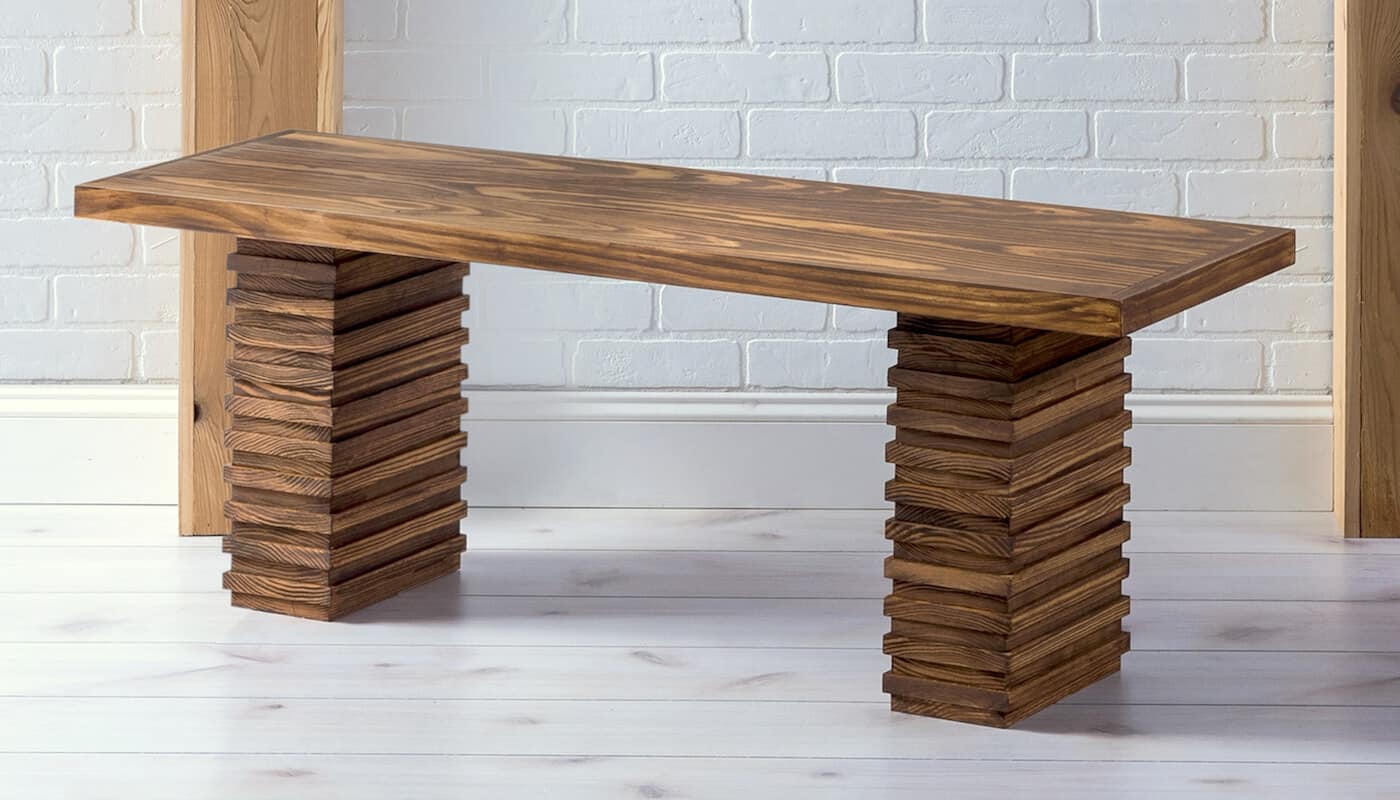
We loved the look of their sleek, modern Paloma II entryway bench — until we saw the price tag and our eyes watered a little. So, like any good DIYer with Pinterest dreams and a hardware store loyalty card, we decided to make our own.
This beginner-friendly DIY entryway bench was built for around $60 using pine and a little creativity. No reclaimed exotic hardwoods, no fancy tools — just a solid, modern bench that looks way more expensive than it is.
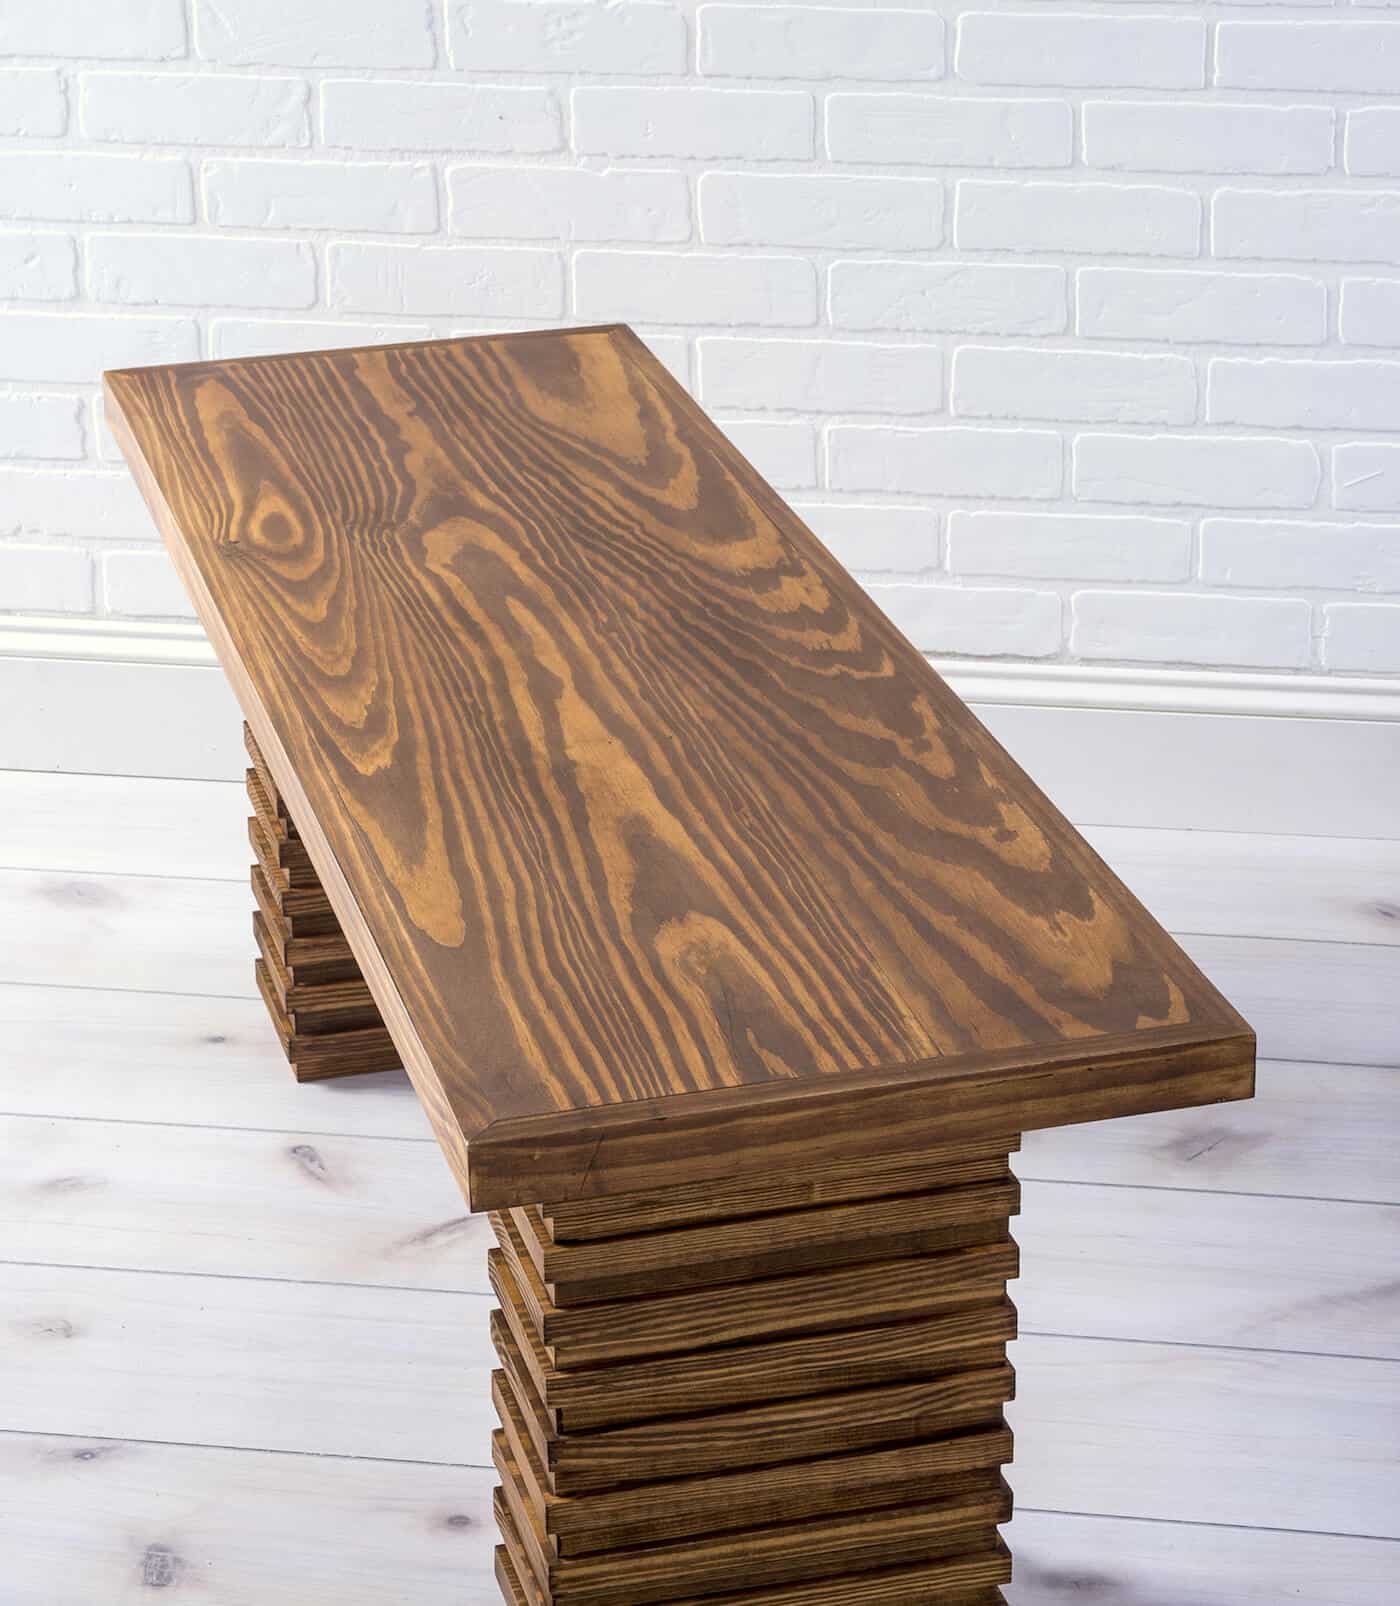
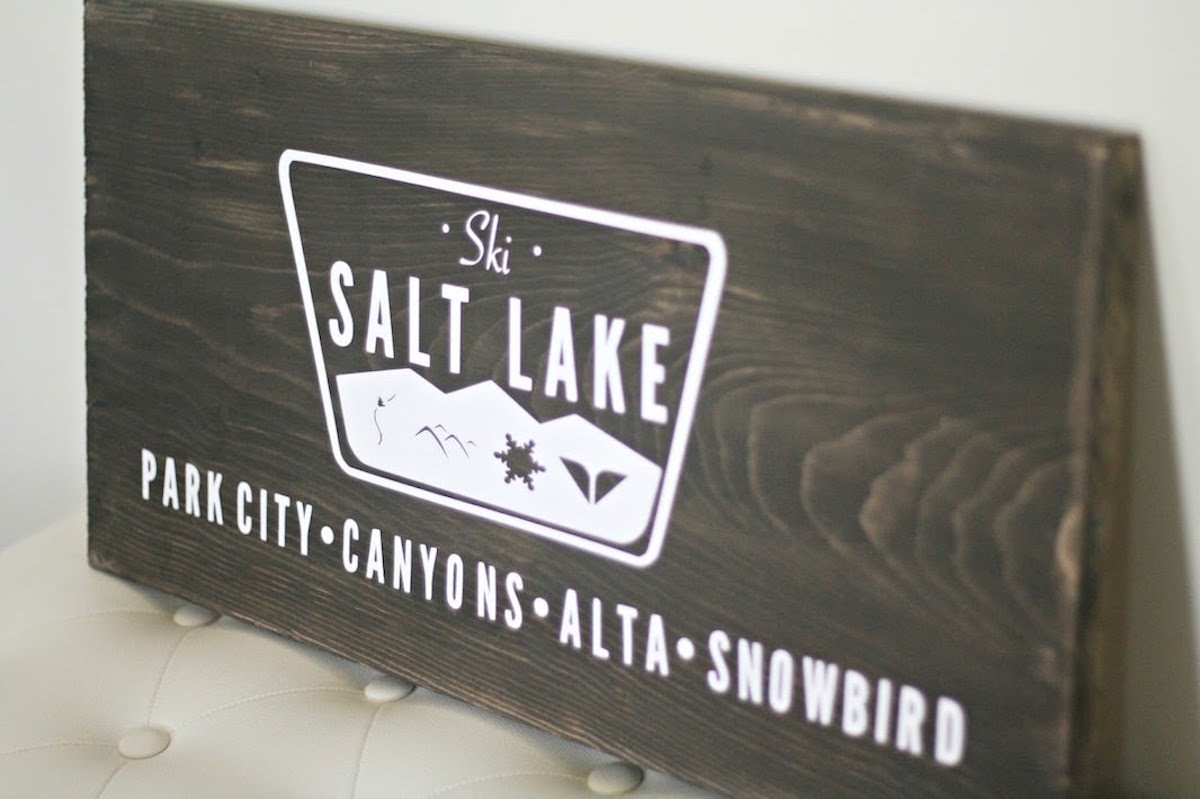
Bonus: you can finish it however you like to match your space (we used wax for a rustic vibe).
You’ll only need a few supplies and some patience while the glue dries. No joinery degree required.
And if you’re new to woodworking, don’t worry — I’ll walk you through everything, step by step, and include a cut list and assembly diagram to make it as foolproof as possible.
Whether you need a stylish seat for your entryway, a place to drop your bag, or just want to flex your DIY muscles, this bench project is a perfect weekend build. Let’s make something beautiful—without dropping over a grand.
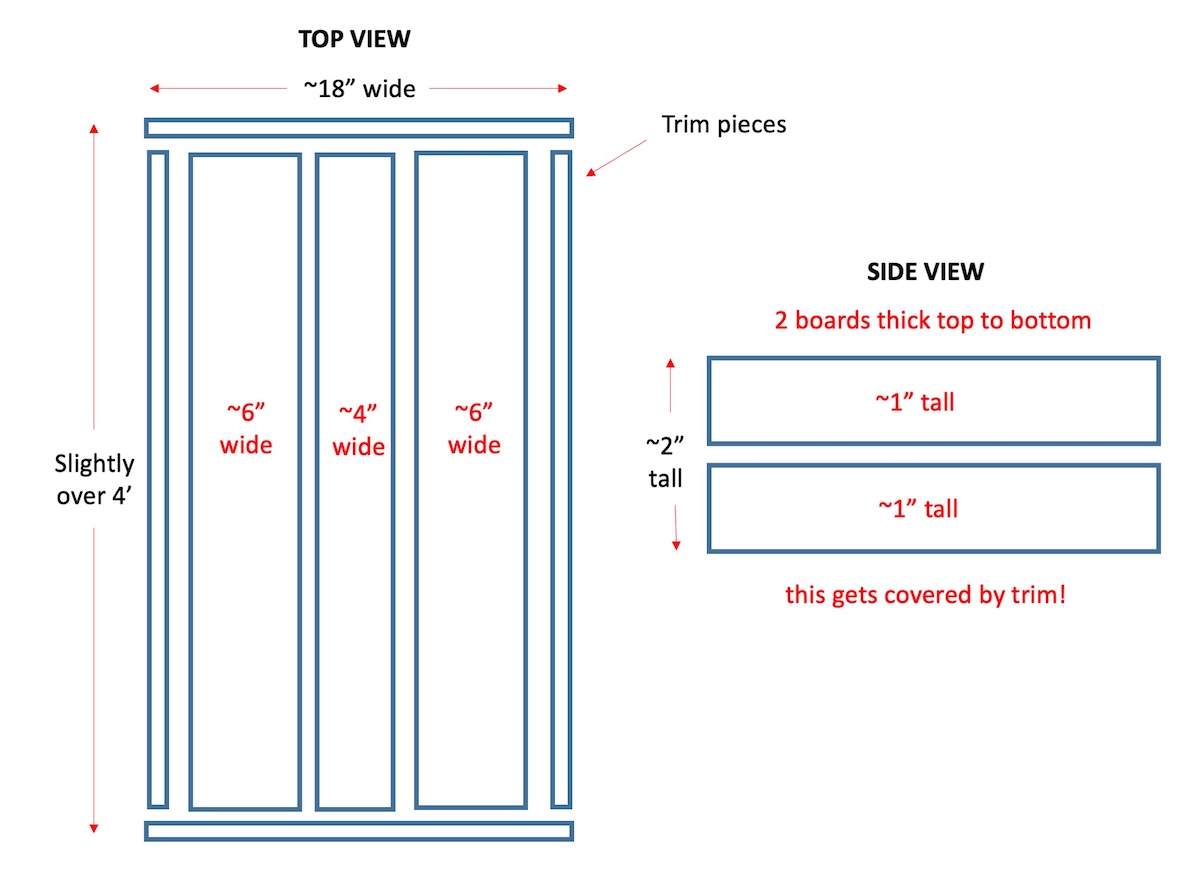
And just so you have a visual . . . the top of the bench is going to be three boards glued together layered on top of three boards glued together, with trim around the edge.
Keep this in mind as you check out the tutorial. Get the printable how to card below:
DIY Entrance Bench
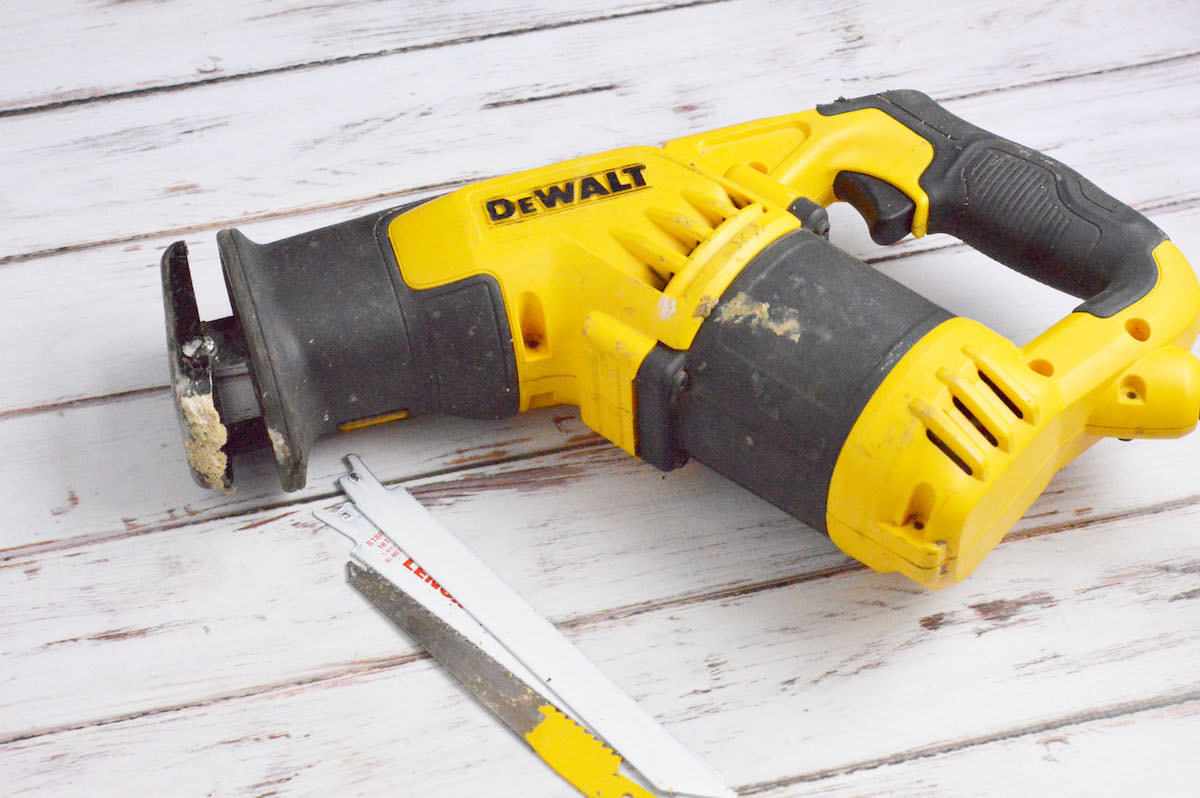
Equipment
- Gloves
- Miter saw
Materials
- Finished pine Cut list in Notes
- Wood glue
- Orbit sander or sanding block – 120 grit
- 8 Wood screws 3"
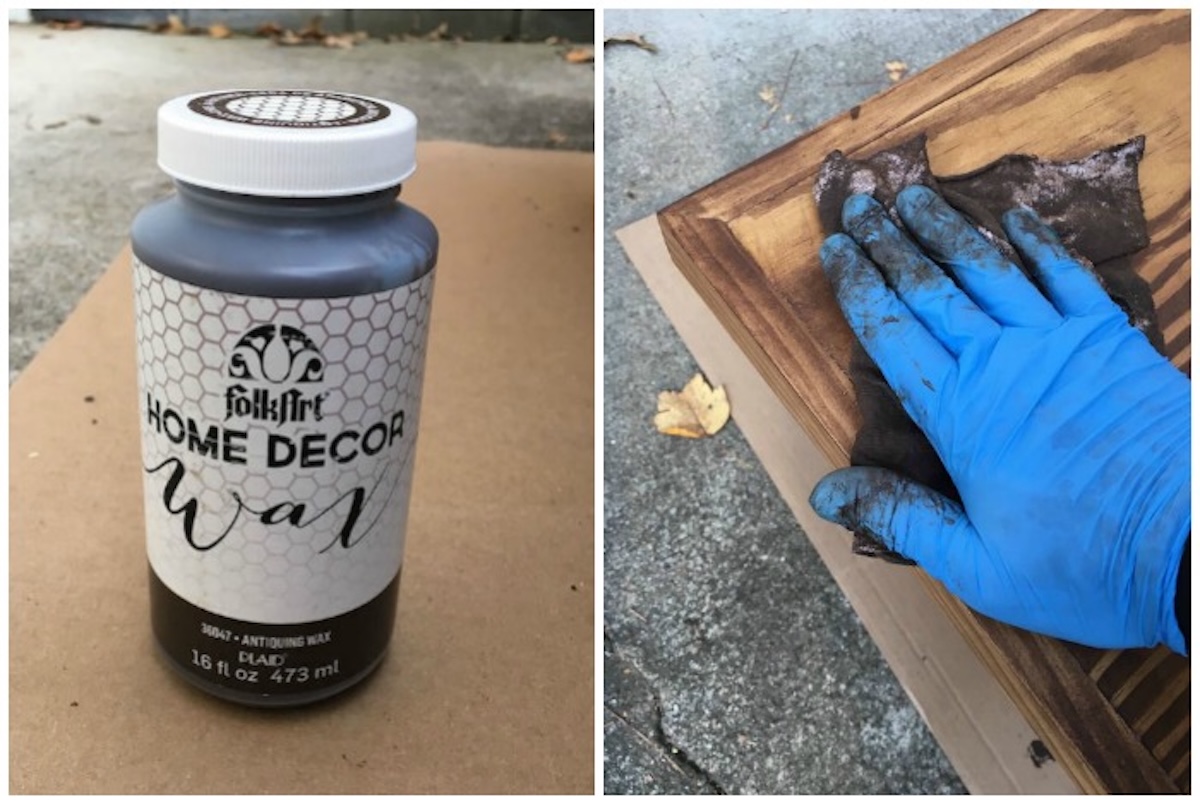
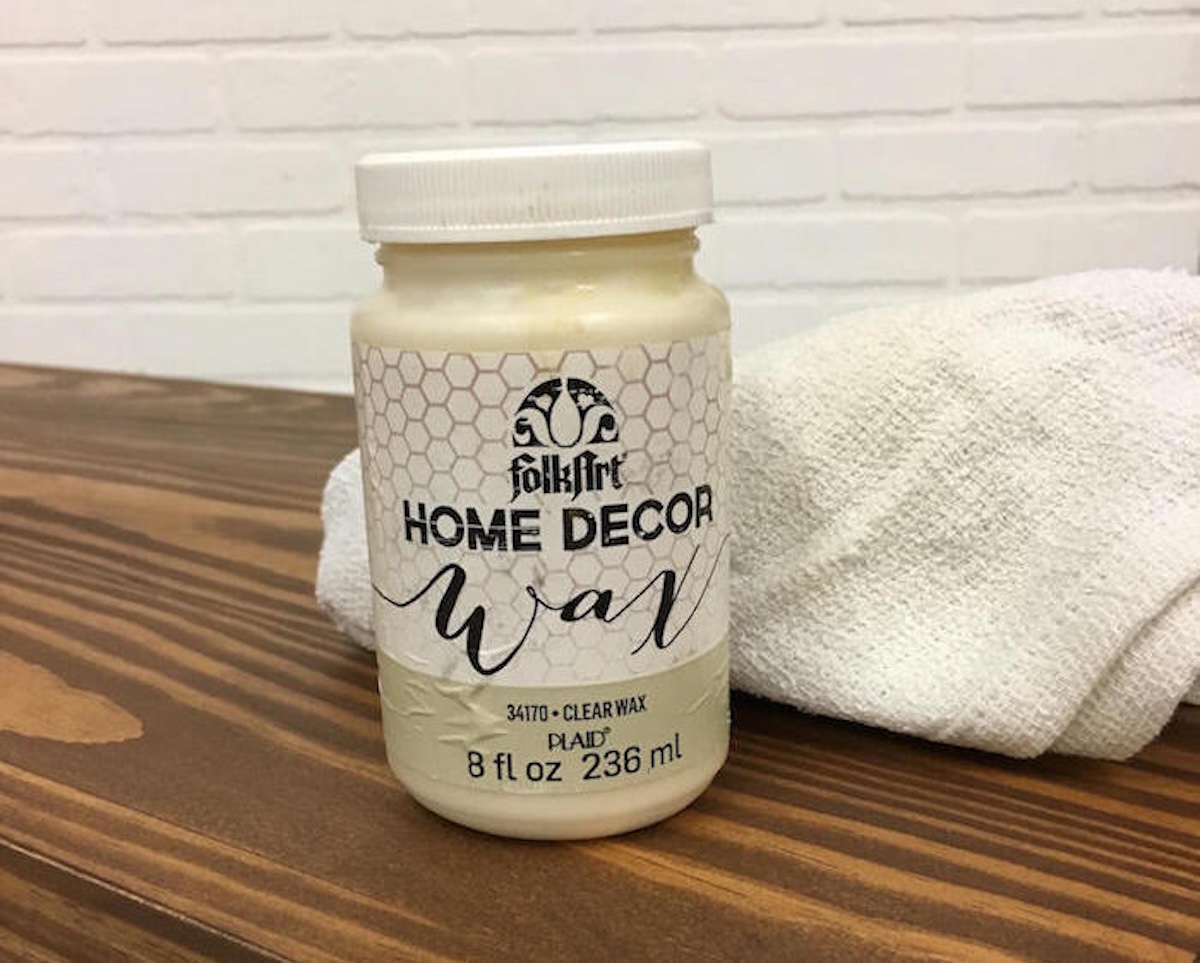
- 2 bottles FolkArt Home Decor Wax 8 oz bottles – 1 Antique and 1 Clear
- Staining rags
- 4 Cork circles 2", to use for no scratch bottom
Instructions
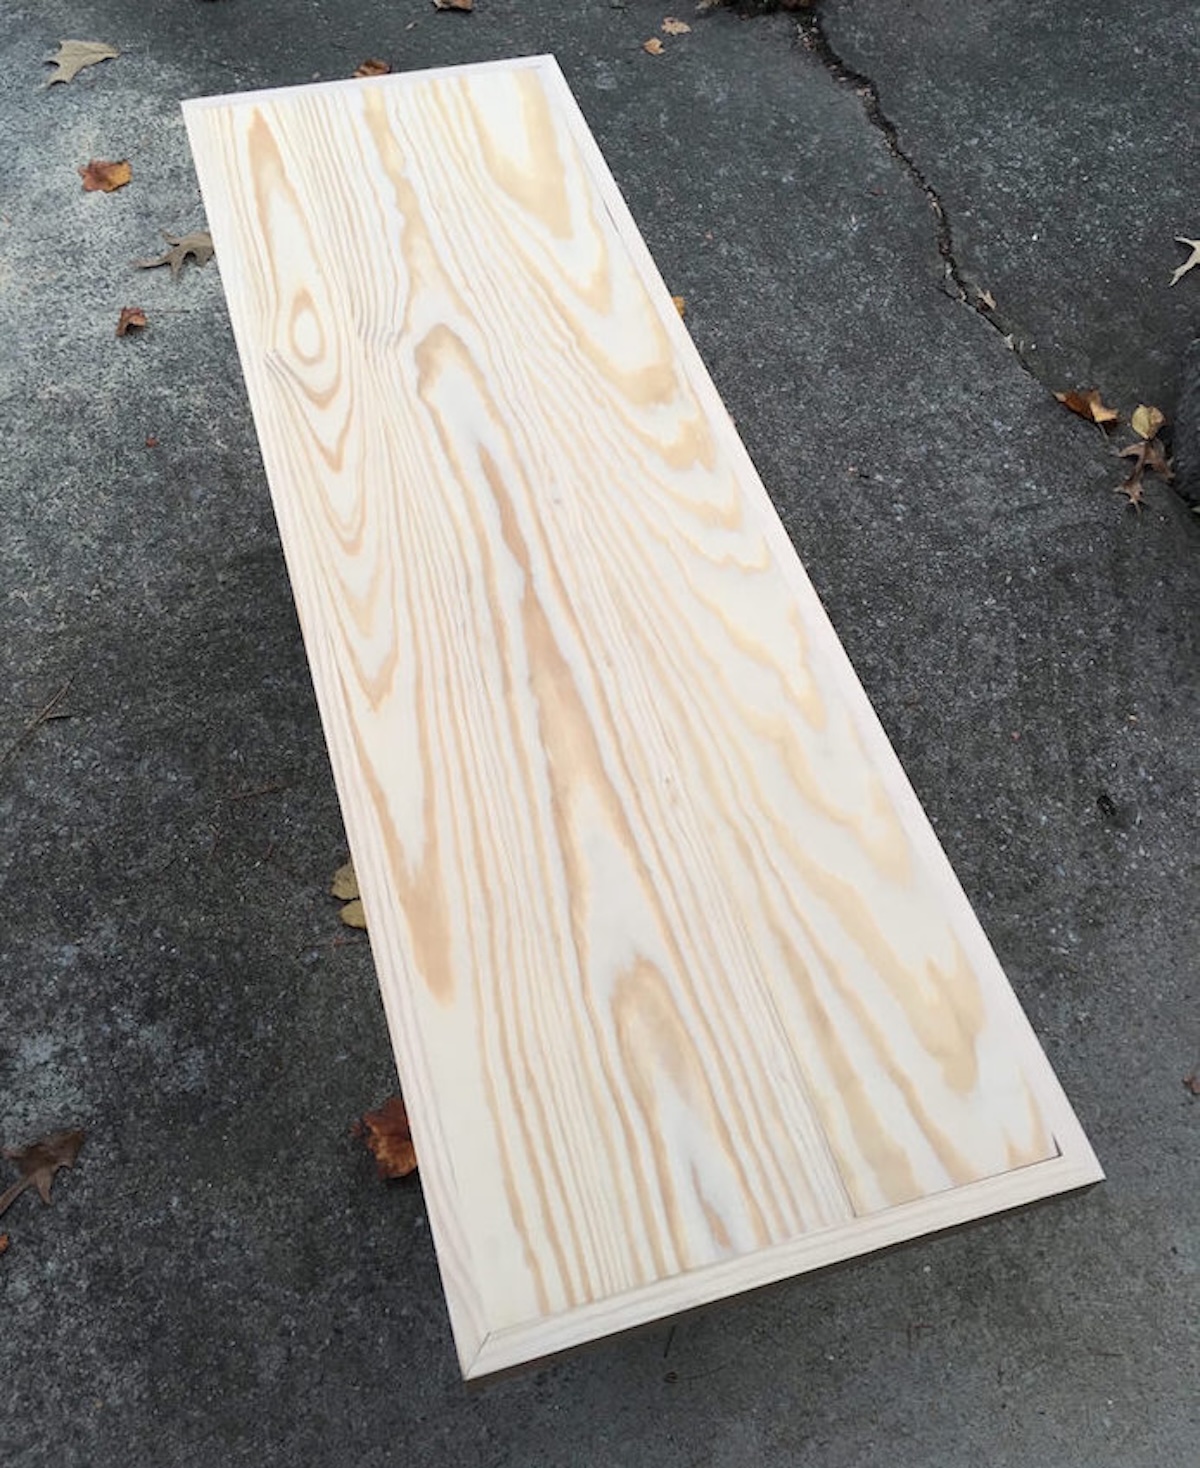
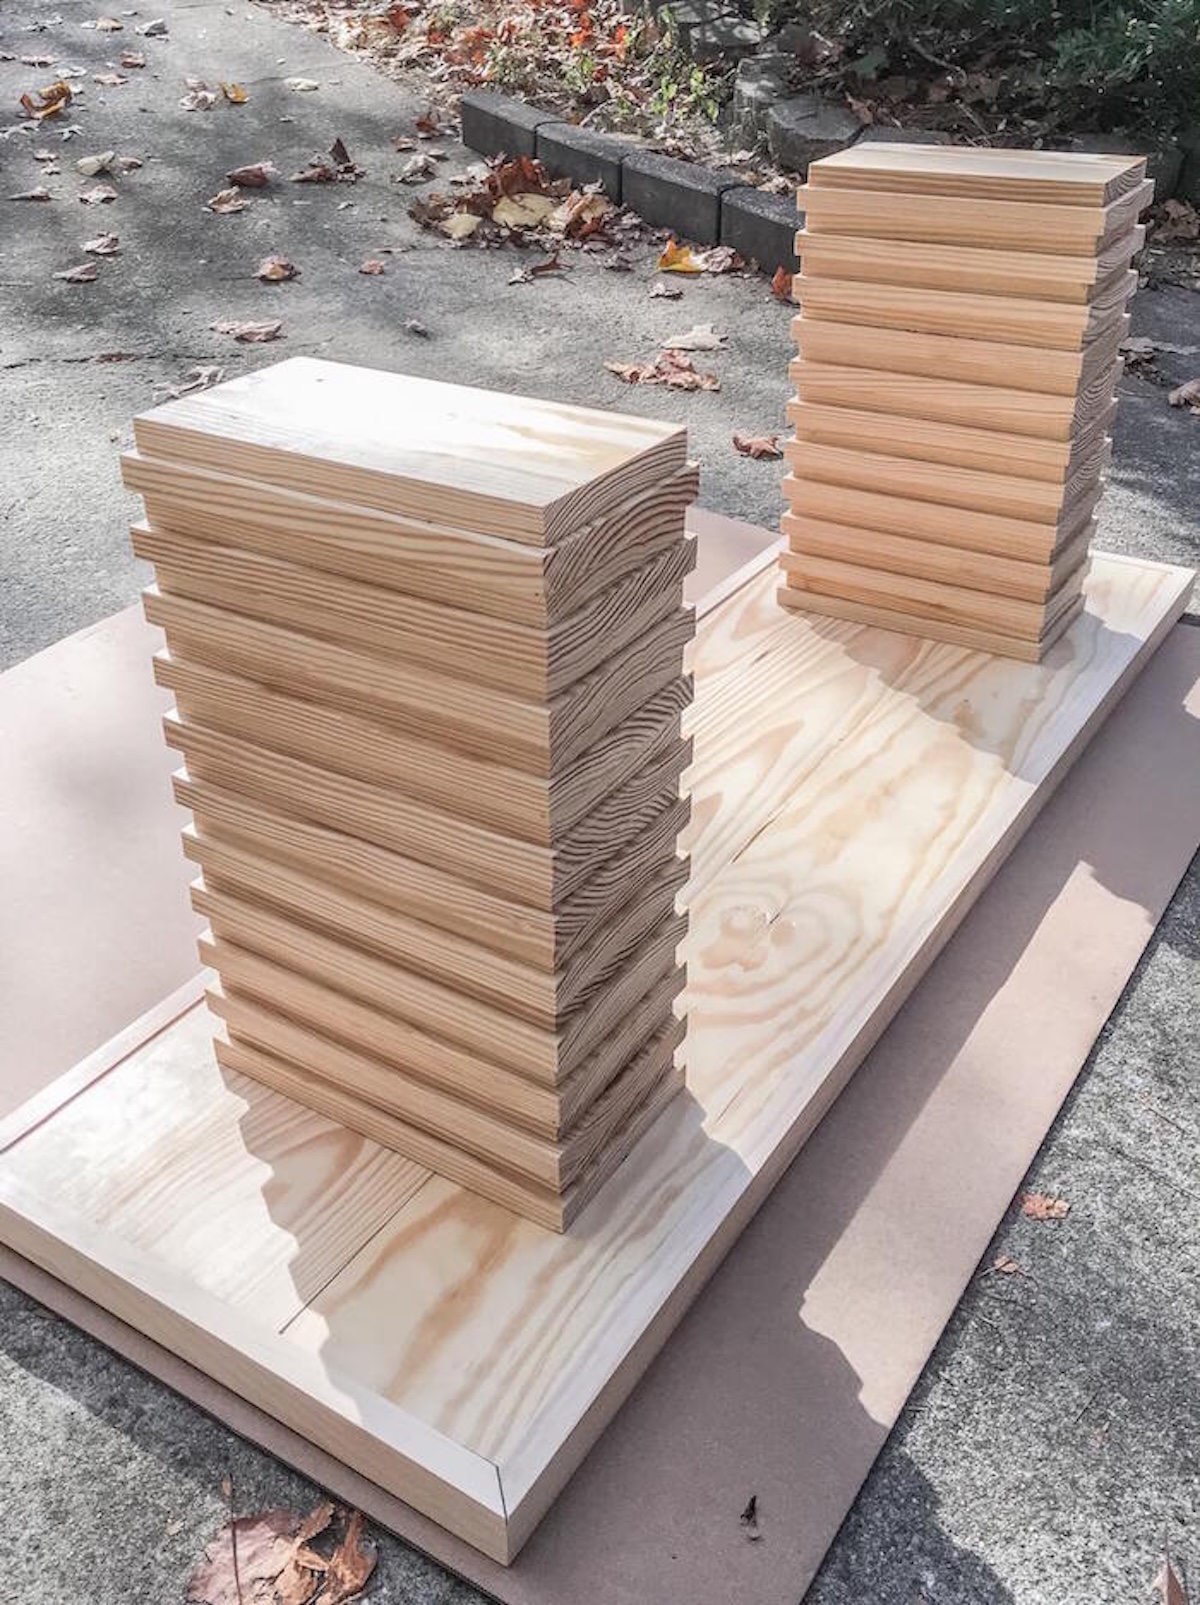
- Take your two 1" x 6" x 8′ and 1" x 4" x 8′ finished pine boards and cut each into two pieces. This will give you six pieces.
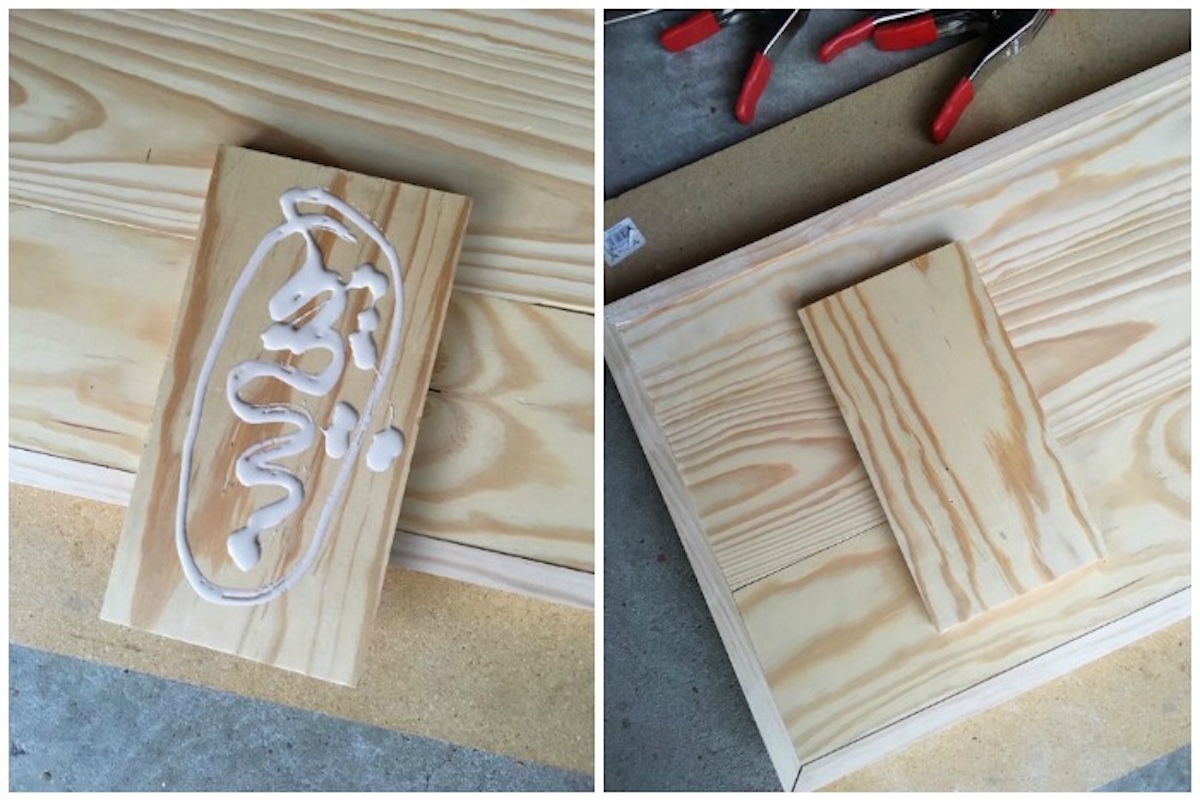
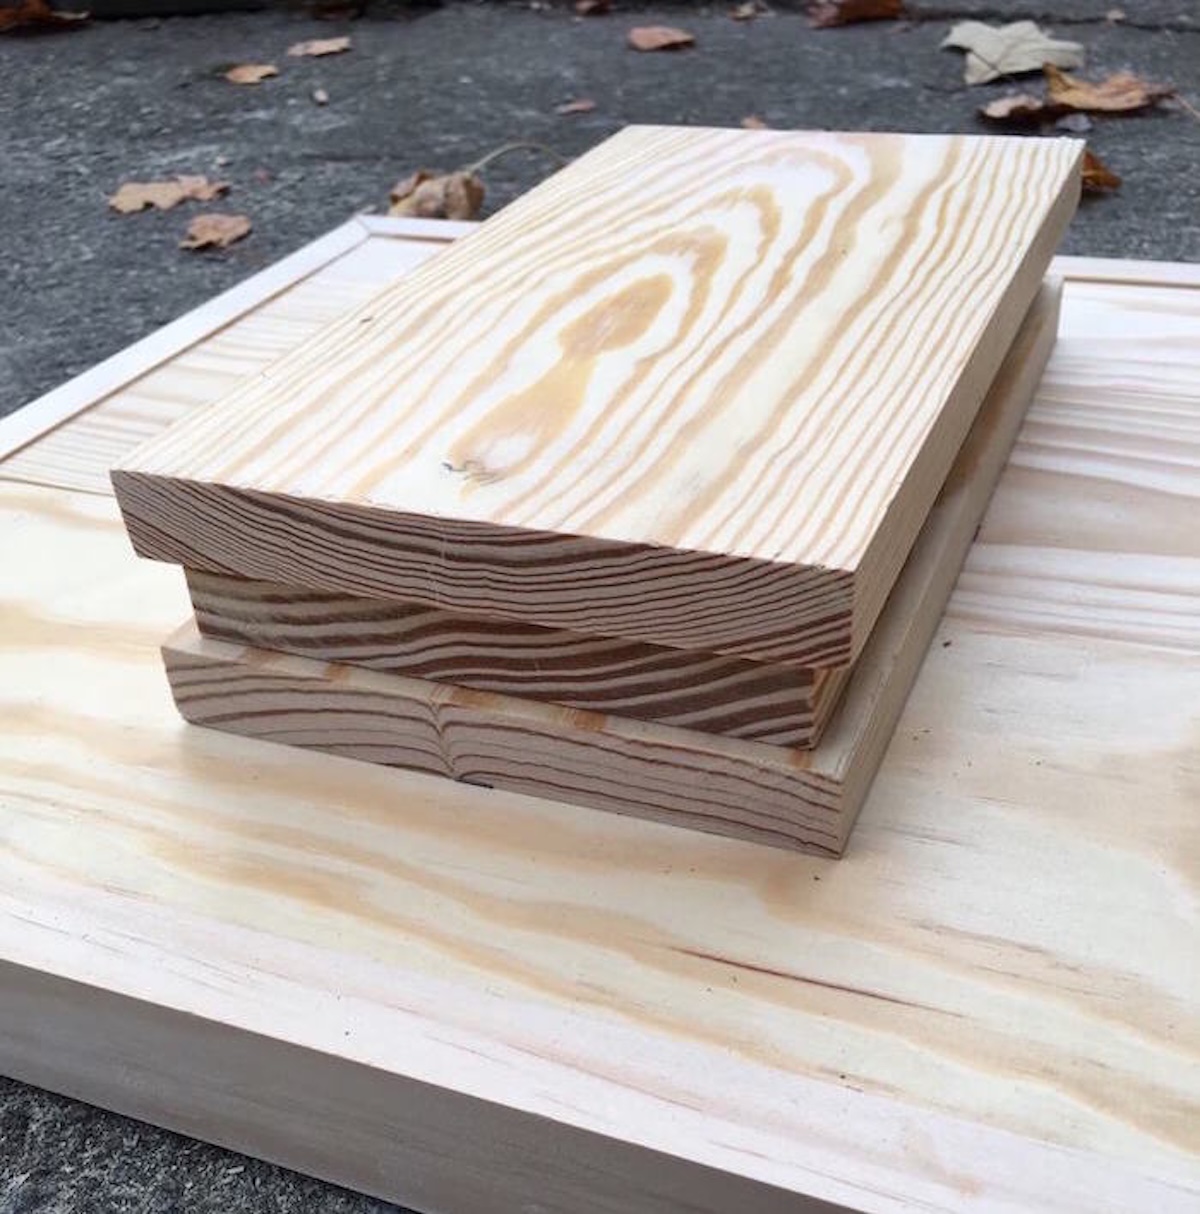
- Glue two 1" x 6" x 4' together on top of each other, two 1" x 6" x 4' together on top of each other, and two 1" x 4" x 4' together on top of each other. You will have three separate, long pieces. Hold together with clamps while they dry several hours.
- Lay the planks side by side and glue them together lengthwise – clamp and let dry (as shown in the top view diagram). This is your bench top. You will trim it in the next step.
- Using a miter saw, cut one of the 1" x 2" x 6' boards into two pieces: one that is 15 3/4" long and another that is 49 1/2" long. Repeat with the other board. Cut 45° angles on the ends of all four trim pieces.
- Use wood glue to attach the frame pieces to the outer edges of the bench top and clamp. Let dry. Sand the bench top with 120-grit sandpaper.
- You'll now make the legs. Each leg takes 22 pieces – 11 of one size and 11 of another. Using a miter saw, cut your five 1" x 6" x 8's into (22) 1" x 6" x 10"s and (22) 1" x 6" x 10 ½"s.
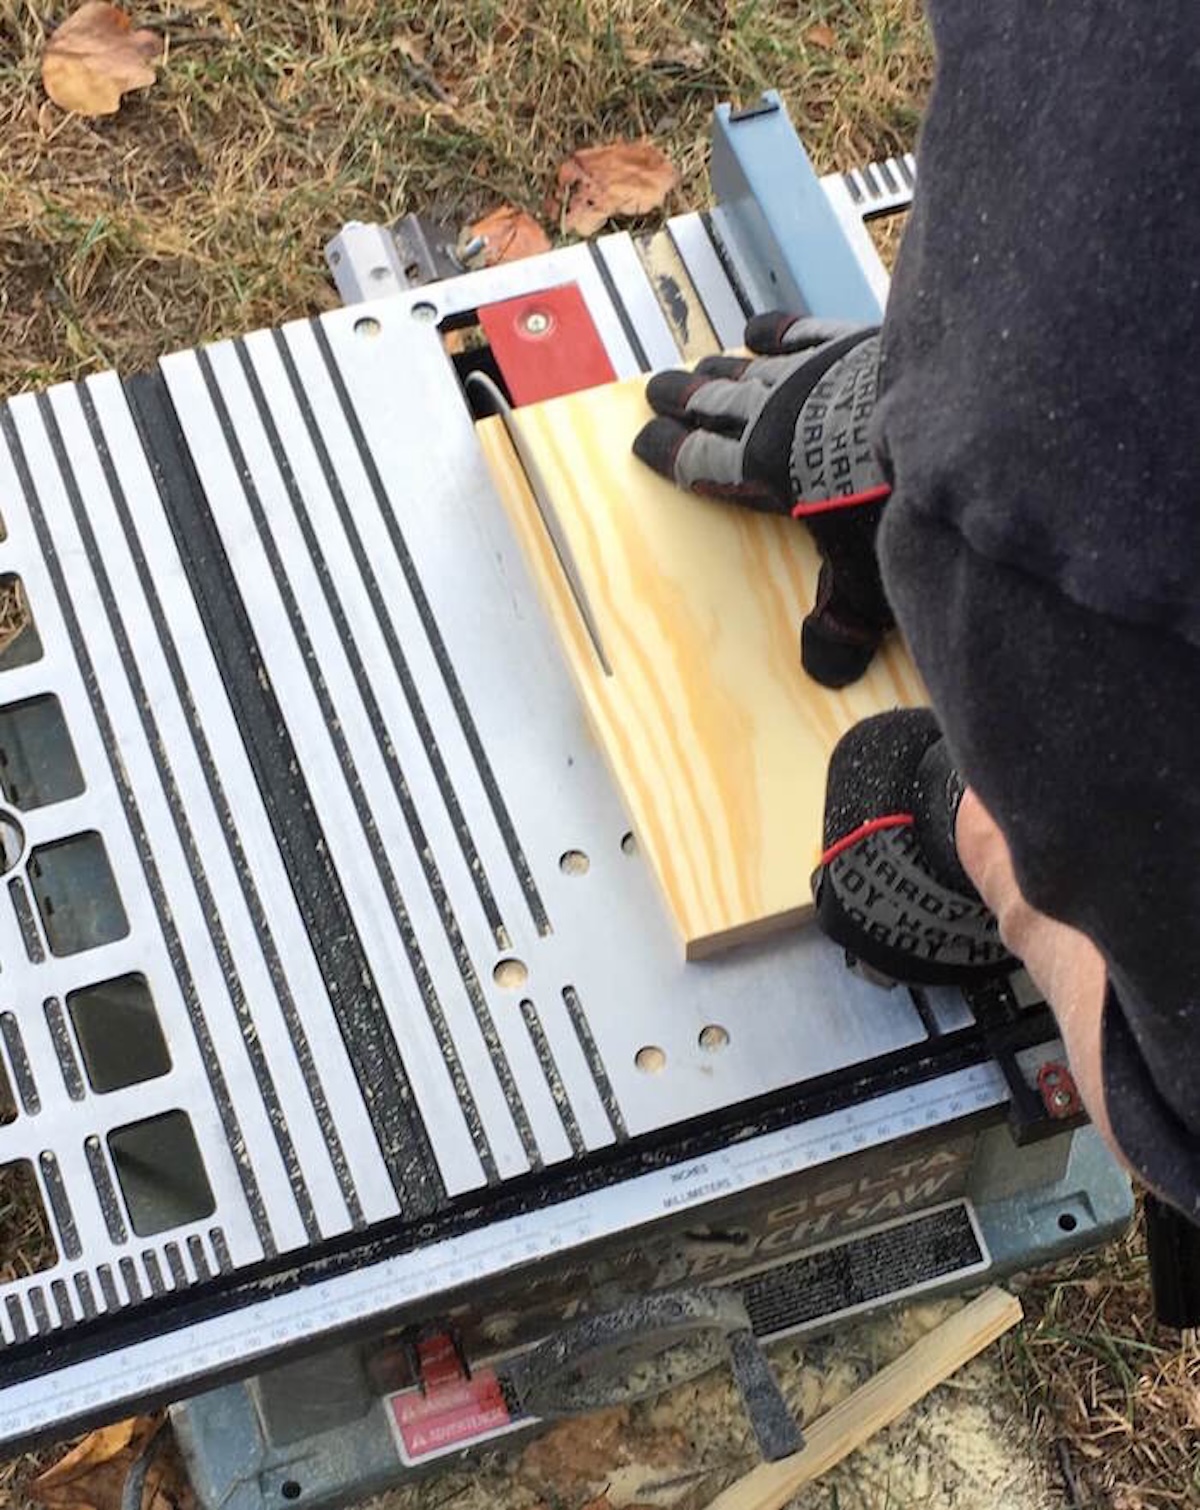
- Take the (22) 1" x 6" x 10"s and, using a table saw, mill off a ½" strip off the 10" side, bring it down to 5 1/2" wide.
- Take two of the 1" x 6" x 10 ½"s and glue them to the underside of the bench top. Mine are attached 6" in from each end and centered.
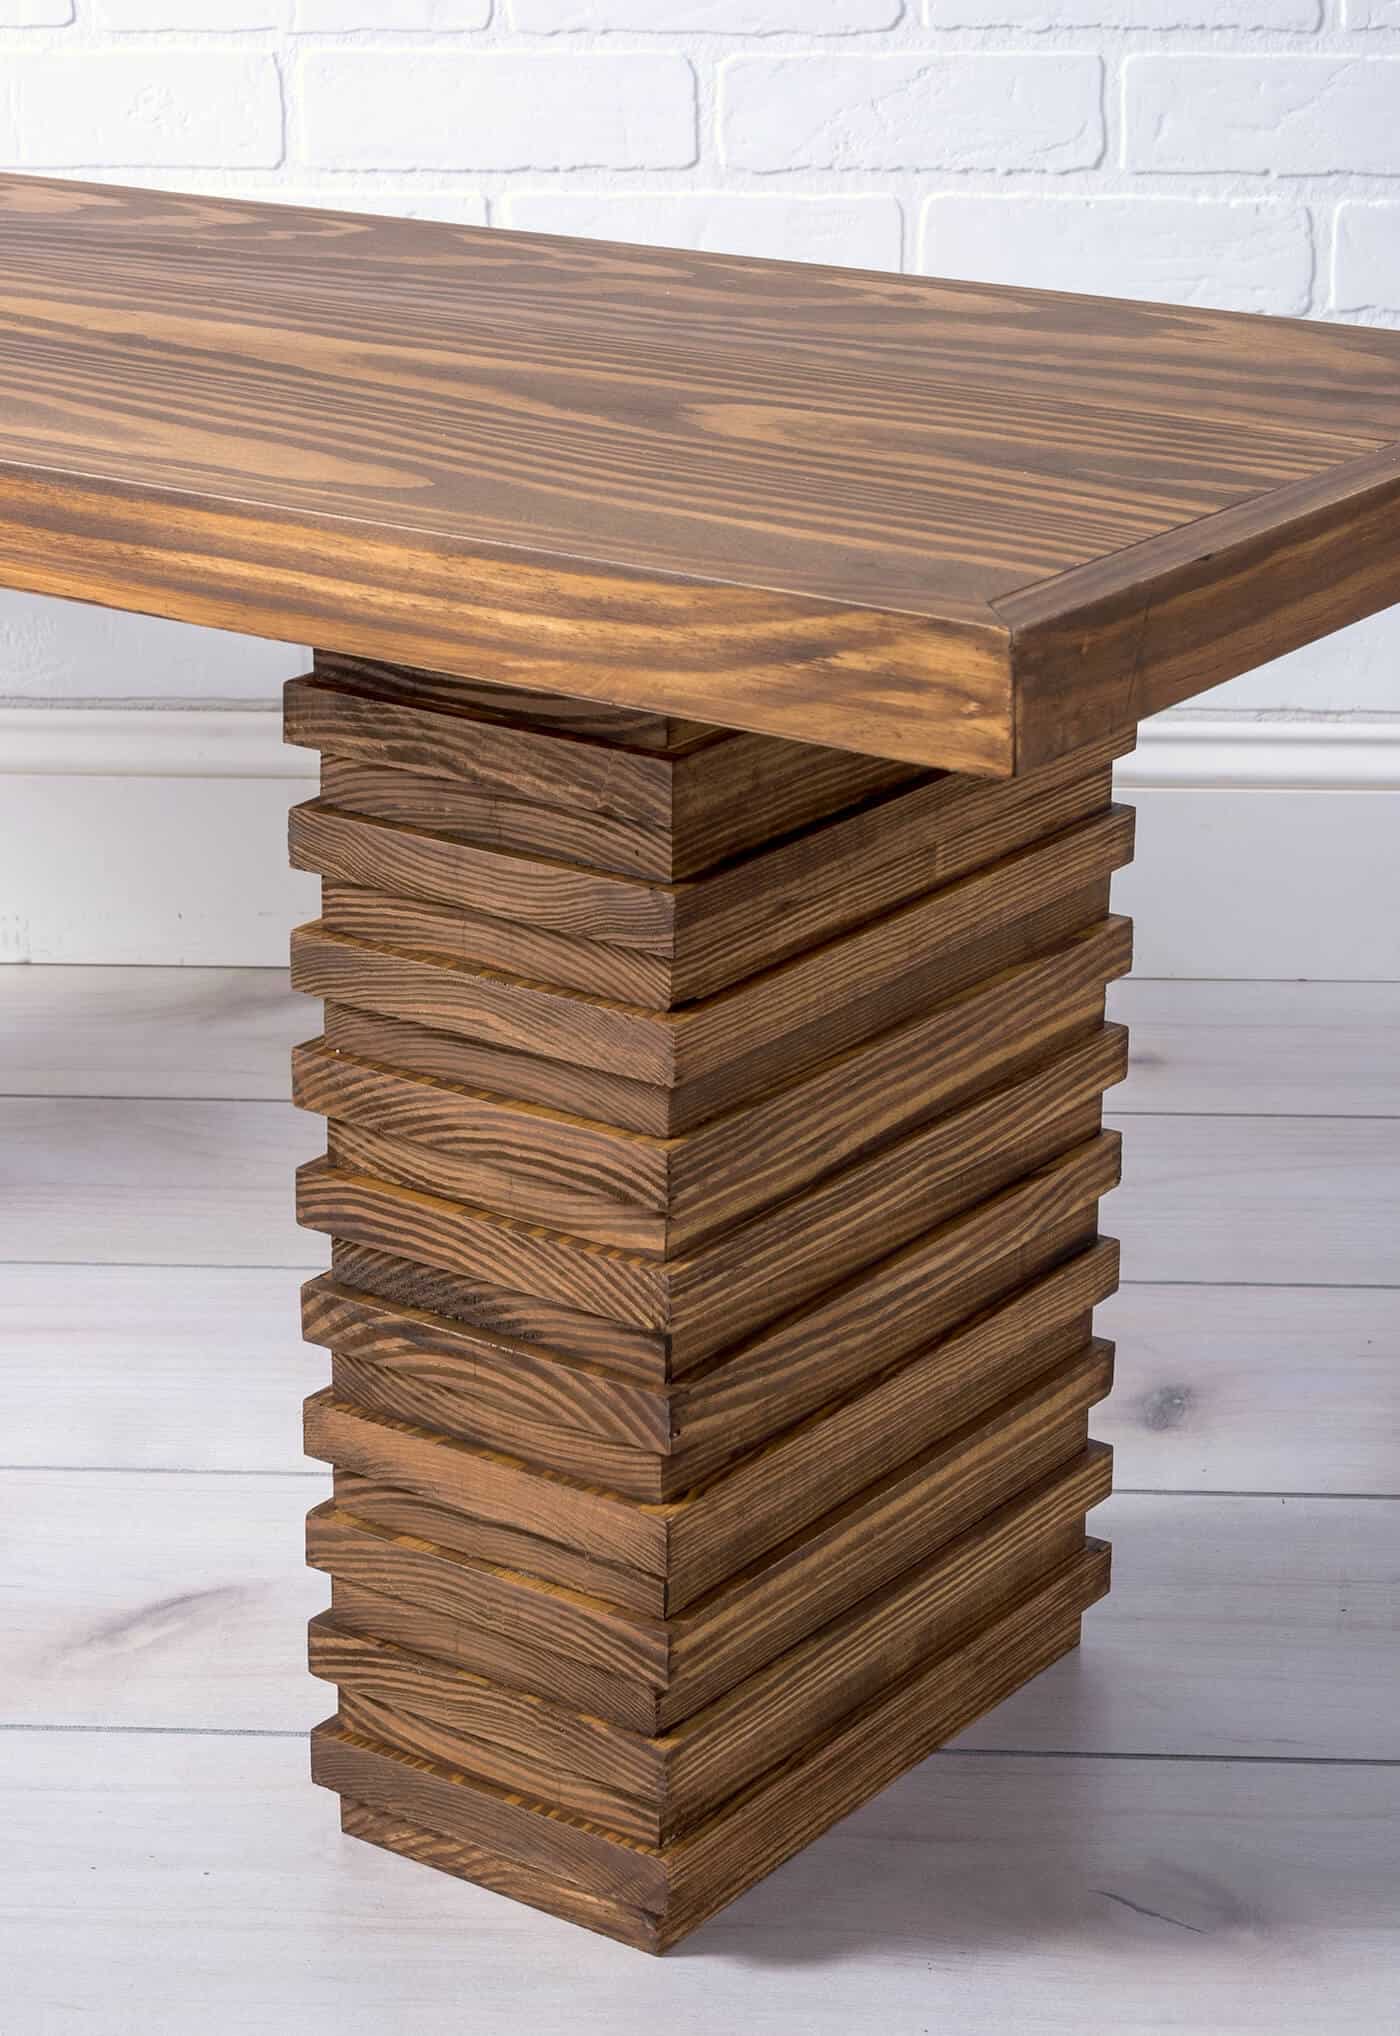
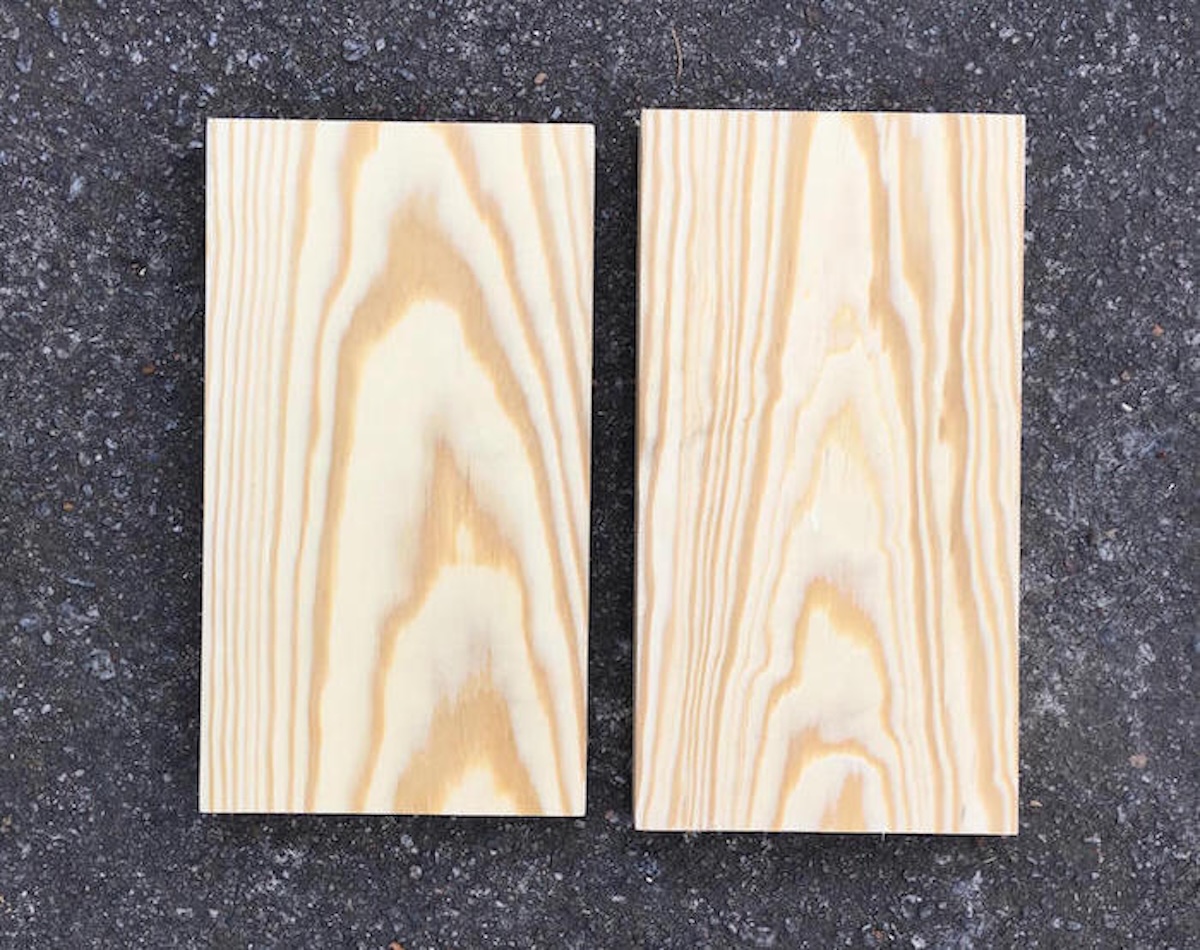
- Take two of your milled 10” pieces and glue them in the center of the 10 ½” pieces. This should give you a ¼” boarder all the way around each 10” piece.Finally, glue a 10 ½” piece on top of each 10” piece. Let the glue cure for a few hours; these are your bench leg bases.
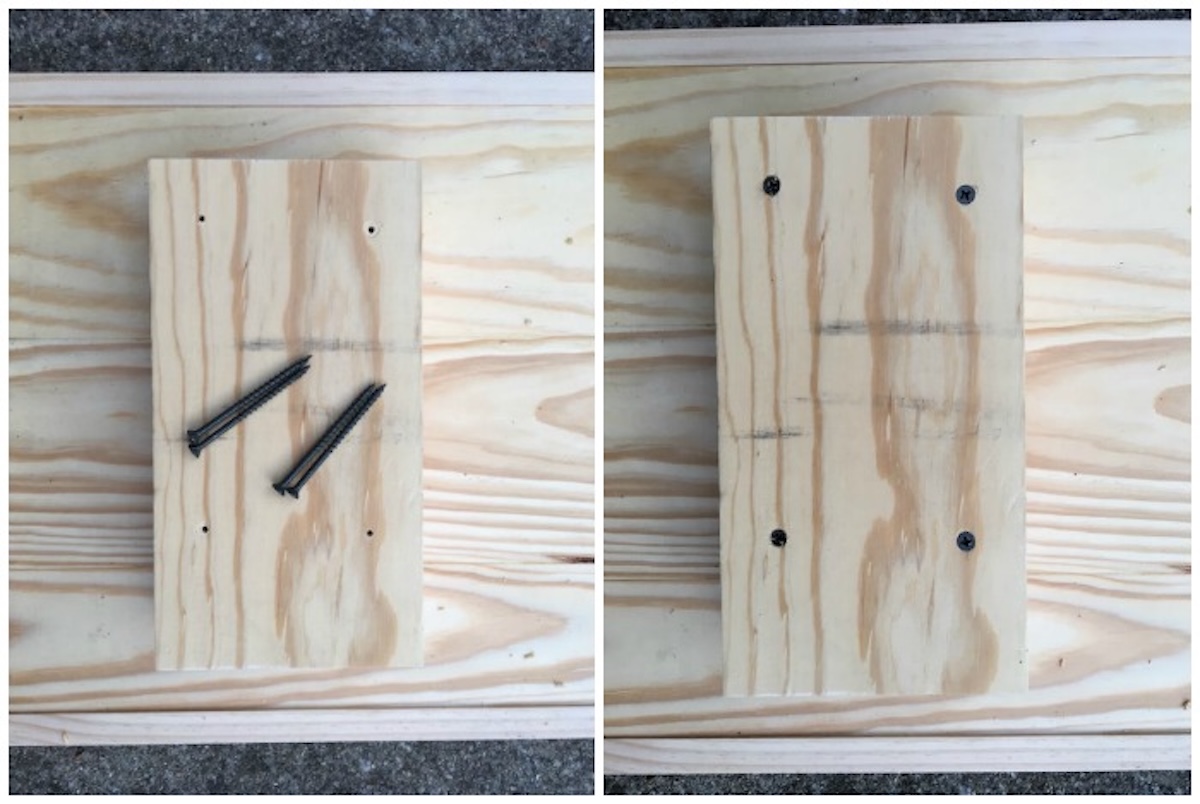
- Drill four pilot holes at the bottom of each leg as shown – screw in four (4) 3” wood screws.
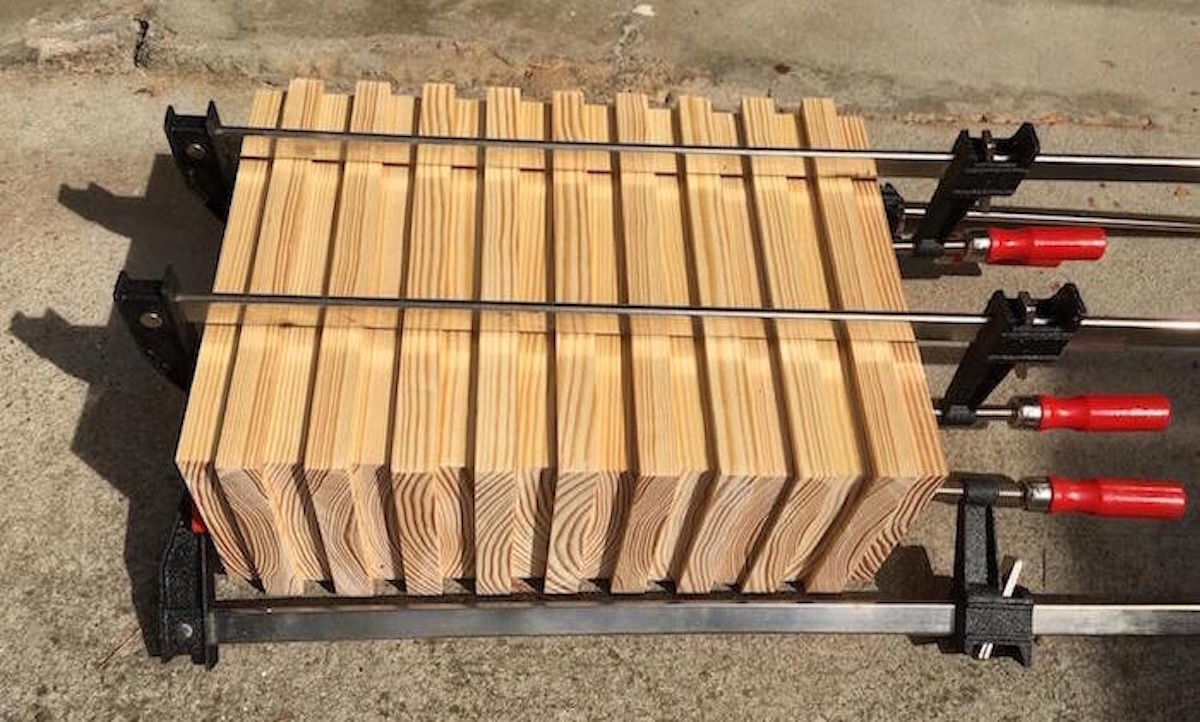
- To complete, each leg will take 19 more pieces each: (10) 10” pieces and (9) 10 ½” pieces. Start with a 10” piece and glue a 10 ½” piece to it, remember to center the 10” piece on the 10 ½” piece to give you a ¼” boarder all the way around.Continue gluing the alternating sized pieces of wood and clamp. You will start with a 10” piece and end with a 10” piece.
- After the glue on the legs cures, flip the bench top over and attach the legs with glue; let the glue cure overnight.
- To stain the bench, use the home decor wax and a rag. Rag the wax on to get the shade you like. Let dry.
- Rag on the clear wax to add another layer of protection. Let dry completely.
- Finish your bench with cork on the feet to protect your floors and keep from sliding. Use wood glue to attach the circles.

Notes
Cut List*
- 2 – 1″ x 6″ x 8′ pine boards cut into two equal pieces each (1″ x 6″ x 4′ each)
- 1 – 1″ x 4″ x 8′ pine board cut into two equal pieces (1″ x 4″ x 4′)
- 2 -1″ x 2″ x 6′ pine boards cut into two pieces each: one that is 15 3/4″ long and another that is 49 1/2″ long
- 5 – 1”x 6”x 8′ pine boards cut into (22) 1″ x 6″ x 10″ pieces and (22) 1″ x 6″ x 10 ½” pieces
If you enjoyed this bench, I’d love to know in the comments! I’d also love for you to check out these other woodworking projects:
Coffee Table • Coffee Table with Storage • Hose Holder and Planter • Industrial Pipe Shelving • Mirror Frame • Modern Headboard • Nolmyra Chair Hack • Outdoor Bench • Outdoor Table • Pallet Shelf • Platform Bed • Table Revamp with Laminate • TV Riser • Wood Step Stool Chair

Your work is amazing – period! You have inspired me and I plan to learn how to use all these tools and making one in those benches for my deck!
I just did most of the drill downs on my new deck and learned a lot working within my godfather.
Can’t wait to make the bench!