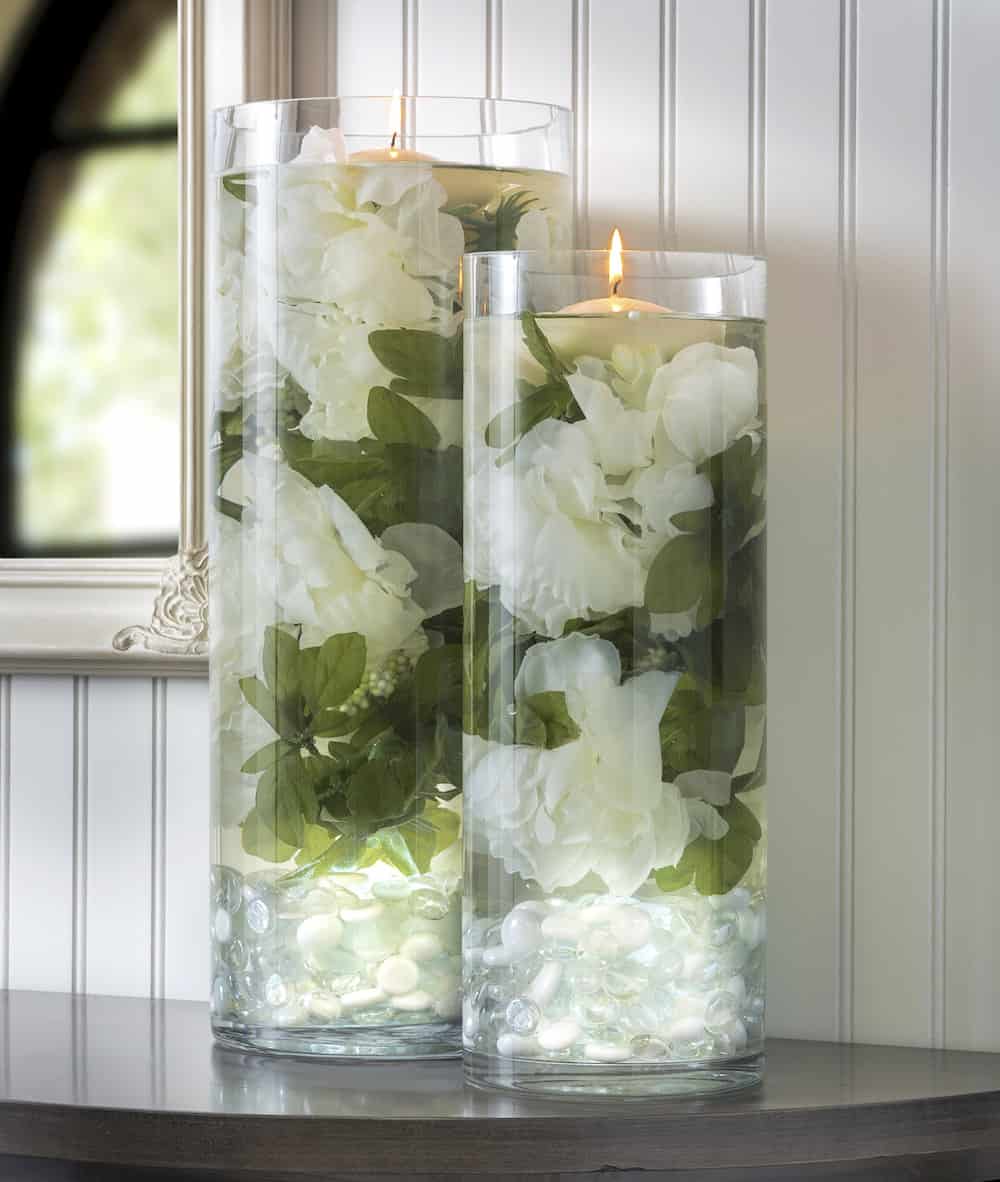
DIY Wedding Centerpieces with Flowers (That Glow!)
You can create these beautiful DIY wedding centerpieces in just a few steps. The submersible lights and flowers make them truly unique!
Skills Required: None. Even if you’ve never crafted before you can make this project. You’ll be doing assembly more so than actually crafting.
I’m excited to share these DIY wedding centerpieces today, because it’s almost spring and I bet there are a lot of brides out there looking for great ideas. Three words, my friends: water, flowers, and glowing!
Yes, these DIY centerpieces have all of the key elements you’ll require for stunning wedding table decor. And what I really love about this table decor is that – if you like – you can use them in your spring home decor. Or for other celebrations besides weddings.
You’ll be able to customize using any of your favorite flowers from the Michaels faux florals department. They have everything you need to get started!
Gather These Supplies
- Clear glass cylinder vases
- Faux florals – colors of your choice
- Vase filler – I used clear and white flat marbles
- LED party lights (submersible)
- Floating candles
- Scissors
- Water
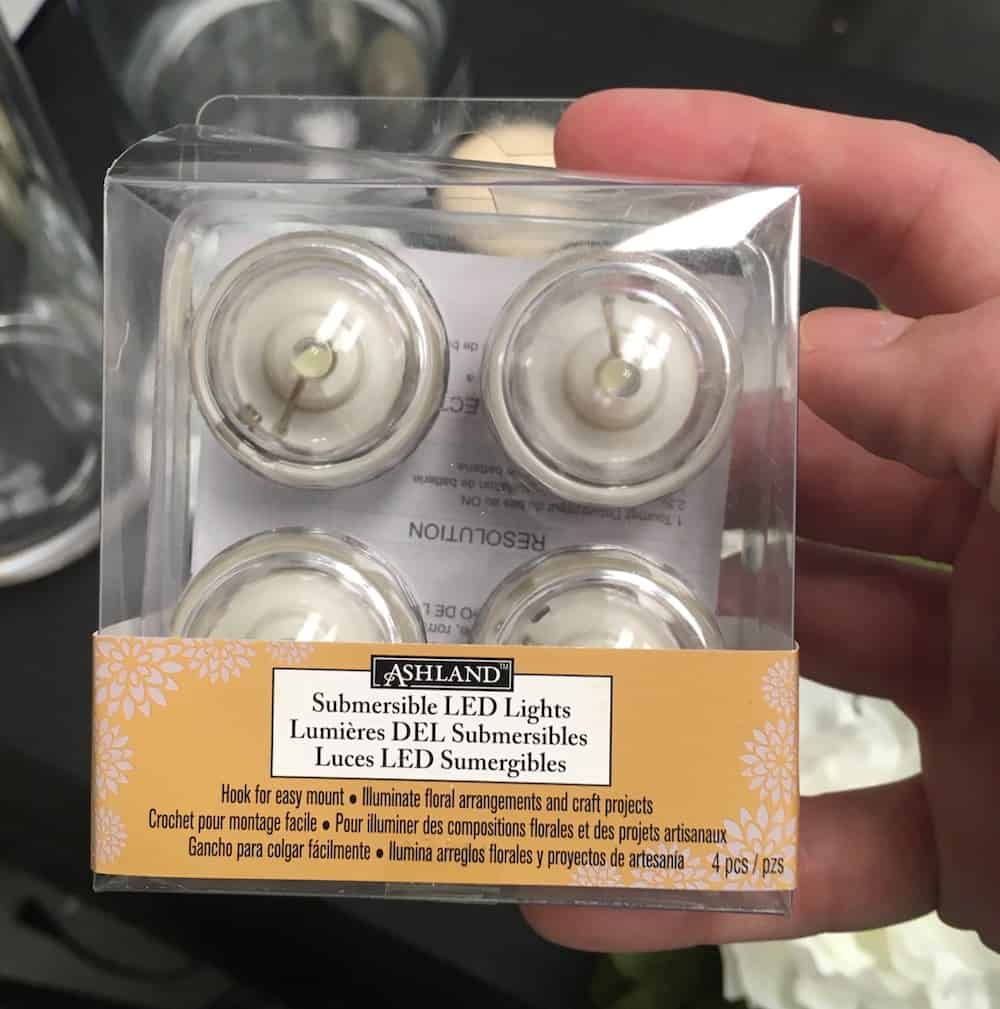
The submersible LED lights are key if you are going to use these DIY centerpieces for a wedding or party. As suggested, they are completely waterproof . . . and they last about 50 hours.
You’ll place one of these at the bottom of your glass cylinder vase. Since they last about 50 hours, you can make these the day before the wedding or party – or the morning of.
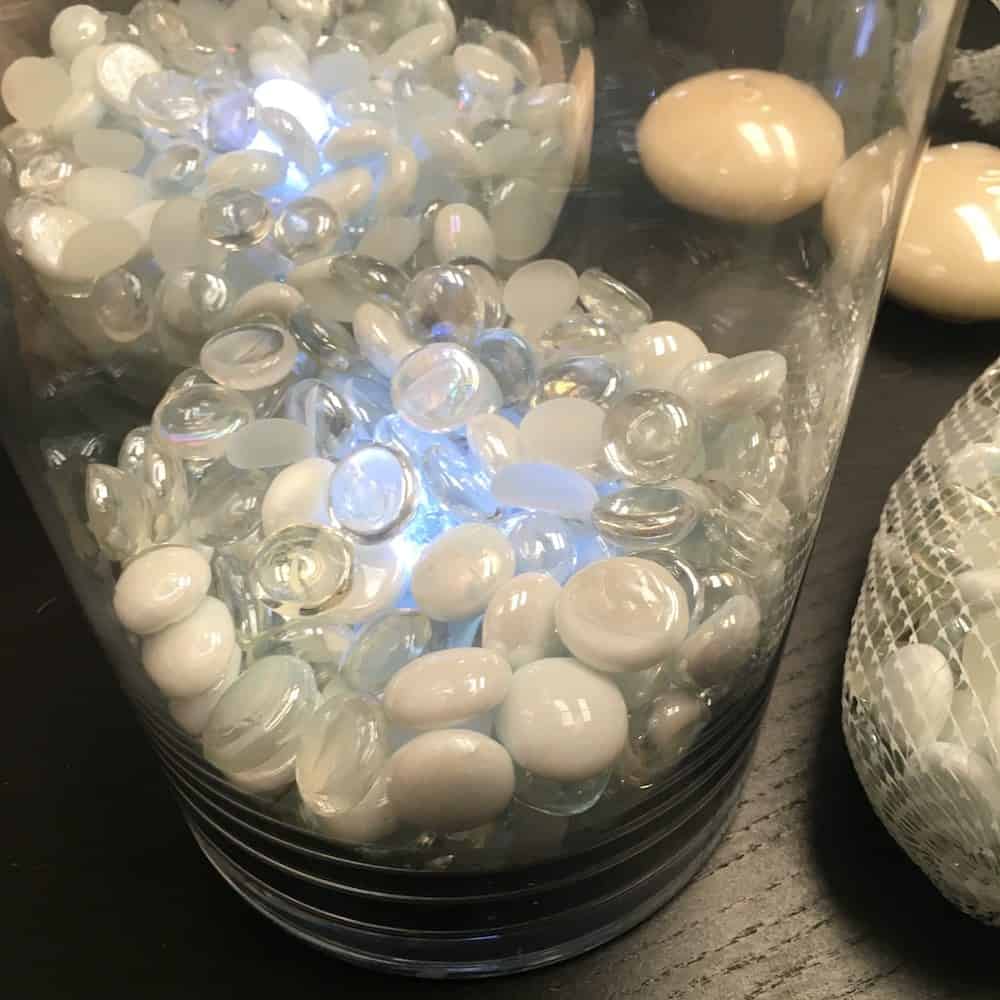
Place the glass stone filler directly over the light, covering it up completely but allowing the light to glow through. You can pick some of the more transparent stones.
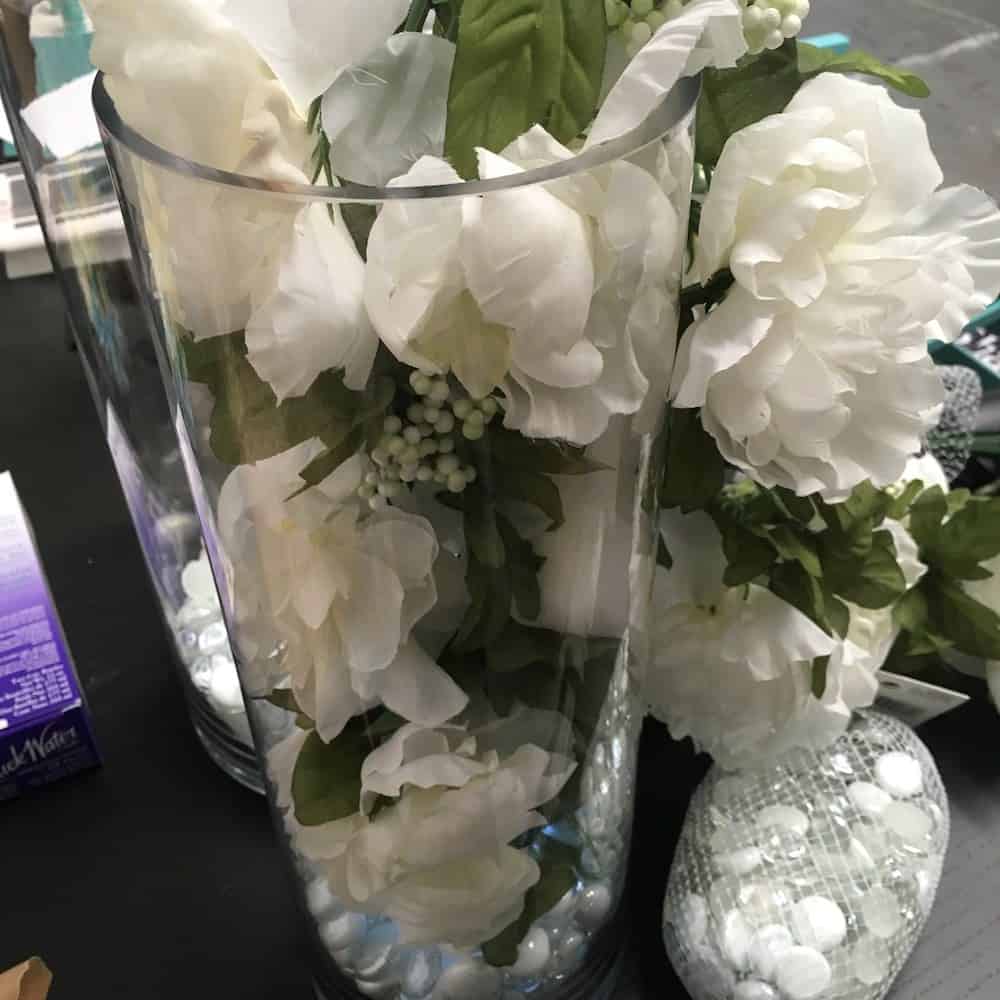
Use scissors to cut your faux floral garland and – you don’t want to completely stuff the container full – just enough to fill it.

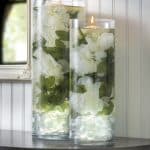
Fill your DIY wedding centerpieces with water, then place floating candles at the top. Light them when you are ready!

DIY Wedding Centerpieces
Equipment
Materials
- Glass cylinder vases
- Faux flower(s)
- Vase filler
- LED string lights submersible
- Floating candles
- Water
- Glass cleaner
Instructions
- Clean your glass cylinder vases with glass cleaner to remove fingerprints.
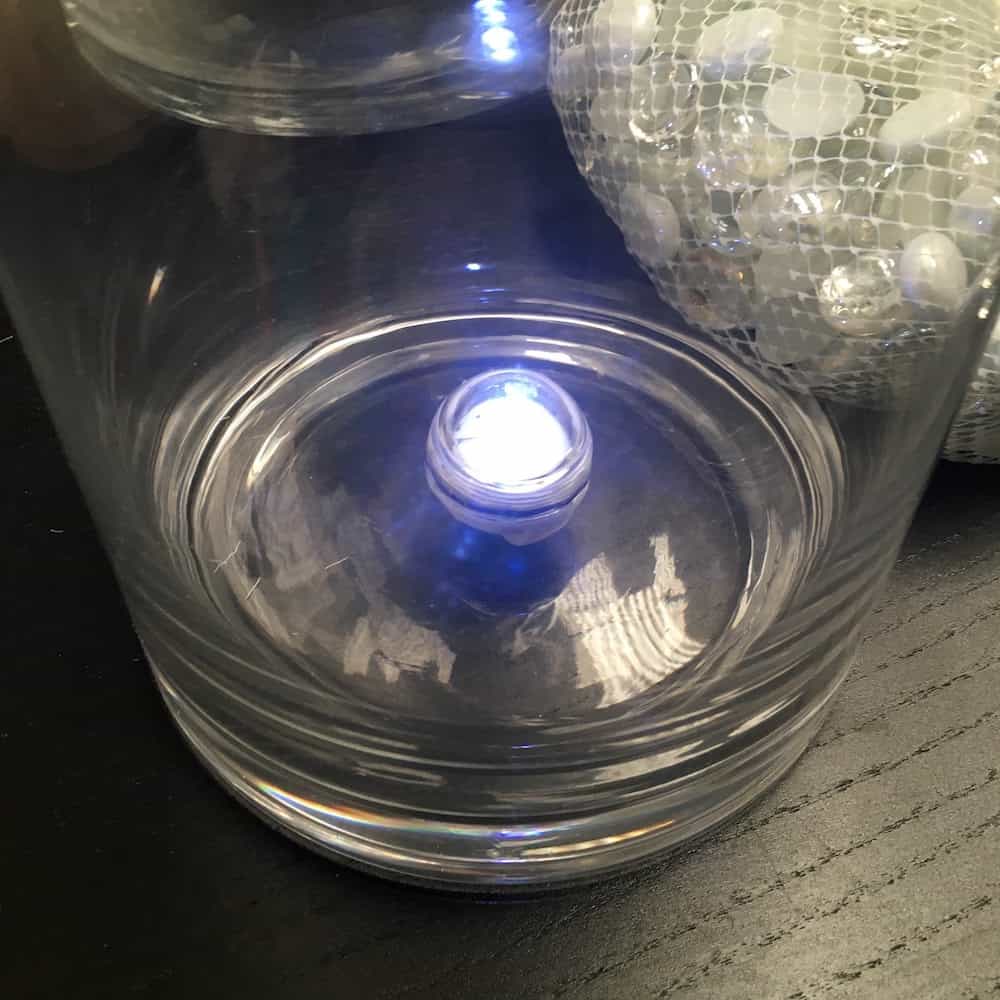
- Place a submersible light at the bottom of the vase (turn it on).
- Place glass filler directly over the light, covering it up completely but allowing the light to glow through. You can pick some of the more transparent stones.
- Use scissors to cut your faux floral garland down to fill the container. Add to the vase.
- Fill with water and place a floating candle at the top.
Notes
If you love learning how to make centerpieces, check out these other ideas: