Perler Bead Drink Covers for the 4th of July
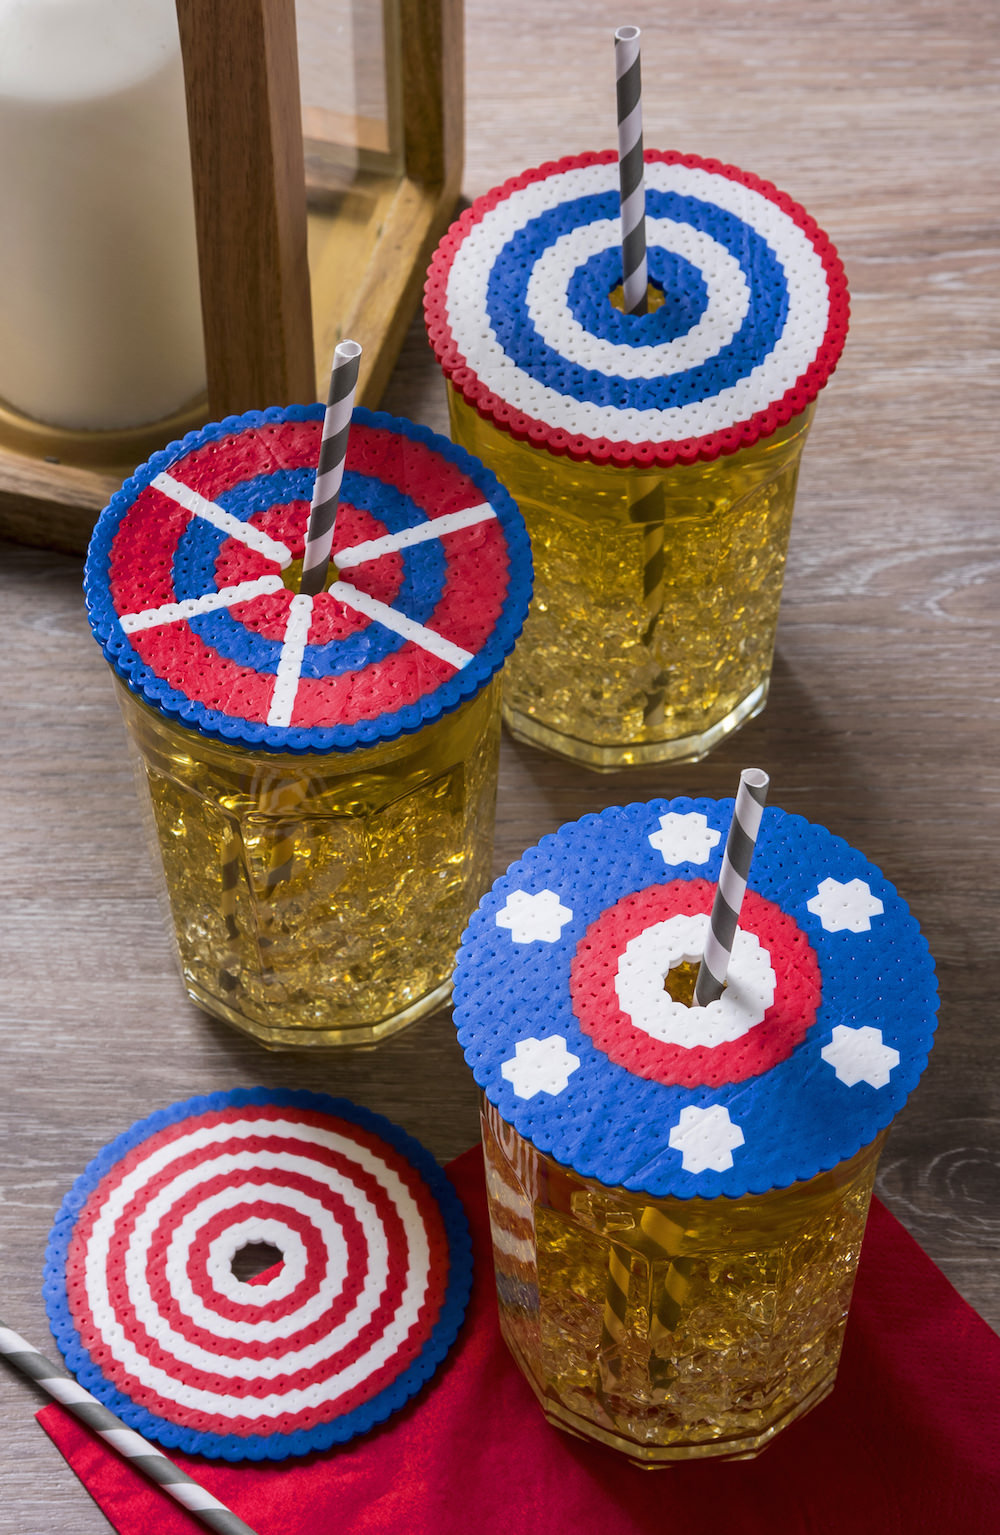
Learn how to make perler bead drink covers perfect for the Fourth of July! These are an easy craft both for kids and adults. Great for keeping bugs anything else out of your beverage at a summer party or BBQ.
I live in the Northwest currently, but I spent almost 15 years in the south. If you’ve never lived in the south before, let me tell you something about it – there’s a lot of insects.
In fact, I was mosquito food all summer for some buzzy little friends. Did you know that type O blood (which I possess) is more tasty to mosquitoes? Yep. Maybe you can related to me.
Summer in the south requires a lot of citronella candles and bug spray. If you’re going to have a party you’ll need to be ready with some additional items like food covers and drink covers, so that little beasties don’t fly into your appetizers and cocktails.
And that’s how these perler bead drink covers were born!
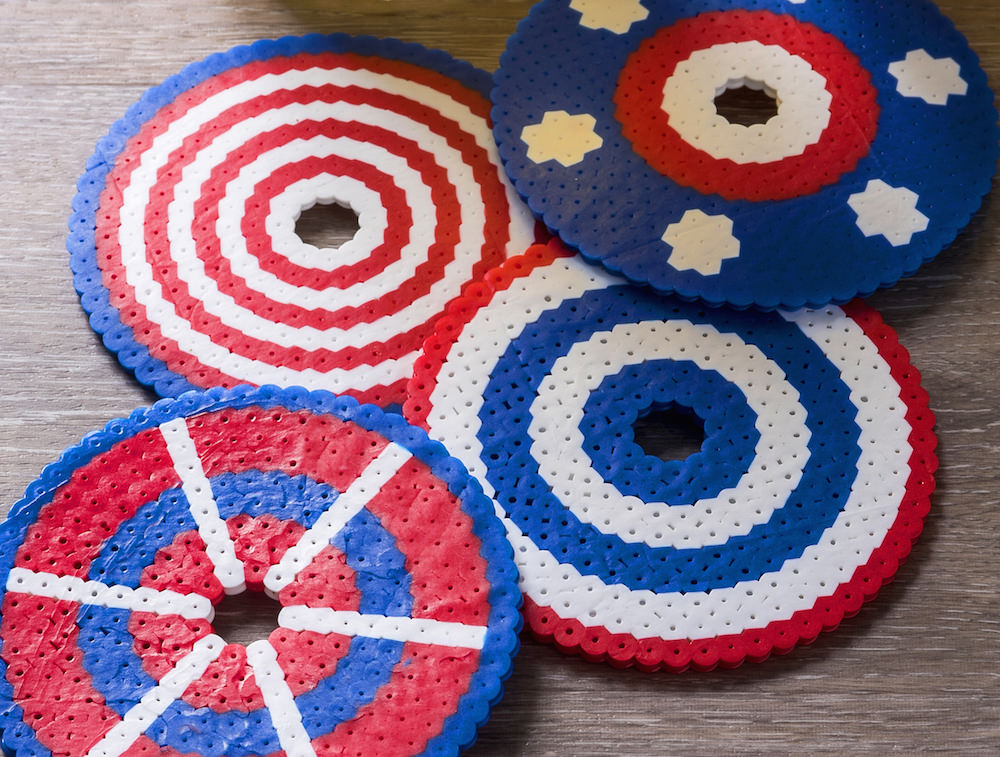
If you want to make these drink covers, you’re only going to need four things: boards, beads, ironing paper, and iron. The best part is that kids LOVE making these, so if you want a bunch for your party, they can help. Have them do the assembly and you do the ironing. You can get a bit of an assembly line going!
How to Make Drink Covers
Gather These Supplies
- Round perler bead pegboard
- Perler beads – you’ll need 210 beads for each drink cover
- Ironing paper
- Iron
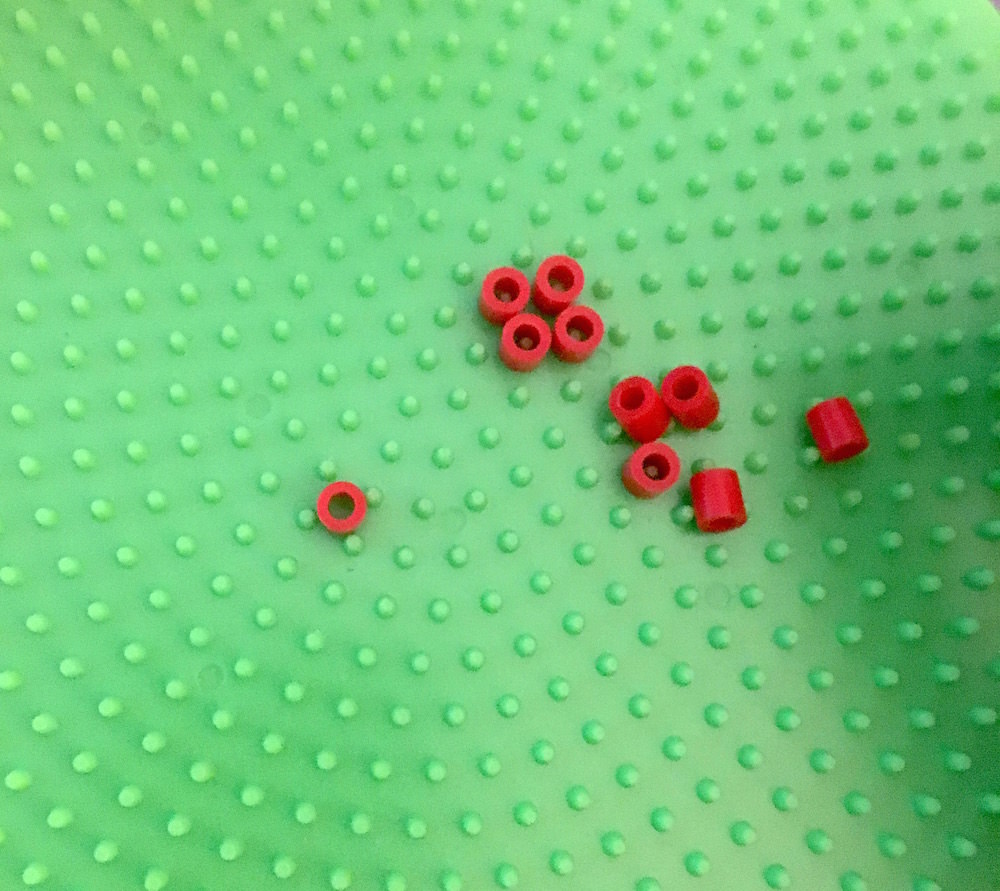
The round perler bead pegboard is essential for organizing perler beads in a circle. Start placing your perler beads on the pegboard, leaving seven spaces open in the center (so that your straw can insert through).
Continue forming your perler beads in a pattern, working your way out on the pegboard.
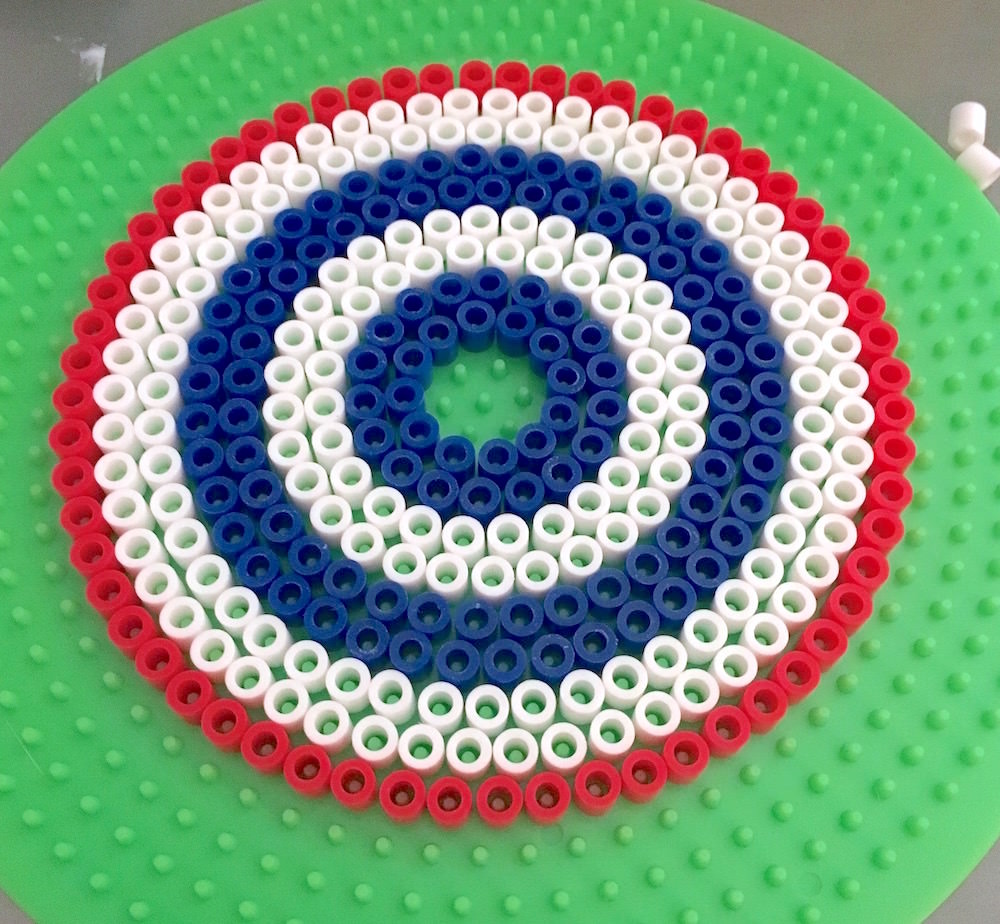
Each drink cover should be approximately nine rows of perler bead working outward; this will cover most glasses (though you’ll want to measure your glasses specifically to make sure they fit).
Pick any summer or Fourth of July patterns that you like. I’ll be honest, I just start putting beads down! I just see where the wind takes me.
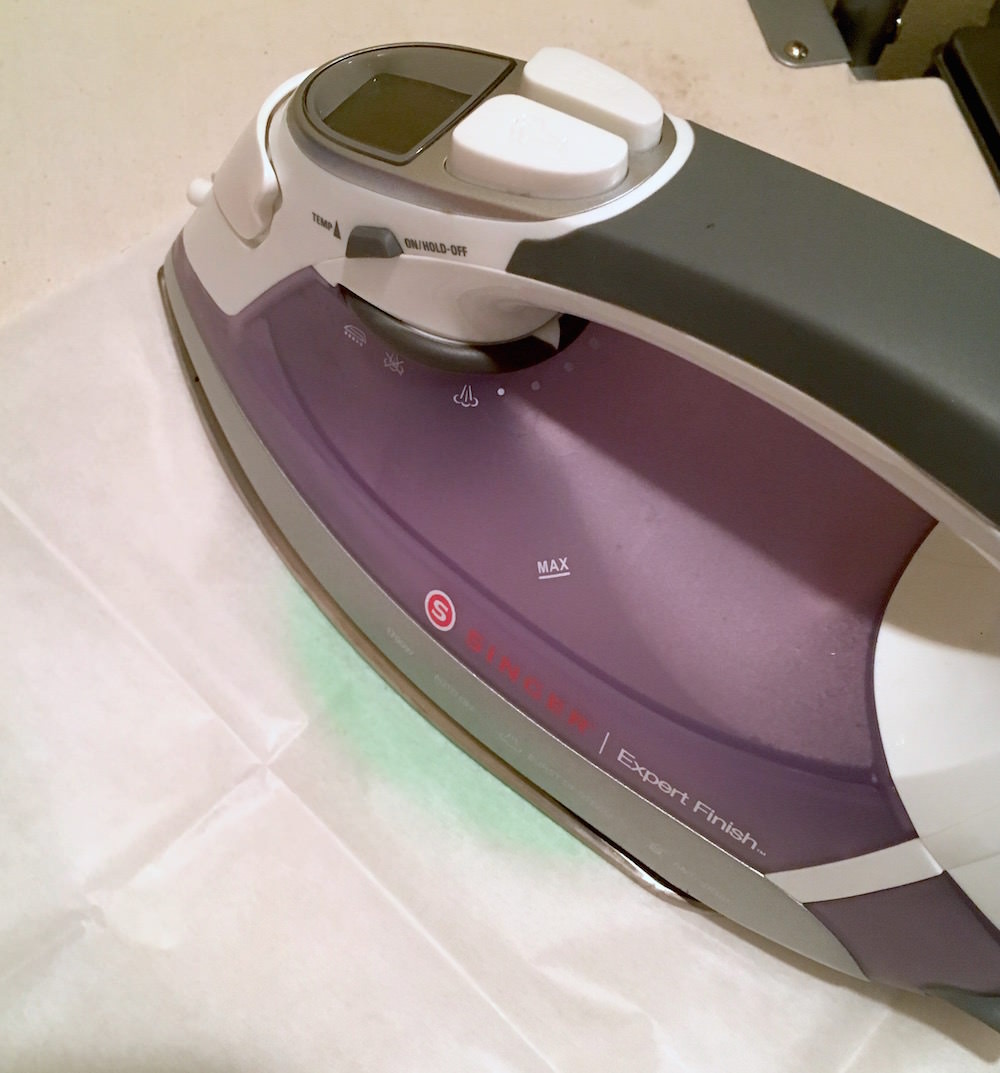
Once your pattern is done, place a hot iron on top of the beads with the ironing paper in between. Follow the instructions on the back of the perler bead packaging – and leave this job to the adults!
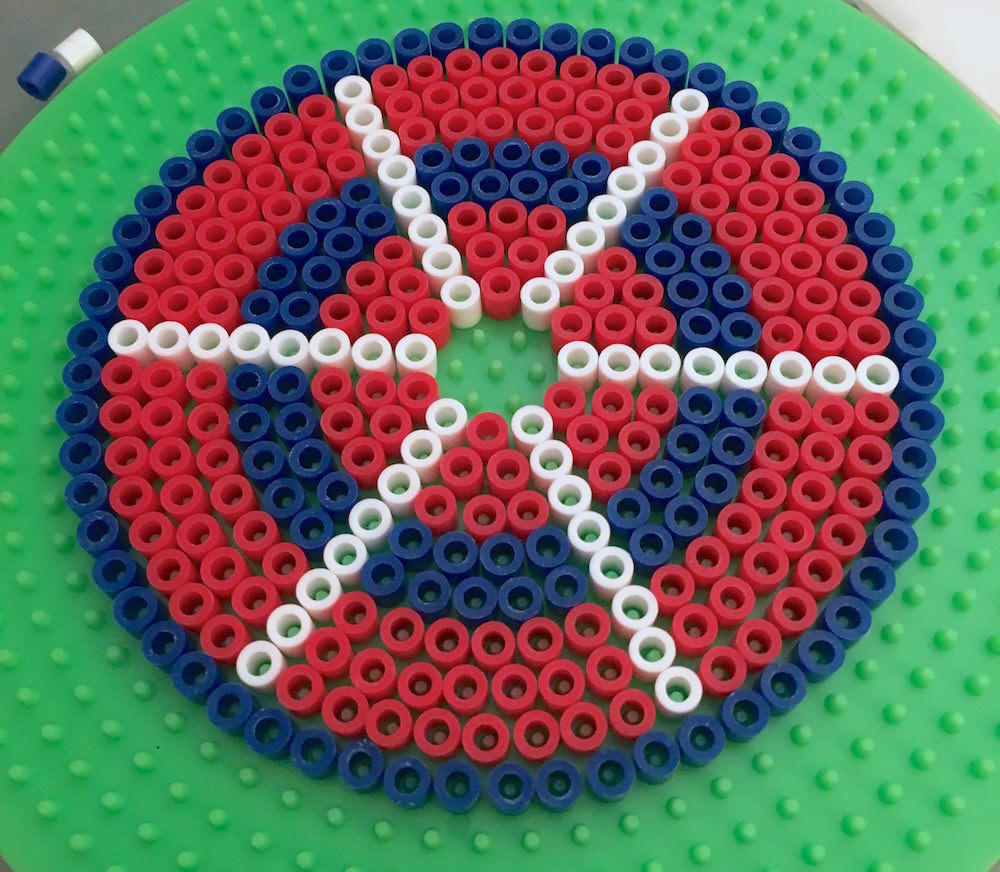
Repeat for each perler bead drink cover you’d like to make. Let your imagination take over when you create your patterns – and have fun with it.
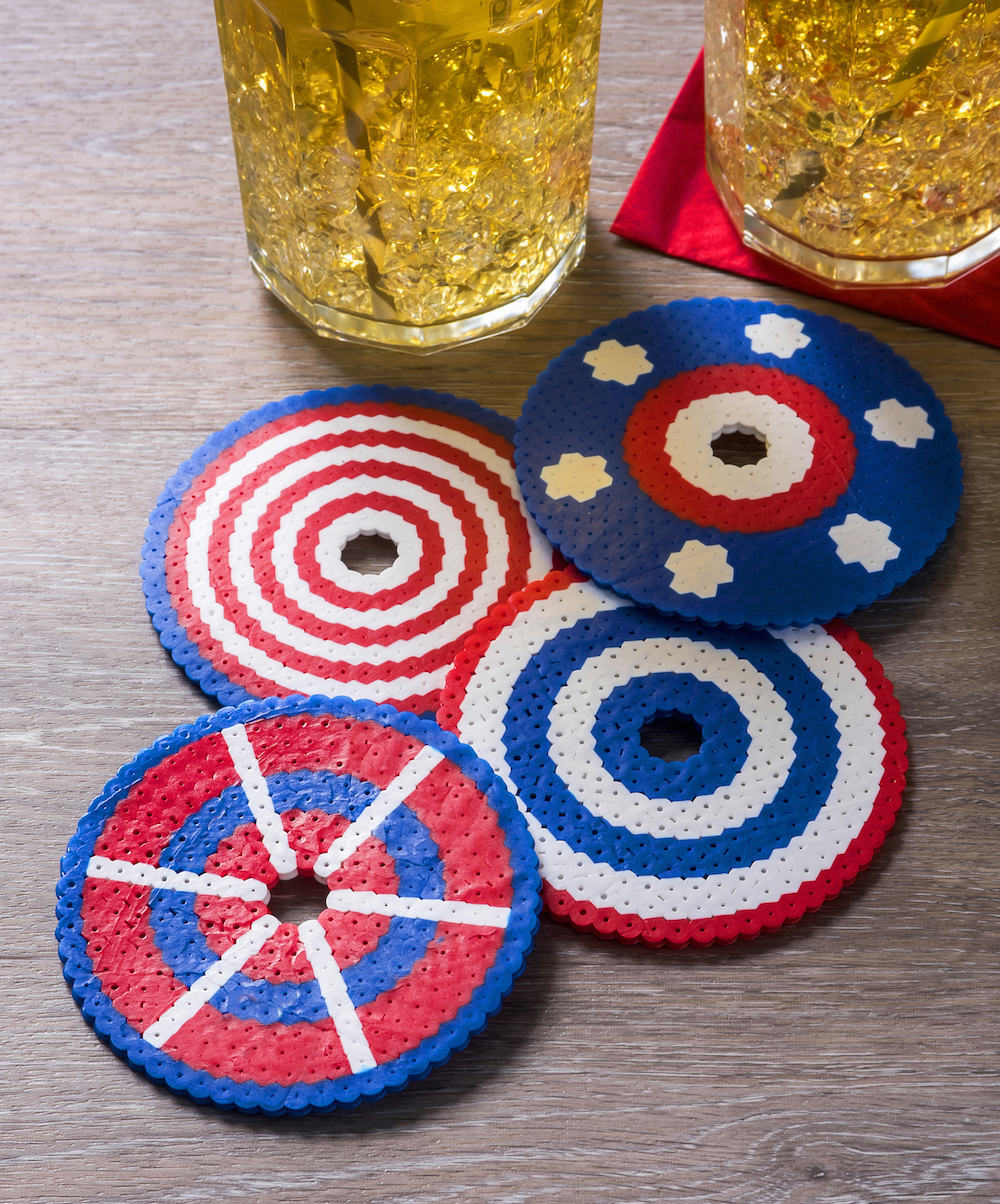
Place these perler bead drink covers on top of your cup and insert a straw into the hole. You can now enjoy your Fourth of July party without having to guard your glass!
If you enjoyed this project, I’d love for you to check out these other unique ideas:


This is such a cute idea!!! Thanks for breaking down all the steps. I pinned this – need to get some supplies and try my hand at some of these.
-Lauren
What great ideas I am seeing on your site!! Crafting is in my blood too and I am always looking for new ideas.
Something just really grabbed my interest when I read about you and the idea for diycandy. I look forward to exploring your site and finding more aha moments.
I never leave comments… don’t know what has come over me…. LOL
Thanks for a great start to my day.
Jody
Thank you for the kind words Jody! I love it – you made my day 🙂