How to Make a Pompom for a Hat (So Easy!)
Learn how to make a pompom for a hat and then attach it! Dress up your beanie this winter with this easy tutorial. Add stitch accents too.
Skills Required: Beginner. Even brand newbies can make pom poms. It helps if you have embroidery experience to make the design on the hat but it’s not required. If you can sew on a button, then you can make a pompom and add it to your beanie!
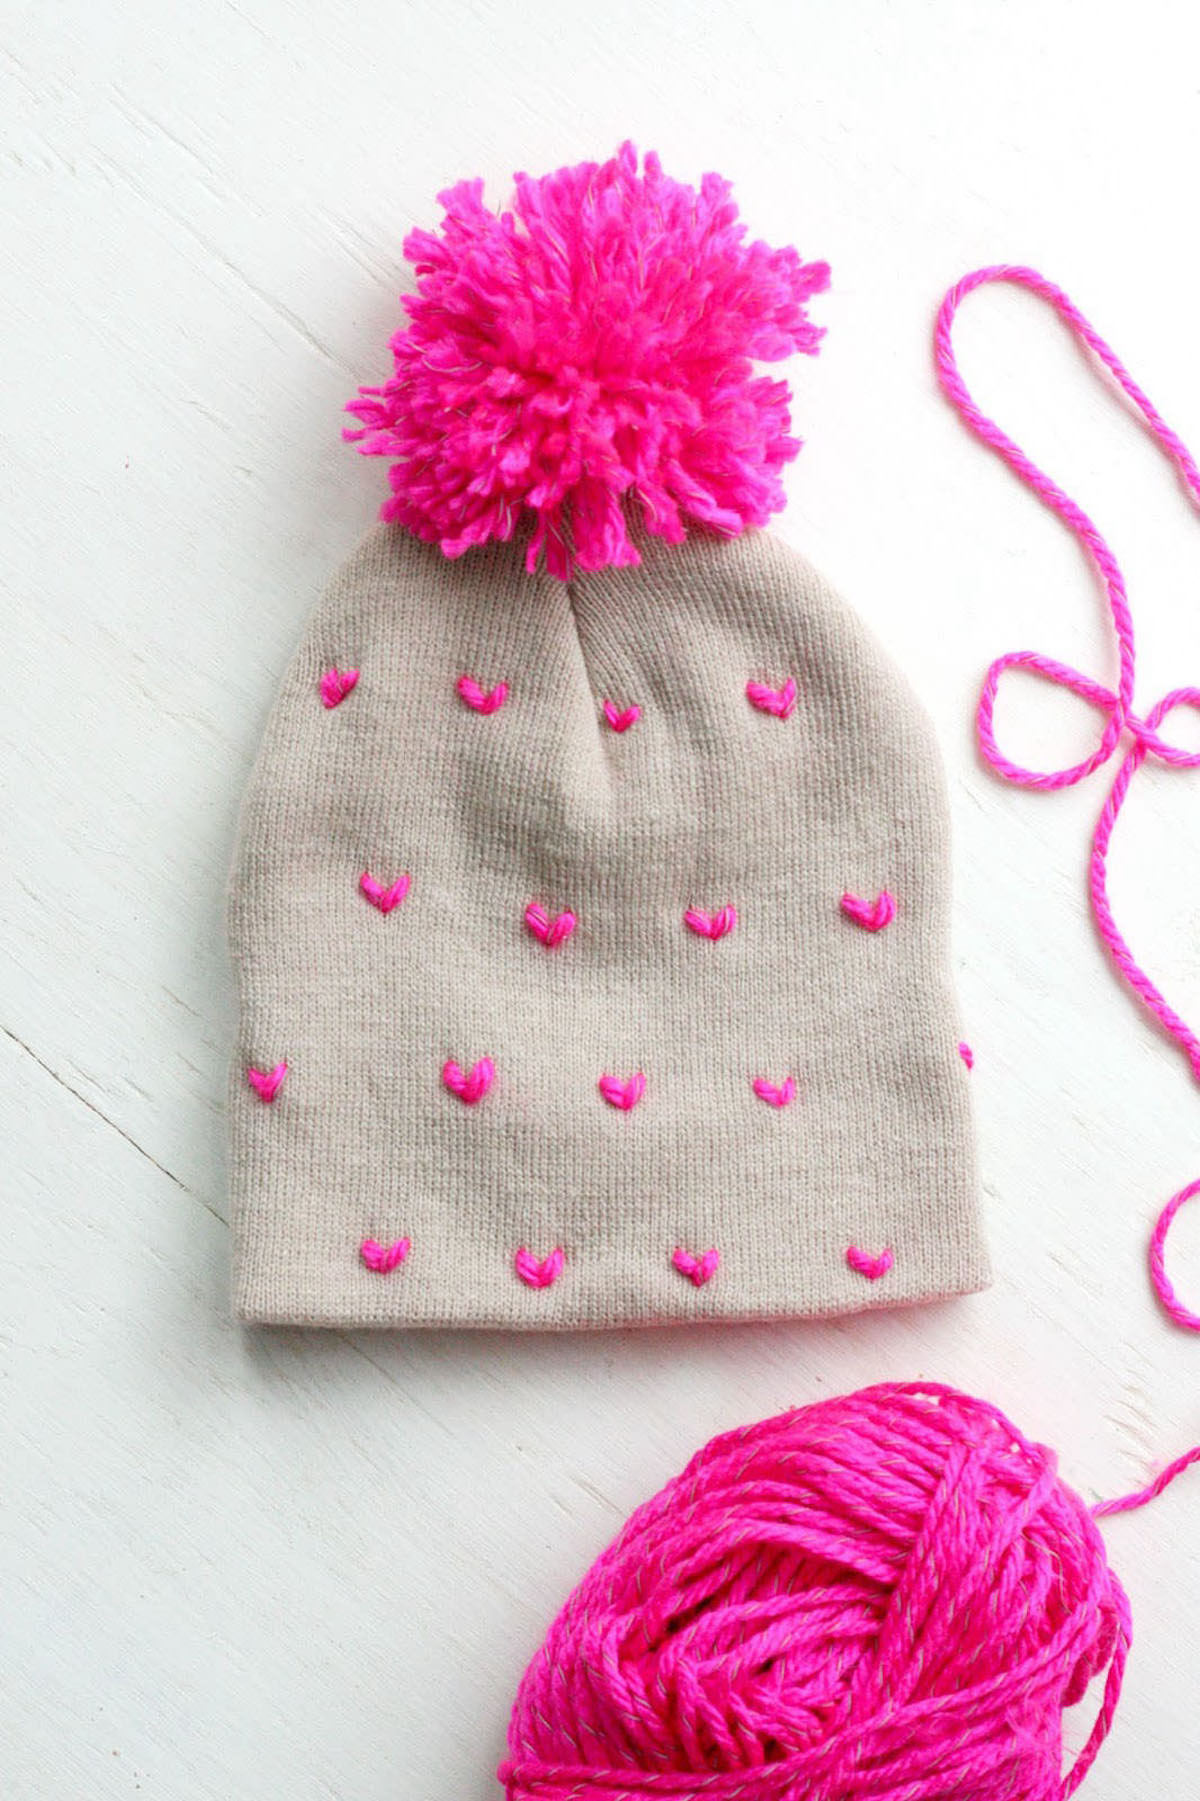
I have been letting this pom pom beanie project roll around in my brain for the last couple of months, trying to decide how to execute it well. Then, over the weekend, I found the right beanie and the right yarn and finally decided to make it happen and I’m SO glad I did.
I have noticed these solid beanies at Walmart (for just $2) and knew there had to be a way to take these inexpensive but plain little cuties to the next level, so I decided to add some neon yarn touches and BAM! I made these with a pom pom maker just like I did my pom pom wreath and wall hanging. It’s easy.
And once you’re finished, the cutest beanie around will have been created. This fashion craft is great because it is so cheap and, if you can sew on a button, you make yourself one!
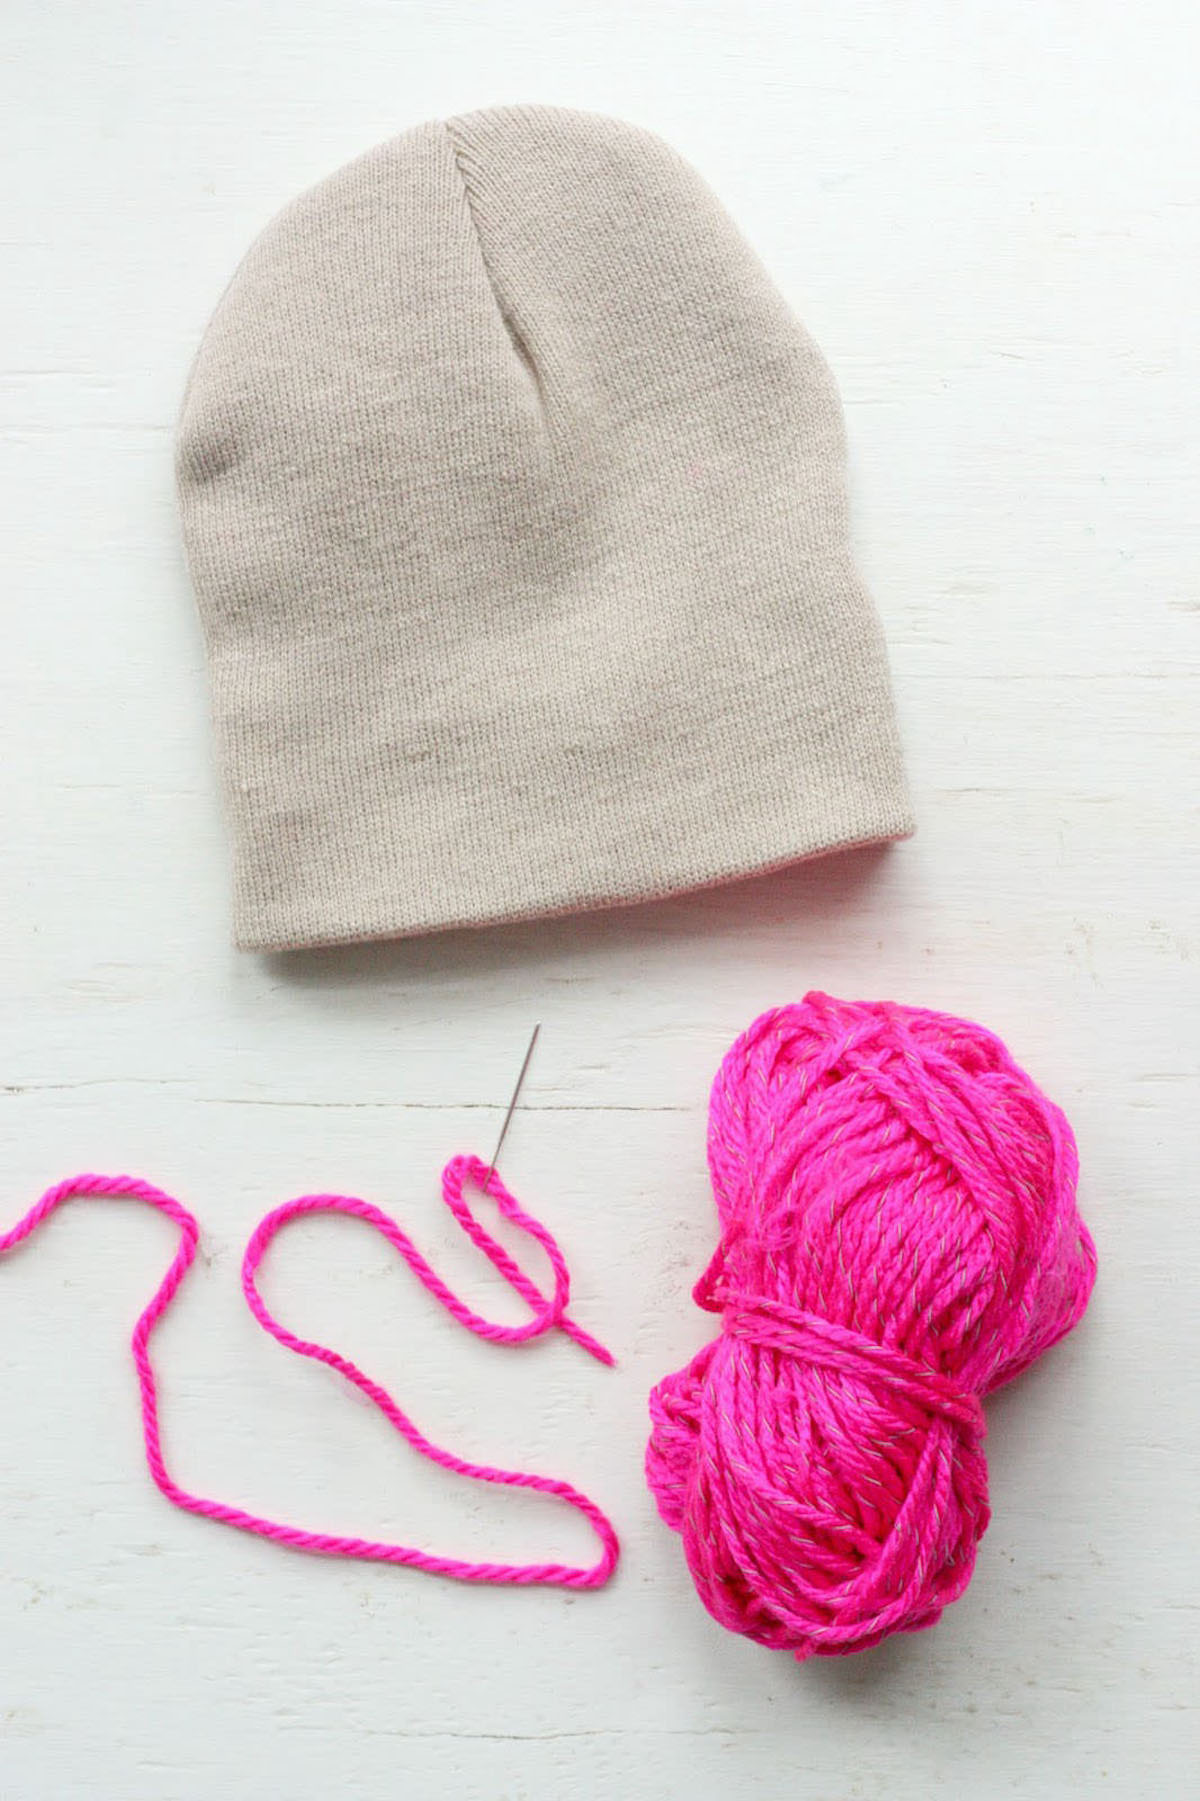
Gather These Supplies
- Plain beanie
- Yarn (if you are doing hearts then a thicker yarn will make a bigger impact)
- Needle (make sure it is big enough to thread your yarn through!)
- Scissors
- Pom pom maker (optional)
Thoughts On This Project:
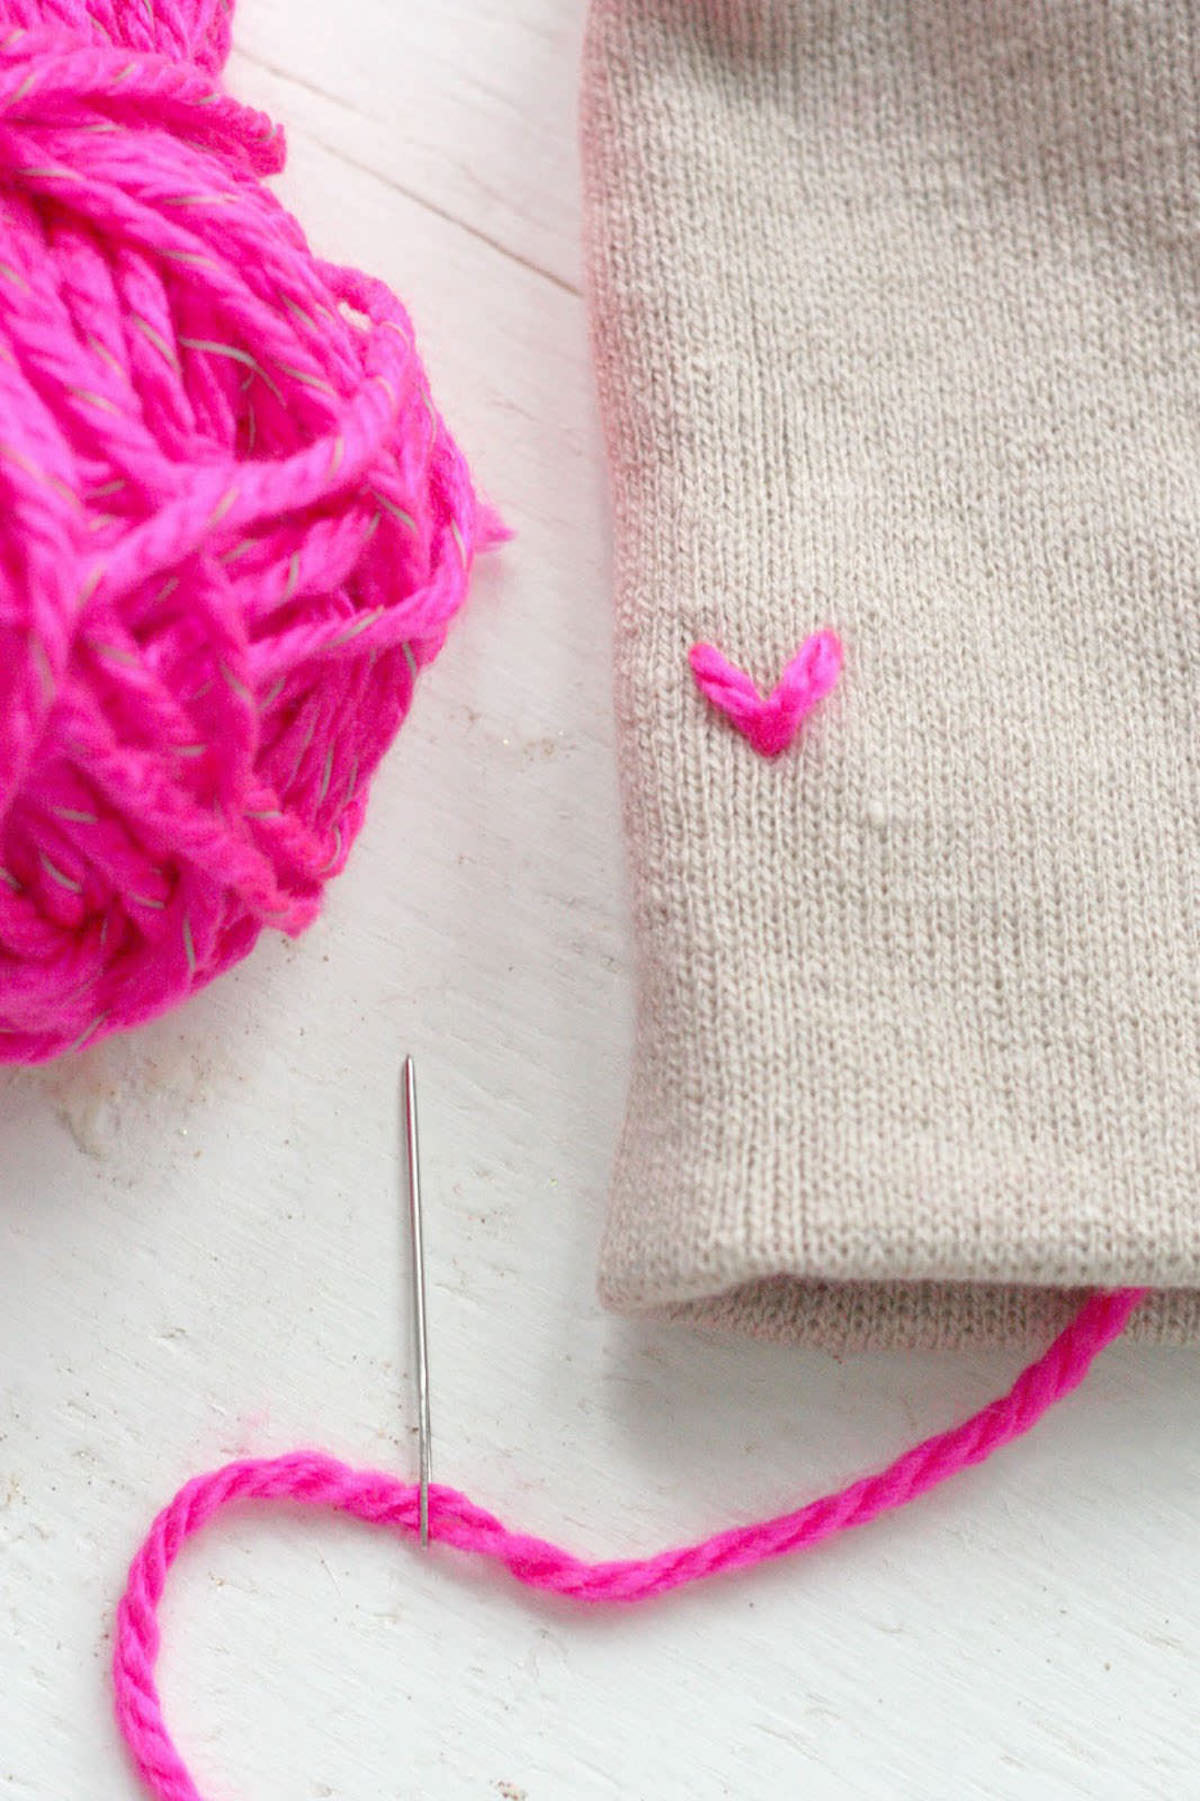
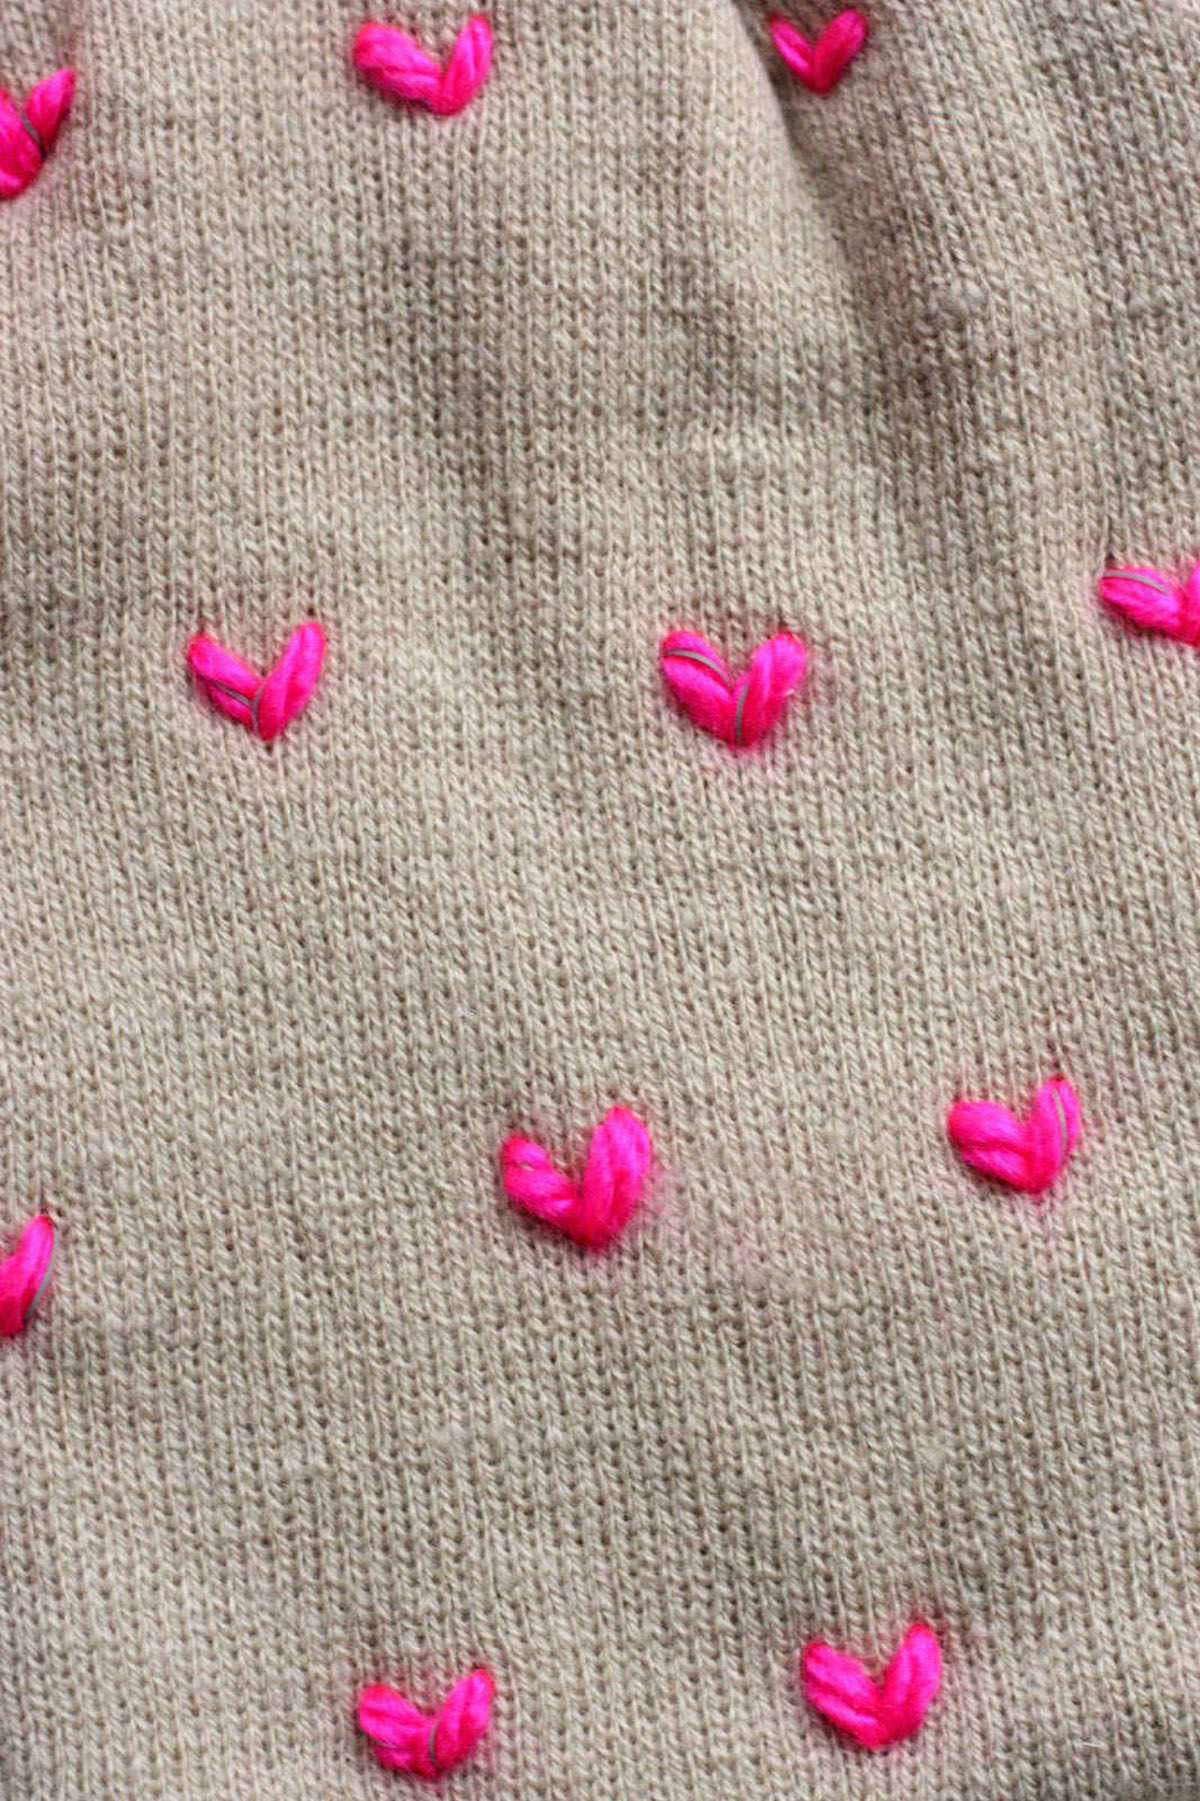
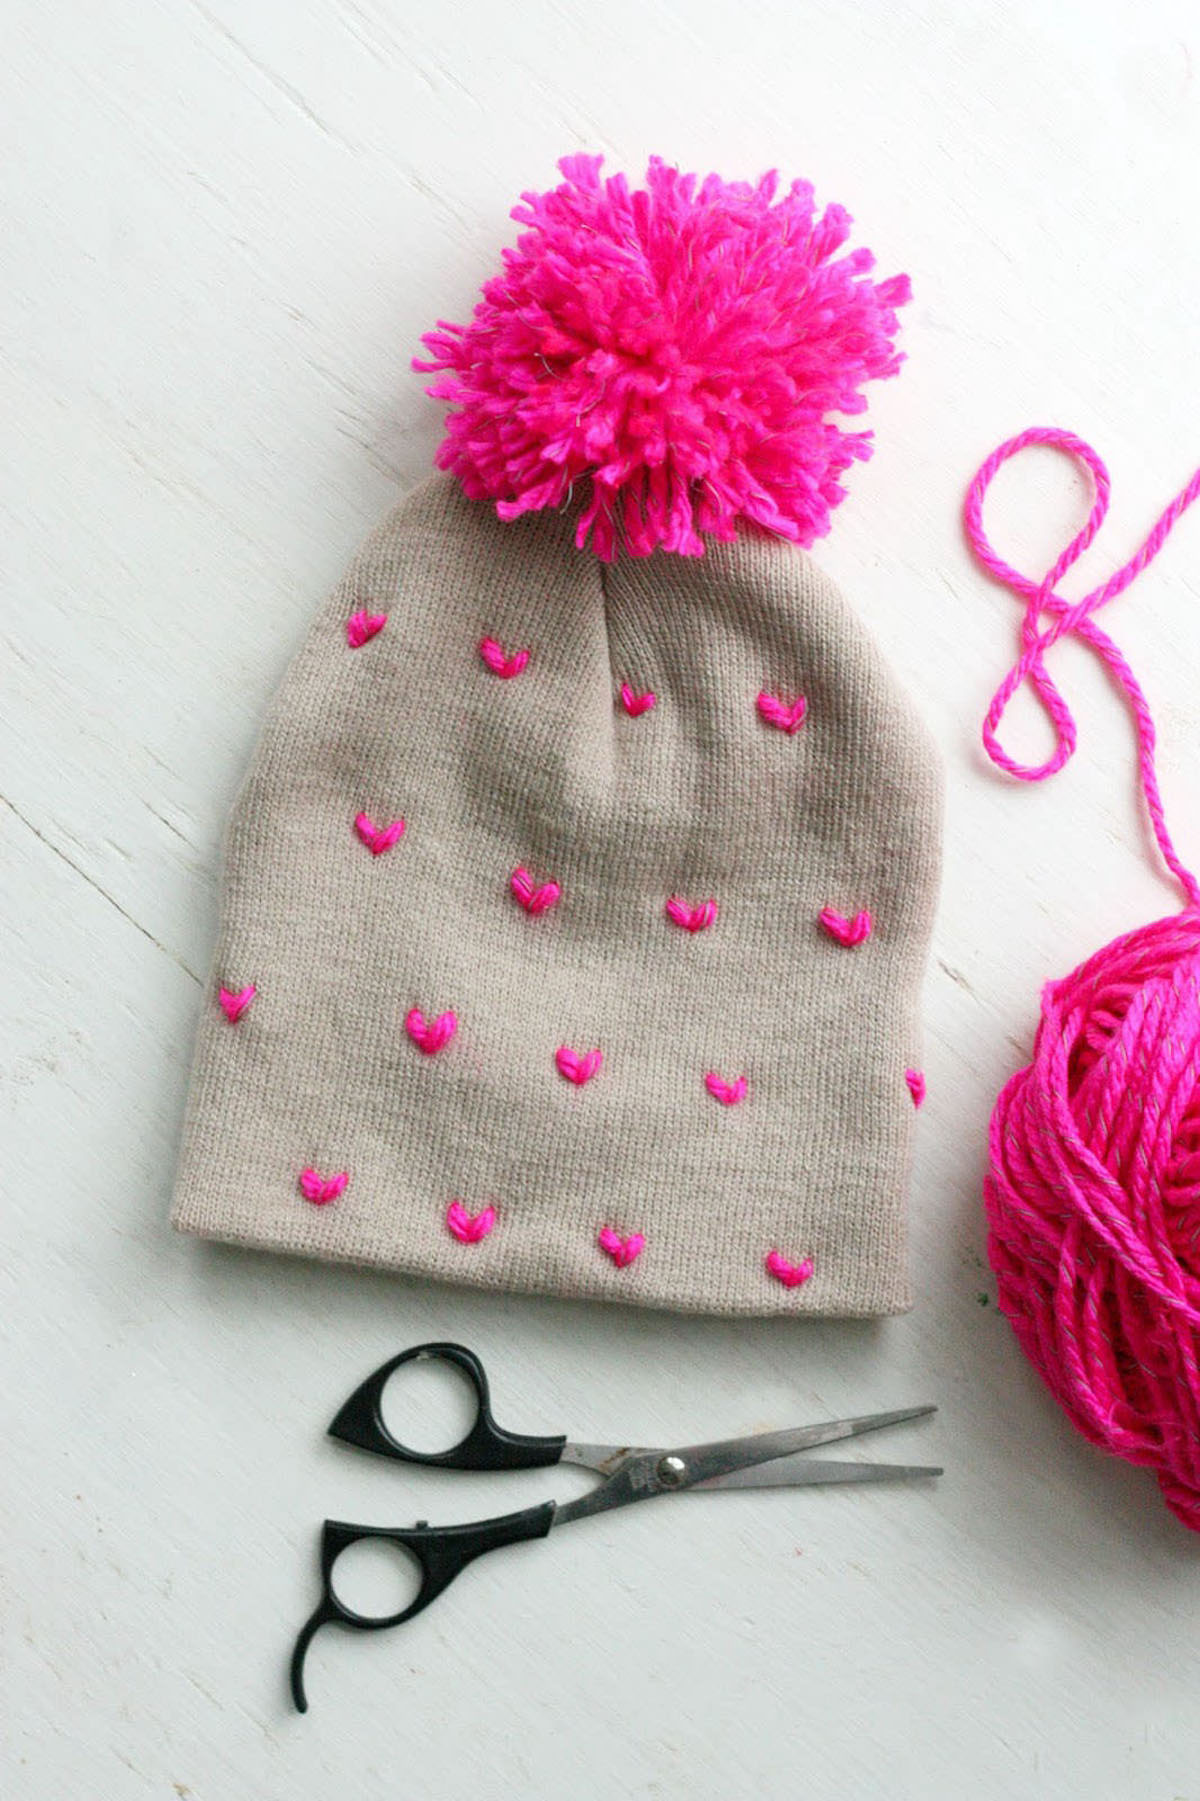
- There isn’t much of a secret to stitching the Vs. I did mine all free-hand so they aren’t exactly evenly spaced, but you could also measure and mark them before with a fabric pencil if you want more exact placement.
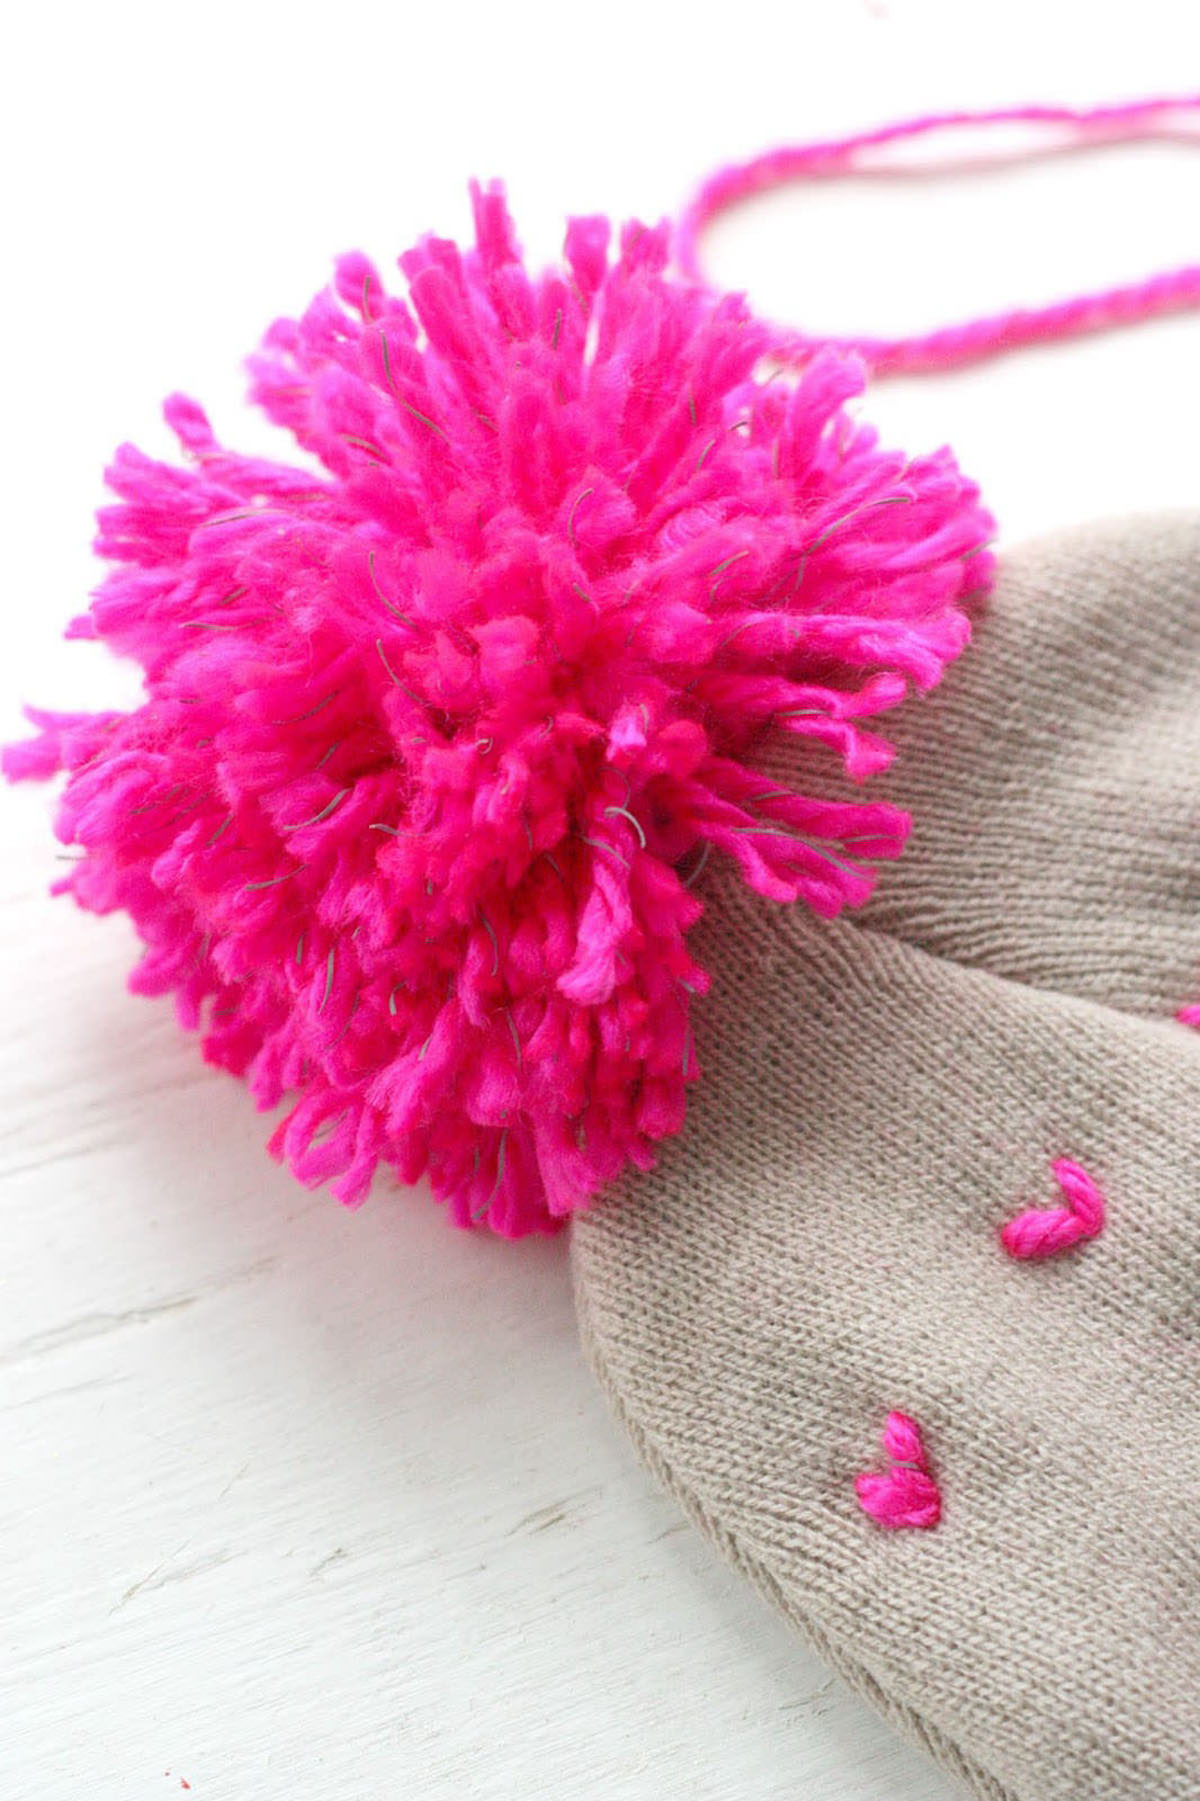
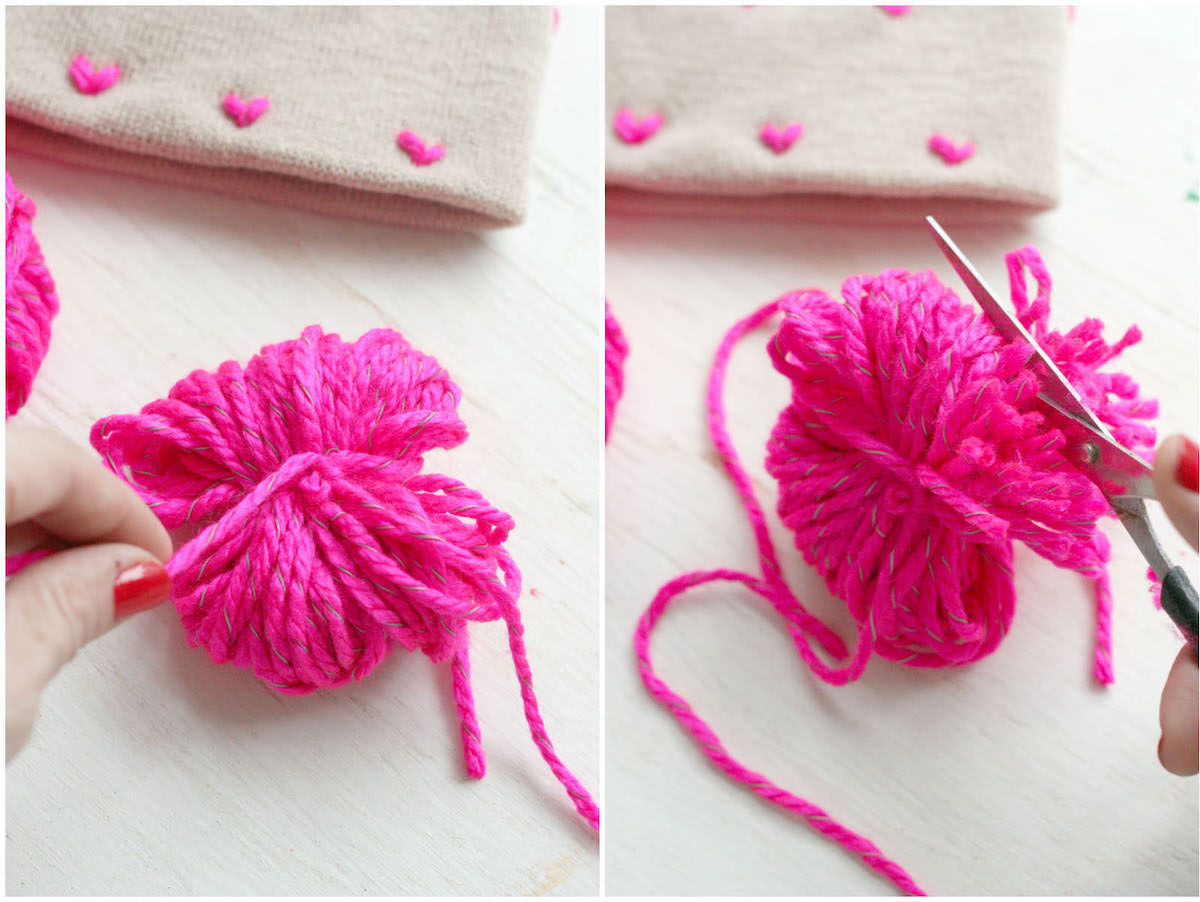
- After all of the loops are cut I like to spend some time adjusting and trimming the ends of the pom pom until I am happy with its shape.
- Tie double knots when you tie off the yarn on the inside of the hat. That includes with the pom pom top as well. And make sure the needle goes through the center of the pom pom a few times to secure it.
- A pom pom maker REALLY make this project easy. And then you can make pom poms for everything in your life once you get one. Just a suggestion!
You’ve done it! This pom pom beanie is SO easy, right? Now you can brave that cold January air in style. Or, just stay inside where it’s warm and there is Netflix and look cozy and cute. That’s my preferred option.
Now that you know how to make a pompom for a hat – happy stitching! Get the printable how to card for this project below.
How to Make a Pompom for a Hat
Equipment
- Pom pom maker(s) (optional)
Materials
- Plain beanie
- Yarn
Instructions
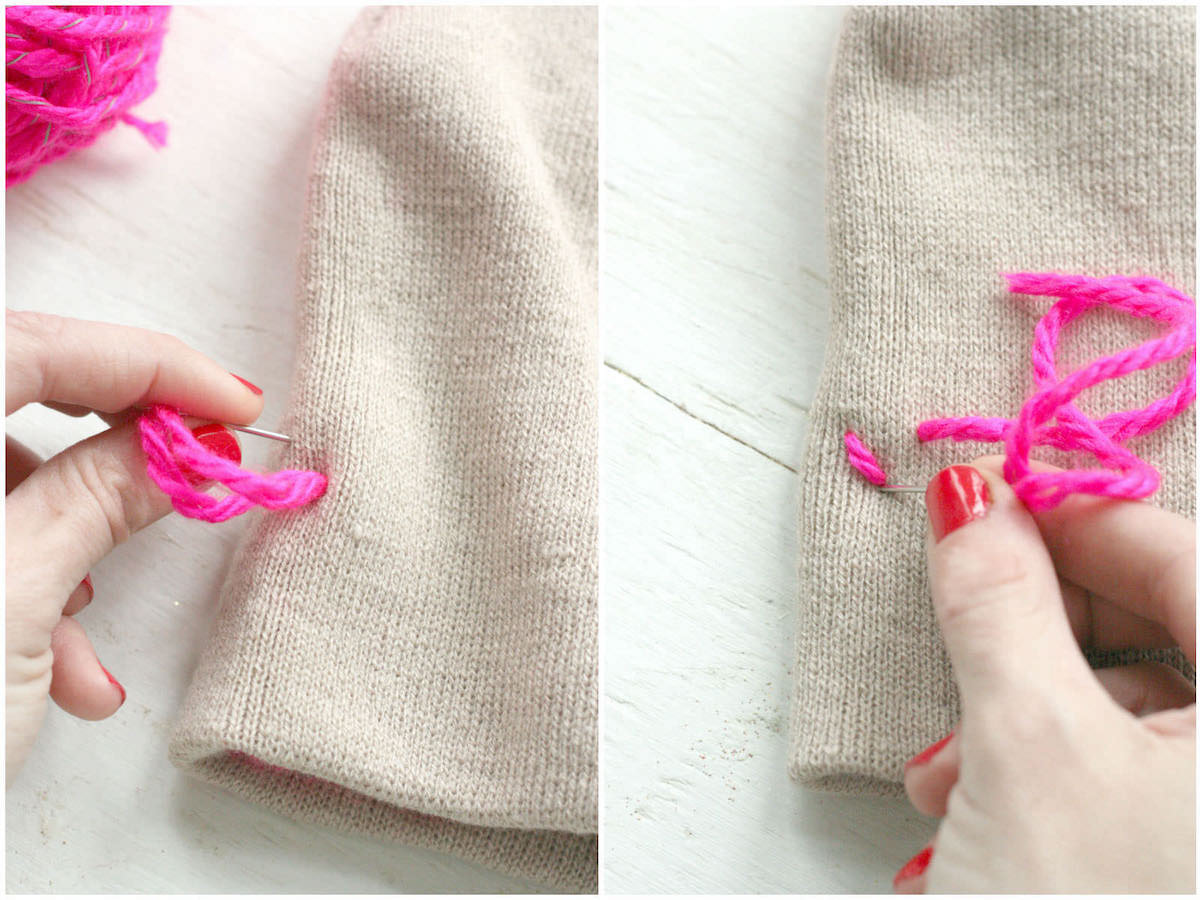
- This step is optional but adds color to the hat. Stitch a V, then cut your ends inside the hat and tie them off. Repeat all over the hat.
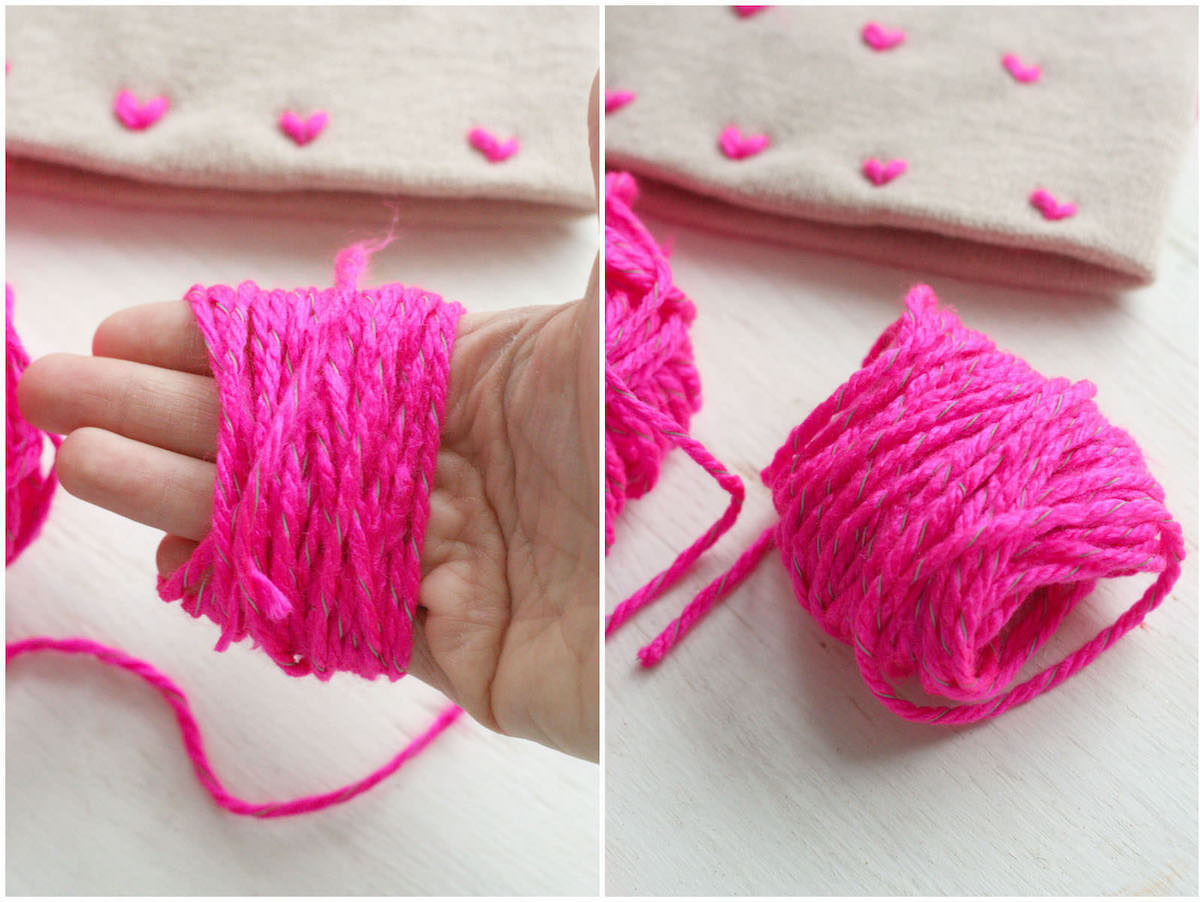
- Wrap the yarn around four of your fingers about 100 times. Then, carefully slide it off of your hand so it keeps its shape.
- Cut a piece of yarn several inches long. Tie around the center of the looped very tightly. Then, take scissors and cut through the loops.
- Thread your needle again and attach the pom pom to the top of the hat by threading it through the pom pom and tying it off inside the hat. Use several loops to secure.
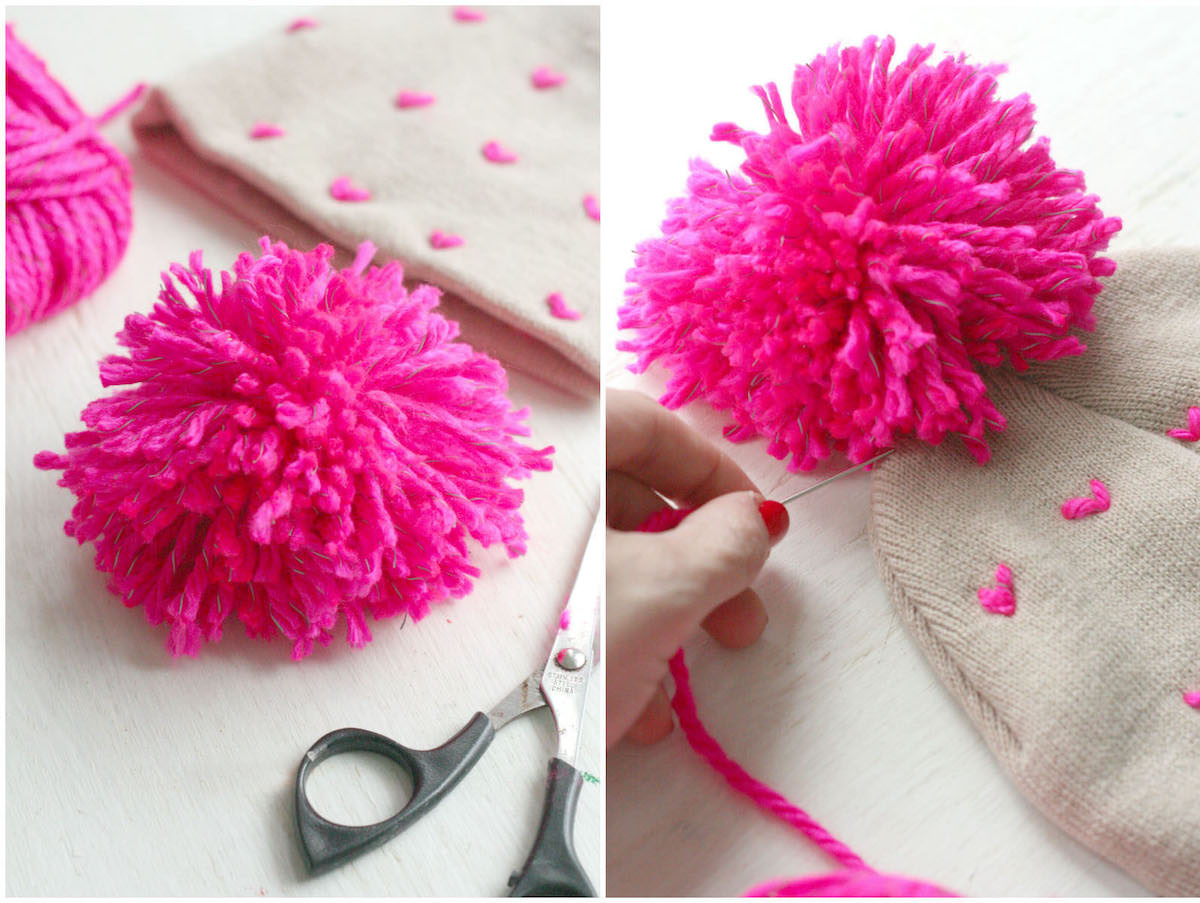
- Use scissors to trim the pom pom and make it more even. Make sure all loose ends are trimmed.
Let us know what you think of this project in the comments! This hat is part of our heart crafts for adults collection! We’d also love for you to check out the following posts:






These beanies are so stinking cute! I love taking cheap finds from Walmart and making them fabulous! This one is awesome!
Paige
https://www.thehappyflammily.com/