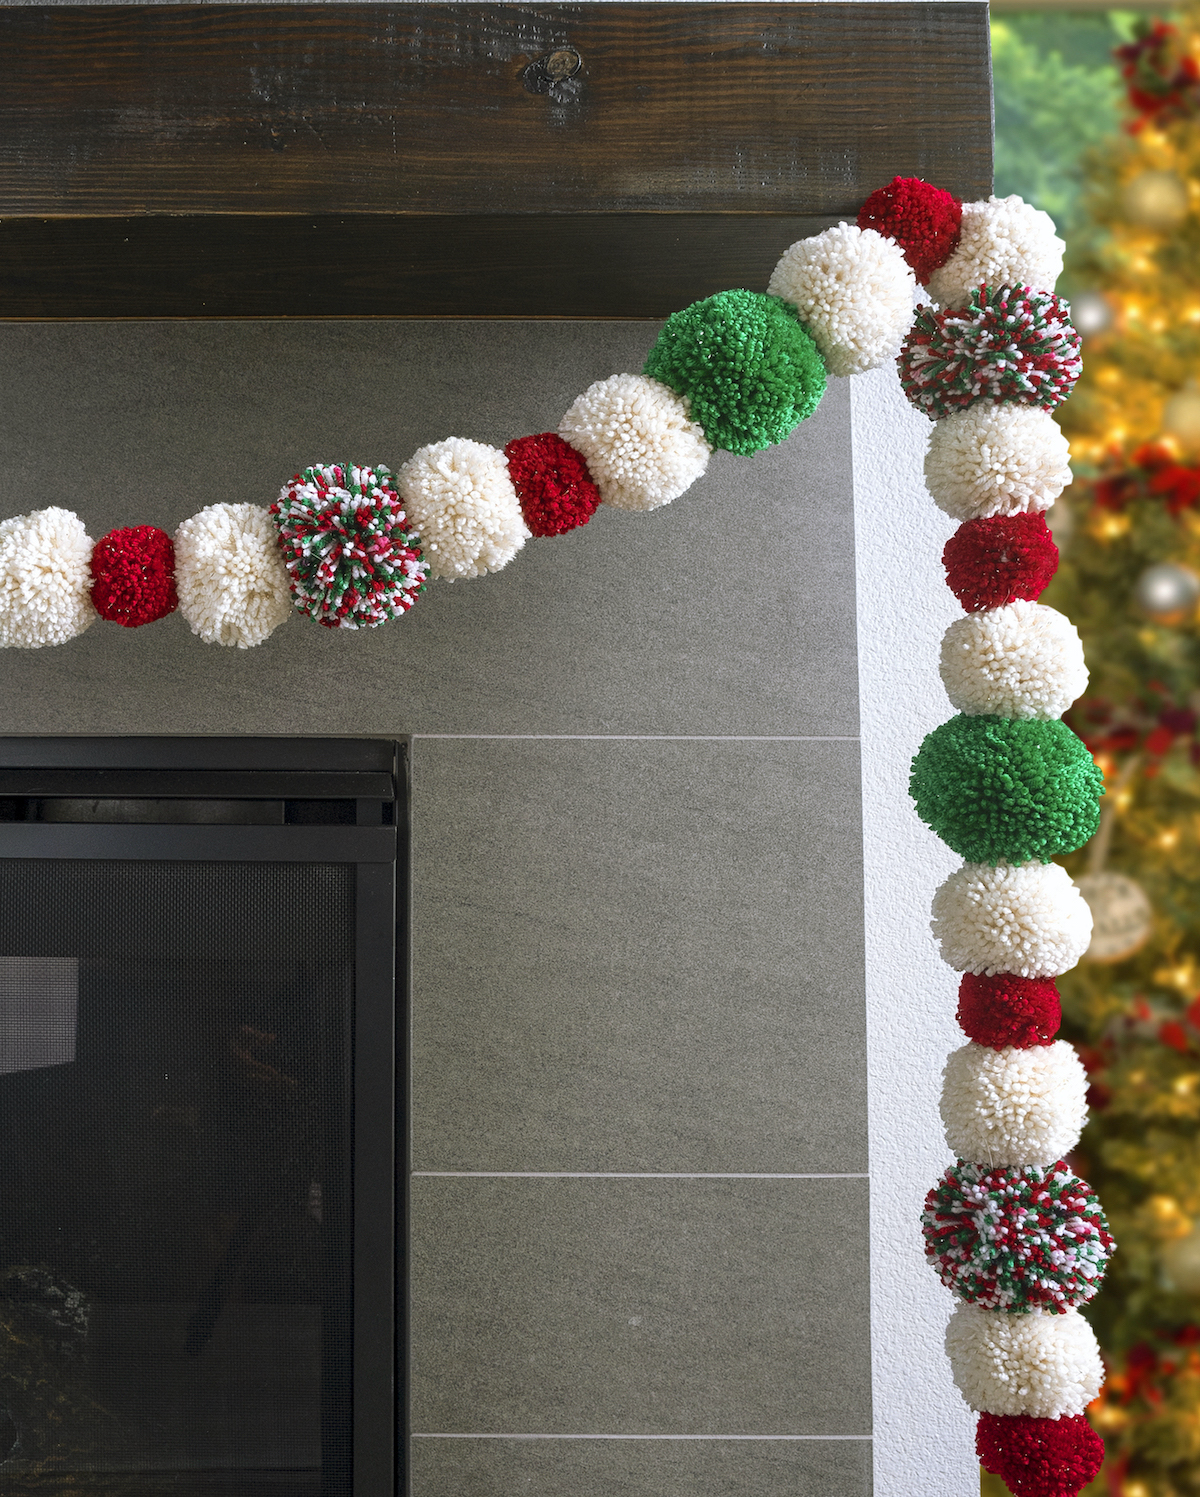
Pom Pom Christmas Garland To Brighten Your Holidays
Learn how to make a pom pom Christmas garland to decorate your holiday home! This is SO easy to make, even for beginning crafters.
Skills Required: None. Even if you’ve never crafted before, you’ll be able to make this garland. You’ll use pom pom makers, which are really easy if you follow the instructions.
Have you ever made a pom pom garland before? If not, you’re in for a real treat. Because there is something about pom pom garlands that everyone loves.
If you meet someone that doesn’t – be wary of them. For they know not what is true Christmas spirit!
I’ve made a regular pom garland, but I’ve never made a pom pom Christmas garland. At least until this one.
And now I can’t believe I’ve waited so long! Not only are they easy, but a garland like this one makes a HUGE impact in your holiday decorating.
Just so you know, I used about five skeins of yarn to make a garland 5 – 6′ (depending on how you space out the poms). BUT a few things:
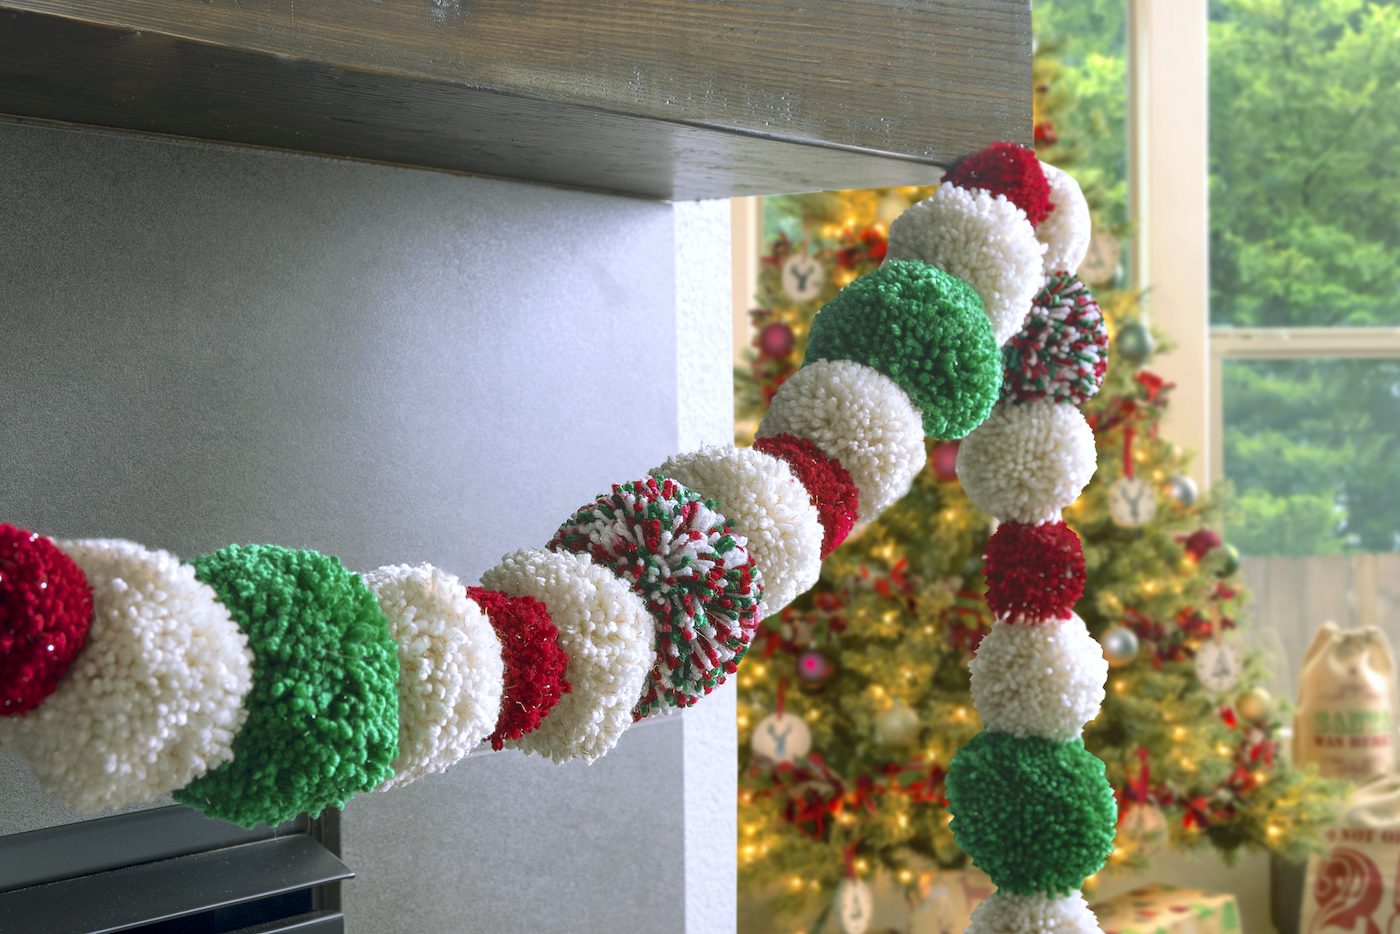
The size of your poms greatly affects the amount of yarn you use. For a mantel, I’d go with a few bigger poms, along with some medium and small. But for a Christmas tree garland, I’d use a smaller tool to make the poms.
If you make a garland with a bunch of big poms, you might want to put them on heavier thread. Otherwise the thread will sag, which is especially noticeable on a mantel (the branches provide support on a tree).
Buy yarn at the dollar store or on sale, and use your craft store app coupons to make this a cheaper project. I always buy a little more and then (keep my receipt) return what I don’t use. I’m also at the craft stores all the time!
Gather These Supplies
- Yarn – about 4 – 5 skeins (I used red, green, Christmas variegated, and two of the white yarn with gold flecks)
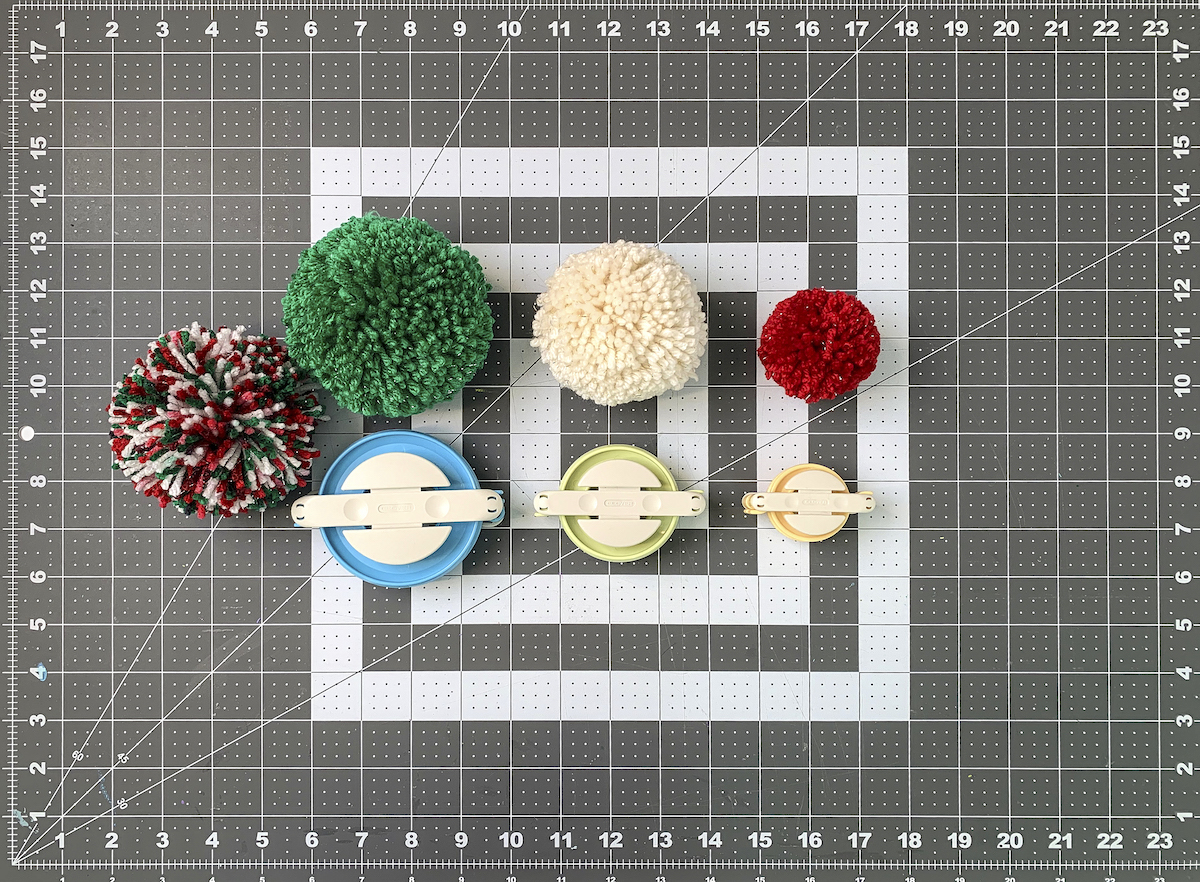
- Pom pom makers – 3 3/8″, 2 1/2″, and 1 5/8″
- Scissors
- Needle (that fits the yarn)
To learn how to use a pom pom maker, read my article here.
If you’ve made this for your mantel, you can hang with two small nails. If you’ve made this for your Christmas tree, you can simply wrap it around the branches.
Though you’re going to want to go quite a bit longer if you’re making this for your tree!
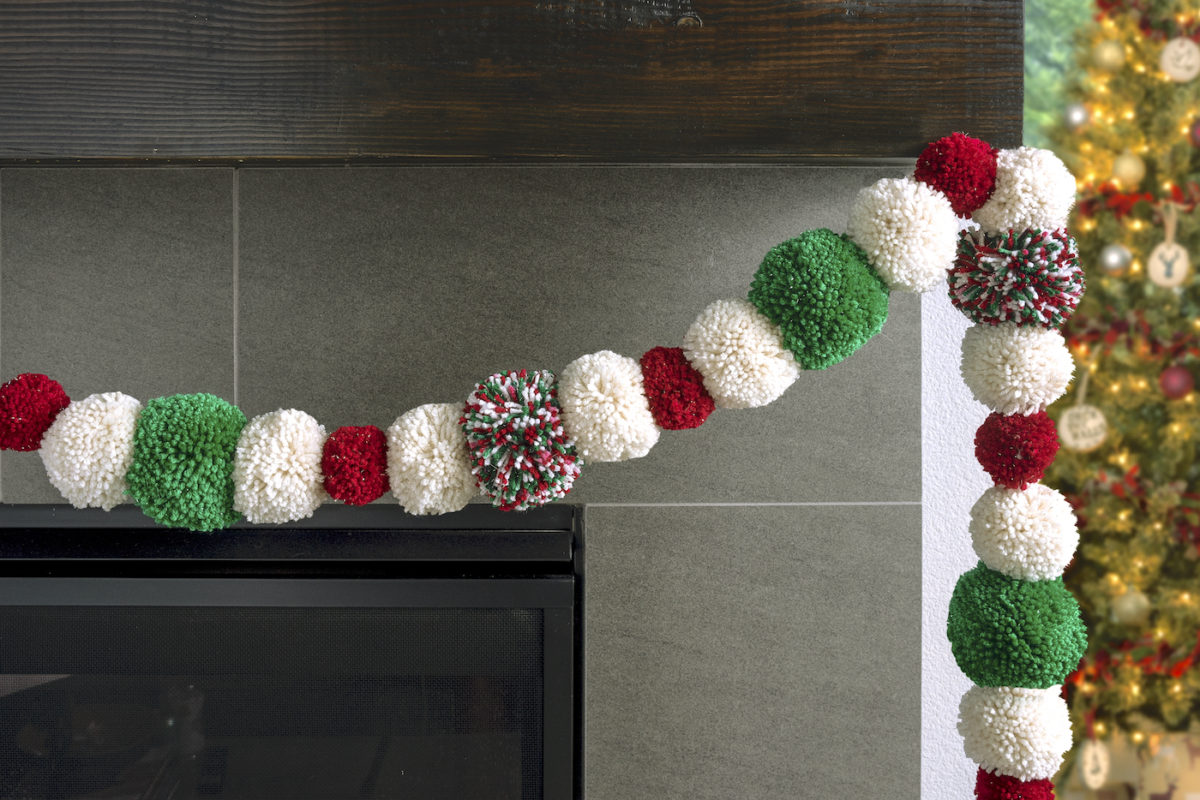
This garland is ridiculously festive and I can see it going with a variety of styles, including farmhouse and even modern. Think of the color combinations?
If you try this Christmas decorating project, I’d love to hear in the comments!

Pom Pom Christmas Garland
Equipment
- 3 Pom pom maker(s) 3 3/8", 2 1/2", and 1 5/8"
- 1 Tapestry needle that fits the yarn
Materials
- 4-5 skeins yarn
Instructions
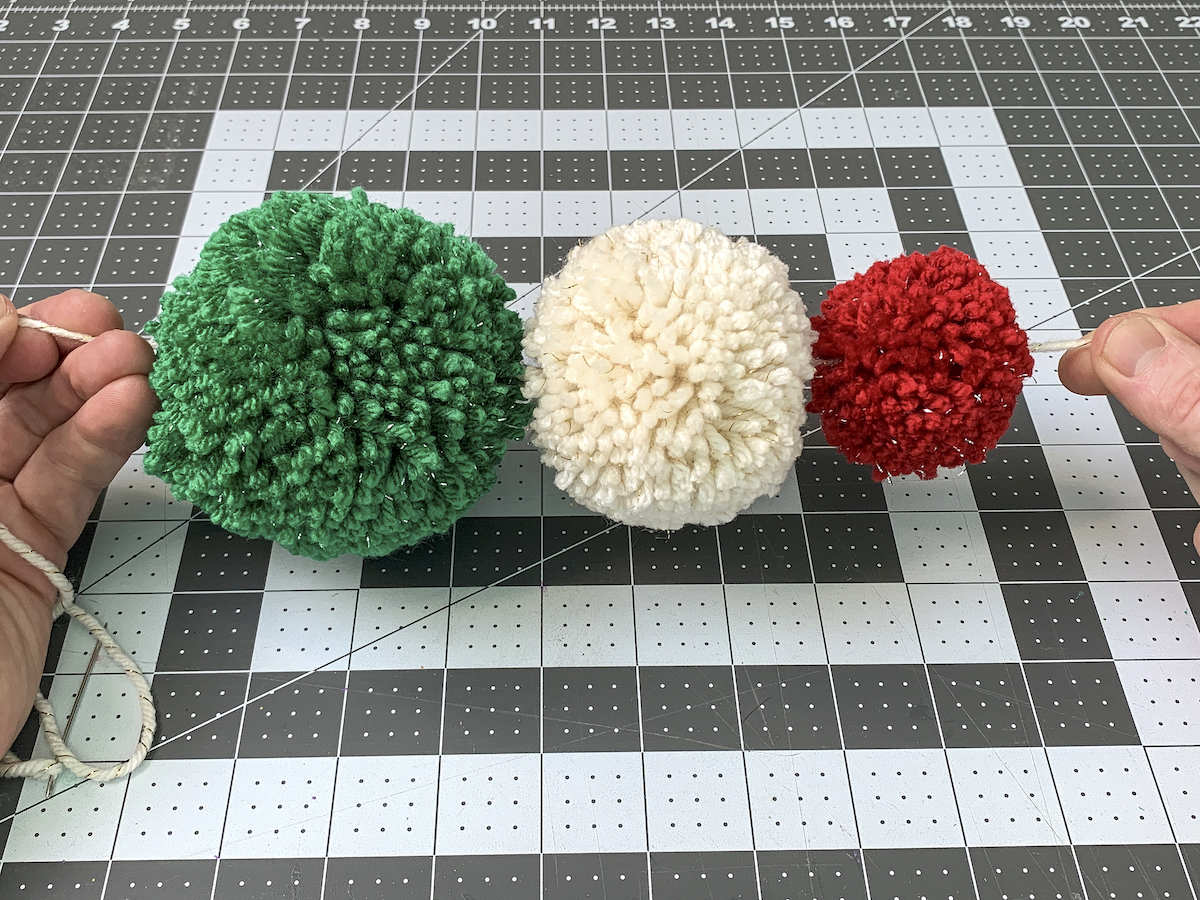
- Use your pom pom makers to make various sized pom poms. The pattern on my garland uses 1 large pom pom with Christmas variegated yarn, 1 large pom pom with green yarn, 4 medium pom poms with cream/gold yarn, and 2 small pom poms with red yarn. Make as many as you can.

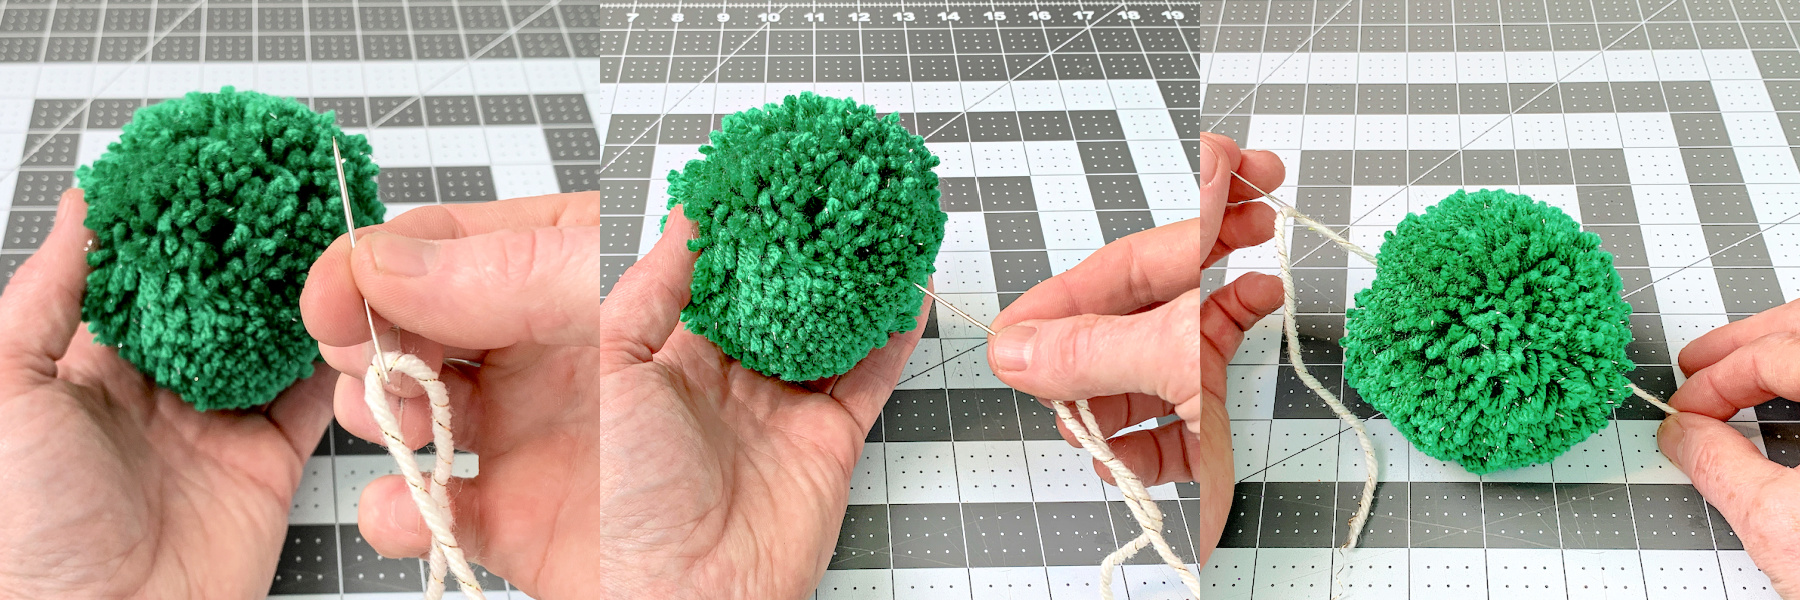
- Thread a yarn needle with a 8 – 10 foot length of yarn. Lay your poms out in the order you would like them on the garland. Push the needle right through the center of the pom. Keep stringing.

- To finish you'll need to move the pom poms along the yarn, spacing evenly. Hang your Christmas garland on the tree or mantel.

Video
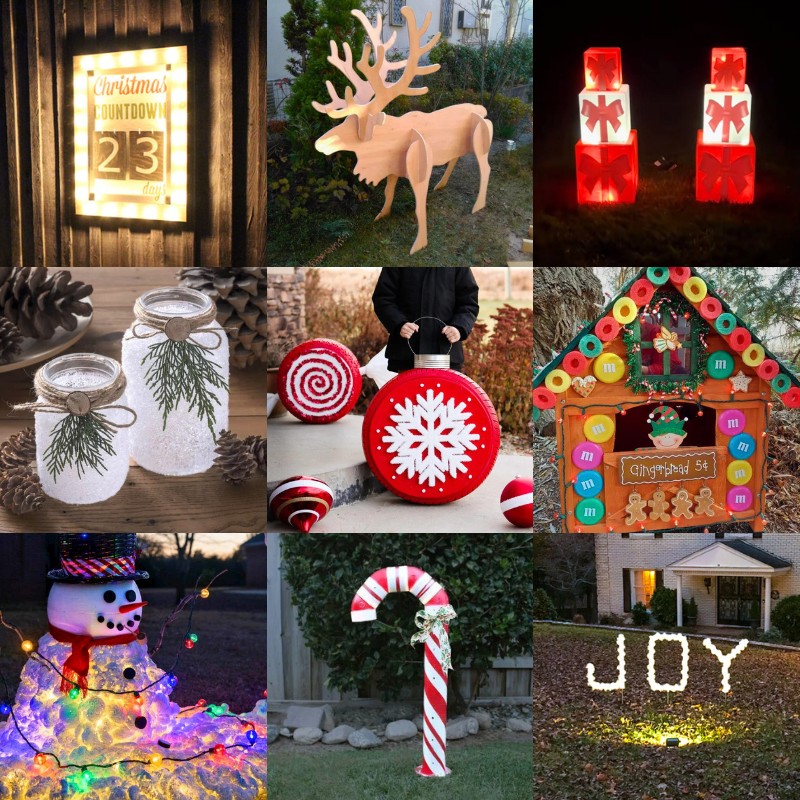
Did you enjoy making this Christmas craft? Take a peek at these other craft ideas:


This is great! I never would have thought to decorate with these, but it was tons of fun, and everyone got involved. Tried to make a garland for the tree, but it wasn’t quite big enough. Oh well, more to add on next year! Thanks a bunch for this DIY project. ♥
WOO! Glad you liked it!