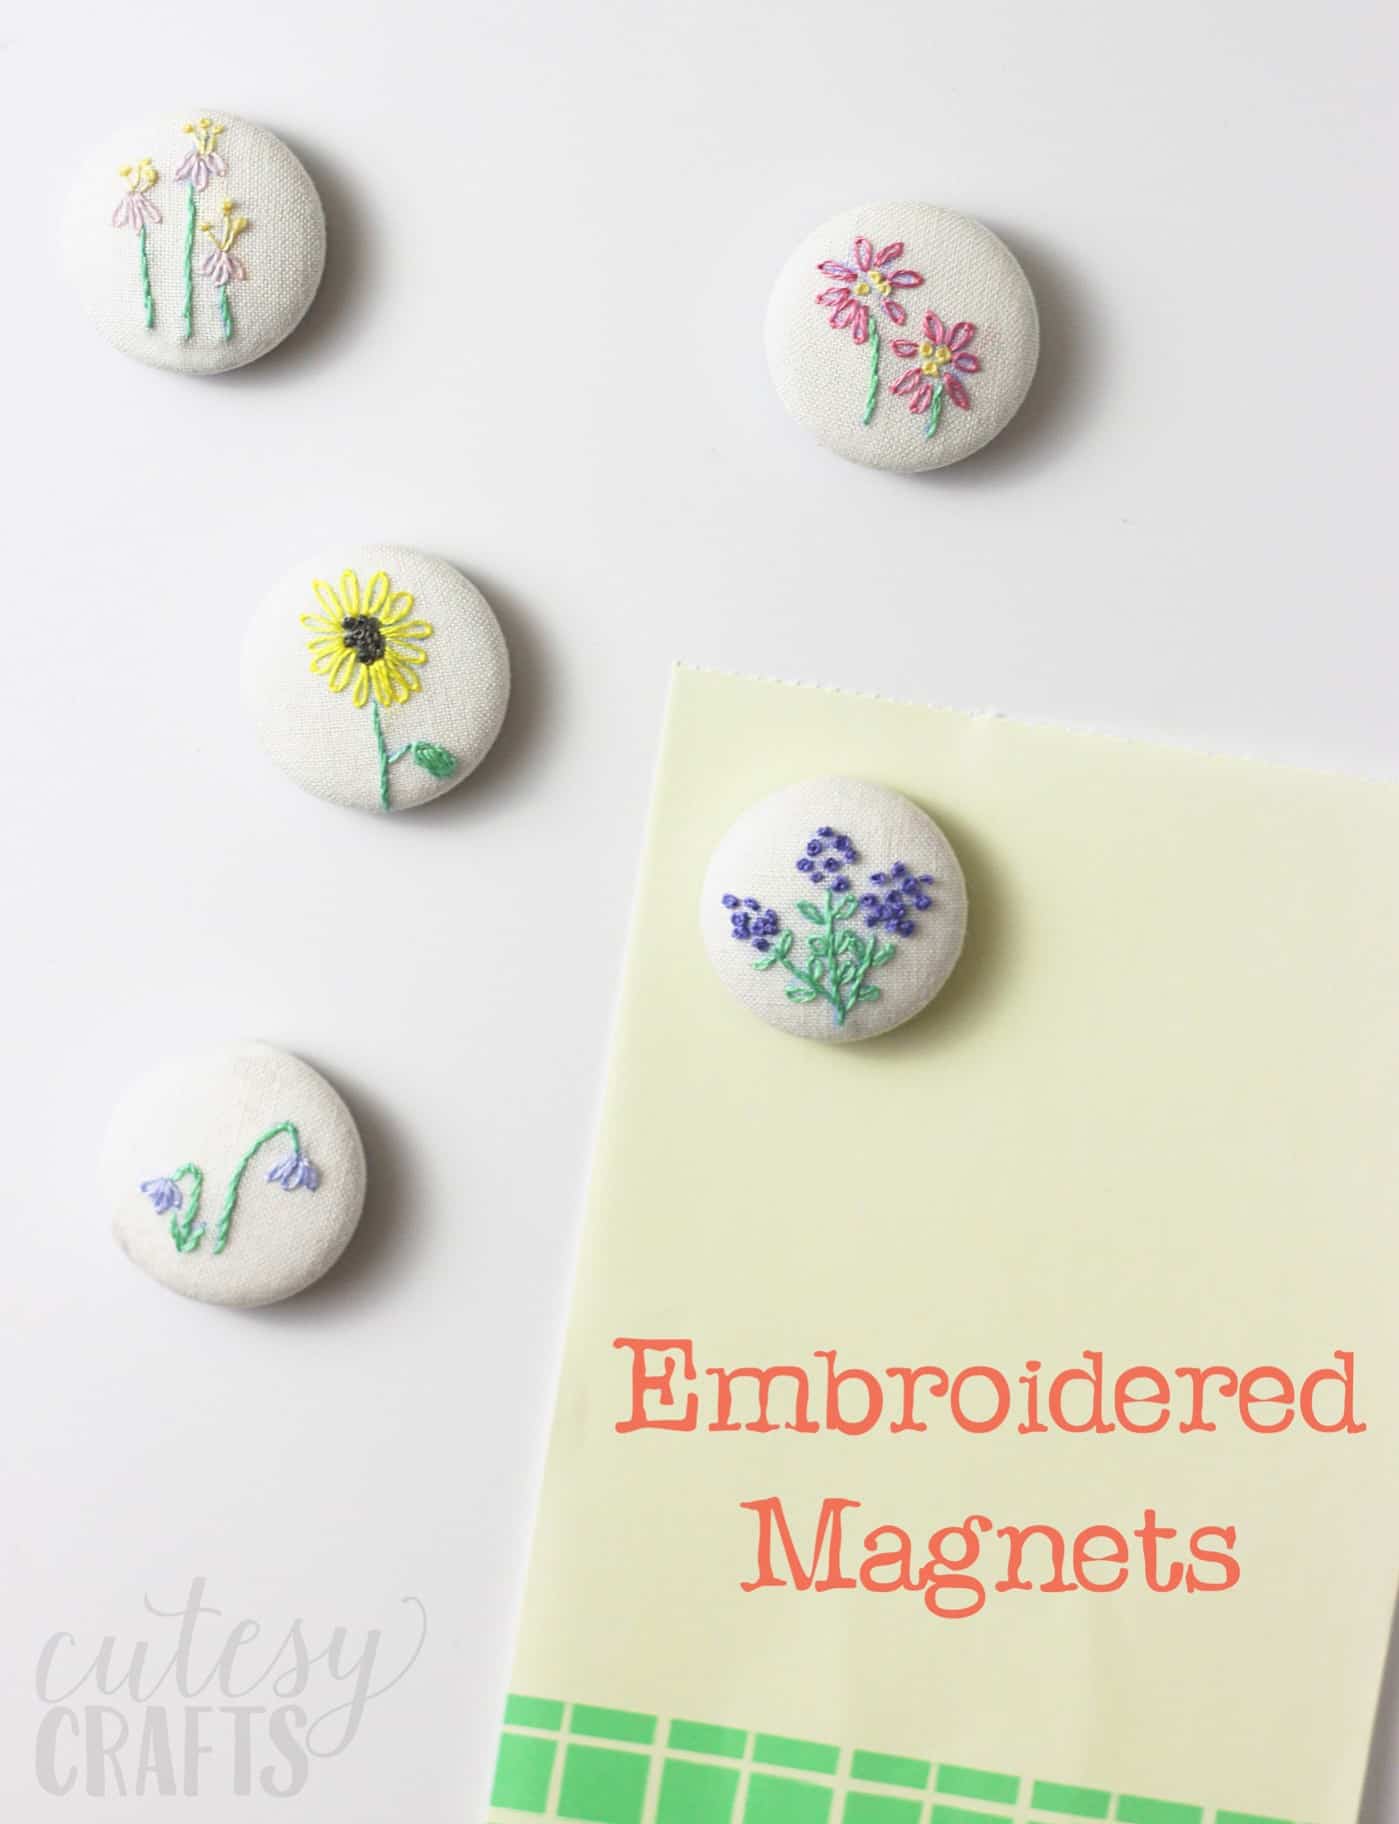
Pretty Hand Embroidery Magnets for Your Fridge
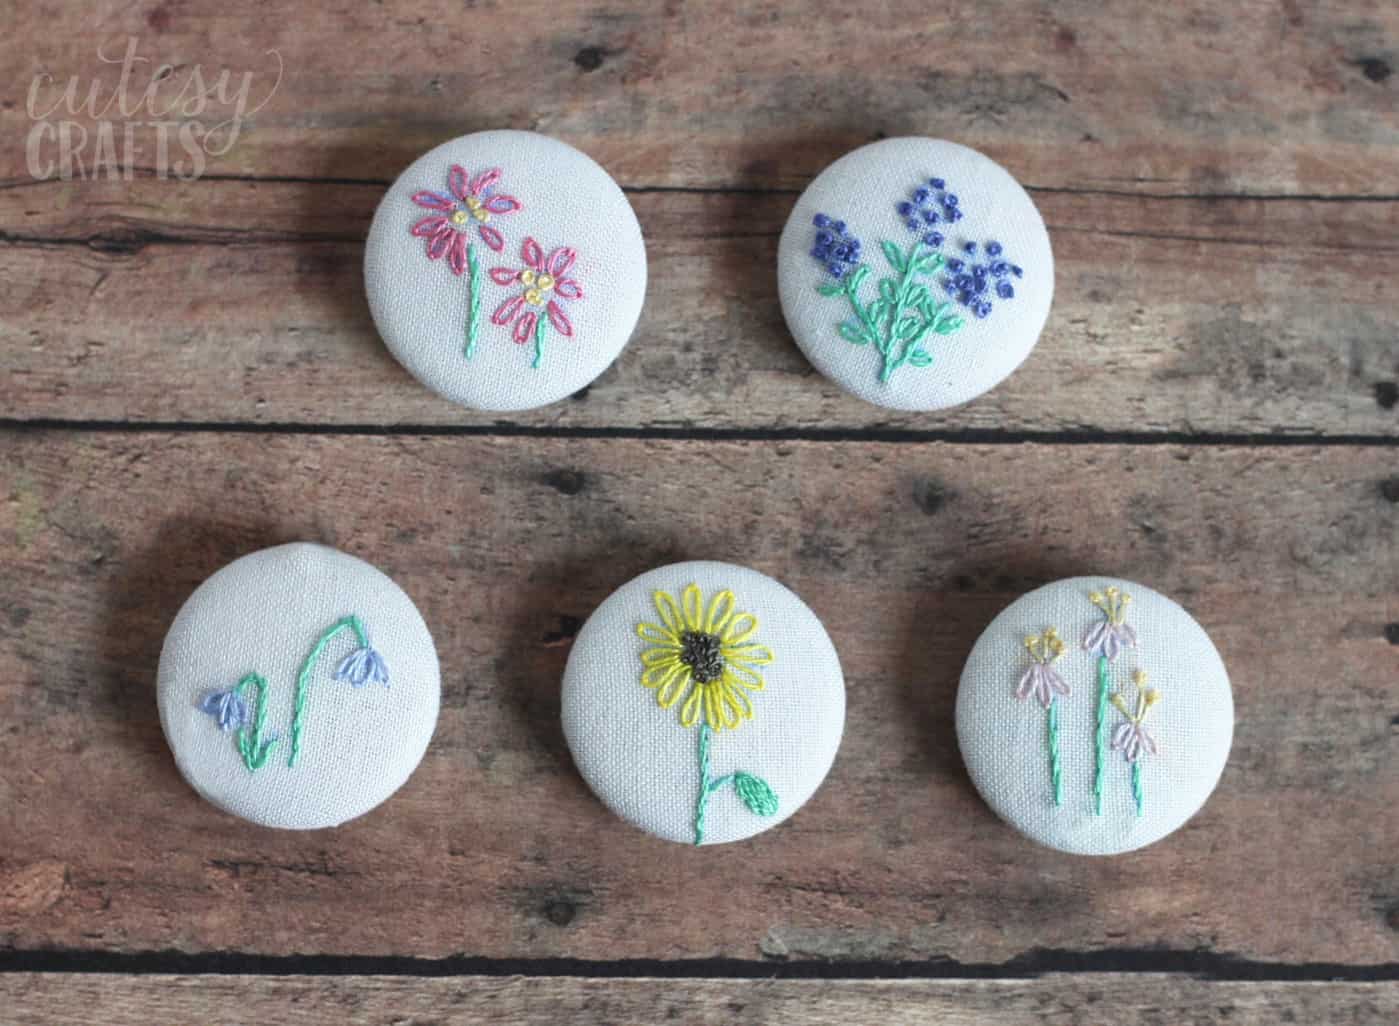
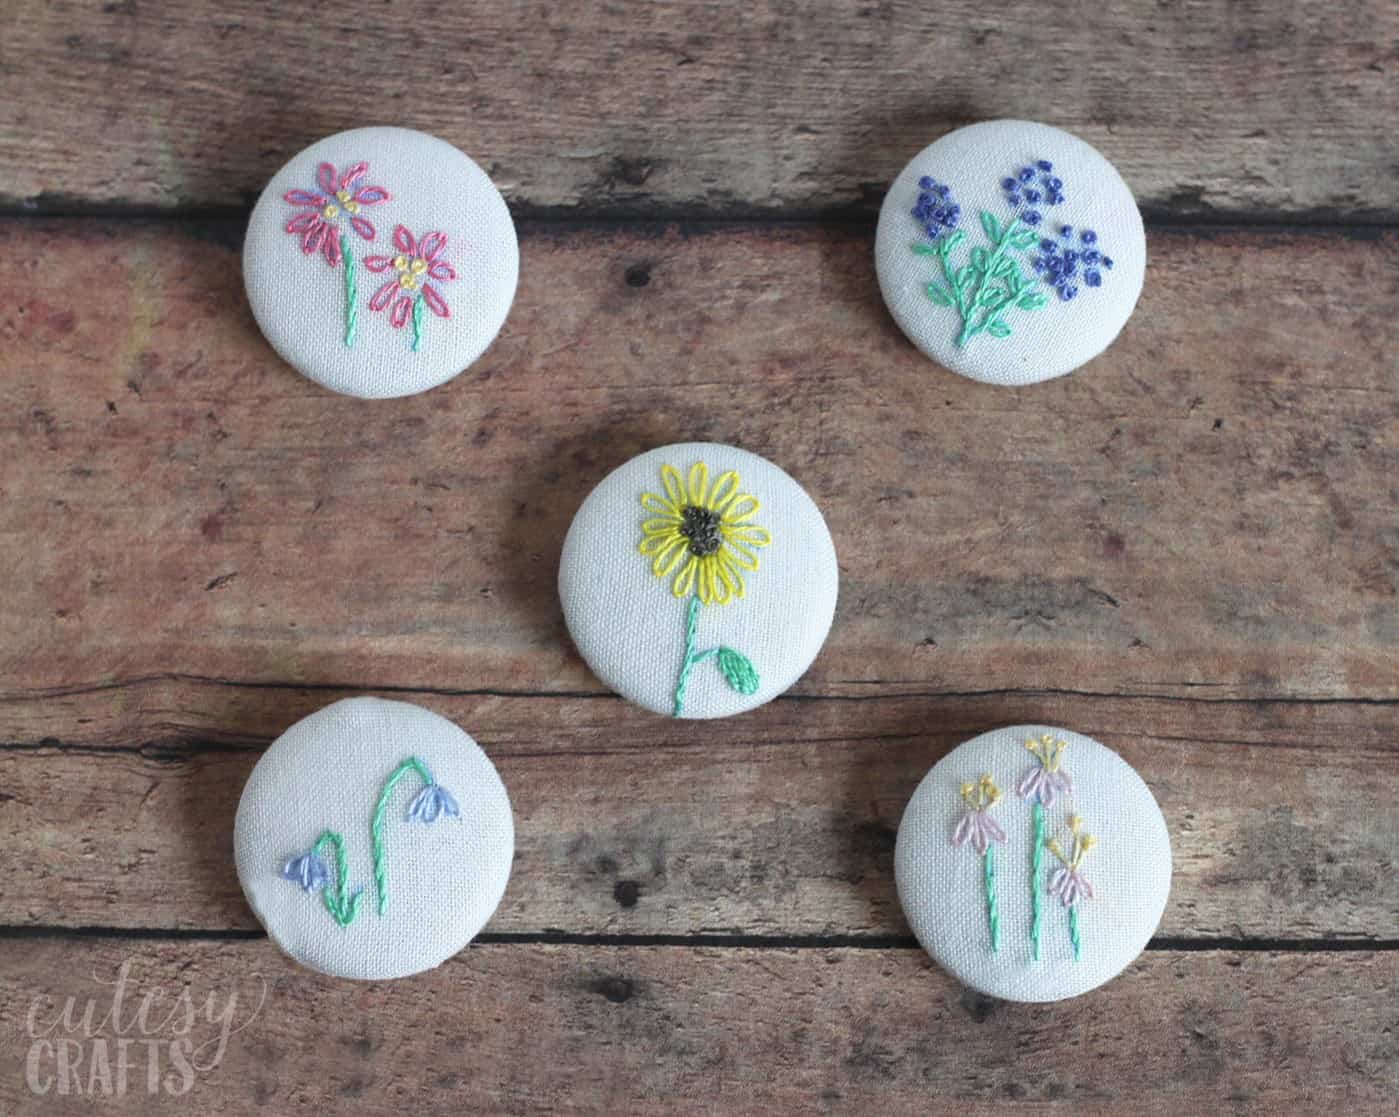
If you love the look of delicate stitches, these hand embroidery magnets are perfect for you. The floral pattern is so pretty! These make great gifts too.
Skills Required: Beginner. It helps to have some experience with embroidery but it’s not completely required. This is a good project for someone who has learned basic stitches.
I love to hand embroider, but I find it difficult to think of practical ideas to use what I make with it. There are only so many embroidery hoop decorations that a person needs in their house!
I came up with this idea to make some embroidery magnets featuring some small, embroidered flowers that I stitched. If you don’t know how to hand stitch, give it a try!
I promise, it’s not as hard as it looks. If you’re not up for the task, you can even make these using pretty fabric, or try finding some vintage hand embroidery pieces to use. Wouldn’t these make such a pretty homemade Mother’s Day gift idea?
DIY Embroidery Magnets
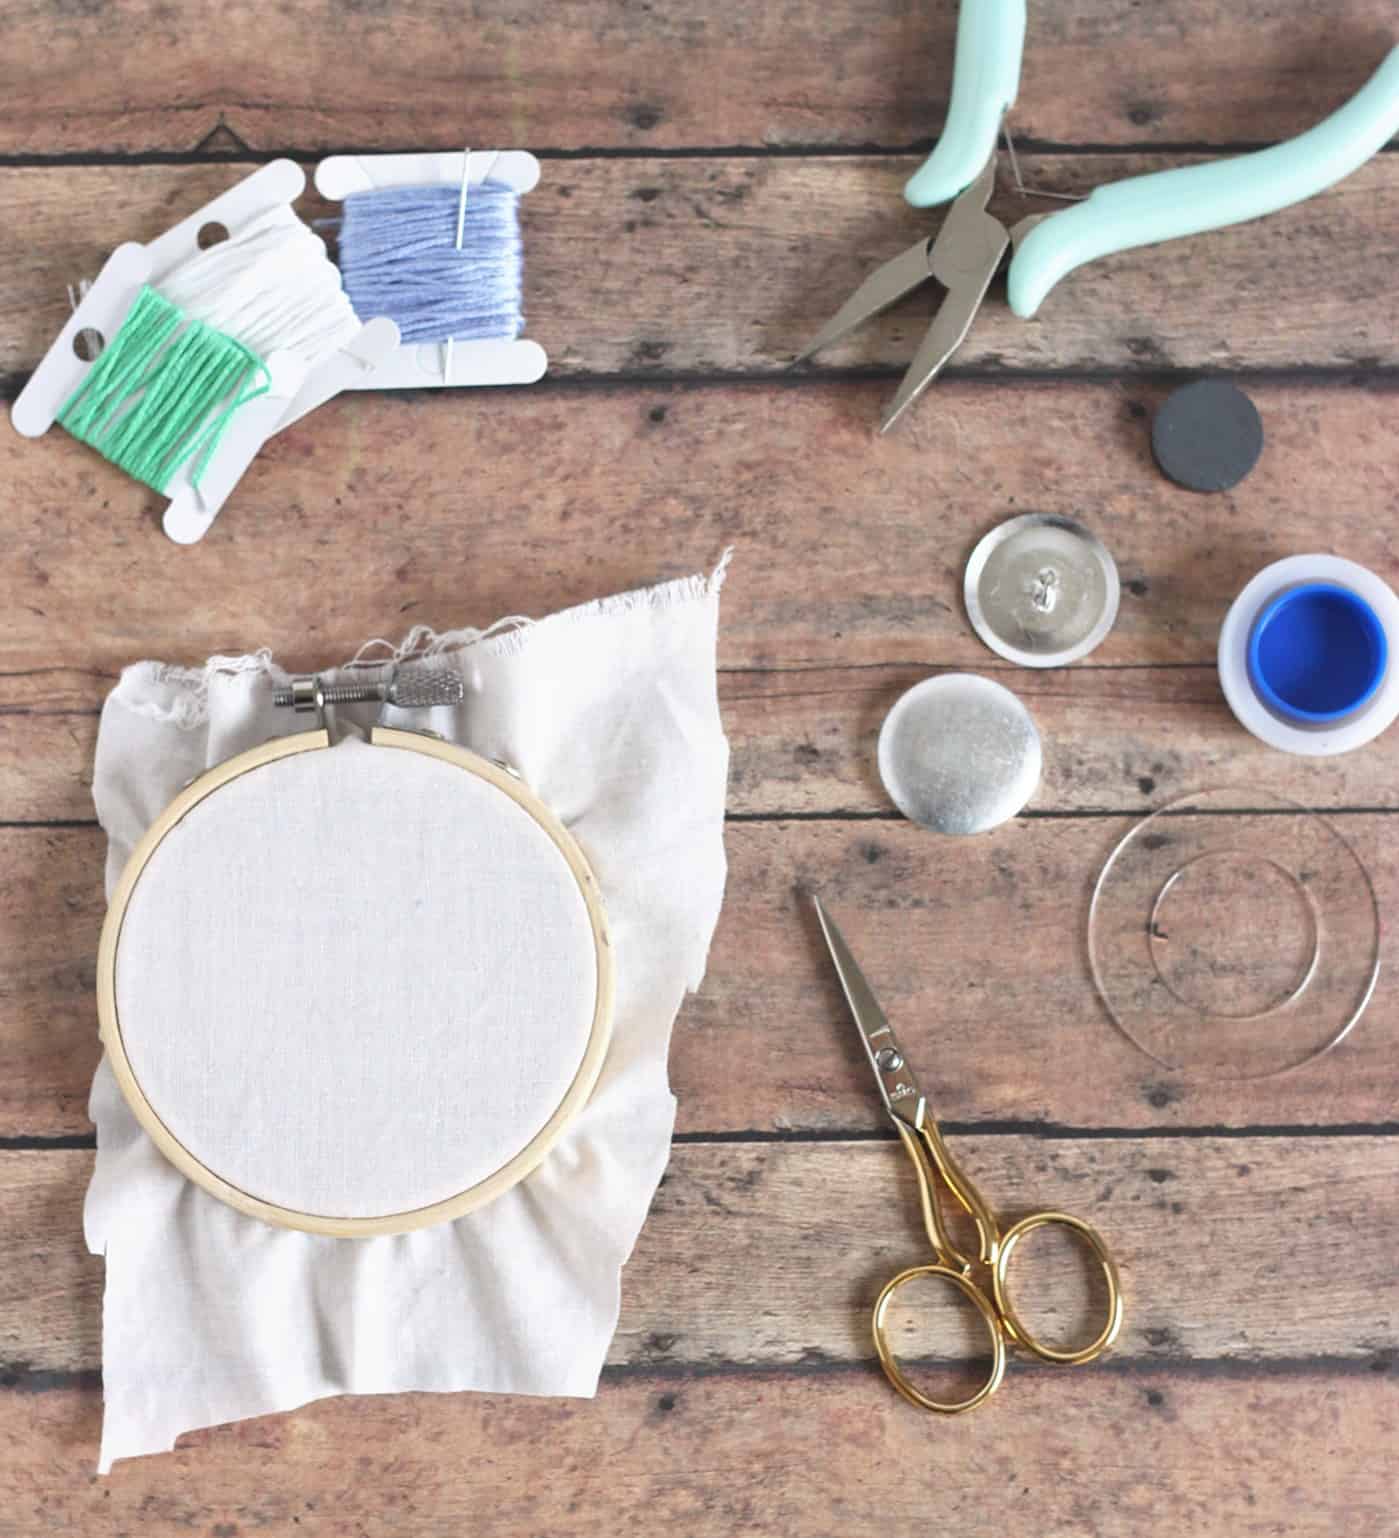
To make these DIY magnets, you’ll need:
- Flower embroidery patterns
- 1-1/8″ cover button kit and 1-1/8″ cover buttons
- Pliers
- Magnets
- Strong glue
- Embroidery hoop
- Woven fabric (cotton or linen)
- Embroidery floss and needle
- Carbon paper
- Scissors
- Pen
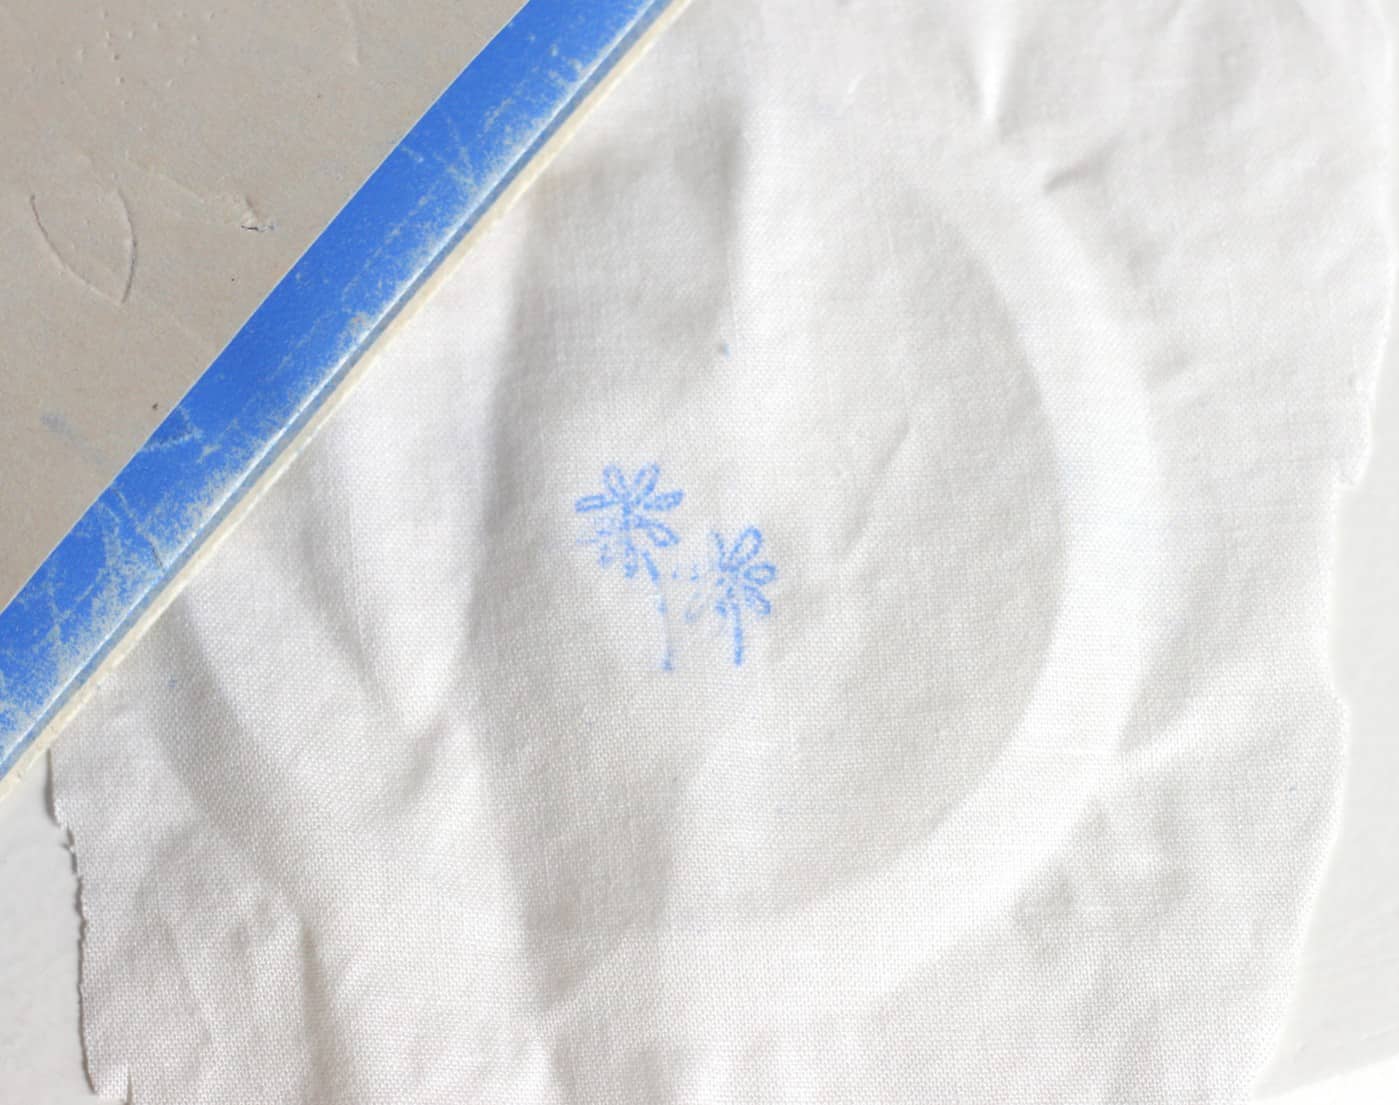
Transfer one of the embroidery patterns to some fabric. I like to use carbon paper that you should be able to get at the fabric store. You just put the paper between the pattern and the fabric and trace it. The pressure transfers color to the fabric and then washes away later.
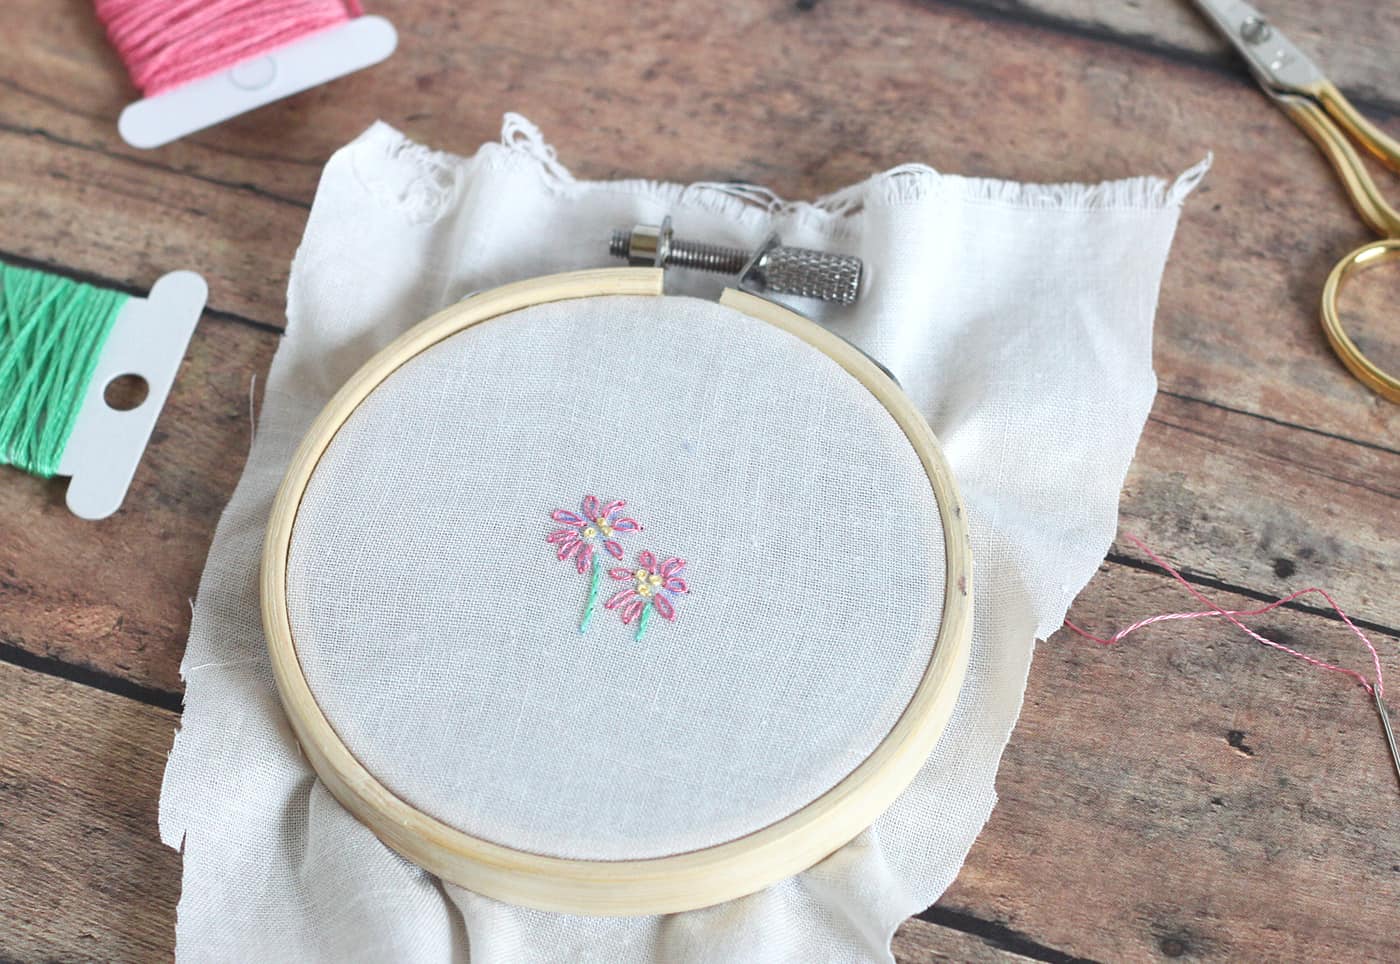
Hand embroider your design. Embroidery floss comes in a large strand of six smaller strands. Since these designs are so small, I used just one of those six small strands to complete them.
Be sure to keep your work neat on the back so the threads don’t show on the front. If you need help, there are tons of YouTube videos to show you all of the different stitches.
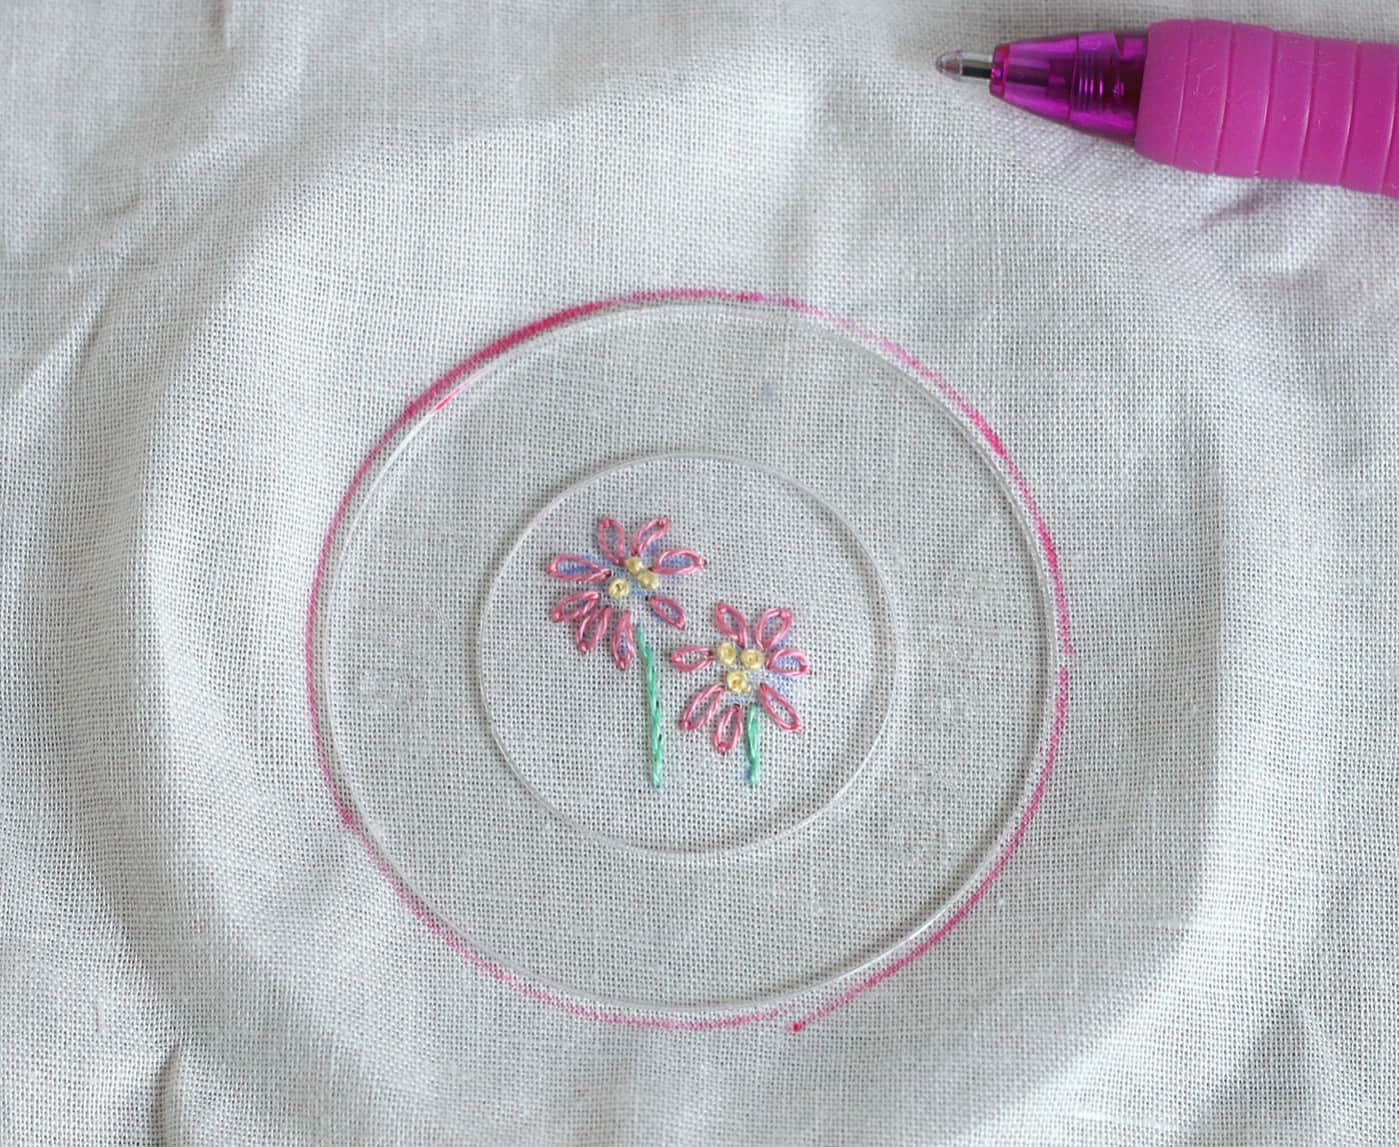
Use the template in the cover button kit to trace a circle around your design, and cut it out.
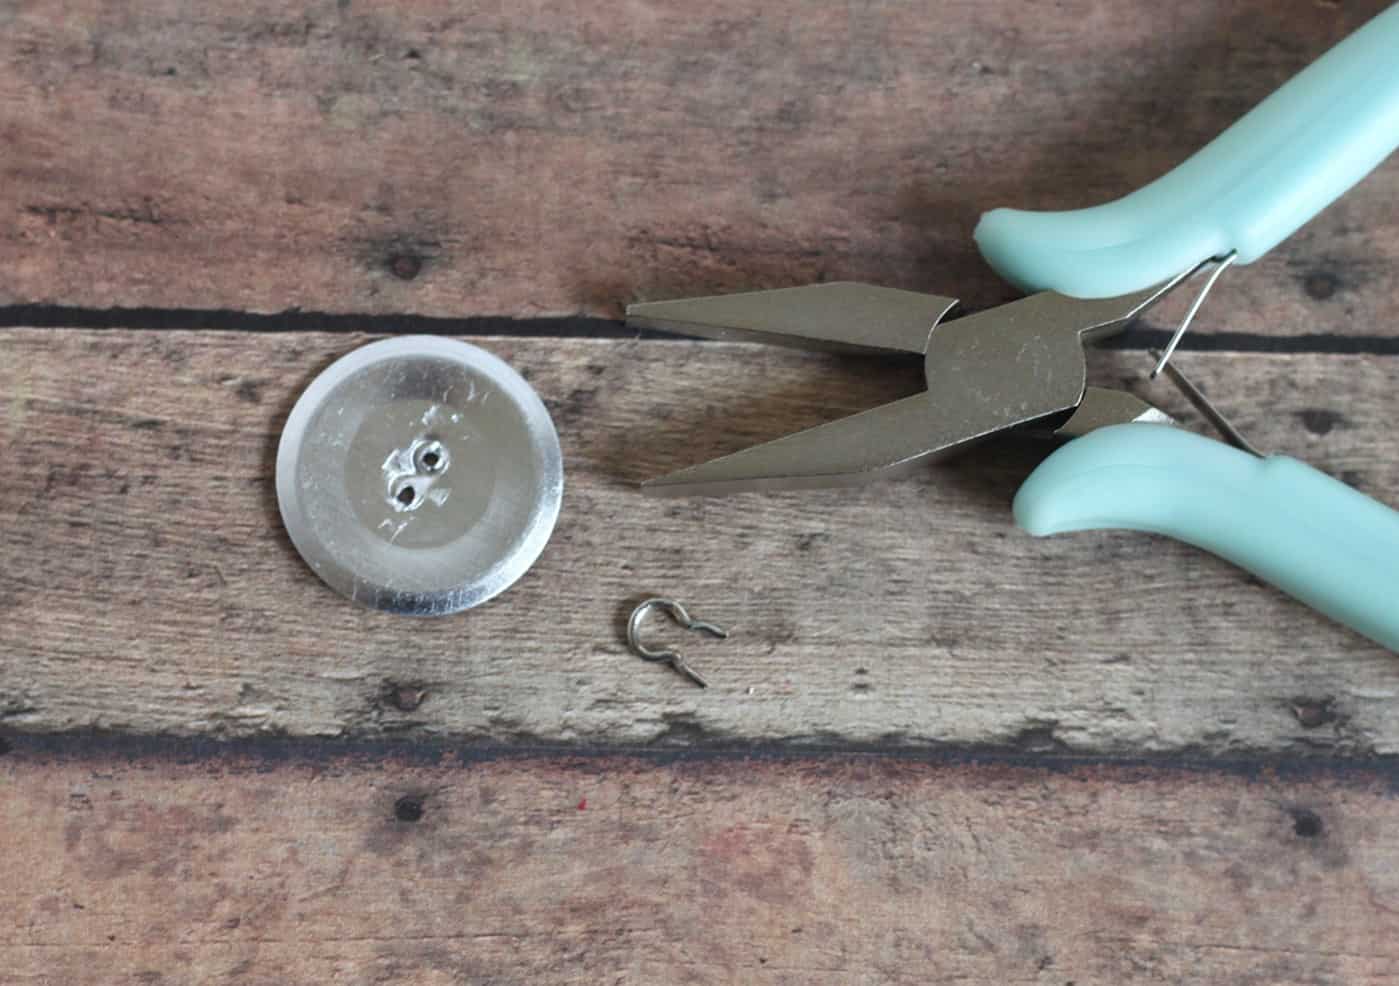
I had a couple packs of these buttons around the house. Some had plain backs, and some had shank backs (like the photo below). If you have a choice, go with the plain backs, so you can skip this part. Make sure to get a kit to put them together too!
If your buttons have a shank back, use some pliers to bend and pull out the shank. If the surface is uneven from the holes, use the pliers to press down on the bits of metal that are sticking up. You want to create a flat surface to glue the magnets on later.
Follow the instructions on the kit to make your button. Put the fabric face down in the kit, put the button on top of that, and press down with the presser. It should look like this. Make sure everything is centered. If it’s not, pull it out, and try again.
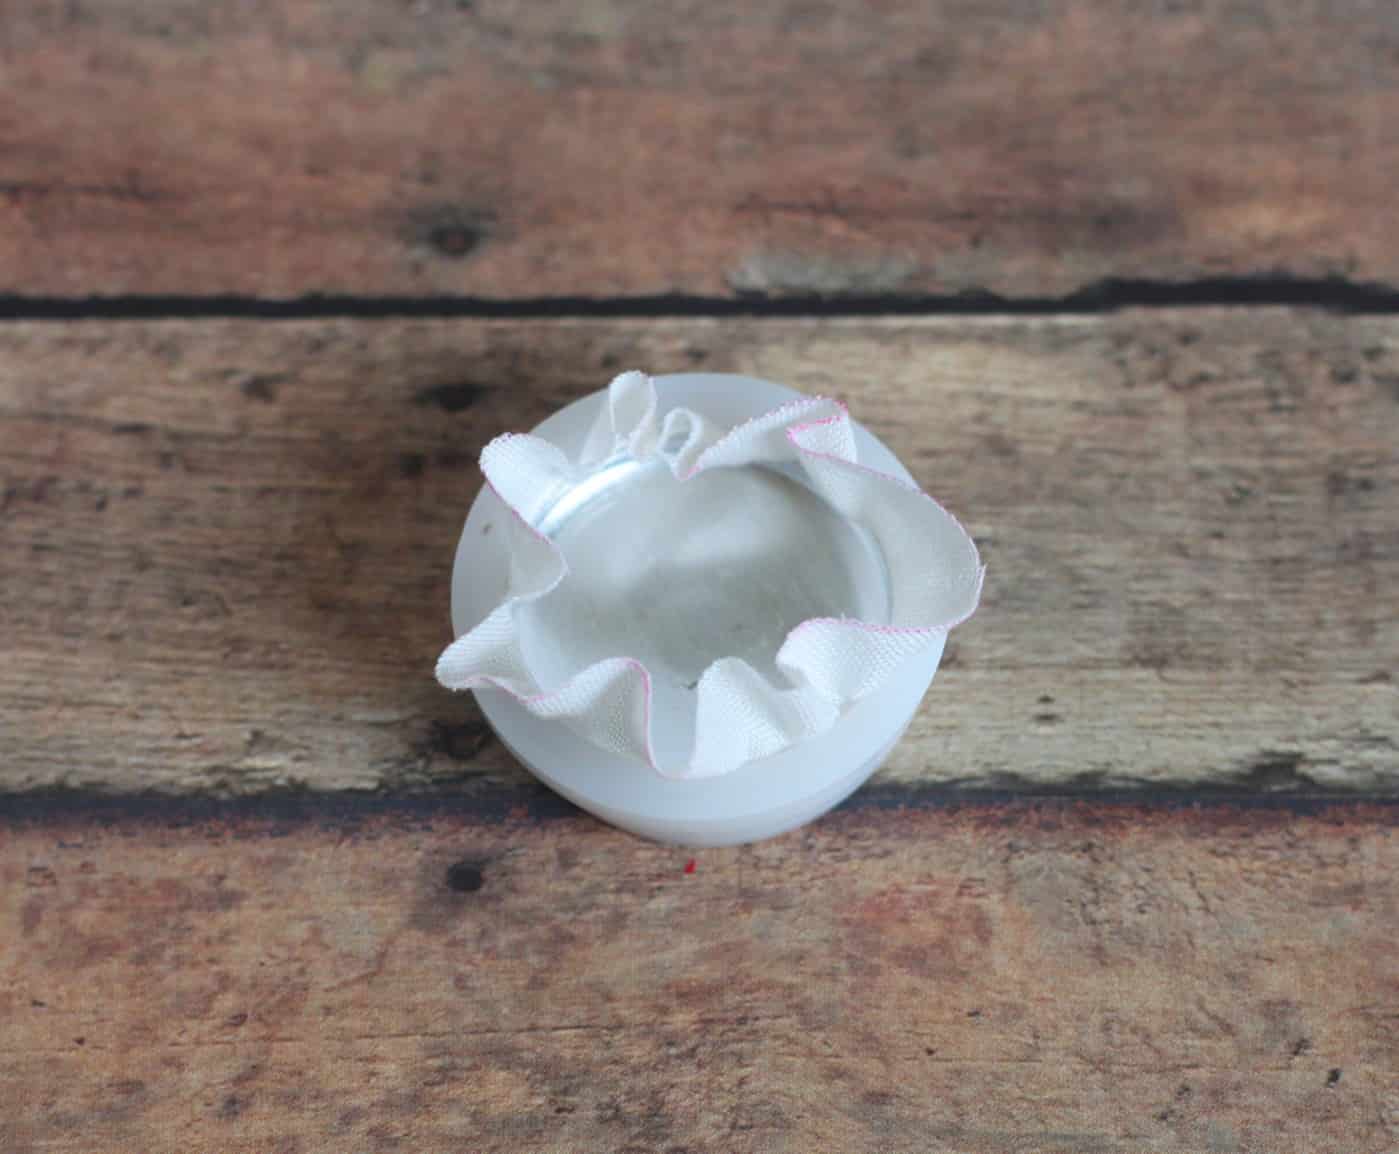
Fold the excess fabric into the center of the button and put the back of the button on top. Press everything down with the presser again, and the back should pop into place.
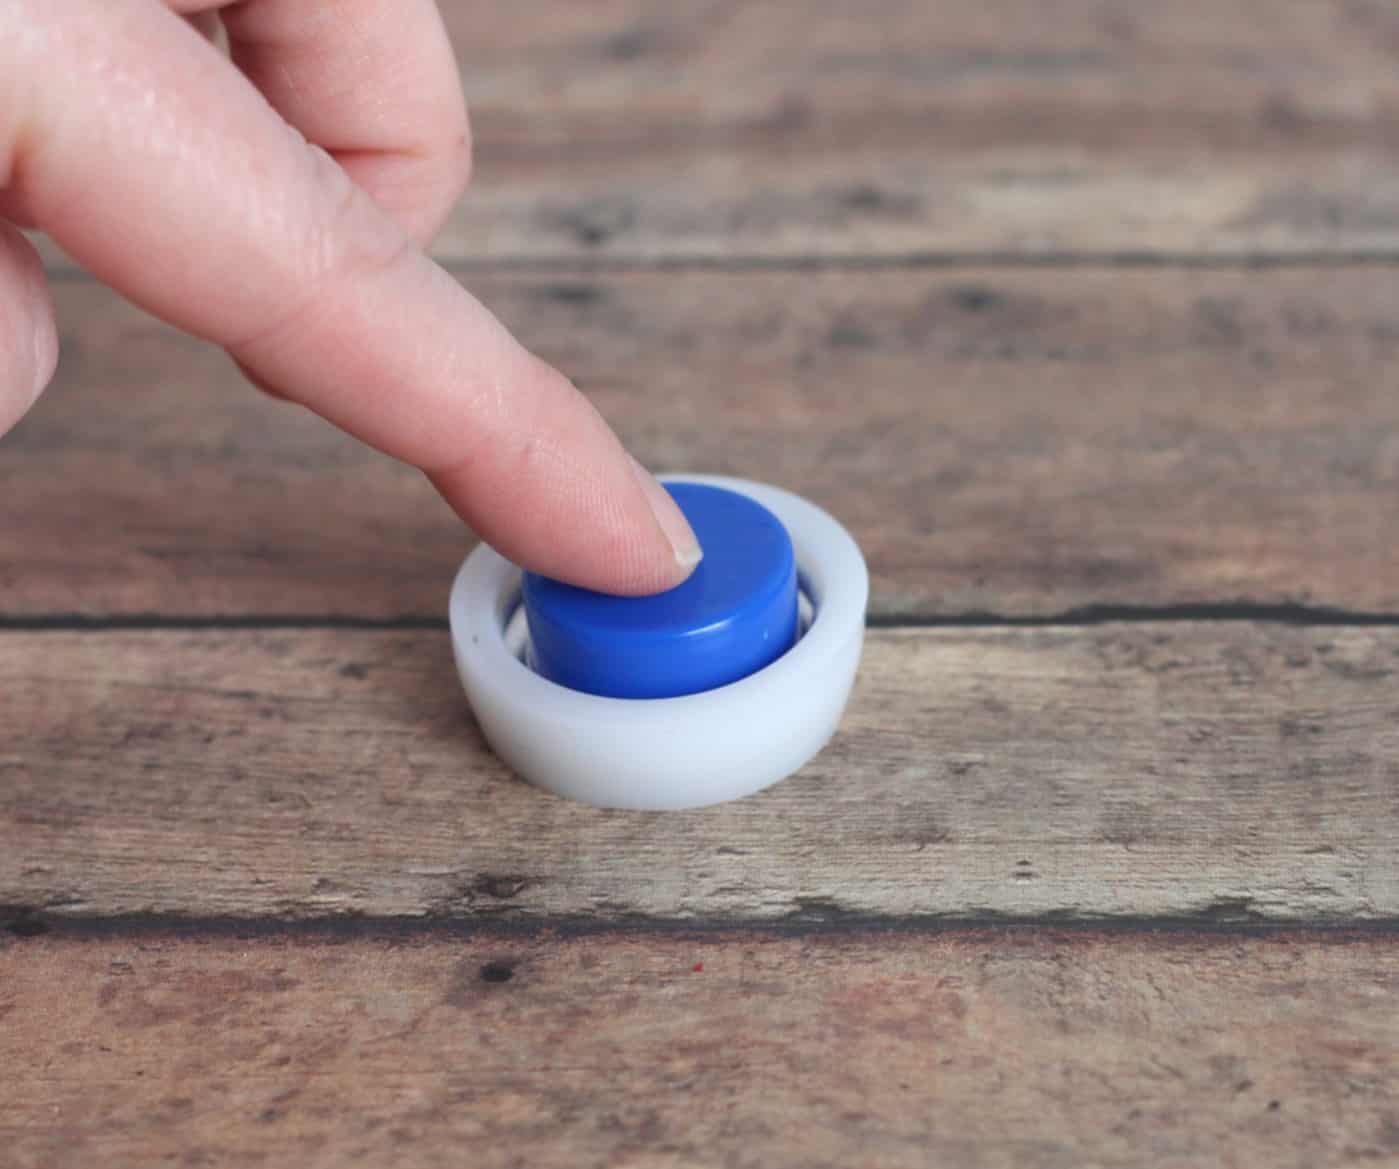
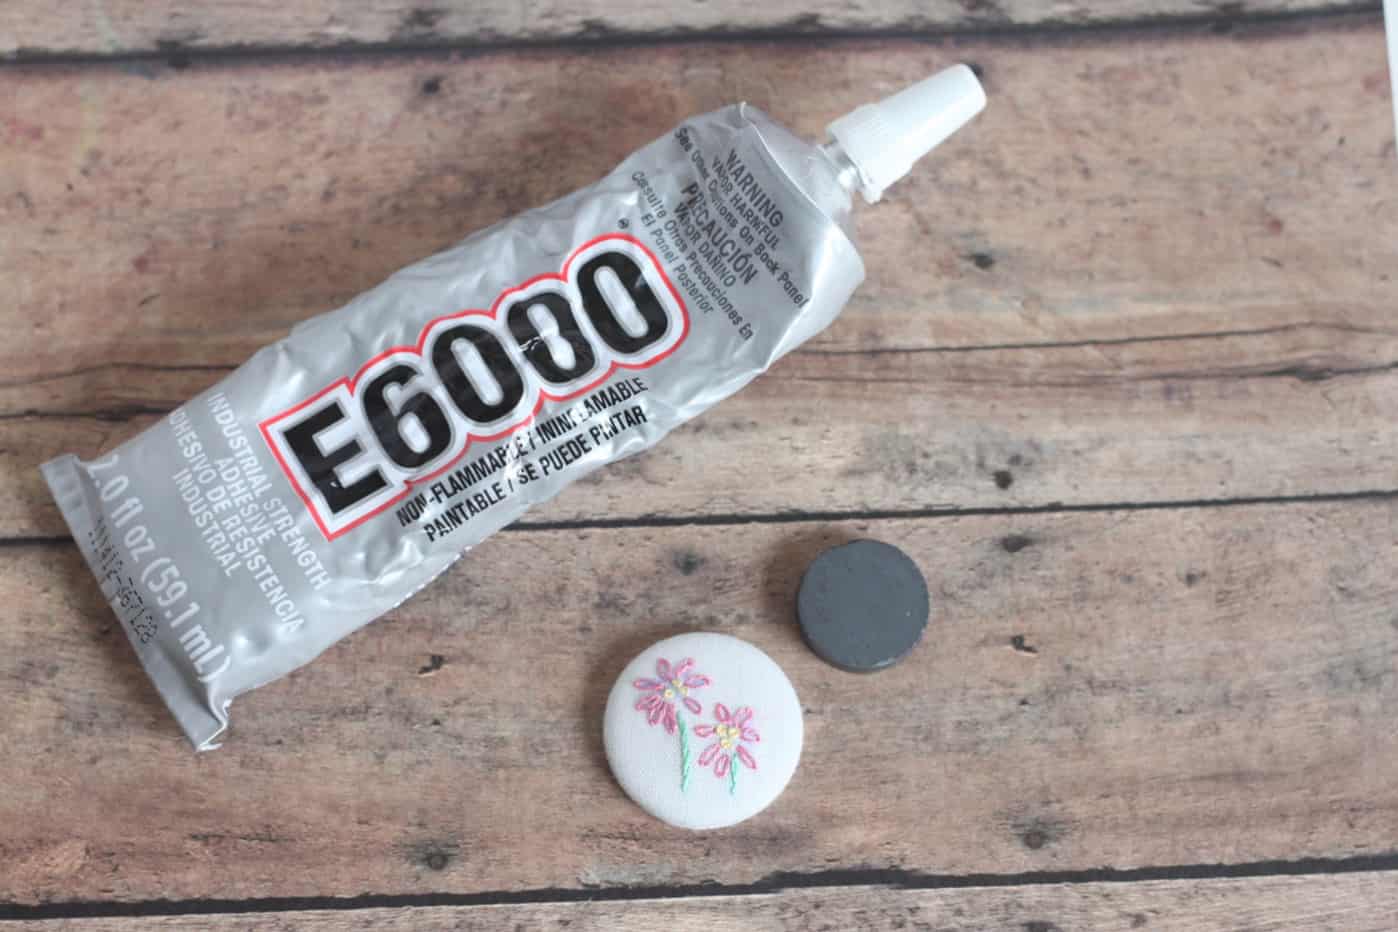
Get some really strong glue and some semi-strong magnets. You want the magnet to be strong enough to hold the button and some paper, but not so strong that it pulls itself off of the glue to stick to the fridge.
From what I’ve heard, this glue E-6000 is really strong. The magnets I bought were from Hobby Lobby and had a strength level of 7 out of 10. Not sure what that means, but my magnets are doing great so far!
Glue one magnet to the back of each button, and wait for them to dry completely. Don’t leave them too close to each other while drying, or the magnets might start to travel towards one another. Ask me how I know.
Now put these embroidery magnets to use in your kitchen or filing cabinet and enjoy! For more cottagecore craft ideas like this, visit my blog, Cutesy Crafts.
Let me know what you think of this easy craft project in the comments – I’d also love for you to visit some other gift ideas I think you’ll like:


I’m looking to getting back to doing embroidery and this is a great idea for holiday gifts.
I totally agree Ann! So fun!
I LOVED this tutorial! I am always looking for more fun and practical ideas for embroidery! In fact, I put a link to this post on my blog today! Thanks for your hard work and creativity!
Aw, these look so sweet. It’s been over 20 years since I’ve done any needlework, aside from sewing on buttons and a hem or two. After looking at the stitches needed for these little magnets, I can easily say—anyone can do this. Thanks for posting!
You are totally speaking to my world when you say that embroidery and practical uses do not go hand in hand. But I am loving this and totally going to steal your idea!!