Christmas Gift Card Holders Make the Holidays Fun
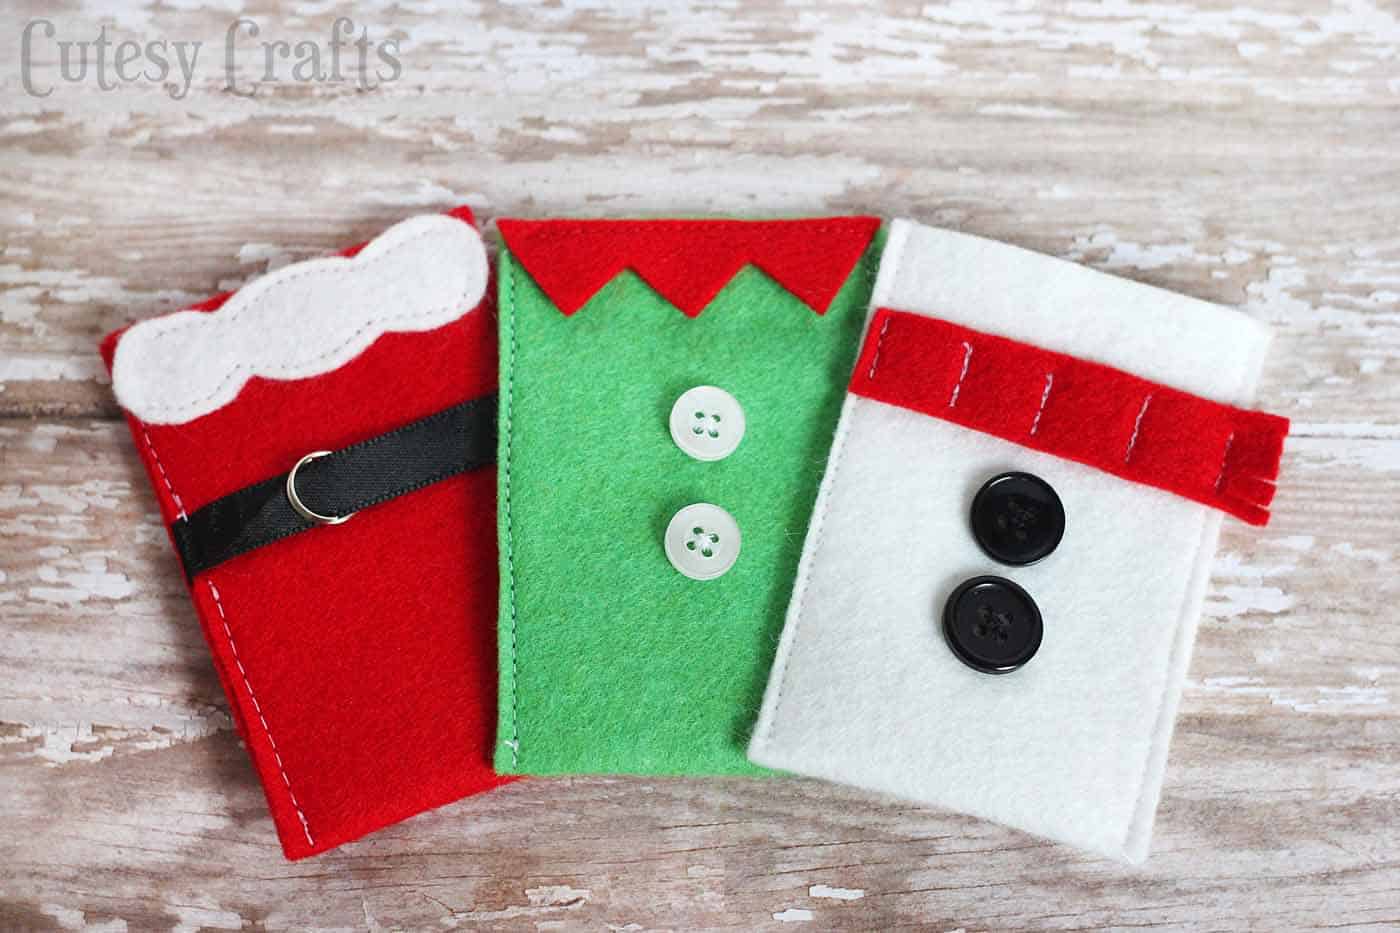
To make gift card giving a little more fun this year, I made these felt Christmas gift card holders. There’s a Santa, a snowman, and an elf! Aren’t they cute?!
Skills Required: Beginner. This is a sewing project, so you need very basic experience with a sewing machine. There are only straight stitches, and not very many. You’re also going to hand sew buttons, though you could glue them with fabric glue as well.
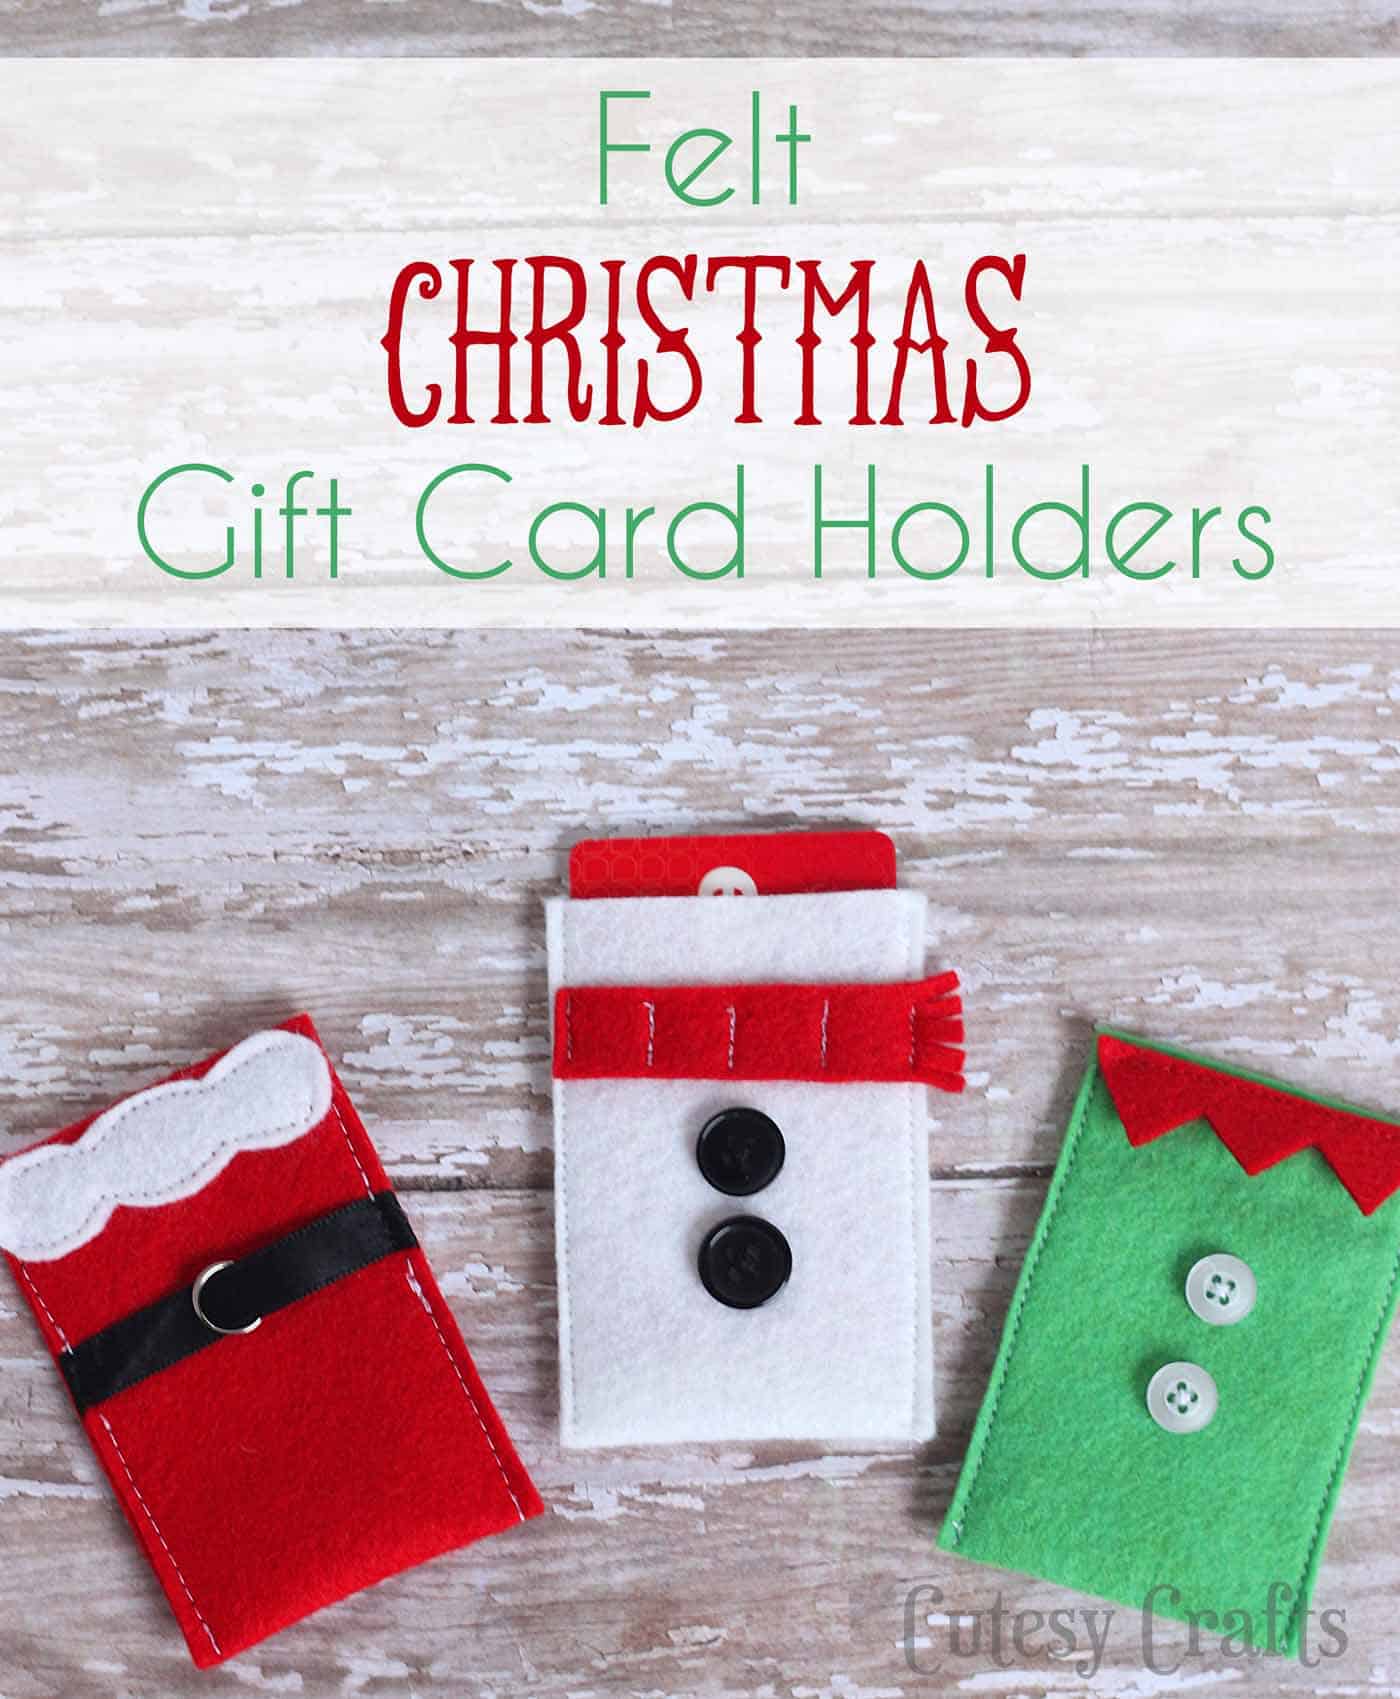
Giving gift cards for Christmas is always an easy option. Let’s be honest though, it’s not very exciting. To make gift card giving a little more fun this year, I made these felt gift card holders.
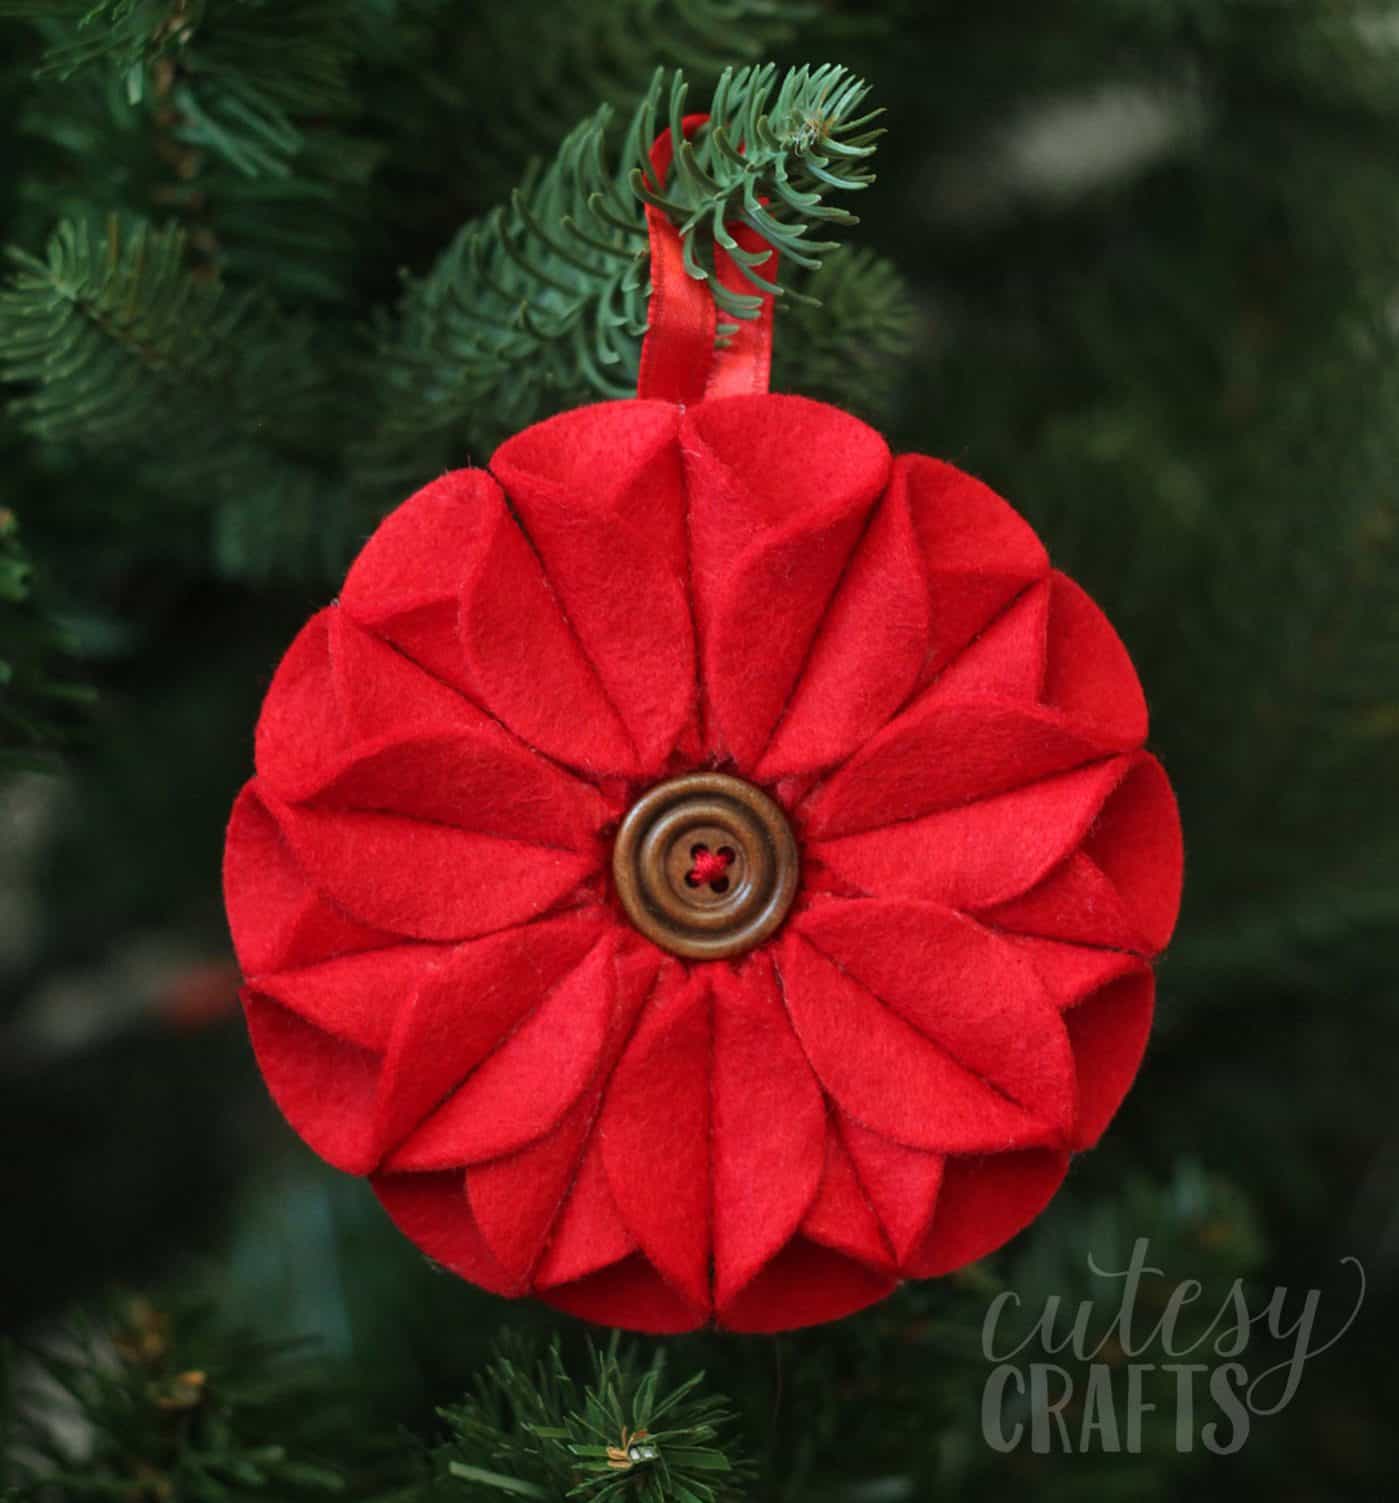
We love felt around here! Check out these other projects – we’ve done mistletoe, a poinsettia ornament, and hair bows. It was definitely time to try another felt holiday project, and that’s how these mini gift card envelopes were born.
There’s a Santa, a snowman, and an elf! Aren’t they cute?! They are perfect for giving gift cards to teachers, co-workers, or anyone on your list. I think my husband’s boss might be getting one this year.
DIY Christmas Gift Card Holders
Gather These Supplies
- Christmas gift card patterns
- Santa:
- Red and white felt
- 3/8-inch black satin ribbon
- .47 inch split ring (I found a pack in the jewelry making section)
- Snowman:
- White and red felt
- Two black buttons
- Elf:
- Green and red felt
- Two white buttons
Santa Gift Card Holder
I’ll show you how to make the Santa gift card holder since it’s the most complex.
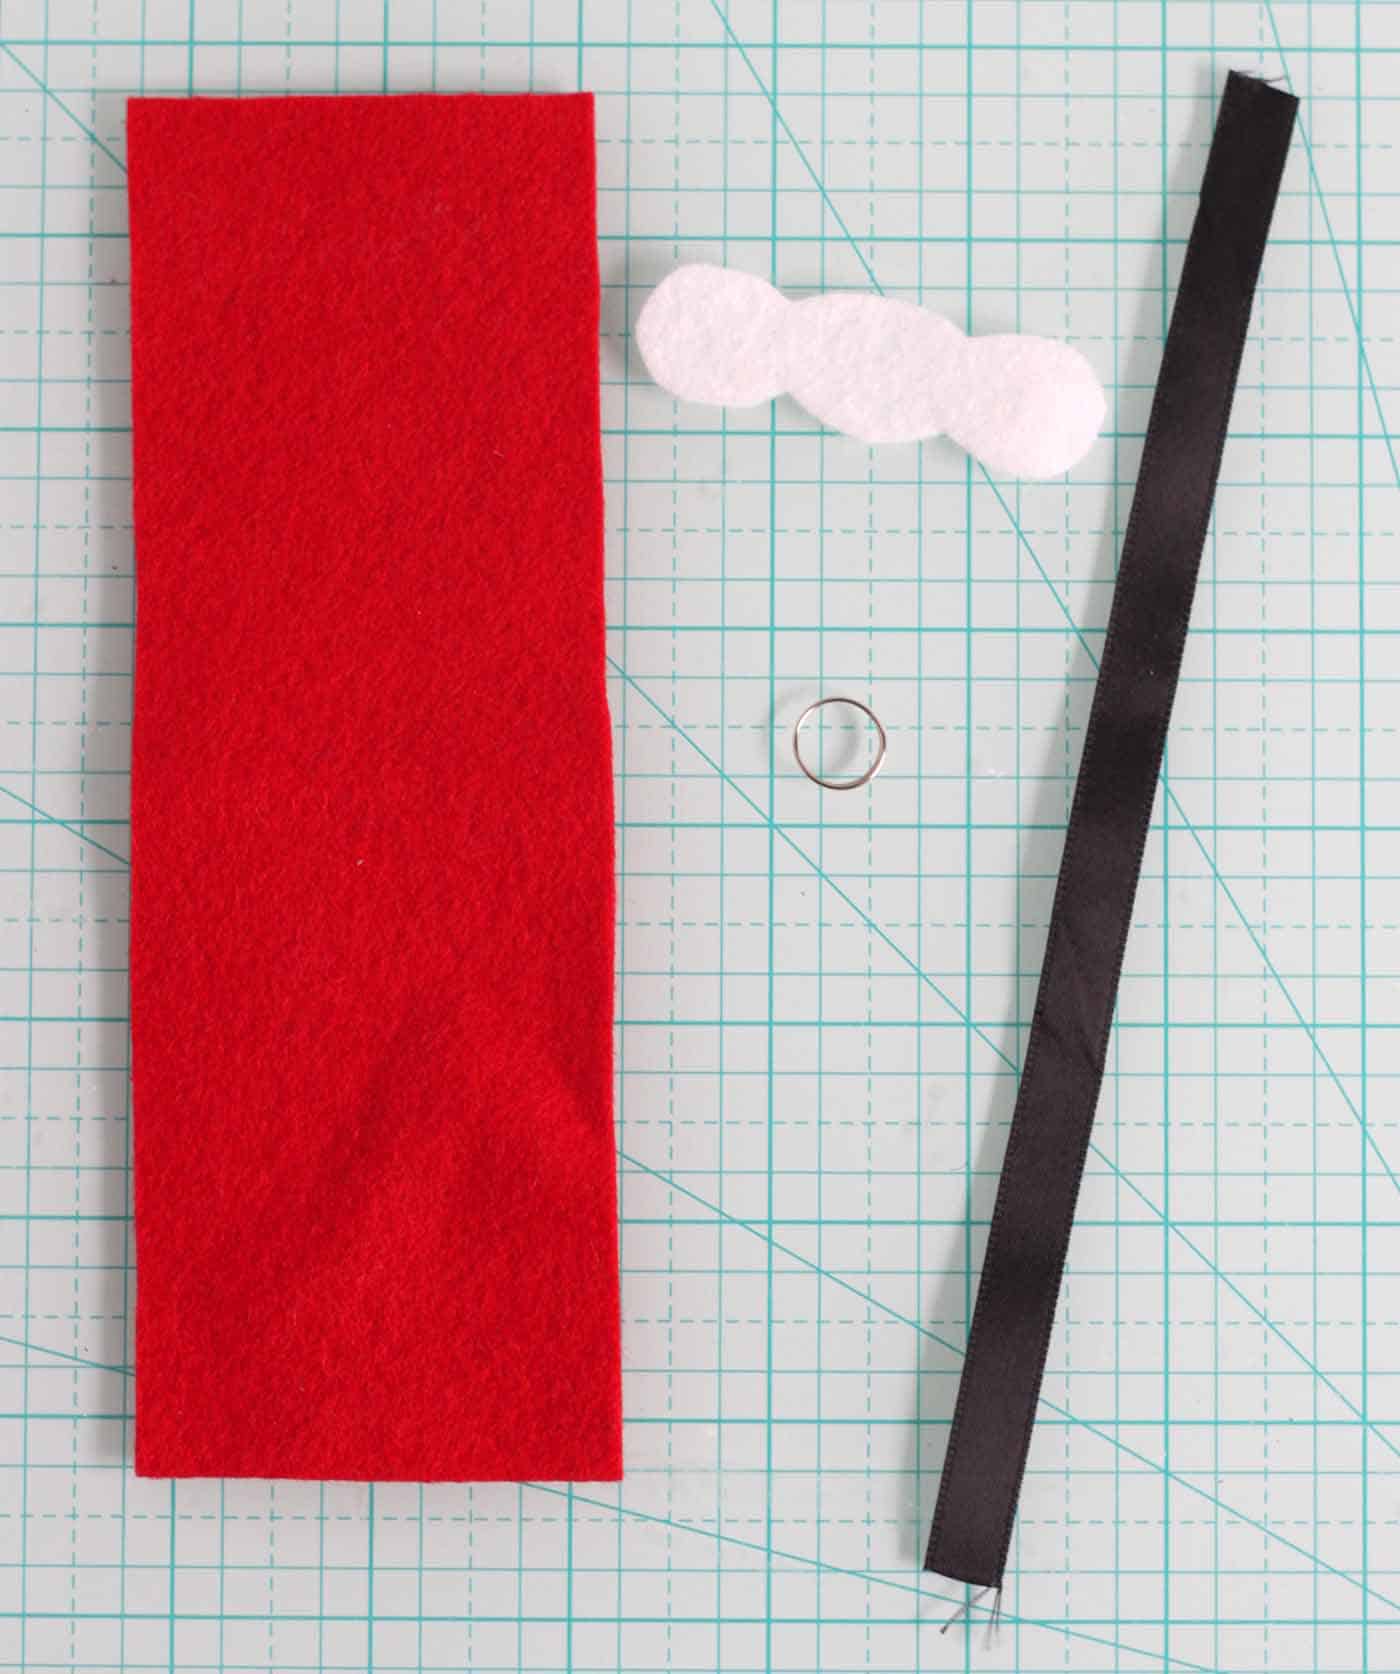
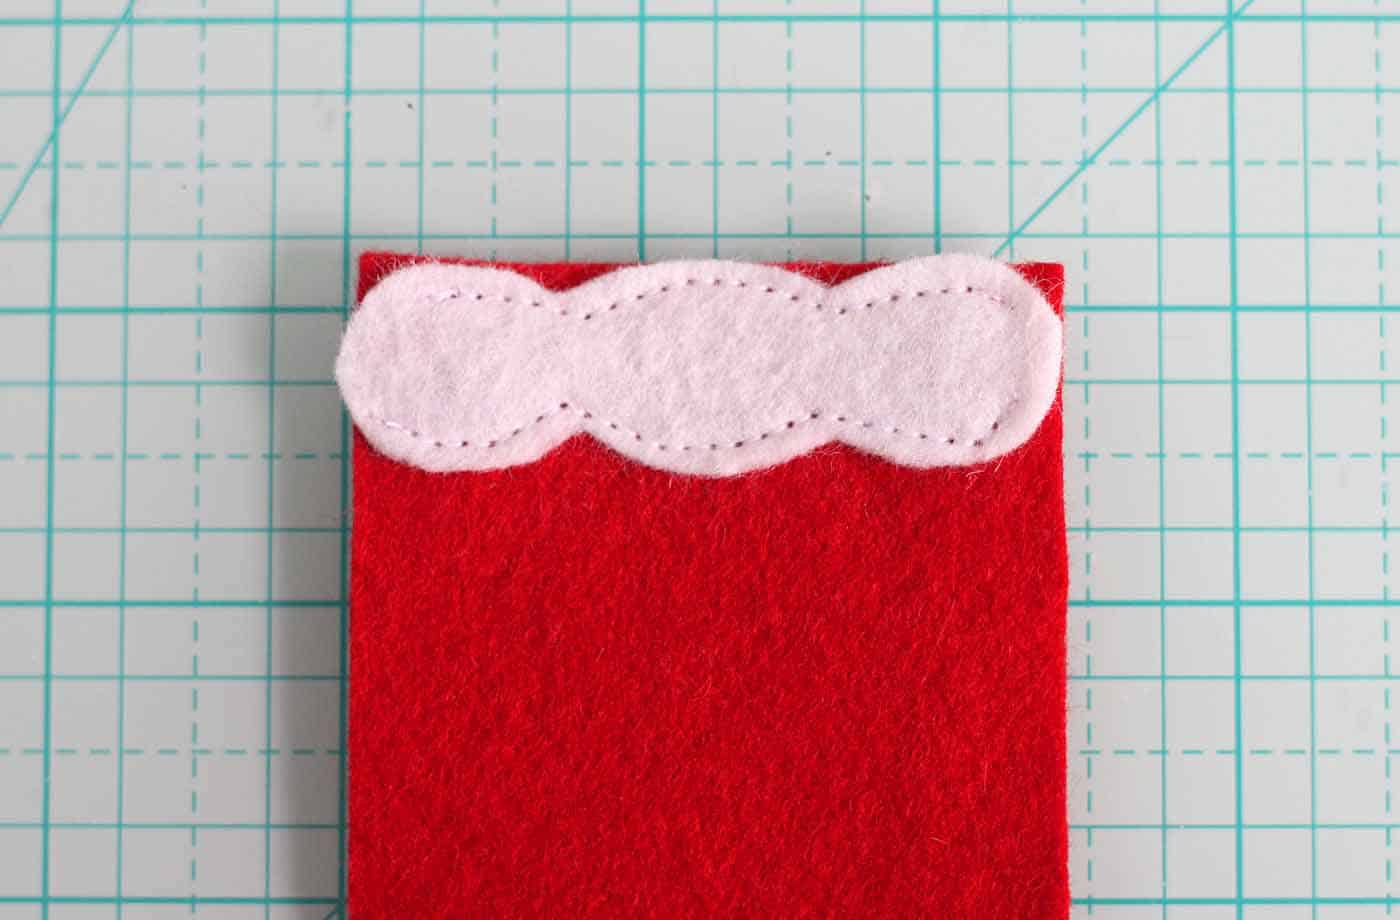
Start by sewing just the top and bottom of the white part to a short end of the base.
Cut a piece of ribbon about 1/2 inch longer than the width of the gift card holder and thread it through the split ring.
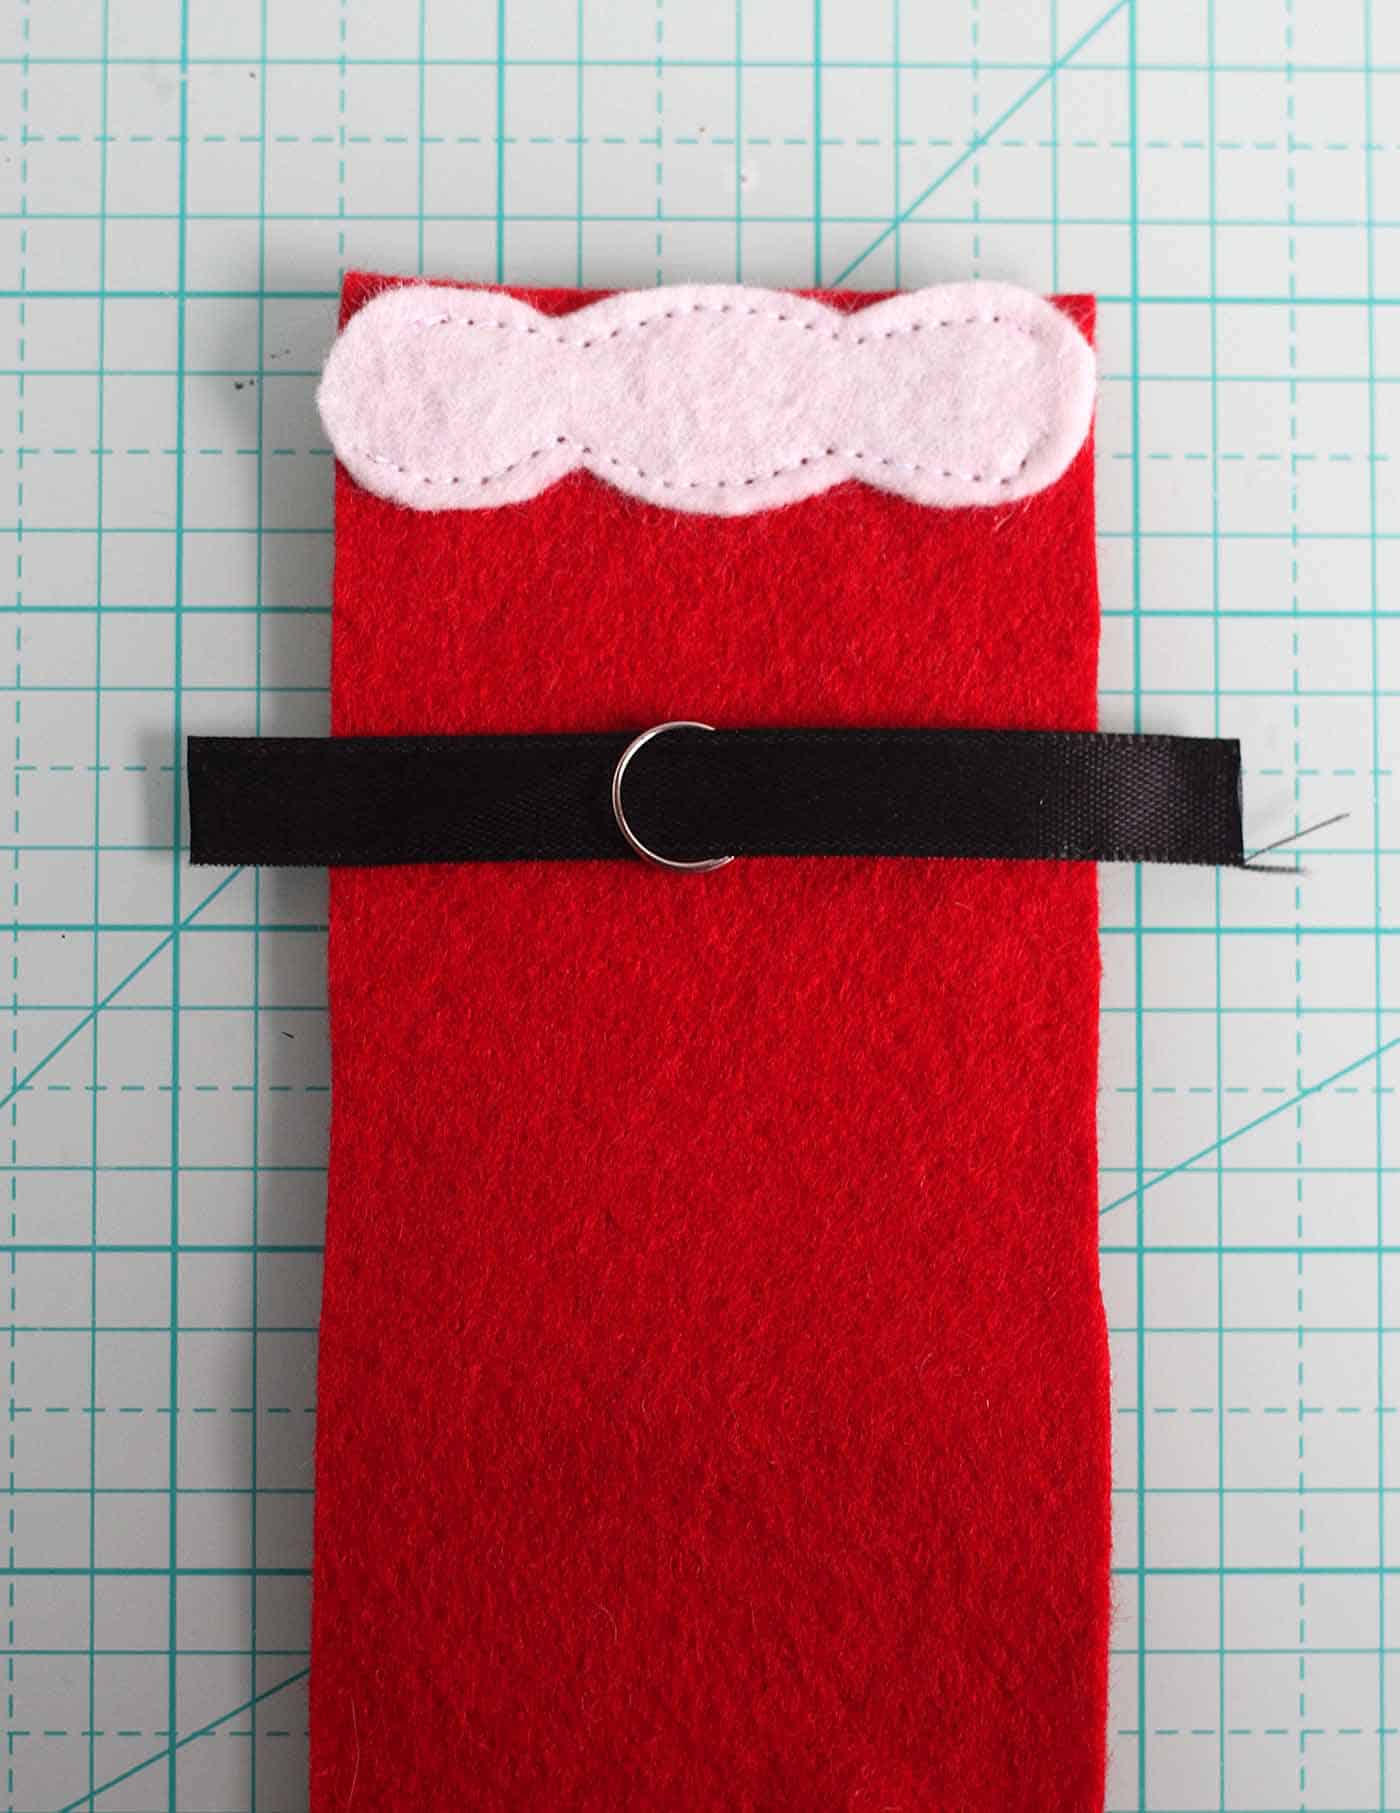
Fold the gift card holder in half, width-wise. Fold the ends of the ribbon under and sandwich them in between the top and bottom. Pin down each side. I like to use bobby pins for the ribbon.
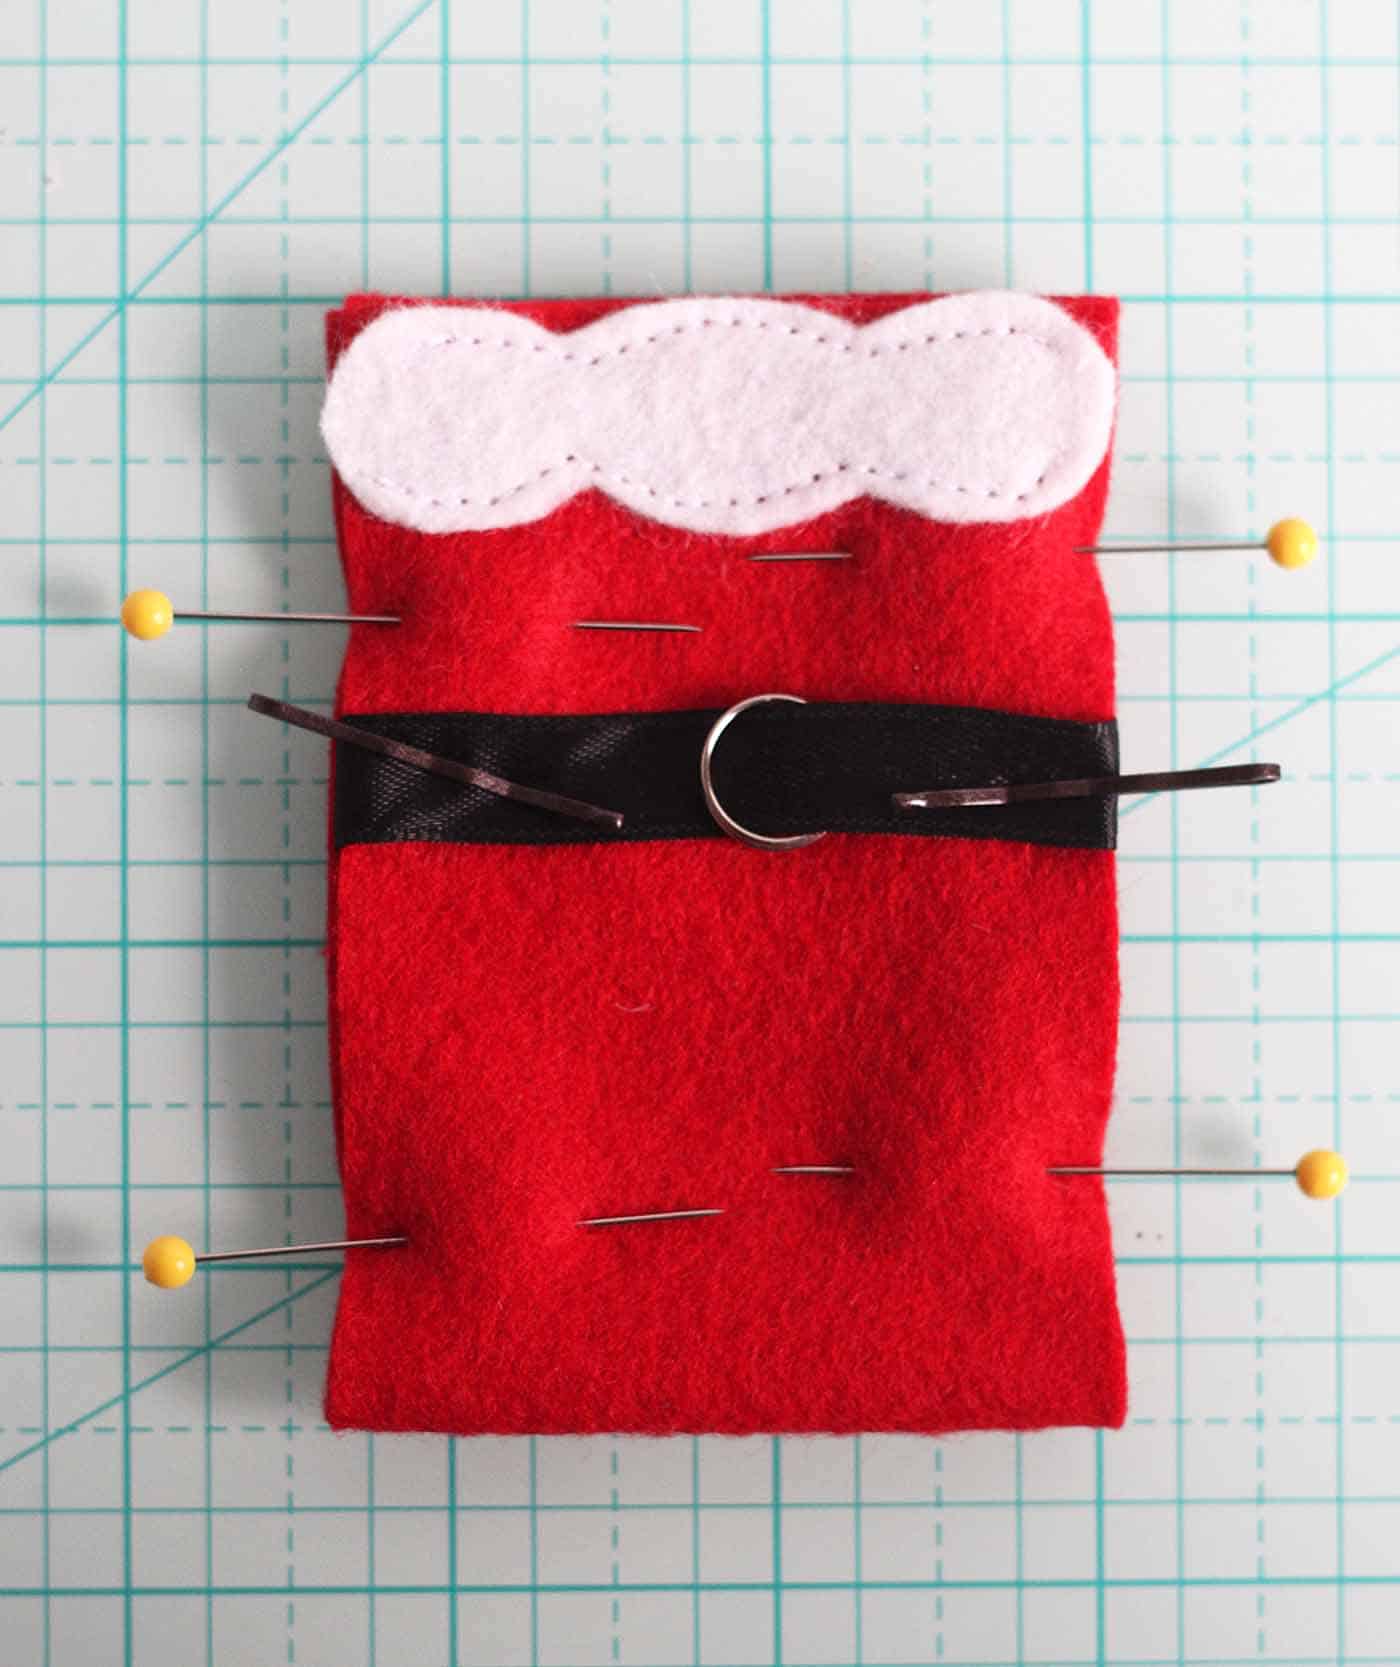
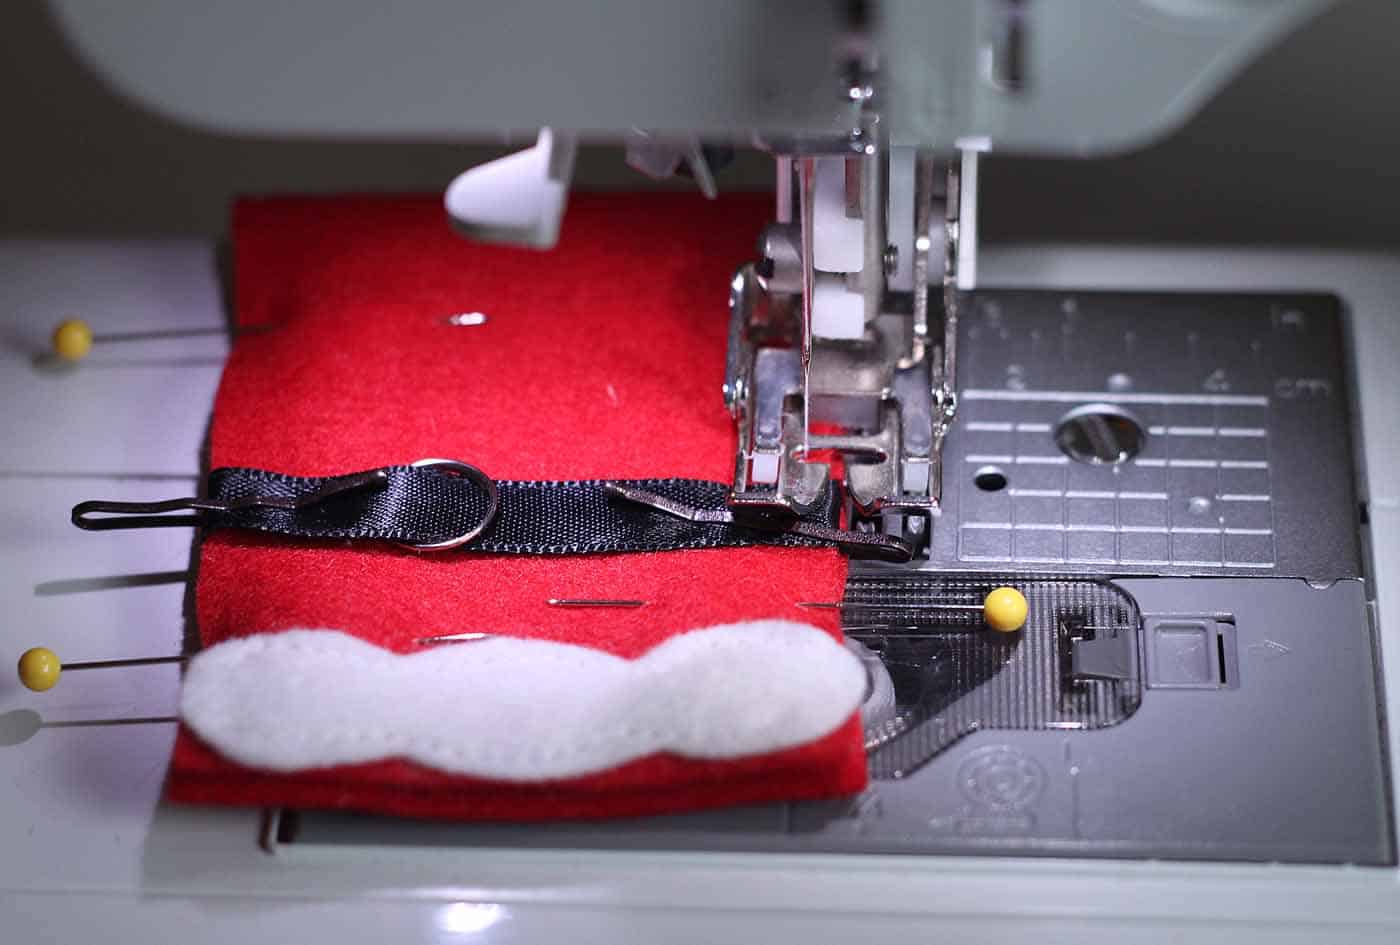
Sew down each of the long sides, getting as close to the edges as you can. Stop when you get to the black ribbon, and skip that part until the end.
When you get to the white part on top, flip the white felt out of the way so you can sew under it.
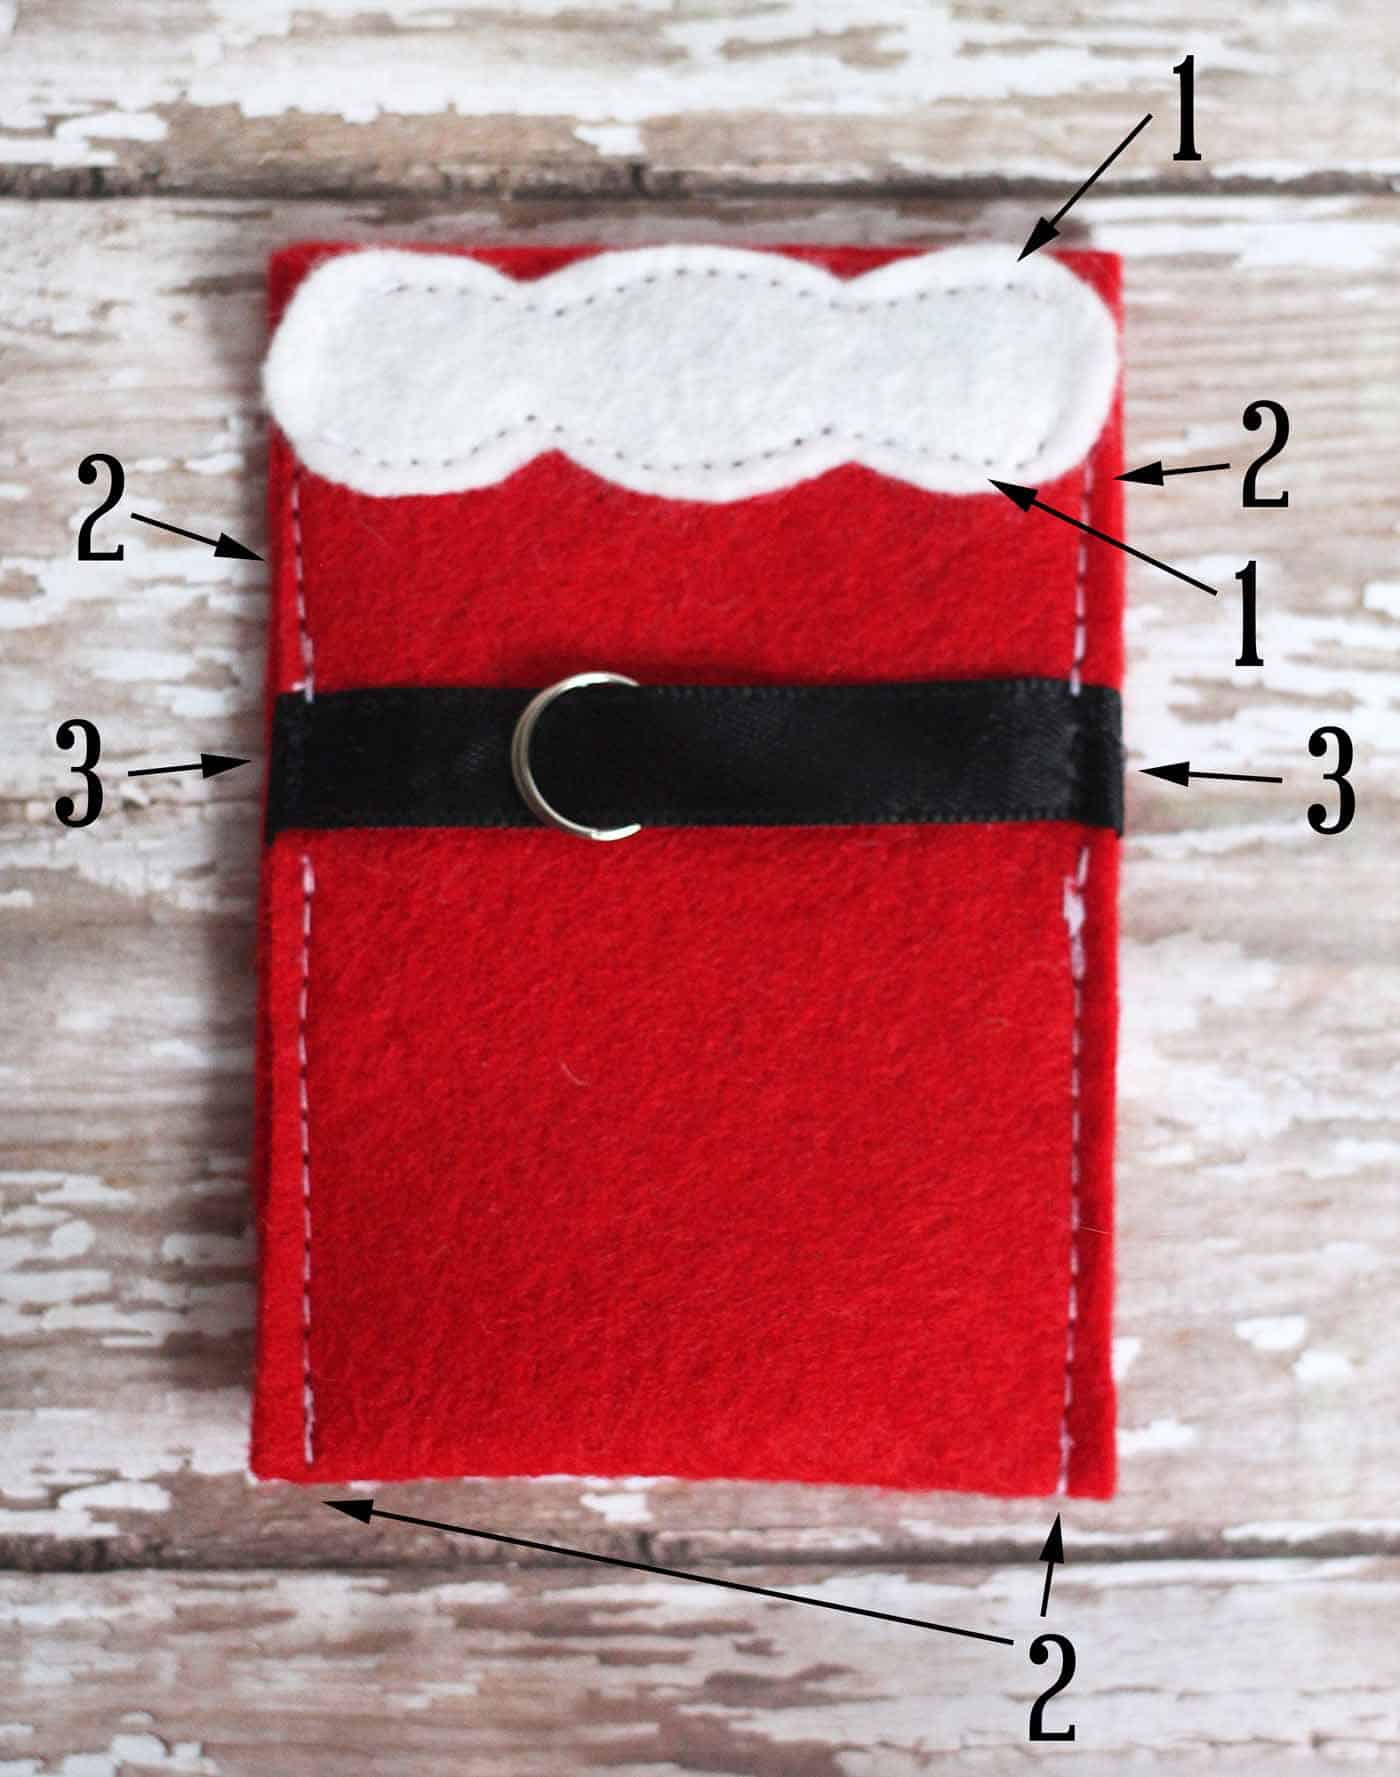
Change your top thread to black and sew over the sides of the ribbon. Here’s a little diagram to show you the order of sewing.
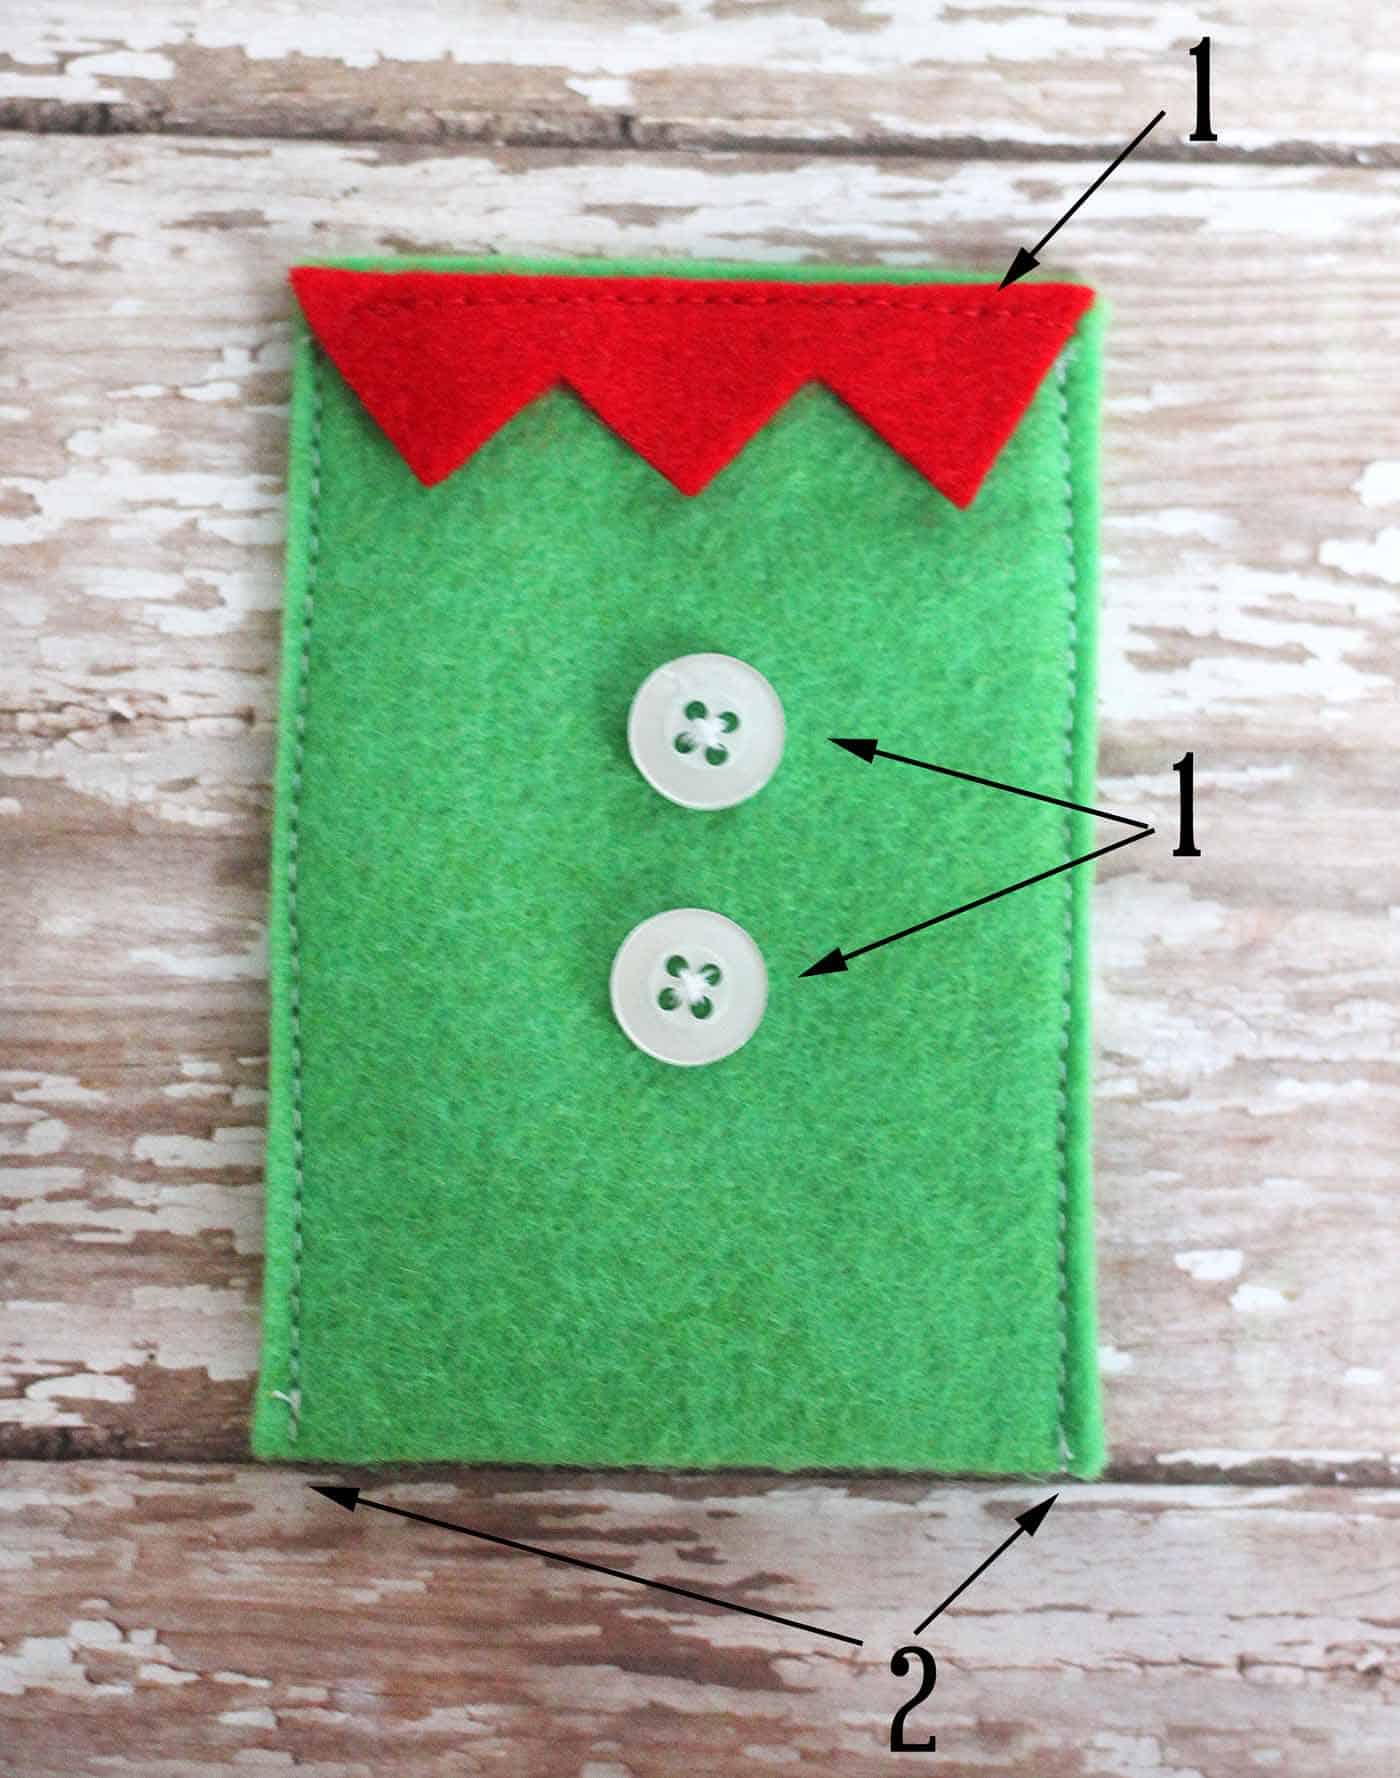
The elf and snowman are a little easier, and I’m going to give you some diagrams to show you the order to sew everything.
Elf Gift Card Holder
Start by cutting the base using the green felt, and the triangle collar trim using the red felt (with the templates).
Sew the red triangle trim at one end of the green felt. BEFORE sewing together, fold the green felt piece in half so you know where to place the buttons. Then unfold. Hand sew the buttons down with thread.
Fold the green piece in half and sew down the sides to form the elf inspired holder.
Snowman Gift Card Holder
Start by cutting the base using the white felt, and the scarf using the red felt (with the templates).
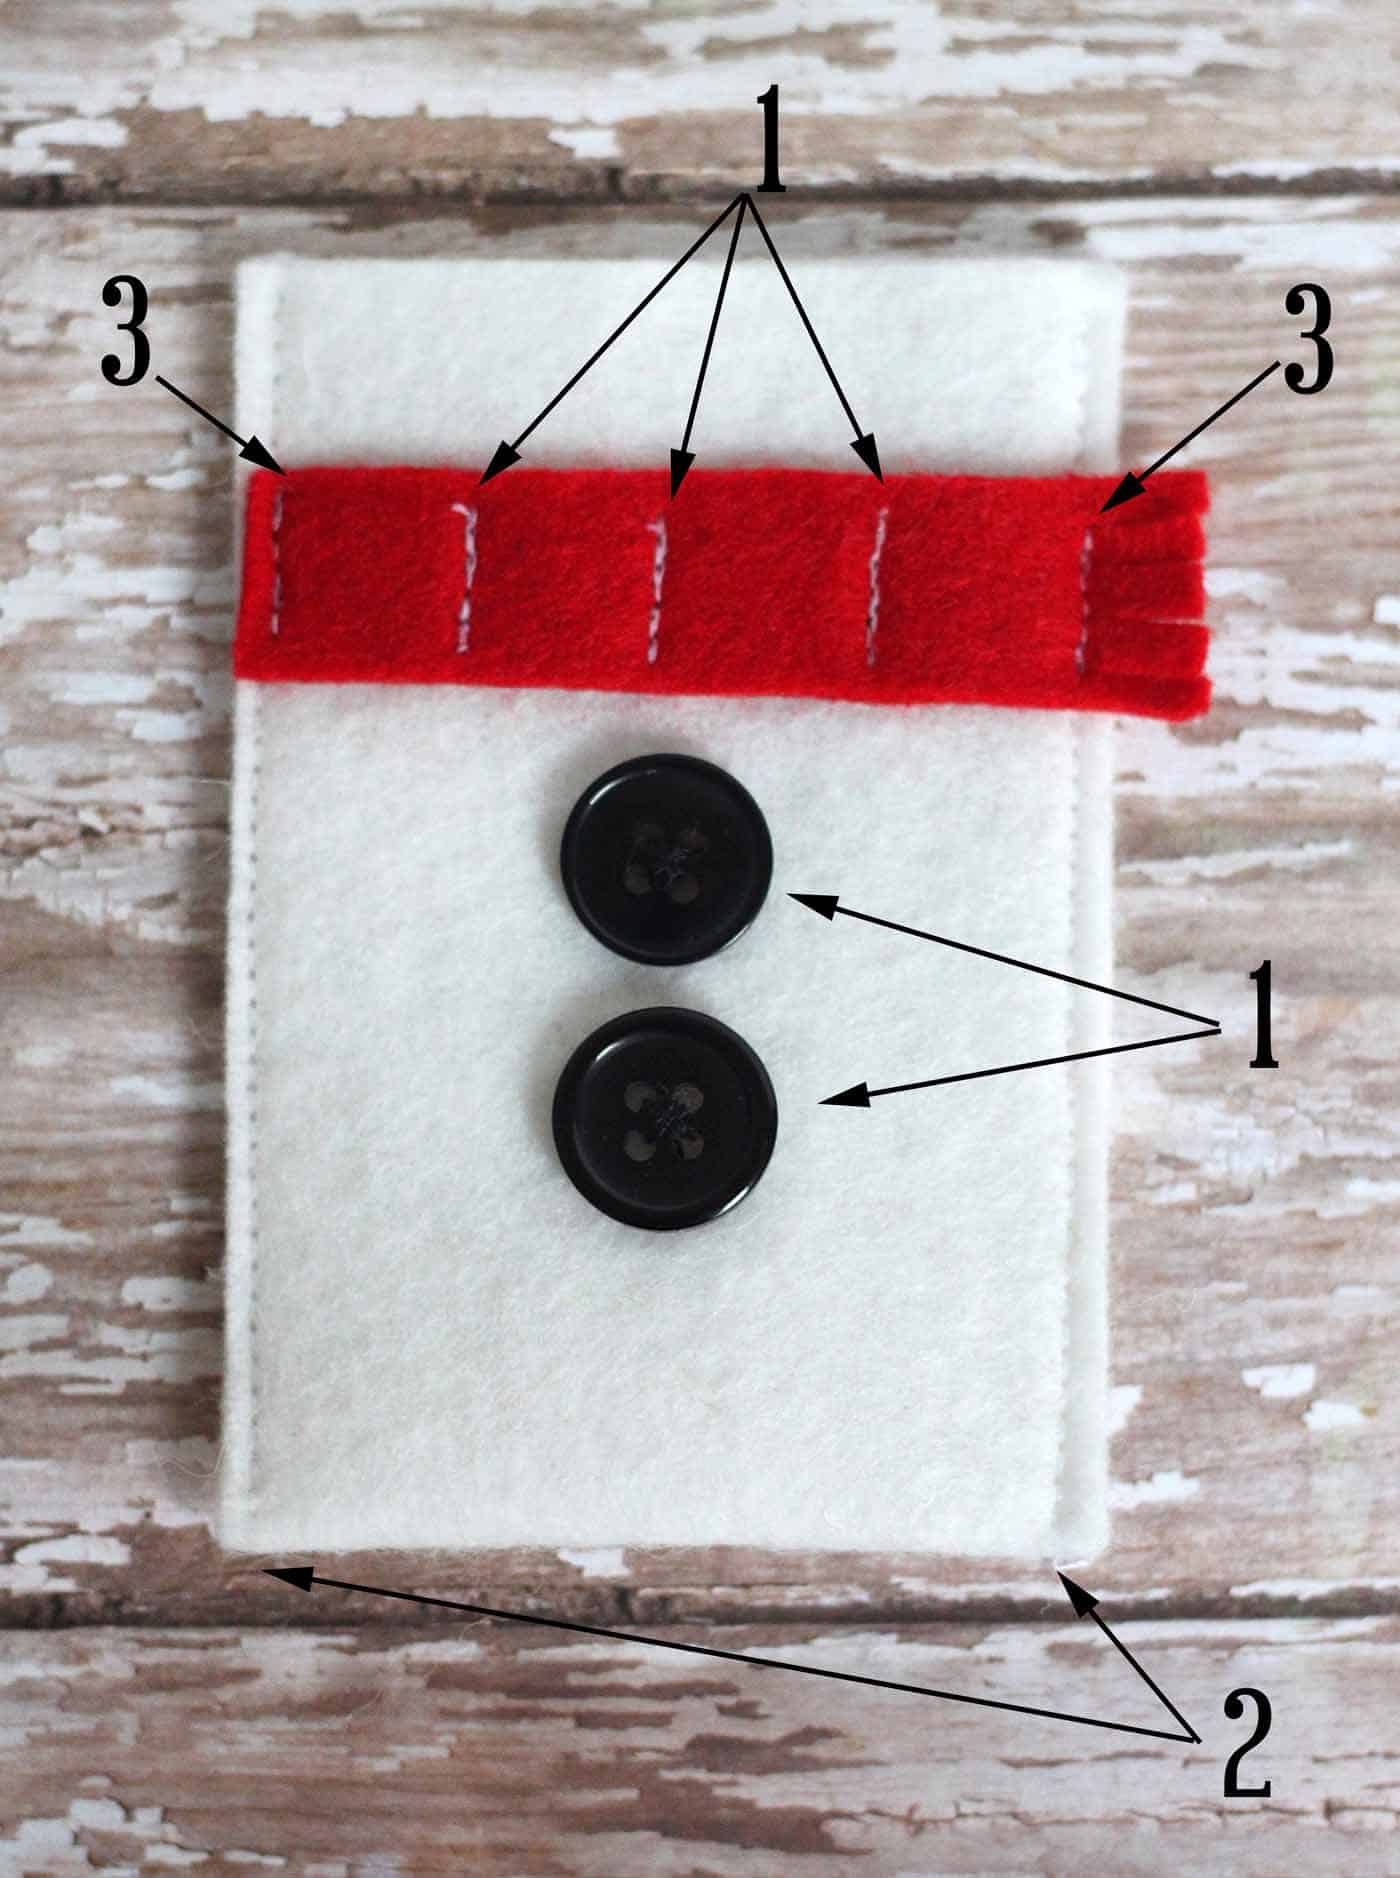
Sew the red scarf in three places at one end of the white felt, leaving a little bit of room at the top. Maybe a half inch or so.
BEFORE sewing together, fold the white felt piece in half so you know where to place the black buttons. Then unfold. Hand sew the buttons down with thread.
Fold the white piece in half and sew down the sides to form the snowman inspired holder. Sew right over the red scarf on the edges to tack the ends down.
Before gifting, cut away small strings from any thread. Which one is your favorite? I think I like the snowman the most. But it’s hard to choose!
For more ideas, check out these DIY Christmas gift card holders! I’d also love for you to check out these other holiday posts:


These gift card holders are so cute! What a great way to make an easy gift more personal!
Paige
https://www.thehappyflammily.com/
Very cute and so easy! I love felt projects and plan to share this on my blog: http://www.stampedblessings.com 🙂
Chris
Very cute, I like all three! Thanks for the cute ideas.