Easy Wood Slice Christmas Magnets for Festive Decor & Gifts
Create easy DIY Christmas magnets with wood slices! This simple and festive craft is perfect for holiday decor or handmade gifts.
Skills Required: None. Even if you’ve never crafted before, you can make these magnets. You’ll be stenciling with adhesive stencils, so bleeding is easy to avoid. Then you’ll be gluing.
While wandering the aisles at Michaels recently, I stumbled upon the cutest unfinished wood disks in various sizes.
They immediately caught my eye because I love working with wood—it’s so versatile and has a natural charm that works beautifully with paint and Mod Podge.
(Fun fact: my appreciation for wood might stem from my undergraduate forestry degree that I never used, but who’s to say?)
These tiny wood slices practically begged to be turned into something festive. Their petite size made them perfect for a quick and fun Christmas craft. That’s when inspiration struck: DIY Christmas magnets!
Not only are they easy to make, but they’re also a delightful way to add a touch of holiday cheer to your decor or gift wrapping.
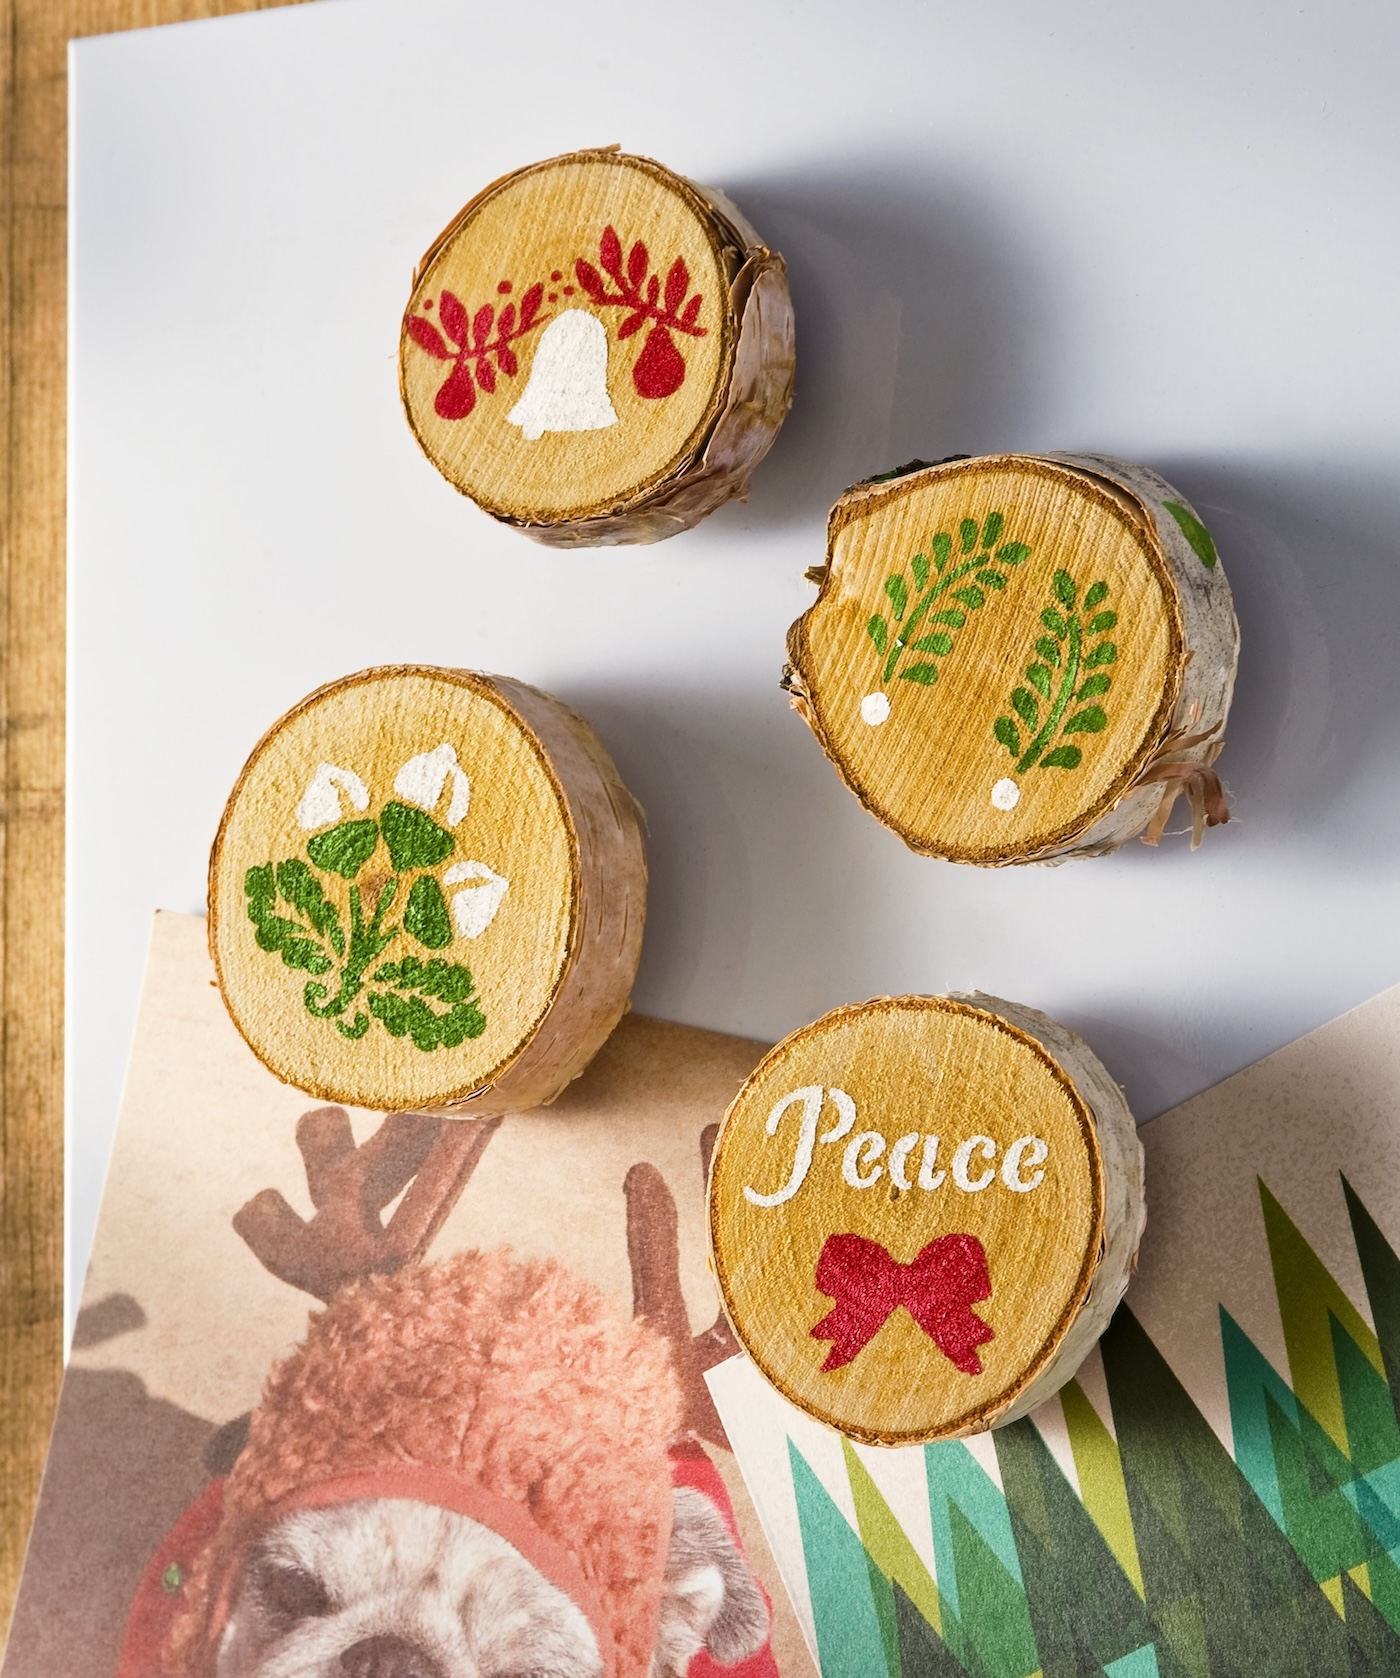
The beauty of these wood slices is their versatility. Whether you love to paint or prefer decoupage, the possibilities are endless. For this project, I combined acrylic paint and adhesive stencils to create crisp, festive designs on the front.
Once painted, I attached magnets to the back, and voila—adorable Christmas magnets were born!
These homemade magnets are fantastic for holiday decor, stocking stuffers, or thoughtful handmade gifts. Plus, they’re beginner-friendly and can be customized in so many ways.
If you’re looking for a creative project to get into the holiday spirit, these wood slice magnets are it. Let me show you how to make them!
Gather These Supplies
- Unfinished wood disks – they come in a pack of four
- Acrylic paint – colors of your choice (red, green, white, etc)
- Adhesive stencils – Christmas themed
- Foam spouncers
- Magnets
- Hot glue gun and hot glue
Do you need to seal the wood slices? Not necessarily. They will be just fine as is, although if you want to seal them with Mod Podge or something like Dimensional Magic, you can.
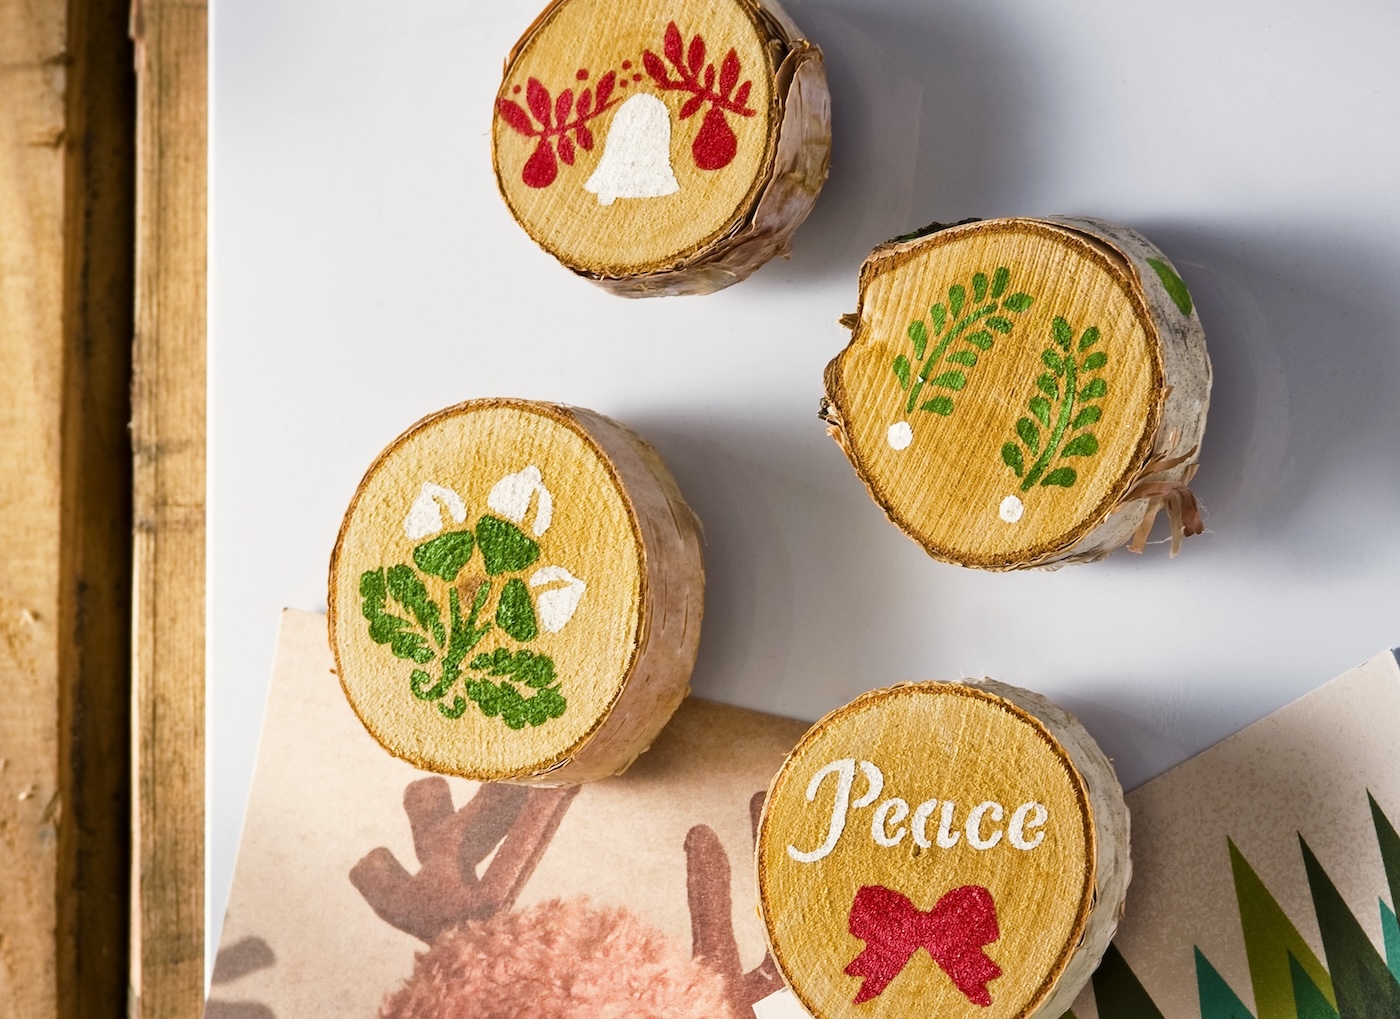
I hope you love making these! They are on my fridge right now. Happy Holidays! Get the printable how to card below:
Christmas Magnet Craft
Equipment
- Adhesive stencils Christmas themed
- Foam spouncers
Materials
- 4 Wood slices
- Multisurface craft paint
- Magnets
Video
Instructions
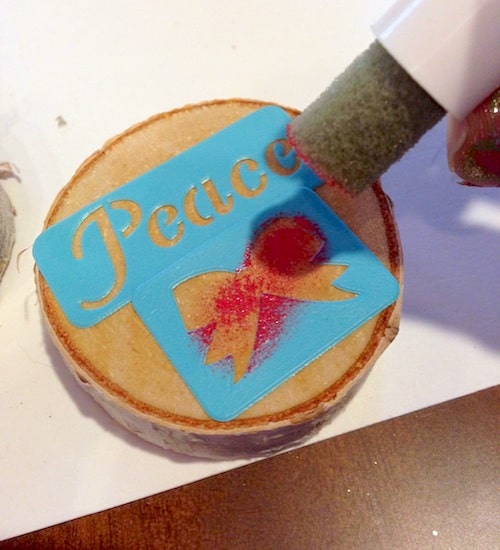
- Smooth your adhesive stencils down on your wood discs. Make sure they are really smooth, so no paint creeps out from under the stencils – make sure you use the smoothest side of the wood discs.
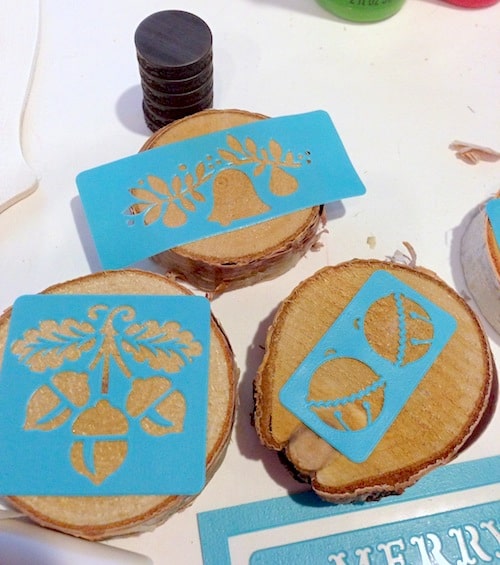
- Use your spouncers to paint the stencils. The key to getting clean lines is to use a little bit of paint at a time and keep going over and over the area, gently.
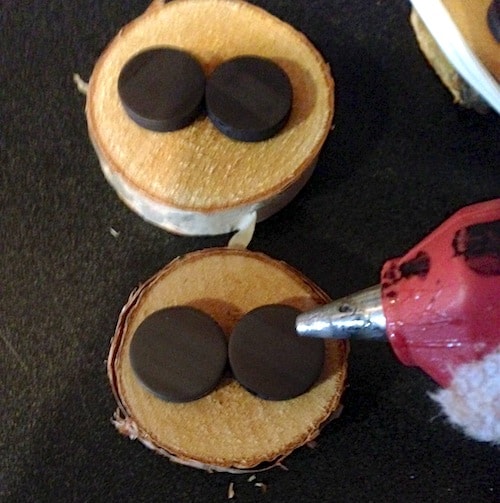
- Once your slices are dry, turn the wood discs over and hot glue a few magnets to the back. I'd do two so that they don't spin around.
Notes
If you want another fun holiday craft idea, try these Christmas apothecary jars! You should also check out these other ideas:
Felt Mistletoe • Gift Card Holders • Gnome Decor • Magazine Christmas Tree • Recycle Cookie Tins • Santa Hat Topiary • Santa Mason Jar • Snowman Mason Jar • String Art • Sweater Clips • Wine Cork Snowman


