Easy Toilet Paper Roll Mummy Pinata (Perfect for Party Favors!)
Turn a toilet paper roll into the cutest mini mummy pinata! This easy Halloween craft for kids is budget-friendly, quick to make, and perfect for party favors or classroom treats.
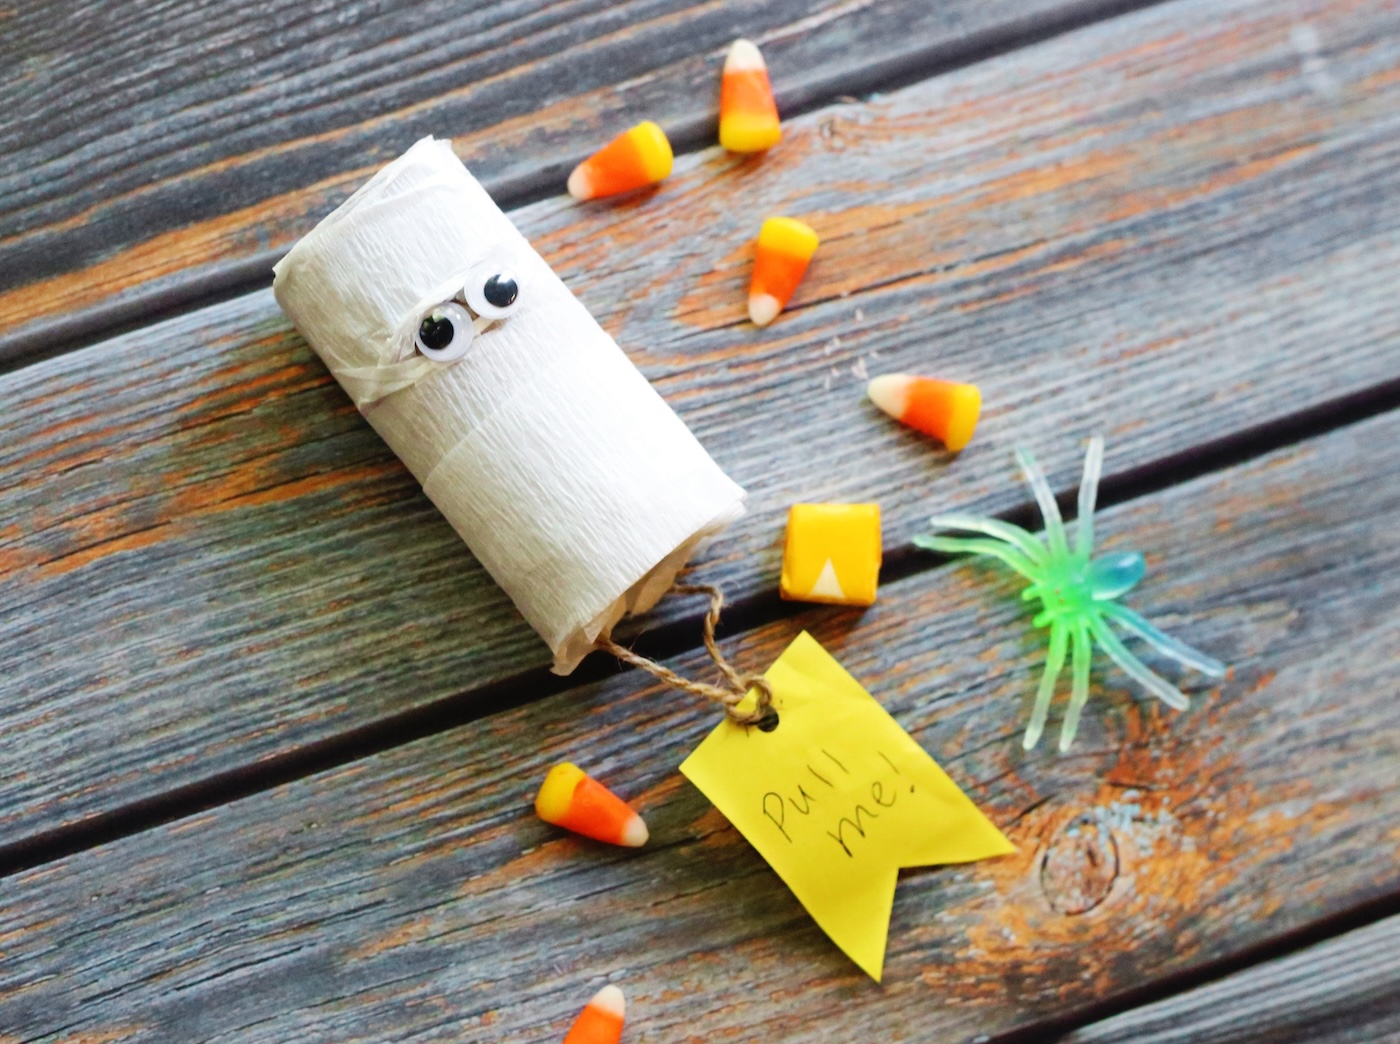
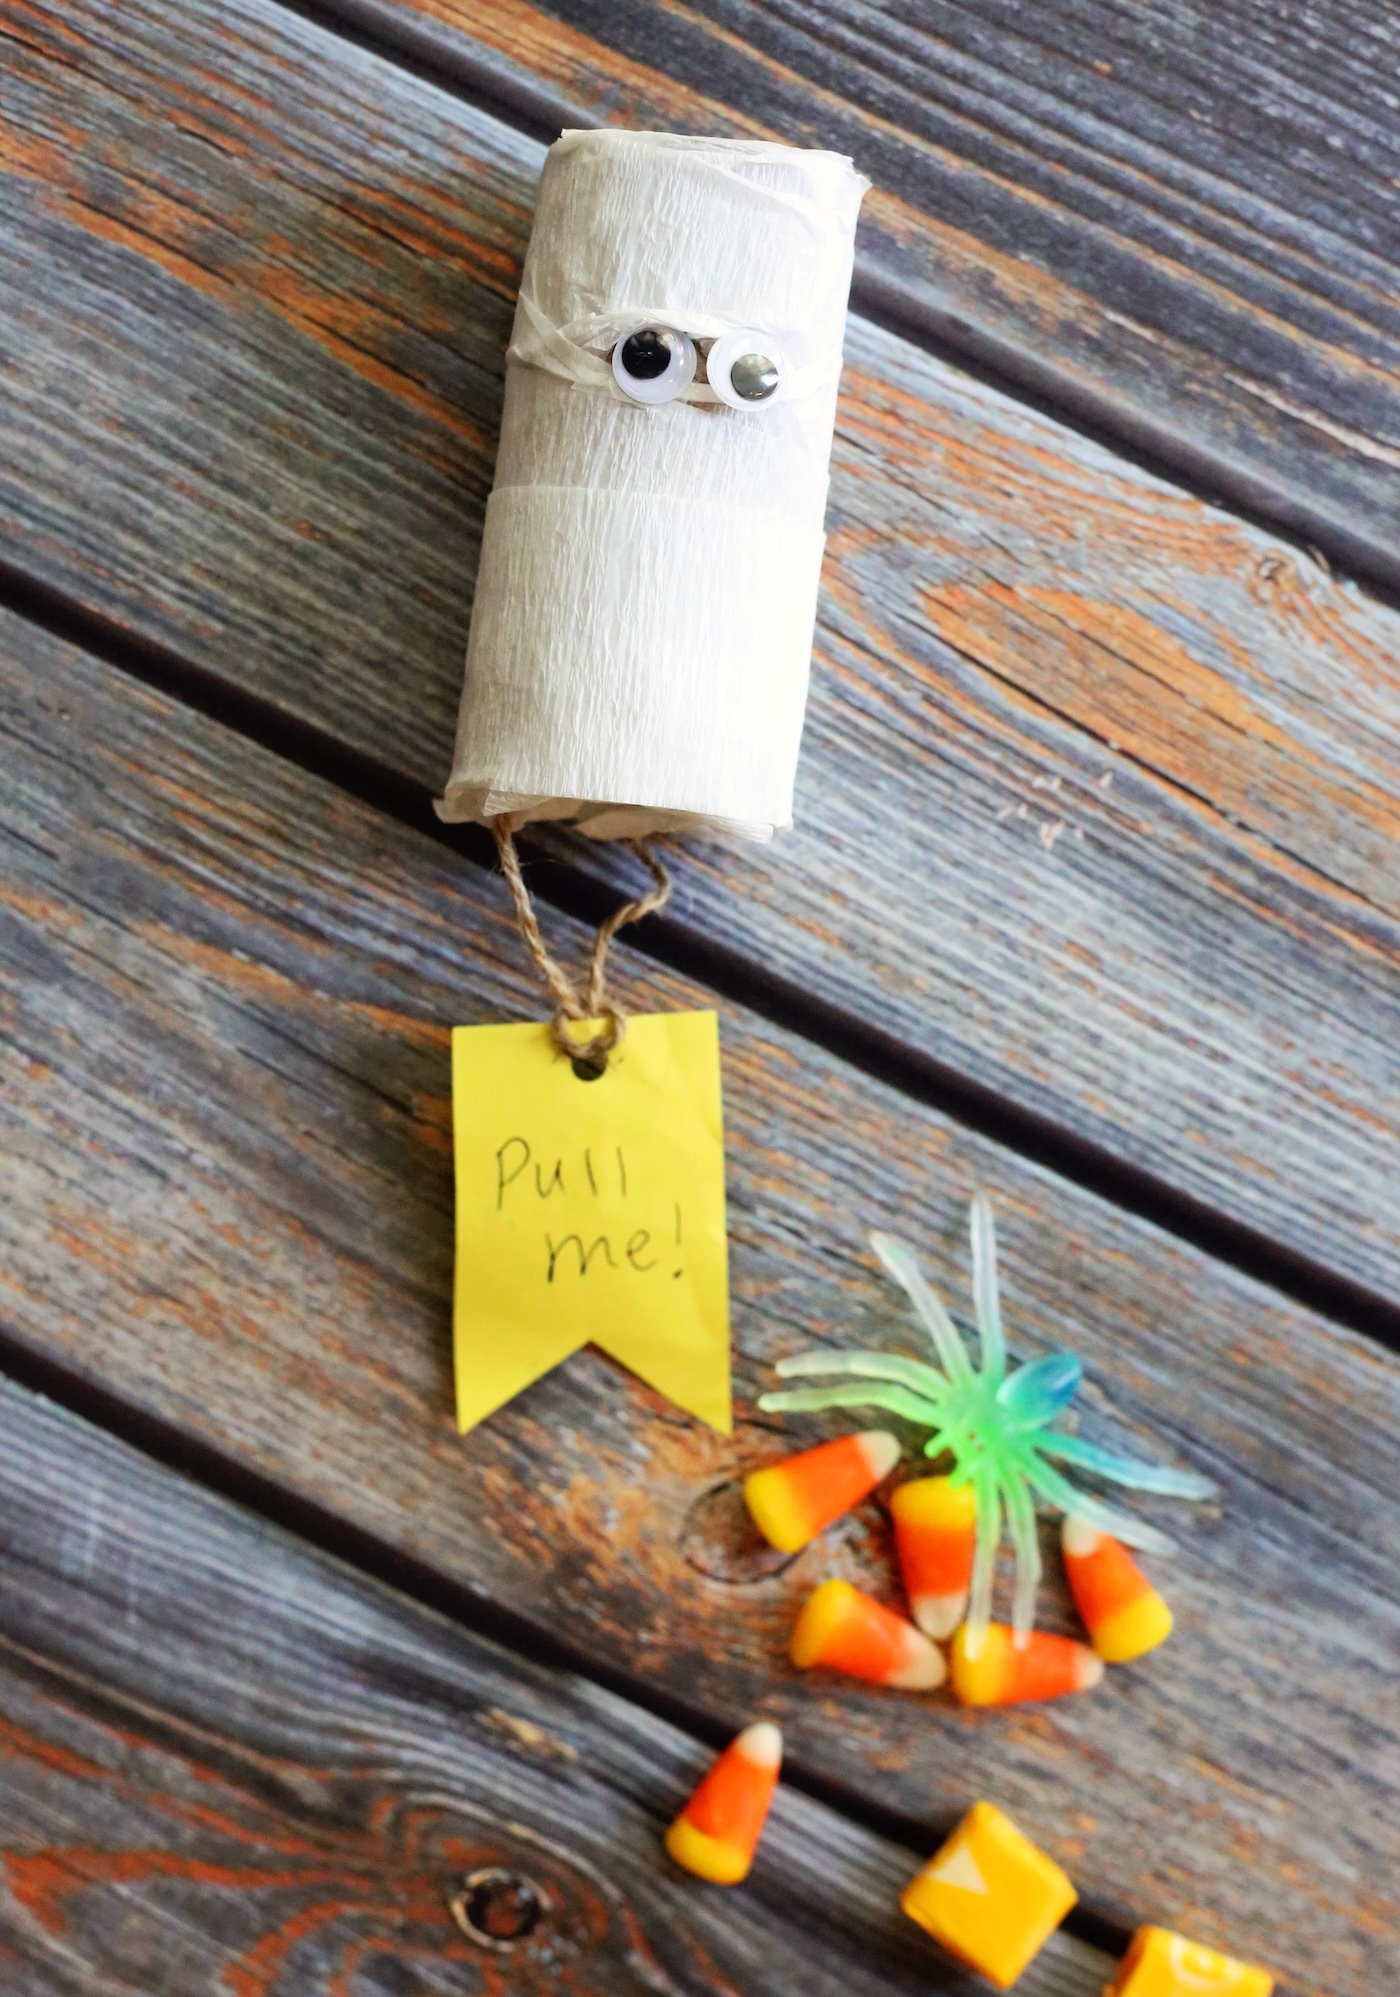
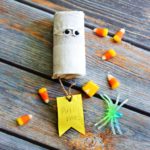
If you’re looking for a Halloween craft that’s easy, cheap, and ridiculously cute then congratulations, you just hit the jackpot. This mummy pinata is made from a single toilet paper roll (yes, the one you were about to toss) and a medium length of white party streamer.
And it’s about to steal the show at your Halloween party.
This year my Halloween crafty challenge is to turn some of my trash into treasures. And by treasure I mean something the kids actually squeal over before immediately tearing apart for candy.
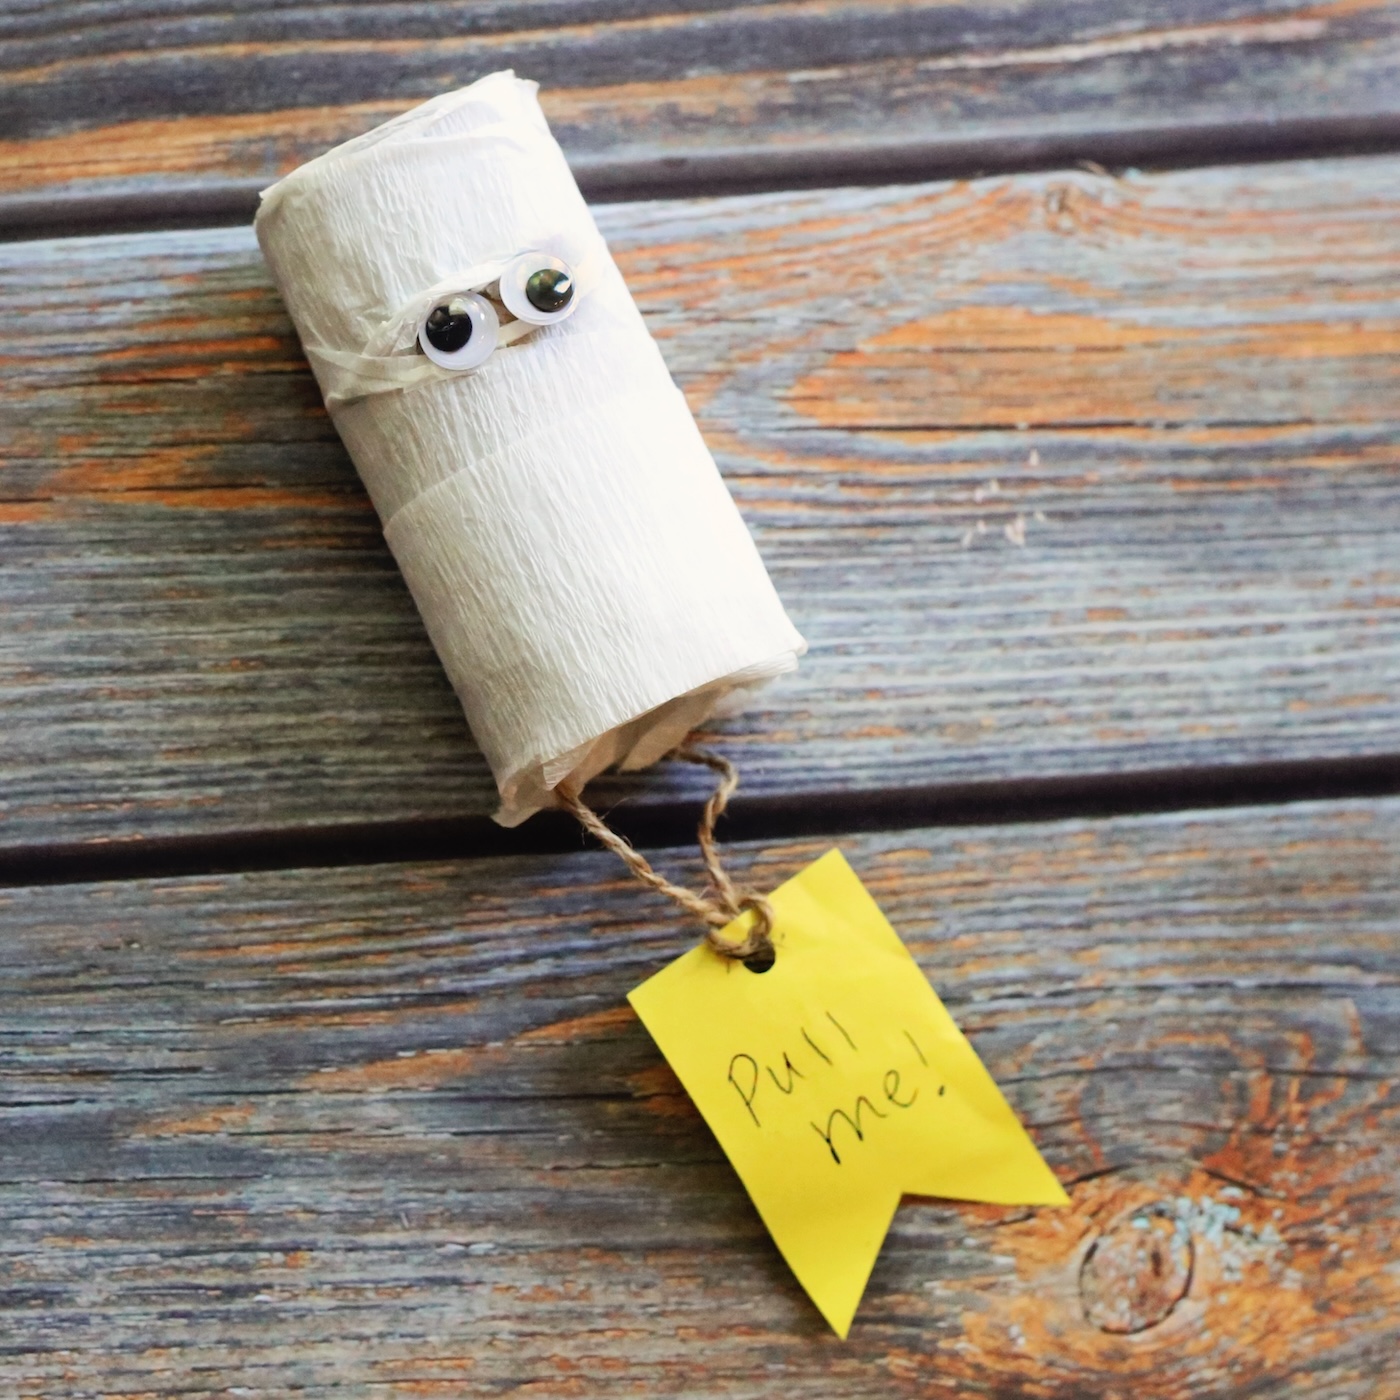
It sounds funny but seriously . . . I have a lot of saved toilet paper rolls. Toilet paper rolls that are the perfect size to be mini mummies.
These cute pinatas are spooky, silly, and just the right amount of work to make for party favors, classroom treats, or even just as a fun holiday project.
The best part? You don’t need any fancy supplies or crafty superpowers. In fact, you don’t even need skills. If you can wrap something and stick on googly eyes, you’re qualified.
These mini mummy pinatas are not only cute and budget-friendly — they also make you look like one of those moms who “has it all together” while secretly just raiding the recycling bin and sticking on googly eyes.
And seriously — what kid wouldn’t love to yank on their very own mummy and shower themselves in candy? (Frankly, same.)
Have the best Halloween full of laughter, sugar rushes, and crafts that don’t make you want to scream into a pillow. Get the printable how to below:
DIY Mummy Pinata
Equipment
Materials
- 1 Toilet paper tube(s)
- Googly eye(s)
- 1 roll Crepe paper streamer white
- Double stick tape
- Scrapbook paper
- Baker’s twine
Video
Instructions
- Add some double-sided tape to one end of your toilet paper roll and cover with crepe paper to seal the tube. Press it down good and tight so your candy doesn’t go rogue later.

- Gather a few small toys and candy pieces to fit in the tube. Don’t pack it too tightly or the prizes won’t fall out easily when the string is pulled.
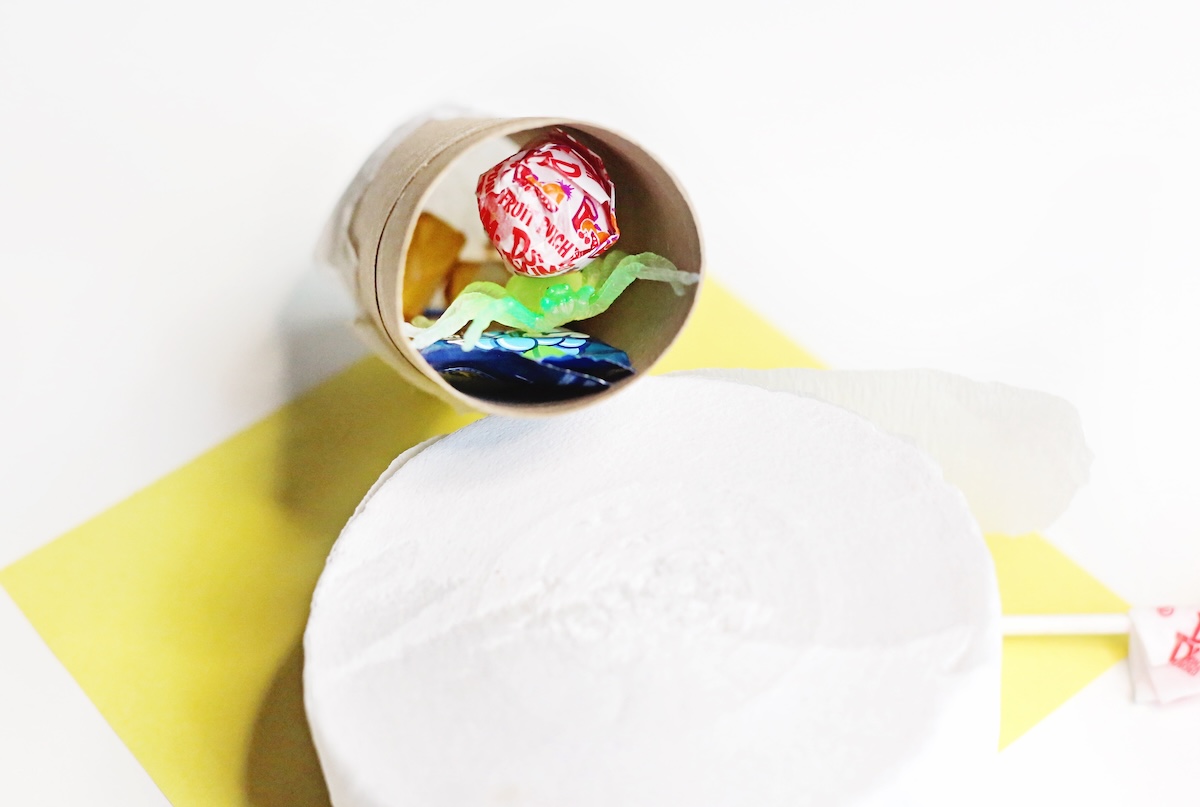
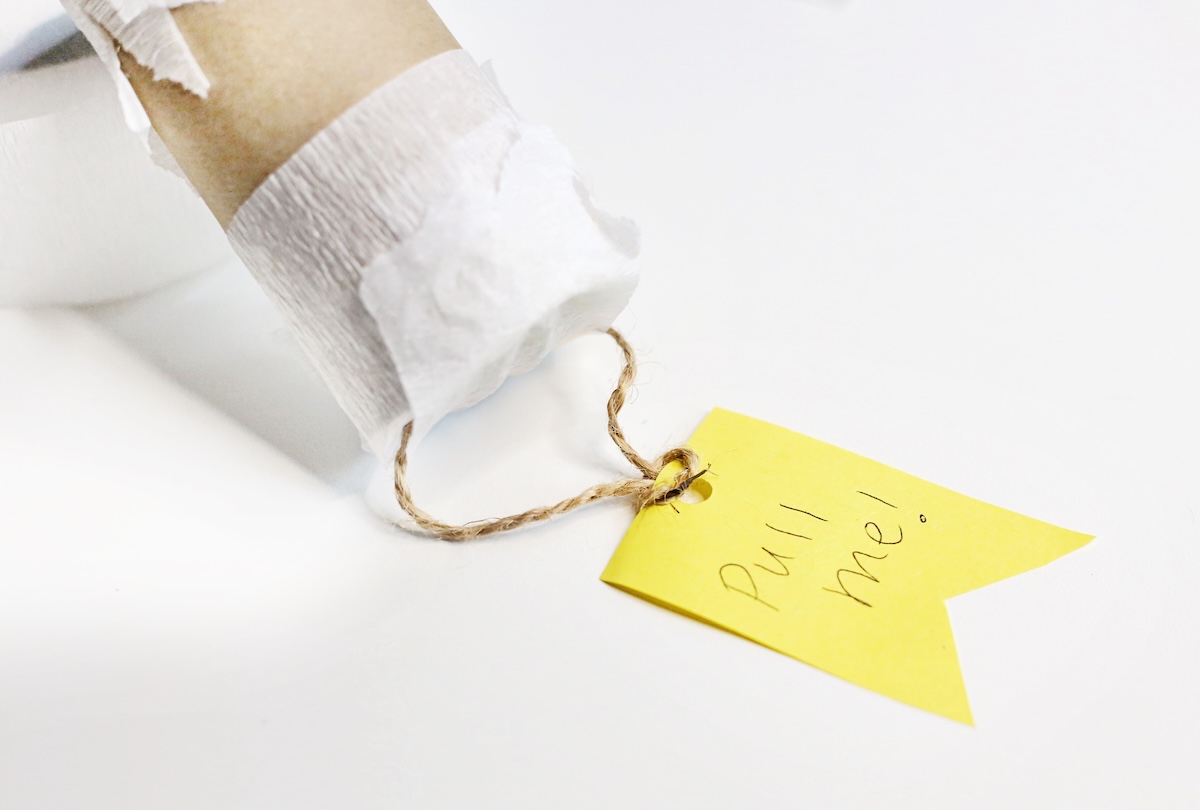
- Before you close up the other end, stick a little piece of twine or ribbon over the tube end so the kids can pull it. Seal it up with crepe paper. This is how the kids will pull to release their prizes.
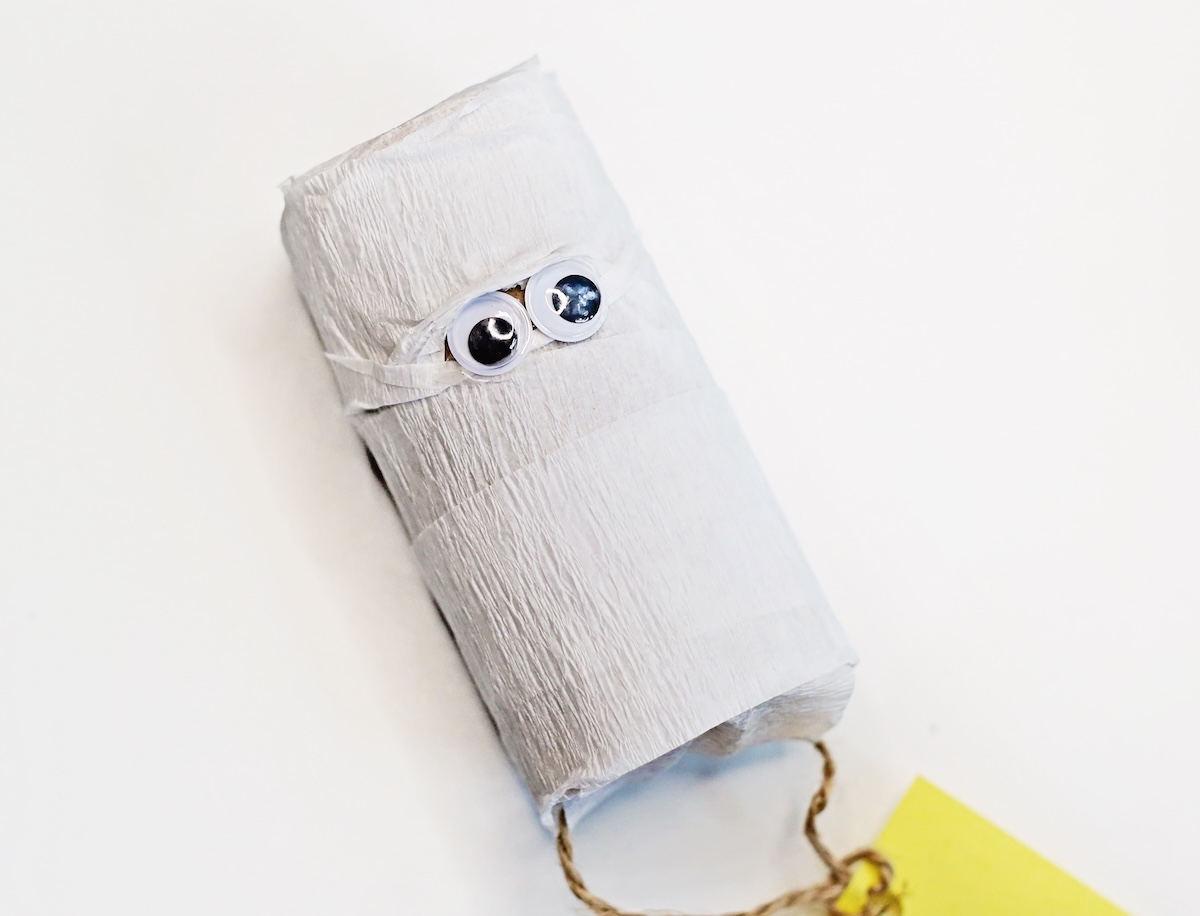
- Wrap the crepe paper around the tube until completely covered, securing with double-sided tape. Push a section at the top of the tube apart to create some space for the googly eyes.
Notes
If you liked this mini mummy pinata, you’re definitely going to love all the other Halloween projects you can do with your littles. Check out some of my favorites here:
Coffee Filter Bats • Crafts for Toddlers • Milk Jug Skeleton • Paper Crafts • Paper Lanterns • Paper Pumpkins • Perler Beads • Pom Pom Ghosts • Skull Bean Art • Tic Tac Toe • Zombie Slime


Hi! I don’t see directions as to how to add the string? Please help with that step! Thanks!
Hi Jessica! Form a loop with string and a tag. Then lay one part of that loop over the end of the tube in the middle. Tape the crepe paper over it – when you pull the string it will rip the crepe paper! 😀
@Amy,
Can you add this part in the directions?
Cannot wait to try these this year for Halloween! Thanks for the great idea! Keep em coming.
Love this simple yet clever idea! Will be a great surprise for my father and his fellow seniors. A change of colors and it can be used for Christmas and Easter too.
Great make of Halloween party pinata craft
Thank you so much Vanessa!
We loved it and made a step by step instruction on our Swedish blog too!
Keep up the great work!
Thank you!!! My kindergarten class LOVED these on Halloween. Now we need a favor for Christmas. Any ideas?
Hi Katie! I need to do a Santa Claus one! Or if you want it more non-secular – a snowman! 😀
Thank you. Santa sounds perfect!??
Easy to make and easy on the budget! Kids loved it!!!!
Love the idea, thank you.
Any pictures on how to attach the string part to the tube?