Make a 2-in-1 Step Stool Chair with These Simple Plans
Get easy step stool chair plans to build your own versatile and functional furniture piece. Perfect for beginners and pros alike, with clear, detailed instructions.
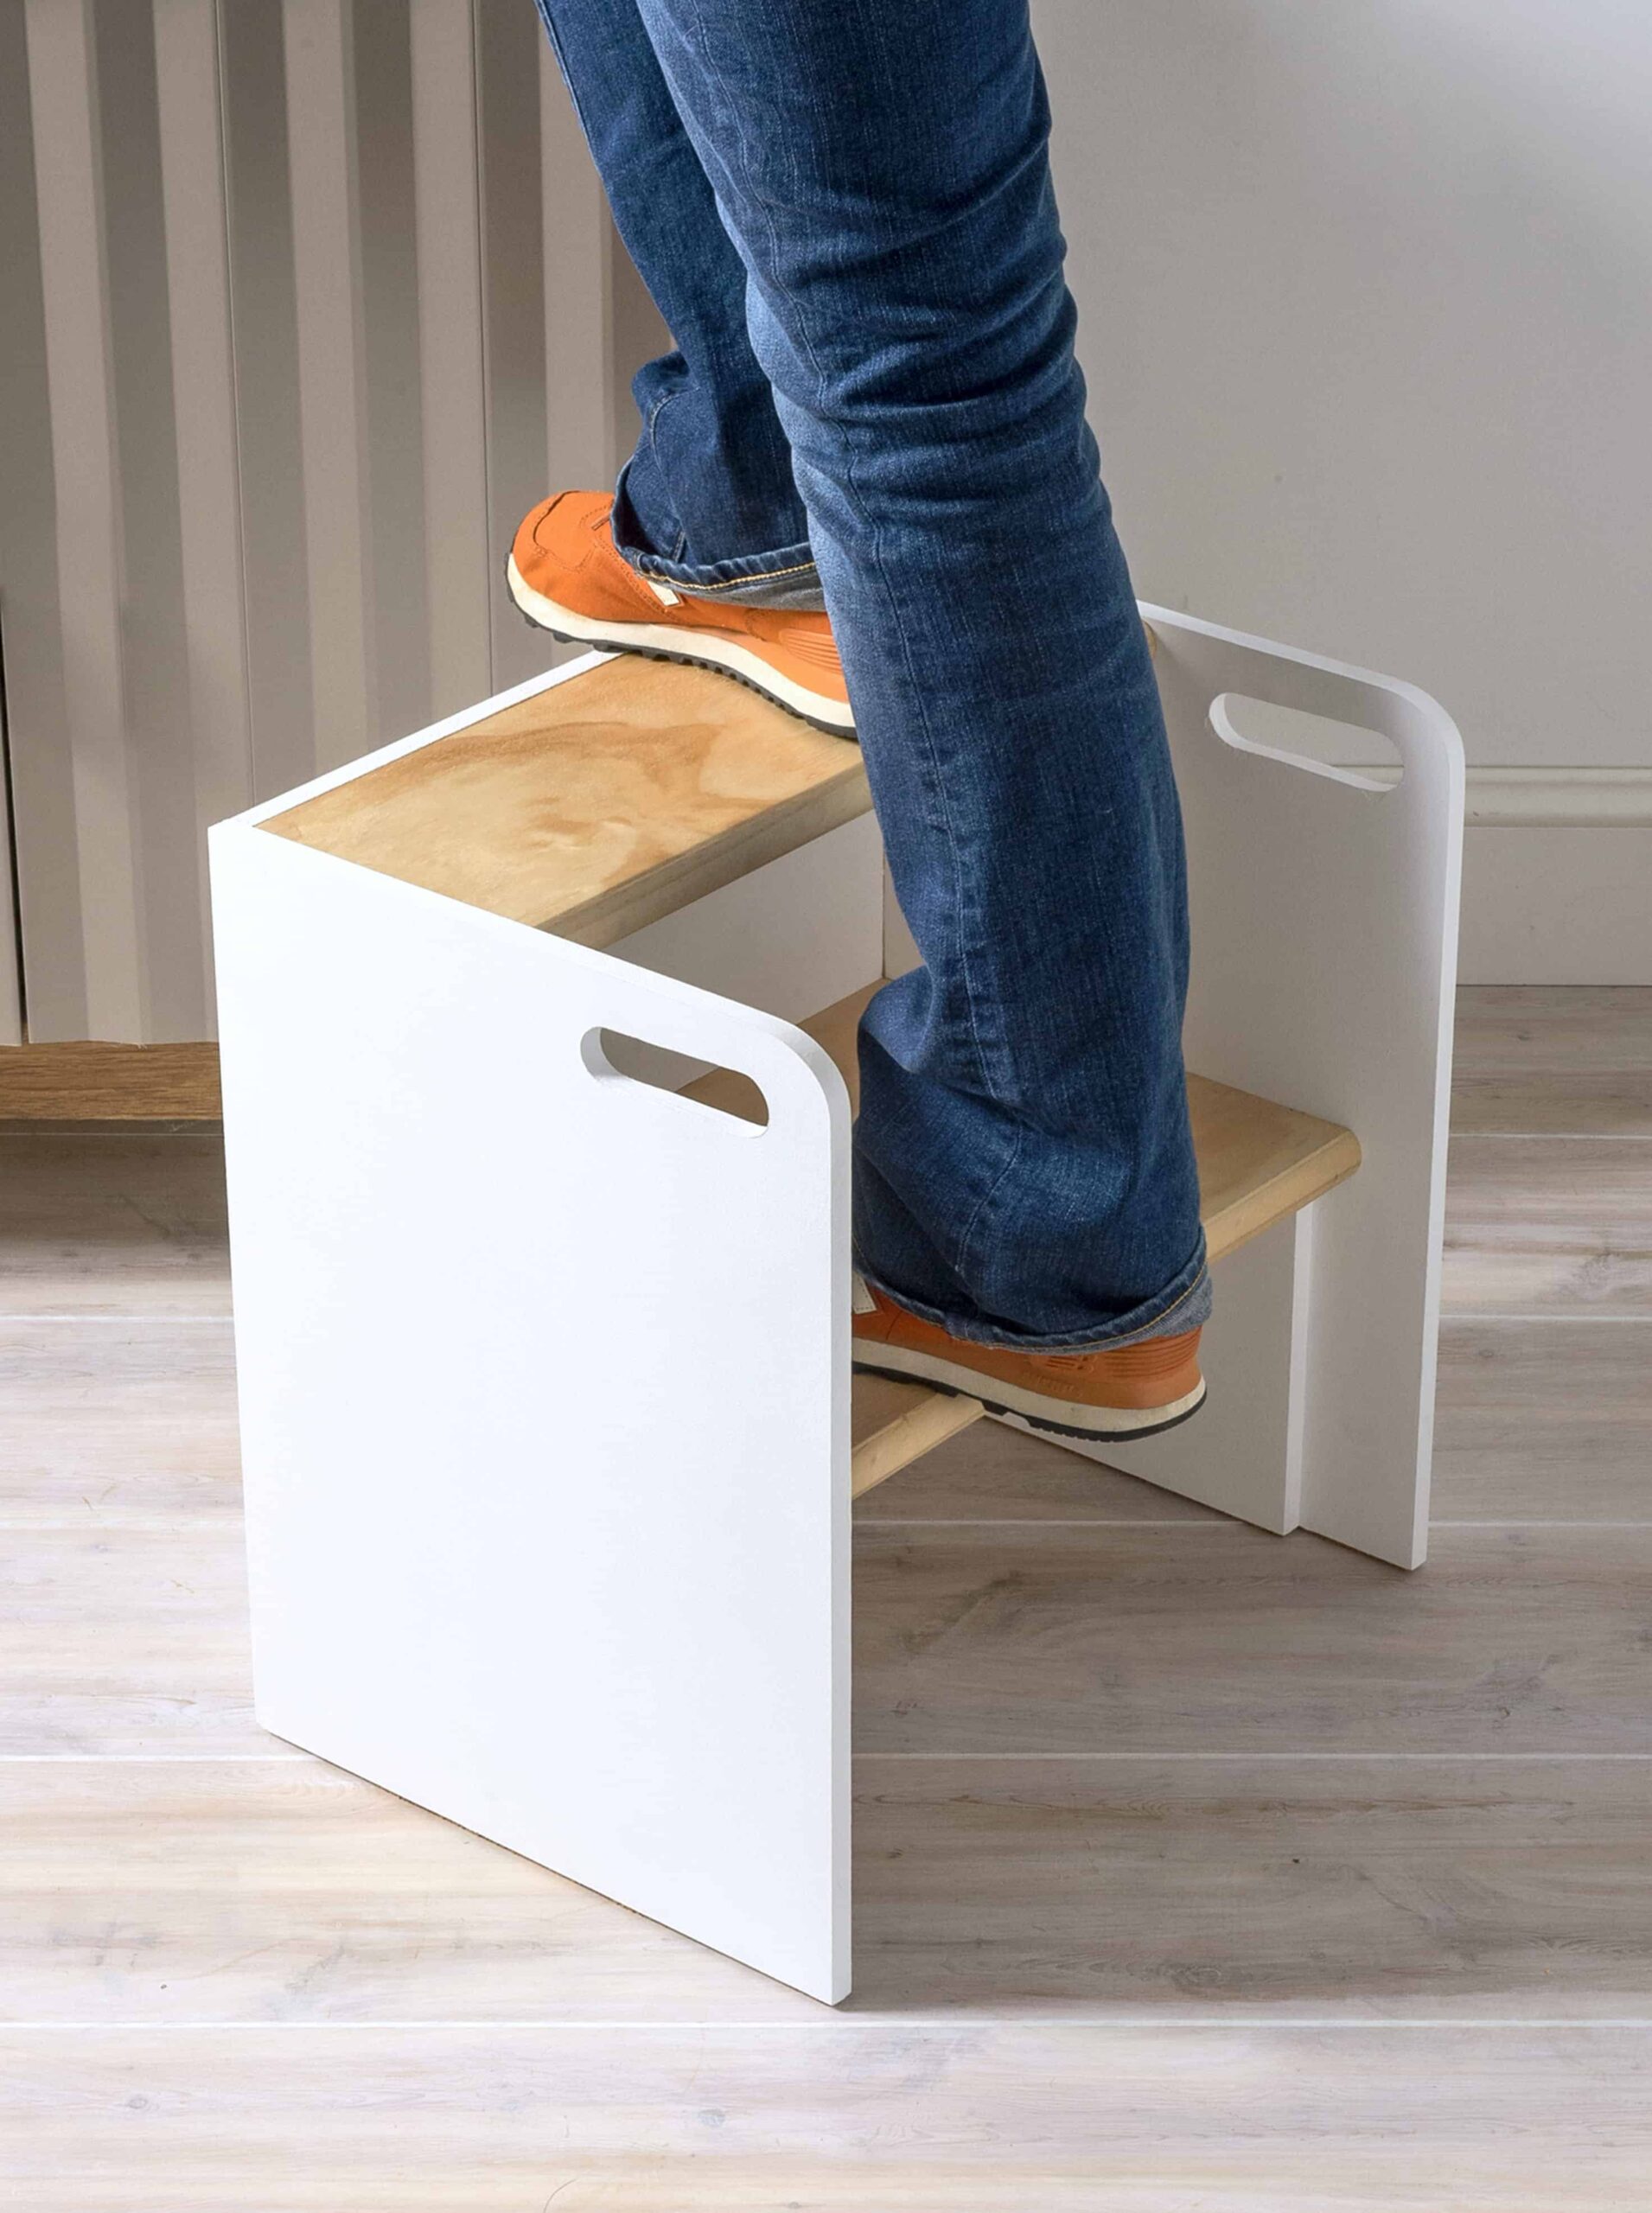
Have you ever thought about building a wooden step stool yourself? Perhaps you’ve pictured a basic two pieces of wood with a platform across it . . . but let me “kick that up a notch” for you.
I’m going to encourage you to go outside the box a bit and build a DIY wood step stool that also doubles as a chair for a little one.
This DIY step stool is perfect if you have tall cabinets like we do in the kitchen, or if you want something fun for your children’s room that they can use to reach books and sit in.
What I love about this step stool is that it looks good for adult purposes, and then works in a nursery as well. It’s a pretty simple woodworking project, so let’s get started with the cut list.
CUT LIST
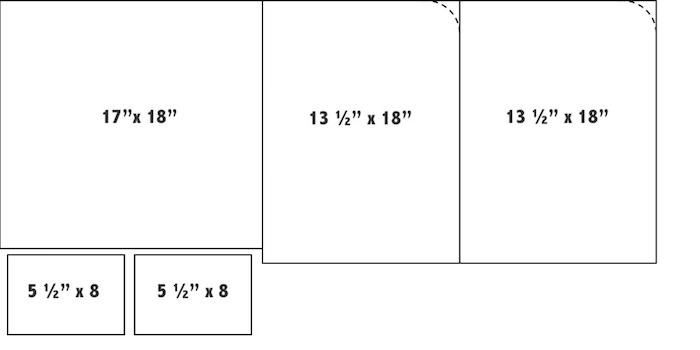
- Out of your 1/2″ thick MDF (you can organize the cuts as shown above on the two pieces):
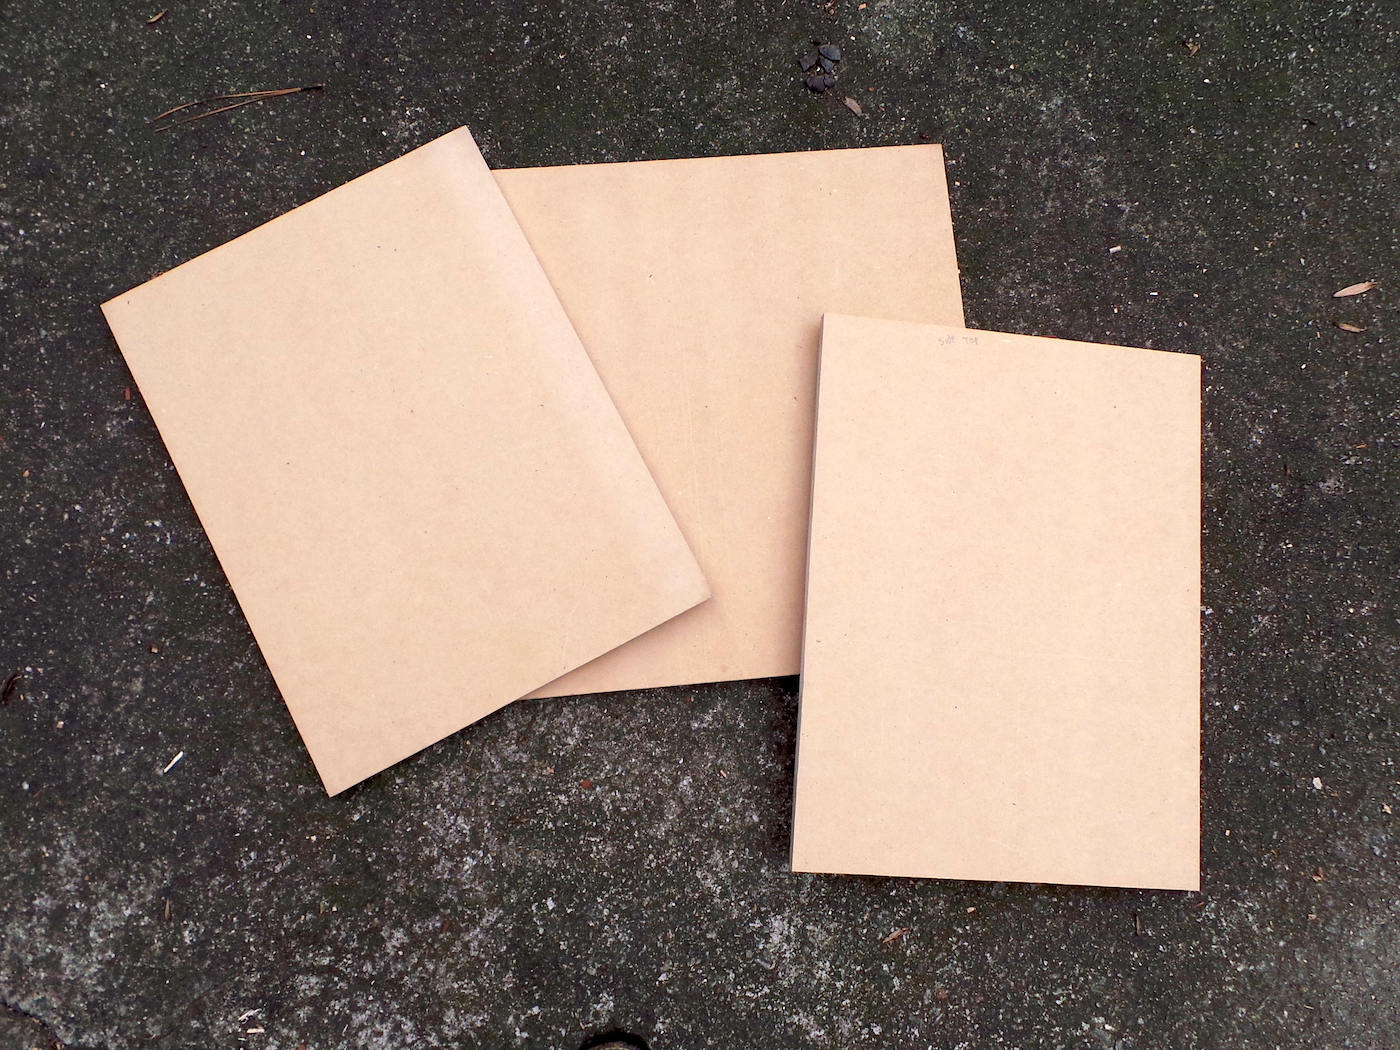
- Three (3) pieces – (1) 17”x 18” and (2) 13 1/2” x 18”
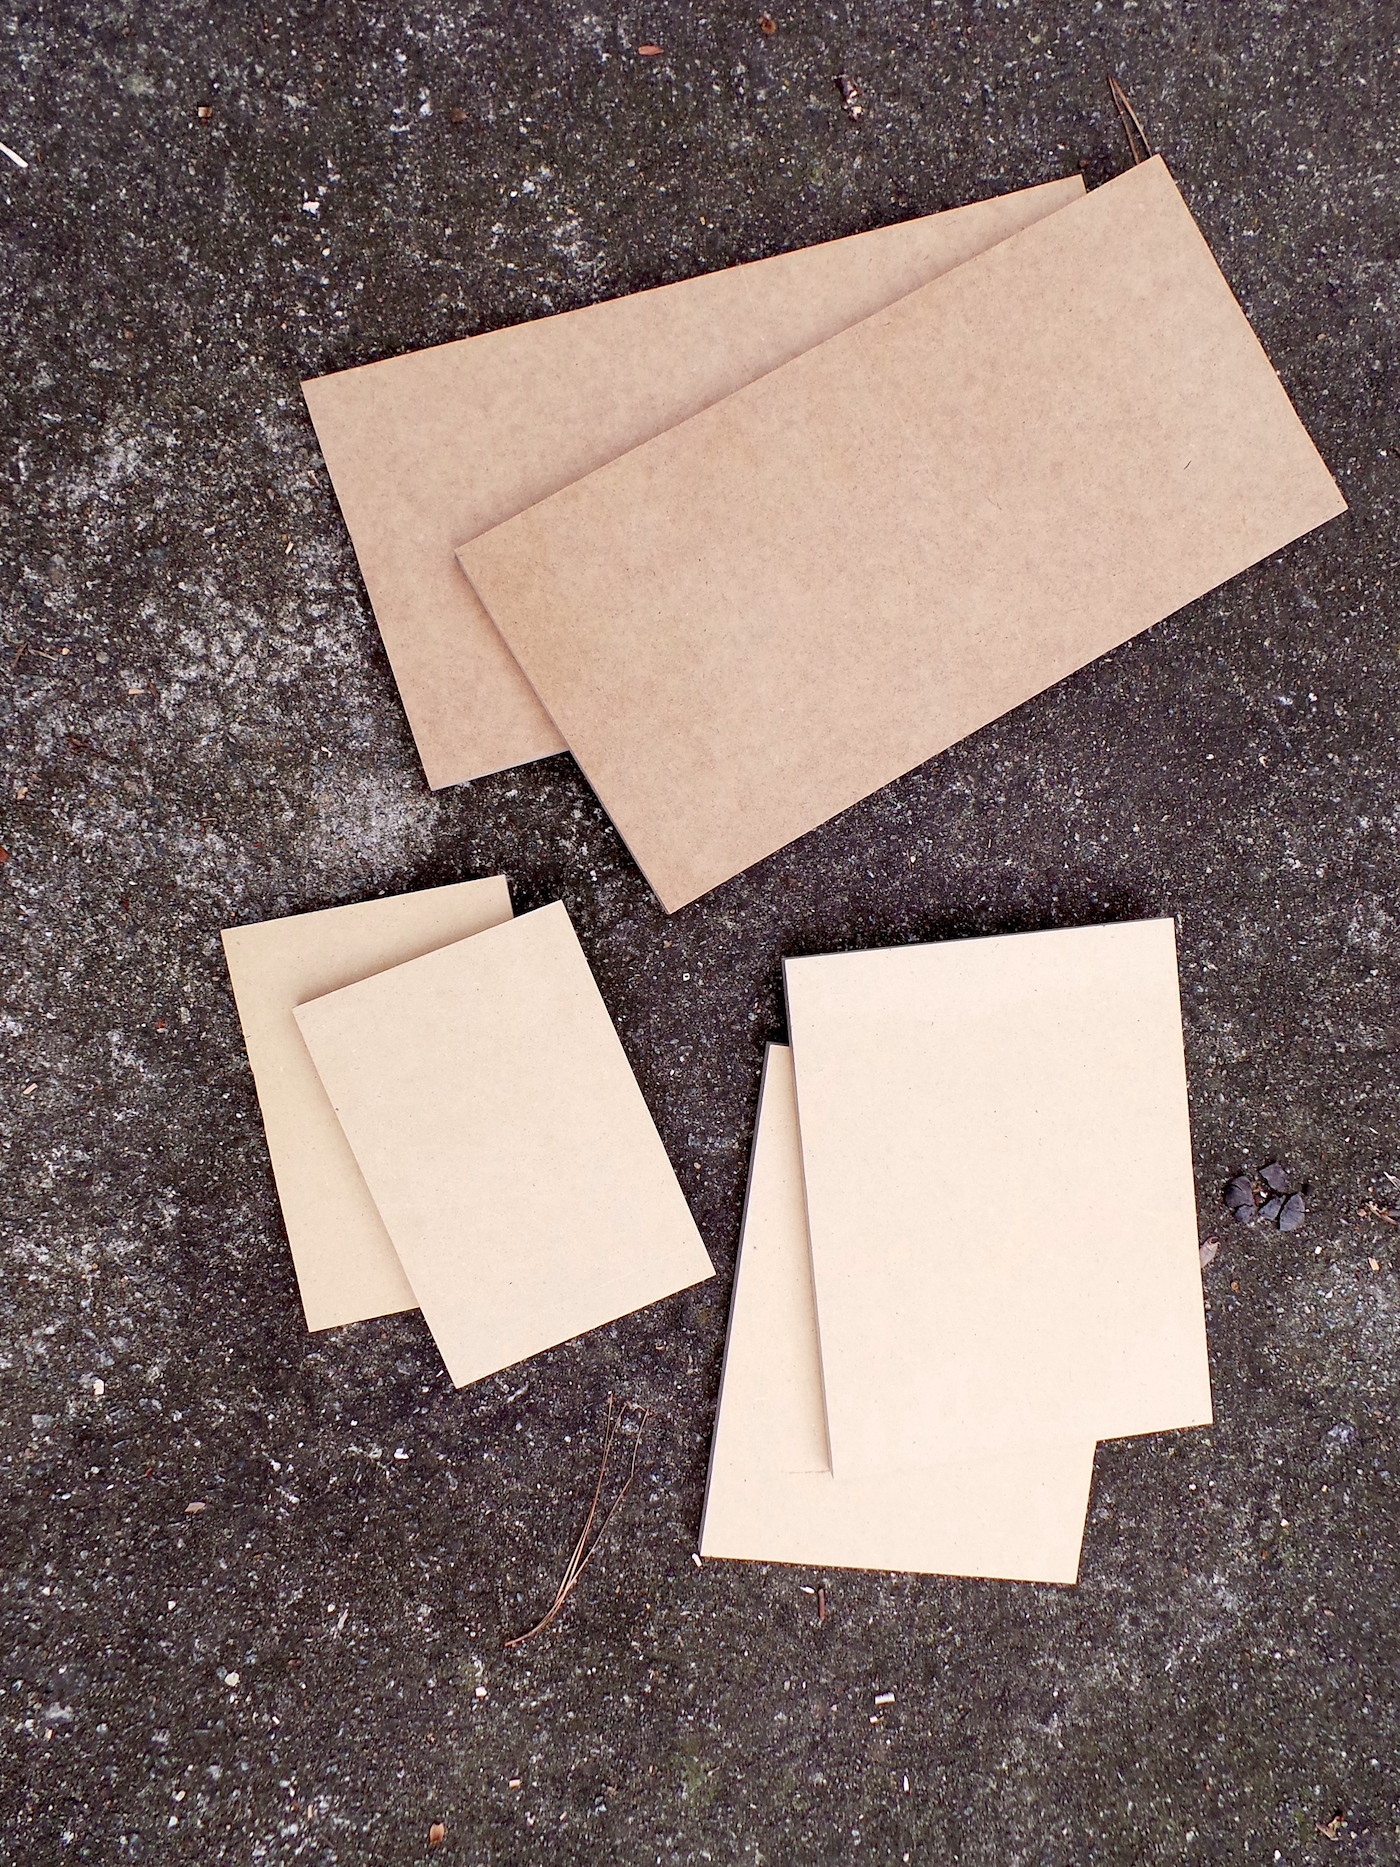
- Six (6) pieces – (2) 5 1/2” x 8”, (2) 8” x 10 1/2”, and (2) 8” x 16”
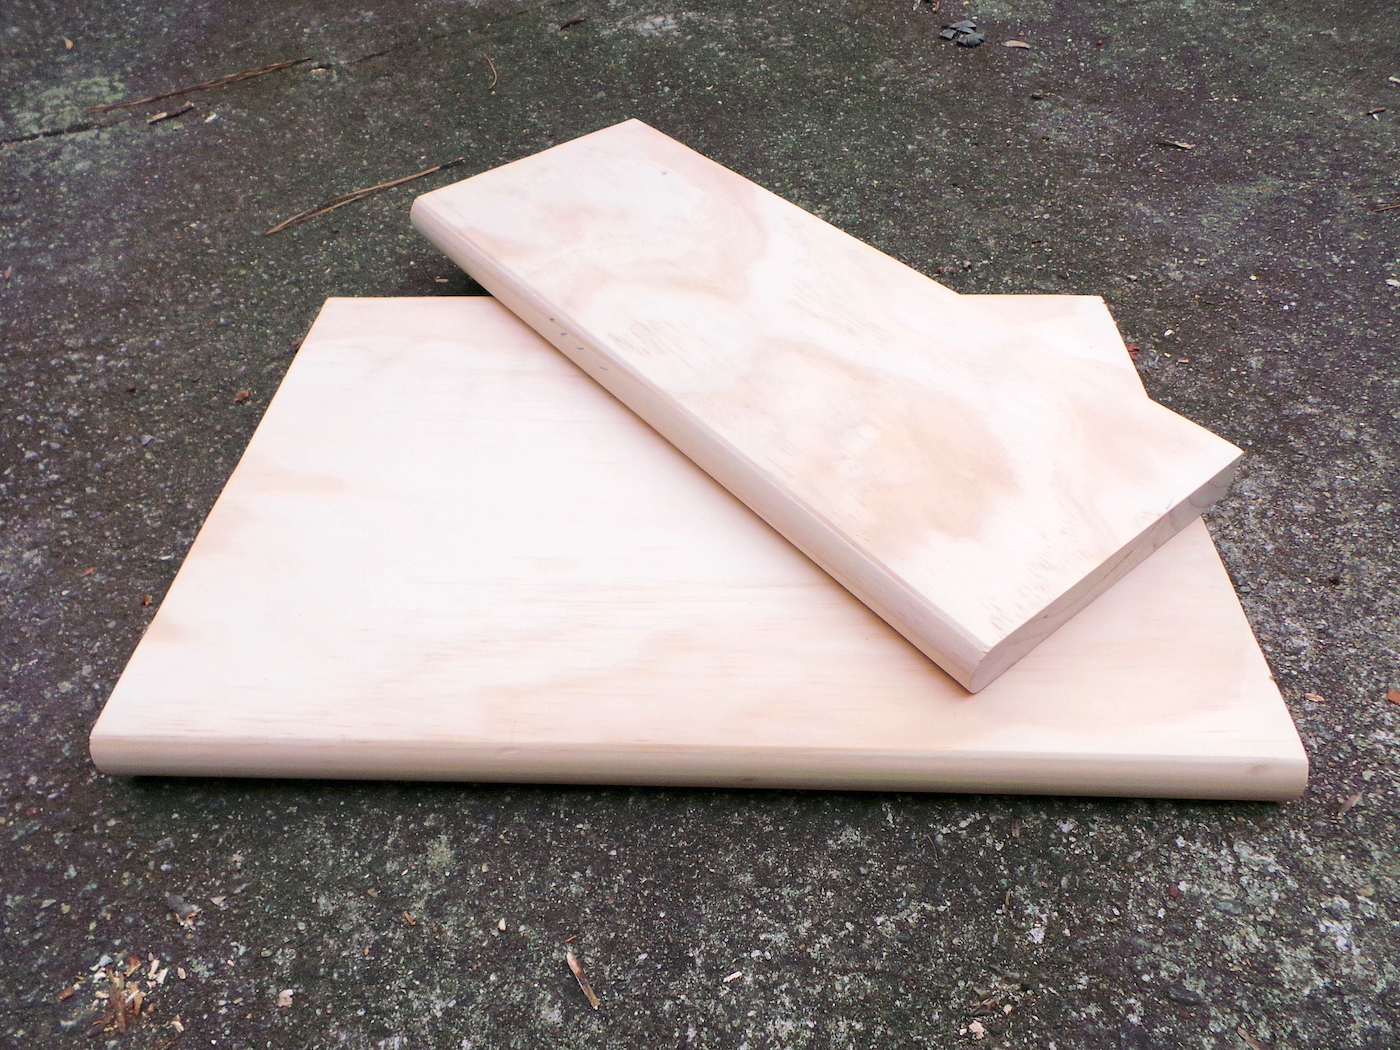
- Interior stair tread, cut two pieces: one (1) 11 1/2” x 17” and one (1) 6 1/2” x 17”

Tip: before gluing the stair treads in place we used a mineral oil with wax formula to protect the steps on the stool.
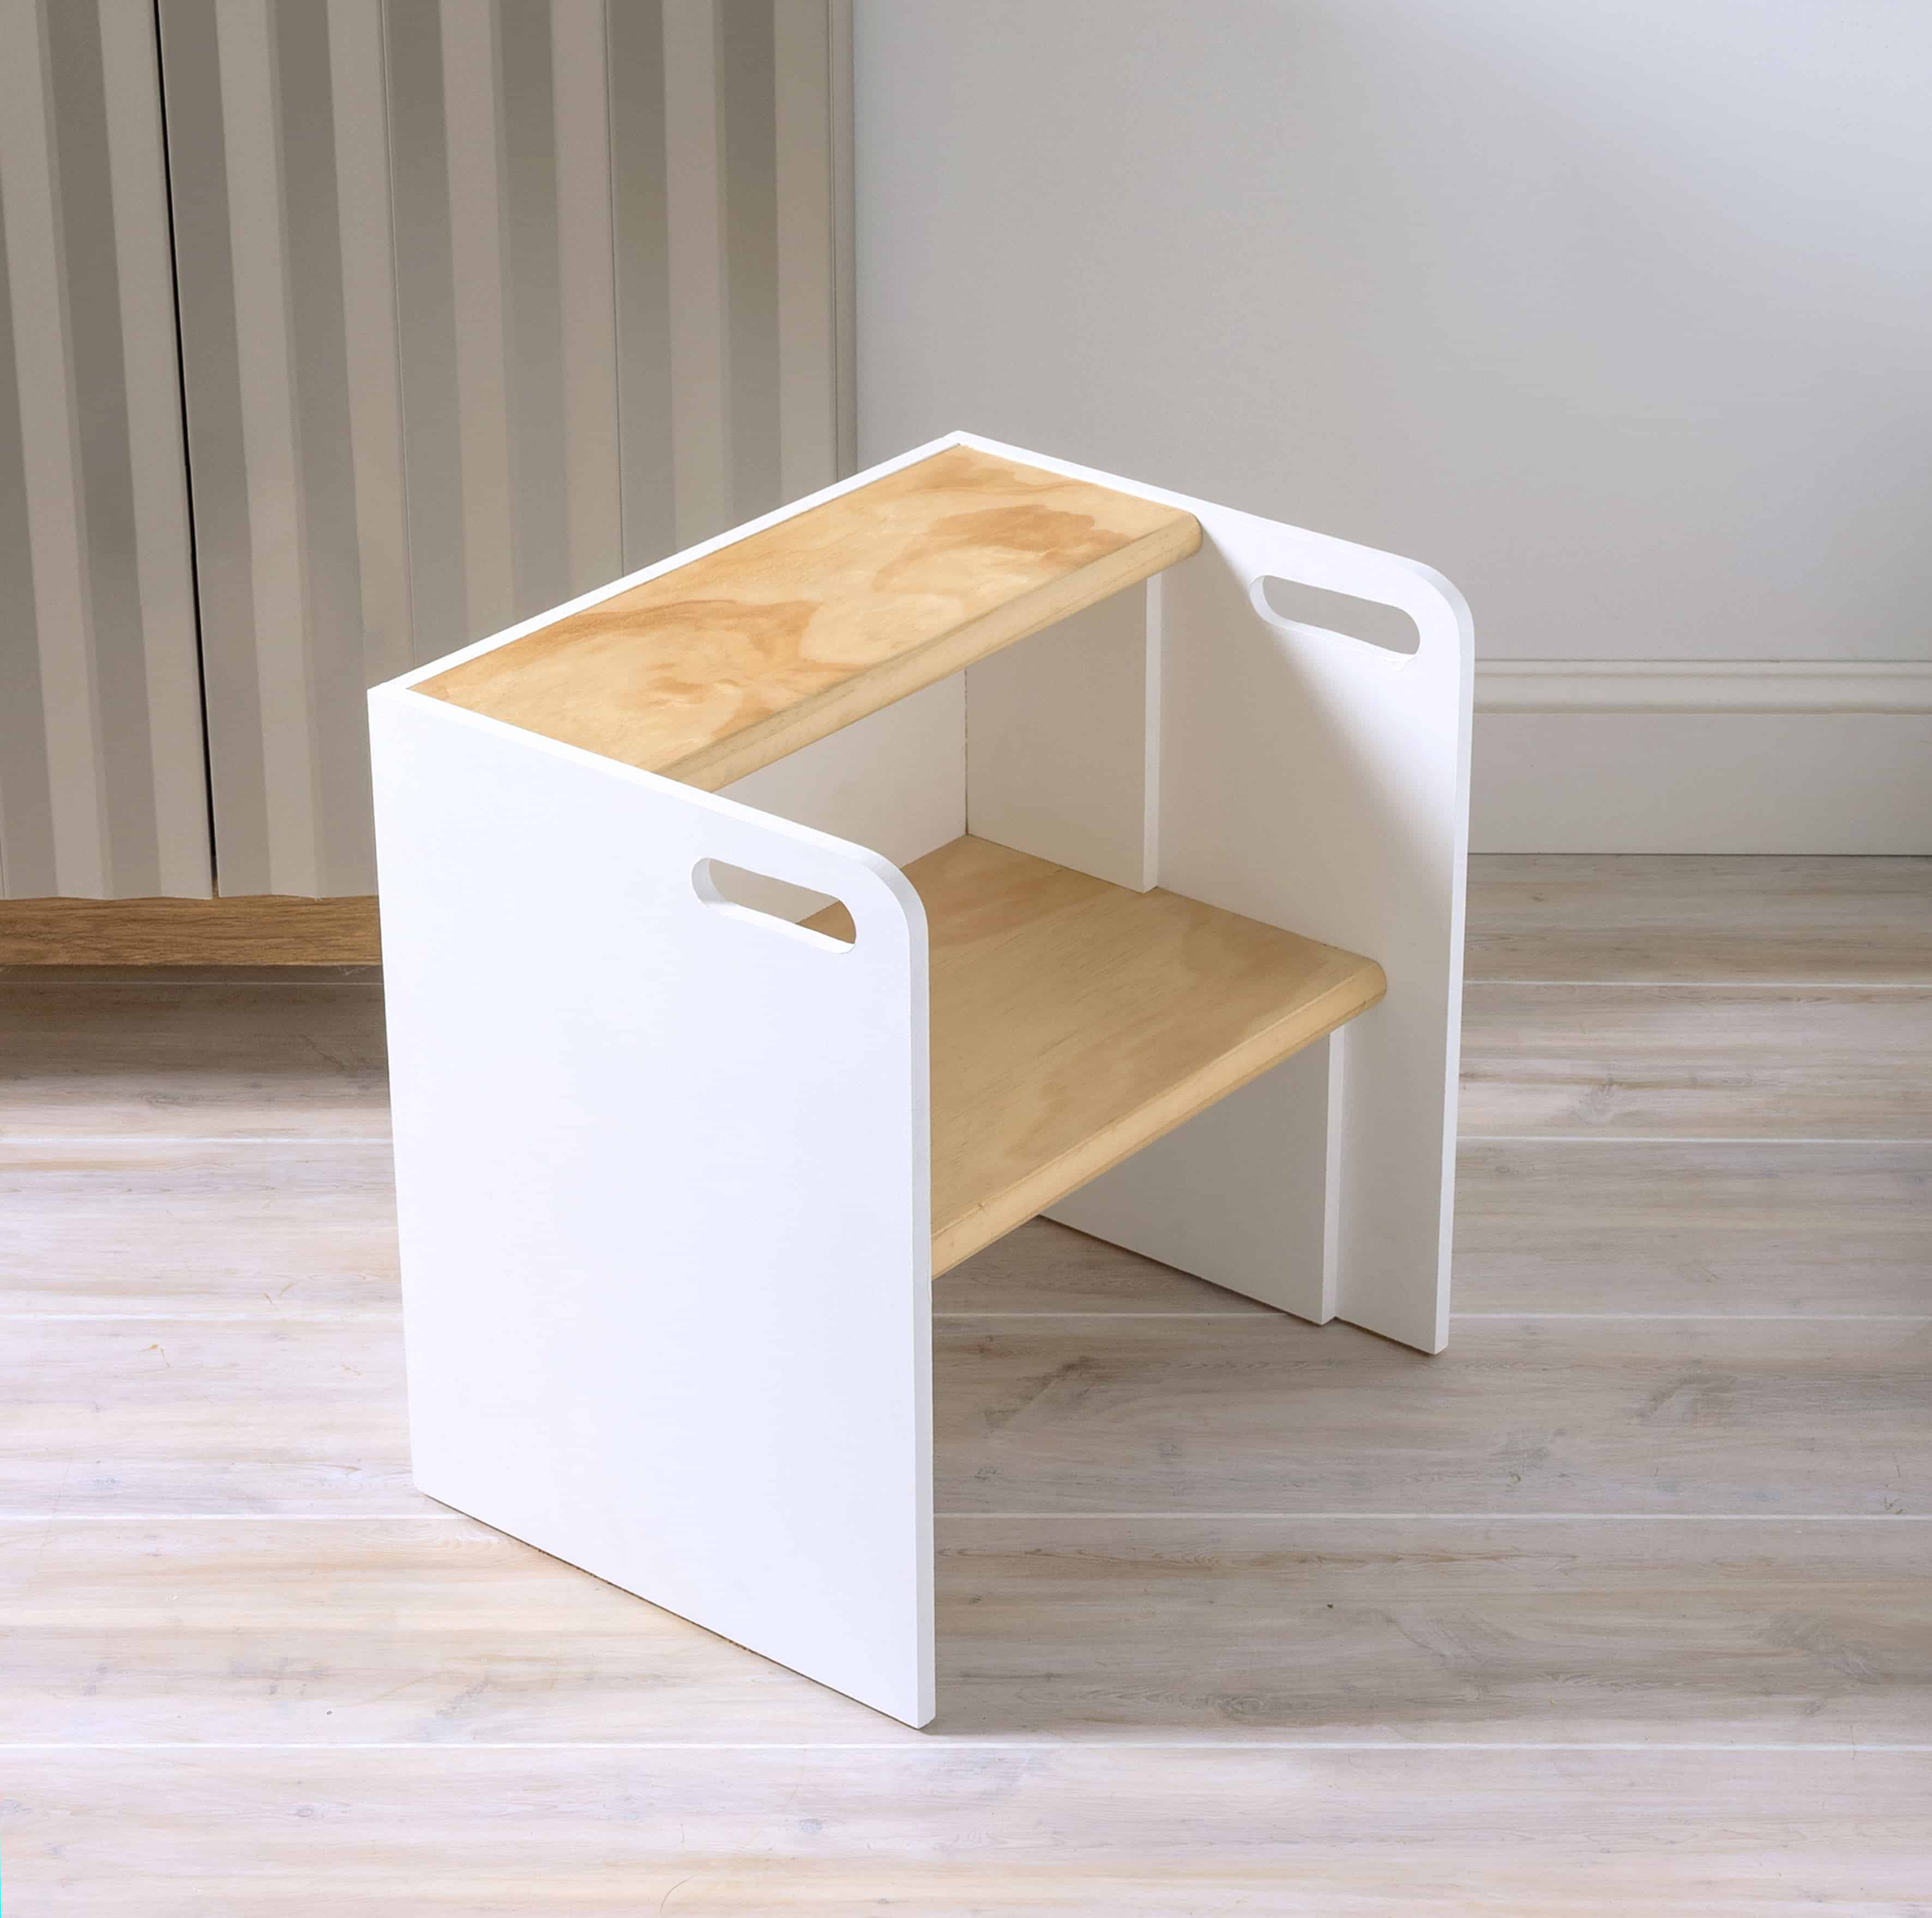
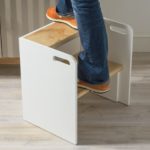
Your wooden step stool is ready to roll! As you can see, it’s a stool . . . . but then you flip it over . . .
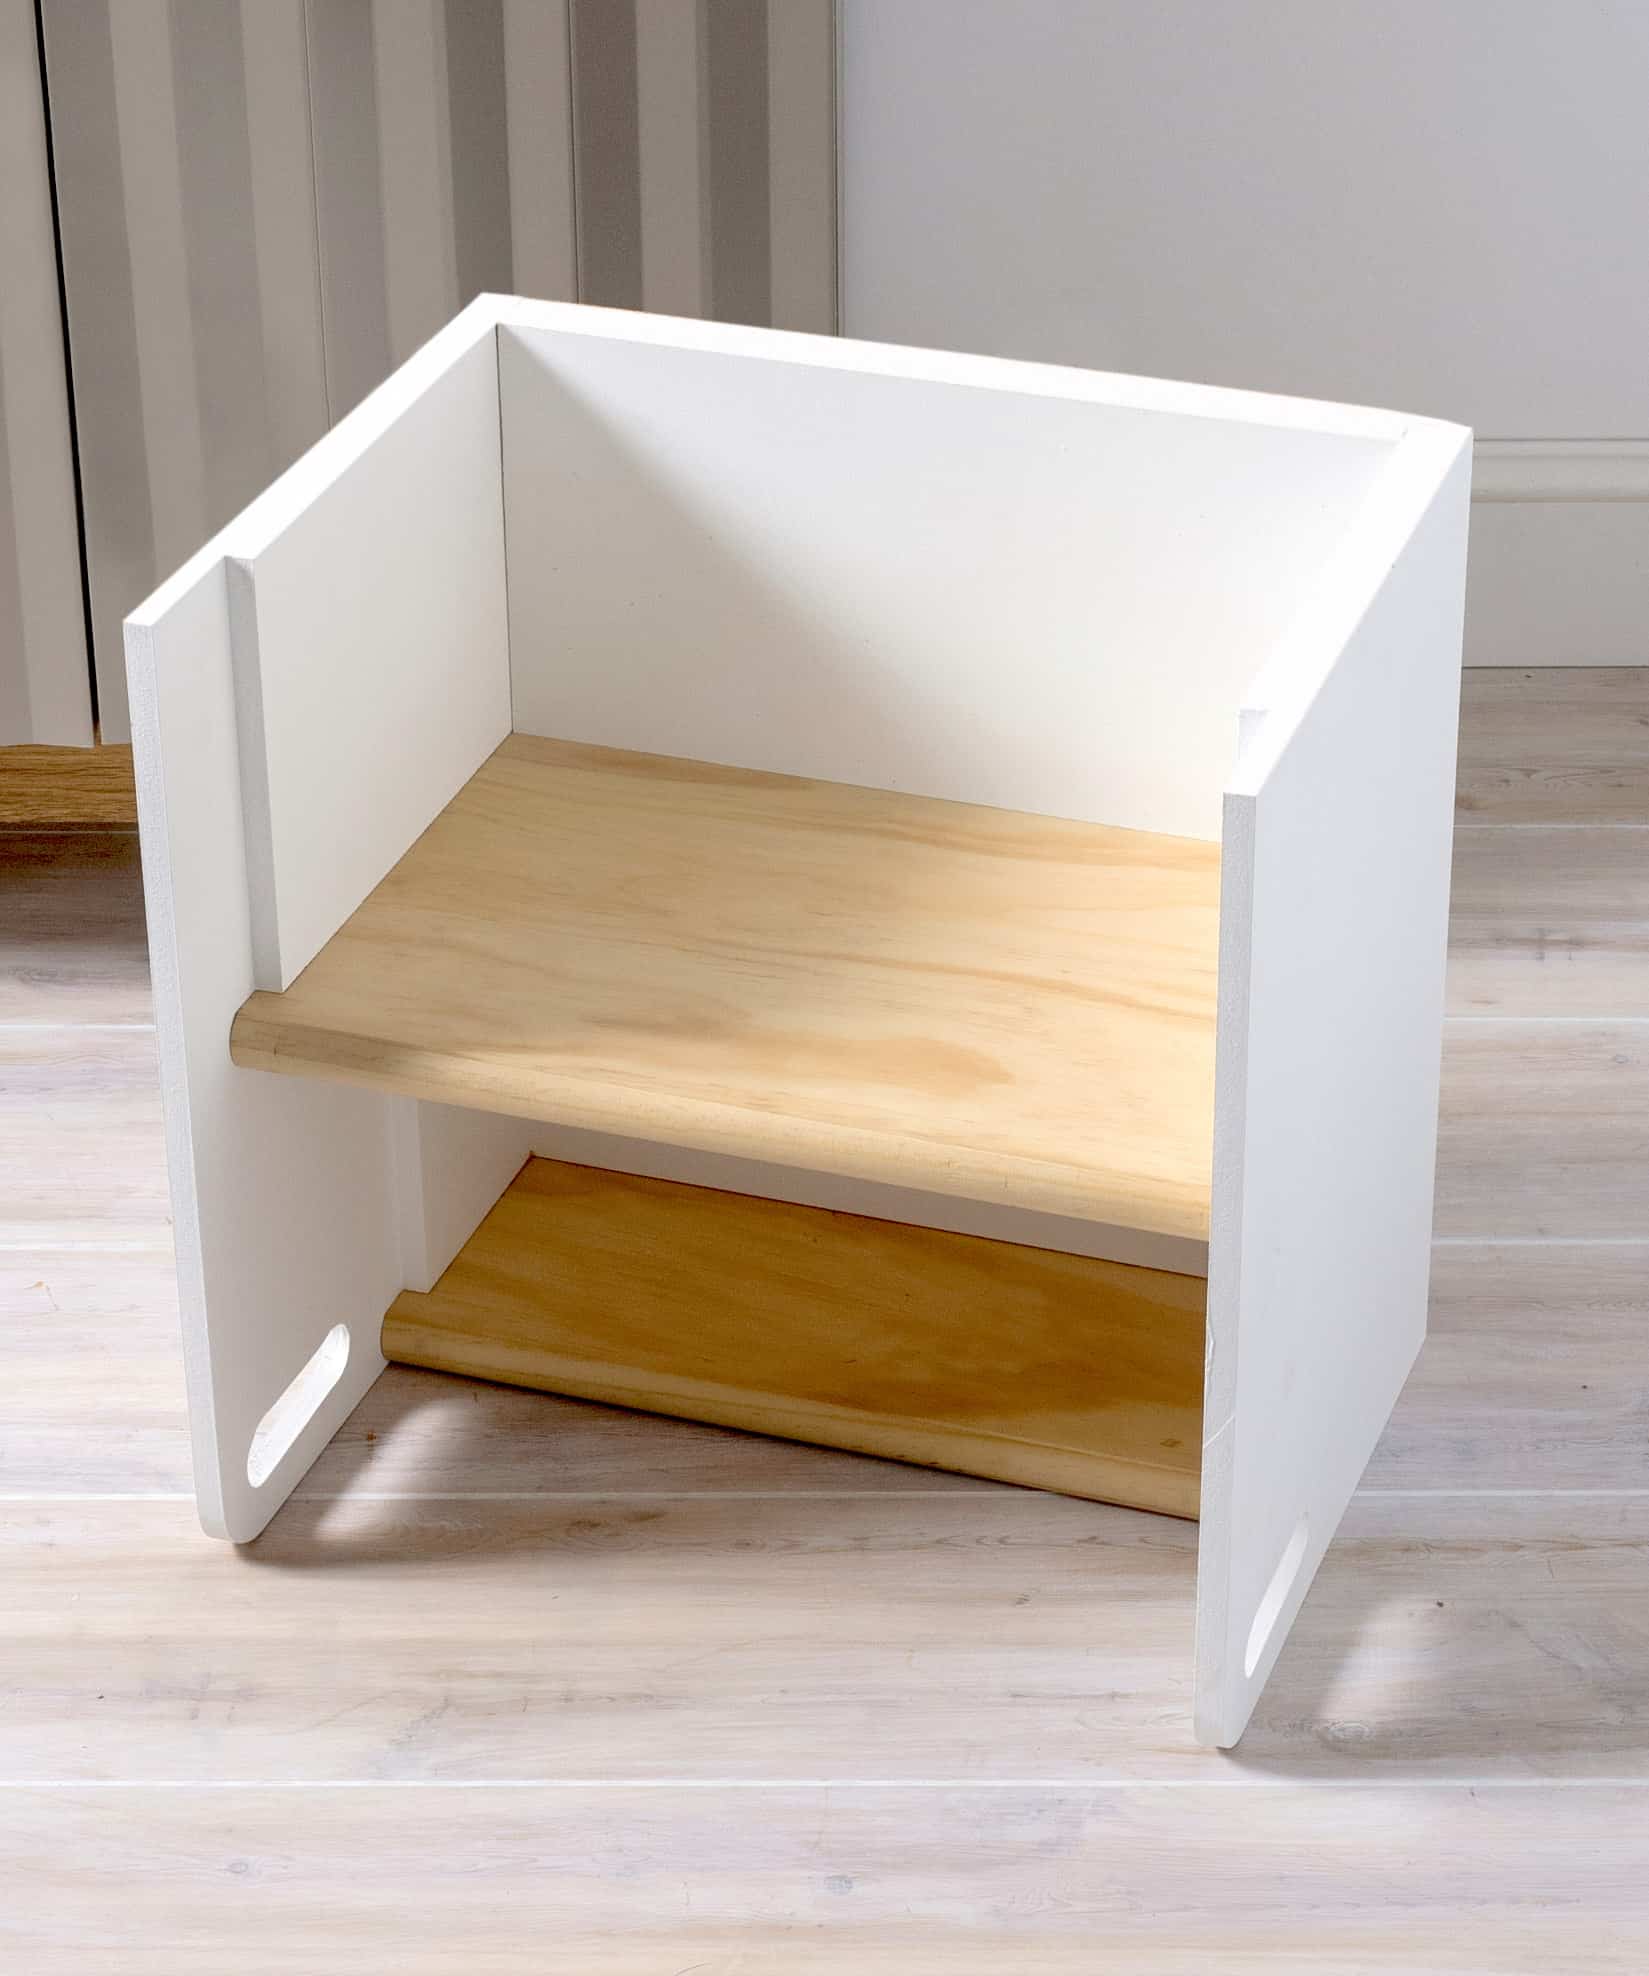
And it’s a chair. For a small bum (not mine). Learn how to make it below:
Wooden Step Stool Chair
Equipment
- 1” wood boring drill bit
- Jigsaw
- 1 paint roller
- 1 Round lid
Materials
- 2 pieces 1/2” thick 24” x 48” MDF
- 1 piece 1” thick interior stair tread
- Wood glue
- 1 can Paint and primer white
- Mineral oil with wax
- 1 120-grit sanding block
- Sandpaper
- Pencil
Instructions
- Using a table saw, cut three (3) pieces of 1/2” thick MDF – one (1) 17”x 18” and two (2) 13 1/2” x 18”.
- Using a table saw, cut six (6) pieces of 1/2” thick MDF – two (2) 5 1/2” x 8”, two (2) 8” x 10 1/2”, and two (2) 8” x 16”.
- Using a table saw, cut two (2) pieces from your interior stair tread. Cut one (1) piece 11 1/2” x 17” and one (1) 6 1/2” x 17”.
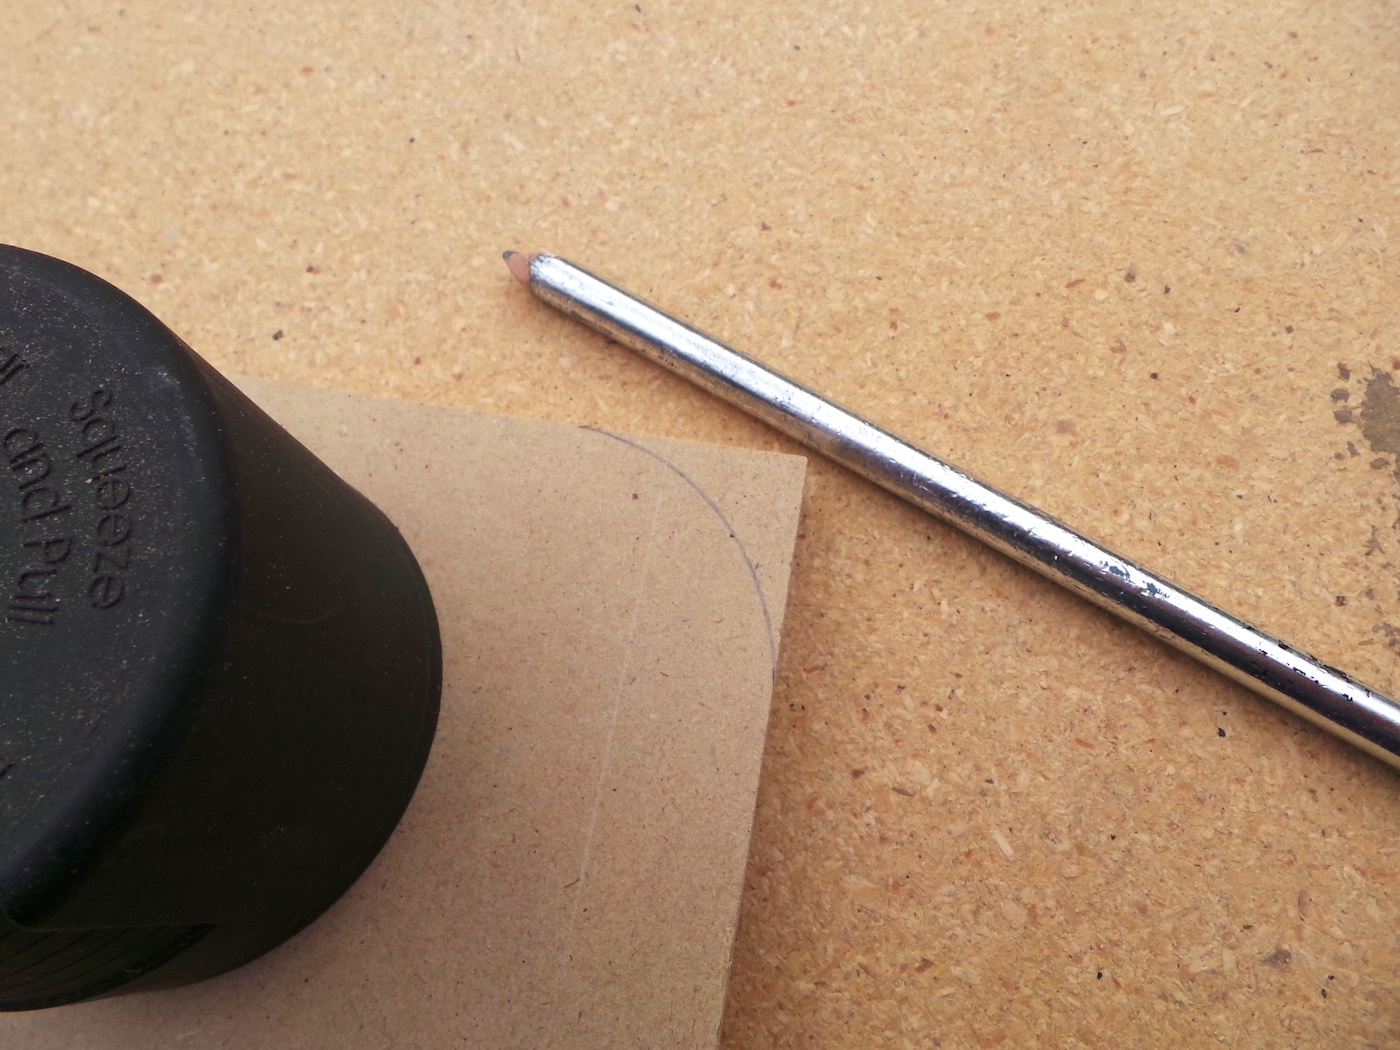
- Use a round object to draw a round pencil mark the top front corners of your (2) 13 1/2” x 18” MDF pieces. These will be the side pieces of your stool.
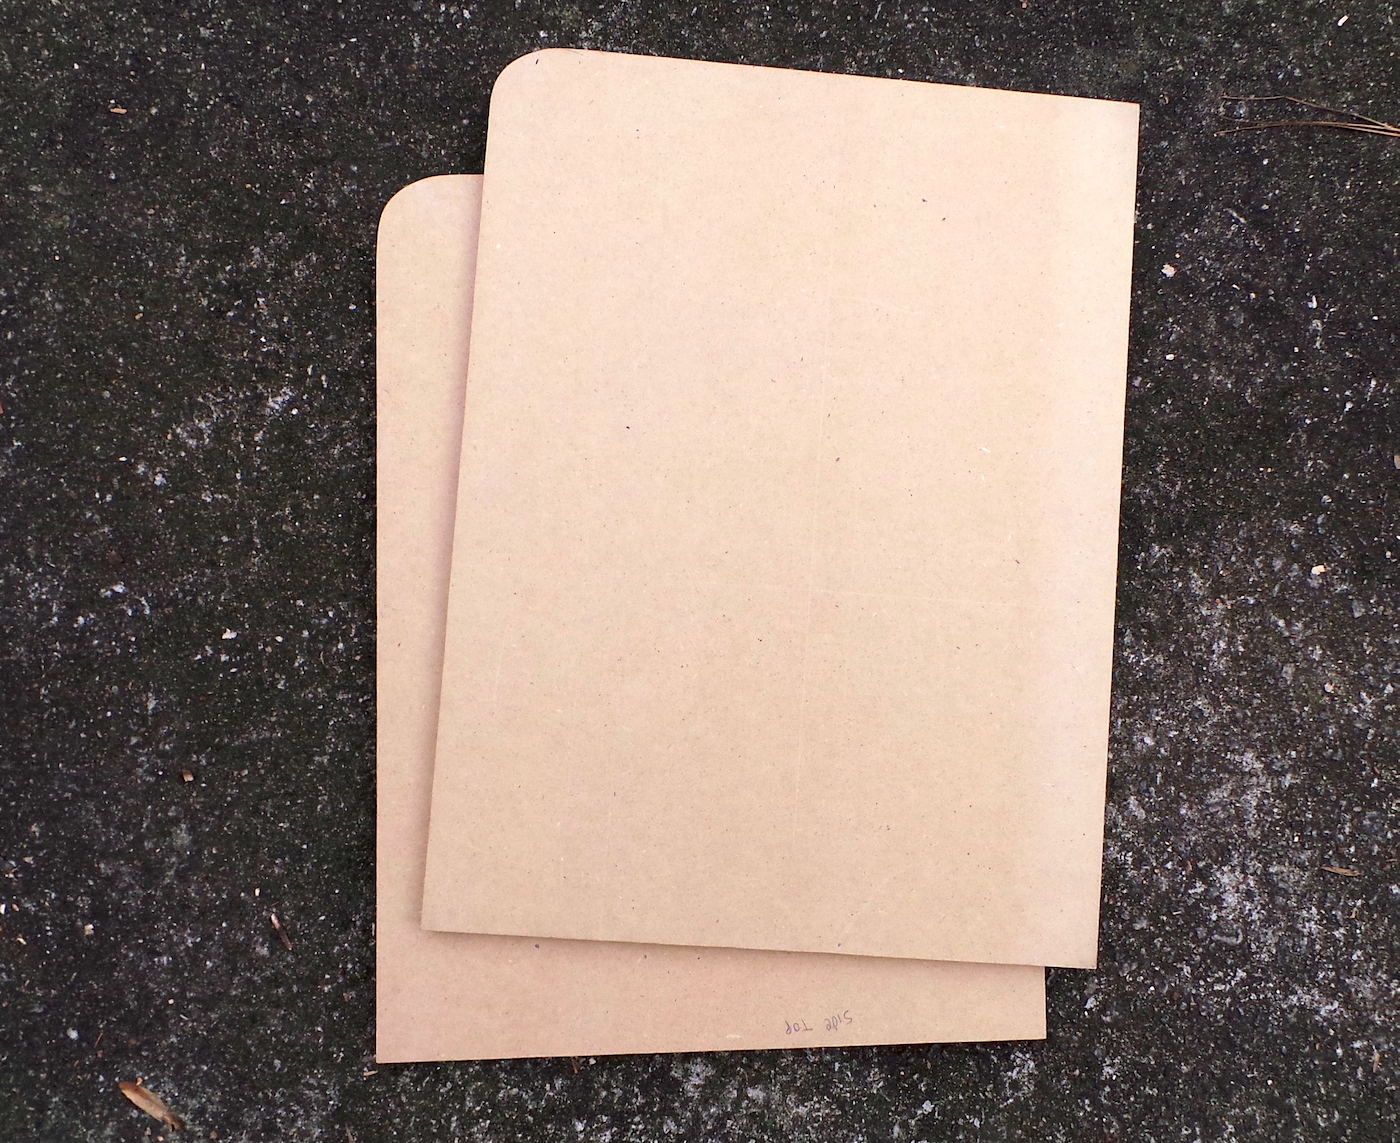
- Use a jigsaw to round off the corners. Use the sanding block to smooth the edges.
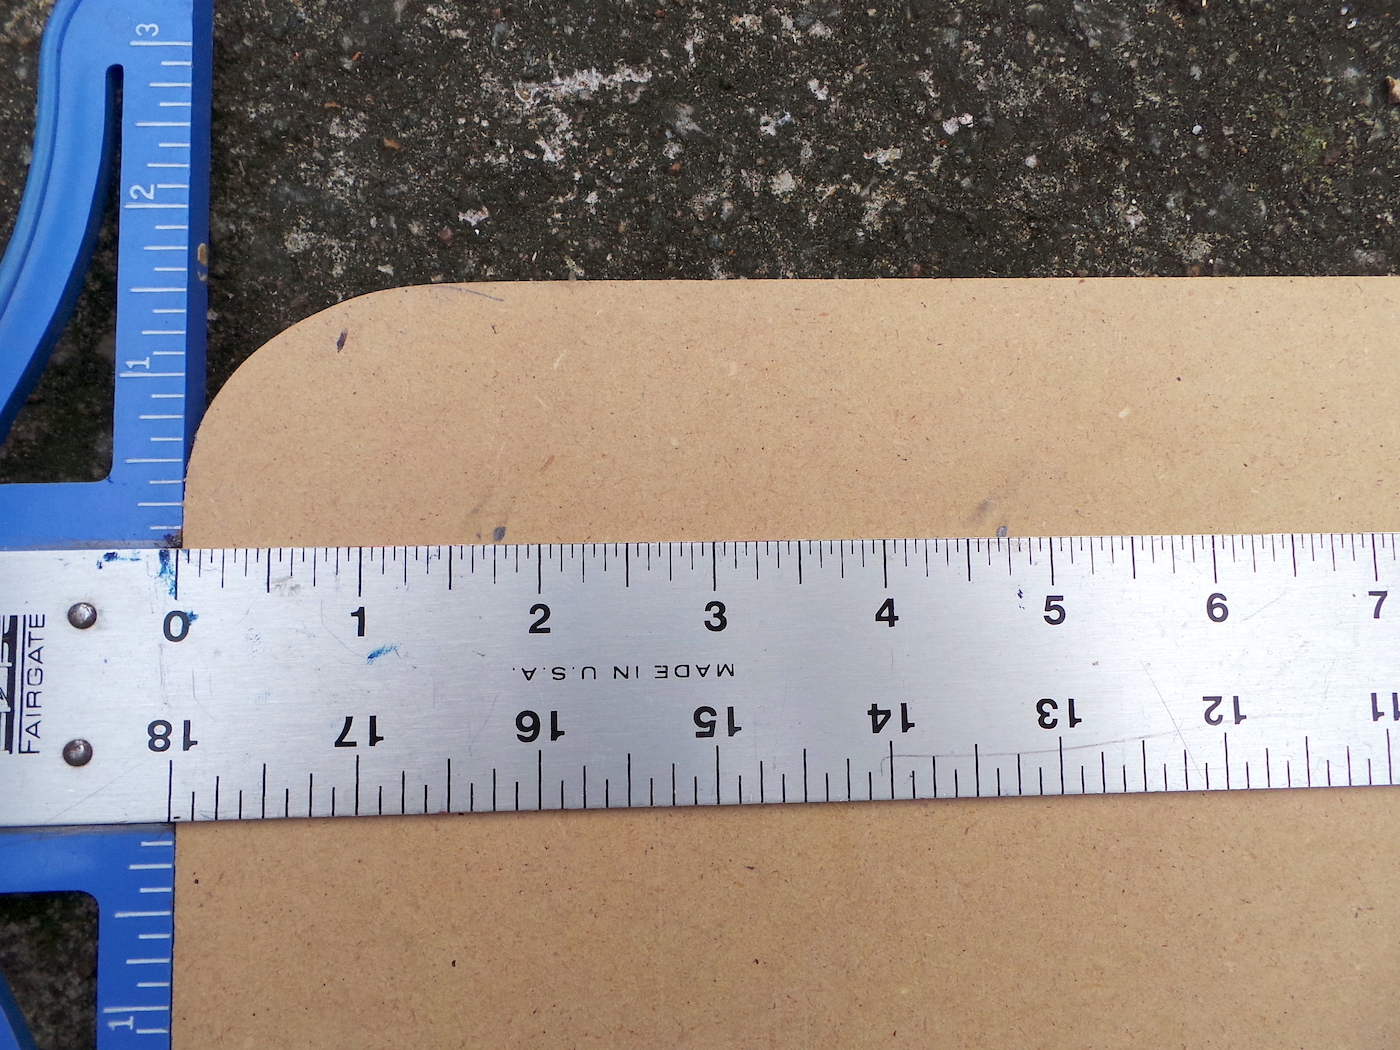
- At the rounded corners, use a pencil to put two dots 1 1/2” from the top edge. One is at 1 3/4” from the front edge and the second is 4 3/4” in from the front edge.
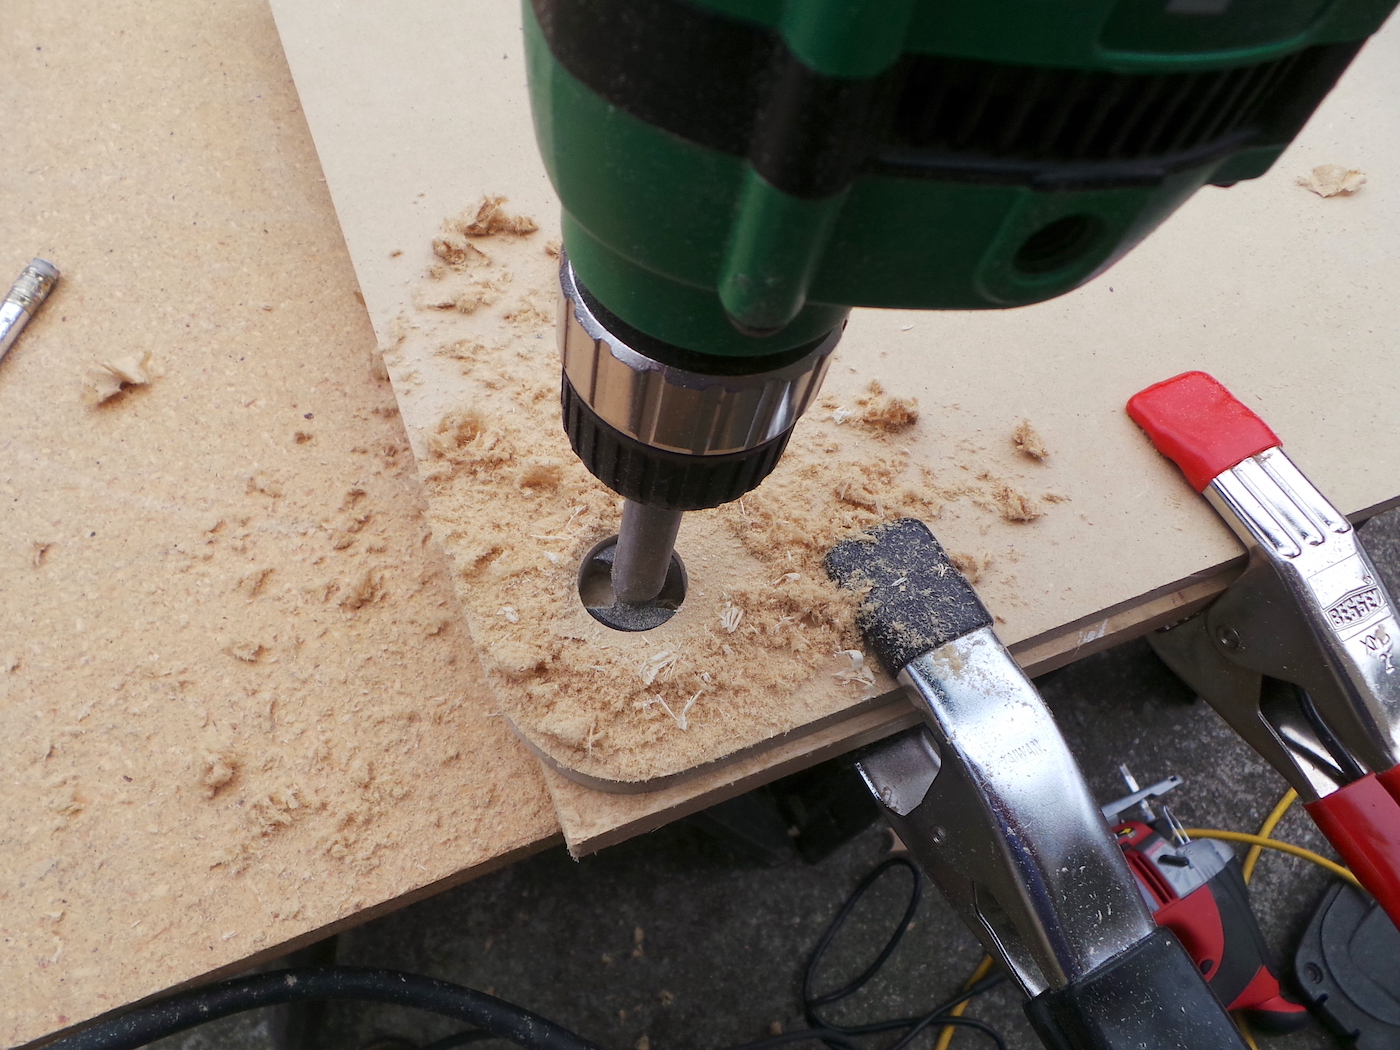
- Using a 1” drill bit (and using the dot as center guides), drill two holes. Repeat with the other piece of the same size.
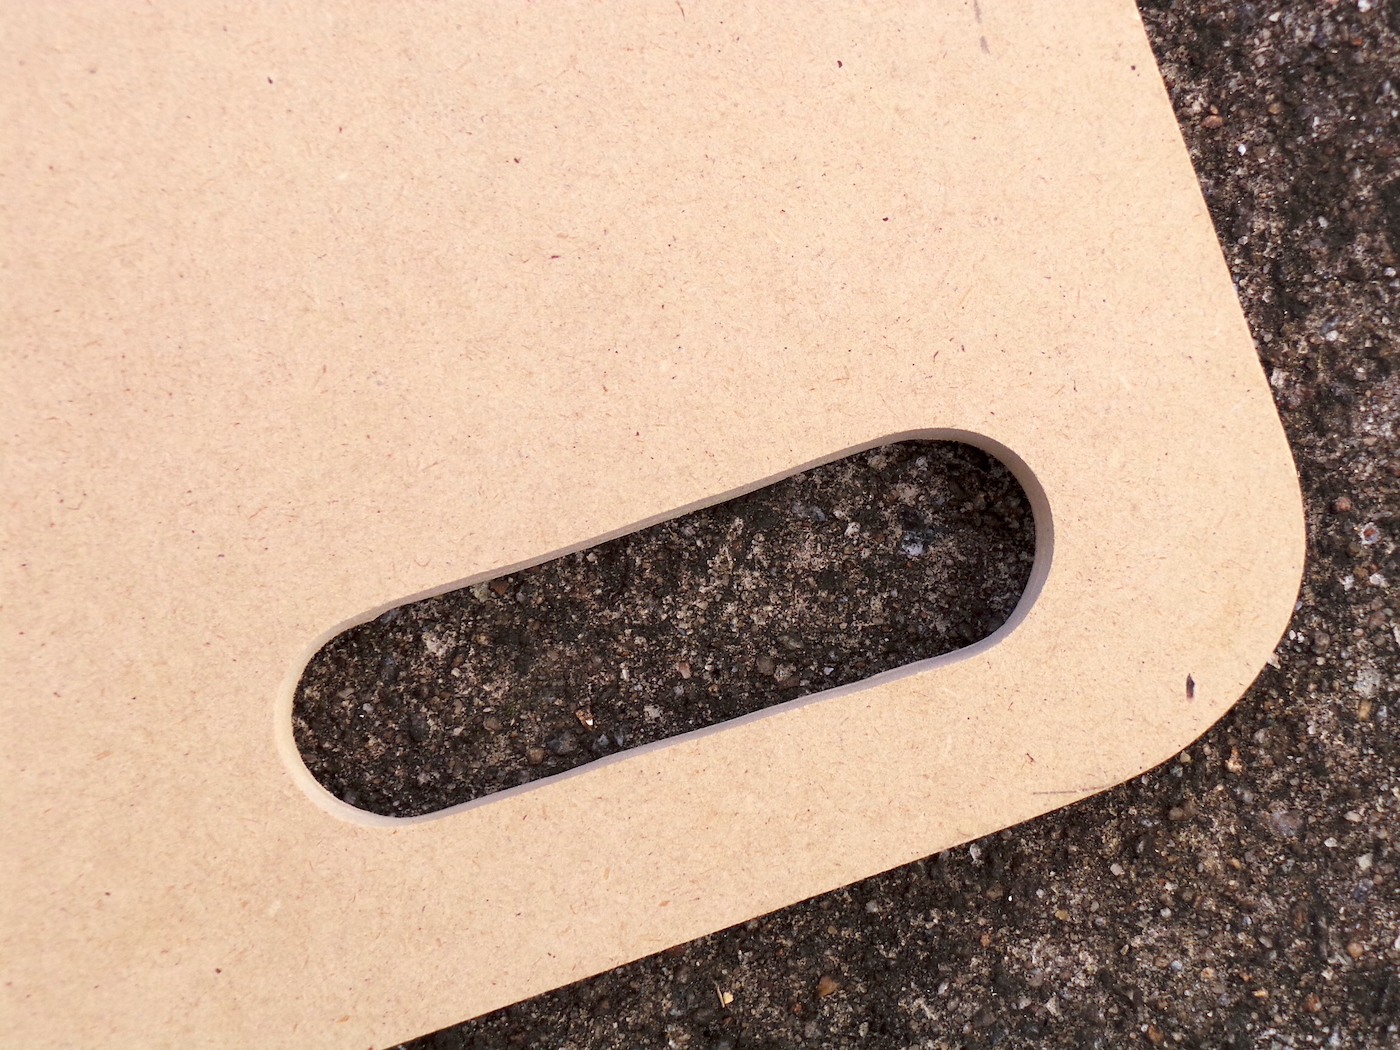
- Draw straight lines connecting the two round holes using your pencil and ruler. Use a jigsaw to cut on those lines and form the handle.
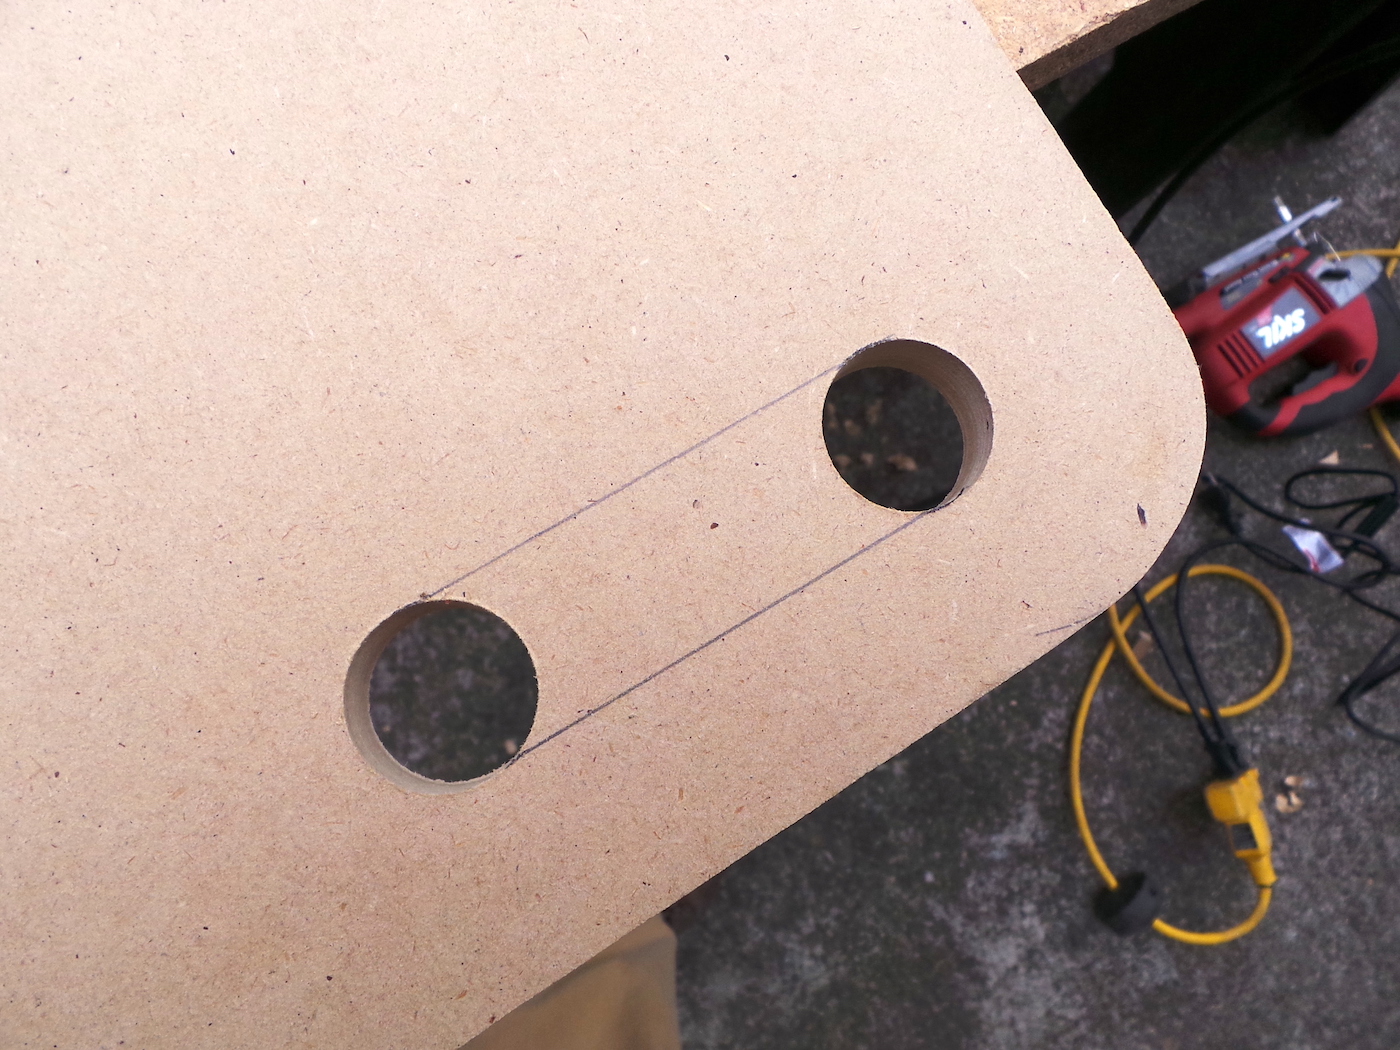
- Sand with 120-grit sandpaper to make the edges smooth.
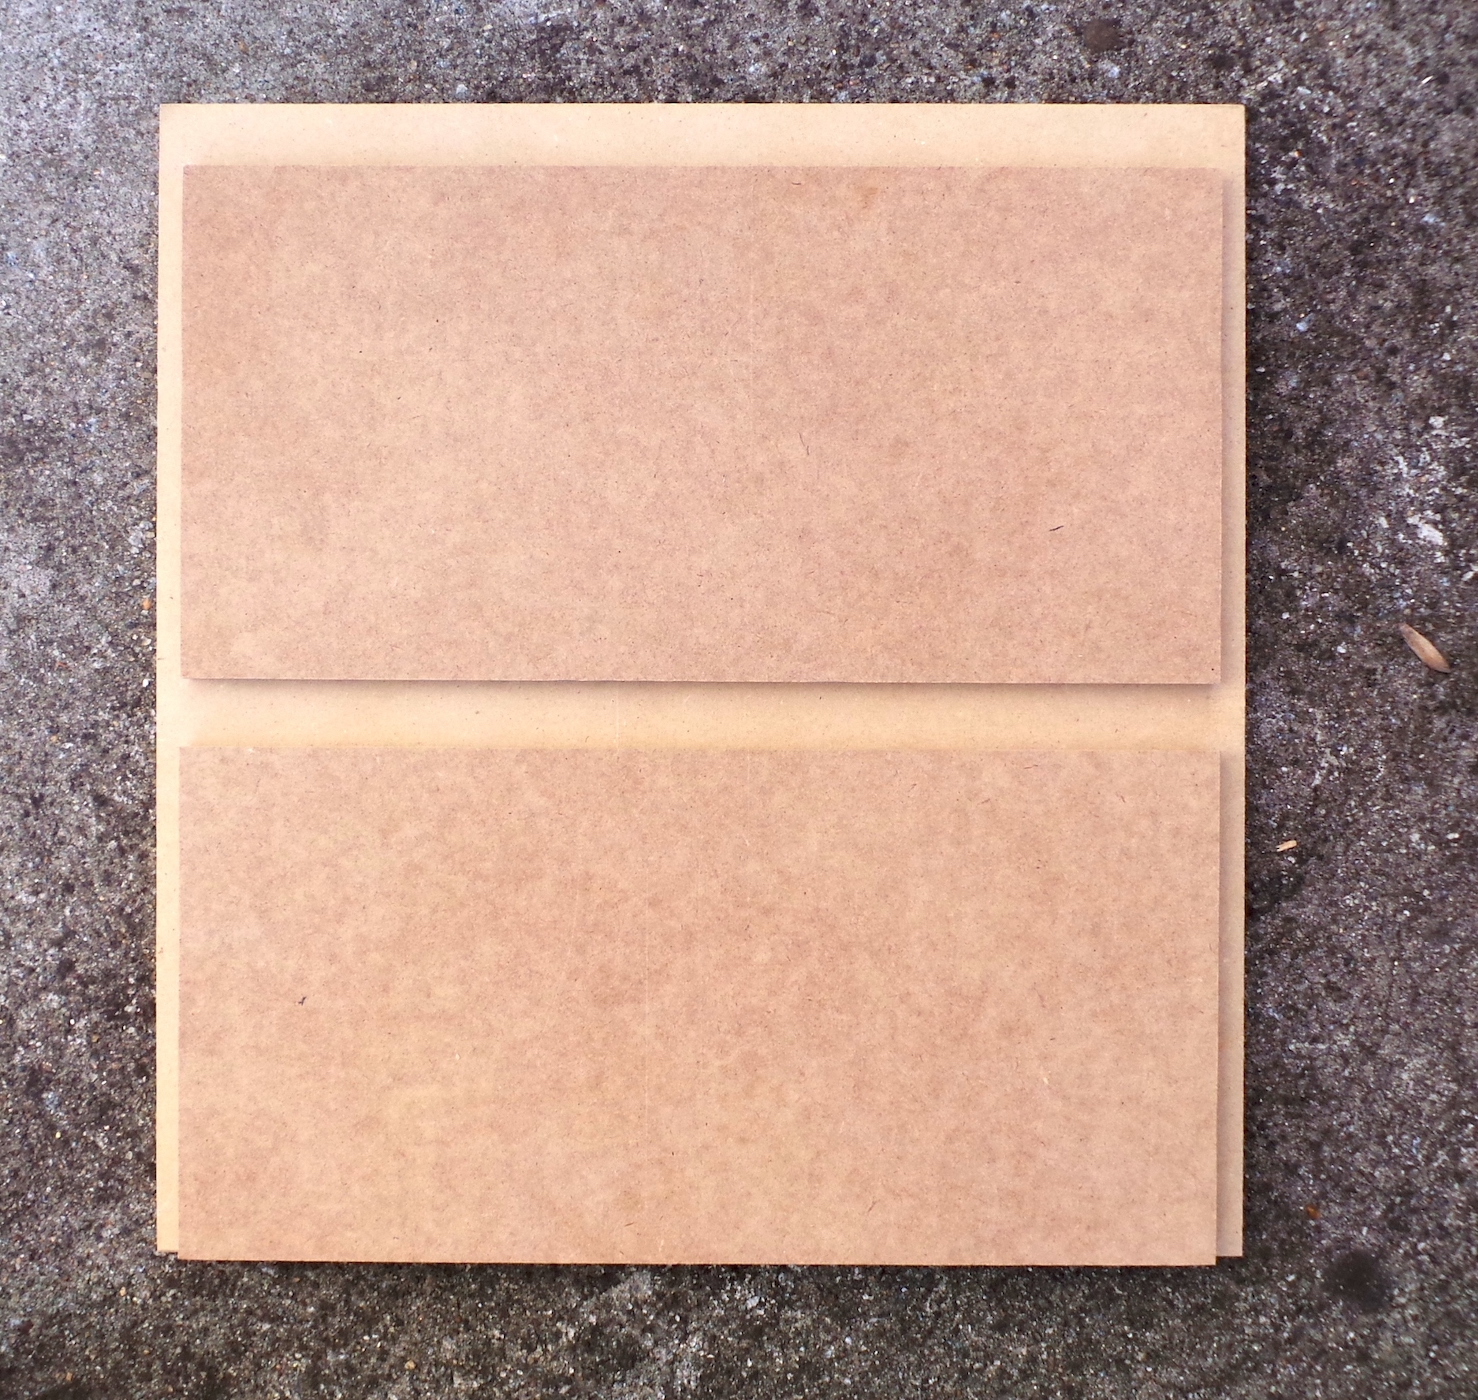
- Take the 17”x 18” piece of MDF and glue the two pieces of 8”x 16” MDF to it. Glue one of the pieces flush with a 17″ side, leaving a 1/2” gap on both sides. Then give a 1” gap above that and glue the next board, leaving a 1/2” gap on each side and a 1” gap at the top.
- On each side, glue one piece of the 8″ x 10 1/2″ MDF flush with the bottom and 1/2″ from the non-handle side (the back of the stool). Then glue one piece of the 5 1/2″ x 8″ MDF 1 inch above the bottom piece you just glued down . . . leaving 1/2″ gap from the non-handle side (the back of the stool). Each side needs to be the reverse of the other.

- Prime and paint both side pieces as well as the back piece. I used paint and primer in one, with a roller.
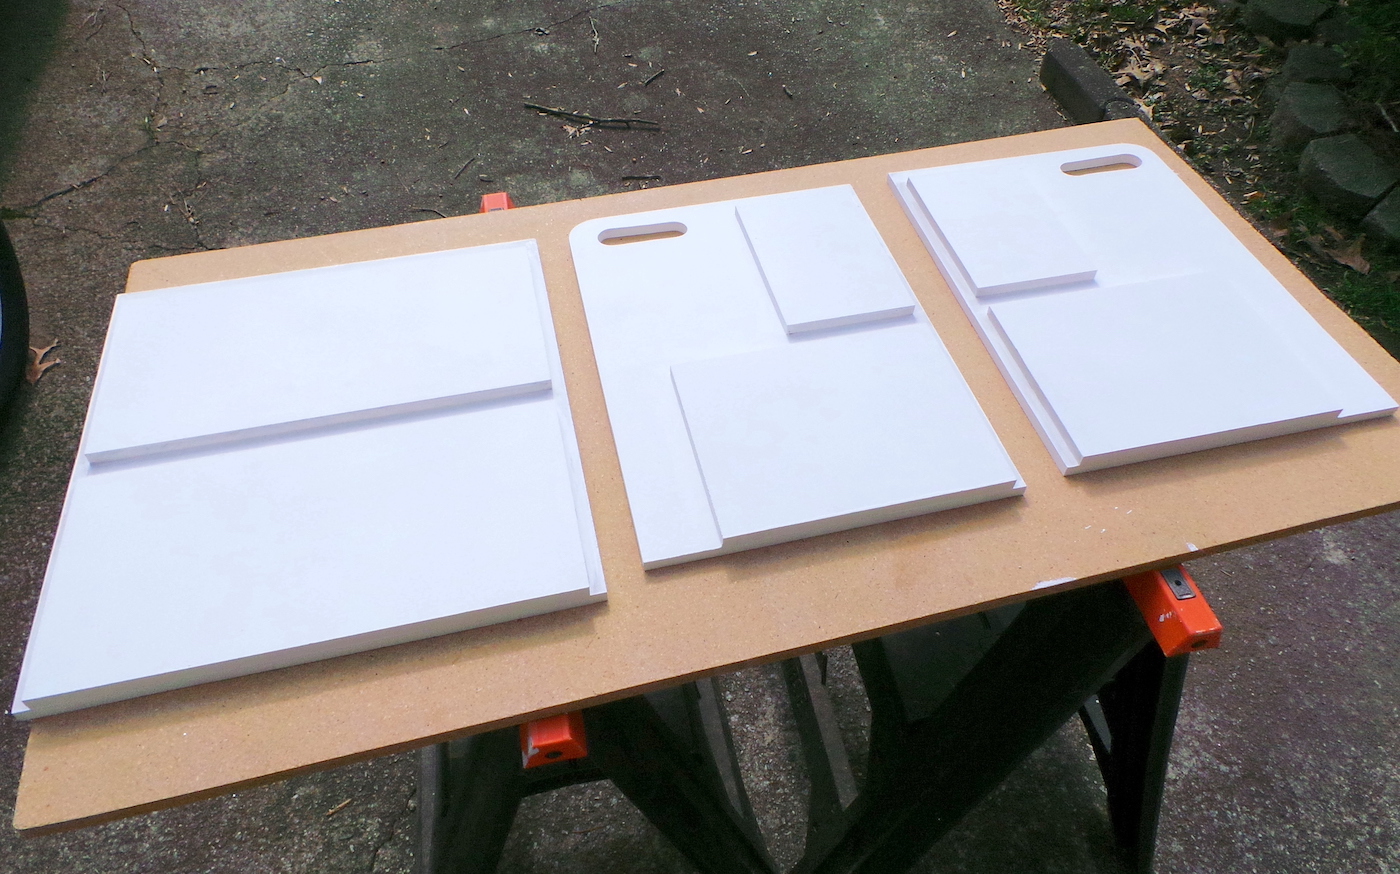
- Glue the larger stair tread into the bottom 1” gap on your back piece. The stair tread should go edge to edge on the back piece.
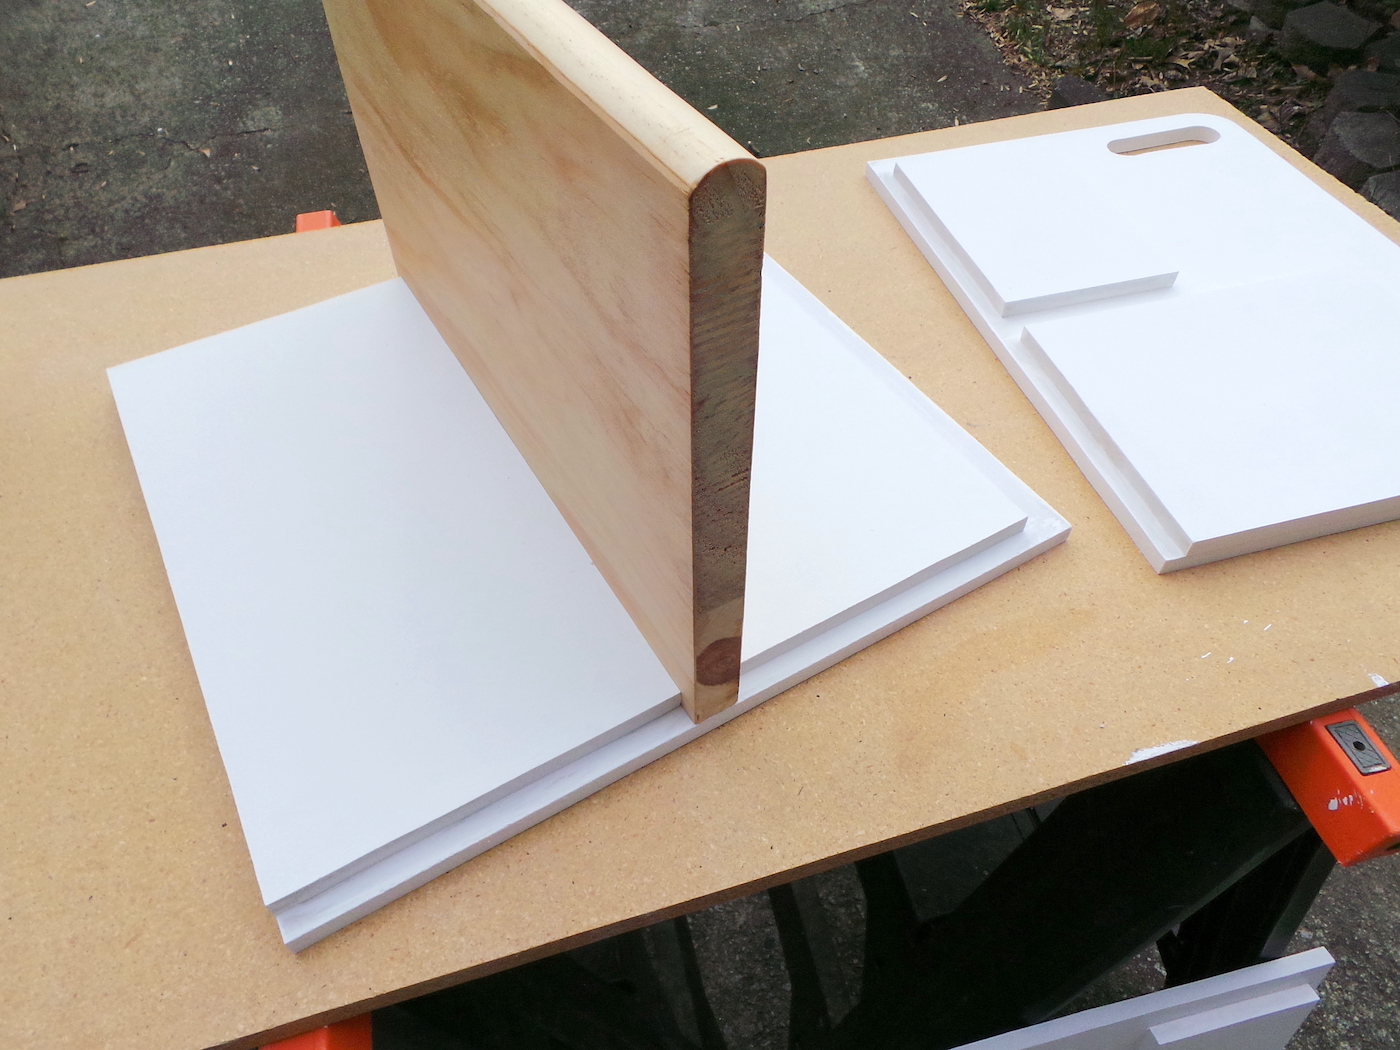
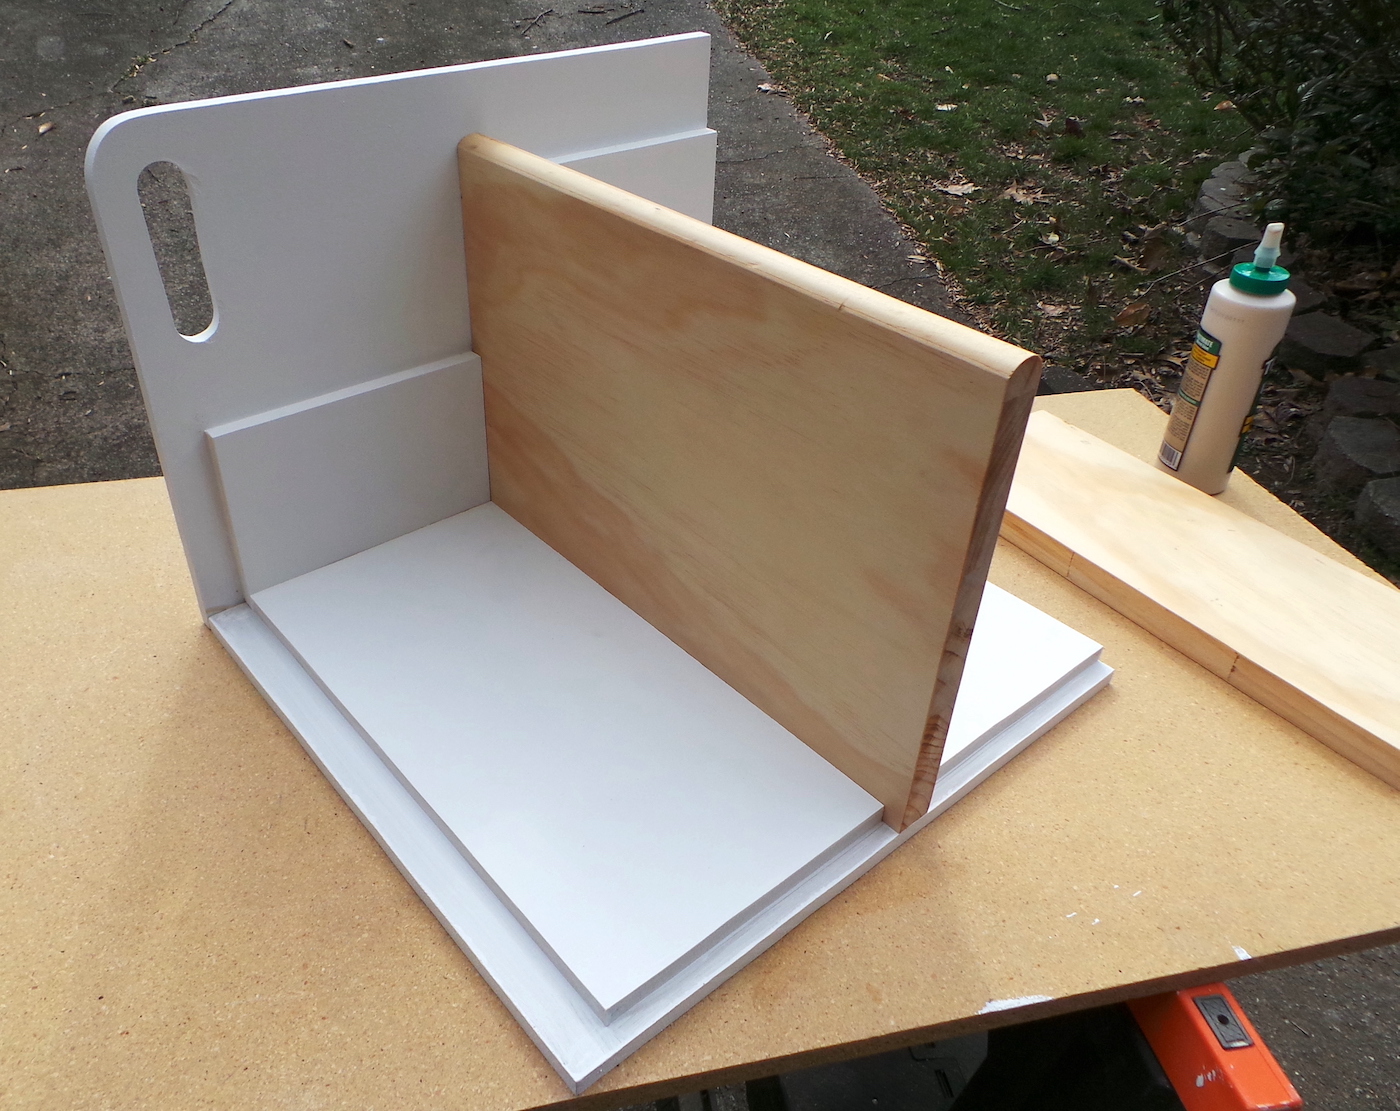
- Glue your sides on and glue the top stair tread in place.
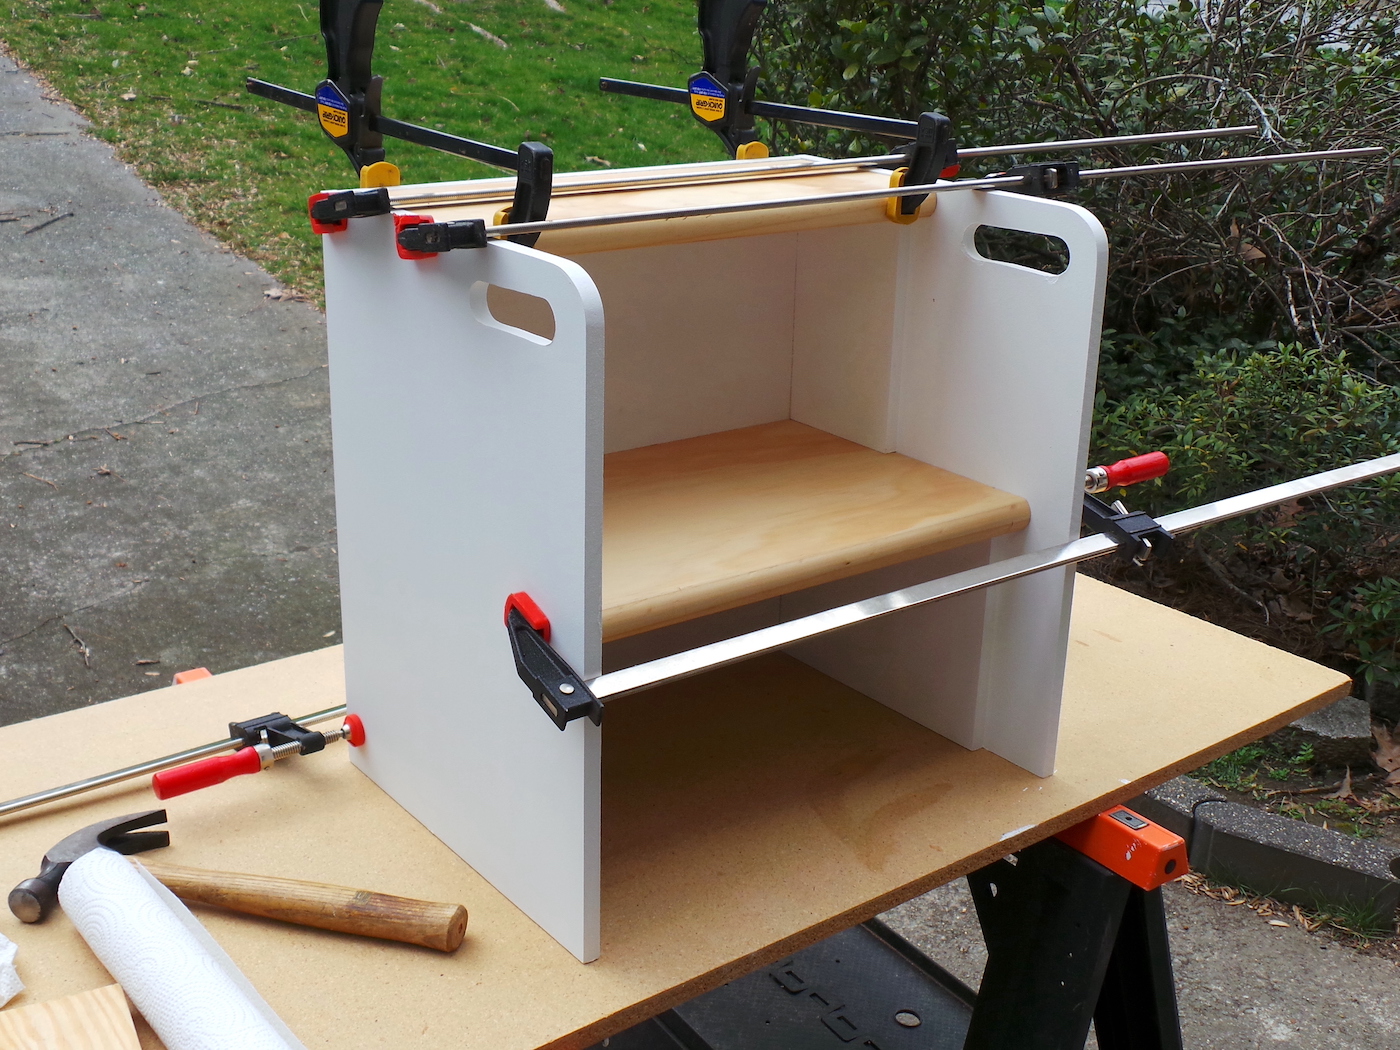
- Clamp, letting the glue set and dry for at least 24 hours before using.
Notes
- Three (3) pieces – (1) 17”x 18” and (2) 13 1/2” x 18”
- Six (6) pieces – (2) 5 1/2” x 8”, (2) 8” x 10 1/2”, and (2) 8” x 16”
- Interior stair tread, cut two pieces: one (1) 11 1/2” x 17” and one (1) 6 1/2” x 17”
For more DIY furniture projects, click here. I’d also love for you to check out these other beginner projects:
Coffee Table • Coffee Table with Storage • Industrial Pipe Shelving • Lack Endtable Hack • Mirror Frame • Modern Headboard • Nolmyra Chair Hack • Outdoor Bench • Pallet Shelf • Platform Bed • Poster Hanger • Stacked Entry Bench • Table Lamp • Table Revamp with Vinyl • TV Riser • Wood Slat Doormat

