
Homemade Silly Putty Recipe for Sensory Play
Learn how to make homemade silly putty with just cornstarch and dish soap! This easy recipe is perfect for sensory play, stress relief, and rainy days. Budget-friendly, screen-free fun for all ages!
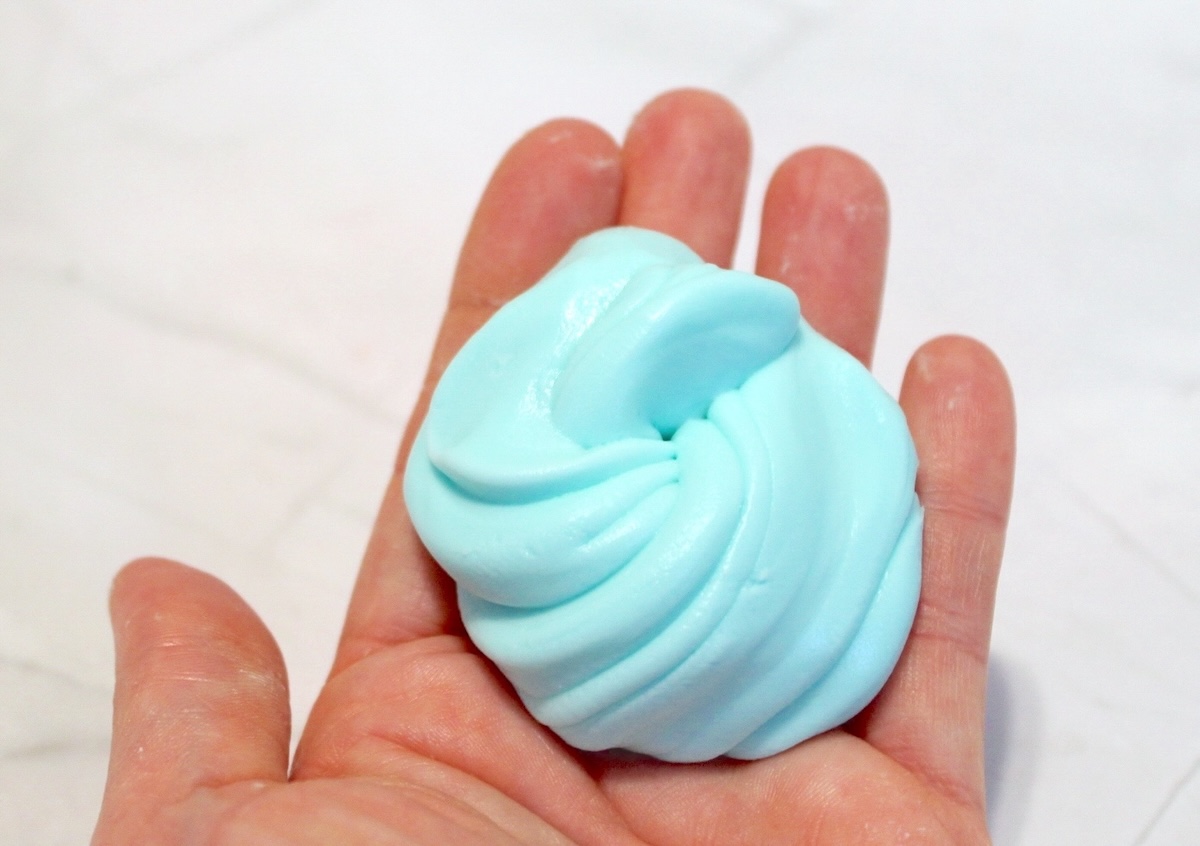
Have you ever noticed that kids can play with the simplest things for the longest time?
Hand them an expensive toy with flashing lights and sound effects, and they’re interested for about ten minutes.
Hand them a weird little blob they can squish between their fingers?
Suddenly your afternoon is wide open.
That’s exactly why I love this homemade silly putty recipe.
It’s ridiculously easy to make, costs next to nothing, and somehow never gets old. Whether you’re making it for a kid who loves messy science projects or you’re secretly planning to keep half the batch for yourself (no judgment here), it’s one of those activities that’s every bit as fun to make as it is to play with.
And yes… adults love it too.
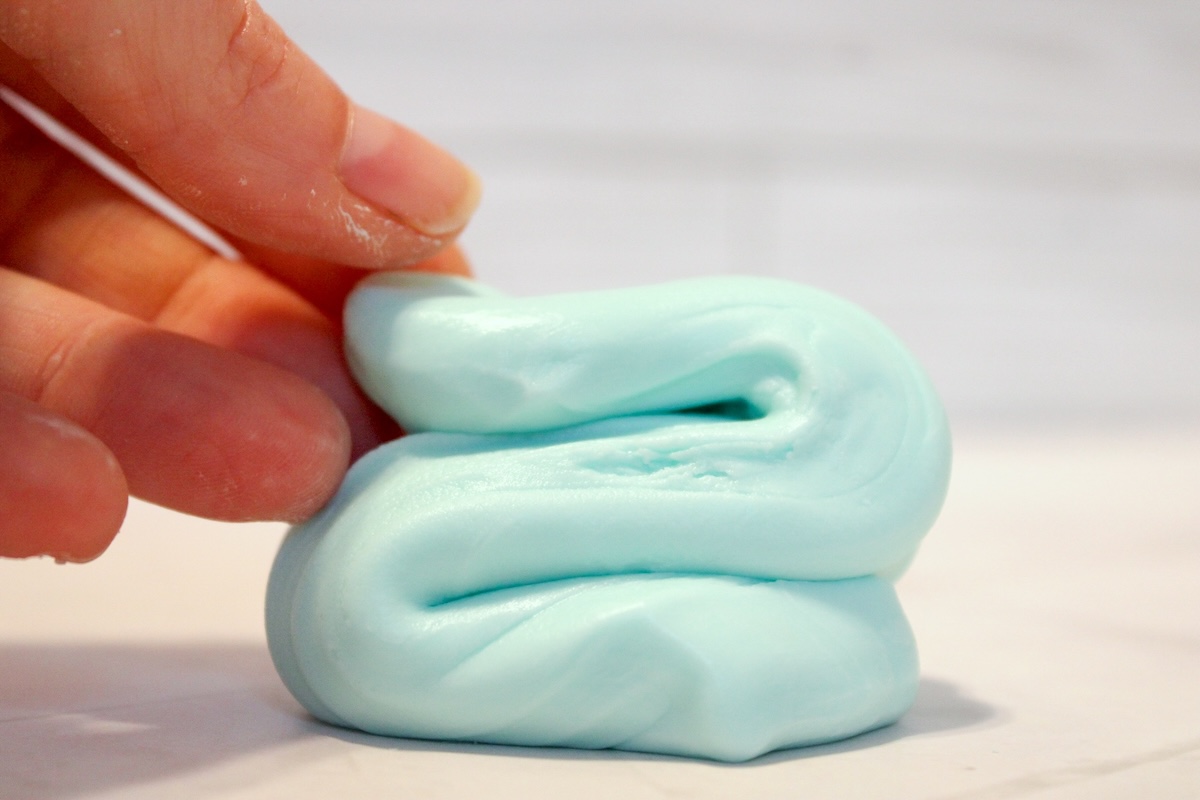
There’s something oddly satisfying about stretching it, squishing it, rolling it into a ball, and flattening it over and over again. I totally understand why people buy therapy putty for stress relief. This DIY version gives you that same satisfying tactile experience for a fraction of the cost.
The best part?
You only need two ingredients.
Why I Love This Homemade Silly Putty Recipe
If you’ve searched for DIY silly putty before, you’ve probably noticed there are a lot of different recipes out there.
Some call for glue. Others require borax.
Many use liquid starch as an activator. Some are really just slime with a different name.
Those recipes absolutely work—but they also mean buying extra ingredients that you may never use again.
This recipe skips all of that.
No glue. No borax. No liquid starch.
Just dish soap and a cup of cornstarch (or a smaller amount if you’re making a single batch). Chances are you already have everything sitting in your kitchen.
That also makes this a great last-minute activity when someone announces they’re bored.
Five minutes later you’re making your own homemade silly putty instead of heading to the store.
Tips for the Best Consistency
The biggest secret to making great putty is remembering that not every dish soap behaves exactly the same.
Some brands are thicker than others. Some contain moisturizers, fragrances, or extra dyes that slightly change the finished texture.
That’s completely normal. Start with the measurements in the tutorial, then adjust from there.
If your putty feels sticky, sprinkle in a little more cornstarch.
If it’s crumbly or too dry, add a tiny bit more dish soap—just a little at a time.
I like adding ingredients gradually instead of dumping everything into the bowl at once. A tablespoon here or there can completely change the consistency.
Once everything comes together, spend a little while kneading the putty with your hands. At first it might seem like it isn’t working.
Keep going.
As you knead it, the texture becomes smoother, stretchier, and much more satisfying to play with.
Want colorful putty? Add a few drops of food coloring before mixing everything together. Gel colors or liquid dyes both work well, and you can even divide the mixture into several smaller batches to make multiple colors.
More Than Just a Fun Craft
I think one reason homemade silly putty has stayed popular for so many years is because it isn’t just a craft.
It’s something you actually use after you make it.
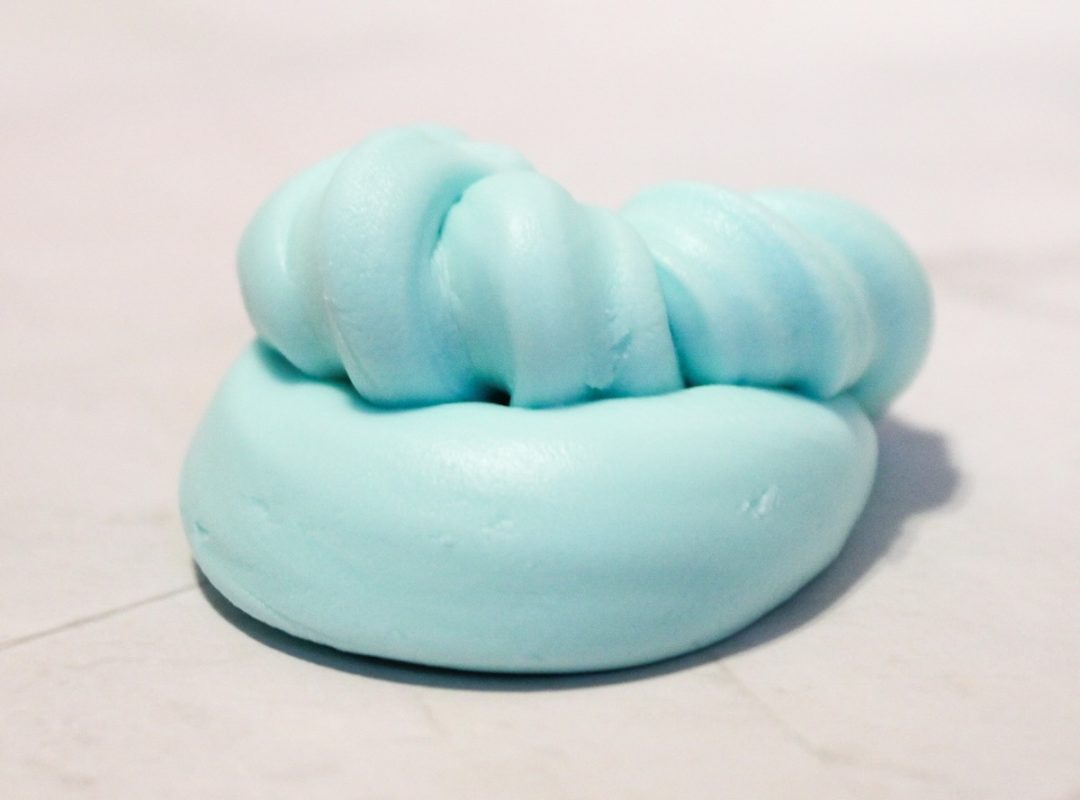
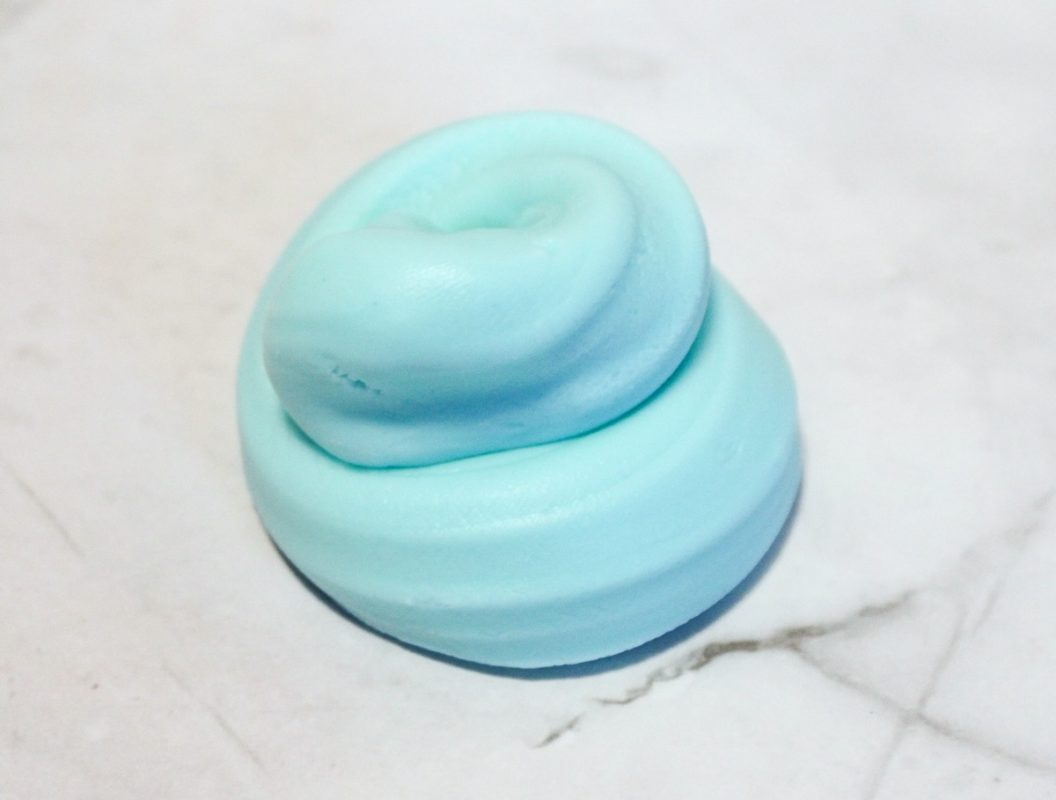
Kids naturally turn it into pretend food, tiny sculptures, snakes, balls, and funny monsters. They’ll flatten it, stretch it, roll it, poke it, and start all over again.
It’s also fantastic for sensory play.
The soft, moldable texture encourages squeezing, pinching, rolling, and pressing, making it a fun addition to sensory activities at home or in the classroom.
Adults aren’t immune either.
I’ve definitely caught myself absentmindedly squishing it while answering emails or thinking through a project. It’s surprisingly calming, which explains why therapy putty has become so popular for stress relief and hand exercises.
Storing Your Putty
This homemade silly putty is best enjoyed the day you make it.
If you have leftovers, place them in an airtight container or a plastic bag to help slow them from drying out. It won’t last forever, but it’s so quick to make that whipping up another batch is hardly a chore.
That’s another reason I love this recipe.
Instead of spending money on tiny plastic eggs from the checkout aisle, you can make your own homemade silly putty whenever the mood strikes.
Now grab your bowl, spoon, and two simple ingredients – it’s time to start squishing!
Get the printable how to card below:
DIY Silly Putty
Equipment
- Bowls
- Spoon
Materials
- 3 T cornstarch
- 2 T dish soap
Instructions
- Add cornstarch and dish soap to a bowl.
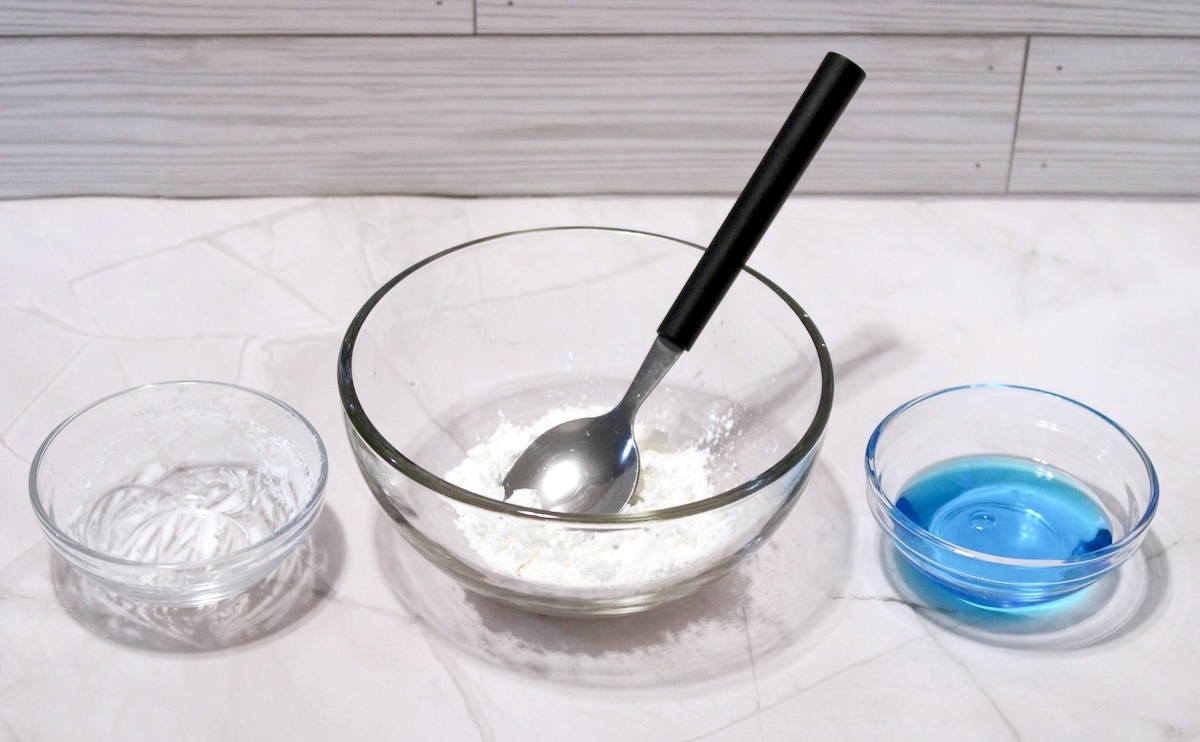
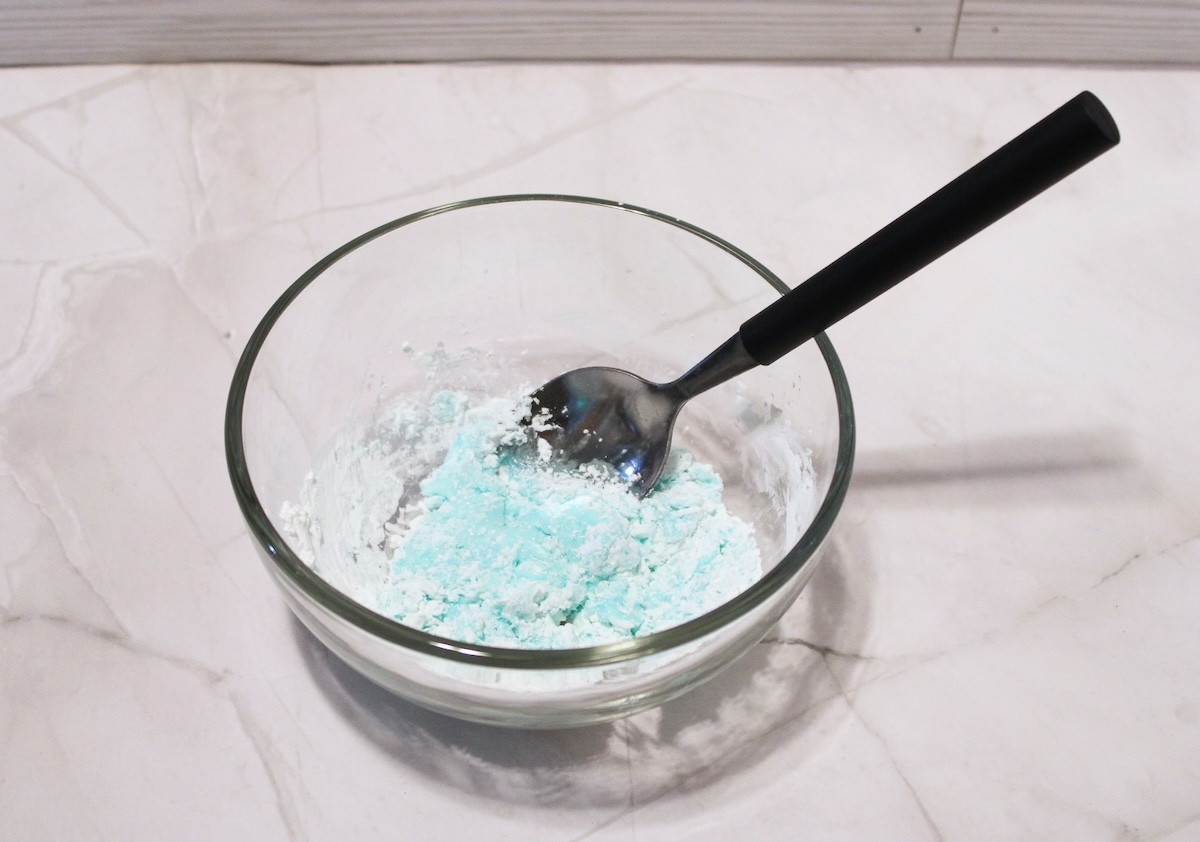
- Stir with a spoon until a solid begins to form. Use your hands to knead the putty until both ingredients are completely incorporated.
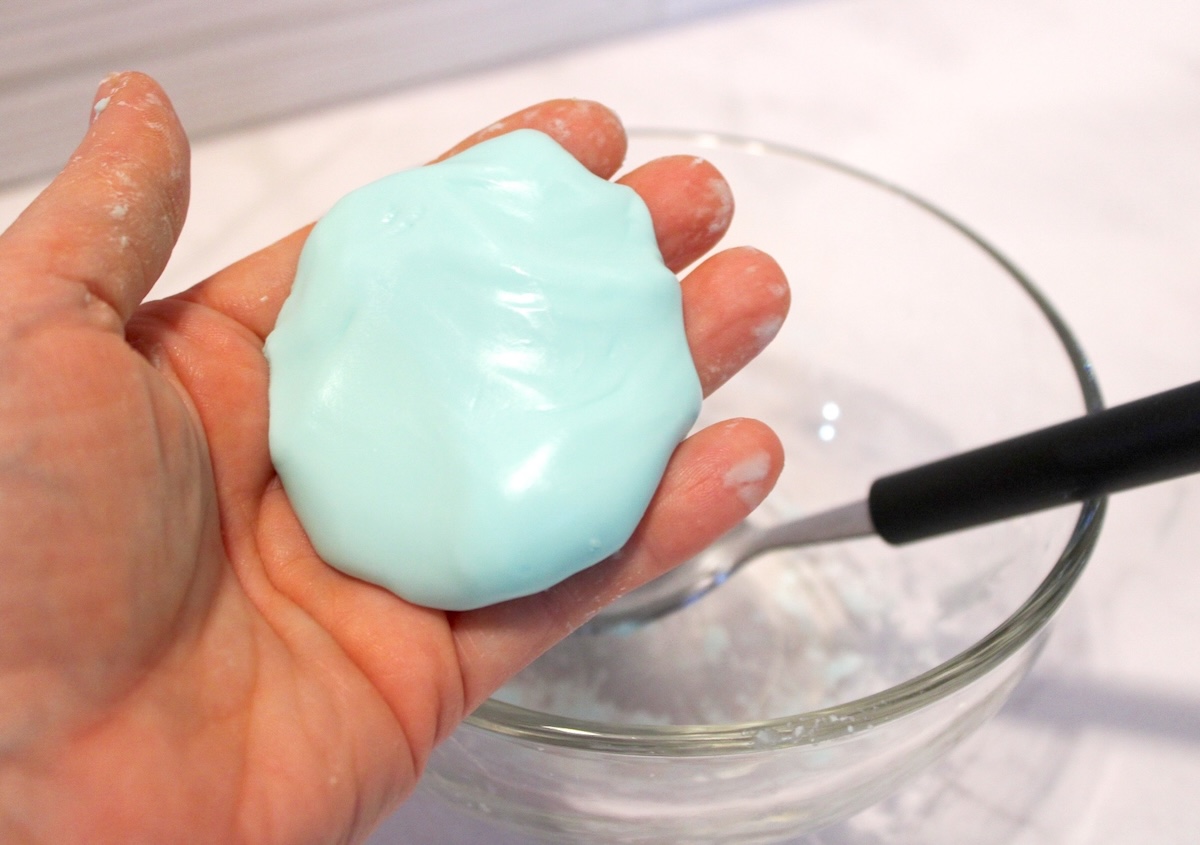
- If the putty is too sticky add a pinch of cornstarch. If the putty is too dry, add a dab of dish soap. Enjoy playing with your putty!
Notes
Did you enjoy this fun draft idea? Let me know in the comments! I’d also love for you to check out these other tactile and sensory crafts:
Blow Painting • Borax Crystals • Bubble Wrap Painting • Clay Slime • Cloud Dough • Cloud Slime • Crunchy Slime • Homemade Playdough • Hydrophobic Sand • Jello Play Dough • Kinetic Sand • Moon Sand • Sidewalk Chalk Paint




Did not work for me. Added more cornstarch, more soap, and on and on. Still sticks to my hands and the table and suds forever when i try to wash it off.