DIY Pinecone Wreath for Christmas (Costs Pennies!)
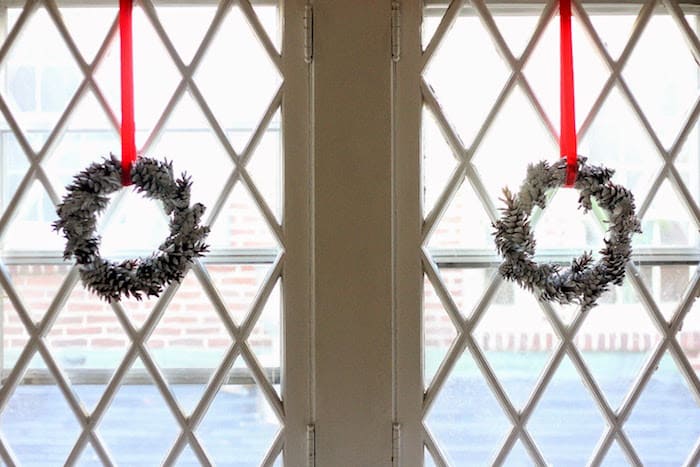
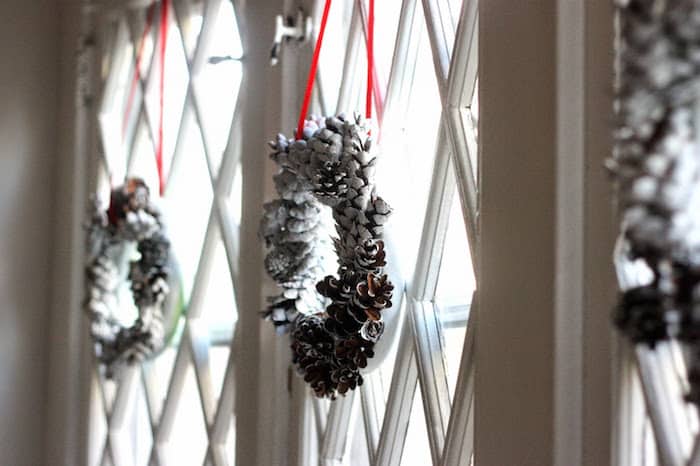
Learn how to make a pinecone wreath for Christmas in minutes with just a few supplies – this DIY pinecone wreath is such a lovely holiday and winter display!
Skills Required: Beginner. Even if you’ve never crafted before, you should be able to tackle this project pretty easily. You’ll be painting and gluing pinecones to a wreath form.
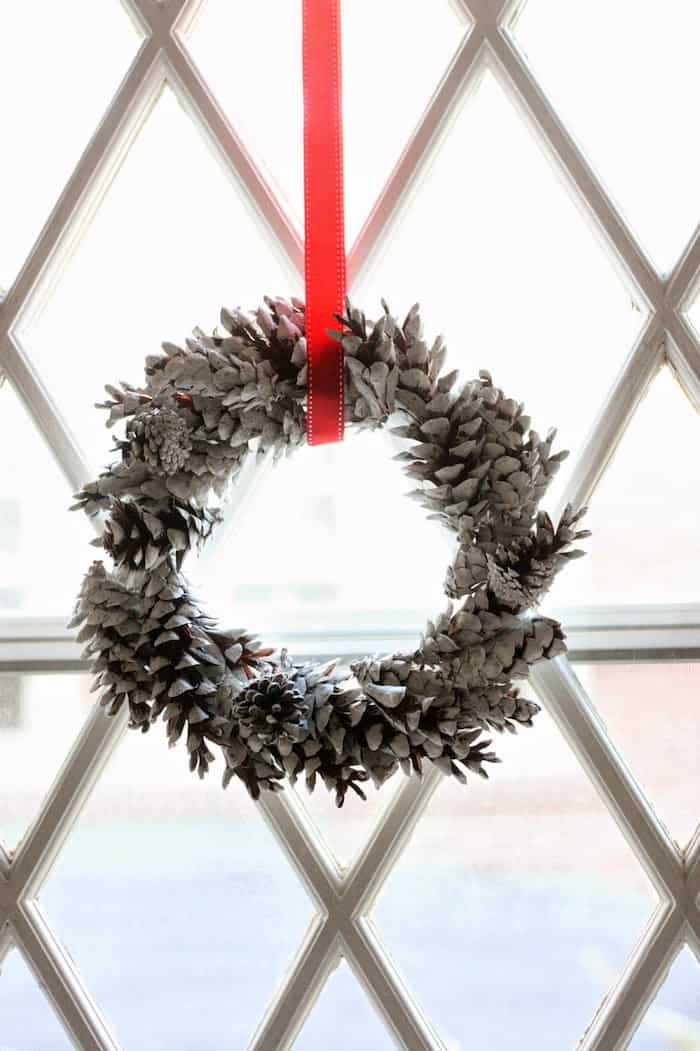
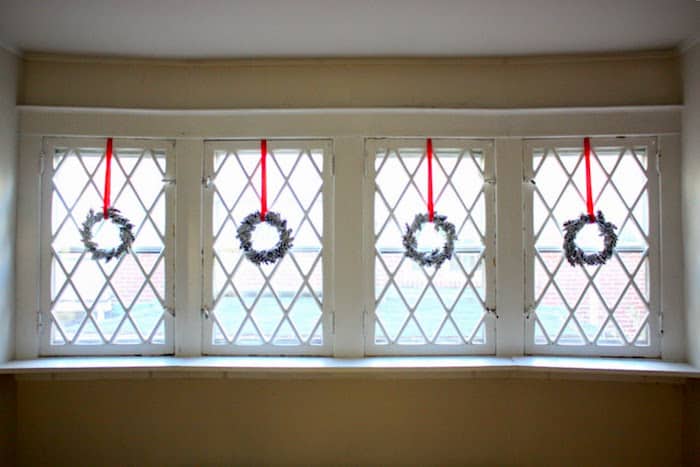
Hi DIY Candy friends! This is Liz from The Pretty Life Girls and today I’m going to show you the fun holiday wreaths I made for my dining room for just pennies.
I’m going to show you how to make a pinecone wreath for your Christmas decor – one of my favorite Christmas crafts of all time.
These mini Christmas wreaths are simple to put together, will looks gorgeous in your home, and cost less than a milkshake at DQ.
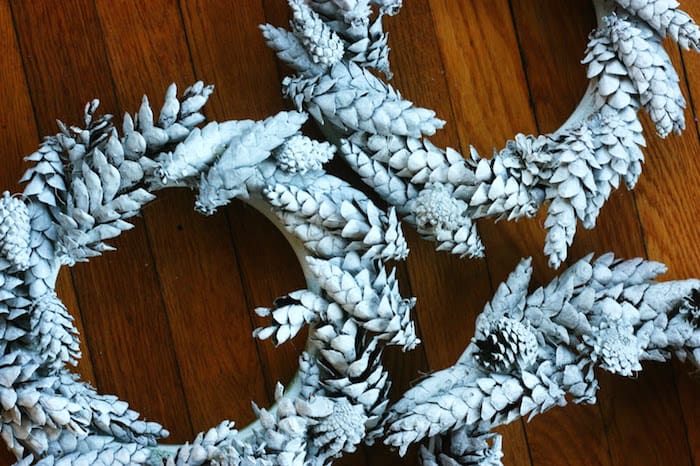
How do I prepare the pinecones to make a wreath?
First you’ll soak them in sink full of hot water + 1 cup of vinegar for a few minutes. In order to bake out all the beasties and melt the sap, you’ll want to put the pinecones in the oven on a LINED cookie sheet at the lowest temp. Bake them for about 1 – 1.5 hours and let them cool.
How do you cut a pine cone for a wreath?
I find that gardening shears or snips work the best for cutting pine cones. The 8″ pruning shears work the best. However, I’m sure you can make it work with longer or shorter snips if you need to. Just be careful when cutting!
I didn’t cut pinecones for this project; I left them whole. But if you want the tops to face you, you’ll want to cut them. That’s when I’d use the shears.
Gather These Supplies
- Wreath form (I used a foam one from the dollar store)
- Pine cones (found mine for free, courtesy of the trees at our local high school)
- Craft paint (I used an acrylic chalky paint from Michaels and I love the chalky/distressed/matte finish it gave the wreaths)
- A knife, X-Acto or other sharp variety
- Hot glue gun and glue sticks
- Paintbrush
Are you ready to get making? Get some hot chocolate, turn on some White Christmas and let that Christmas spirit get the best of you! I love that you can keep these up pretty much all winter as well.
Get the printable how to card below:
How to Make a Pinecone Wreath
Equipment
- Knife
Materials
- Wreath form
- Pine cones
- Acrylic paint white
- Ribbon(s) Red
Instructions
- Soak your pinecones in a sink of hot water with 1 cup vinegar. Then bake them at your oven's lowest setting for 1 – 1.5 hours. This will get rid of bugs, get rid of the sticky sap, and dry them out. Plus, it will make your house smell OUTRAGEOUSLY good.

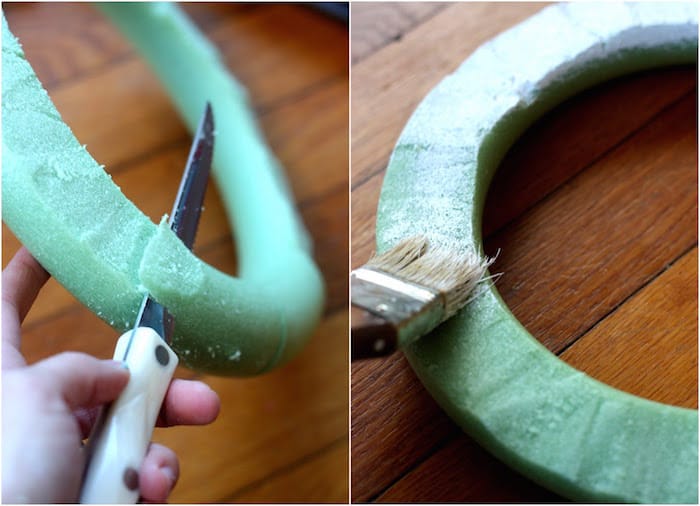
- If the wreath form isn't flat, use a knife to trim the front and make it flat and smooth. Paint the wreath form with the same paint color as your pinecones and let dry.
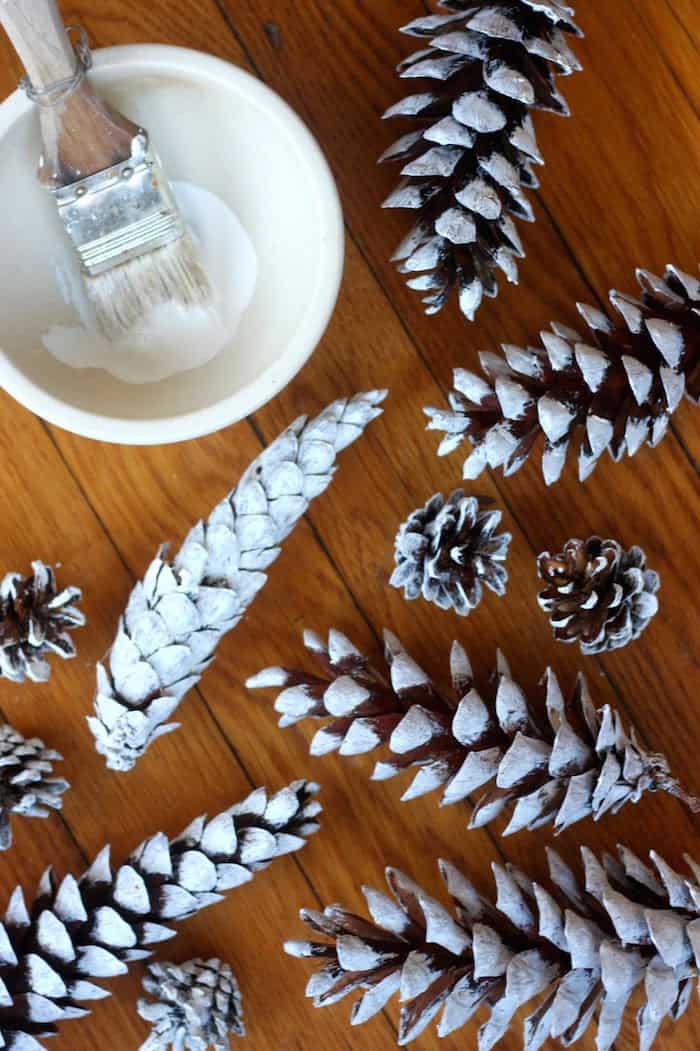
- While the wreath form is drying, paint the pine cones. More bristles helps you get into the tight areas.
- Once the pine cones are dry, hot glue them to the form. Keep them tight for good coverage.

- Hang your pinecone wreaths using the red ribbon (cut lengths with scissors).
Let me know what you think in the comments! Now that you know how to make a pinecone wreath, here are some other wreaths that might be up your alley:
Candy Cane Mesh • Christmas Garland • Christmas Mesh • Christmas Pom Pom • Coffee Filter • Fall • Felt • Pinecone • Mini Pumpkins • Pool Noodle • Pool Noodle Floral • Pom Pom • Ribbon • Wine Cork

