Make a Christmas Felt Ball Garland in Minutes
Make a Christmas garland with felt balls, perfect for decorating a tree or a mantel! This is easy to make and looks great with most holiday themes. Scroll down to the bottom of the post to see a video of how it’s made.
Skills Required: None. No prior crafting skills are needed for this project.
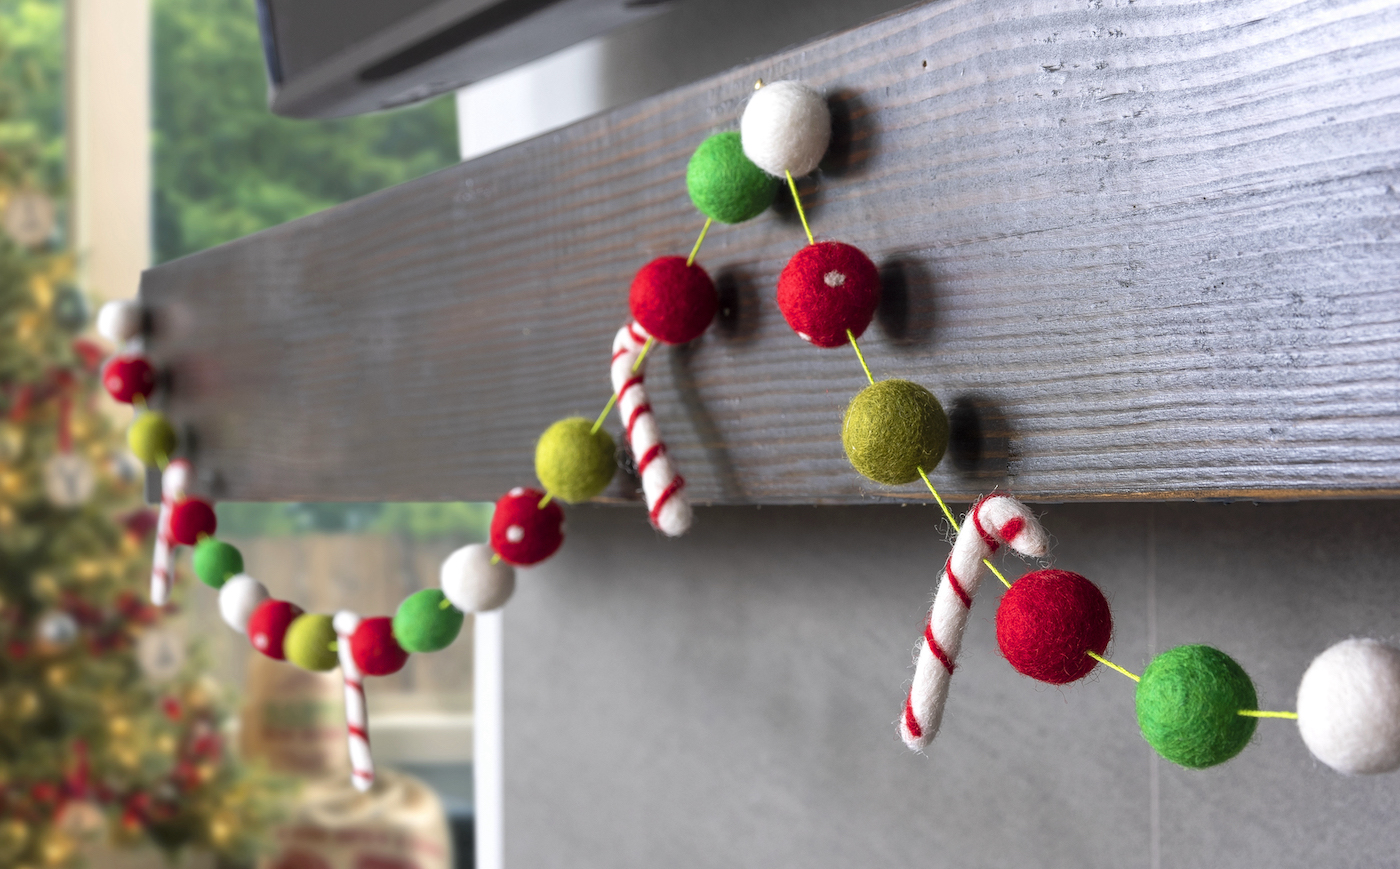
I’m kind of excited to share this Christmas decor project. It was such a FUN and easy one to put together that I can’t wait to show you!
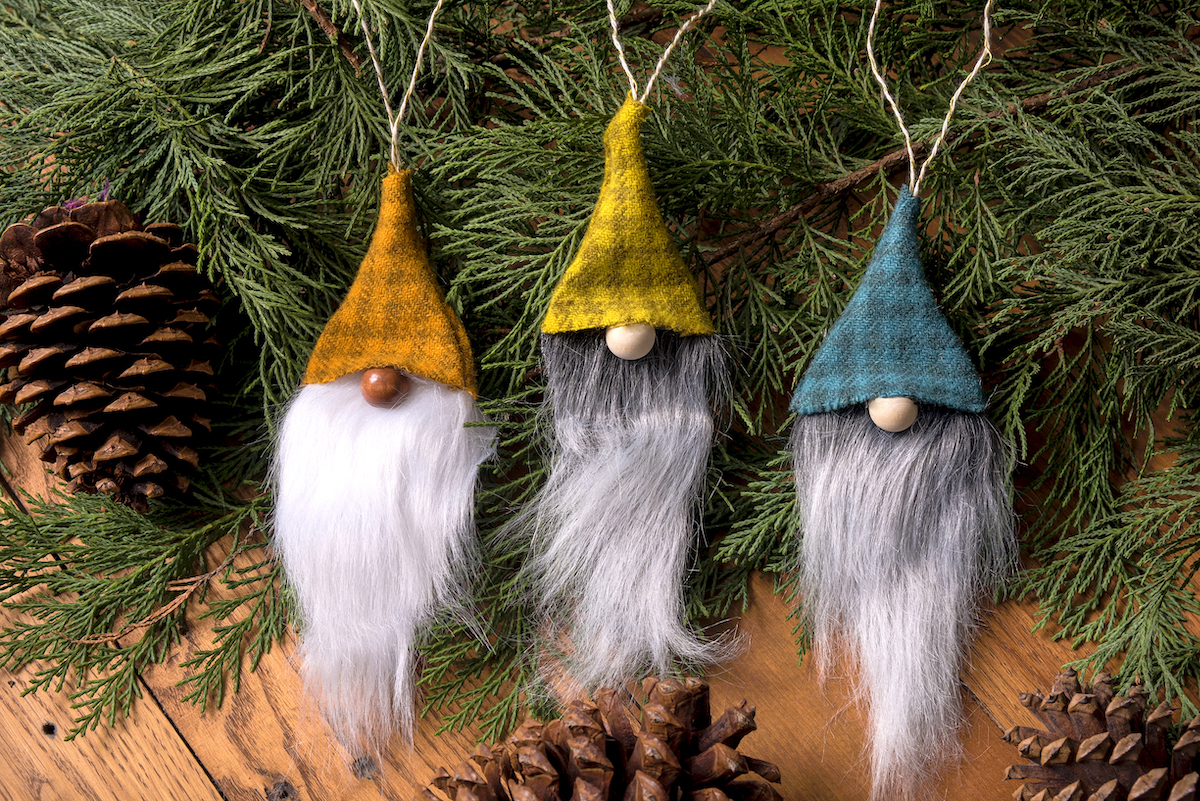
I love using felt in my Christmas crafts and decorating. I think I’ve proven myself in that regard with felt ornaments and felt mistletoe. I even used some old scraps of felt to make the hats for these gnome ornaments!
Once I get obsessed with a craft material, it’s done. I’m going to make anything and everything I can with it! And I’m all about felt and plain wood this year.
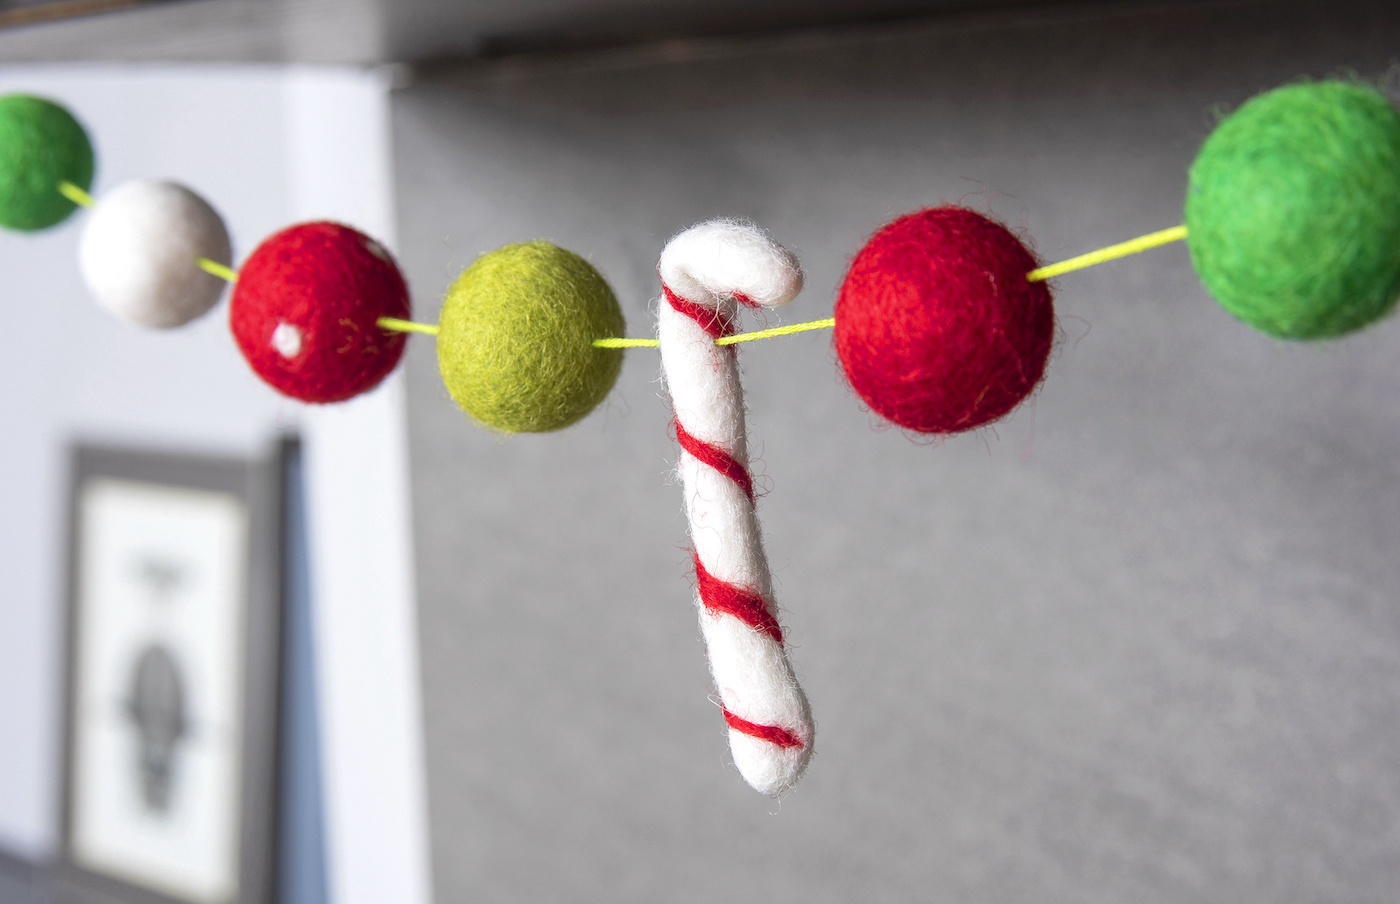
I’ve made a basic felt ball garland, and one for winter too. The process is so easy that I decided to repeat it in Christmas colors! And I added some polka dot balls and felt candy canes too.
This garland can be hung around a doorway, on a mantel (that’s how I display mine) or (of course) on the Christmas tree. It’s lightweight and easy to hang up with pins or Command strips. So basically? It can go anywhere!
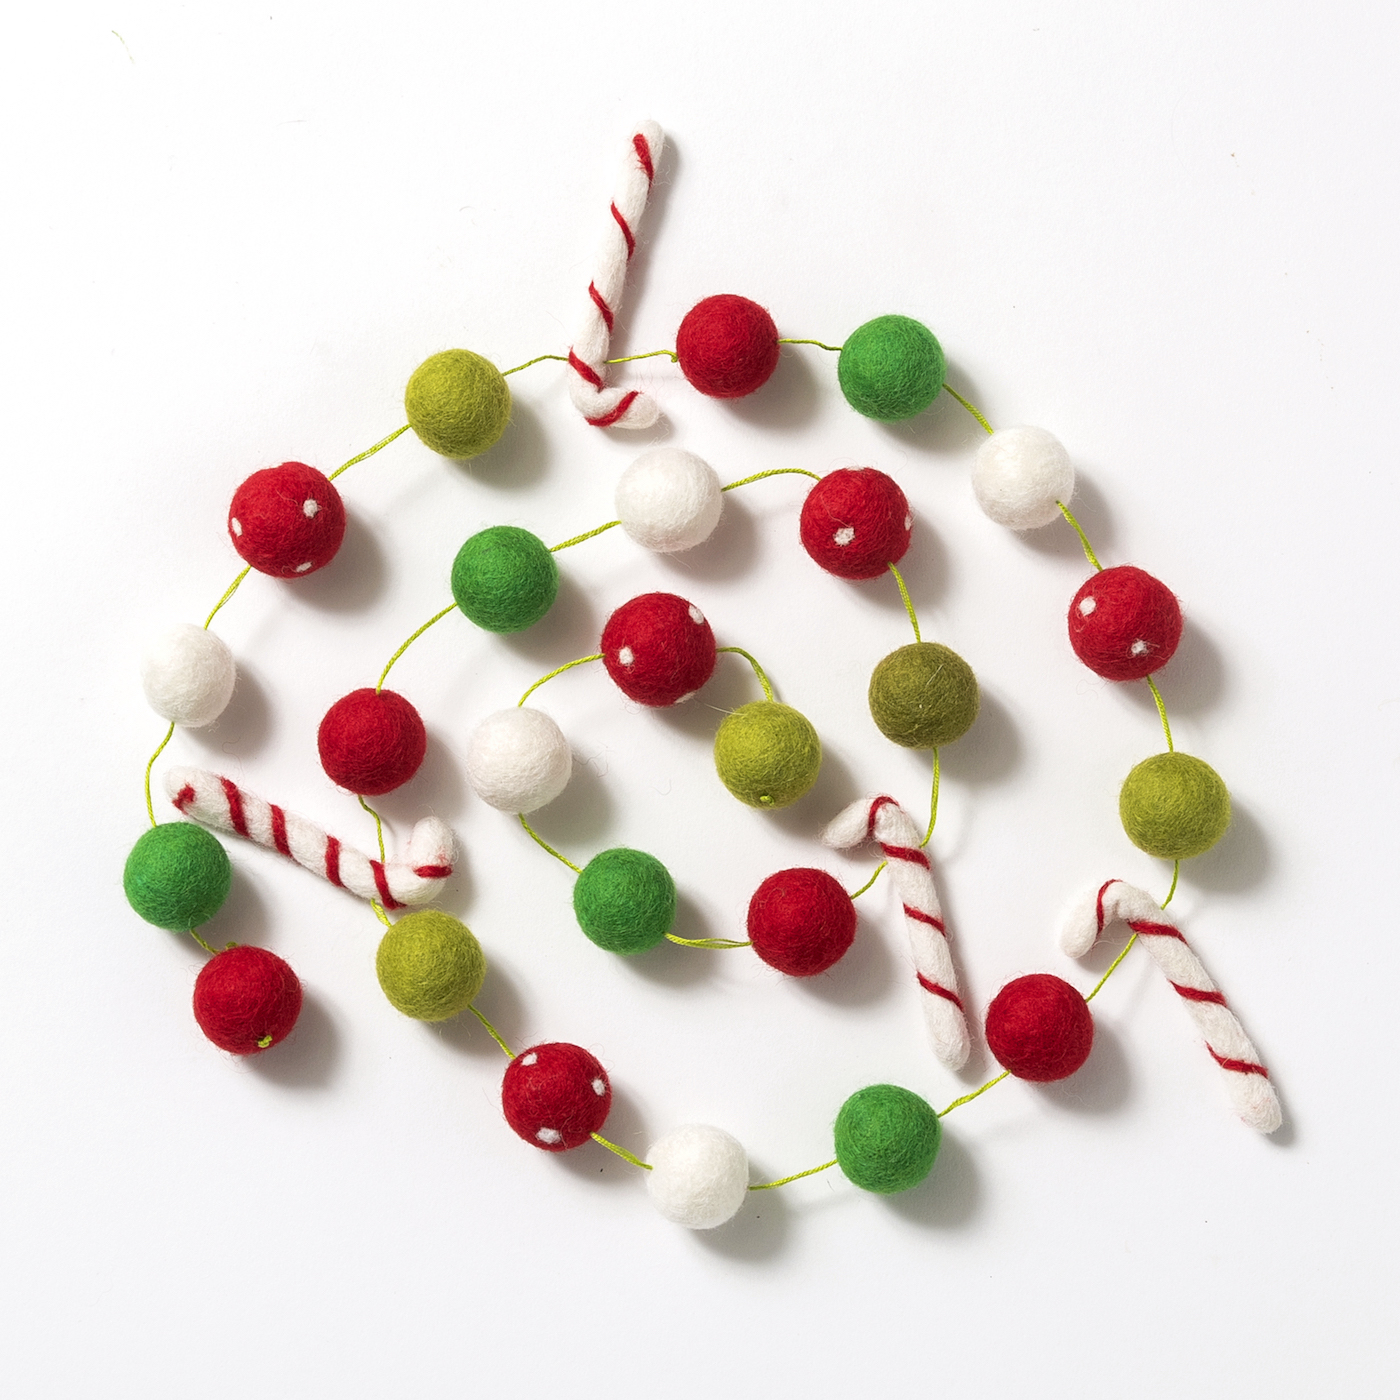
For this decor, you will need felt balls (I used 48 1″ balls), a skein of embroidery floss, and a thick needle. Embroidery floss comes in skeins that are 8.7 yards long, or 26.1 feet.
These are the supplies you’ll need for one garland, and you can obviously tie two garlands together if you like.
Making Felt Balls
Since I wanted a wide array of different felt colors, I found it more practical to buy my felt balls already made.
However, you can definitely make your own felt balls using roving, felt sheets, or yarn scraps. It’s more time consuming but it’s fun, especially when you can put the kids to work doing it! 😀
How to Make Felt Balls Using Roving
If you want to make your own felt balls, the process is called “wet felting.” You’ll need to purchase wool roving. Besides the wool, you’ll need hot water and dish soap.
The basic process is to dip pieces of wool roving into warm, sudsy water and then shape into balls. Then you’ll let them dry overnight (you can get more details here on the process).
Using Felt Sheets or Yarn Scraps
You can also make your balls using felt sheets (or scraps of felt sheets), or yarn scraps. The process is very similar to using the roving, but you’re going to have to work the material a little more. You’ll still want to use wool felt or wool yarn.
How Many Balls?
How many wool balls will you get out of a 1/2 oz. package of wool roving? Approximately 12 – 16 at about a 1/2″ diameter. It varies greatly depending on how tightly you squeeze the balls, etc.
You can drape your garland over just about anything. I highly recommend doing it the way I’ve shown in the pictures below. If you don’t have anything to hang the garland on, just use thin pins or small nails to hang on the mantel.
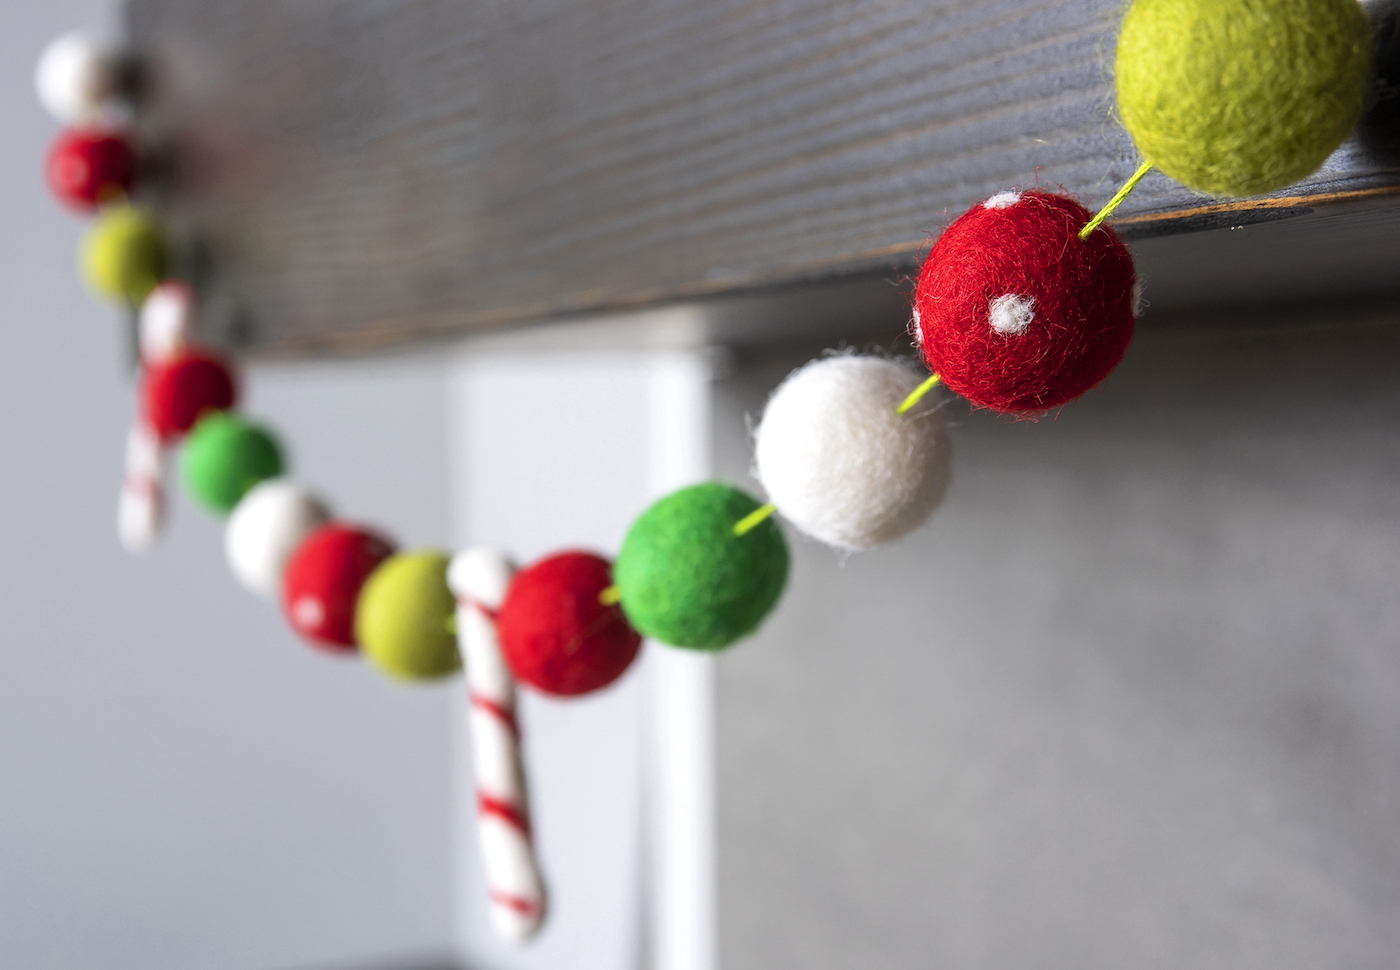
Swag every three to five feet for a little interest. You never want to hang it straight. The swag (tacking it up at various points) will integrate into your decor better. Trust me!
Get the printable how-to card for this project here:
Christmas Felt Ball Garland
Equipment
- Needle(s)
Materials
- 50 Felt balls I used 48 to 50
- 12 Red and white polka dotted balls 10 to 12
- 8 Felt candy canes 6 to 8
- 1 skein Embroidery floss
Video
Instructions
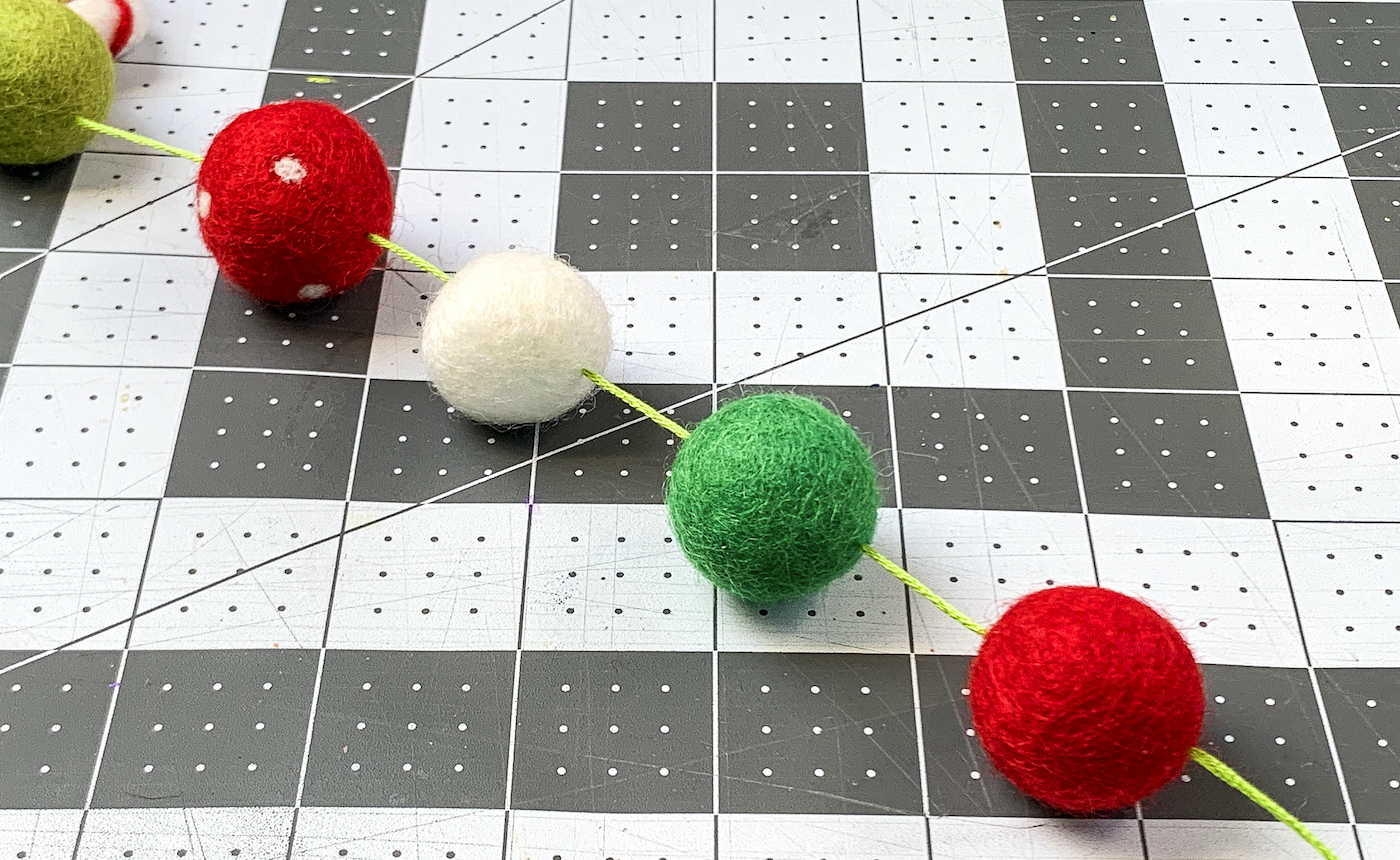
- Arrange your felt balls in the order you will string them. You can string out the colors any way you like; I spaced them approximately 1" apart.
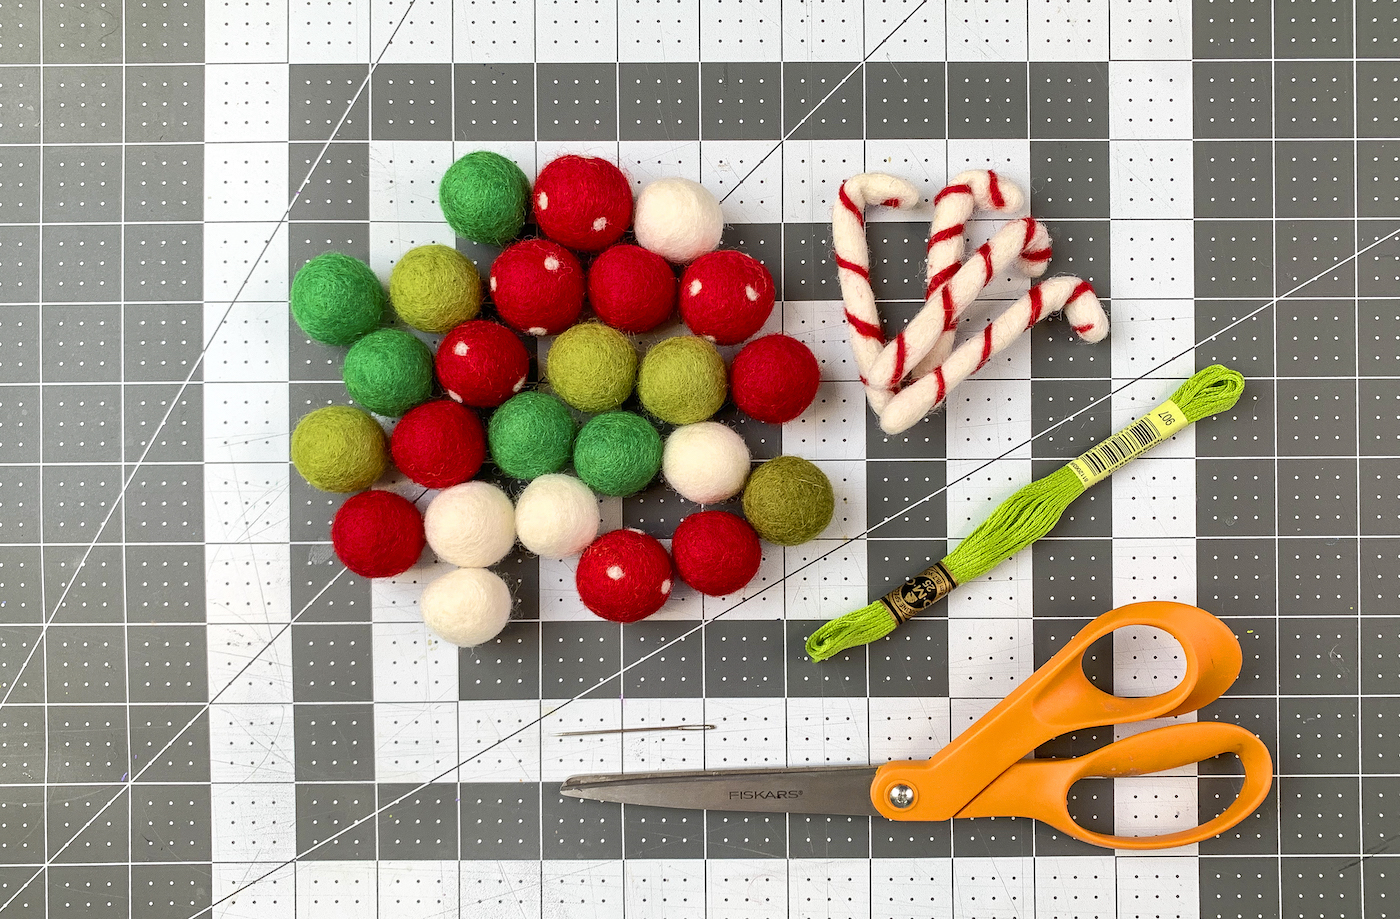
- Open the embroidery floss. The floss should be about 8 – 9 yards long, and you'll cut in half.
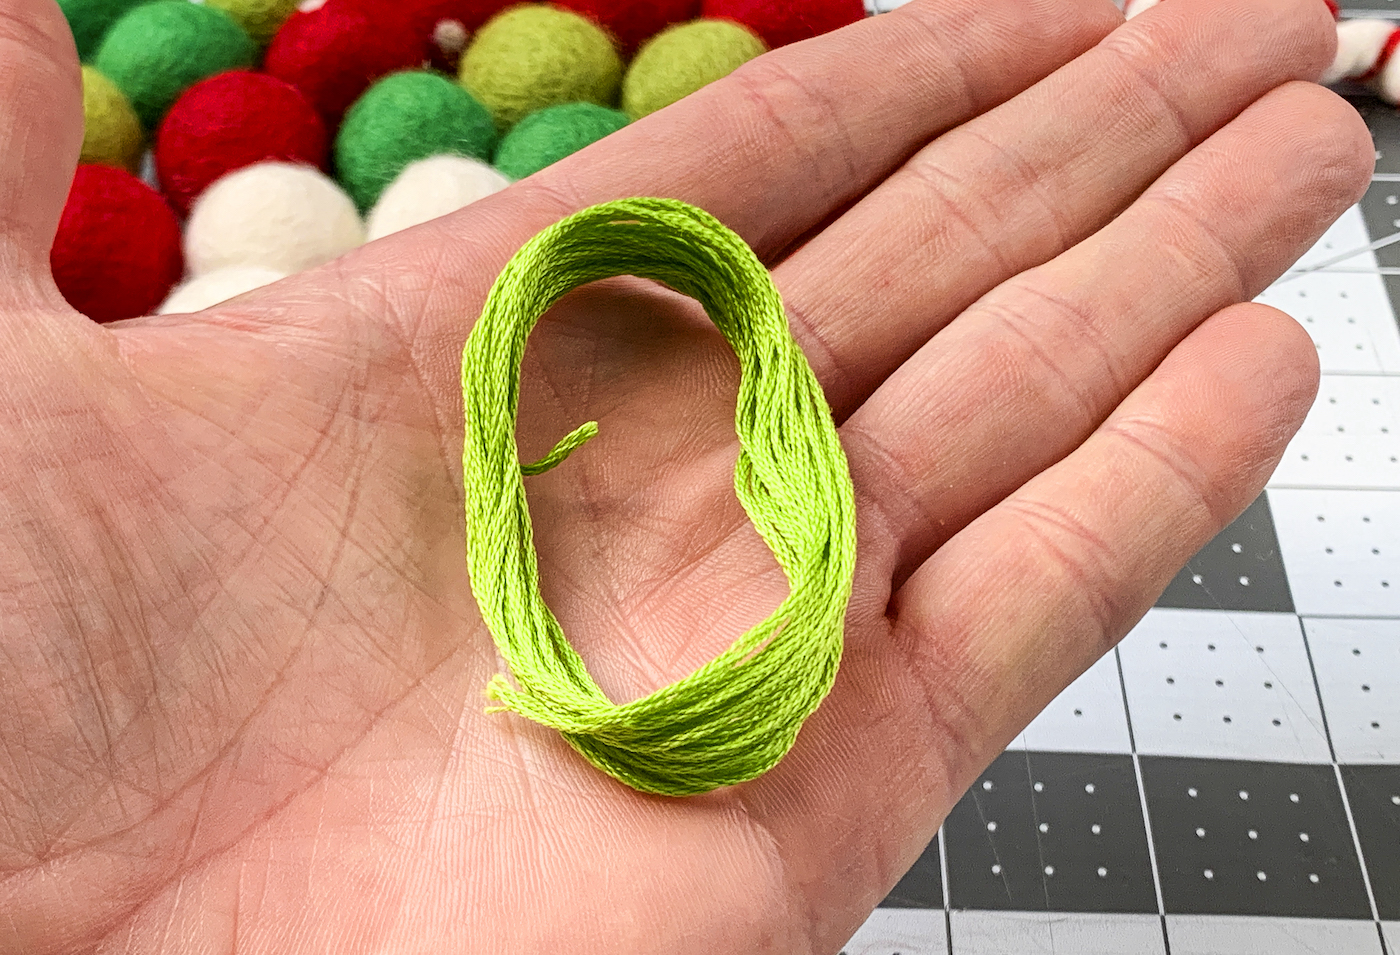
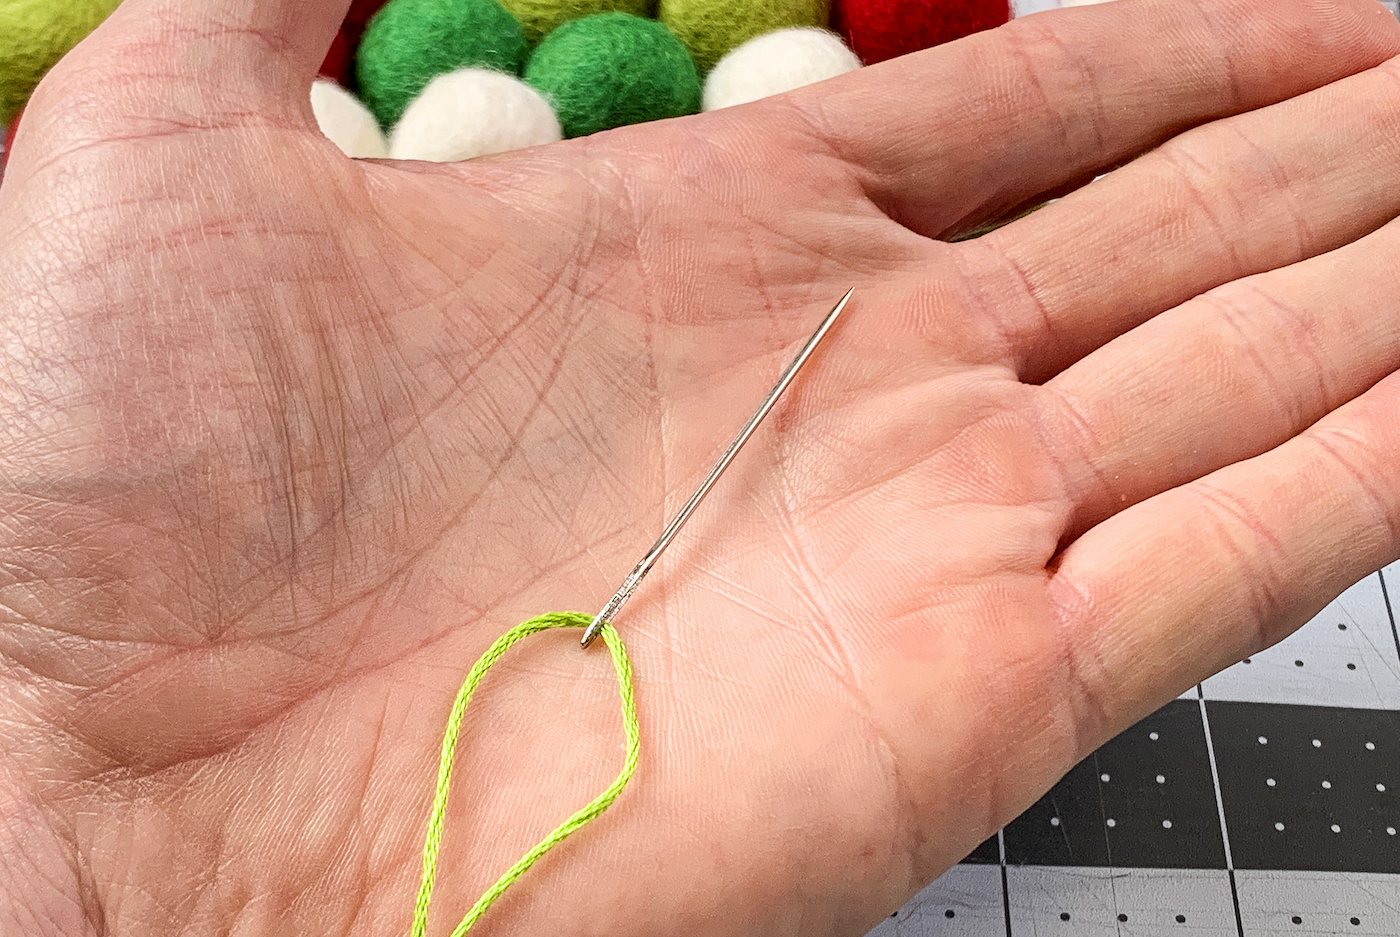
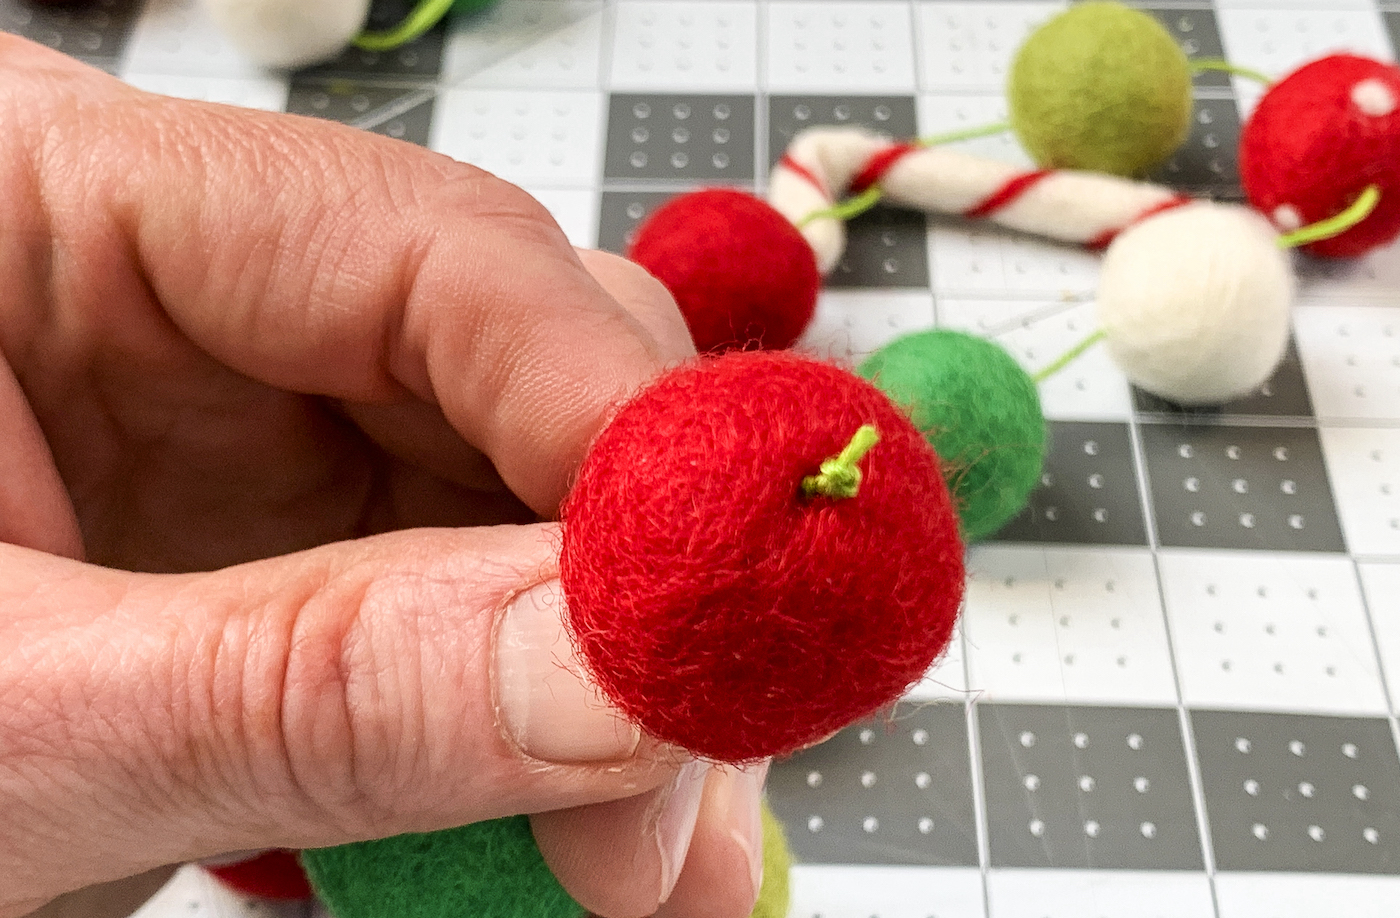
- Tie a knot at one end, leaving a 9" tail or so. String a needle onto the other end of the floss.
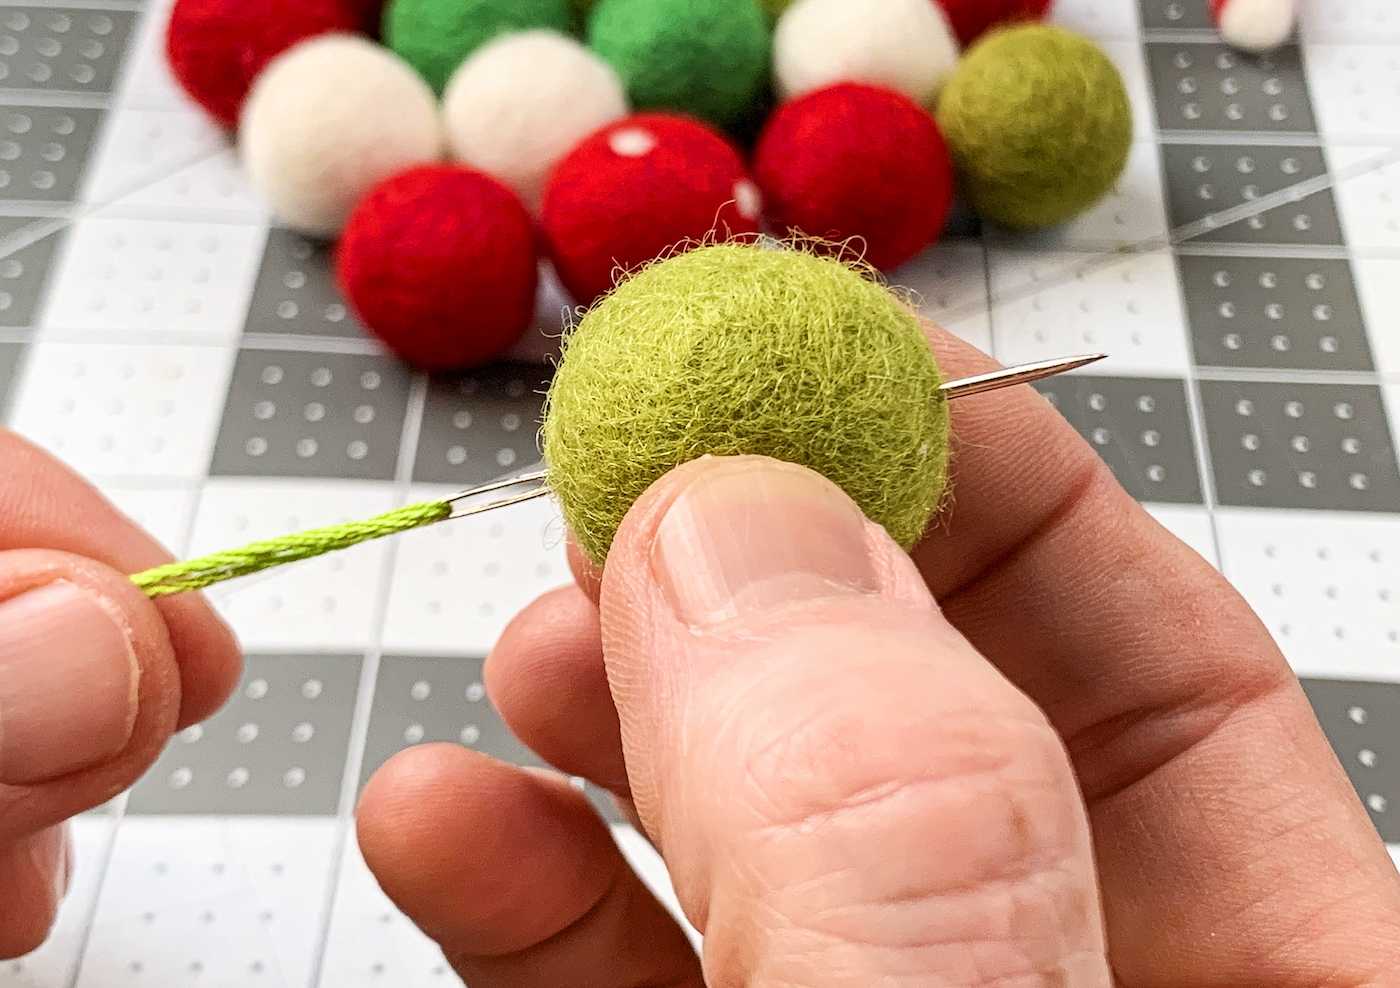
- String a felt ball onto the floss using the tapestry needle. Push the needle through the center of the ball and to the knot.
- Continue stringing felt balls onto the floss, doing several at a time. Every so often, add a polka dot ball or a felt candy cane piece.
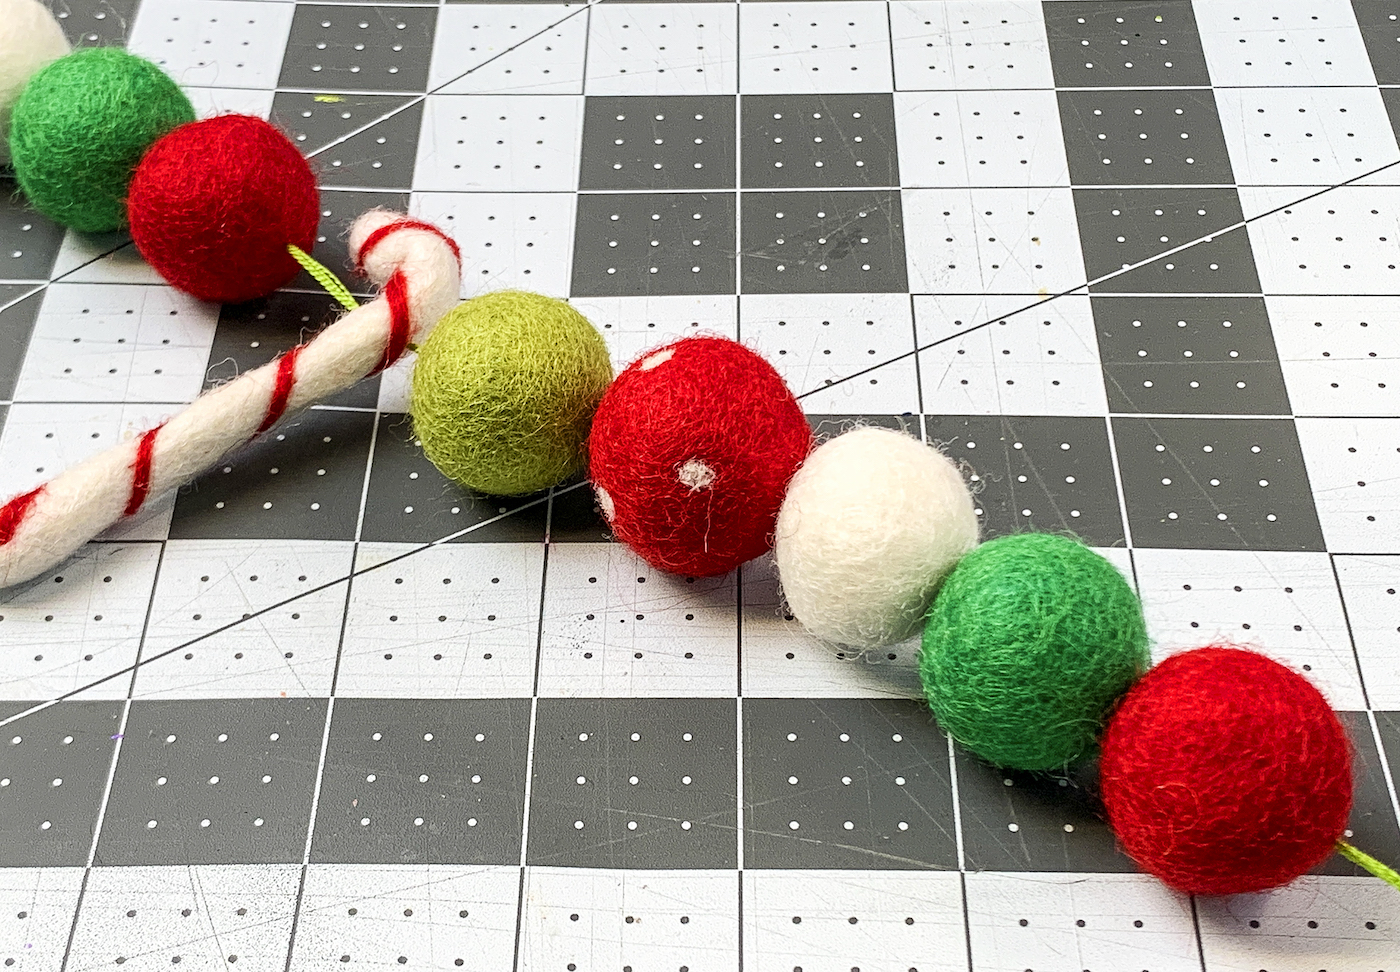
- Once you have several balls on the garland, space them out about 1" apart. Continue stringing balls onto the garland until you get it to the length you want (mine is 8 feet long).
- Once you get to the last ball, tie off the end in a knot and trim with the scissors. Your garland is ready to hang.
Notes
Are you ready for a video that will show you how to make this fun garland? Check out the video in this post!
If you enjoyed this project, let me know in the comments. I’d also love for you to check out these other ideas:


I love your site can’t wait to learn more from you. This was so fun with my youngest grandson
Thank you so much for reading!