Coffee Filter Turkey Craft for Thanksgiving Fun
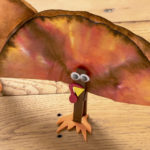
Learn how to make the cutest coffee filter turkey craft for Thanksgiving! These are so easy and FUN to make for kids of all ages.
Skills Required: None. Even if your children have never crafted before (or you haven’t), you’ll be able to do this craft. You’ll be bleeding markers (easy), painting, and gluing.
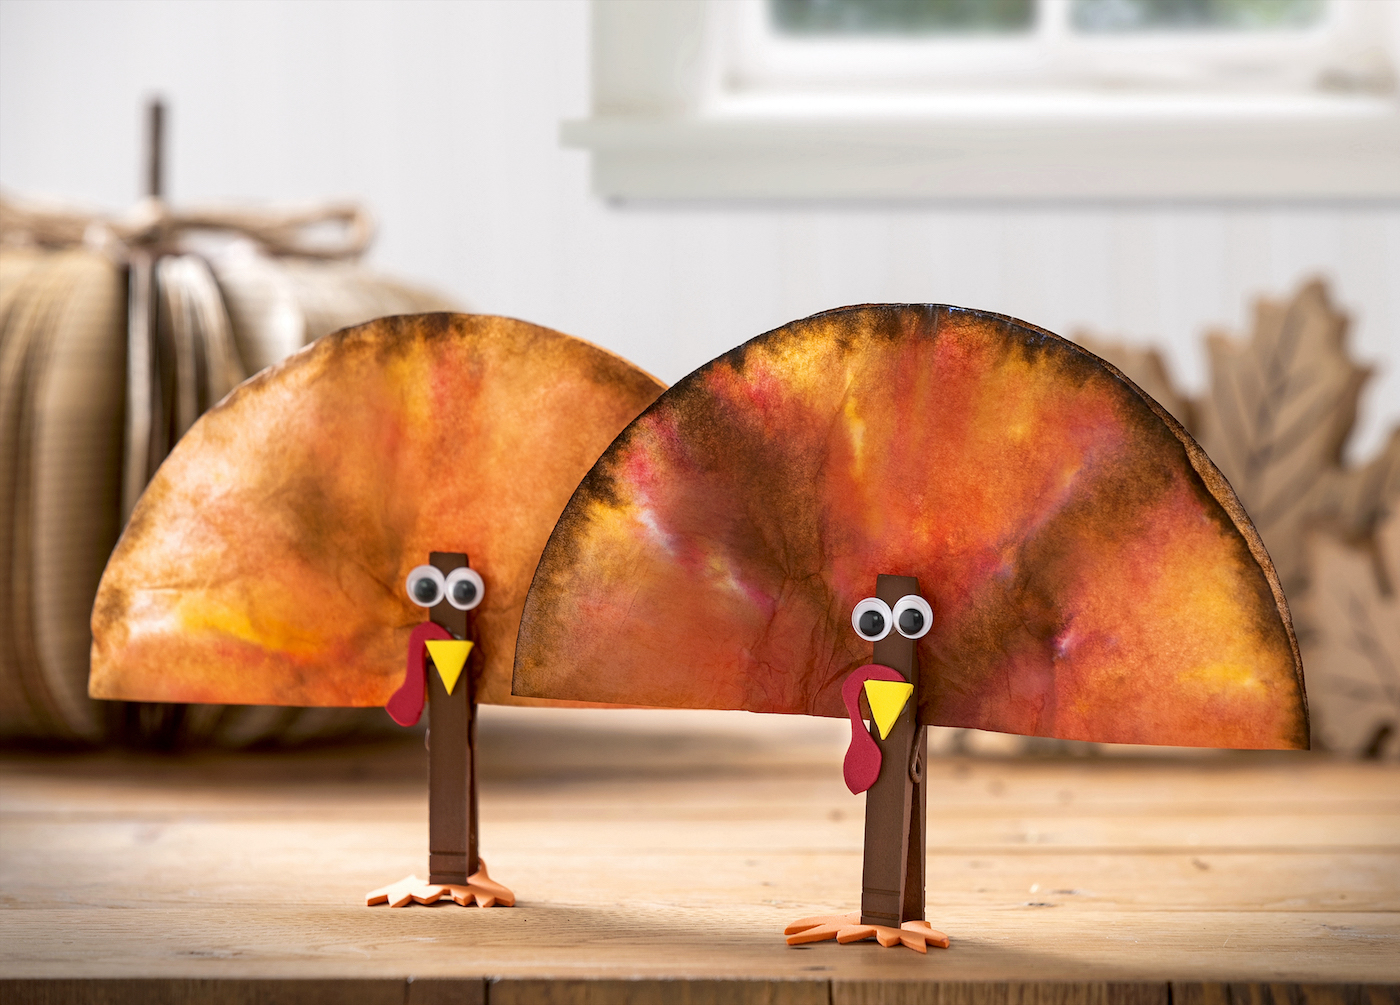
Many of you are familiar with the story of Elliott, my pinecone turkey that I made in the second grade. My little Thanksgiving friend had a converted Kleenex box for a house, and I kept in my room for years afterwards.
Elliott was one of my favorite kids’ Thanksgiving crafts ever, at least until recently. When I got a chance to try a coffee filter turkey craft with my nieces, who are 4 and 2. And it was so fun!
I had some coffee filters left over from the wreath I made; actually quite a few of them. Then I also had clothespins left over from some clothespin crafts. You’re starting to see how this project came together.
The coffee filters and clothespins were from the dollar store, which makes this a really inexpensive project that you can make with kids – even a group of kids like in a classroom – for a very, very low price. Gotta love that!
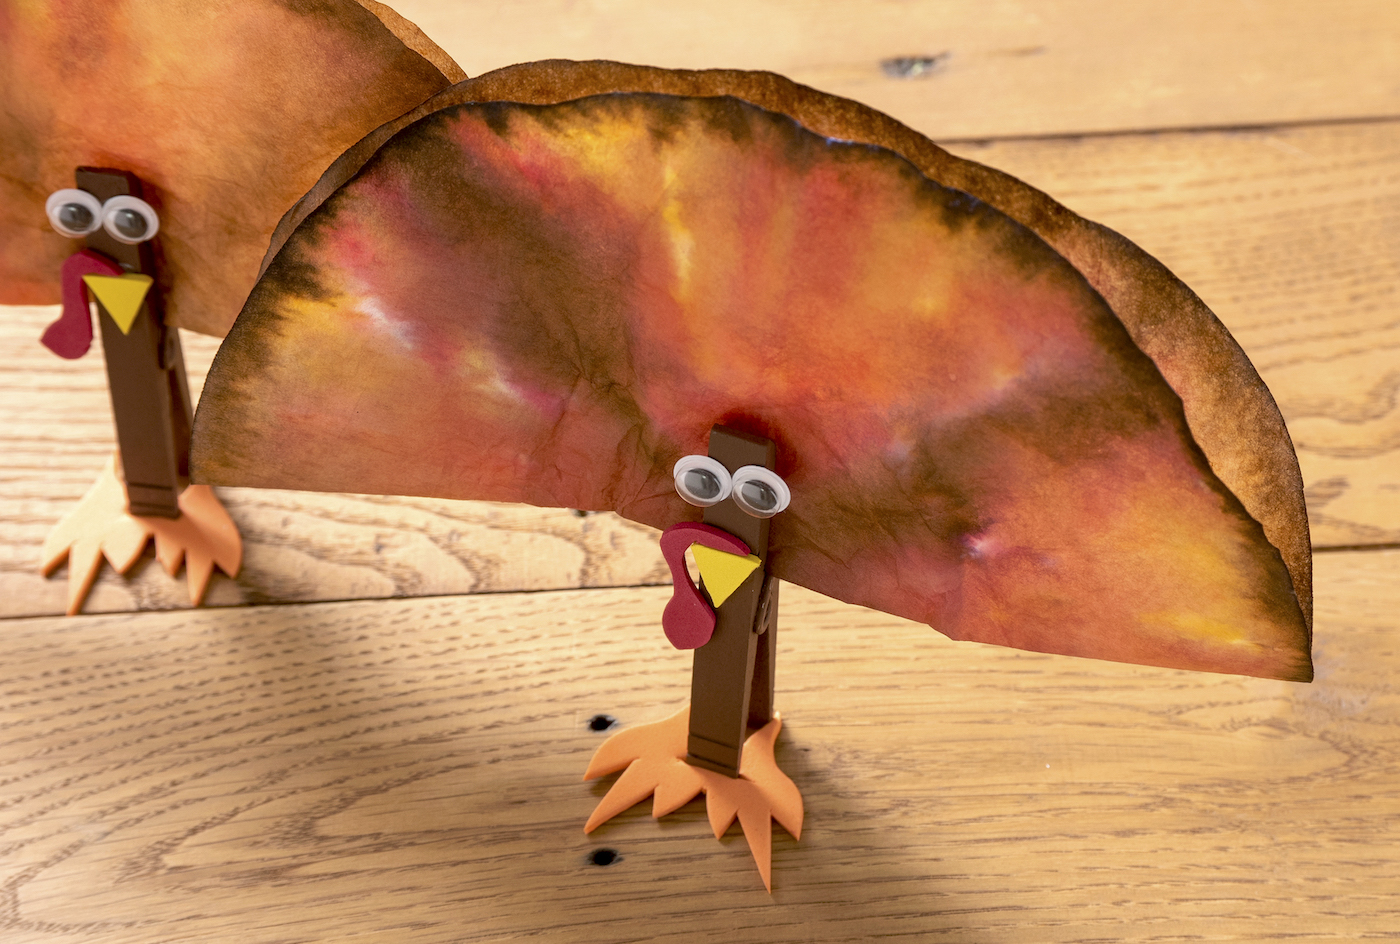
The girls loved making these coffee filter turkeys with me, and given their ages I think this is a really fun Thanksgiving craft for toddlers. The littles get to dye the coffee filters with markers, and they just love watching the colors spread!
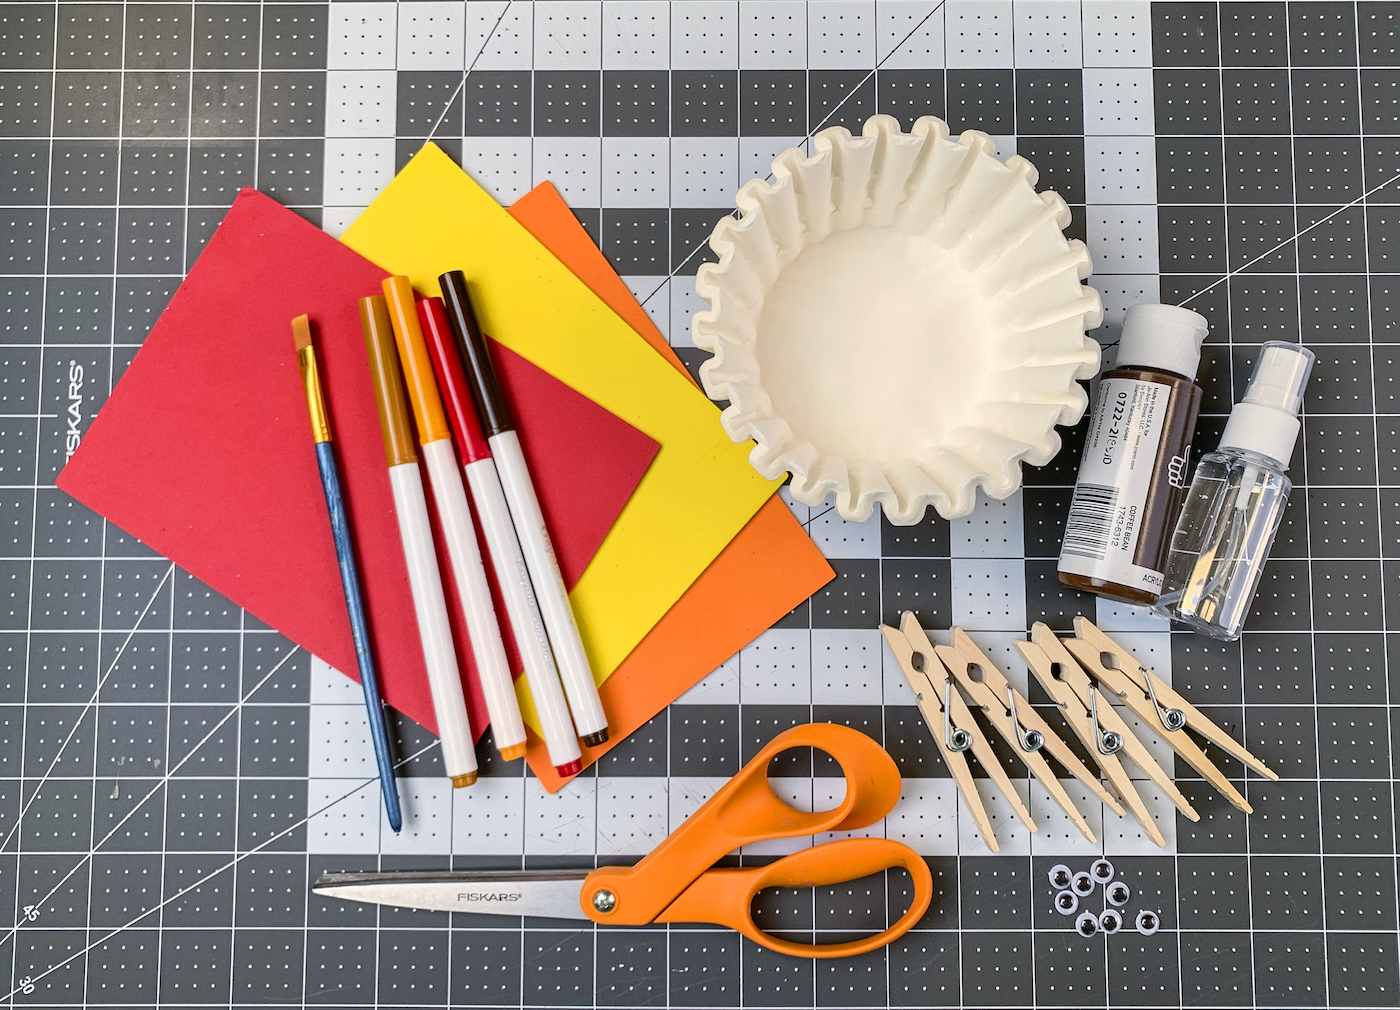
If you’re ready to give this cute holiday craft idea a try, you can get the tutorial below. Here’s what you need to make them.
Gather These Supplies
- Coffee filters – 1 per turkey
- Clothespins – 1 per turkey
- Washable markers – fall colors (brown, orange, red, mustard, yellow, etc)
- Craft paint – brown
- Craft glue
- Googly eyes
- Craft foam or felt
- Scissors
- Paintbrush
- Small spray bottle of water
- Hair dryer (optional)
Tips and Thoughts for This Project:
- If you don’t have a spray bottle, you can drop water (single drops) on various areas of the filter, or use a toothbrush to fling water onto the filter. It might be a bit messier but it gets the job done.
- Don’t add too much water when you spray the filter. You want to barely saturate the filter, otherwise all the water will drip off the filter and take the color with it.
- You can let the coffee filter dry naturally. It might take a few hours. Other options are to use a hairdryer, or place in the oven for a few minutes at the lowest heat. If you use the oven, use a baking sheet and watch the whole time so nothing catches fire.
- It’s easier to paint clothespins if they are attached to something else like a piece of cardboard or even the end of another paintbrush. Give it a try!
- Felt, foam, construction paper, or cardstock can be used for the body parts. I love working with craft foam, but if you don’t have any, there are lots of other options.
- Wouldn’t these make cute Thanksgiving place cards? For the kids’ table for sure, but even for the adult table too!
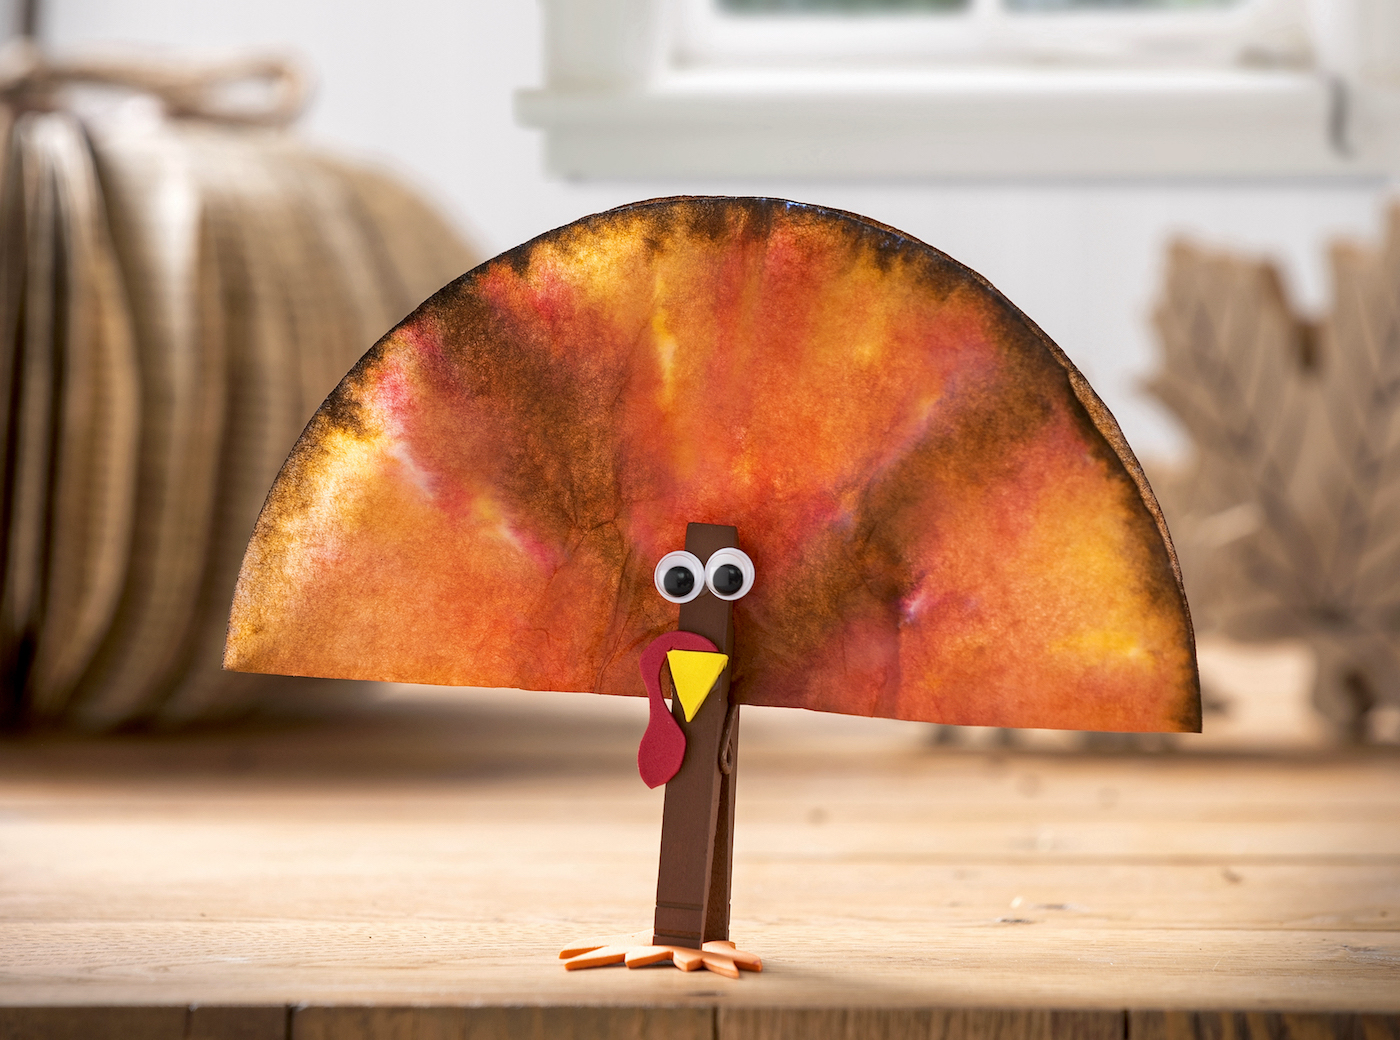
These cuties can stand up by themselves! My nieces squealed when I showed them. If you’re ready to get crafty for the holiday, check out the how to card below.
PS – we also made some coffee filter bats for Halloween and coffee filter snowflakes – so you need to check those out too.
Coffee Filter Turkeys
Equipment
- Hair dryer (optional)
Materials
- 2 Coffee filters
- 2 Clothespins
- Washable markers – fall colors
- Acrylic paint
- Craft glue
- Googly eye(s)
- Craft foam or felt
- Small spray bottle of water
- Wax paper optional
Video
Instructions
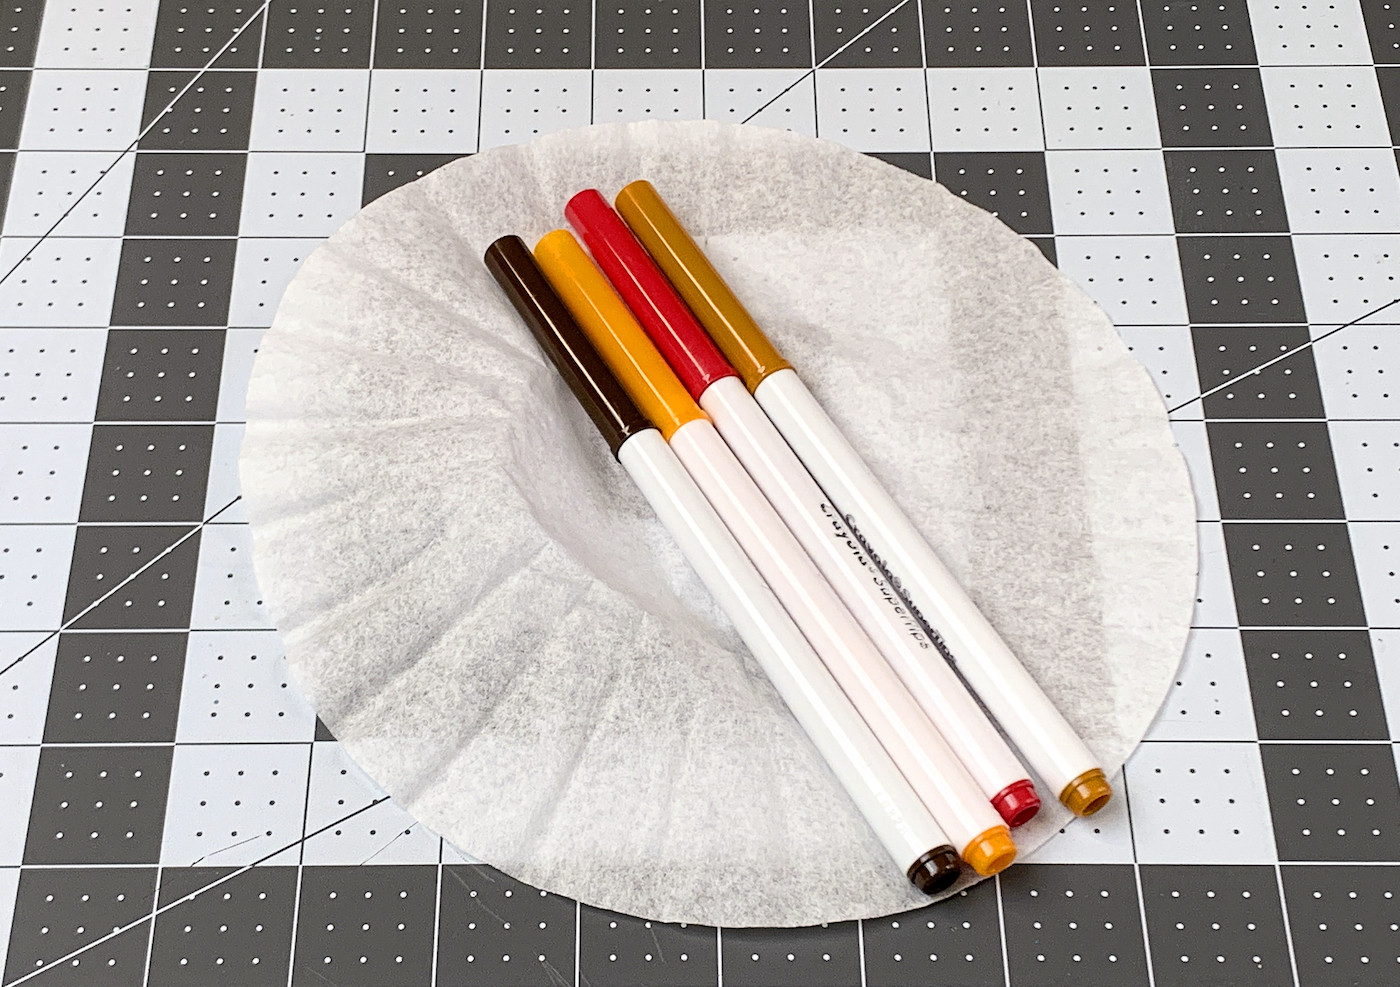
- Gather the supplies to make the turkeys. You will need one coffee filter and one clothespin per turkey.
- Choose four colors that you would like to use for your turkey’s tail. Picking a variety of colors that are different shades (light and dark) makes for the best results.
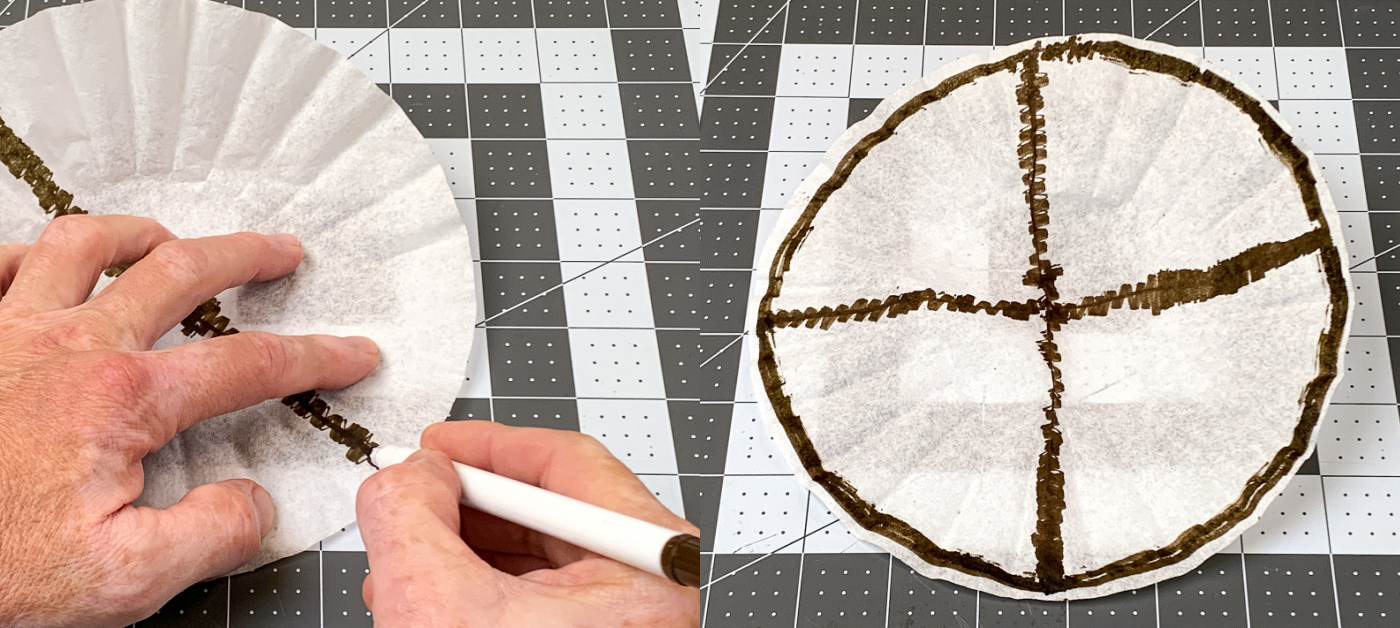
- Start with a brown or similar dark shade of marker. Draw a circle around the edge of the coffee filter and then draw lines in an "X" across the middle.
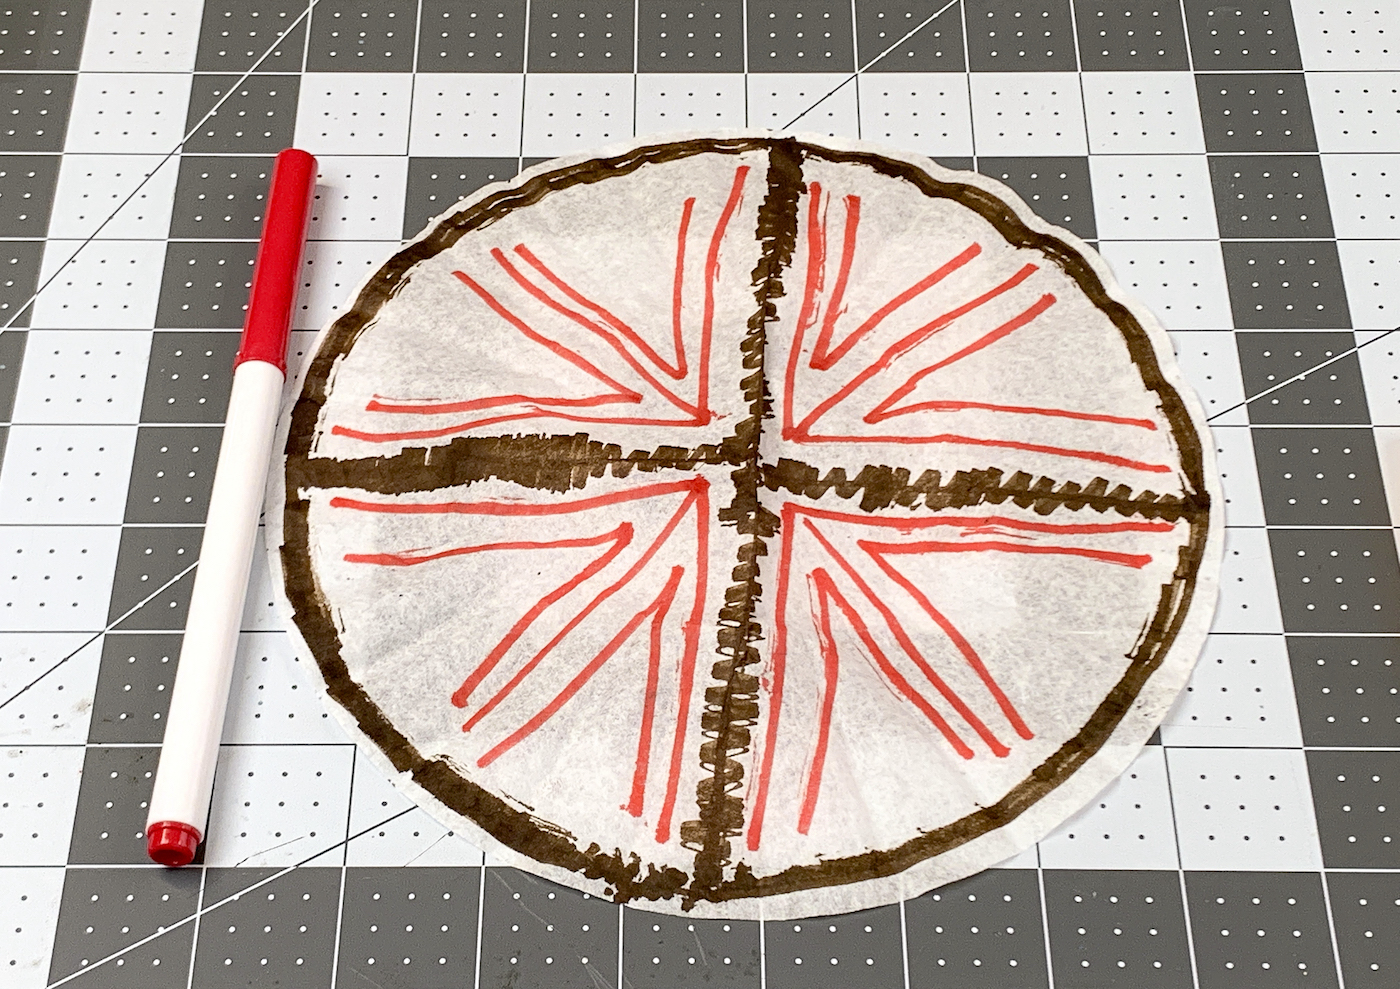
- Take a contrasting color marker and draw some lines within each quadrant on the coffee filter.
- With the remaining two markers, add additional lines at random to the inside of the other lines on the coffee filter. No need to add too many lines. They will bleed into each other.
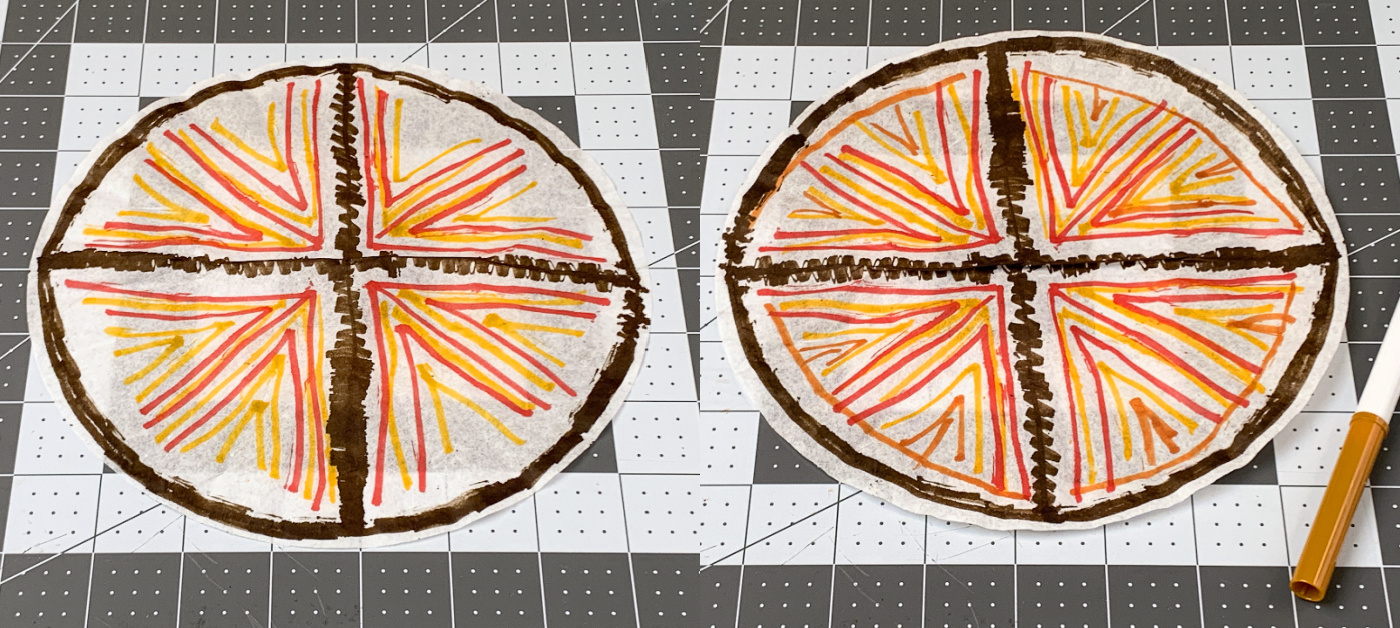
- Place the coffee filter down on a washable work surface. You can use a craft mat, silicone mat, or wax paper. Mist the paper with 4 – 5 sprays of water and you will start to see the markers bleed. This is what you want.
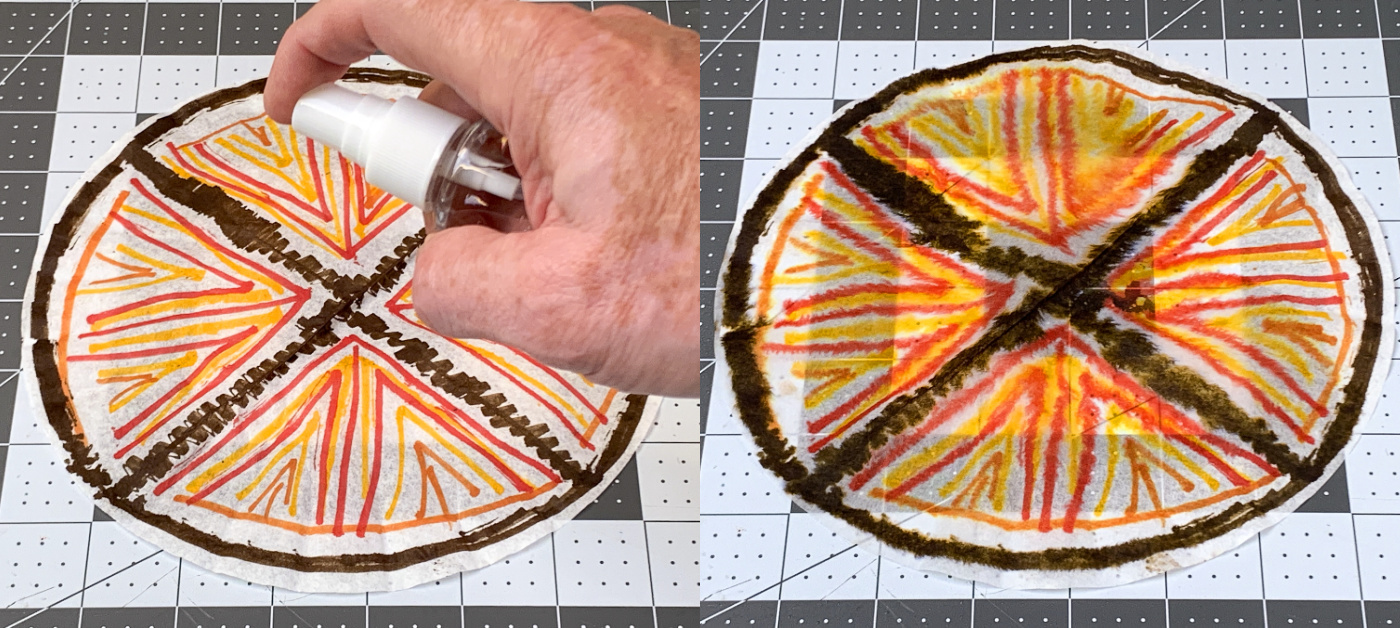
- If the markers didn’t bleed enough, add additional sprays of water. Don’t add too much water. You want to barely saturate the filter, otherwise all the water will drip off the filter and take the color with it.
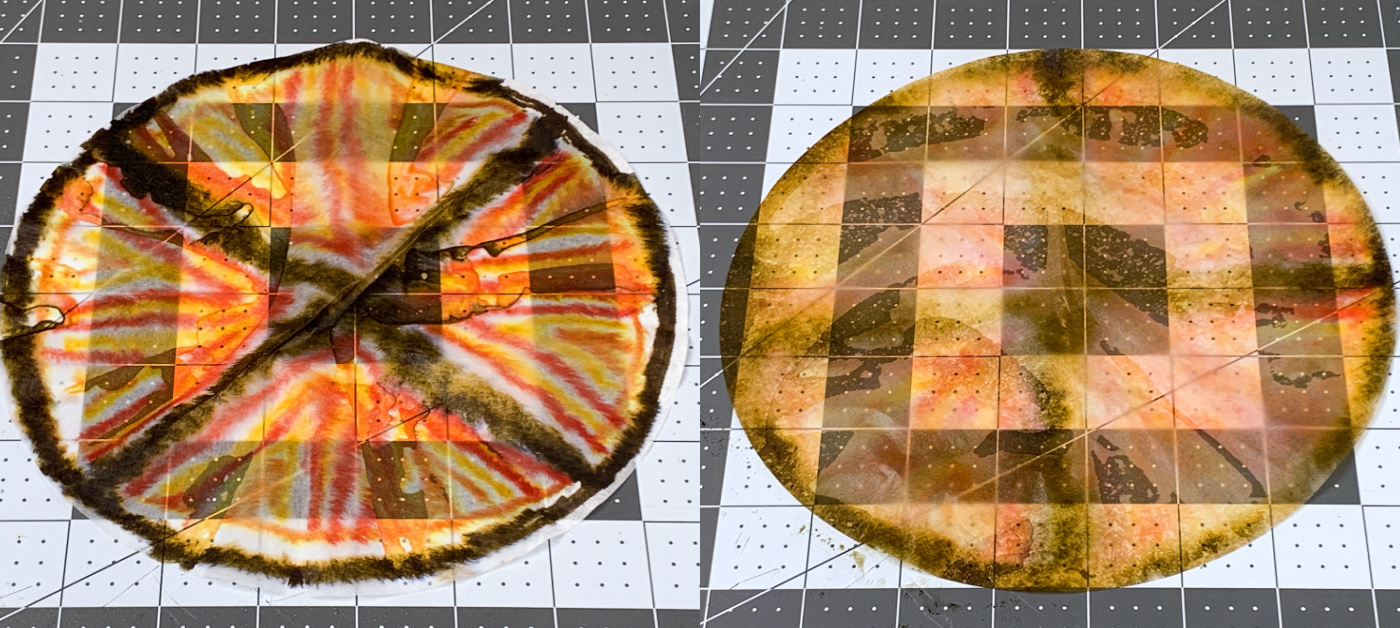
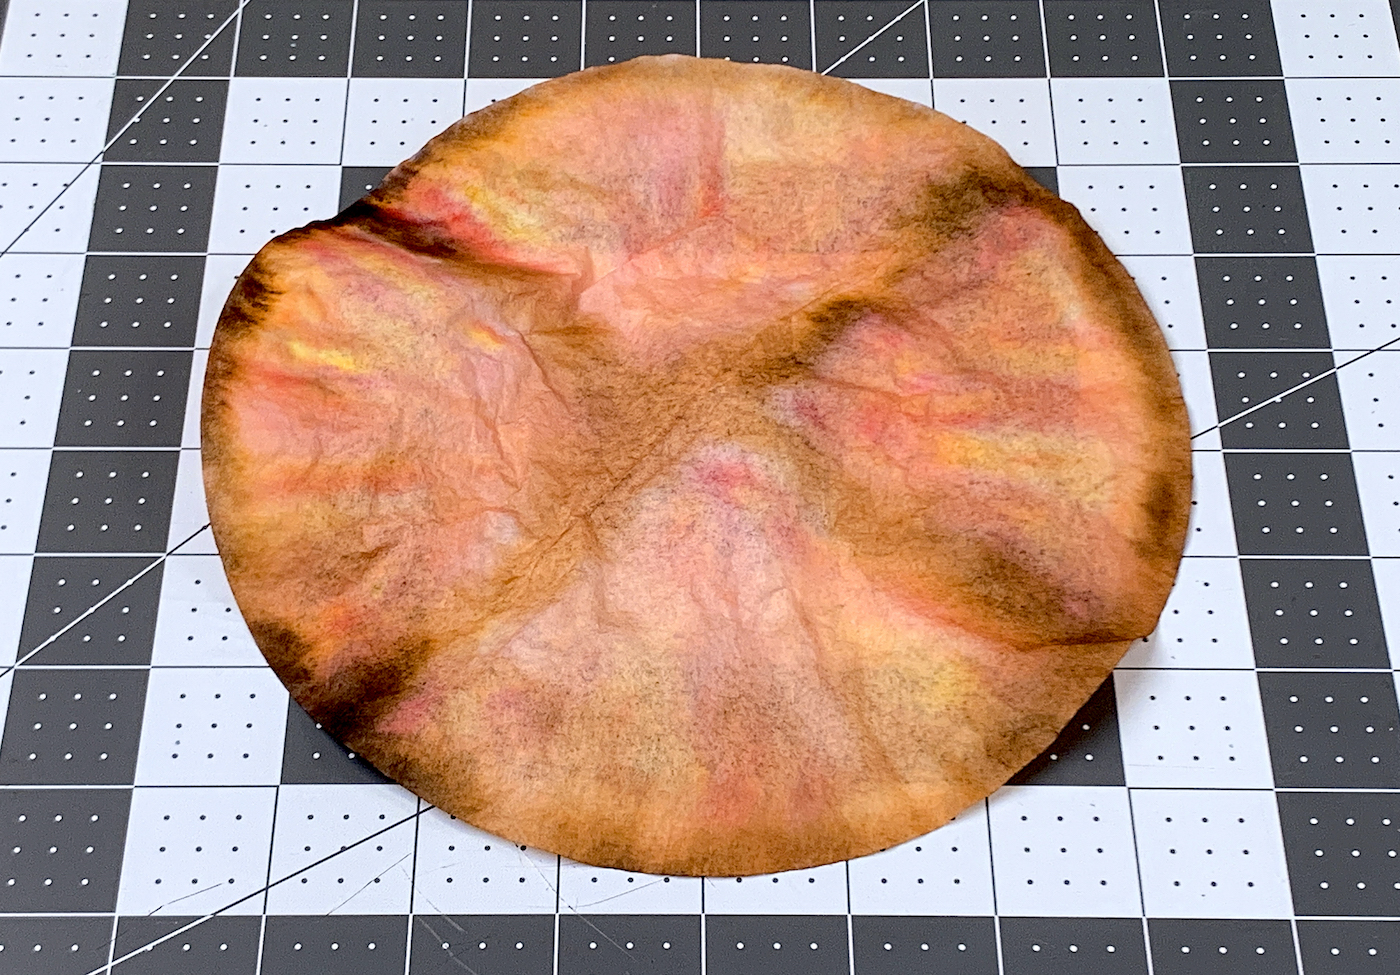
- Leave the coffee filter on your work surface to dry. Additionally, you can take a hairdryer and dry the filter, or place in the oven for a few minutes at the lowest heat (watching the entire time).
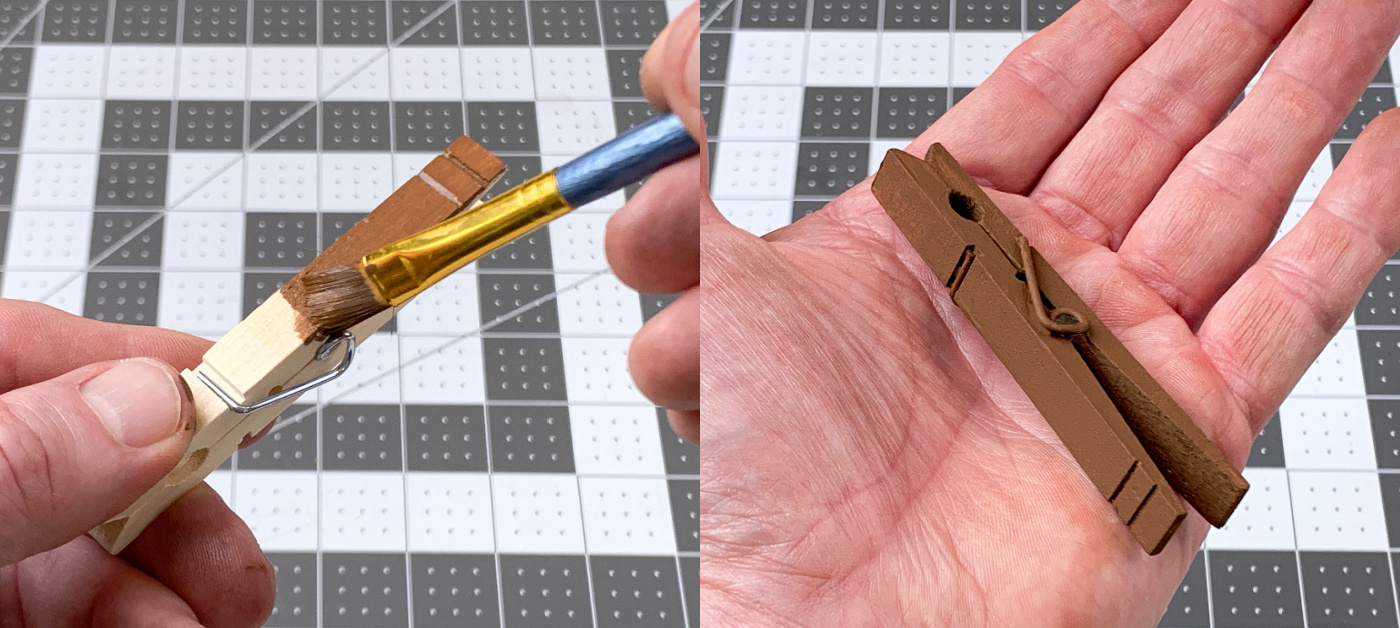
- Place the coffee filter to the side for the moment and paint a clothespin with brown acrylic paint. Paint the entire clothespin with a few coats for coverage and let dry.
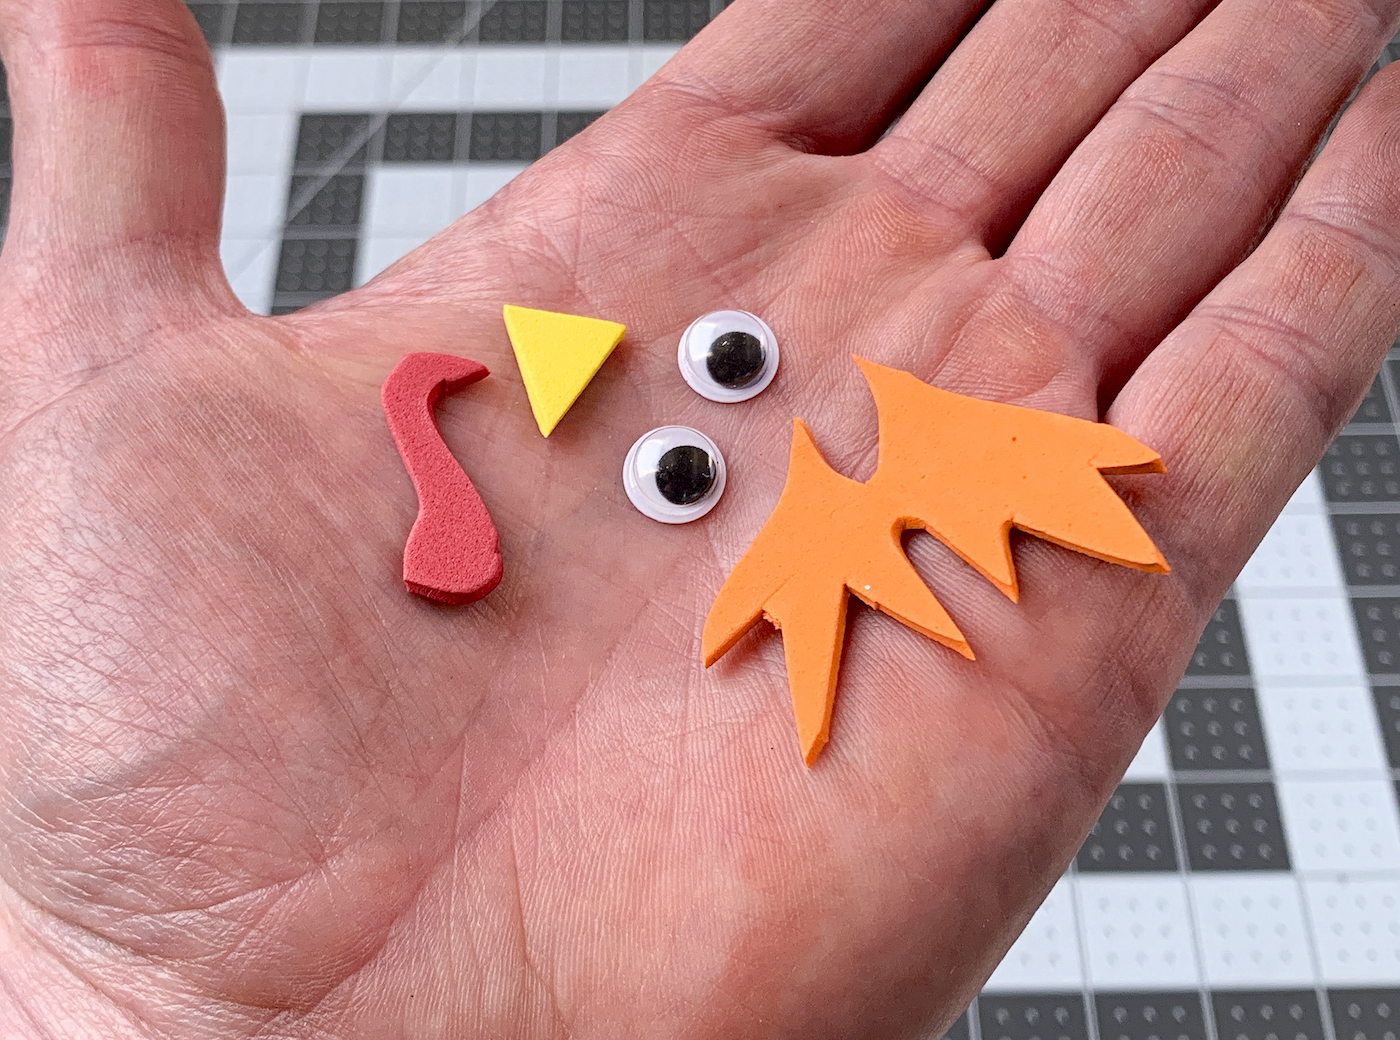
- While the clothespin is drying, cut out the pieces you’ll need from craft foam. You’ll need a yellow beak, a red waddle, and (if you want) orange feet.
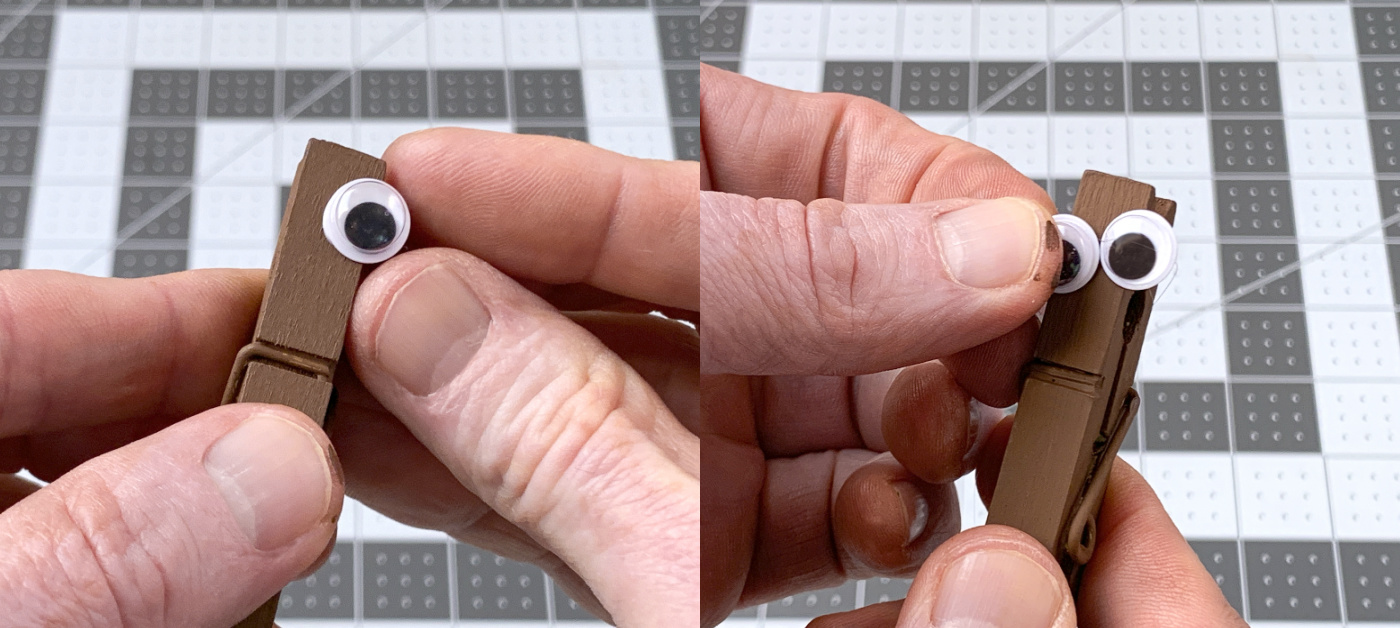
- Set the clothespin on your work surface so it stands up, with the clip part that holds paper at the top. Glue the googly eyes at the top and let dry.
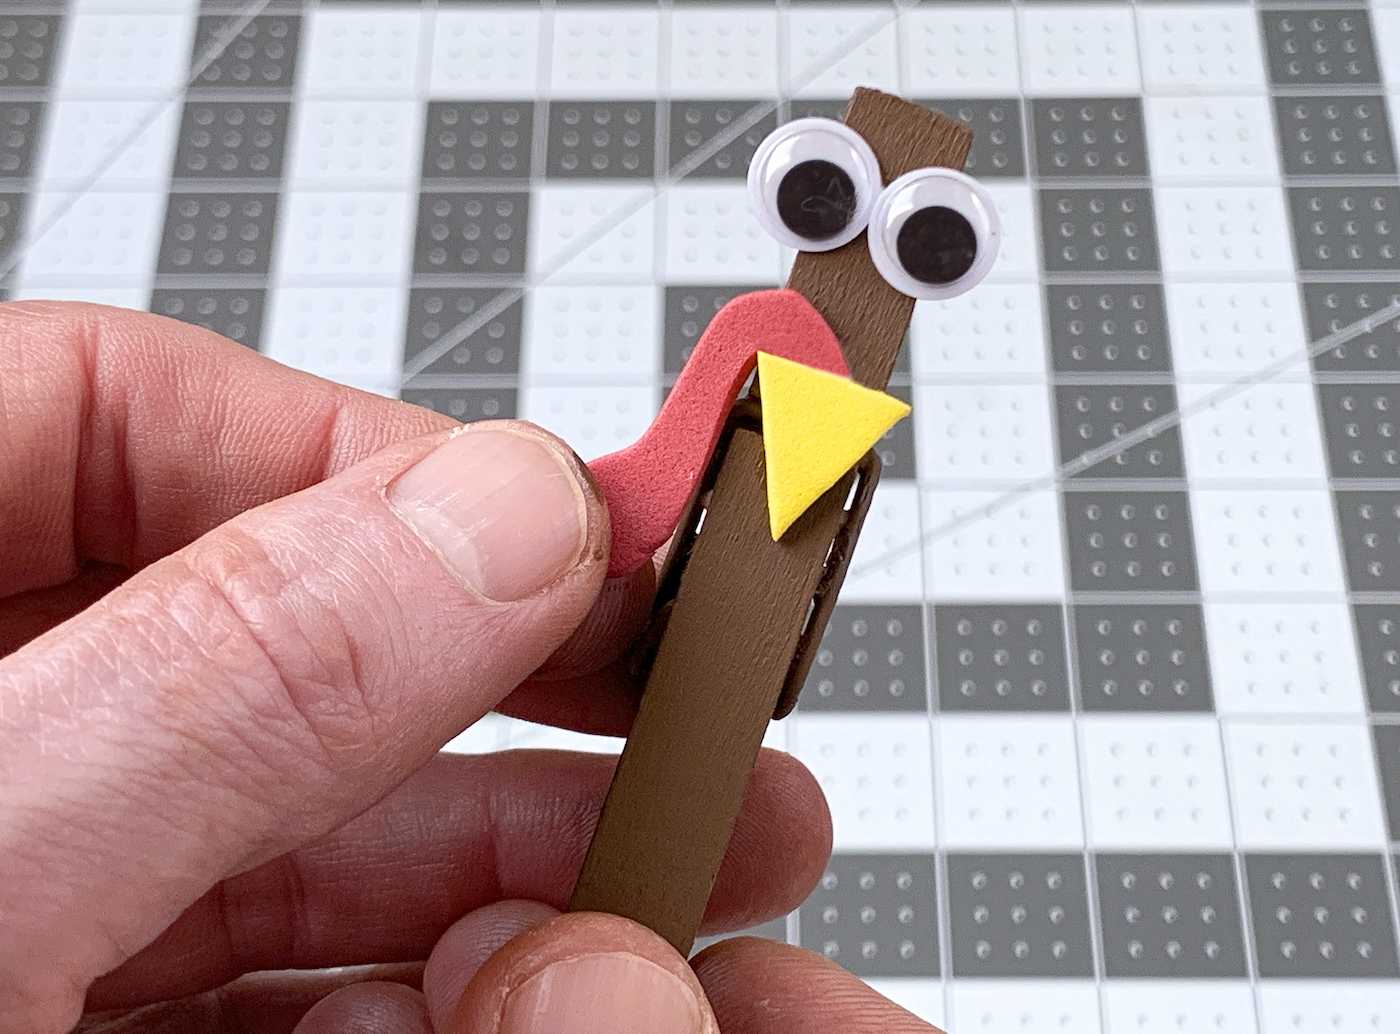
- Attach the waddle, feet, and beak with craft glue and let dry.
- Clip the coffee filter into the clothespin, creating the turkey tail. Adjust as necessary and your coffee filter turkey is complete. Make another one if desired

If you enjoyed this cute turkey craft, you’re going to love these other fun Thanksgiving and coffee filter ideas:

